


Hello everyone! Justin here, and I am having so much fun with our Newton’s Nook Collaboration Week! I created a duo of projects using some of the adorable offerings on the Newton’s Nook website, and then paired them with some of my favorite items from Therm O Web!
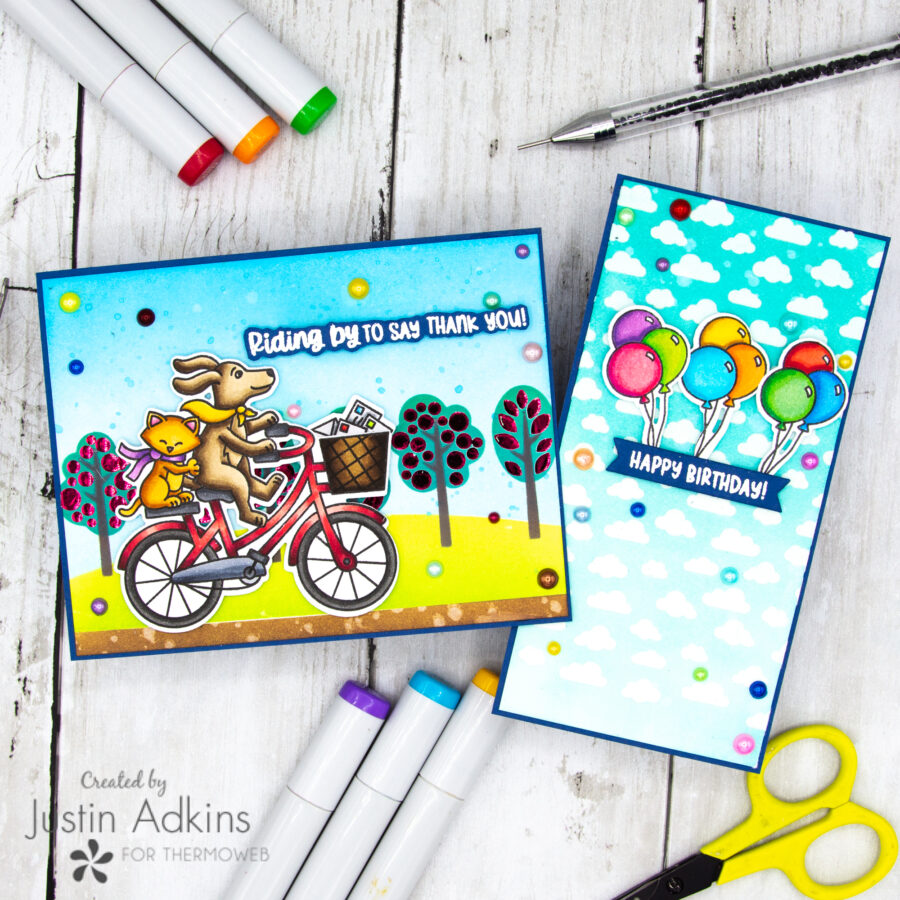
I have 2 cards to share, so let’s get into some of the details!
Note: This blog post uses affiliate links at no additional cost to you!
Therm O Web Products Used:
Wild Cherry Deco Foil
Deco Foil Transfer Gel Blanco
UltraBond Liquid Adhesive
iCraft 3D Foam Tape- 1/16″- White
Pixie Tape
Stencil Pal
Netwon’s Nook Products Used:
Cycling Friends Stamp Set
Cycling Friends Coordinating Dies
Tree Line Stencil
Other Products Used:
Copic Markers
Copic Coloring Paper
Copic Safe Ink
Distress Oxide Inks: Tumbled Glass, Salty Ocean, Twisted Citron, Mowed Lawn, Lucky Clover, Pine Needles, Vintage Photo, Walnut Stain, & Ground Espresso
Snowfall Embossing Powder
Colored Cardstock
Embellishments
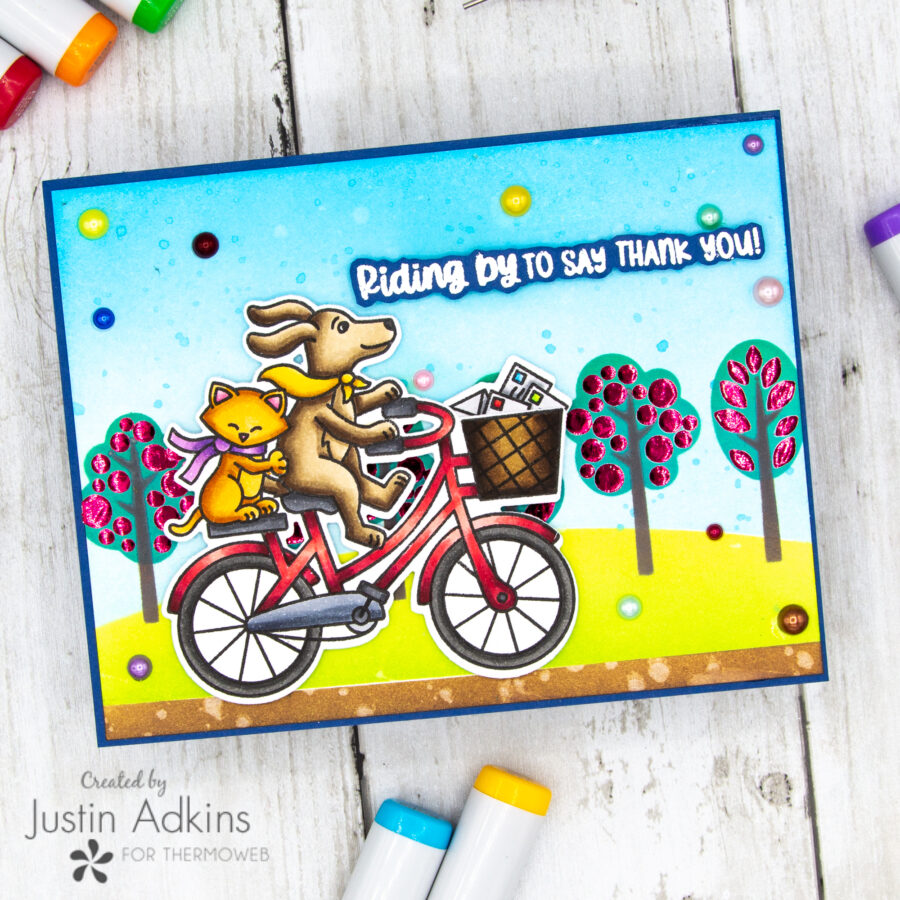
Riding By Card
My first project consists of the adorable biking duo stamp from the Newton’s Nook Cycling Friends stamp set. I wanted to create a scene card, and they pair so perfectly with the Tree Line Stencil!
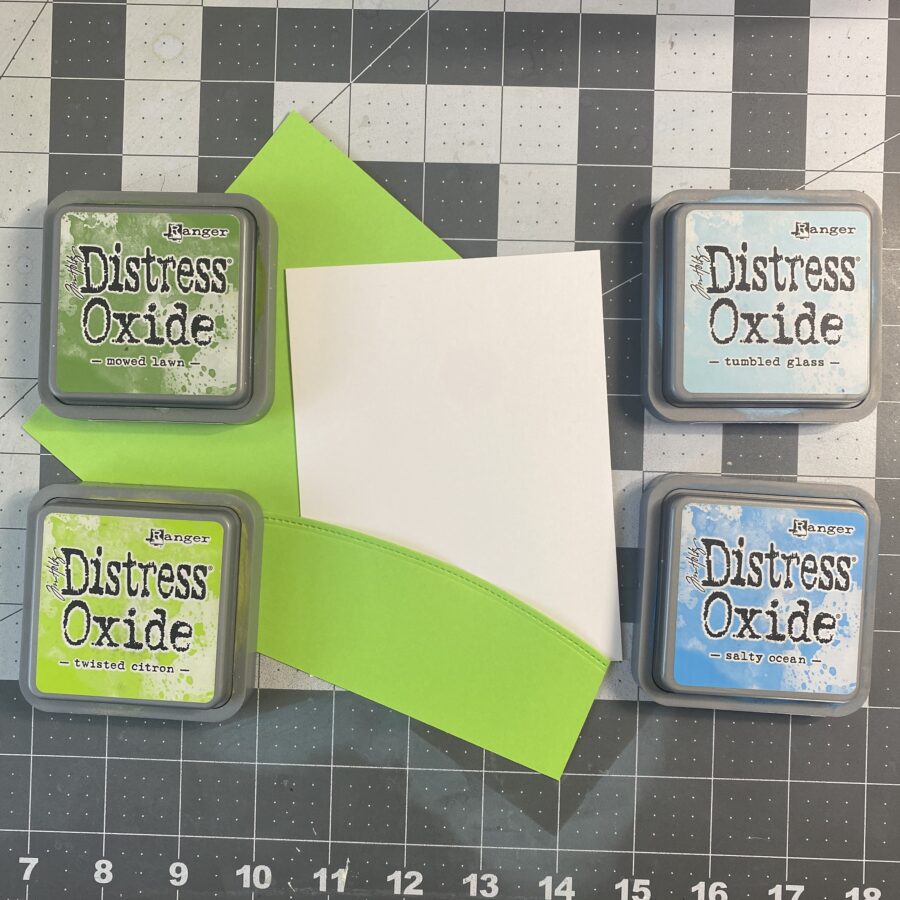
I blended up my background first by using Distress Oxide Inks to blend my sky and a grassy hill. I also splattered the sky and path with some water to create some bleached effects, along with some Salty Ocean Distress Oxide splatters in the sky.
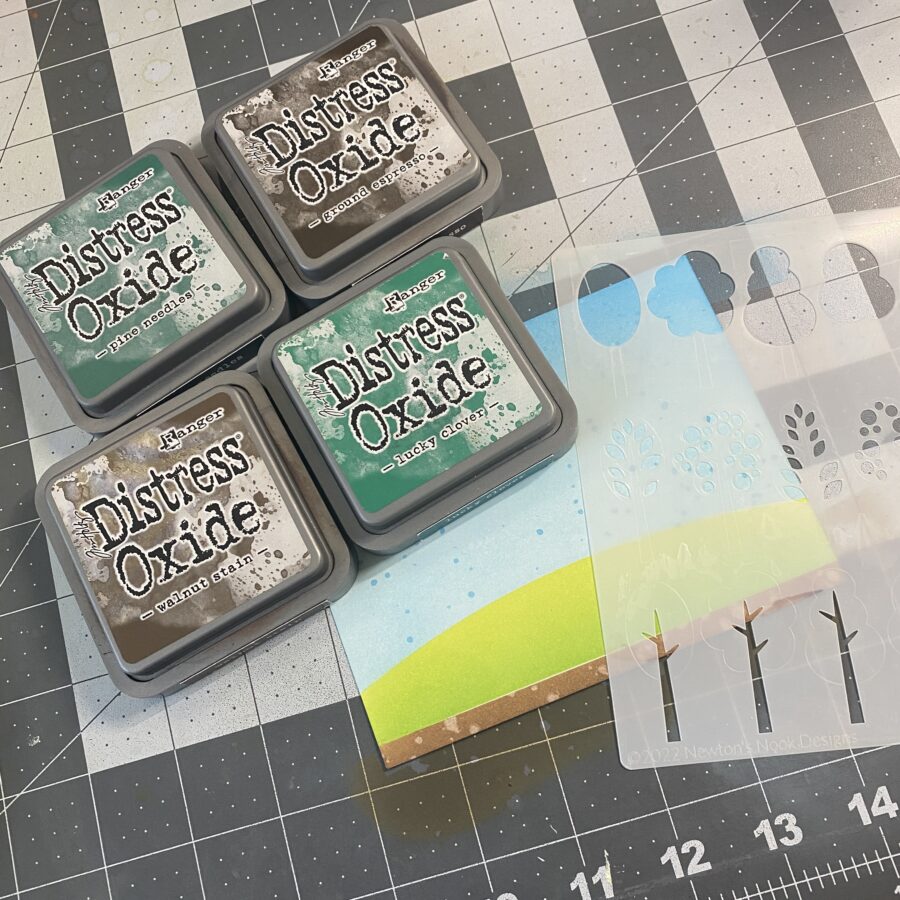
Next, using some more Oxide Inks over the Tree Line Stencil to begin building my trees.
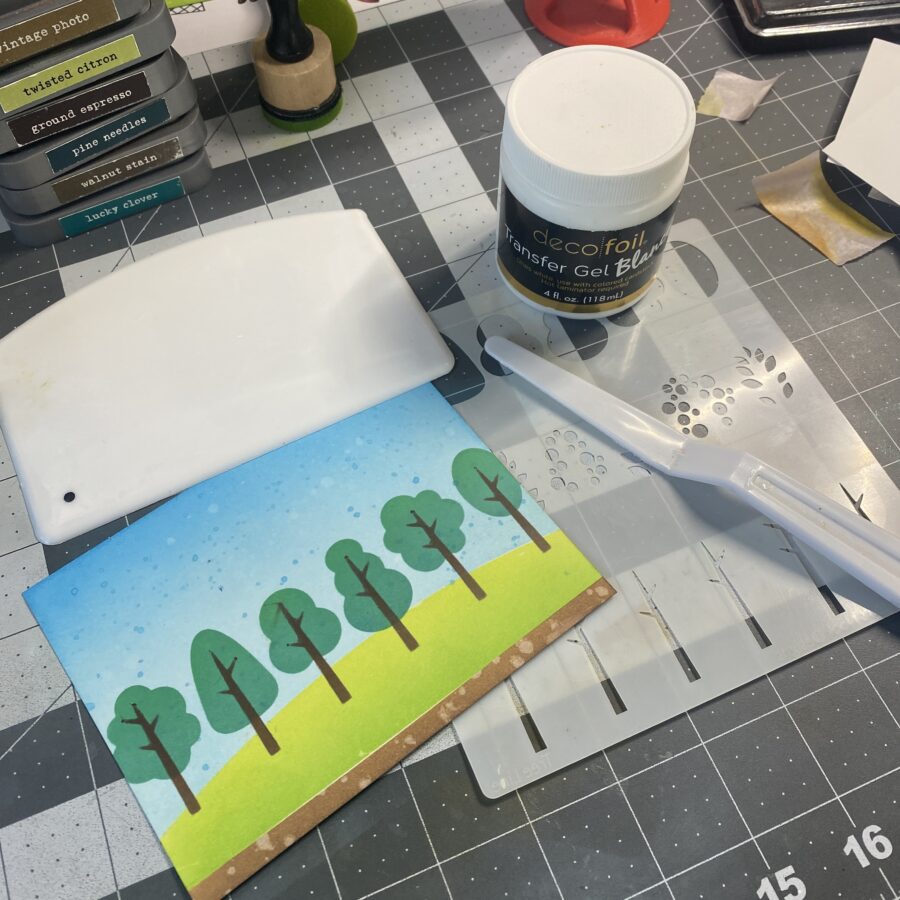
When my trees were in place, I placed my Tree Line Stencil Over Top so the dots section covered the trees. I applied a solid layer of Transfer Gel Blanco using a Stencil Pal.
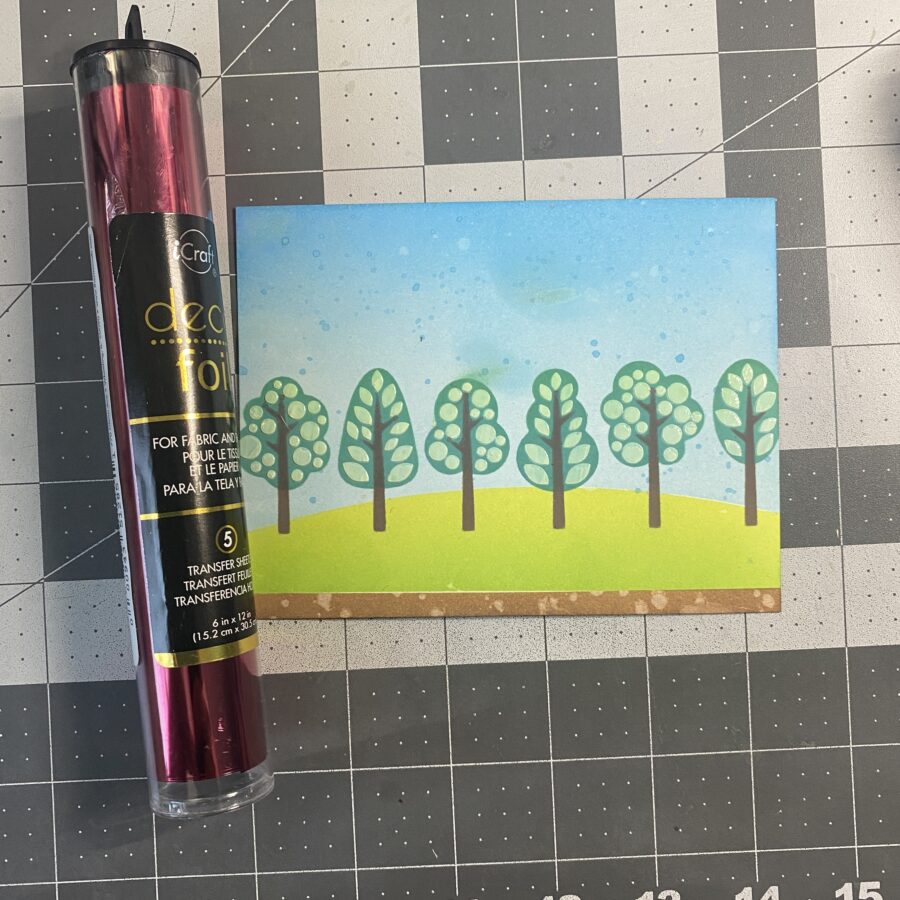
After it was dry, I used a piece of Wild Cherry Deco Foil and processed my panel through my laminator.
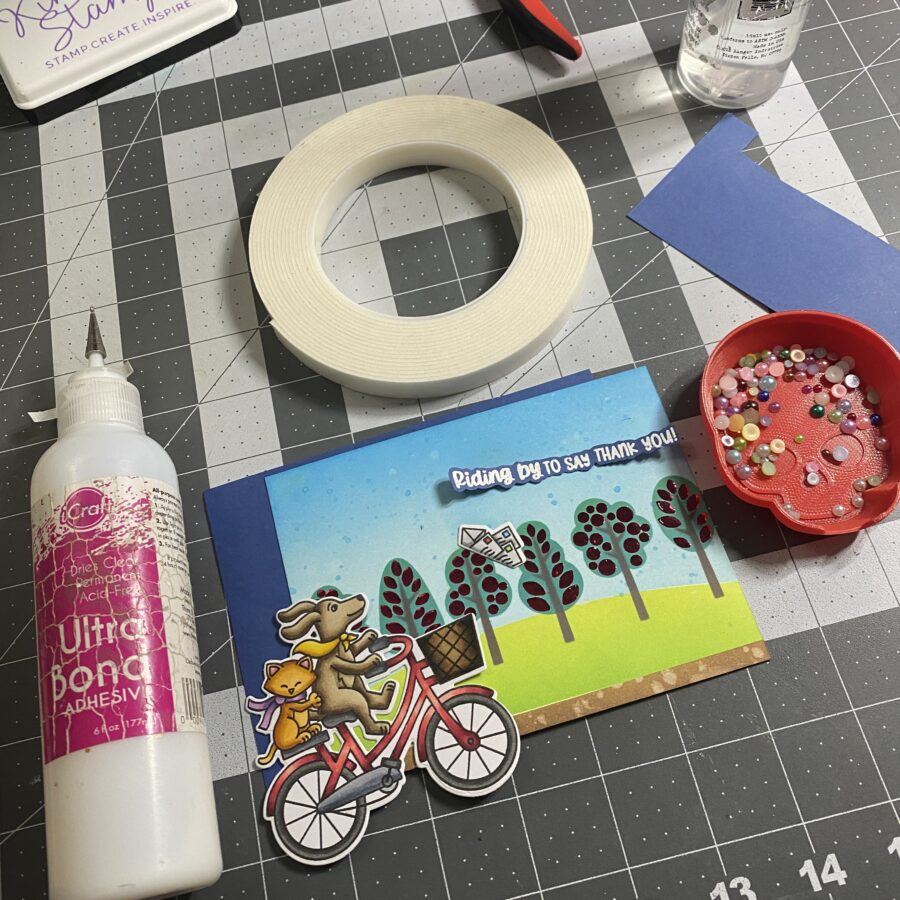
I removed my foil, heat embossed my sentiment, and adhered together my card by using both UltraBond Adhesive and iCraft 3D Foam tape!
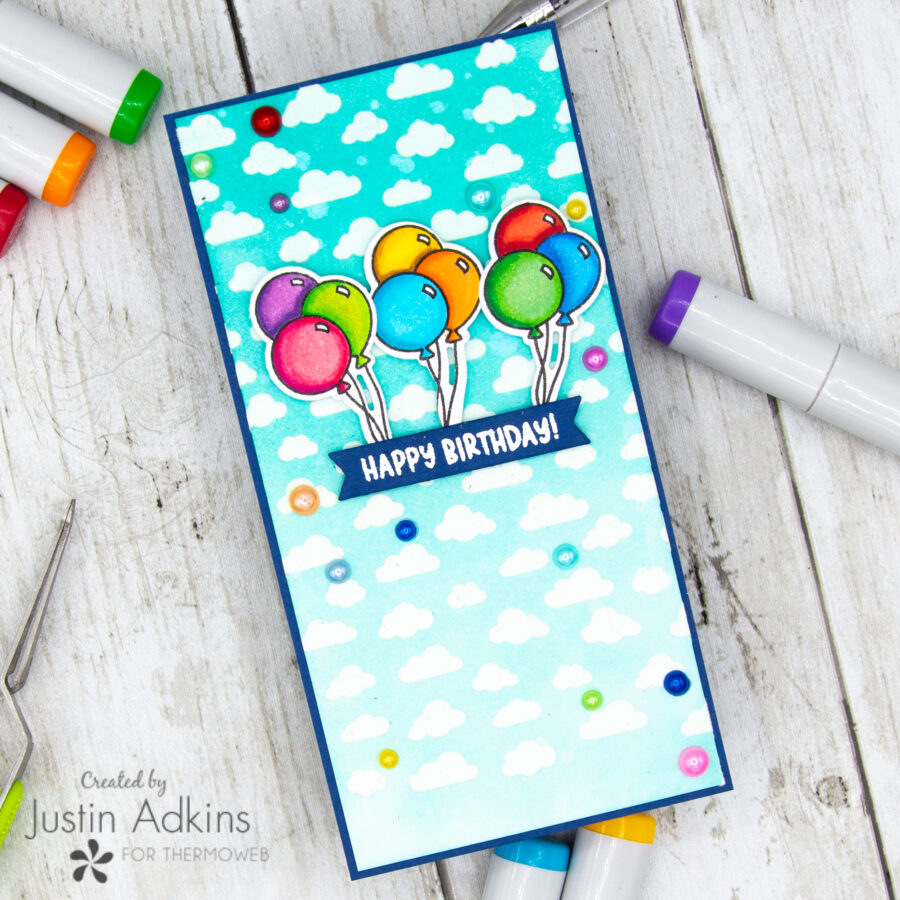
Happy Birthday Card
For my 2nd card, I created a Mini-Slimline card using the balloons from the Cycling Friends Stamp Set. I made a flocked background as well using Netwon’s Nook Petite Clouds Stencil!
Therm O Web Products Used:
White Latte Transfer Flock
Deco Foil Transfer Gel Blanco
UltraBond Liquid Adhesive
iCraft 3D Foam Tape- 1/16″- White
Pixie Tape
Stencil Pal
Newton’s Nook Products Used:
Cycling Friends Stamp Set
Cycling Friends Coordinating Dies
Petite Clouds Stencil
Other Products Used:
Copic Markers
Copic Coloring Paper
Copic Safe Ink
Distress Oxide Inks: Salvaged Patina & Peacock Feathers
Snowfall Embossing Powder
Colored Cardstock
Embellishments
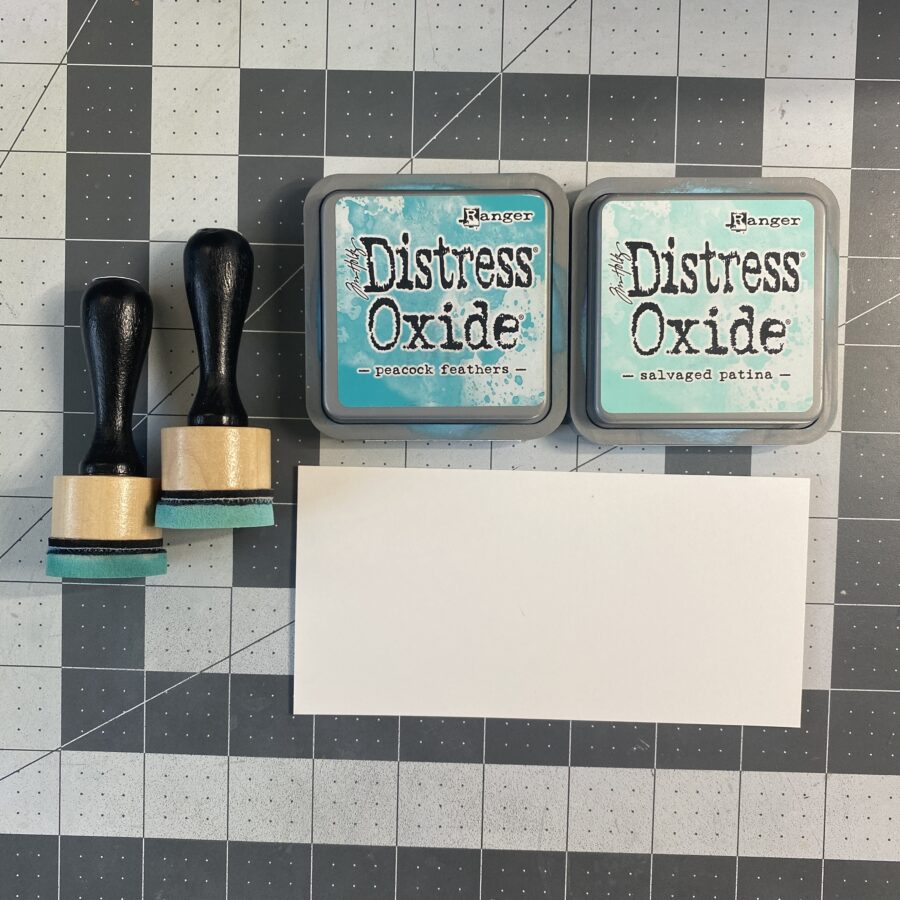
I started by blending up my sky background using 2 Distress Oxide Colors: Salvaged Patina & Peacock Feathers.
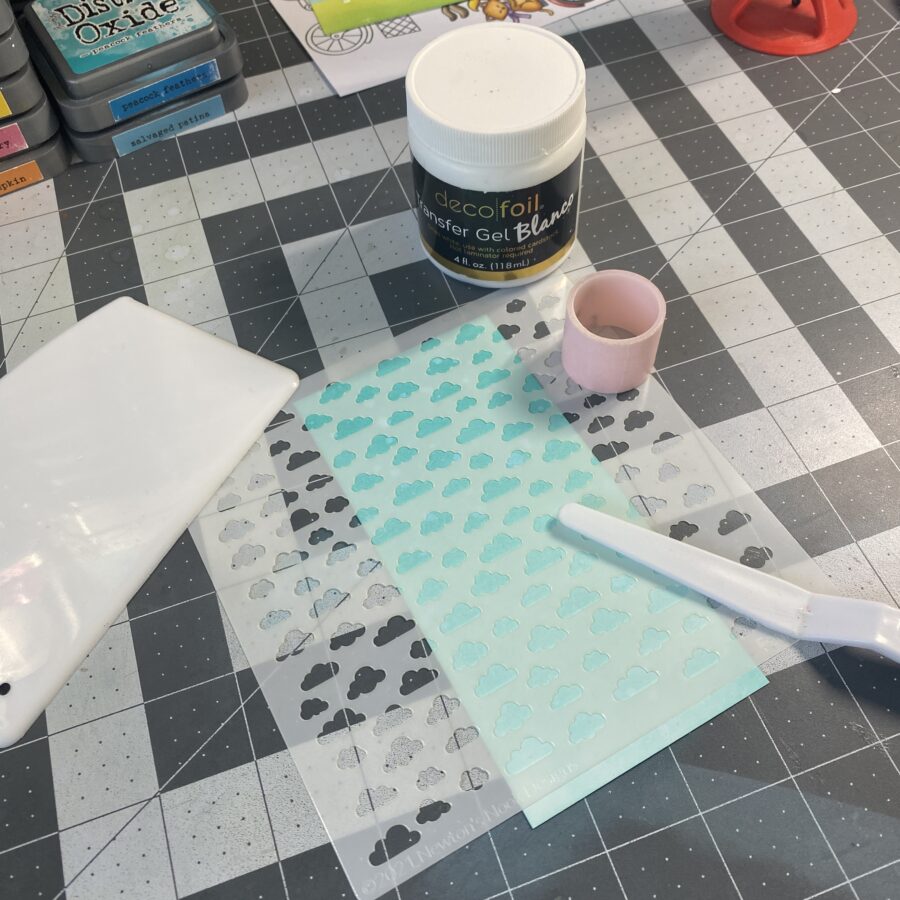
Once blended up, I placed my Petite Clouds Stencil over the panel, held it in place using Pixie Tape, and used my Stencil Pal to spread a solid layer of Deco Foil Transfer Gel Blanco.
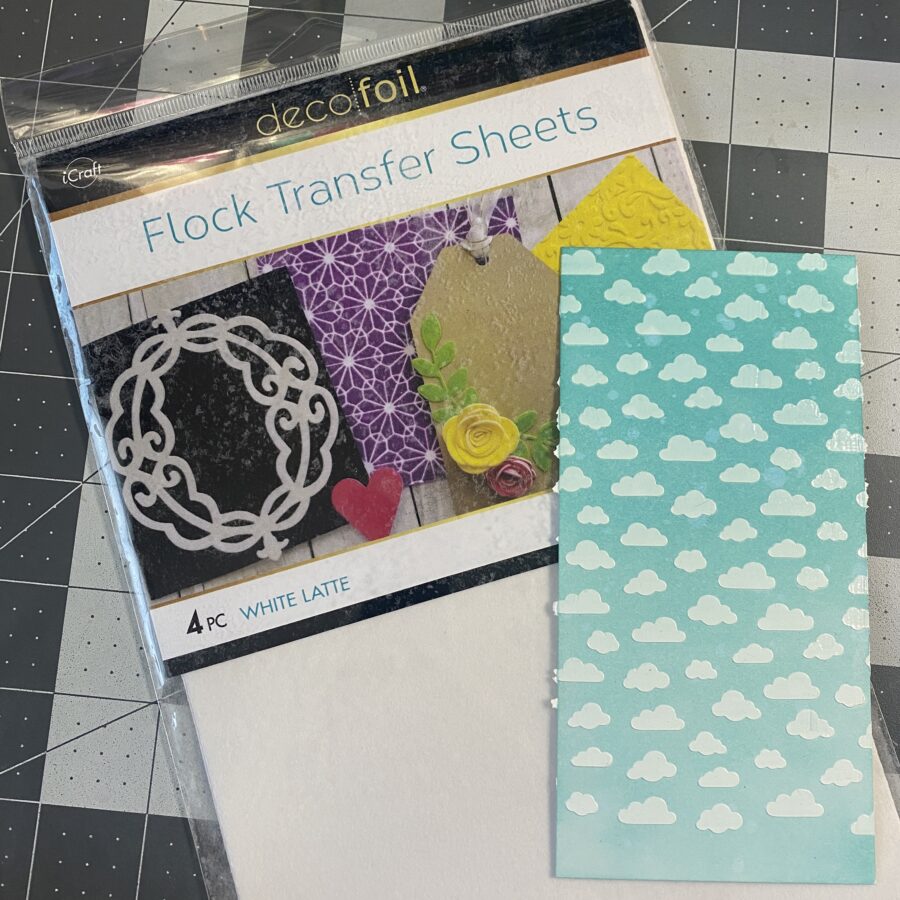
Once my Deco Foil Transfer Gel Blanco was dry, I used a White Latte Flock Transfer Sheet and processed the panel through my laminator to get white flocked clouds!
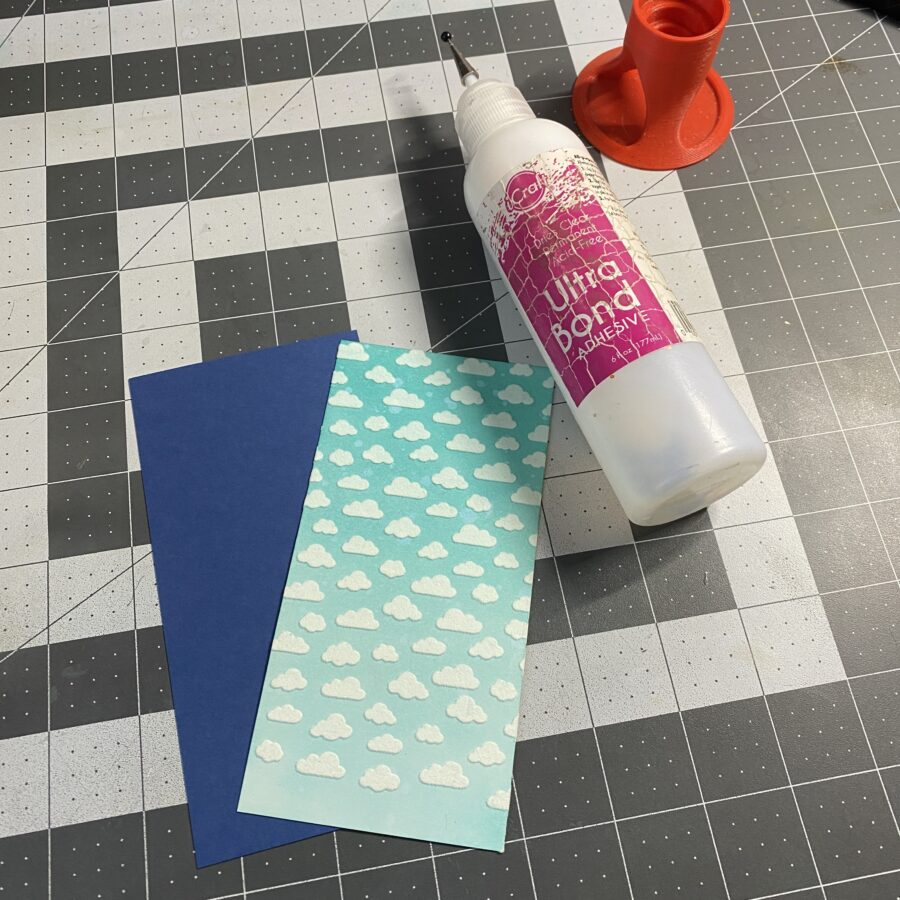
I adhered my mini-slimline panel to a blue piece of cardstock to act as a frame of sorts.
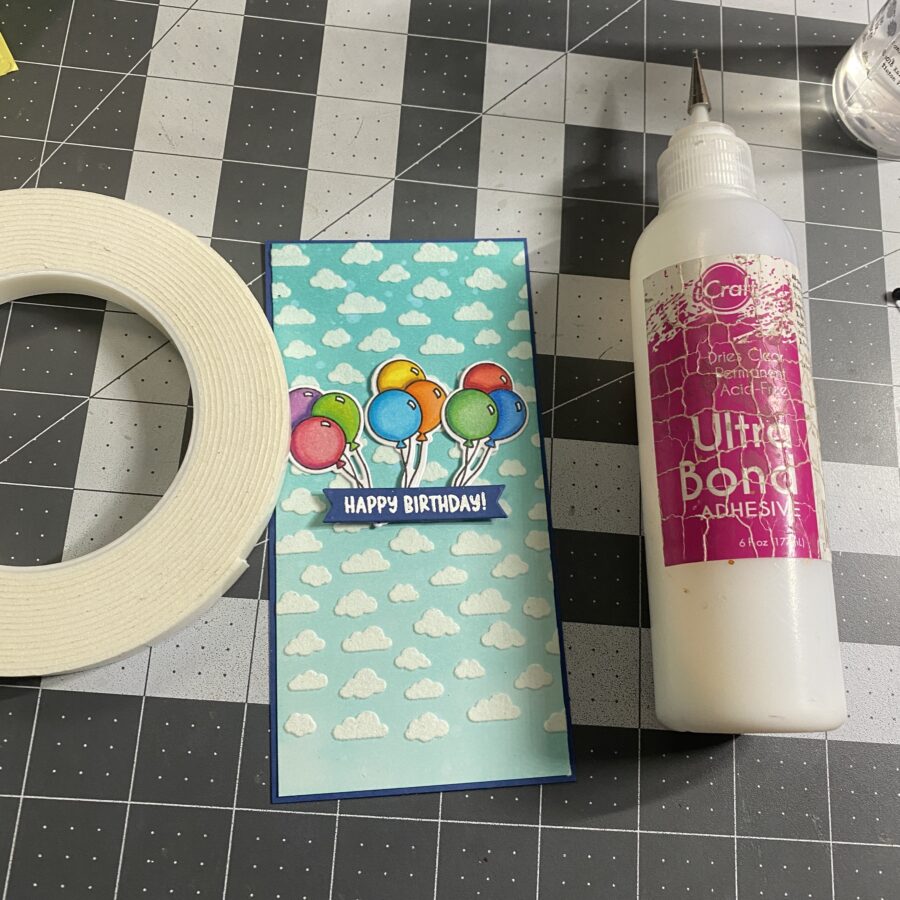
I finished off my card by adhering my colored up balloons, sentiment, and embellishments using a mix of both UltraBond Liquid Adhesive and iCraft 3D Foam Tape- 1/16″ in White!
Thank you so very much for stopping by the Therm O Web blog today! I hope you are loving our Newton’s Nook Collaboration week!
For more crafty inspiration, you can follow me on Instagram and check out my personal blog as well!
Thank you again for stopping by! Happy Crafting!
Justin

Be sure to get yourself entered to win by stepping through the giveaway software! And do be sure to stop by the Newton’s Nook blog all this week for more project ideas and chances to win!