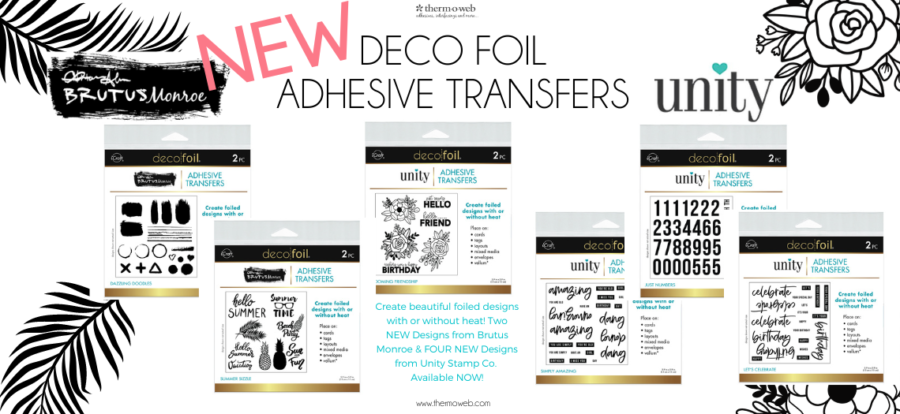
We’re back with SIX NEW Designs of our Adhesive Transfers from our friends at Brutus Monroe and Unity Stamp Co!
New Deco Foil Adhesive Transfers
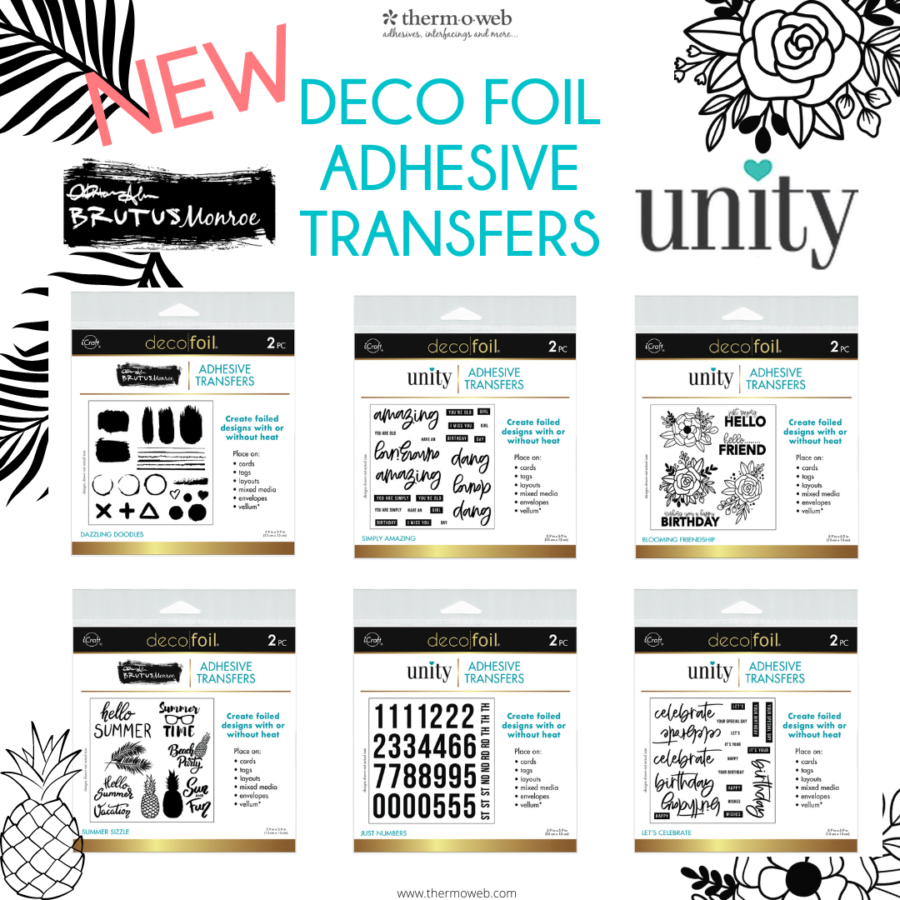
We’ve teamed up with our friends at both Brutus Monroe and Unity Stamp Co. to offer your six amazing NEW Adhesive Transfer designs.
We’re happy to share that for the first time we have Adhesive Transfers from Brutus Monroe in Dazzling Doodles and Summer Sizzle!! And to complement prior designs from our friends at Unity Stamp Co. we have Simply Amazing, Blooming Friendship, Just Numbers and Let’s Celebrate! Each pack comes with two full sheets of the designs as well! And available NOW for purchase on our website!
And as you might remember our Deco Foil Adhesive Transfers are unique in that they do not require heat for you to foil the designs.(although you can use your laminator for the same outstanding results) However, if you do not own a laminator, pressure will do the job just beautifully for you!
Simply select the design of your choice, remove it off the liner and place it onto your paper. Then run through a manual die-cut machine just for pressure to transfer the adhesive design. Next, remove the liner from the adhesive transfer and select a color of foil (always the hardest choice!) and lay the foil (dull side down) onto the design and again make a “sandwich” and run through your machine. Carefully remove the foil transfer sheet to reveal your foiled design! It’s that easy and the results…well see for yourself with today’s projects!
Take a moment to watch this helpful video on how to use our Deco Foil Adhesive Transfers!
Hello everyone!
This is Amanda from Twiddler’s Nook with a pair of cards to share with you featuring one of the new awesome Adhesive Transfers that are available! These products are so fun and versatile, but best of all SUPER easy to use!
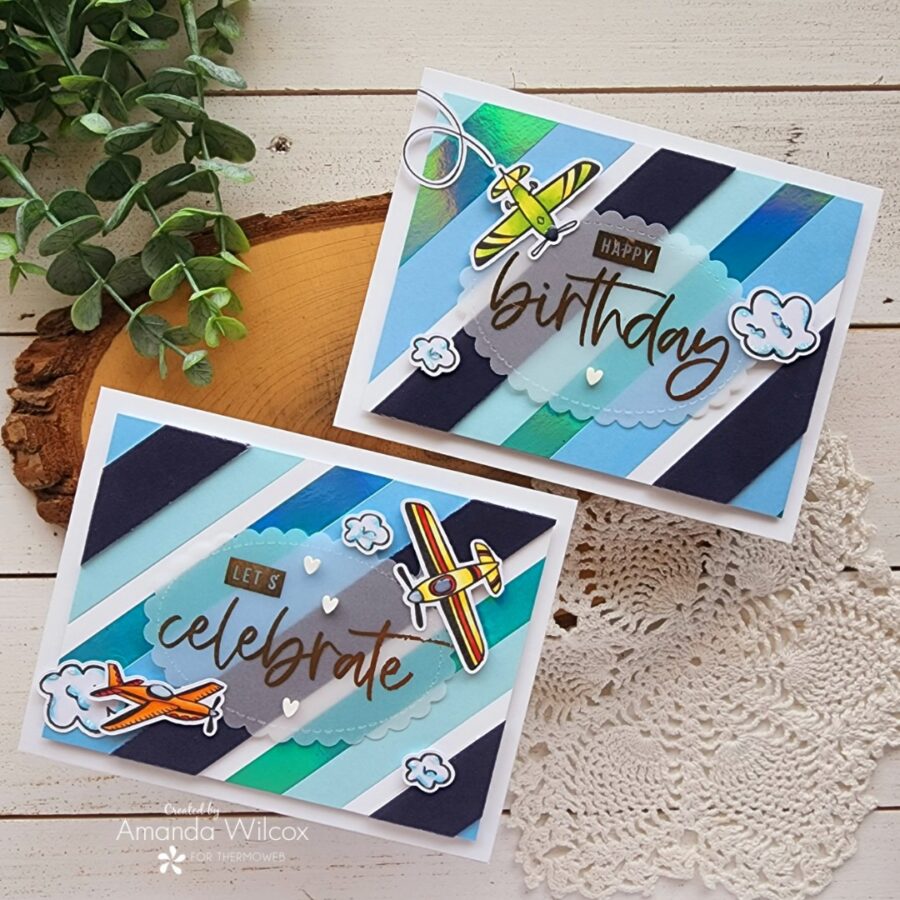
Products used today:
Unity Stamp Co Adhesive Transfers
Deco Foil – rose gold, glass slipper
Deco Foil Flock – midnight blue
Deco Foil Peel-n-Stick Toner Sheets
Deco Foil Foam Adhesive Sheets
Ultra Bond liquid glue pen
Foam tape and squares
Unity Stamp Co – Plane and Simple
Newton’s Nook Oval Frames dies
Twiddler’s Nook – sweethearts clay embellishments
Glossy accents
Stickles – star dust
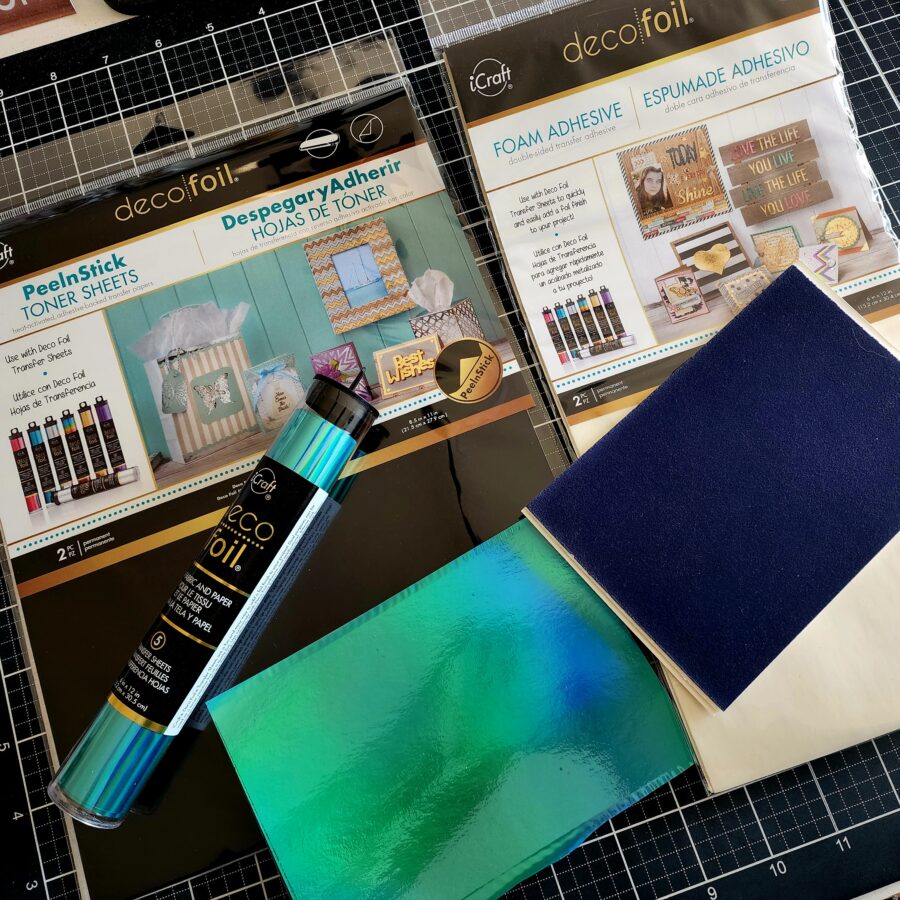
I created these cards simultaneously and started by creating the backgrounds first. I heated up the laminator and ran a strip of peel-n-stick toner sheets through with glass slipper deco foil. Then I applied a foam adhesive sheet to a strip of midnight blue deco foil flock. With these two sheets plus random blue and white scraps from my stash, I cut everything down into strips.
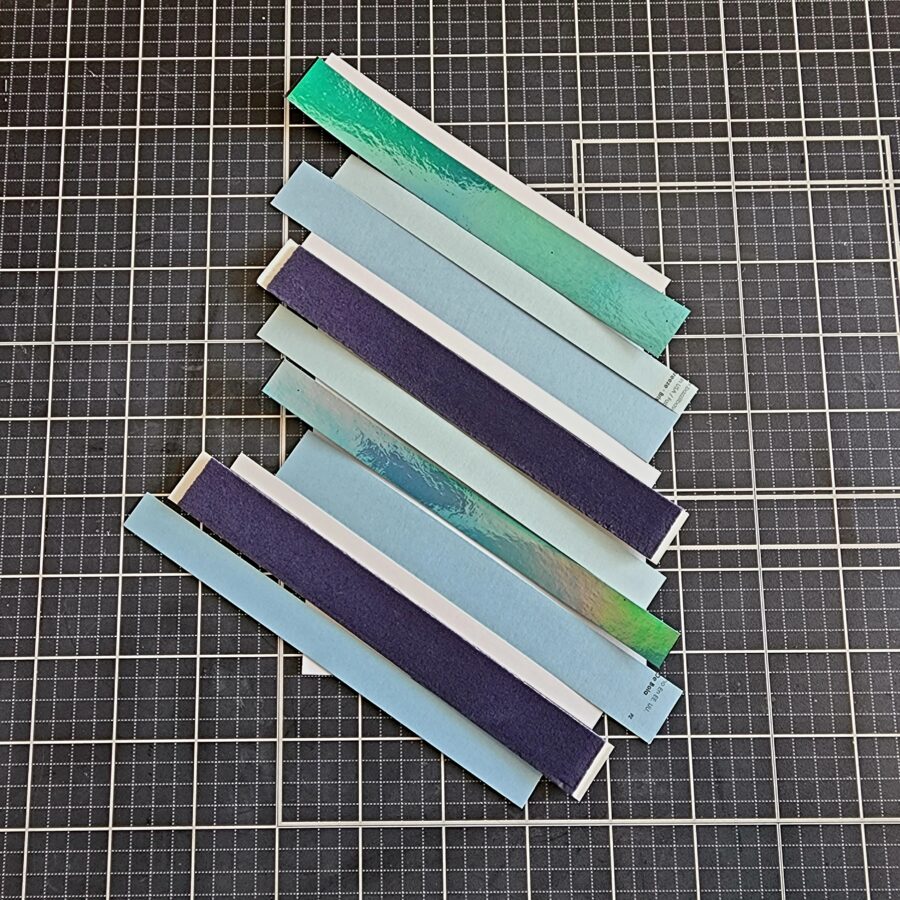
They range from 1/4″ to a couple 1″ widths. Then I took a piece of copy paper, cut it into a quarter sheet and started adhering my strips to the paper. Once two sheets were covered, I trimmed the edges and then trimmed both panels down to 3.75×5 inches.
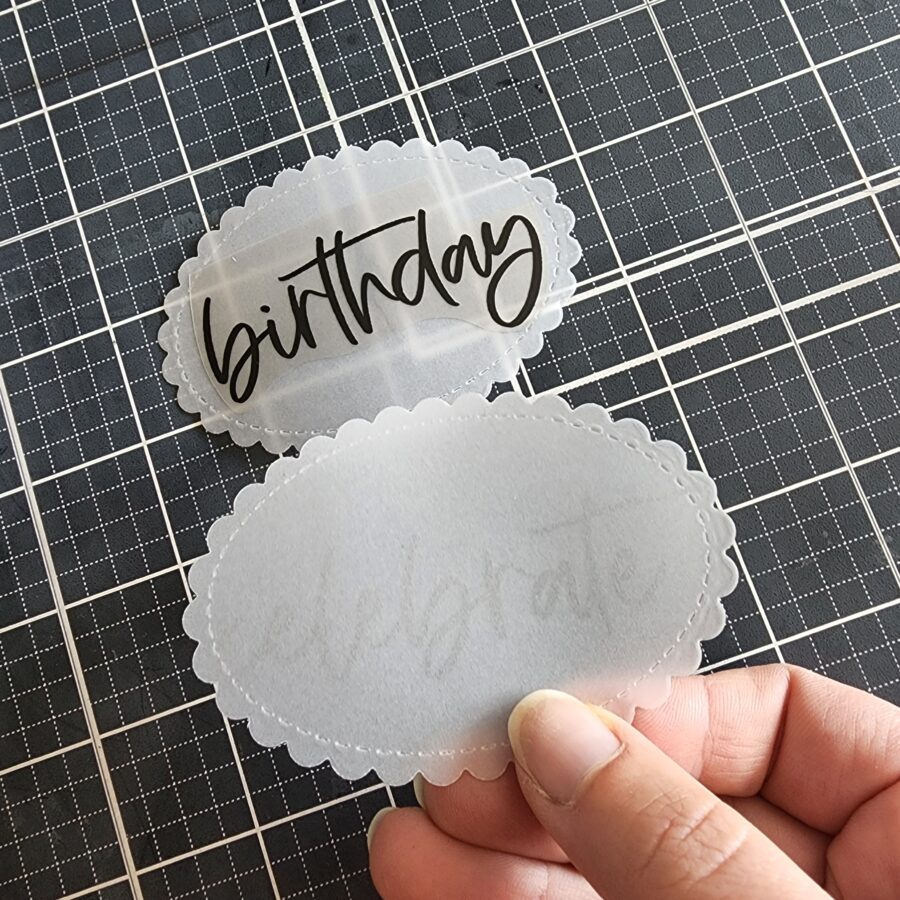
Now for the adhesive transfer sentiments! I die-cut two scalloped ovals from vellum and also trimmed out the sentiments that I wanted to use on my cards. To use these transfers, remove the thin backing from the transfer and place it on your paper where you want it. Run it through your laminator or die-cut machine and peel off the top. In this photo you can see the one in the background still has the transfer sheet on top but the one in my hand doesn’t. See the slight shadow of the adhesive on the vellum?
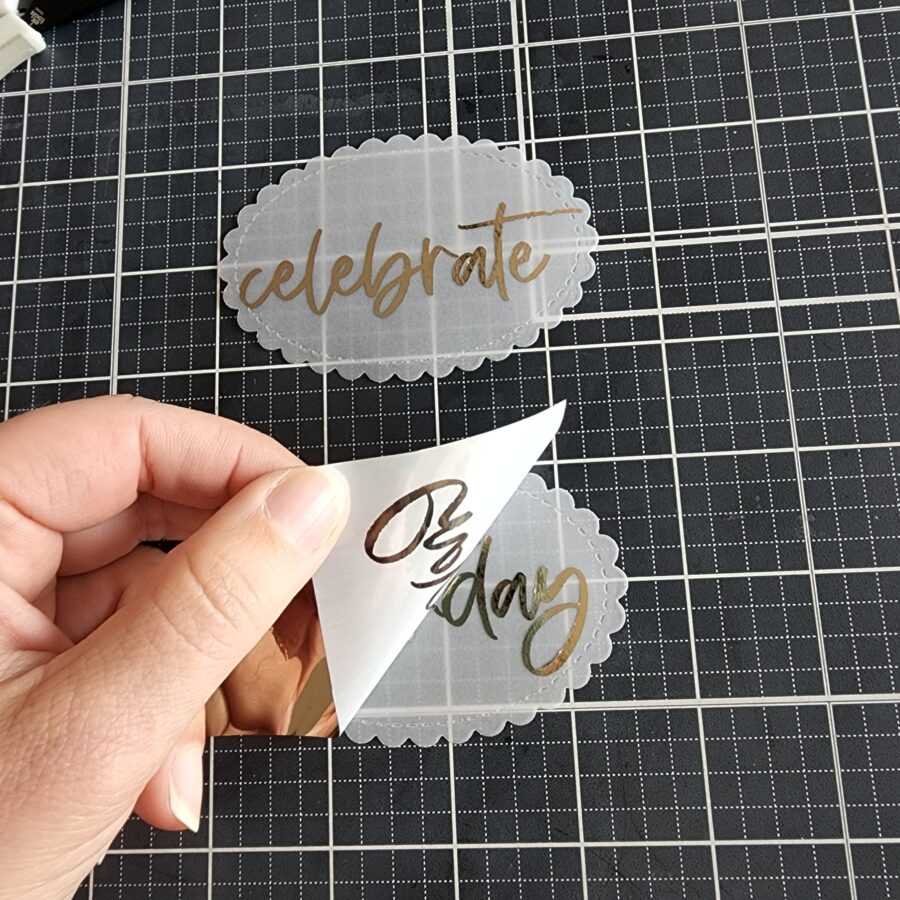
Next, you cut pieces of deco foil and lay them over the adhesive areas. Run them through the die cutter or laminator again and peel off the foil. Totally magical every time! Since my sentiments had two parts and I wanted them close together, I just repeated the same steps again adding the rest the second time around.
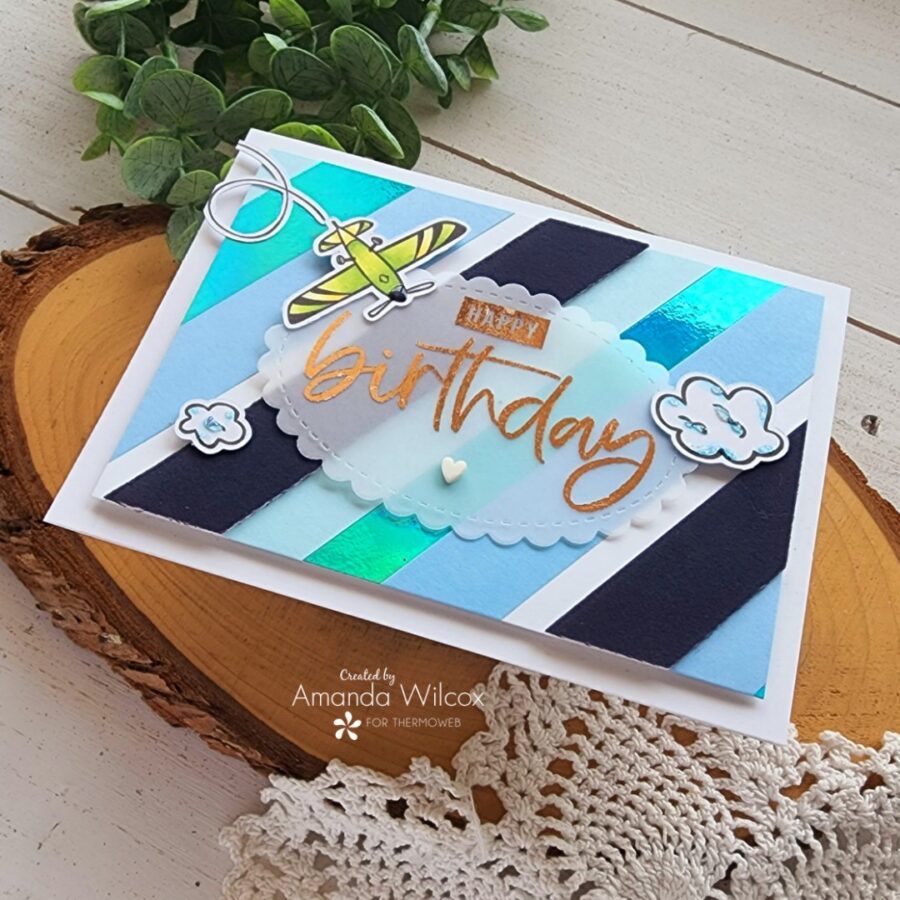
Next, I chose images from Unity Stamp Co Plane and Simple, stamped and colored them with Copic markers and used my scan-n-cut to cut them out. I arranged the images between the two cards and started adhering everything with foam squares and liquid glue.
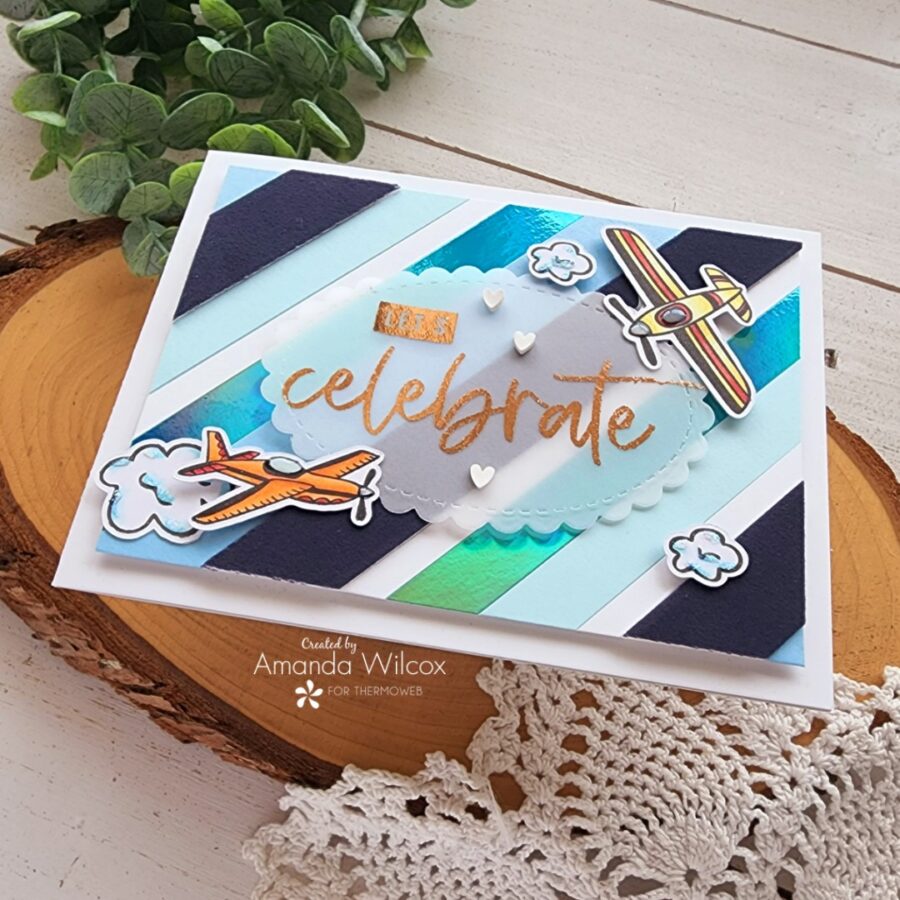
I overlapped images on both cards with the vellum ovals because this is where I hid the adhesive to attach that portion to my card front.
To finish both cards off, I added glossy accents to the cockpits and noses of these planes and then stardust Stickles to the clouds on both cards. Then I added a few white clay hearts from Twiddler’s Nook.
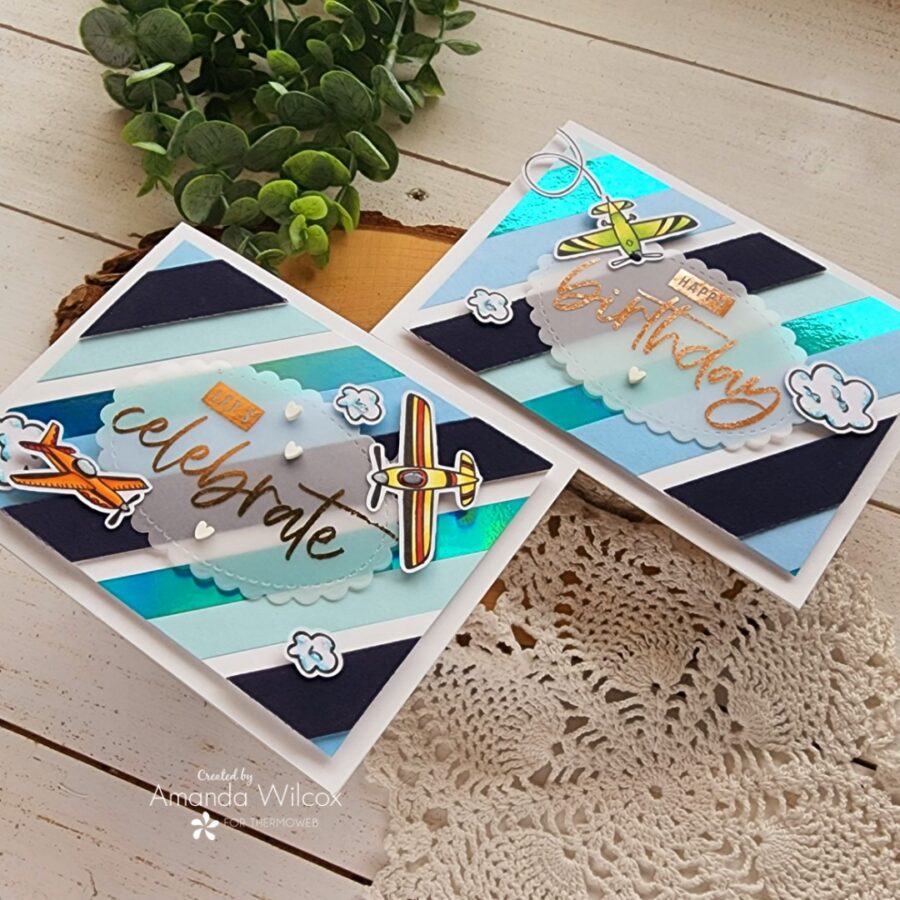
I hope you enjoyed today’s projects. Be sure to take a moment to check out the new release and give these fun transfers a try.
I appreciate you sharing your time with me. Have a fabulous day!
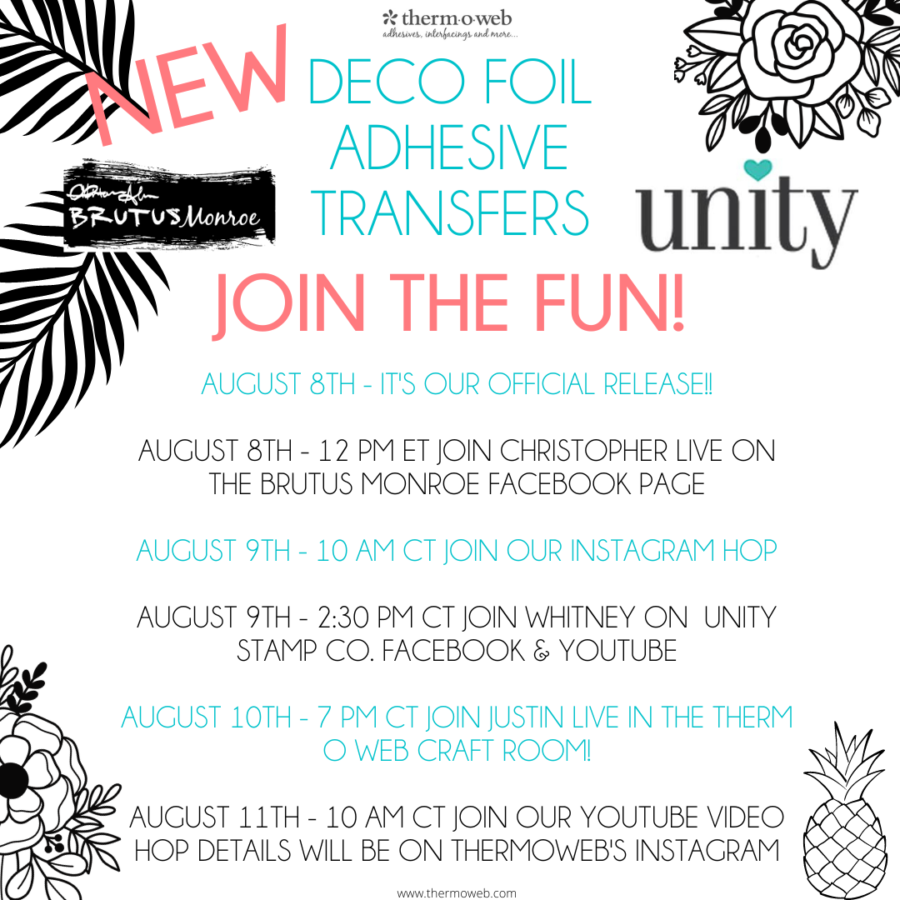
Be sure to join us all this week along with our friends at Brutus Monroe and Unity Stamp Co. for a full week of fun, ideas, hops and much more! Make a note on your phone or calendar as we’ve got a full lineup of events for you starting off today with a Live at Noon ET (11 am CT) with Christopher from Brutus Monroe on the Brutus Monroe Facebook Page! Don’t miss it!


Denise Bryant
August 14, 2022 at 12:42 am (3 years ago)What a great card! I love it!