


 Hi hi!! It’s Katrina from Paper, Scissors, Glue and Hybrid Too here on the blog today! I have a layout to share using Deco Foil Flock AND Foil Transfer Sheets together, along with some fun Newton’s Nook stamps, dies, and stencils!
Therm O Web Supplies Used
Memory Runner XL
Memory Runner XL Refill
3D Foam Squares – Combo Pack
Pixie Spray
Deco Foil White Card Front – Lots of Dots
Deco Foil Transfer Sheets-Pink Melon
Deco Foil Foil Transfer Sheets-Summer Rainbow
Deco Foil Foil Flock Transfer Sheets-Sunshine Yellow
Deco Foil Transfer Gel Duo
Purple Tape-1/2 inch
Ultra Bond Liquid Adhesive
ZOTS Clear Adhesive Dots Small Singles-125 pk
ZOTS Clear Adhesive Dots Small Box-300 pk
Gina K Designs Foam Tape – White
Gina K Designs Foam Squares-White
Other Supplies Used
Newton’s Nook Fancy Edges Tag Die Set
Newton’s Nook Bokeh Stencil Set
Newton’s Nook Walking Woofs Stamp Set
Newton’s Nook Walking Woofs Die Set
Catherine Pooler Blender Brush 4pk
Catherine Pooler Ink-Limoncello
Catherine Pooler Ink-Party Dress
PinkFresh Keeping It Real Collection
American Crafts White Cardstock
Zig Clean Color Real Brush Markers
Scrapbook Layout Details
Apply Deco Foil DUO through the Stencil
The Bokeh stencil set was calling my name, so I knew the layout focus had to be on that. It’s a layering stencil set and I had a plan. I wasn’t sure it was going to work, but I wanted to try to use flock for one layer and then foil for the other layer.
I started with the first layer and used the #1 stencil twice across the page fully and then a little on the edge. I sprayed the stencil with Pixie Spray before laying it down on my cardstock. Once I had the stencil stuck down, I used the Deco Foil Transfer Gel Duo as my medium for my stencil work. 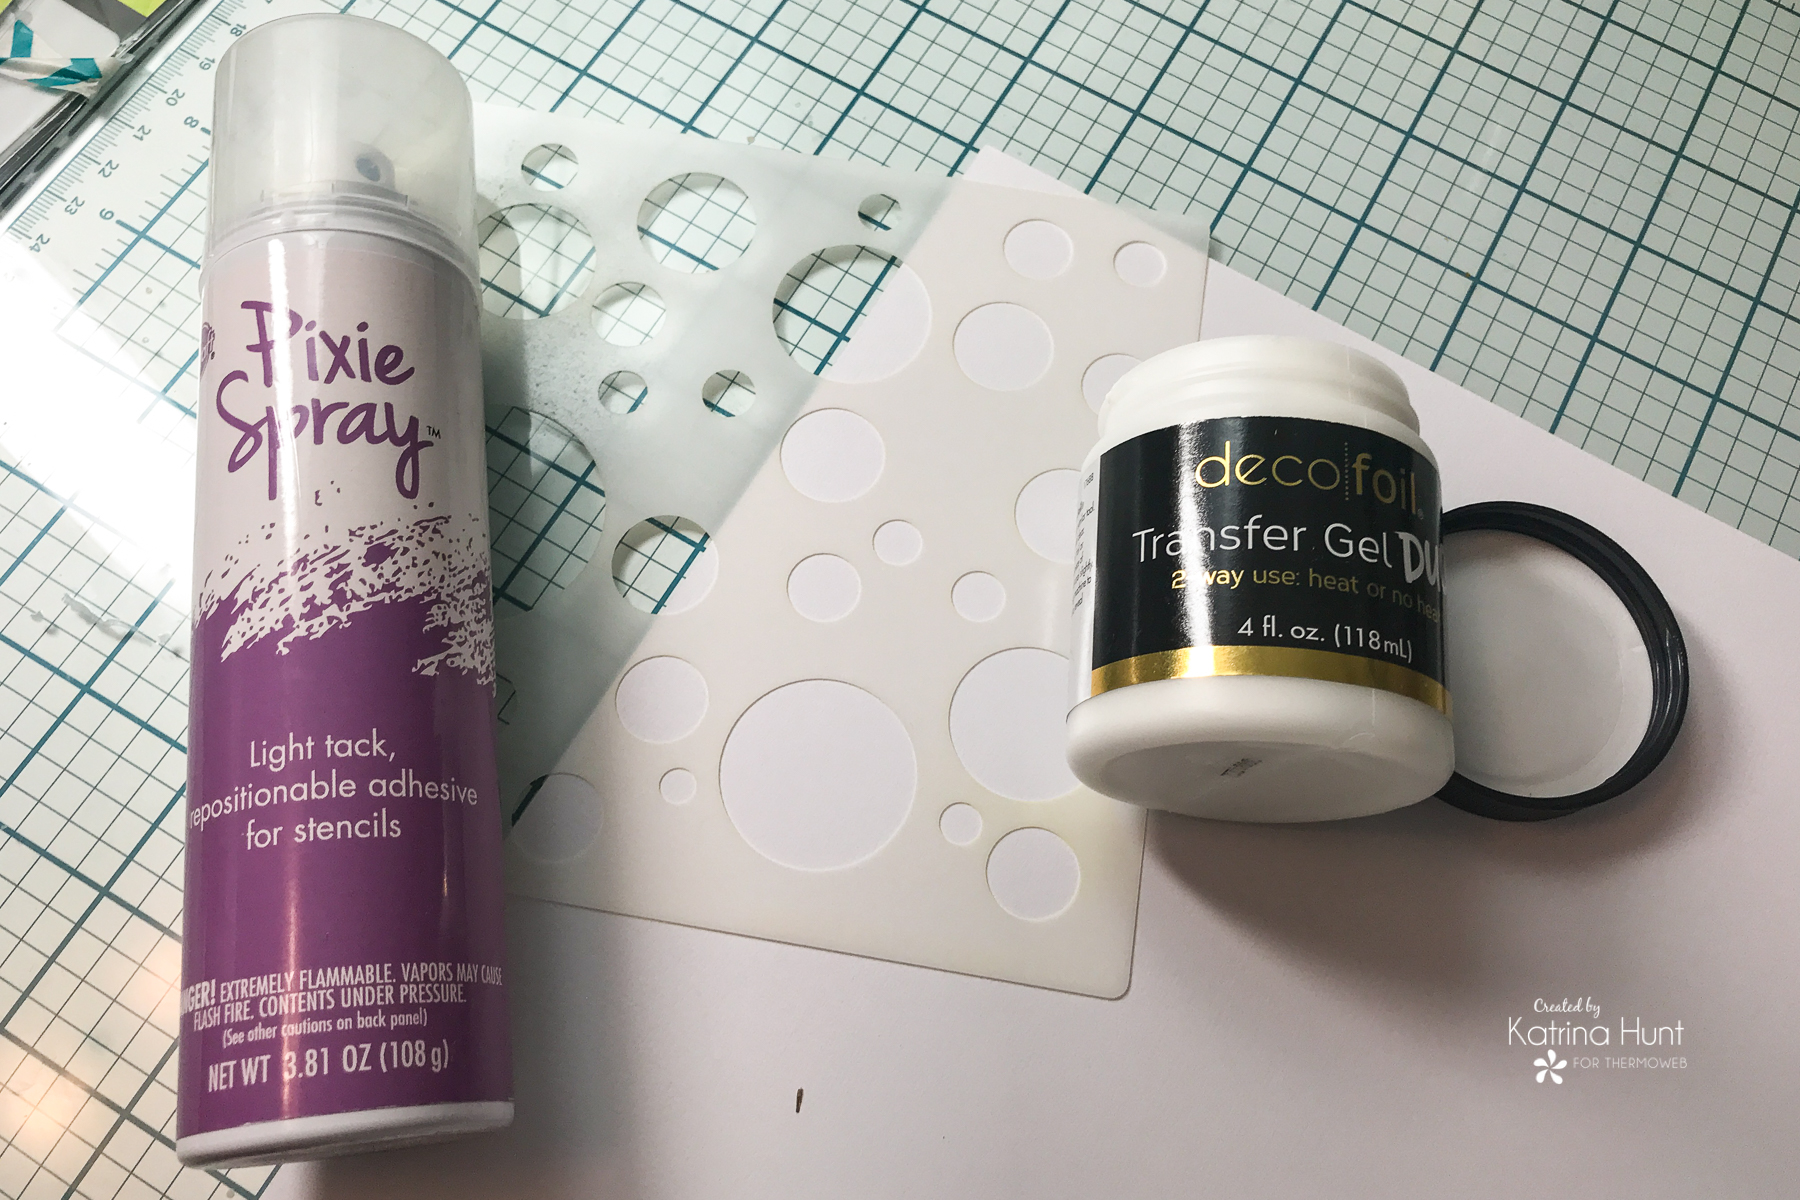
Covering edges to try to keep it as clean as possible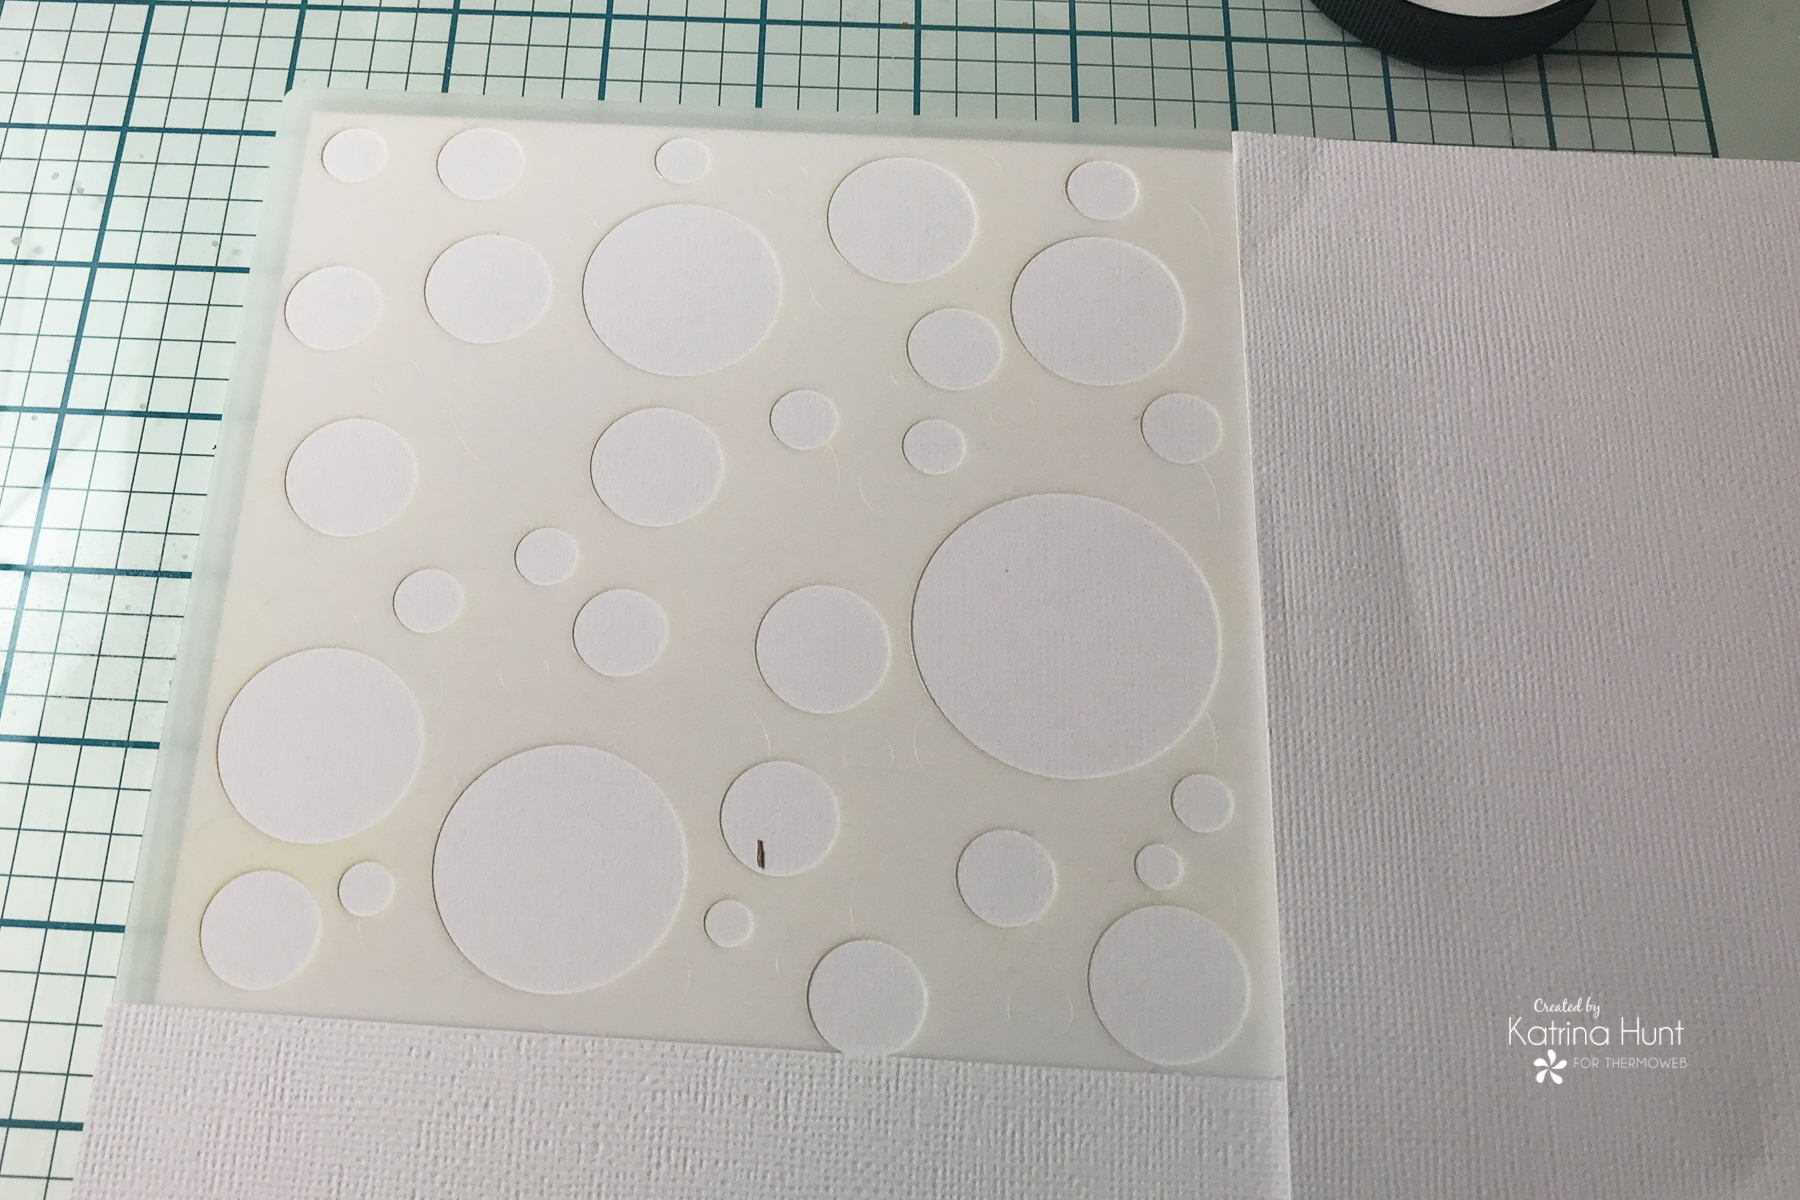
After the second use of the stencil and working on the very edge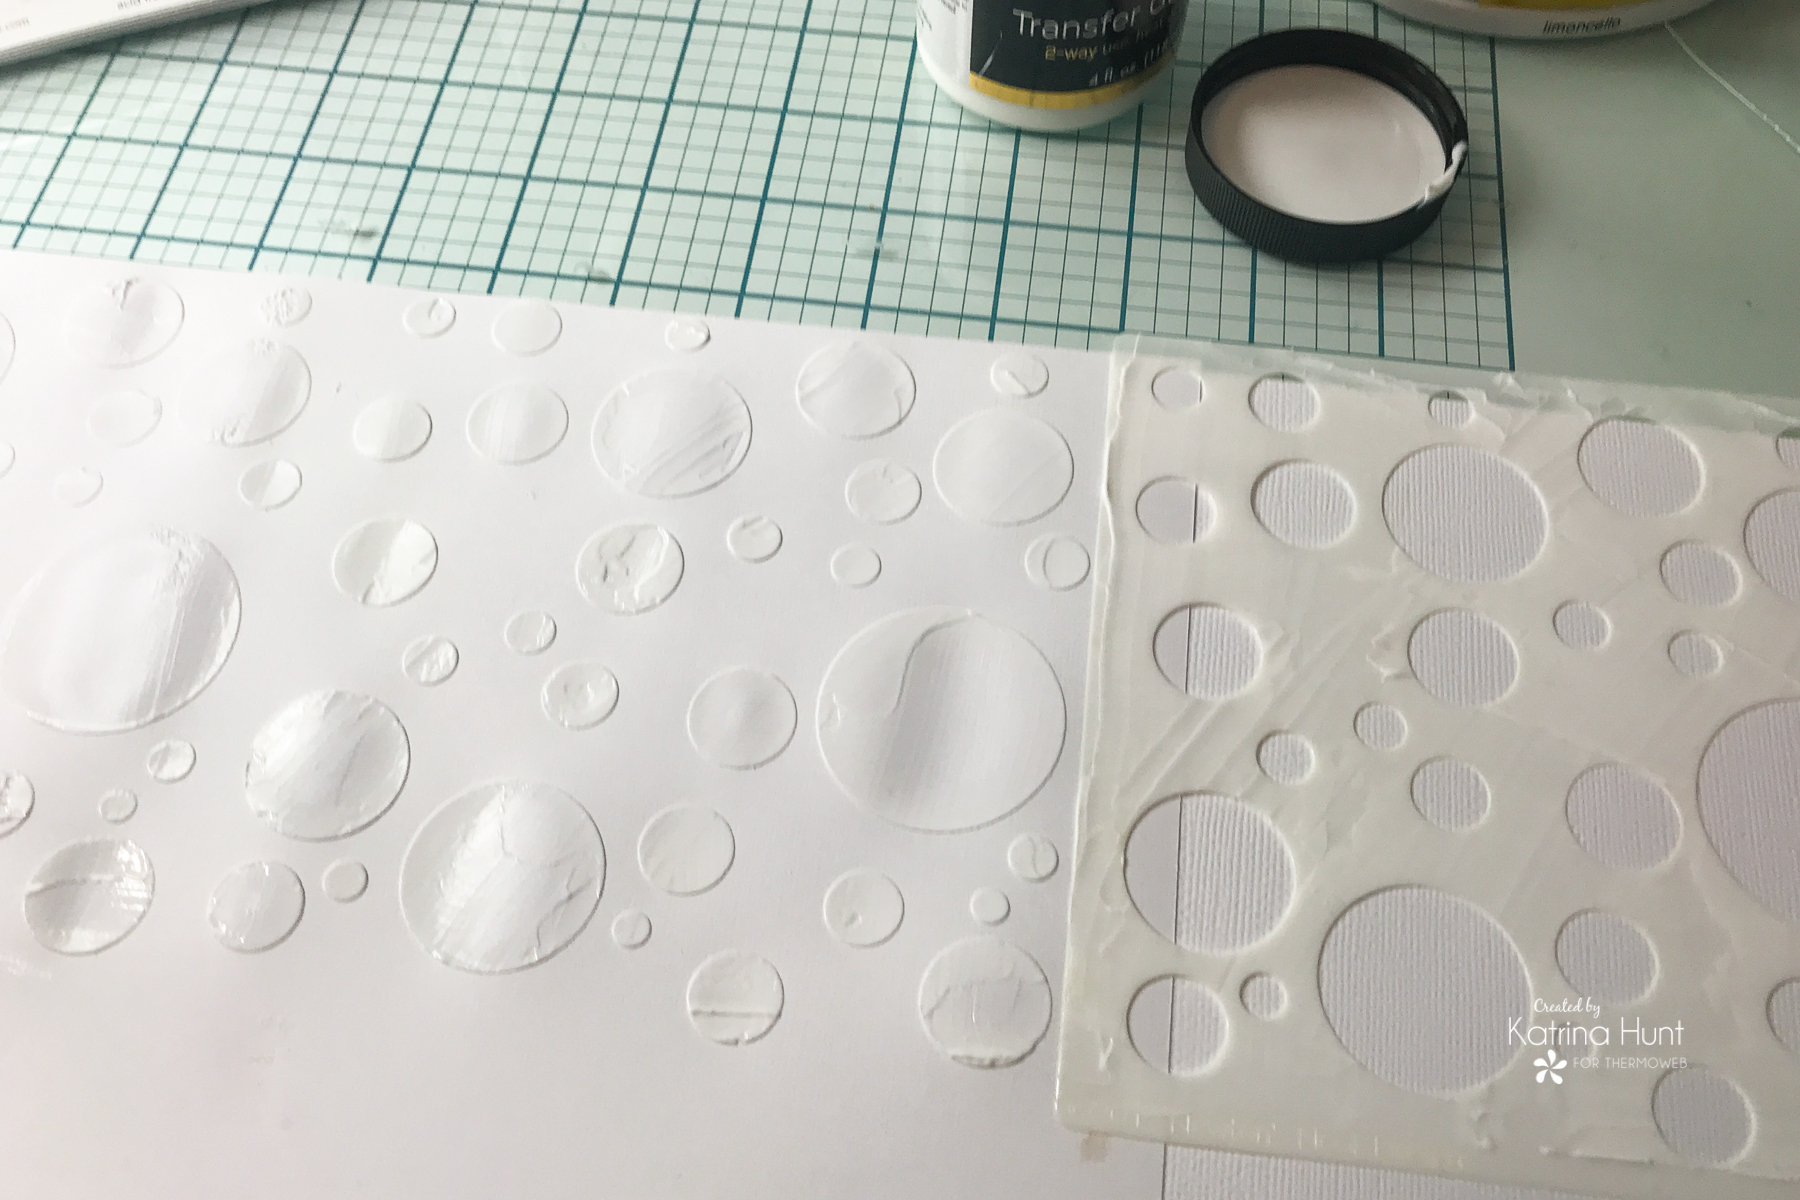
I used that extra piece of paper on the side, so I wouldn’t get transfer gel everywhere!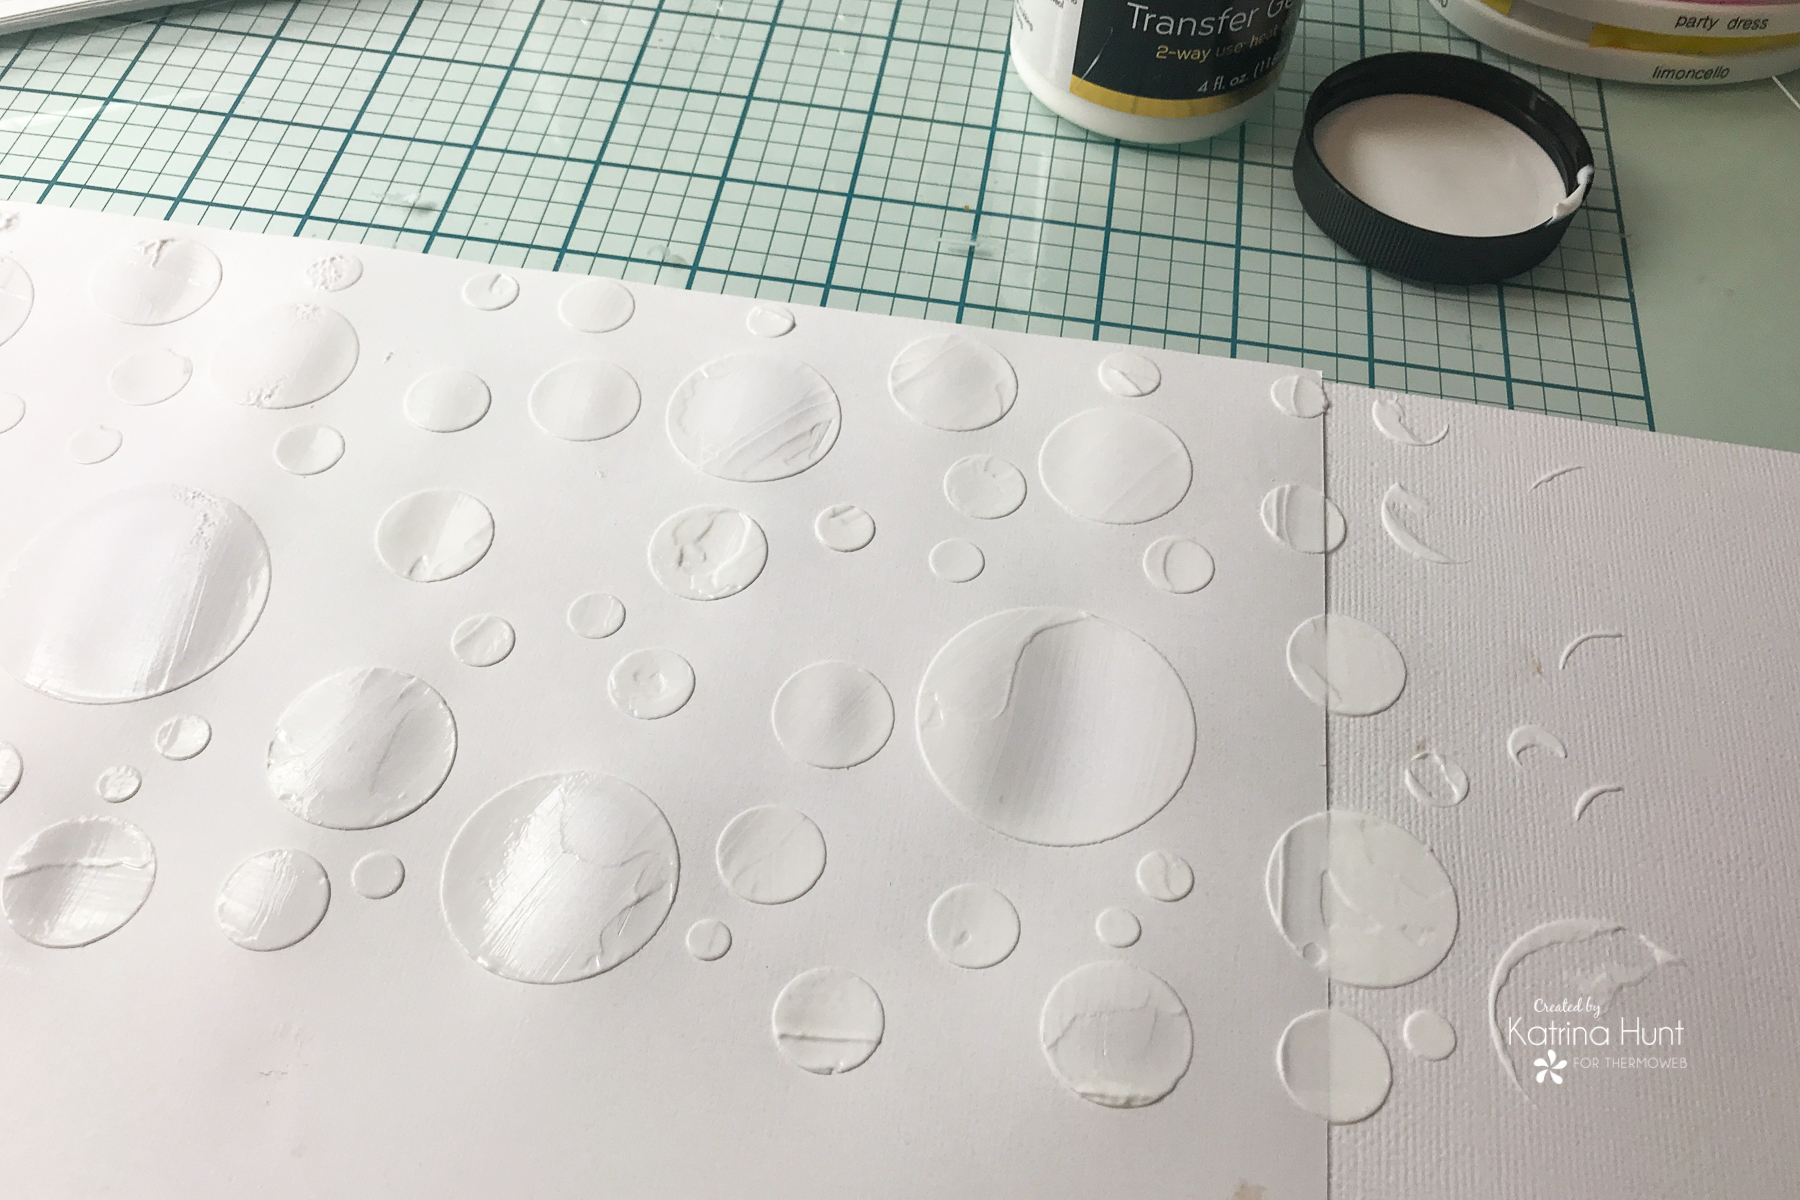
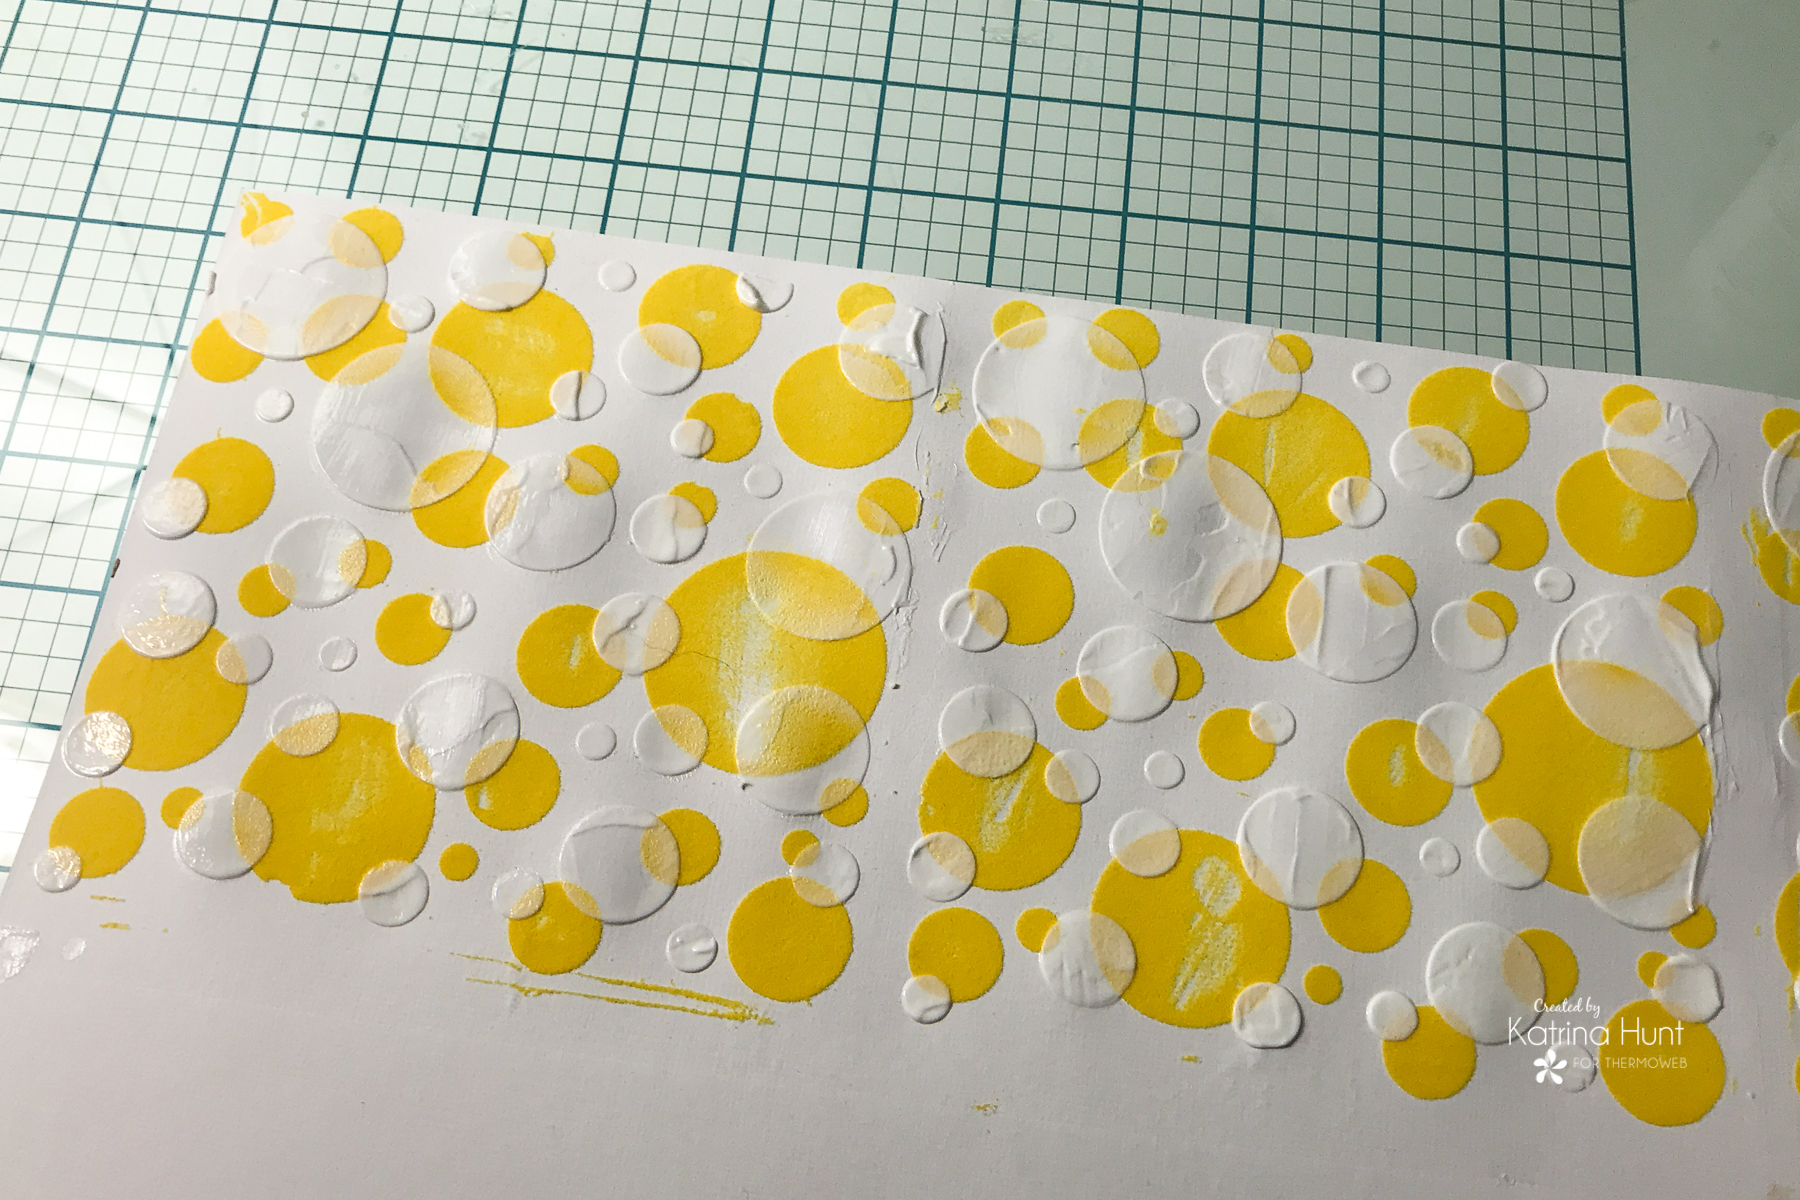
Let Dry and Apply Deco Foil Flock
After I let this dry (overnight, but I had other things to do) I then applied the Deco Foil Flock in Sunshine Yellow and ran the piece thru my laminator to transfer the flock. As soon as this was done, it was time to move to layer #2.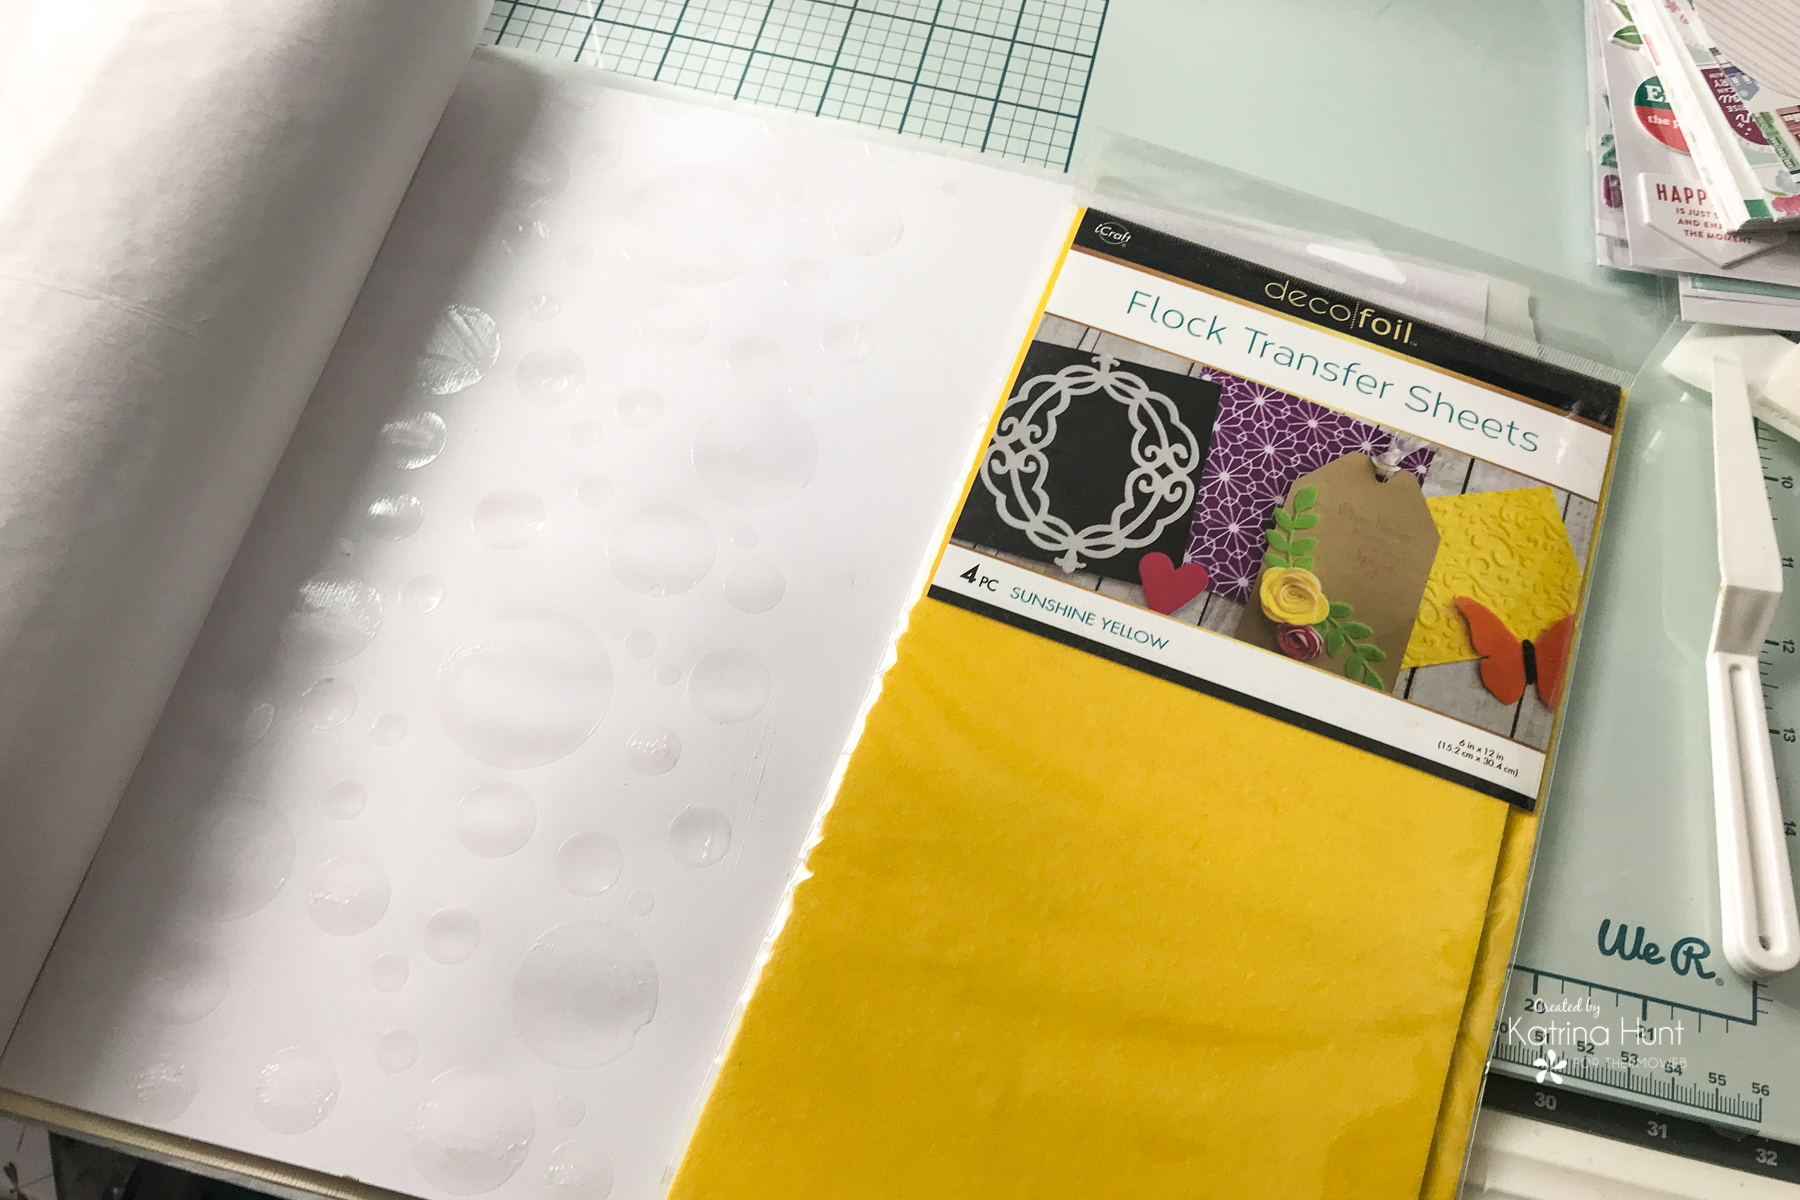
Add Another Layout of Deco Foil DUO
The second-layer stencil has etchings to line up with the circles from the first stencil. The first picture is lined up and if you look closely you can see little etched lines on the stencil. Just make sure to have the wording on the stencil turned the same way as the first stencil was. The second picture shows the second layer of Transfer Gel Duo that I applied. 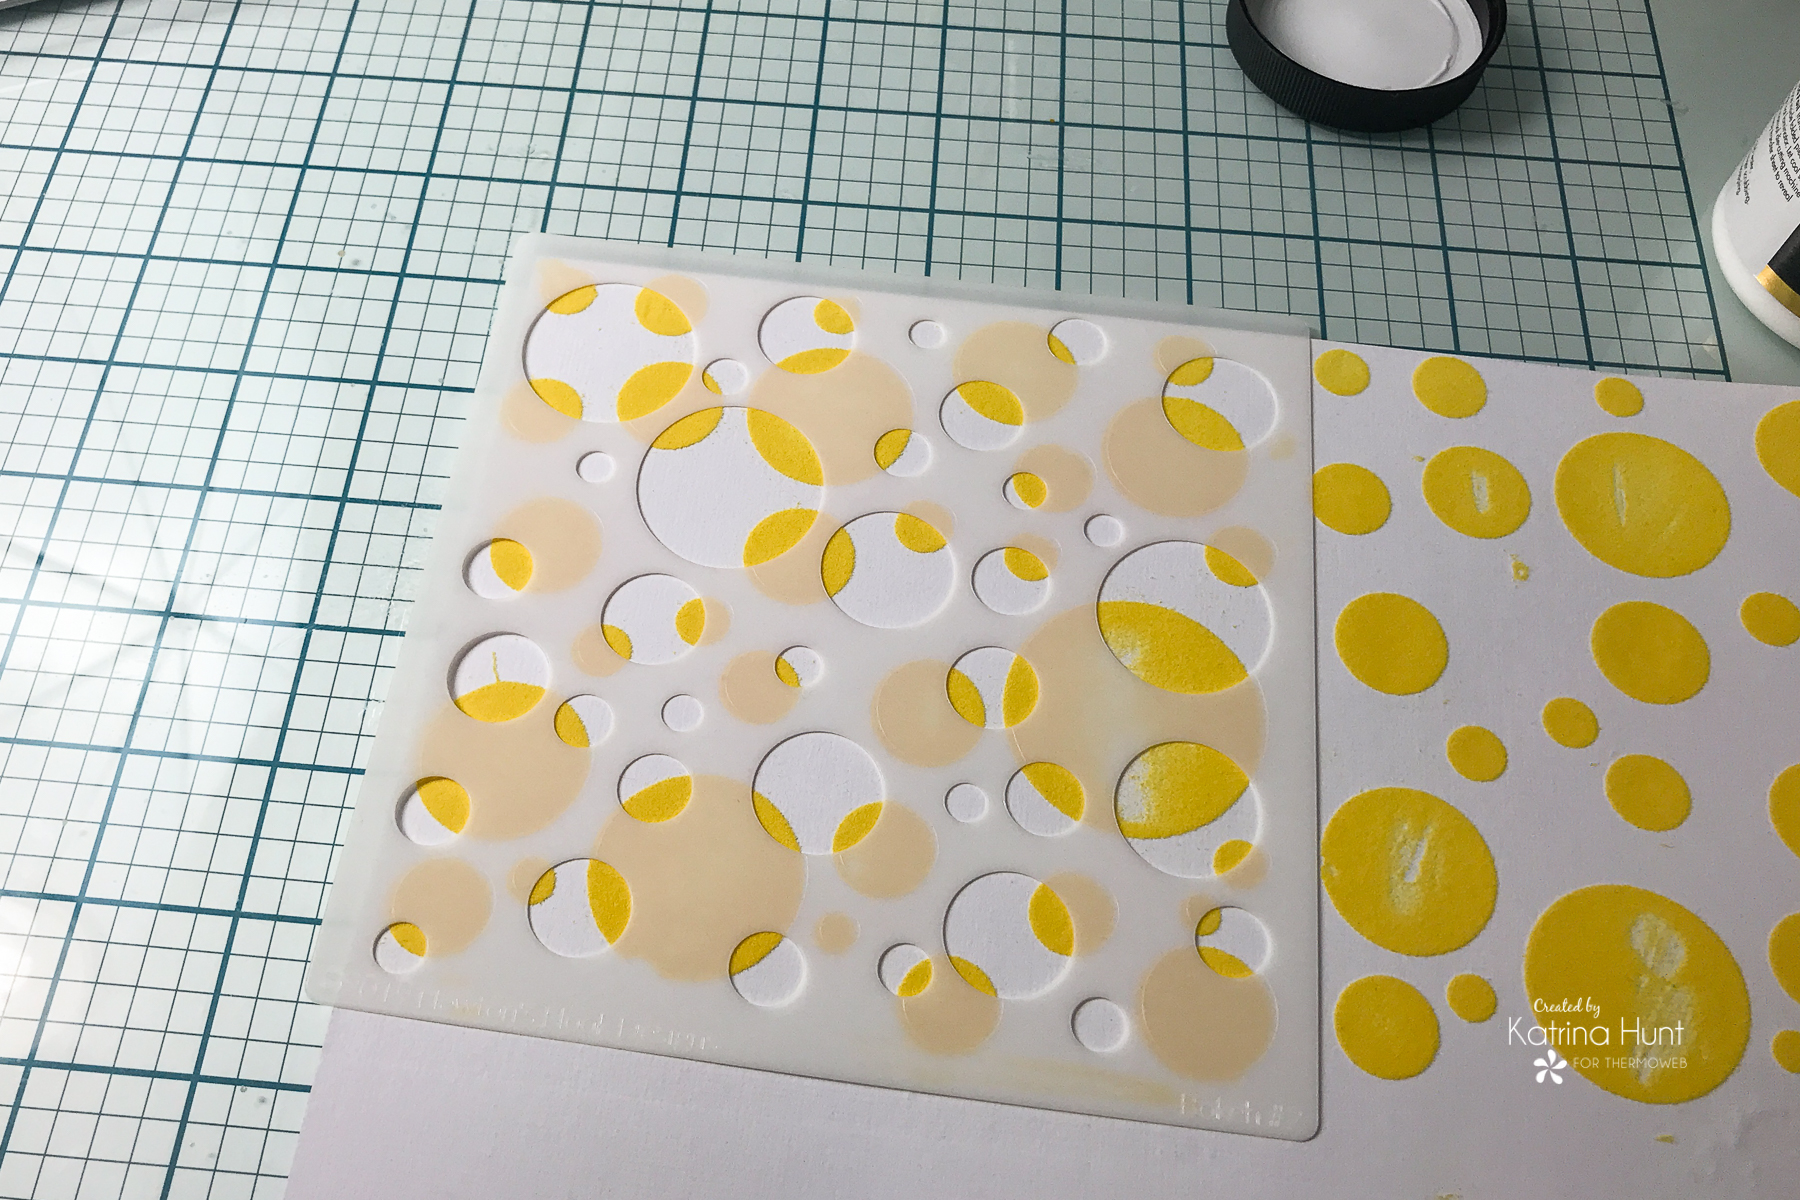
Apply the Deco Foil with a Laminator
Once dry, it was time to foil. I had a hard time deciding between the pink foil colors, but Pink Melon is one of my favorites, so it won! 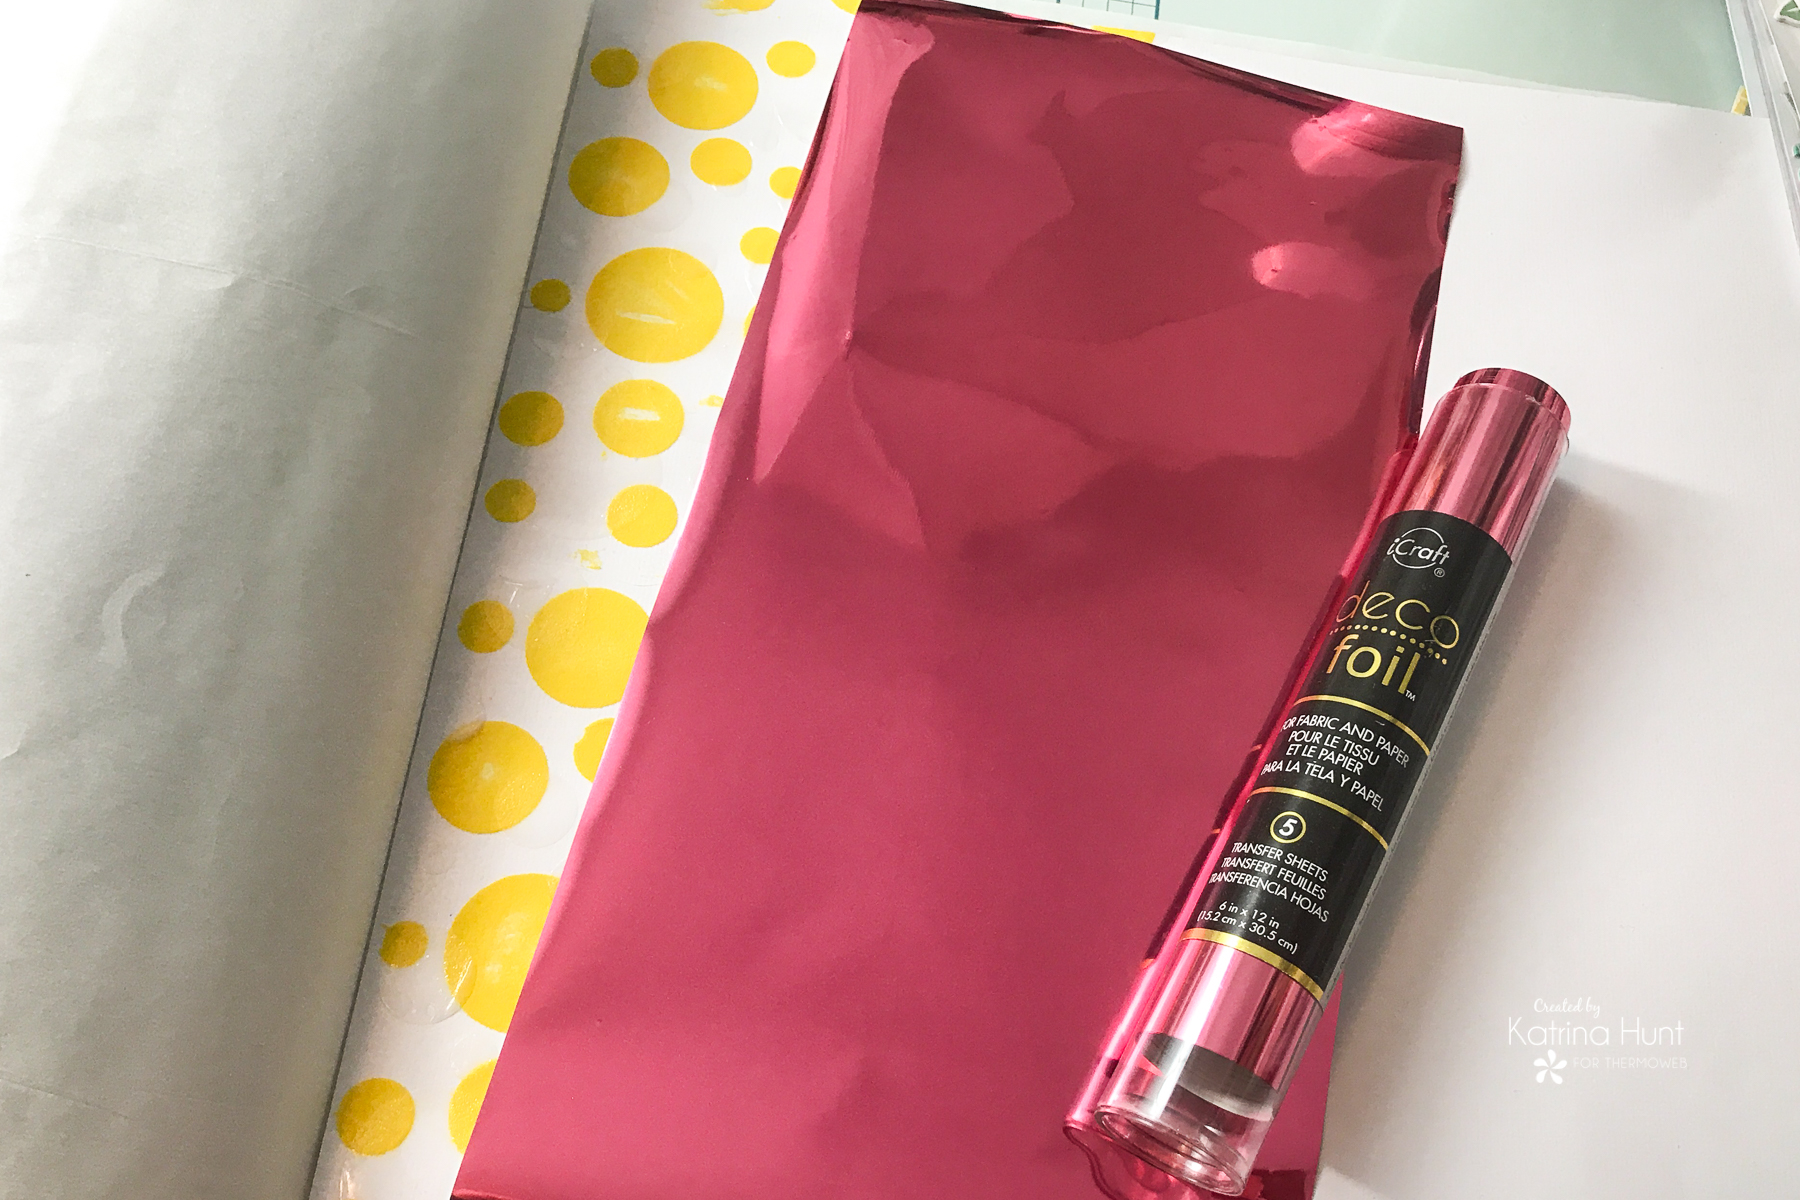
And here is the result! Note, it’s messy and I don’t like messy. So I remembered that if you get little flecks of foil in an area you don’t want it in, you can use an adhesive eraser to take it off. So, I grabbed mine and went to work. It did take a little time, but I was able to remove everything that I wanted to. This includes foil on the flocked areas. I just went slowly and gently, making sure to keep the eraser tip clean. The flock did NOT come up. If I hit an area of foil that I didn’t mean to, I fixed that by manually rubbing some foil back on and it looked great! 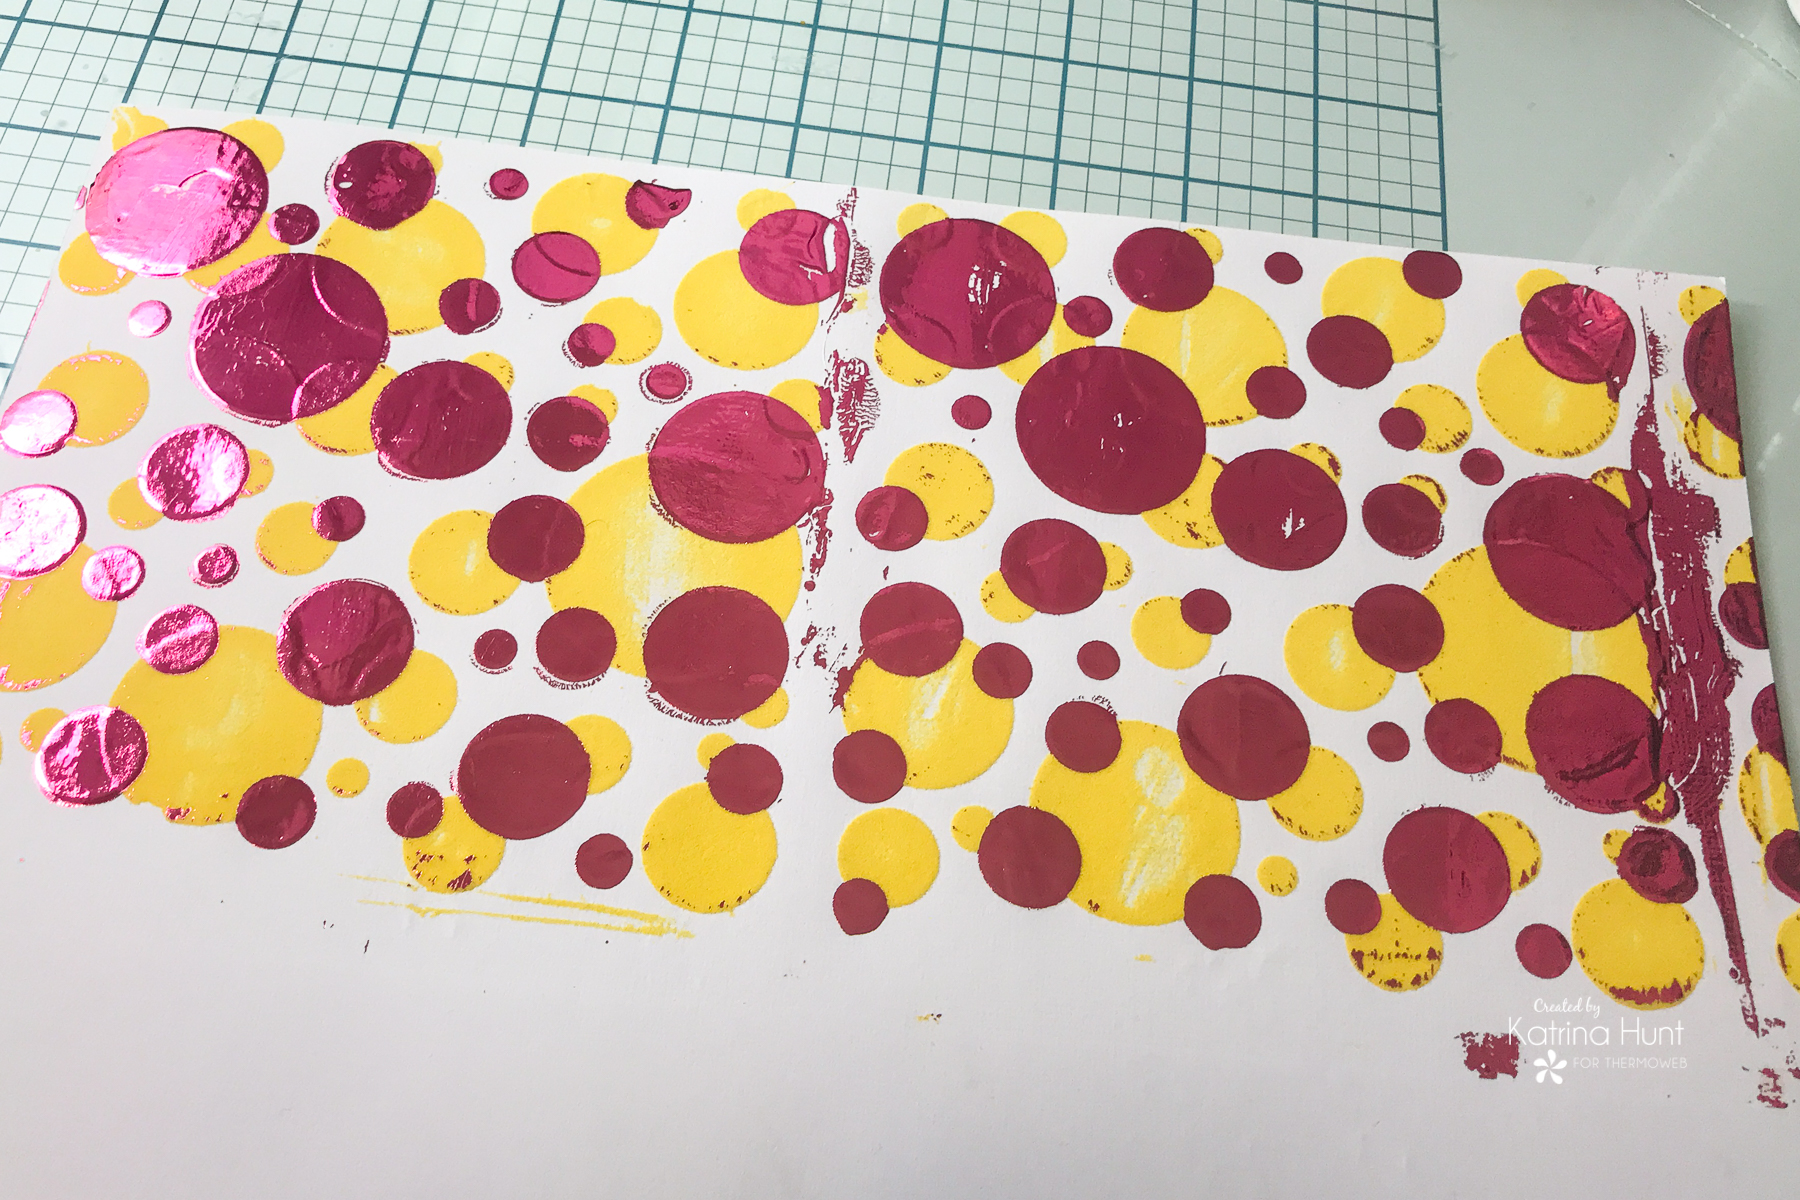
After my date with the adhesive eraser, amazing right?! My paper was fine and I am glad I remembered the trick!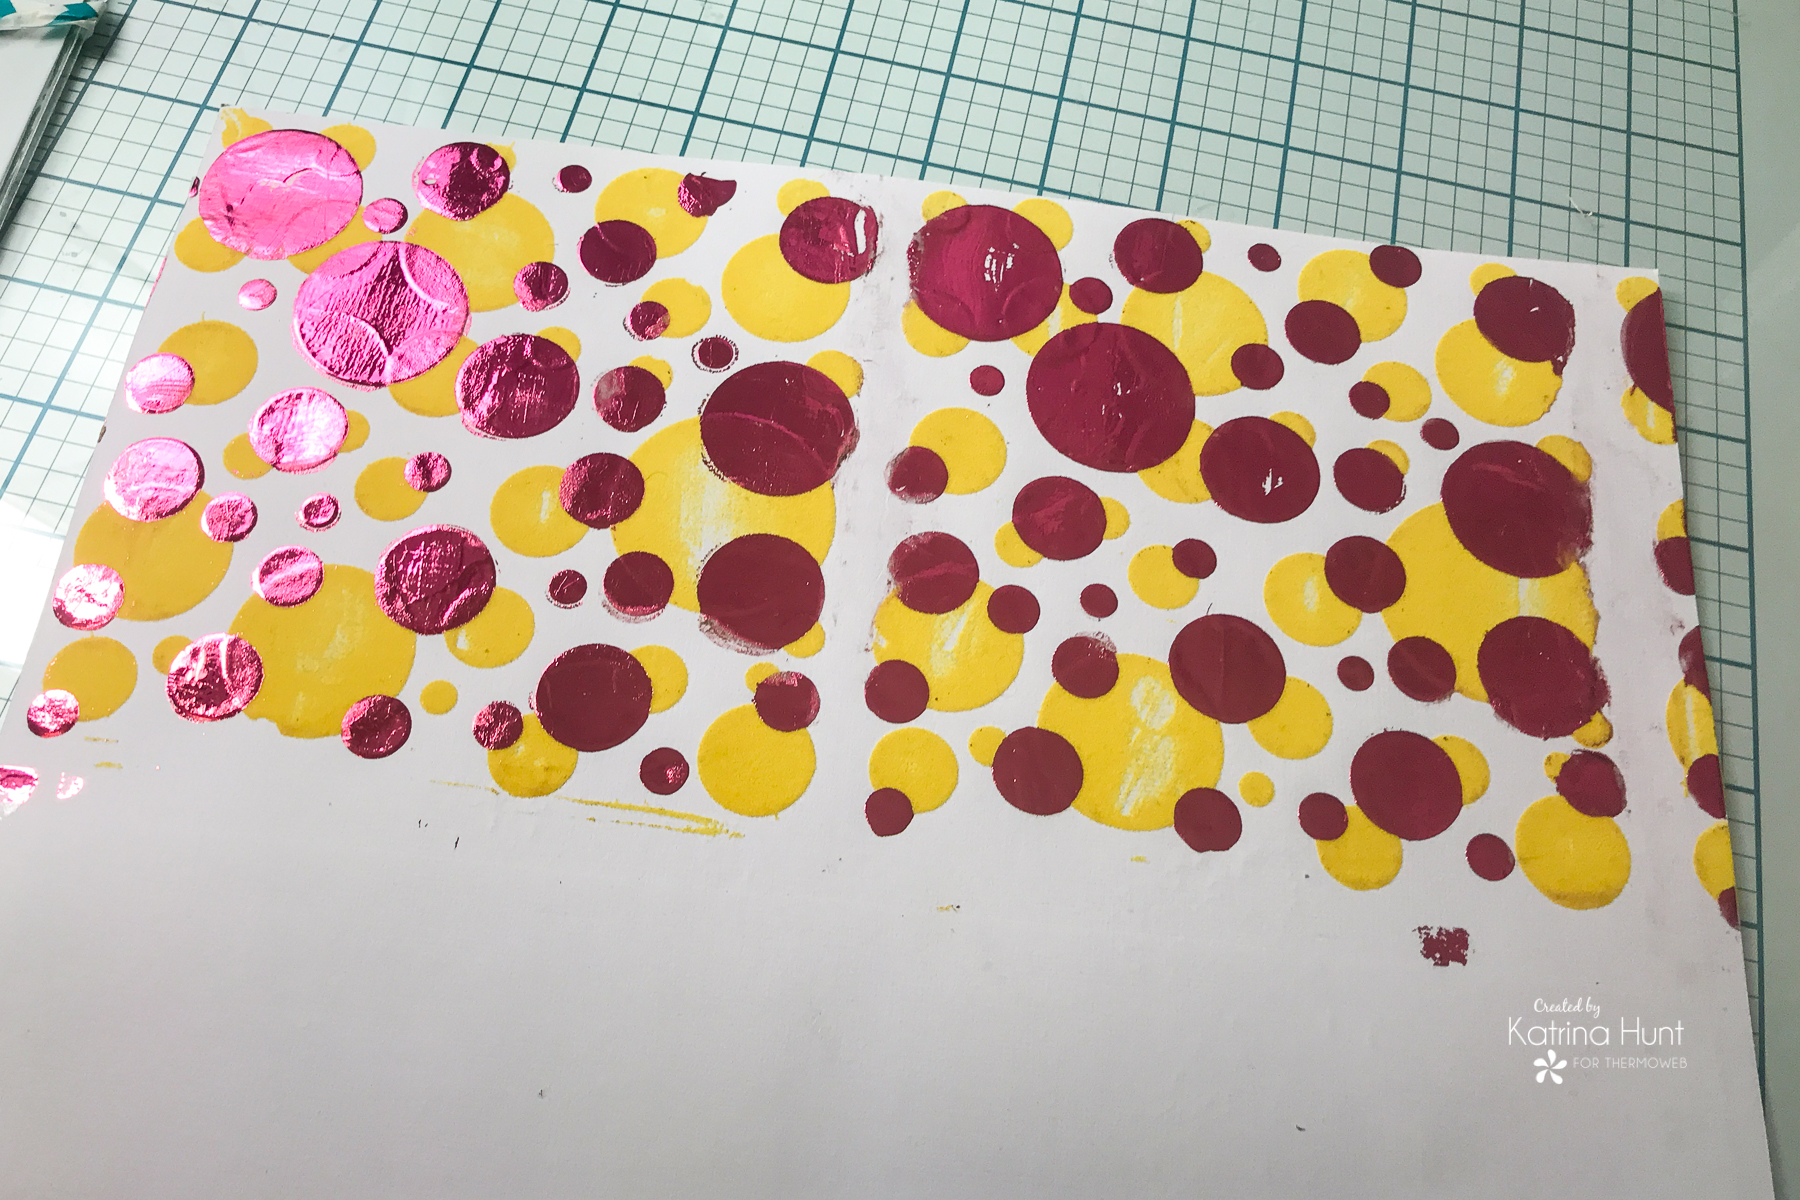
Look at how fun the different textures are! And I am even ok that it’s a little messy! The foil looks great over the flock. Now that I know this works, I may have to switch the layers, using foil first and then flock second! 
In the meantime, while all my background stuff was drying, I stamped and colored my image. I used Zig Clean Color Real Brush Markers. If you are scared of coloring these are great to start with. 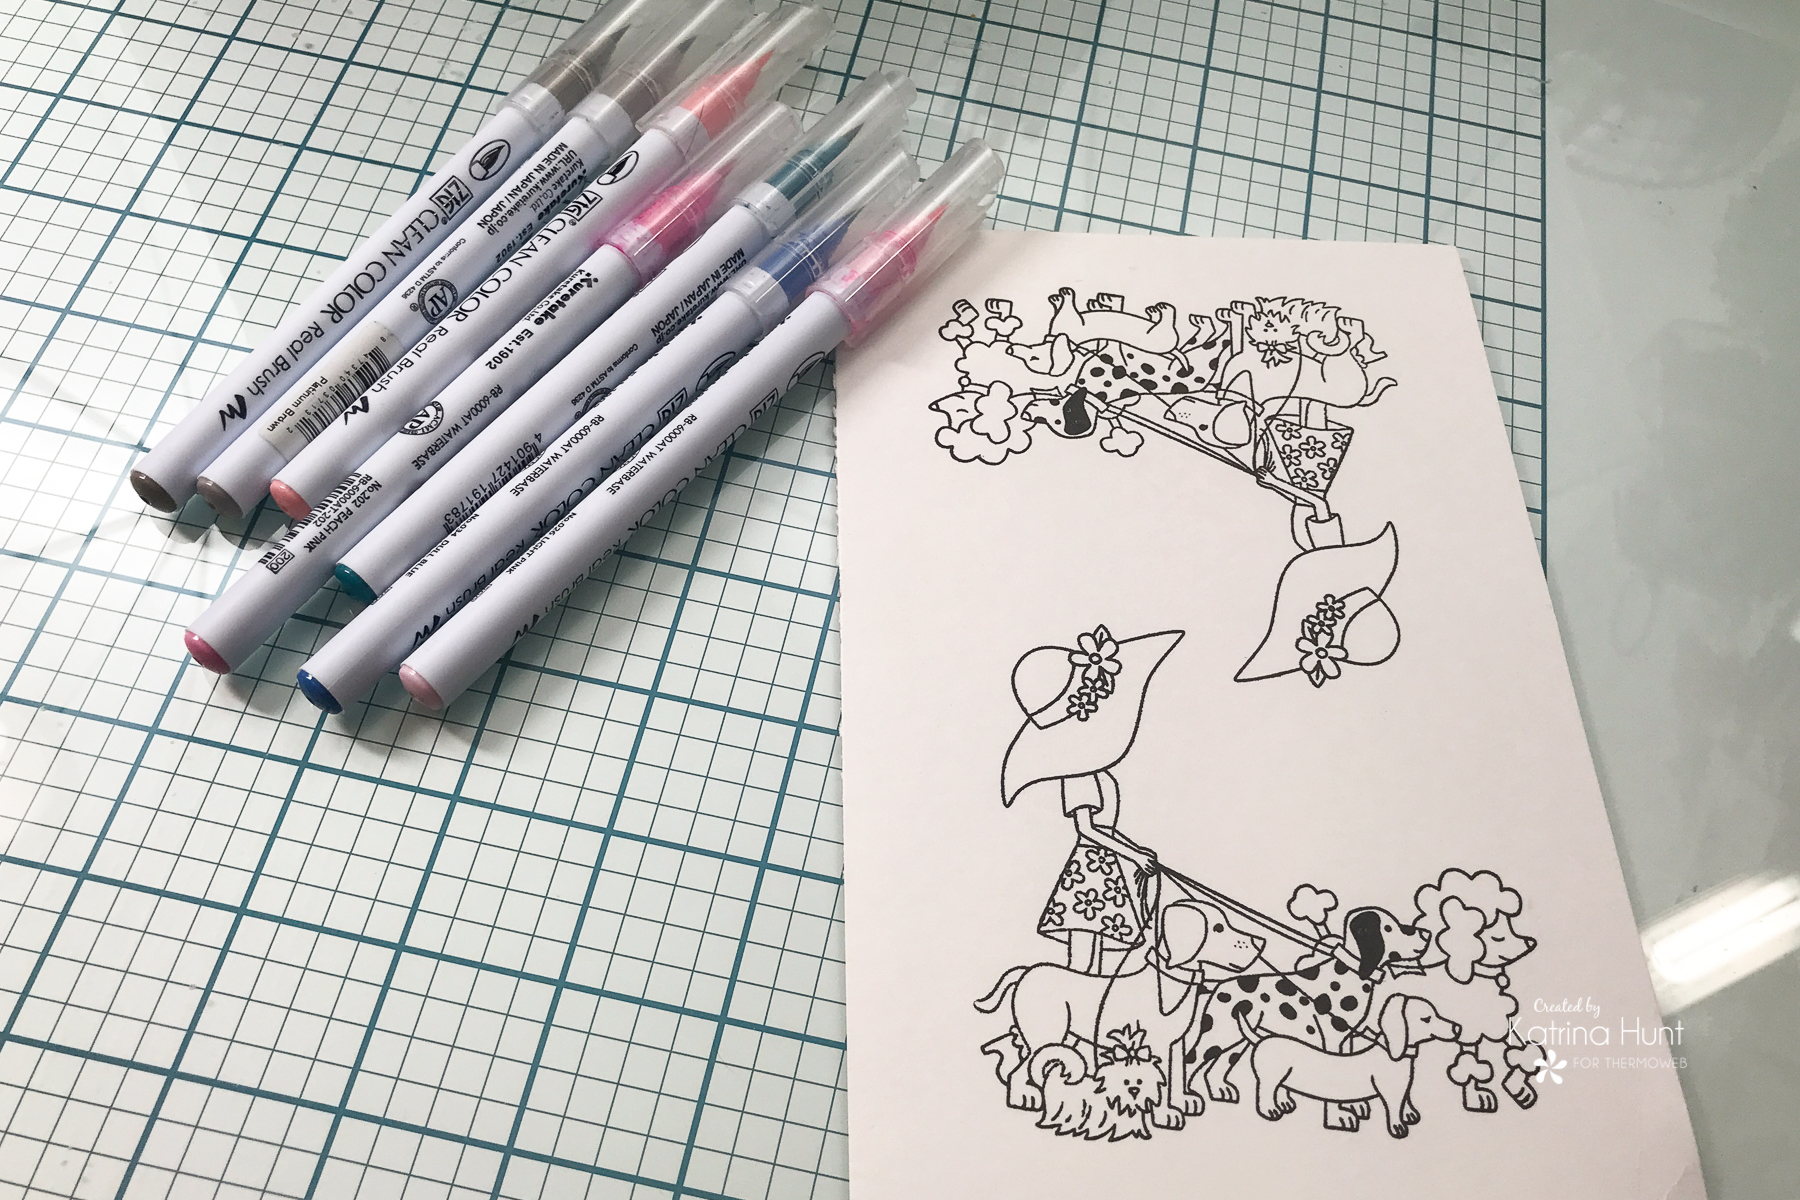
Once my image was colored, I then die-cut it out with the matching die. I used Purple Tape to hold the die in place. Notice I used the tape over my colored image and no damage was done. I love that!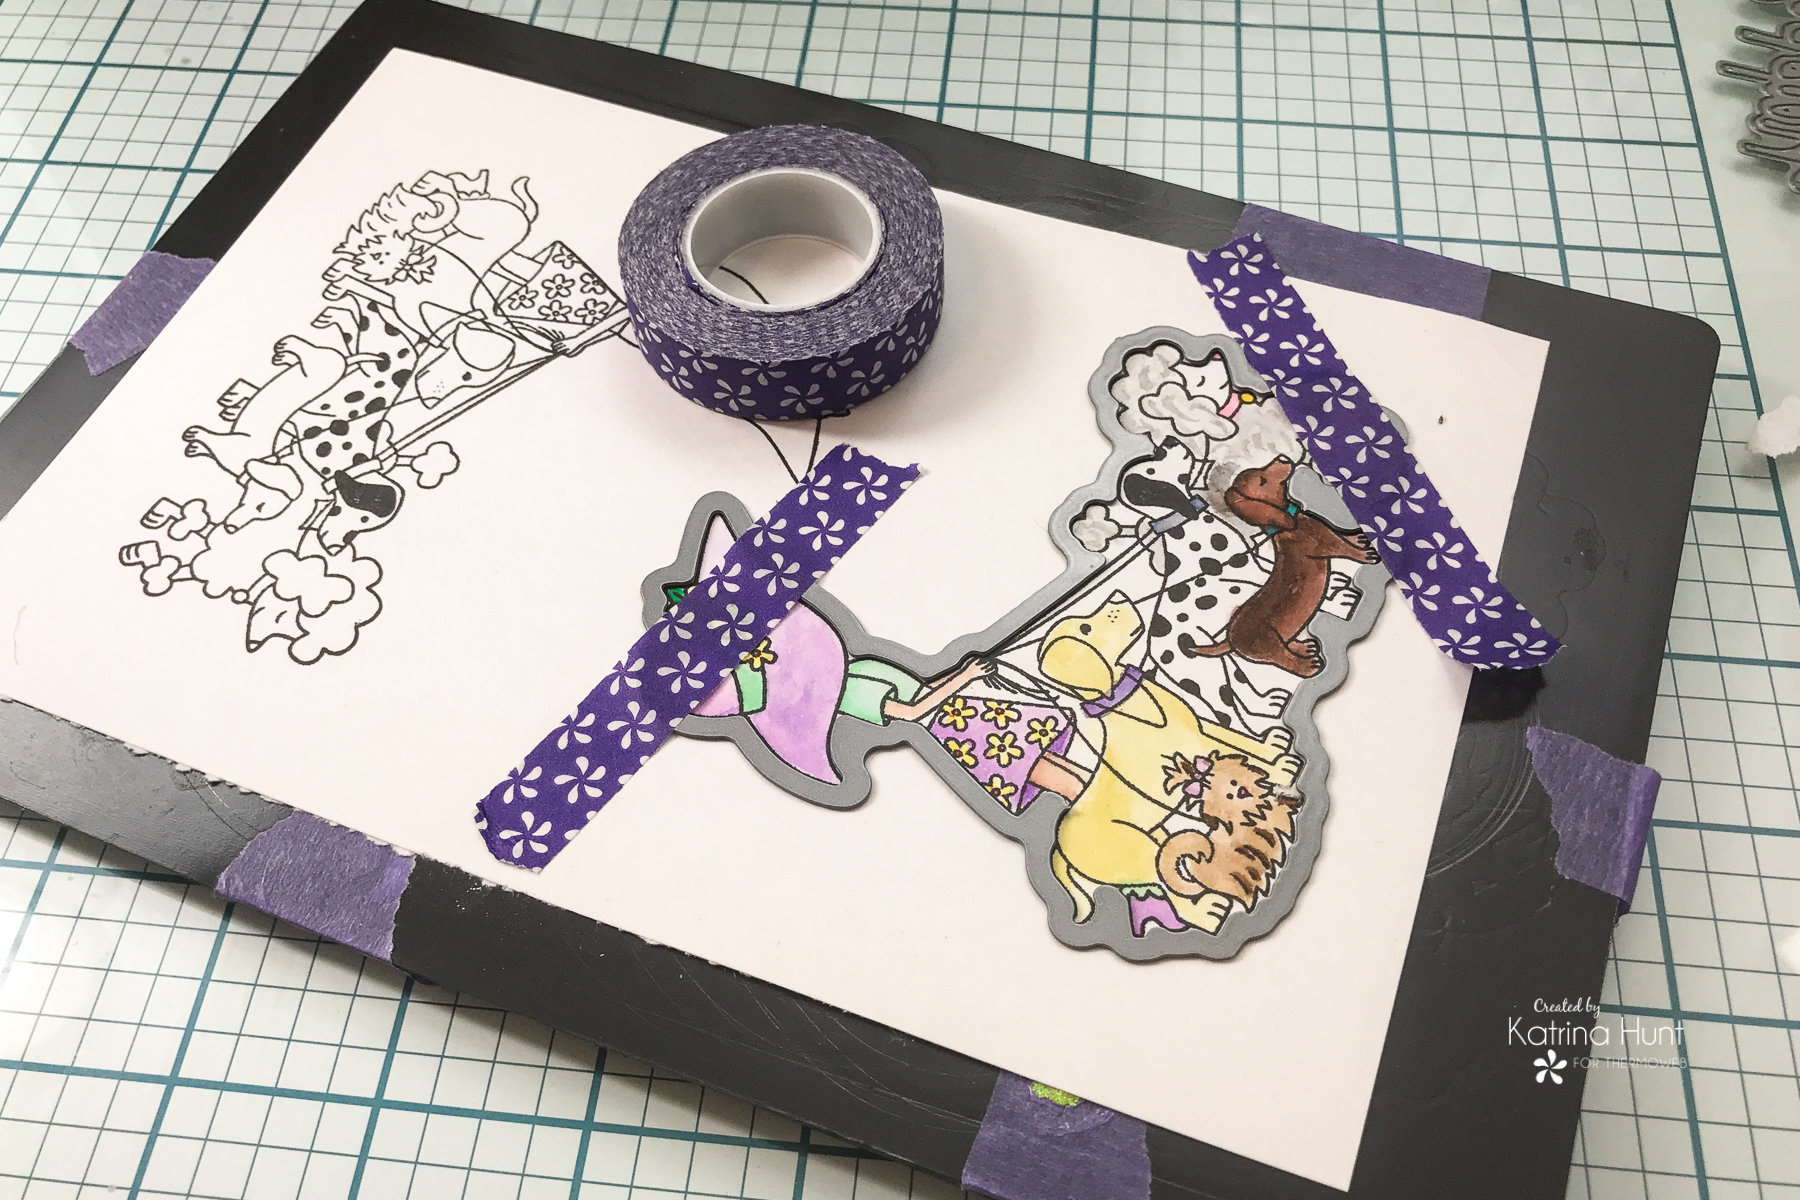
I knew I had pictures of Hazel’s first walk around the neighborhood, so with that in mind, I picked this adorable stamp set, Walking Woofs. She is a fun one to color and I will be coloring her some more. I was so close to making the poodle pink! 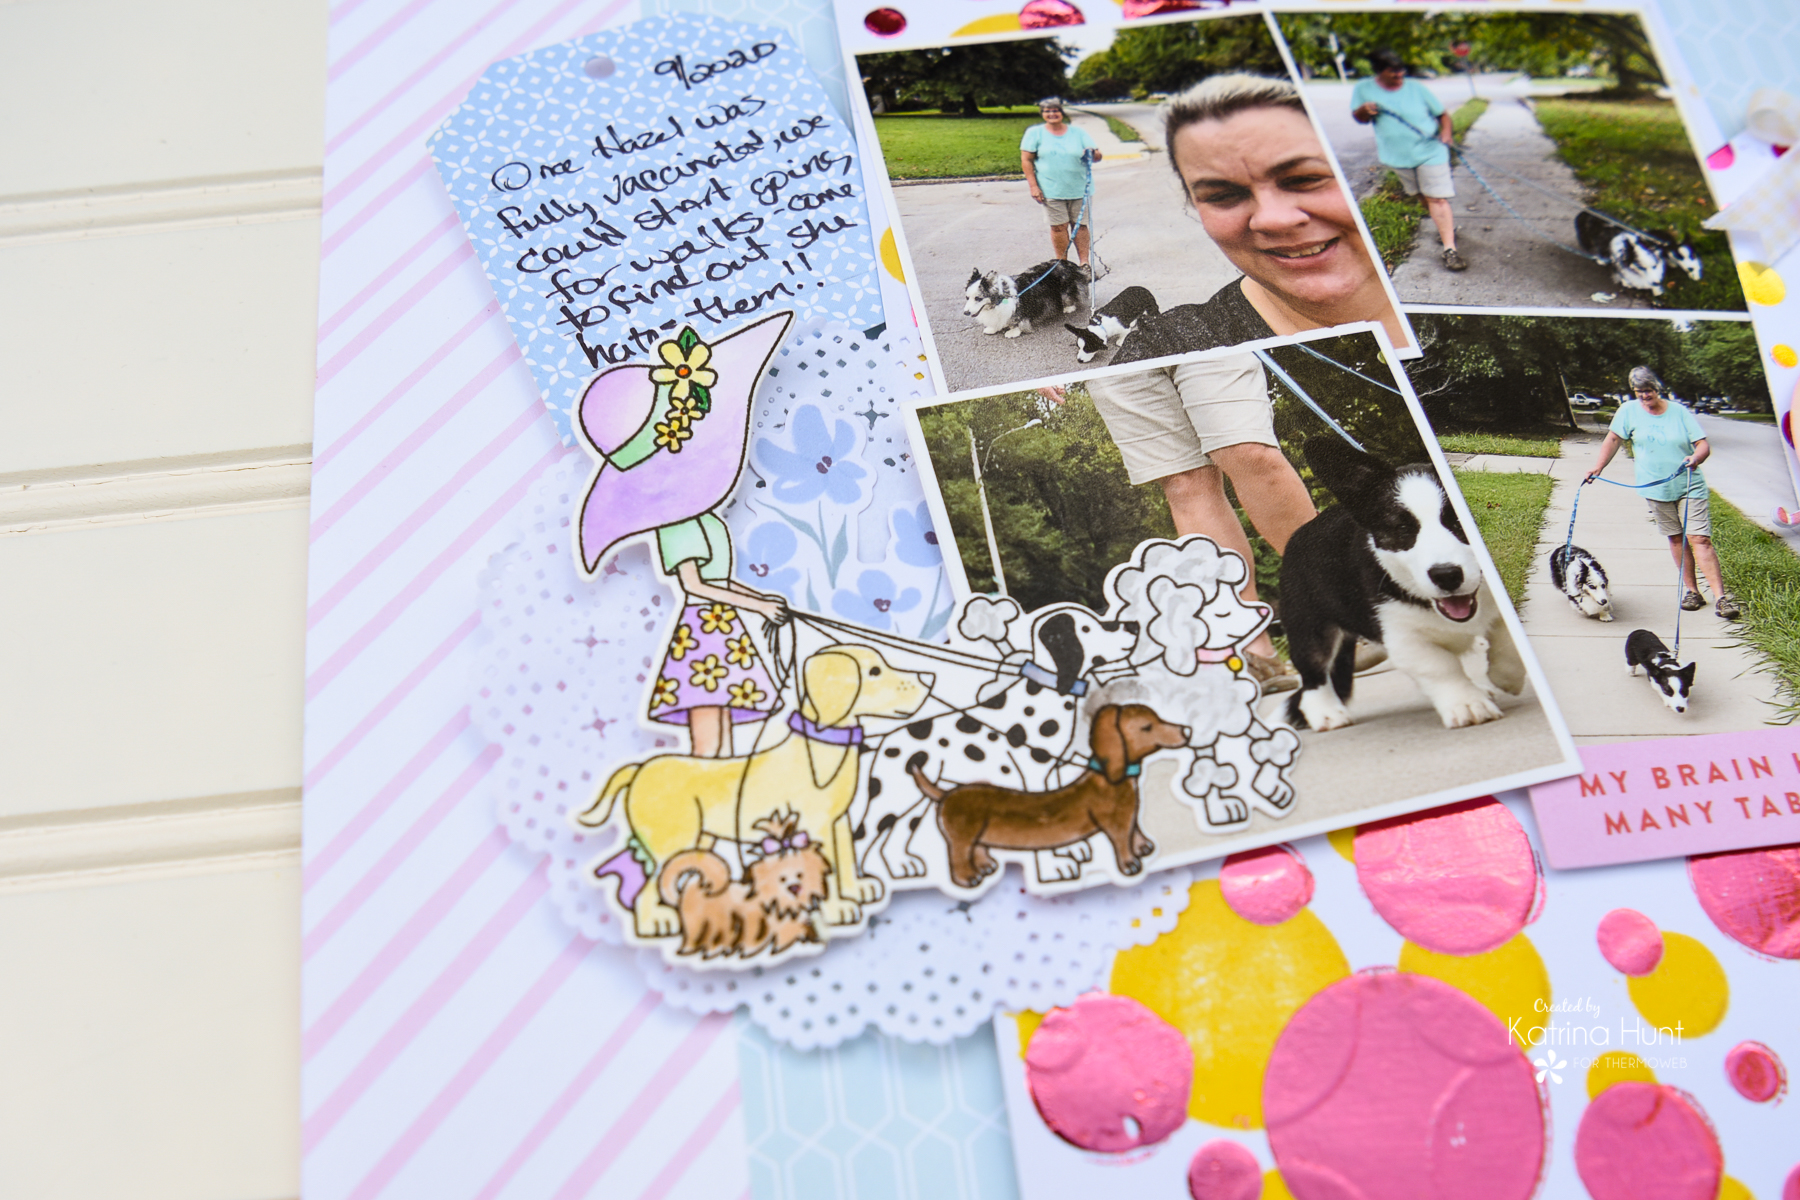
In addition, I had a Newton’s Nook Fancy Edges Tag Die that I thought would look fun cut out of a Deco Foil Toner Card front. I used one of the “Lots of Dots” white card fronts and cut the tag out. 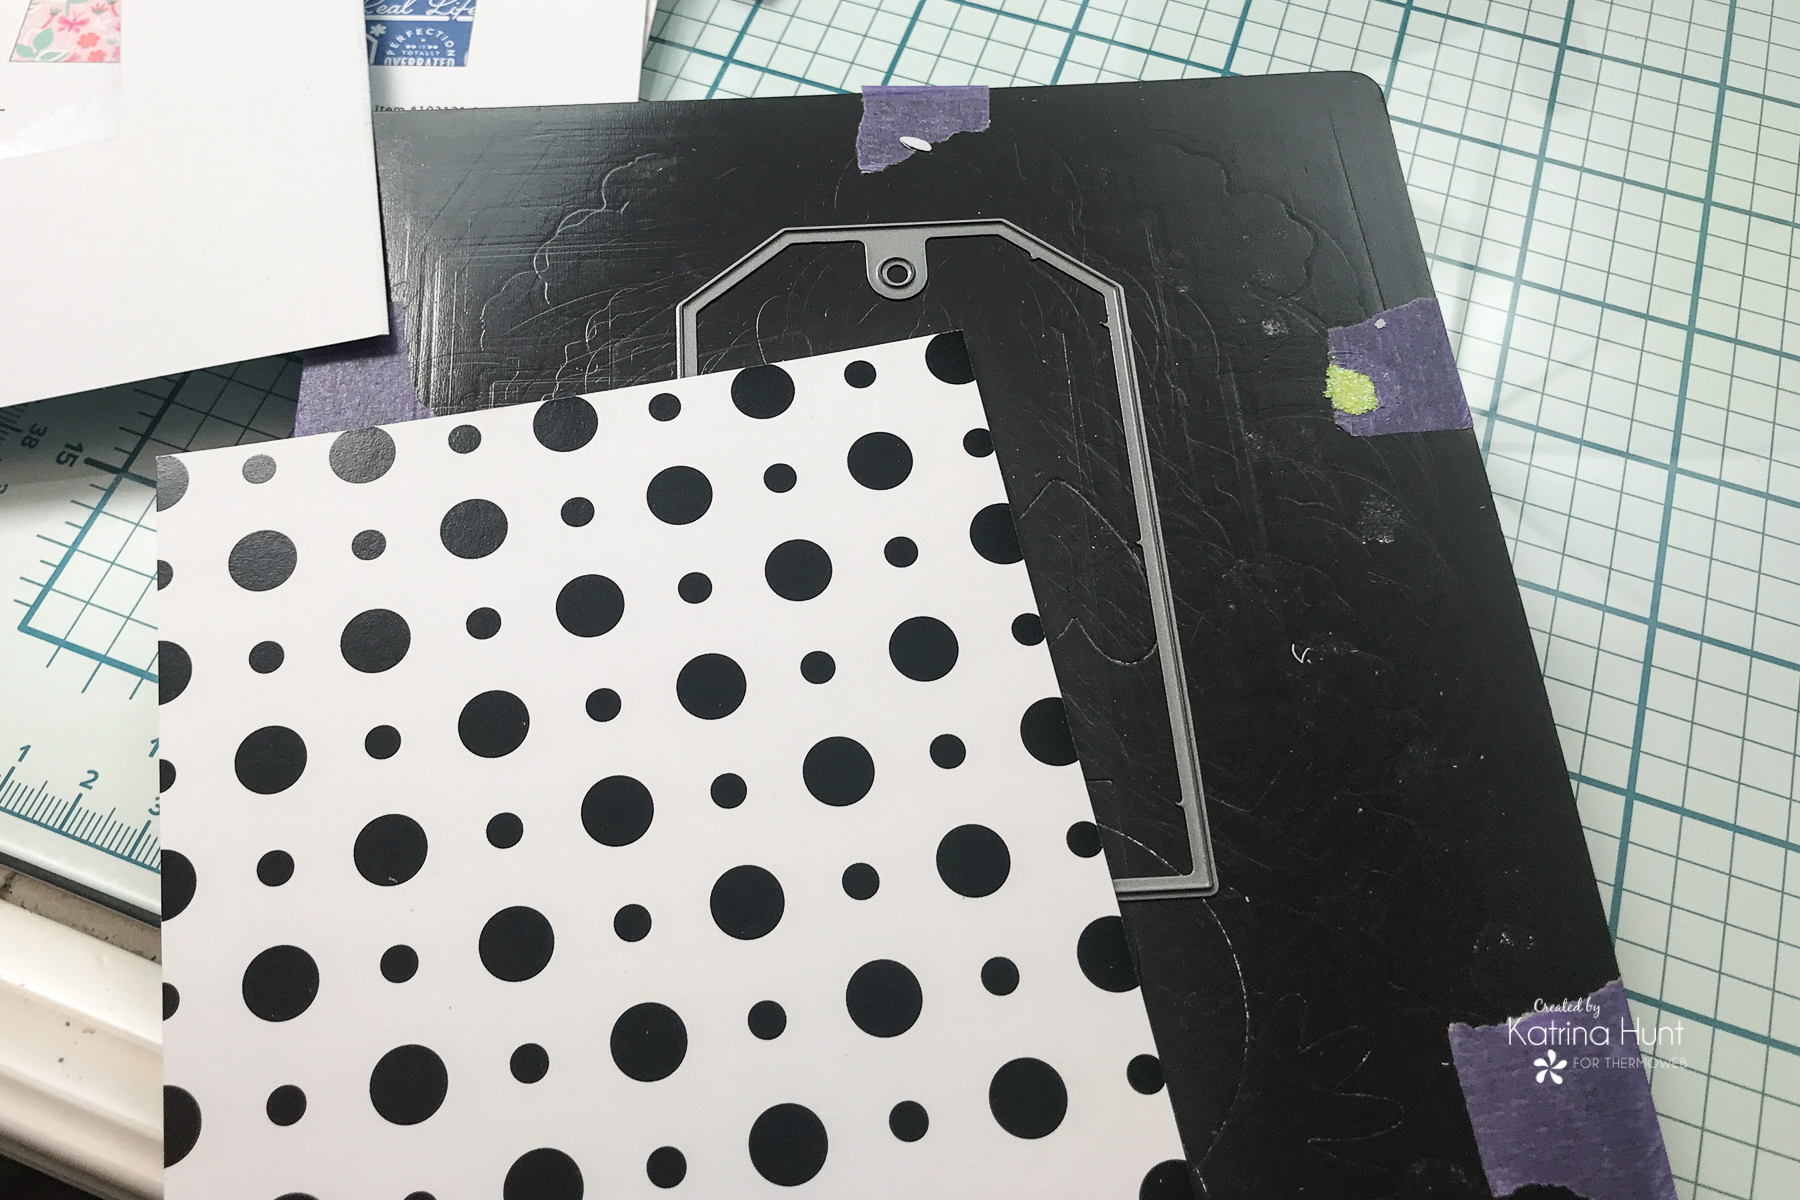
To keep up with the pink/yellow theme I had going I used the Summer Rainbow Deco Foil to foil my tag. 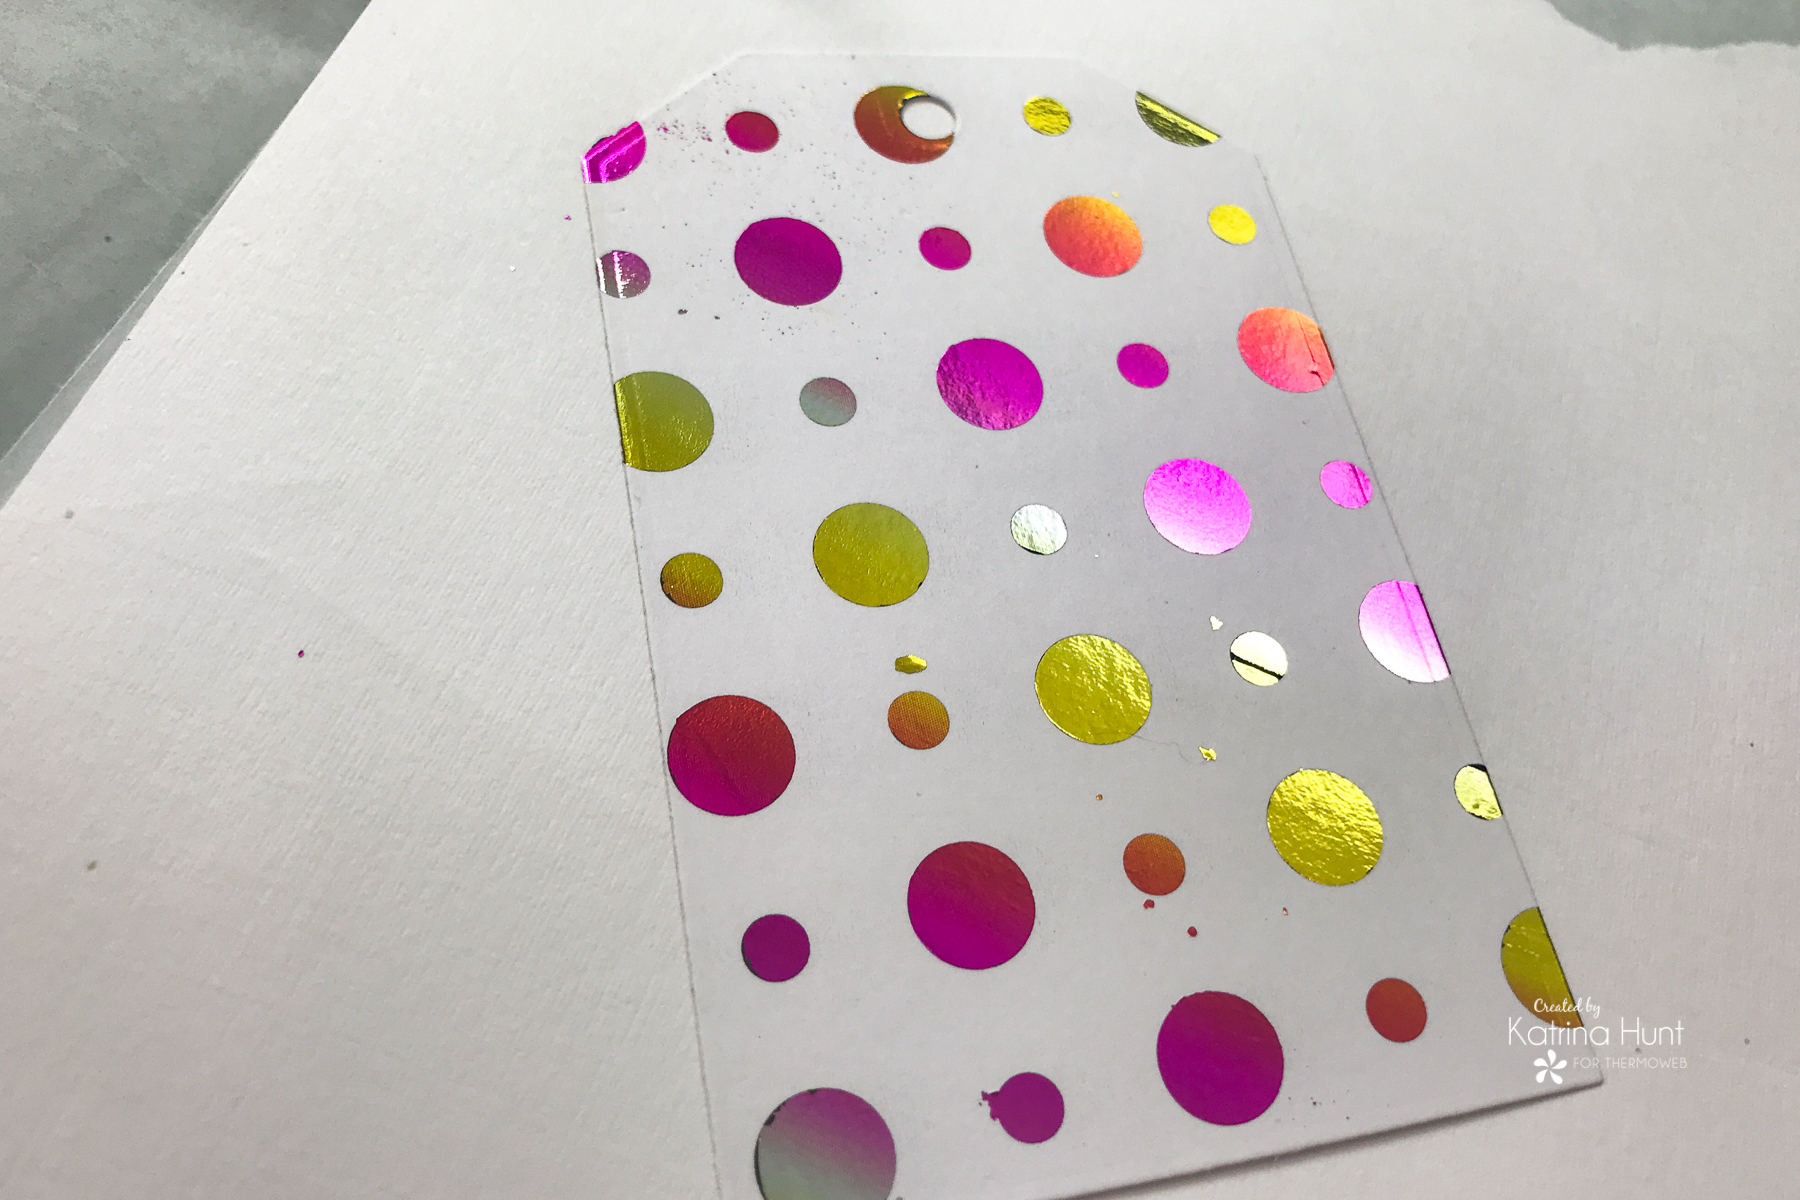
As soon as I had my tag foiled, I did a tag trim with one of the dies in the set. 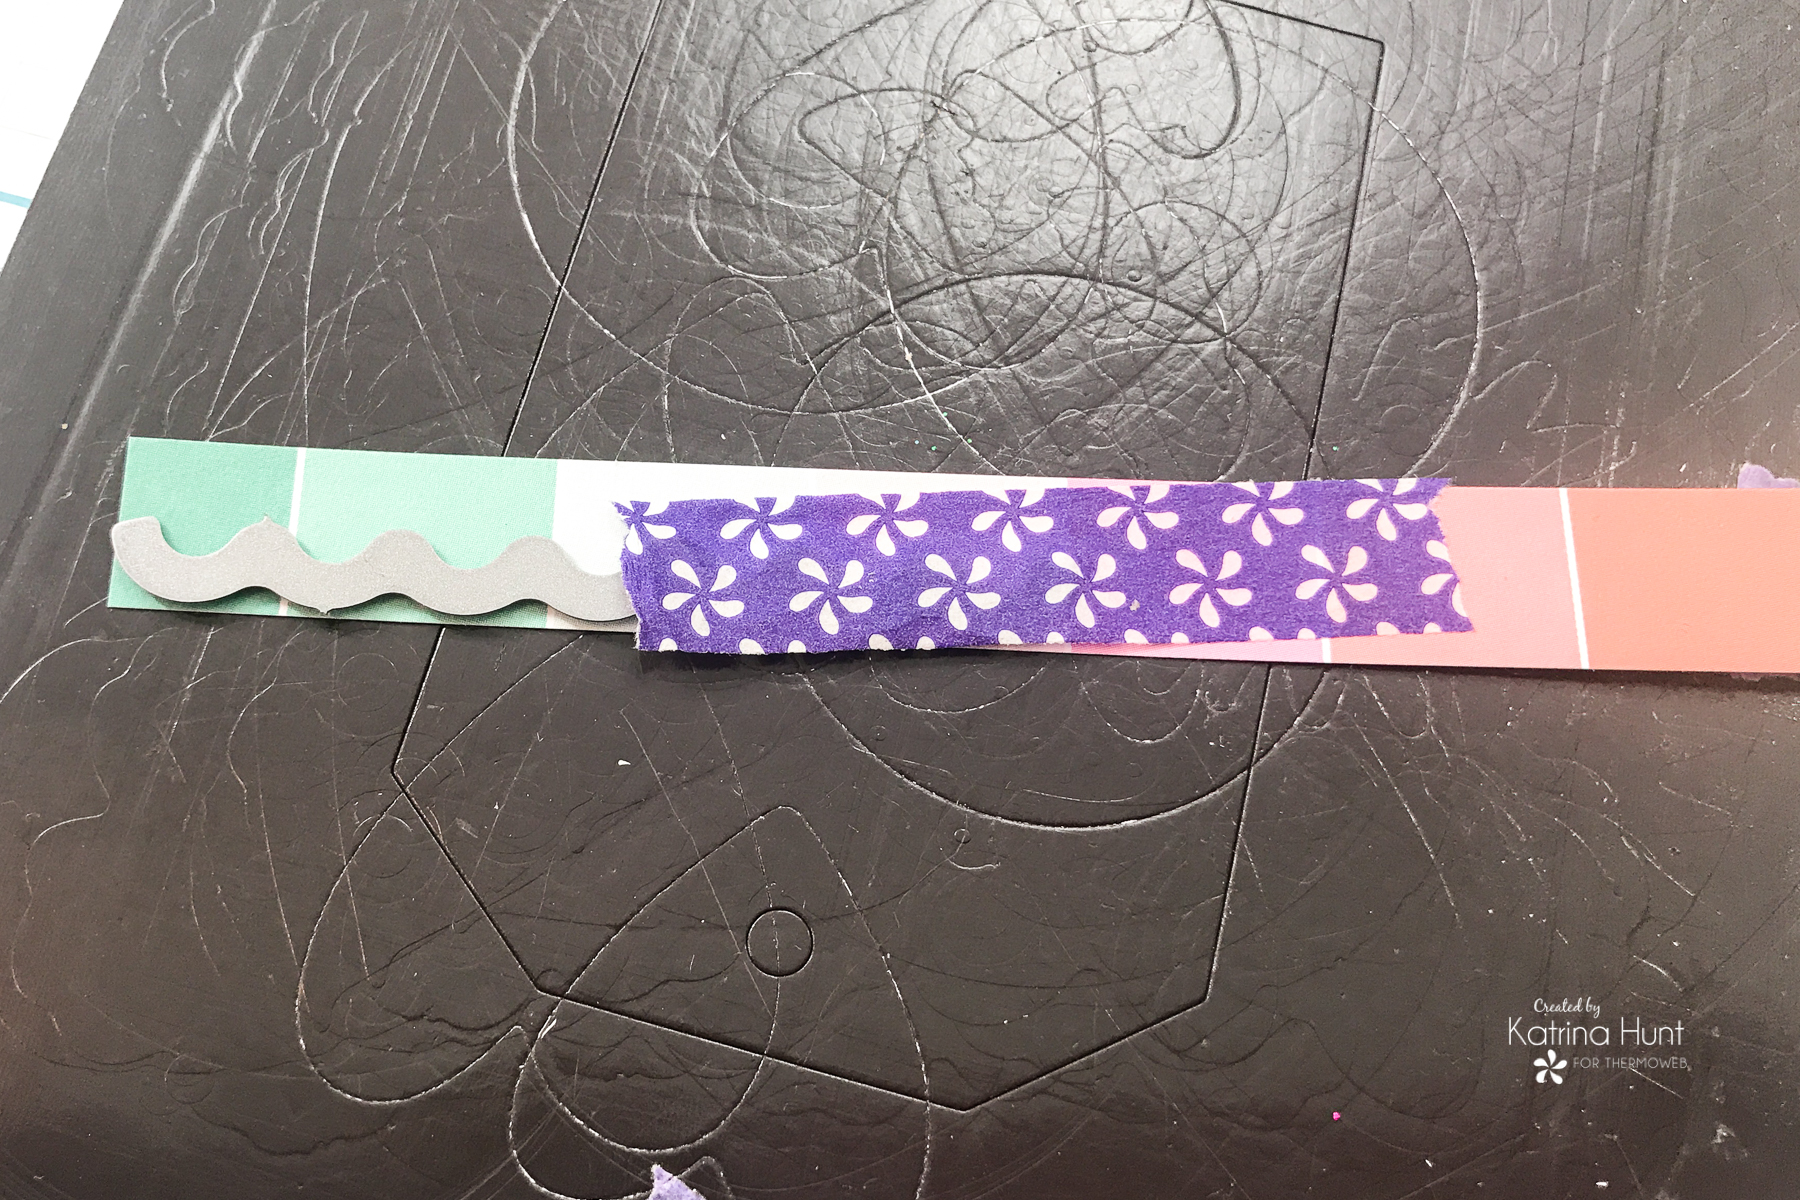
I also went ahead and die-cut the word “happy” four times. Three out of white cardstock and once out of the same paper I used for the tag trim I die cut. I used the Ultra Bond Liquid Adhesive to adhere my die cuts together for a chipboard effect. 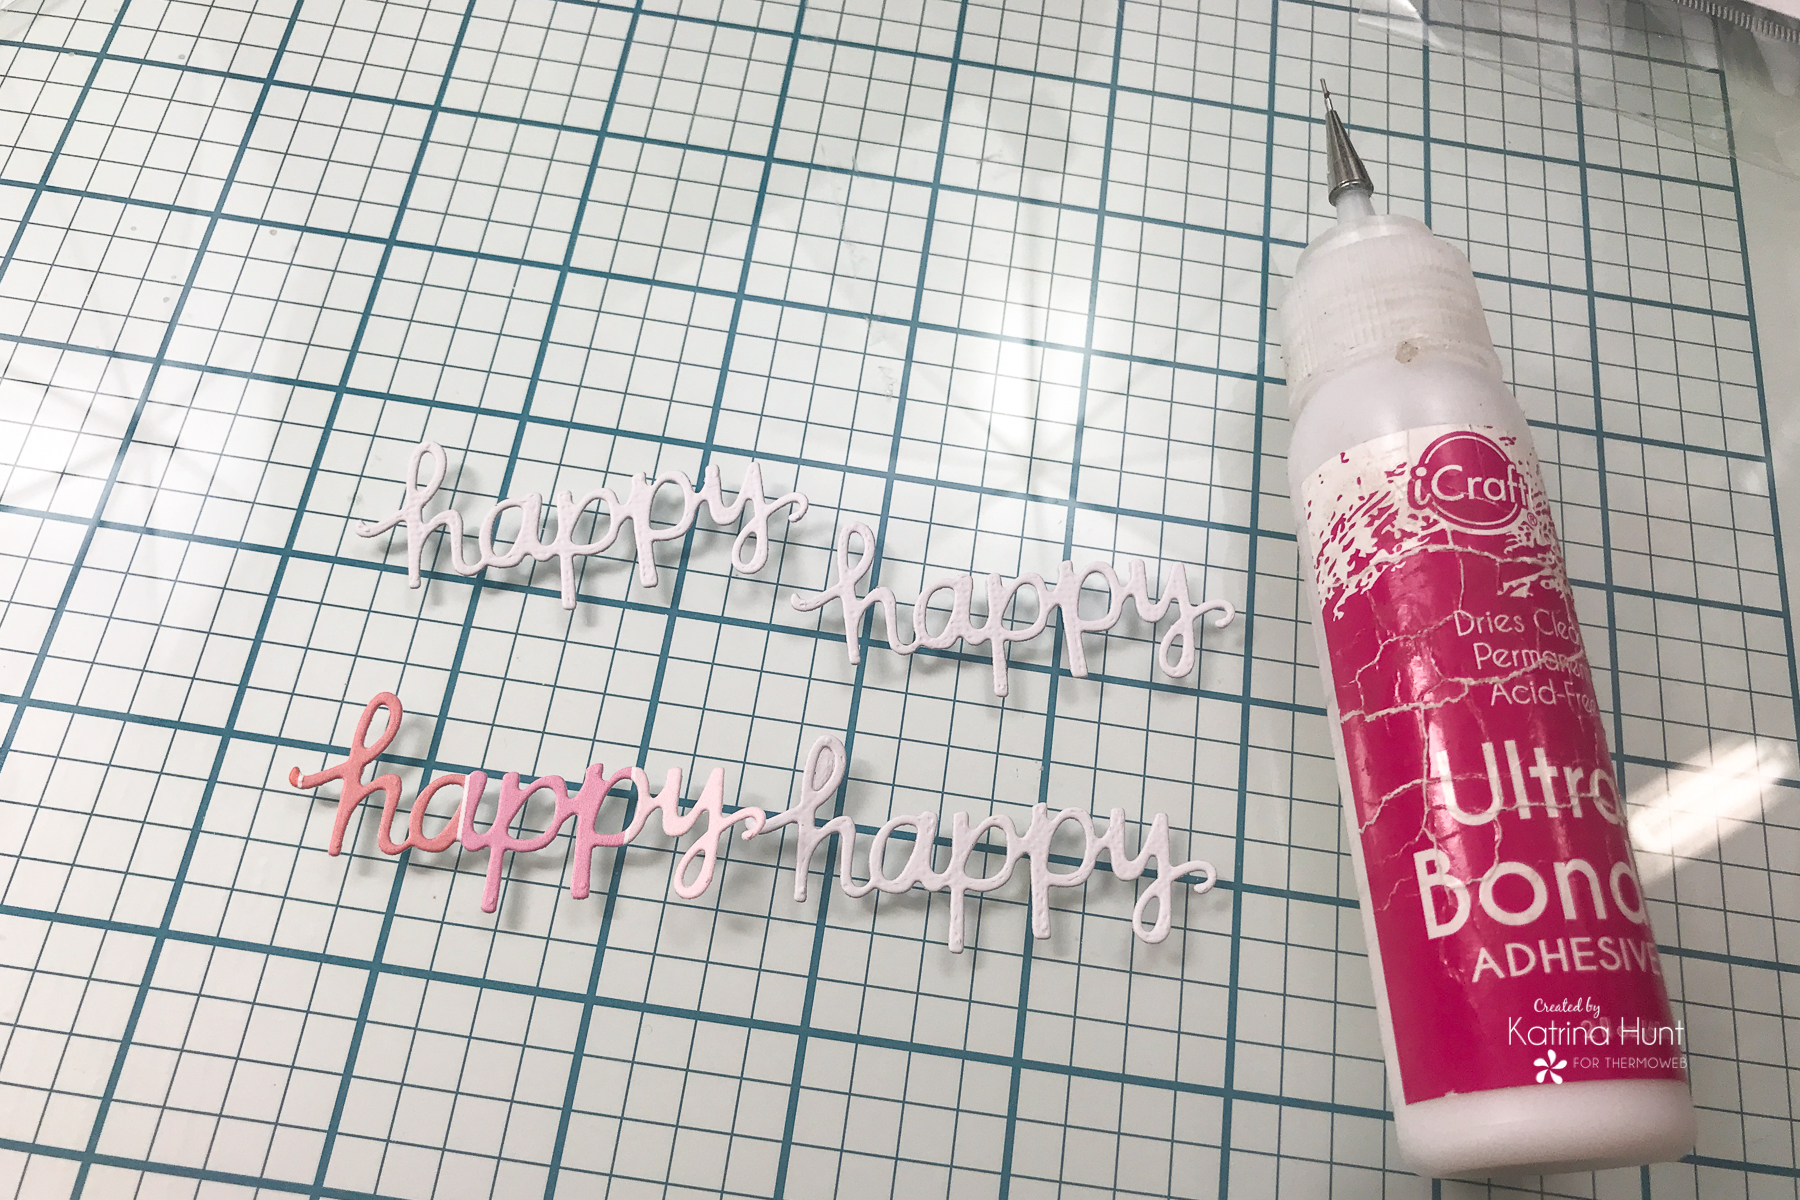
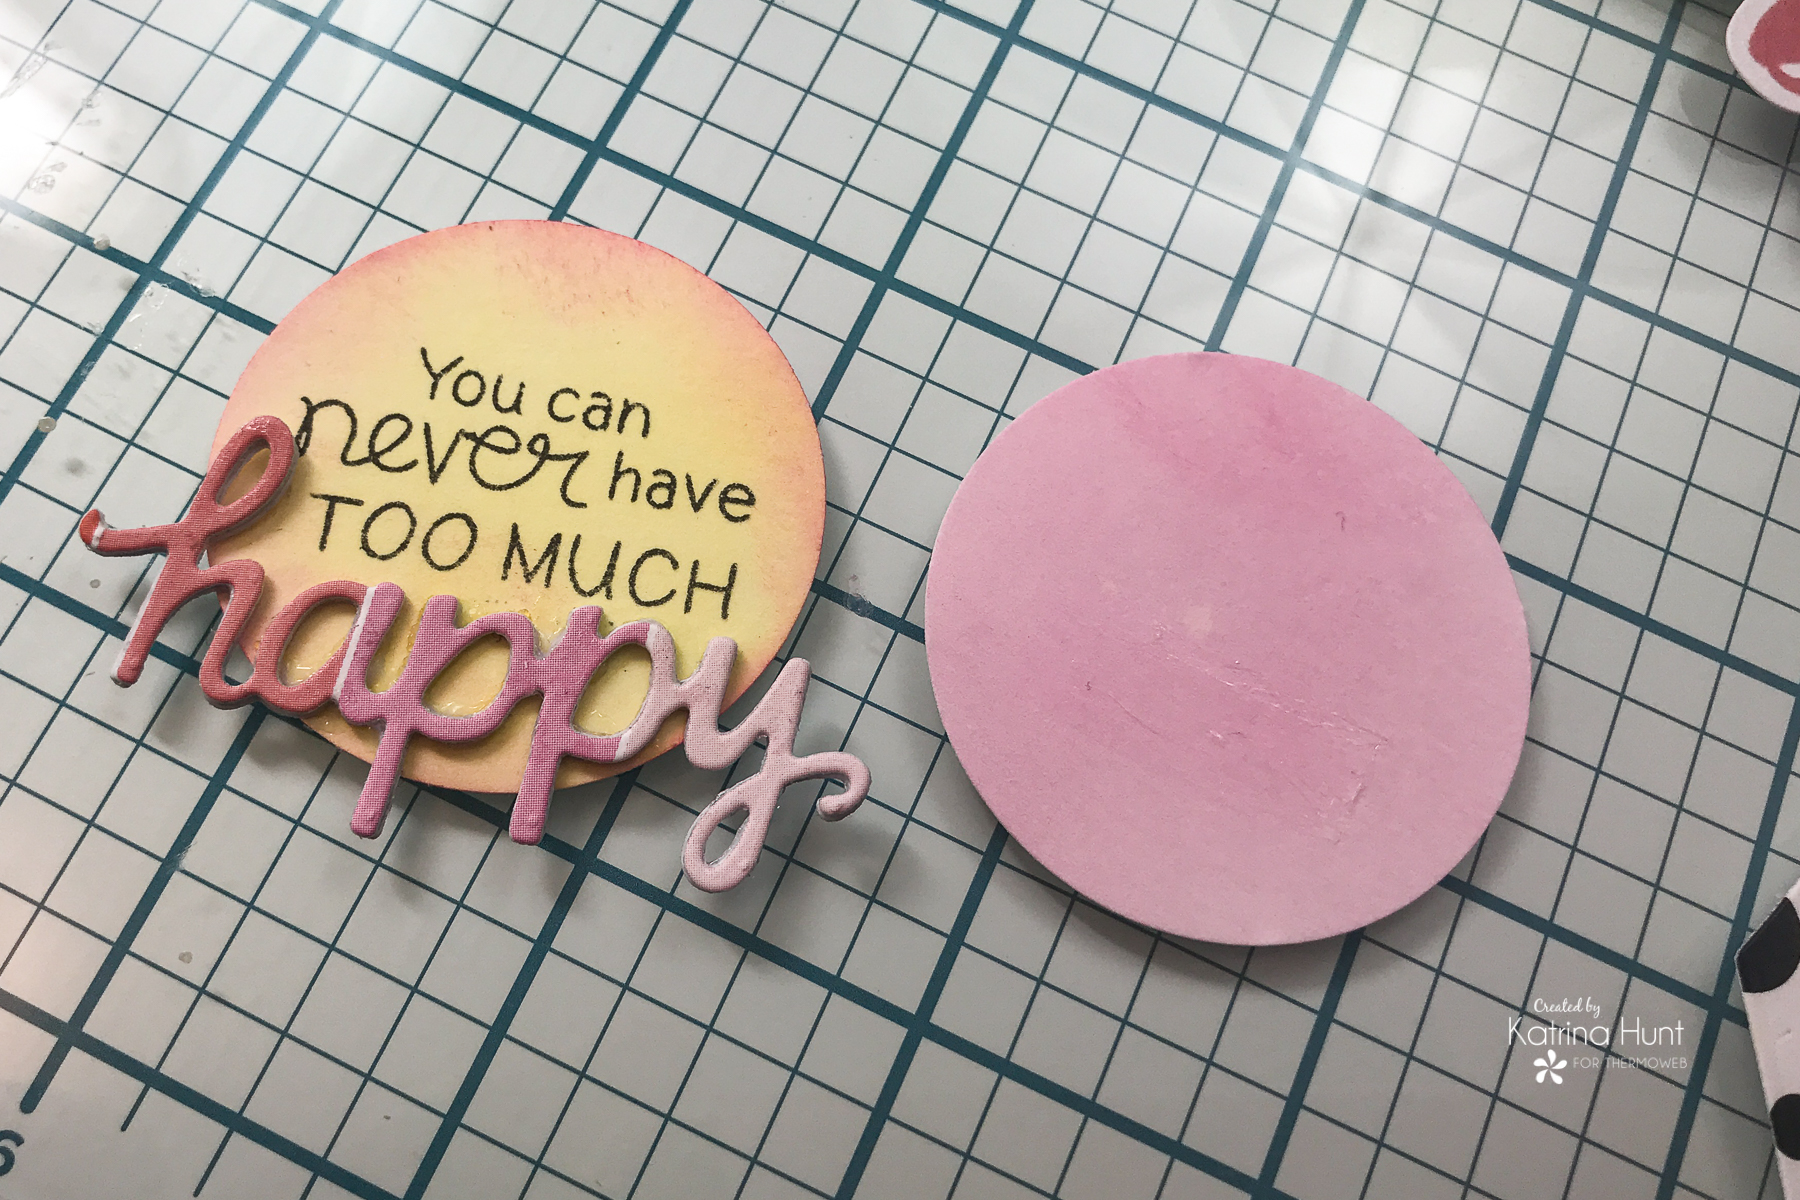
Next, I ink blended some cardstock with yellow ink. I carefully inked only part of the stamp that I wanted, covering the word “happy” with Purple Tape while inking. This was because I was going to die cut the word happy and use that. After inking, I carefully removed the tape and then stamped it on my cardstock. I used a circle punch to punch the saying out. I inked an additional circle in pink to layer on the back of the yellow circle.
I added a ribbon and a few of the die cuts from the paper collection to make a cute little embellishment cluster. 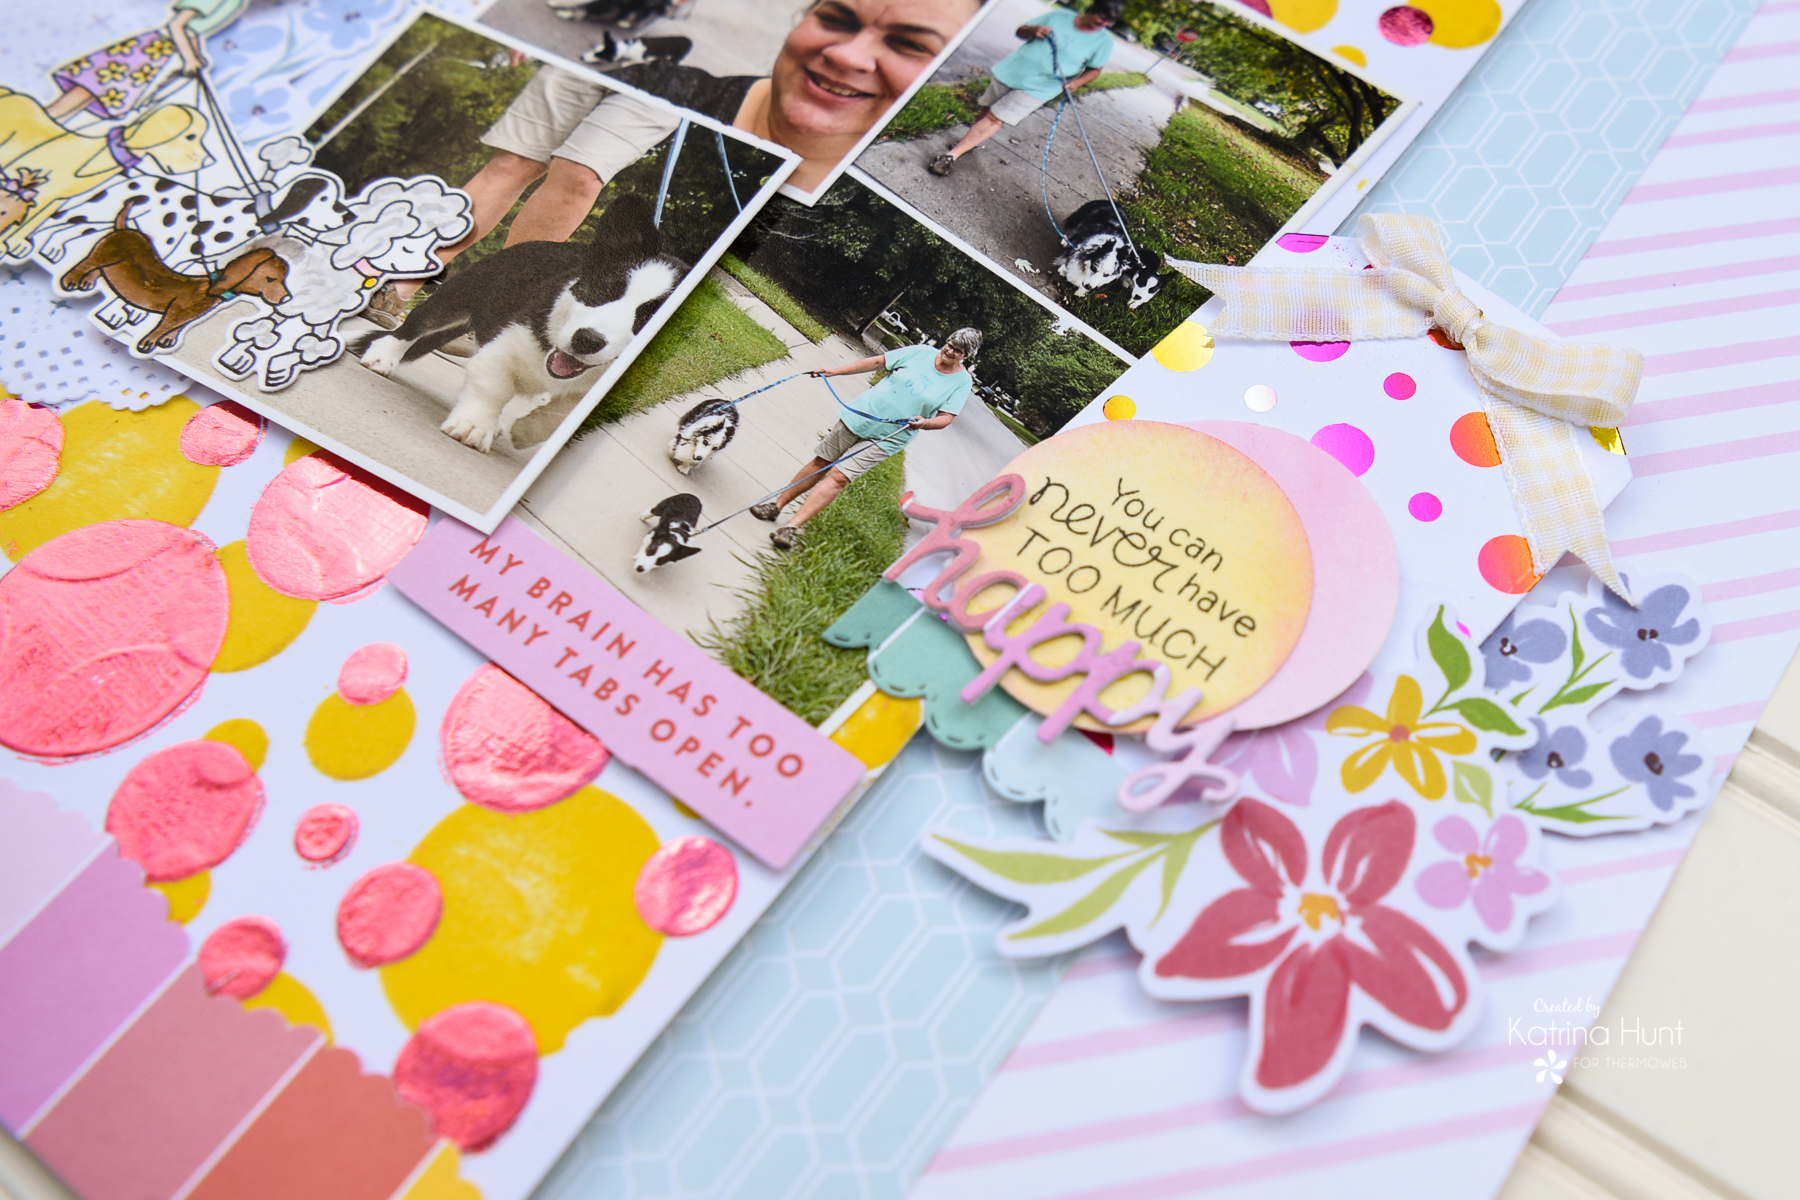
Once I had everything flocked, foiled, stamped, and die cut it was time to put my layout together! I used my favorite Memory Runner XL, along with 3D Foam Squares, and some Gina K Foam Squares and Foam Tape.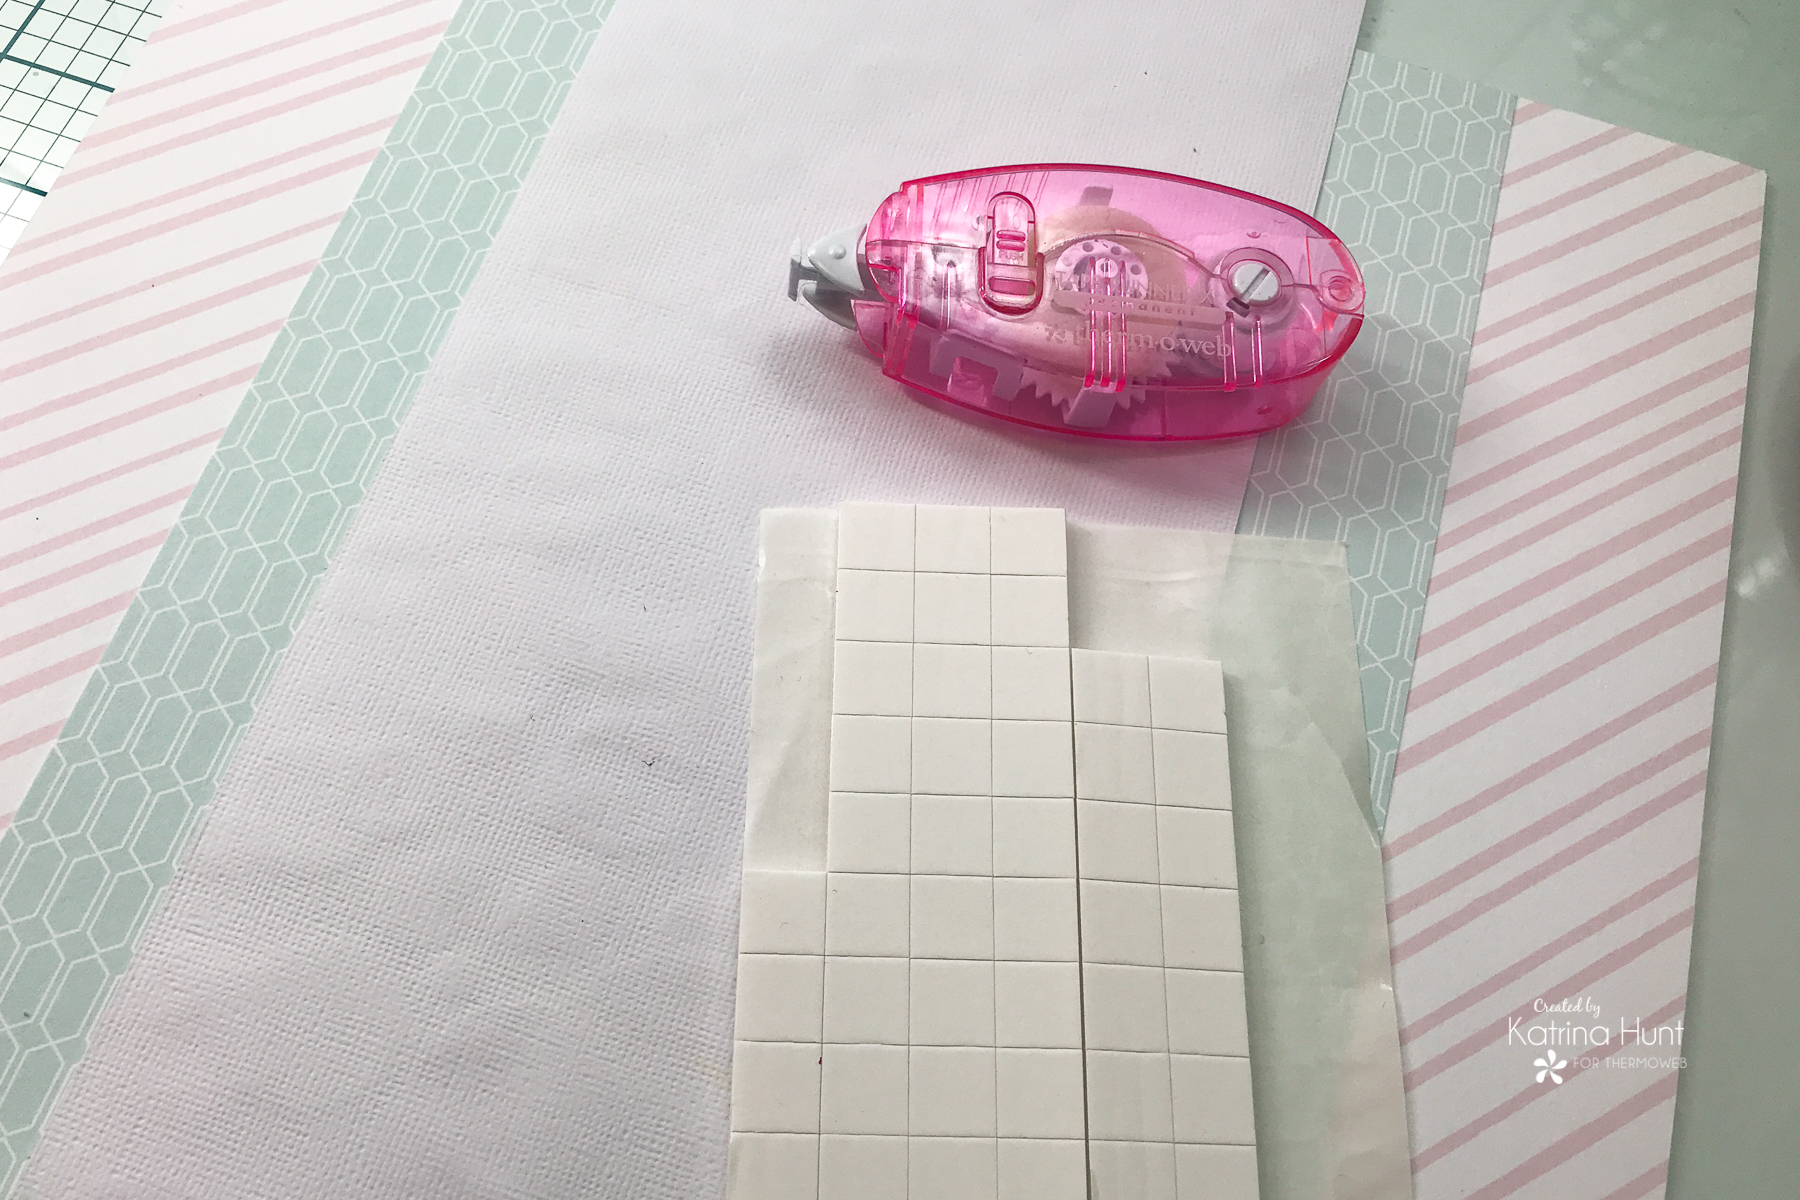
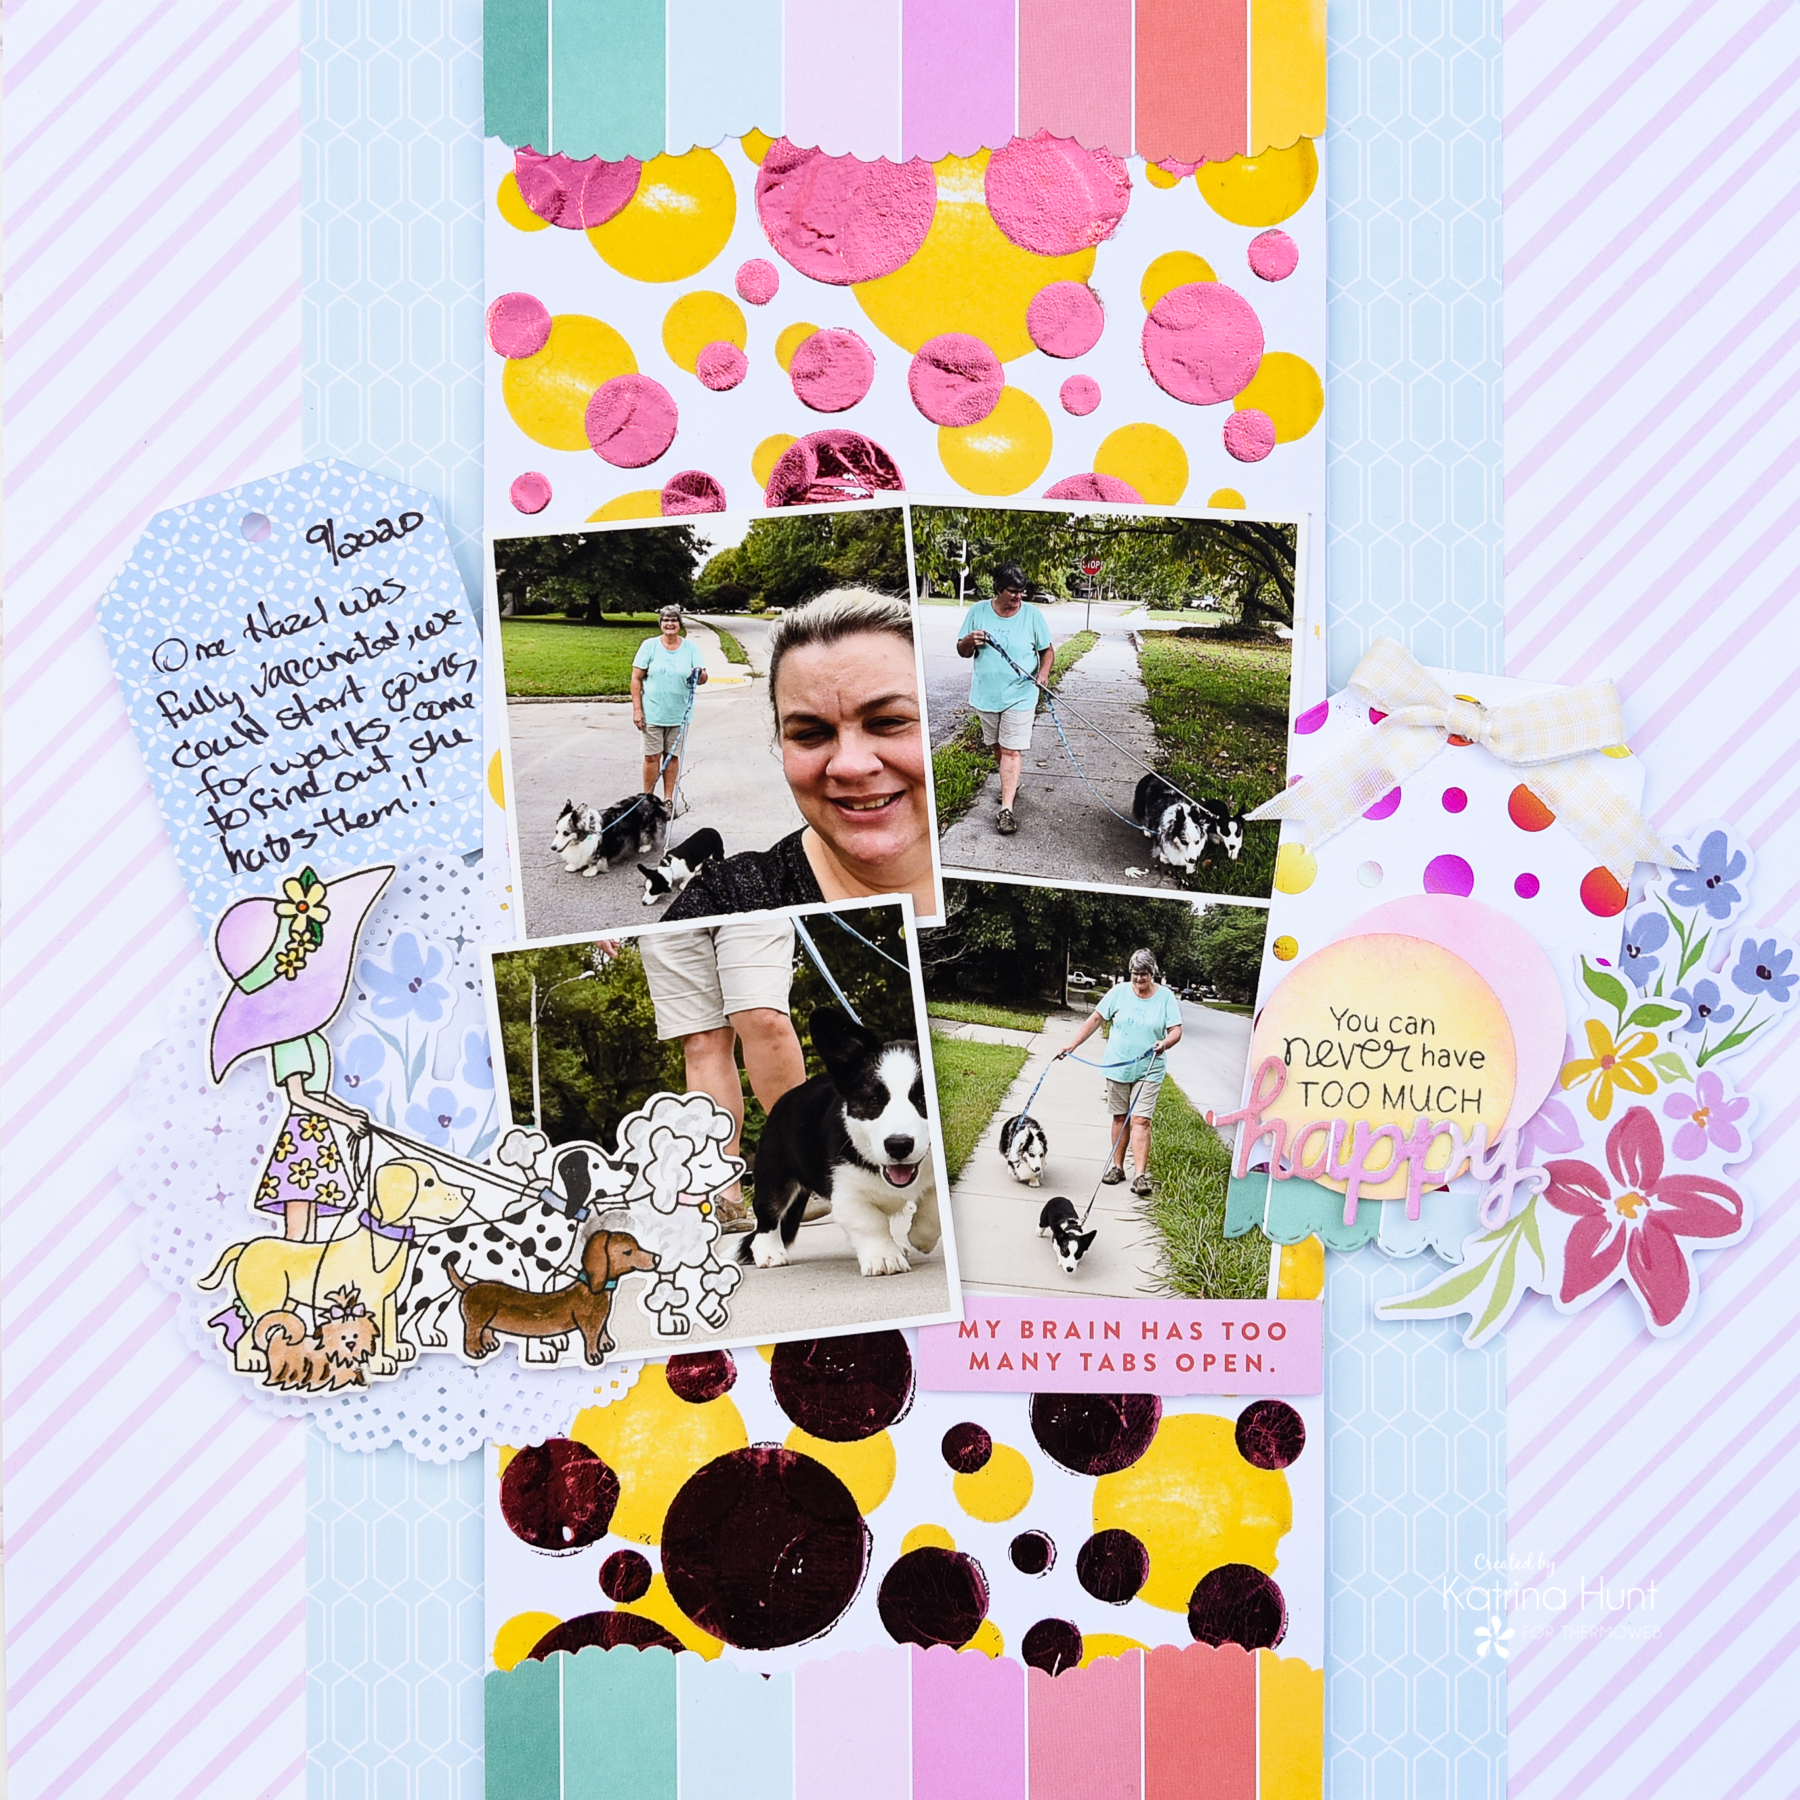
I ended up trimming down my stenciled piece to a little under 6 inches wide and 12 inches long. I used a border punch to create some detail at the top and bottom of the stencil area.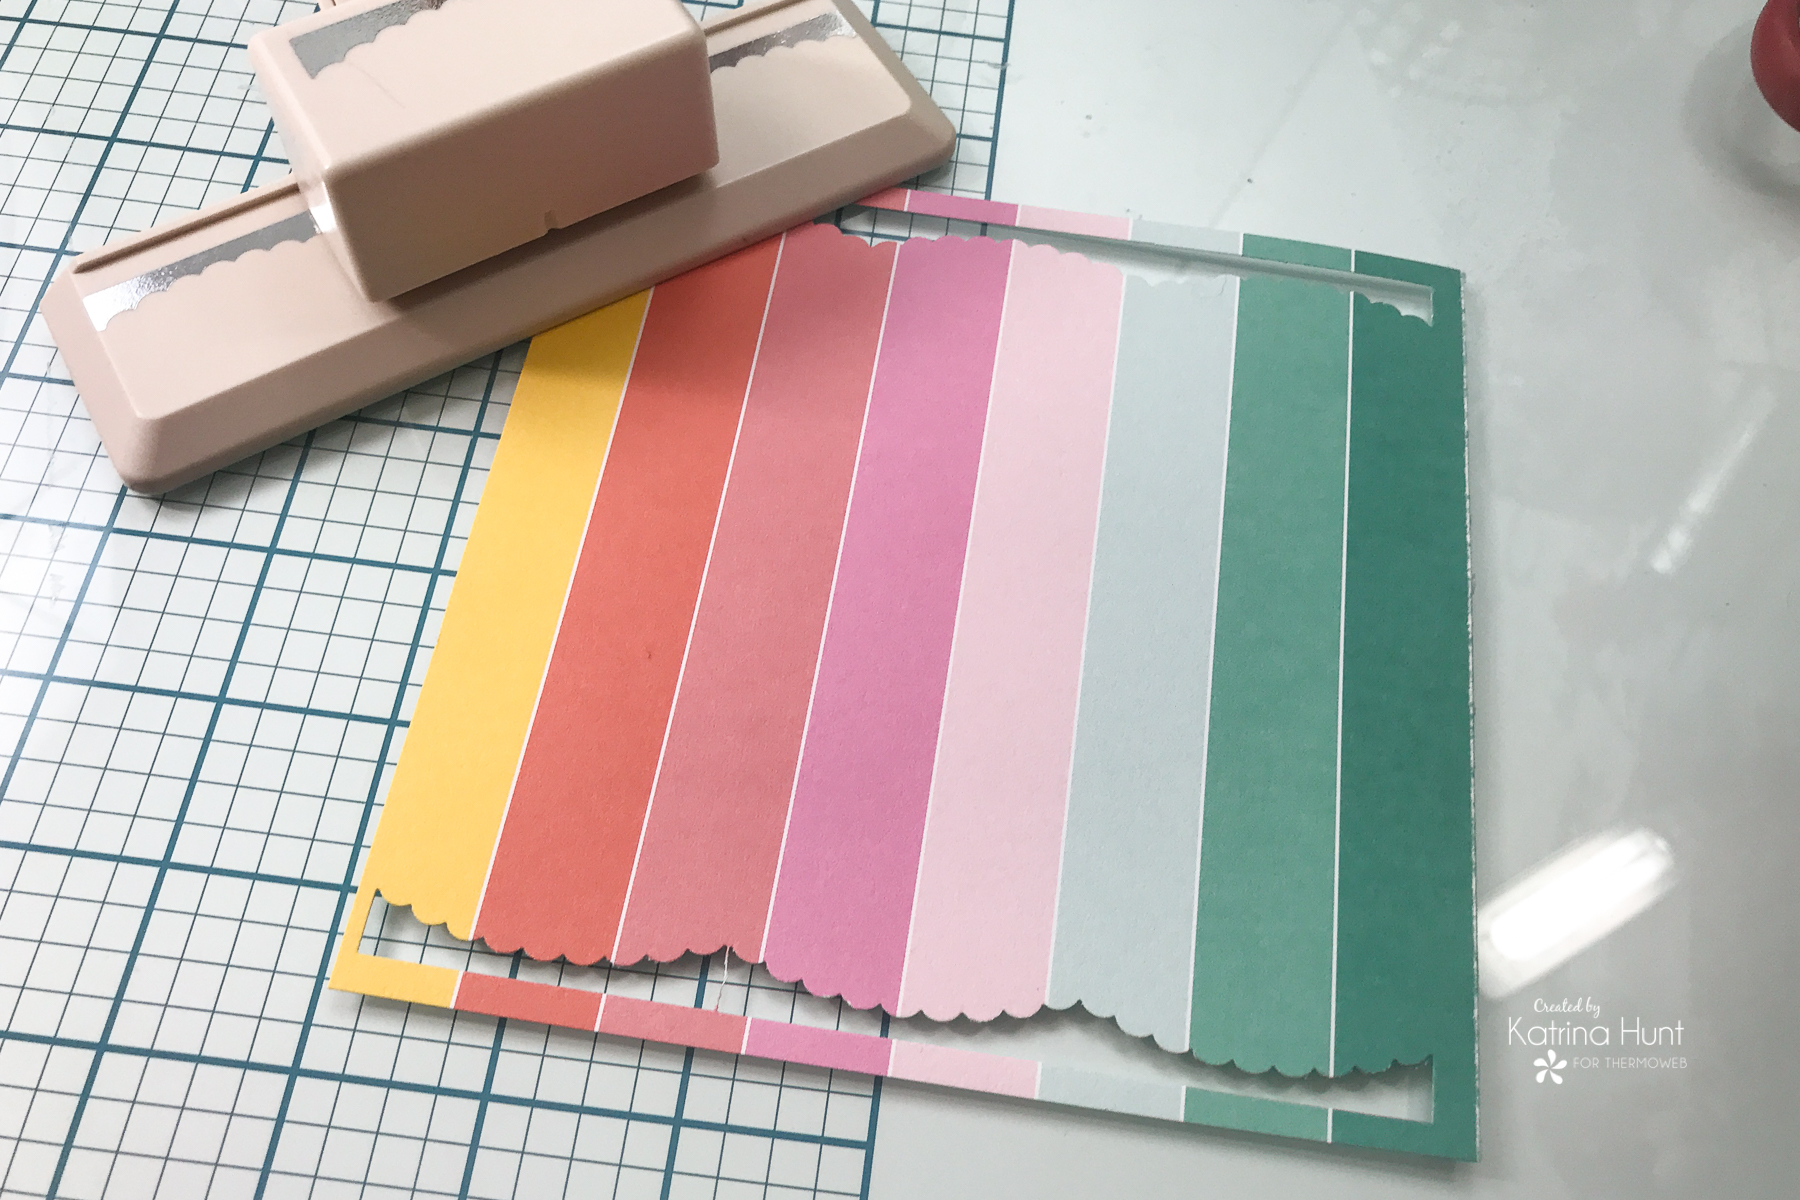
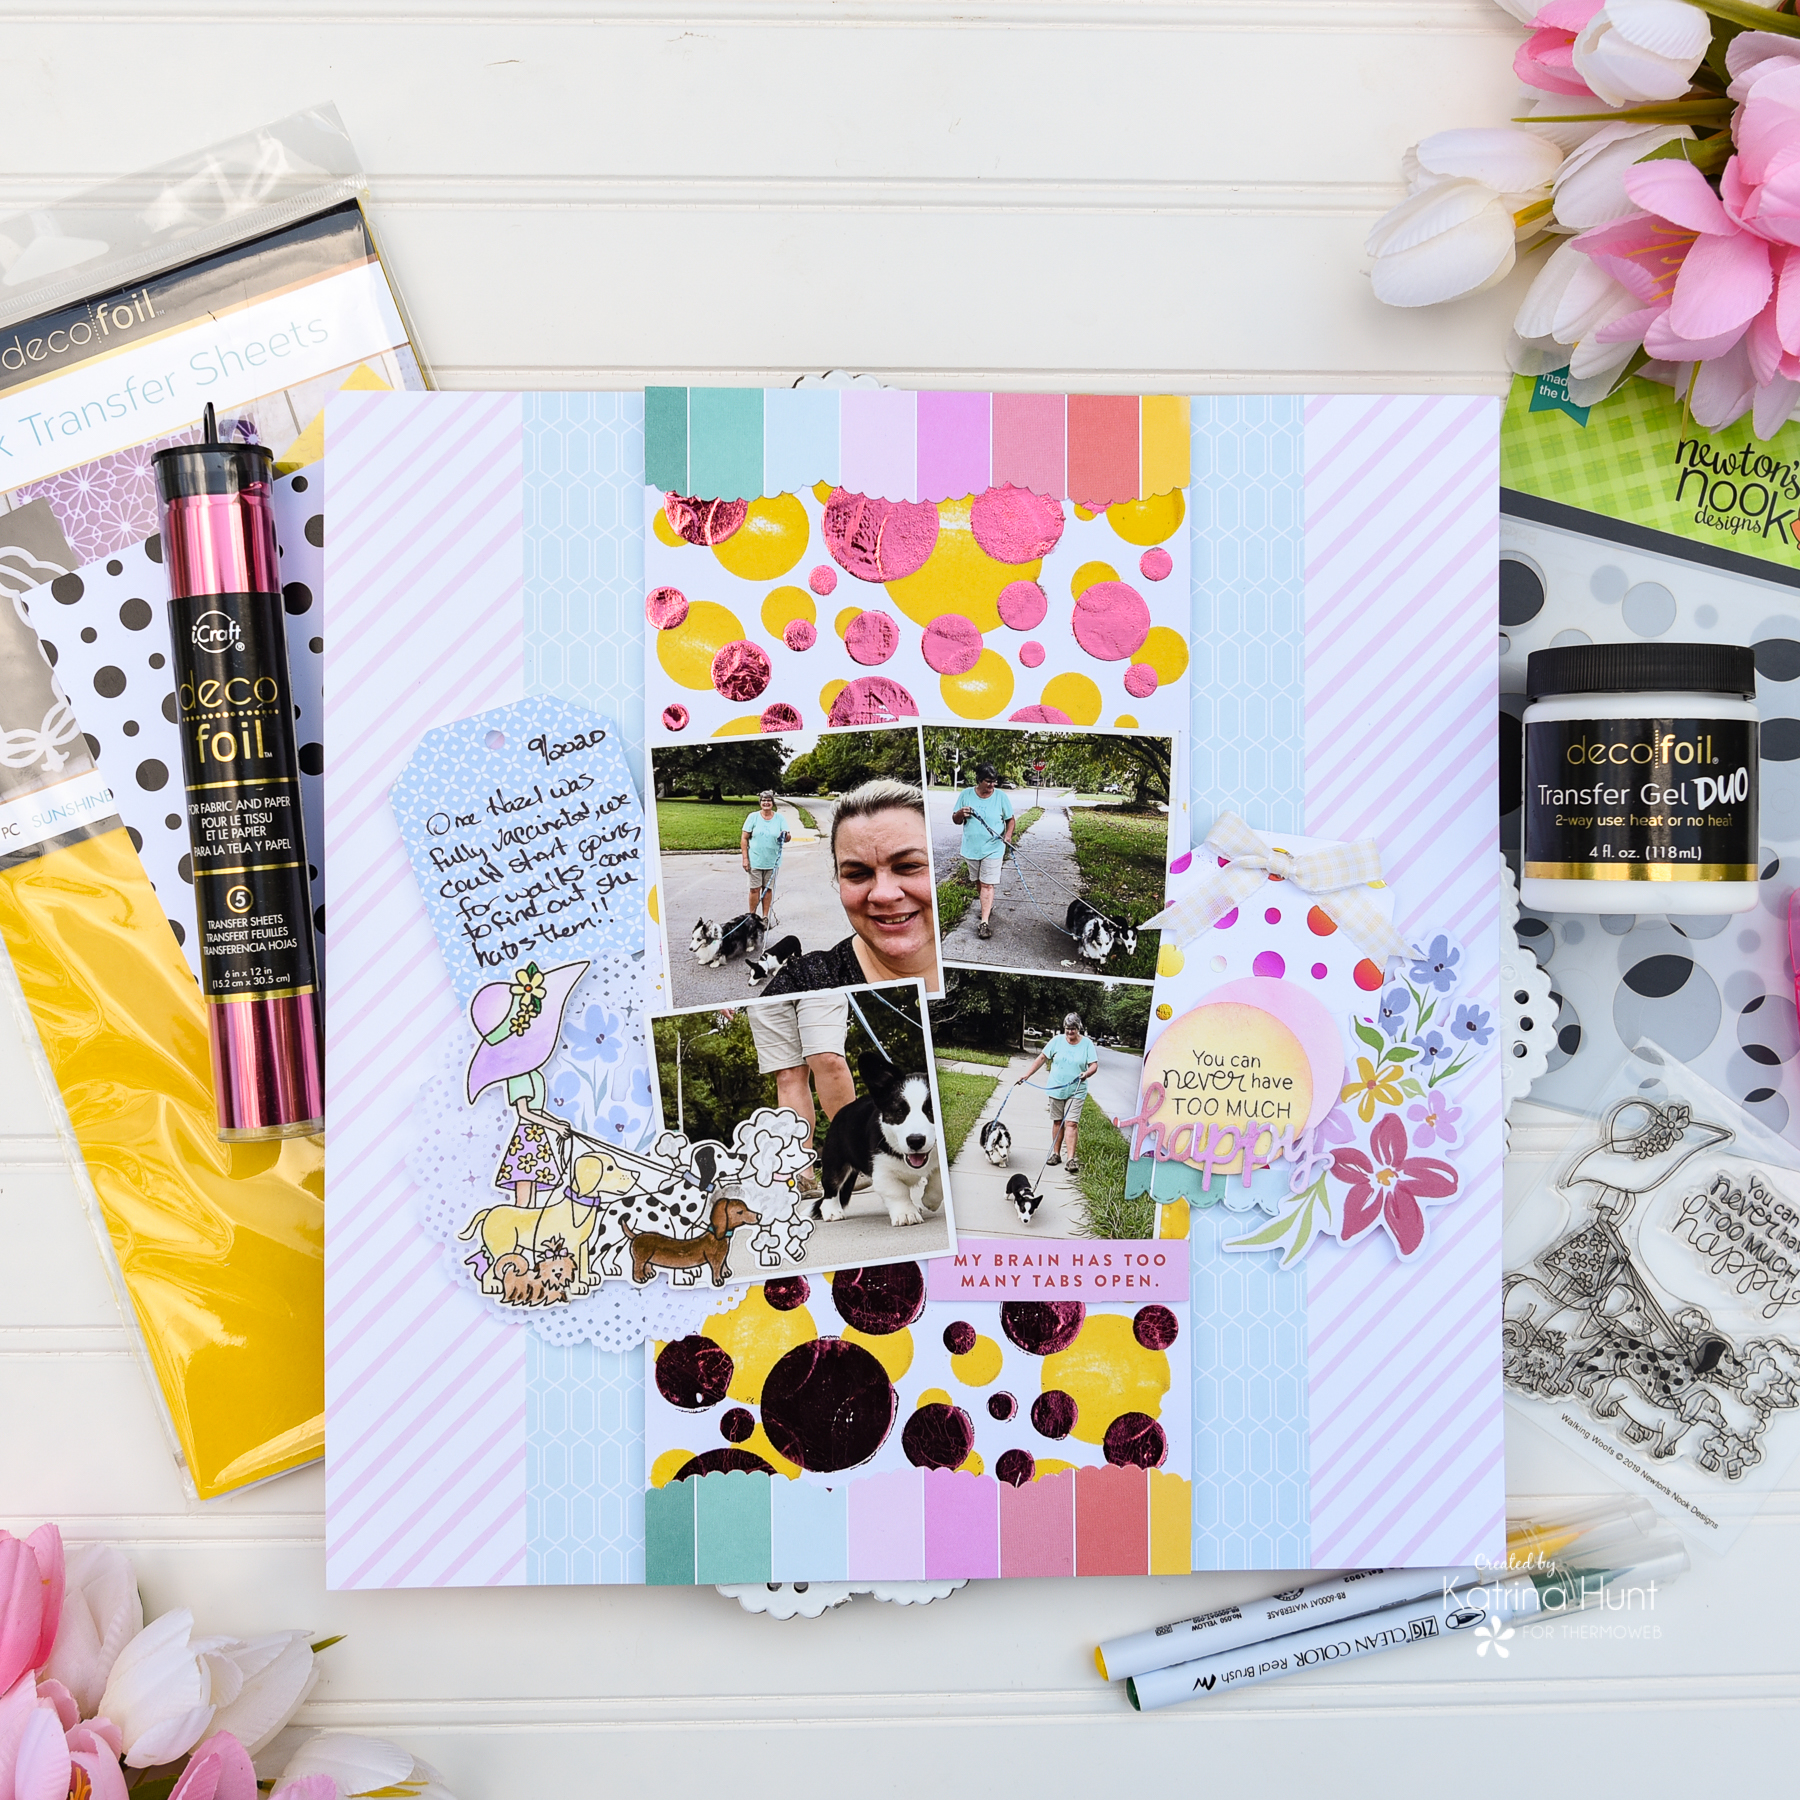
Once I had the middle section done, it was time to place pictures and all the embellishments I had created. I used very few from the actual paper collection. I just love how this turned out!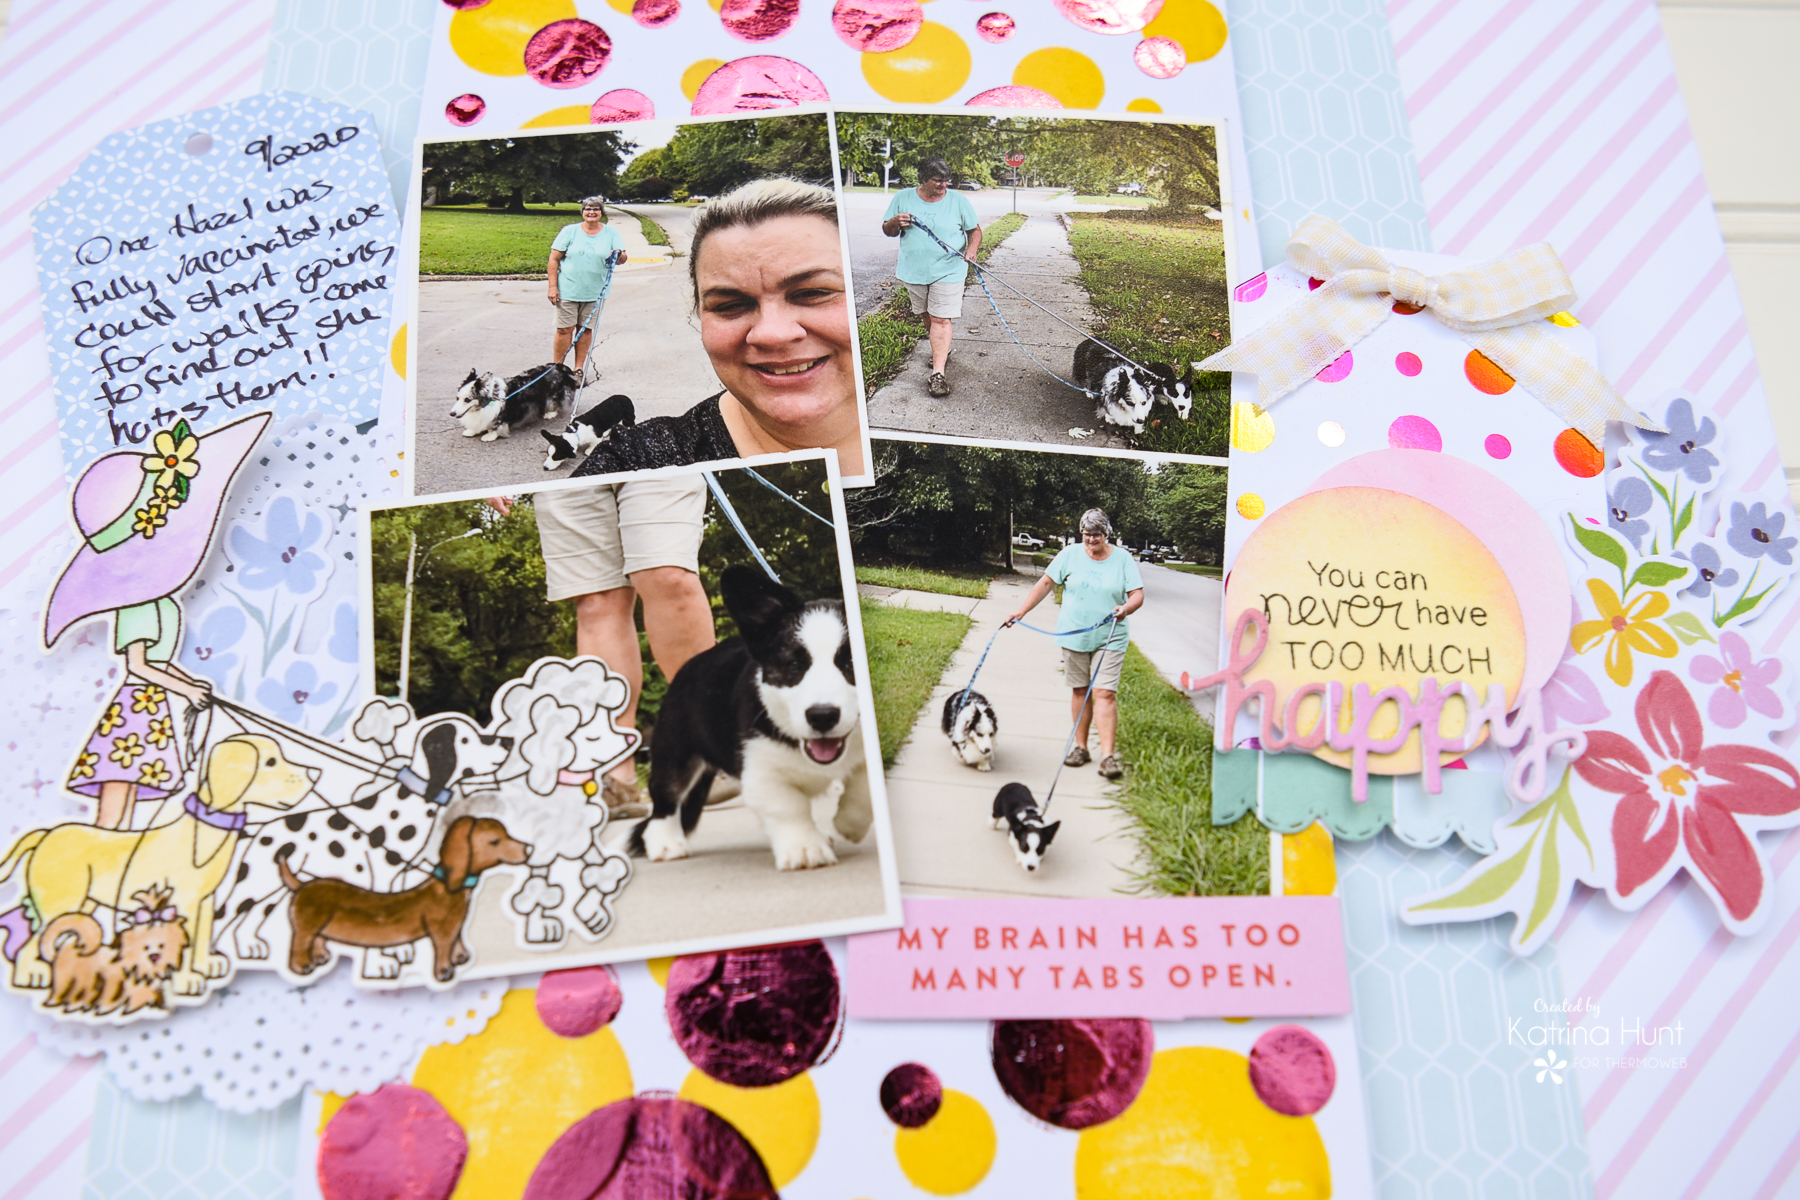
I hope I gave you some fun ideas on incorporating stamps, dies, foil and flock into your layouts! Sometimes you just have to think outside the box! Well, and make sure you have time to play!
Have a wonderful week and I hope you enjoy our team up with Newton’s Nook!!
This post contains affiliate links. For more information, see our disclosure HERE.
Don’t Miss Our Giveaway!

There are more amazing projects today over on the Newton’s Nook Designs blog so pop over there for more inspiration!
mjmarmo
April 28, 2021 at 12:02 pm (3 years ago)This is so cool.