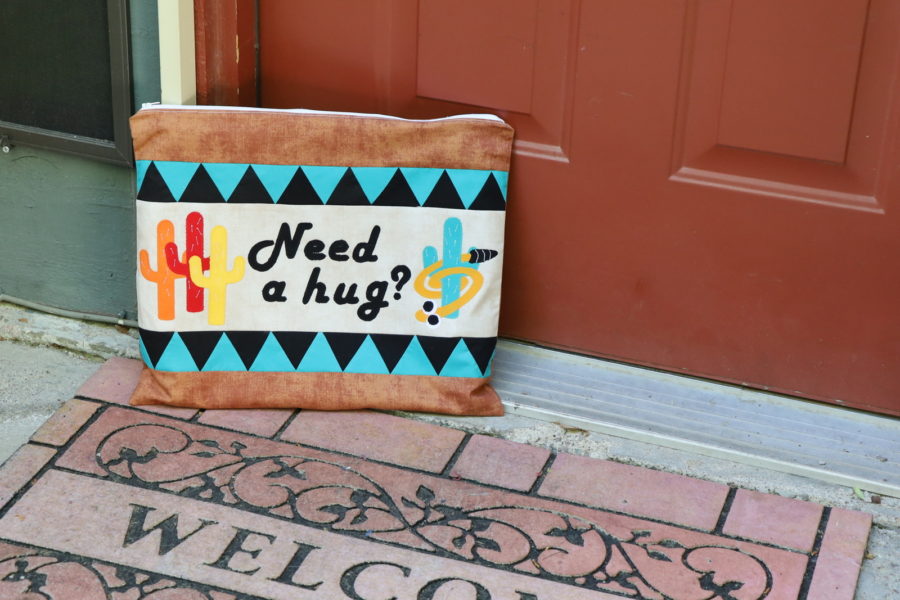
I have such fun using Crafter’s Edge Crossover II and fabric cutting dies. There are so many fabric dies to choose from…love it! My “Need A Hug?” zipper and lined bag went together quickly using the newly released Cactus die and Equilateral Triangle die for the applique.
Need a Hug Zipper Bag
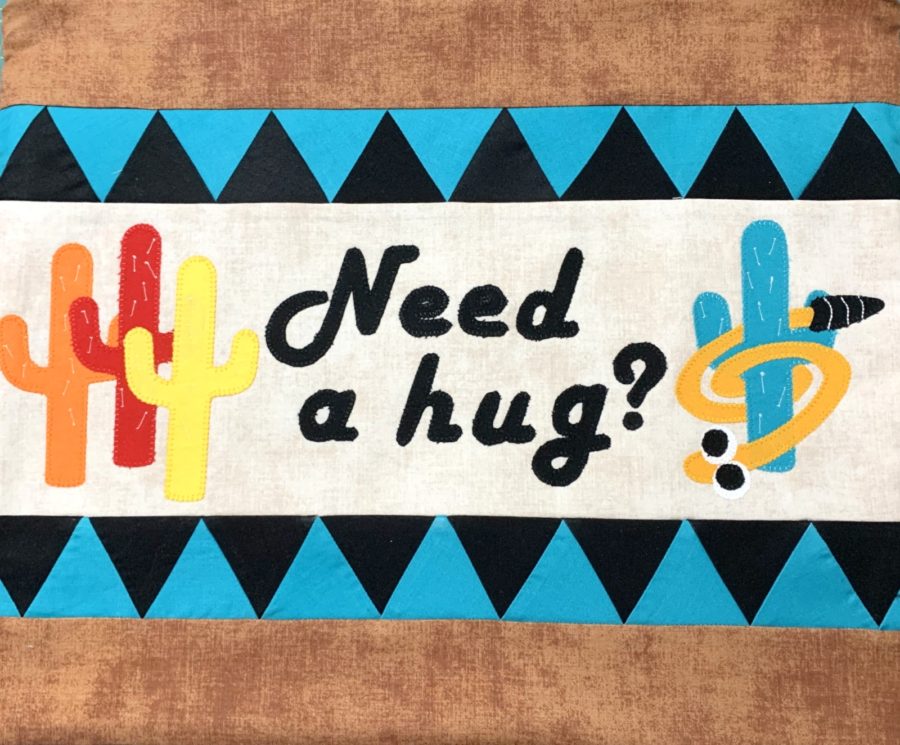
“Need A Hug?” Lined zipper bag measures approximately 15″ x 18″
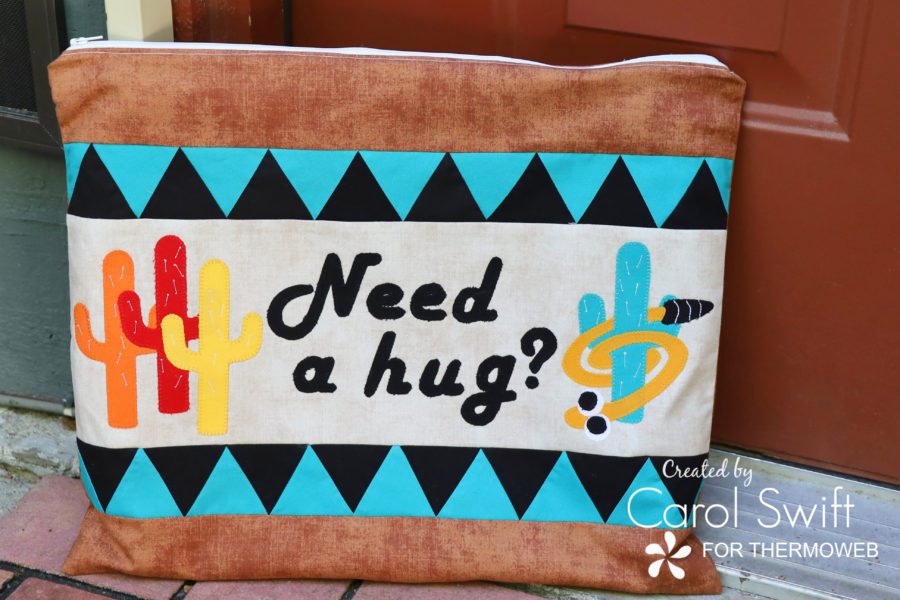
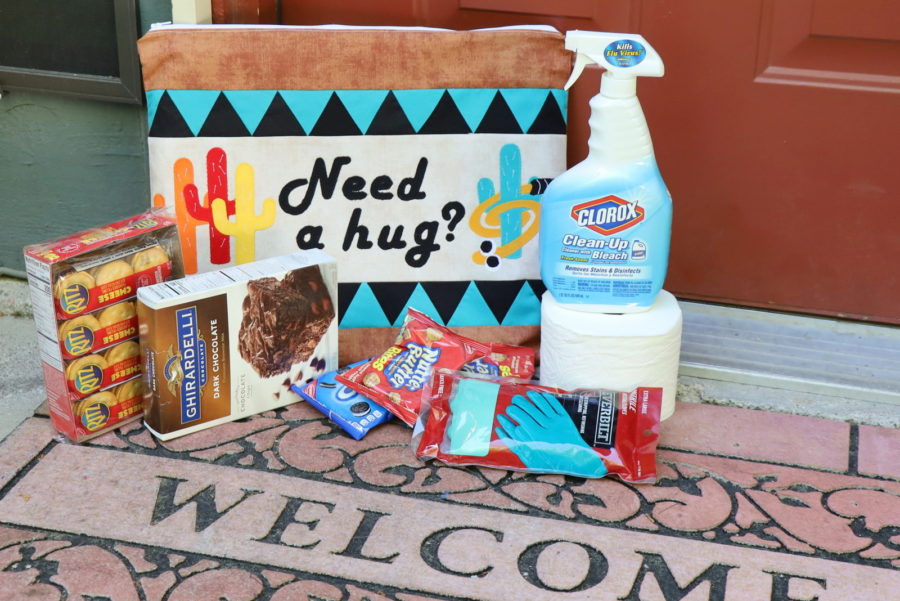
Dropping a “Need A Hug?” zipper bag filled with treats and necessities on someone’s doorstep would definitely brighten someone’s day. The possibilities are endless for filling it!
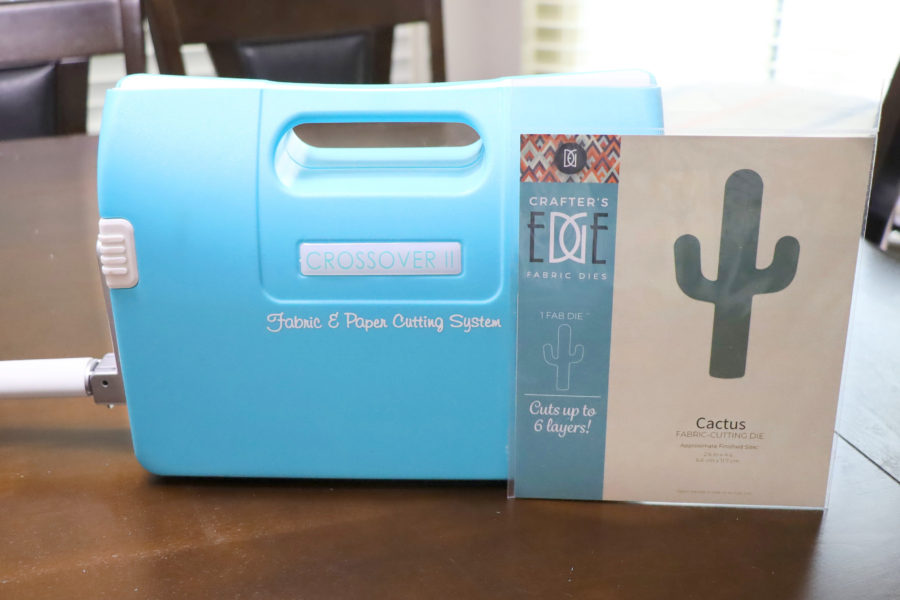
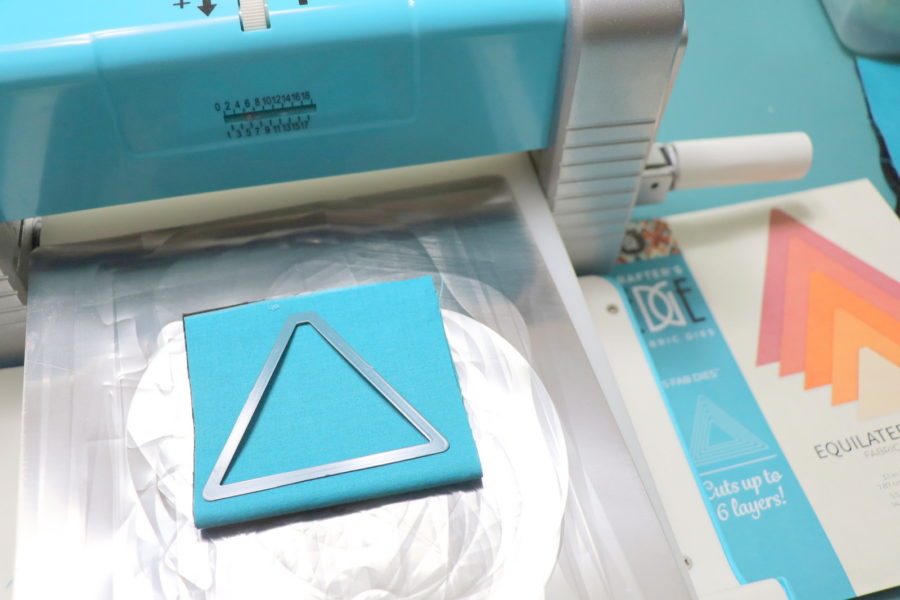
The Crafter’s Edge dies don’t take up much room when storing and can cut up to six layers. They just released a cactus die that was perfect for my “Need A Hug?” zippered bag.
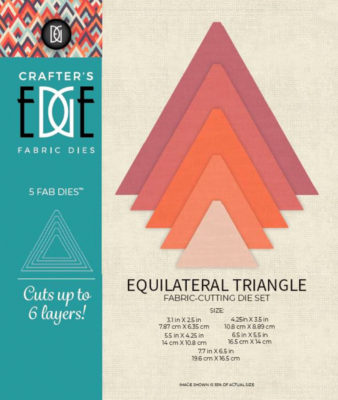
I used the Equilateral Triangle die, the smallest one, for two of the rows. The corners are notched to make it easy when sewing them together.
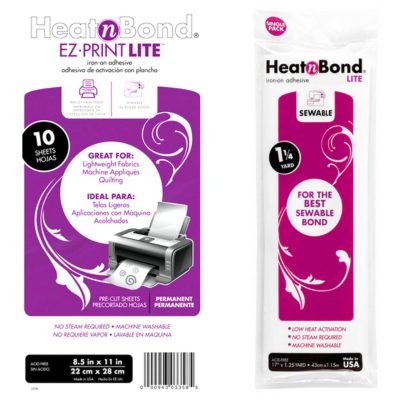
The cactus, snake, and lettering were backed with Heat n Bond Lite Iron-on Adhesive. You’ll love how easy it is to peel off the protective backing paper.
I used a video by Nicole at Sprout Patterns to make “Need A Hug?” because I felt it had great instructions for a lined zipper bag. Her instructions made it so easy to sew the bag together using the front bag section I made with the cactus and equilateral triangles.
[youtube https://www.youtube.com/watch?v=dhadqUbksxg%5D
What You’ll need for “Need A Hug?” Zipper Bag
Heat n Bond Lite Iron-on Adhesive
Fabric Fuse Liquid Adhesive
Heat n Bond Fusible Interfacing
18” Polyester Zipper
Thread/Embroidery Thread
Crafter’s Edge Crossover II
Crafter’s Edge Cactus and 3.1″ x 2.5″ Equilateral Die
Fabric Needed:
10-11 fat quarters
Cutting instructions:
Cut 1 – 6 ½” x 18” beige, front of the bag
Cut 16 – 3.1” x 2.5” black, equilateral triangles
Cut 18 – 3.1” x 2.5” turquoise, equilateral triangles
Cut 4 – applique cactus shapes
Cut 2 – 3” x 18” brown, strips
Cut 2 – 15” x 18” beige, lining
Cut 1 – 15” x 18” brown, back of the bag
*Tip: Ironing Heat n Bond Fusible Interfacing to the back of an applique block can help keep the threads from showing through the fabric and stabilize the fabric to make stitching small pieces easier.
Need a Hug Zipper Bag Instructions
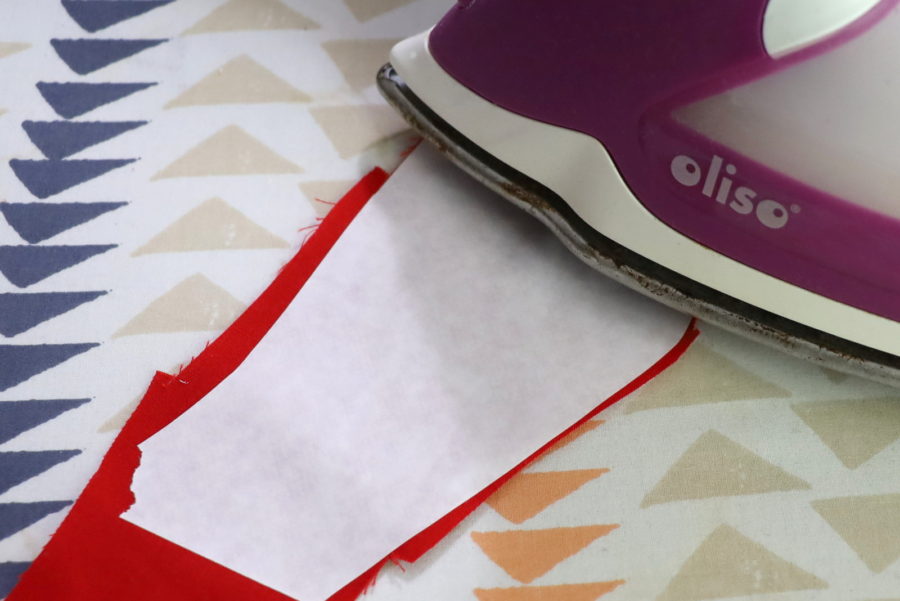
Sewing/Applique Instructions: Seams are sewn 1/4” wide. Prepare the cactus design using iron-on adhesive. Iron adhesive to the wrong side of applique fabrics following package directions. Cut out four cactus shapes using Crafter’s Edge cactus fabric die.
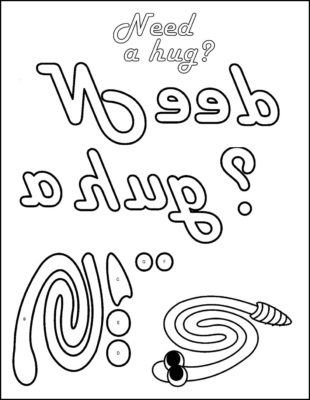
Snake and lettering: Right-click on picture to save. Print on 8 1/2″ x 11″ paper. The pattern has been reversed. Trace designs on the iron-on adhesive.
Iron adhesive pieces to the wrong side of fabrics following package directions. Cut out applique pieces. Peel off paper liner from the backs of applique pieces. Place applique, adhesive side down, on the right side of the fabric. Press according to package directions until the entire piece is bonded. Let cool. Sew around edges of applique using a straight, zig-zag, or blanket stitch.

Using the Crafter’s Edge Crossover II and 3.1″ x 2.5″ Equilateral Die, cut out:
16 – 3.1” x 2.5” black, equilateral triangles
18 – 3.1” x 2.5” turquoise, equilateral triangles
With the right sides together, sew equilateral triangles together alternating colors and directions.
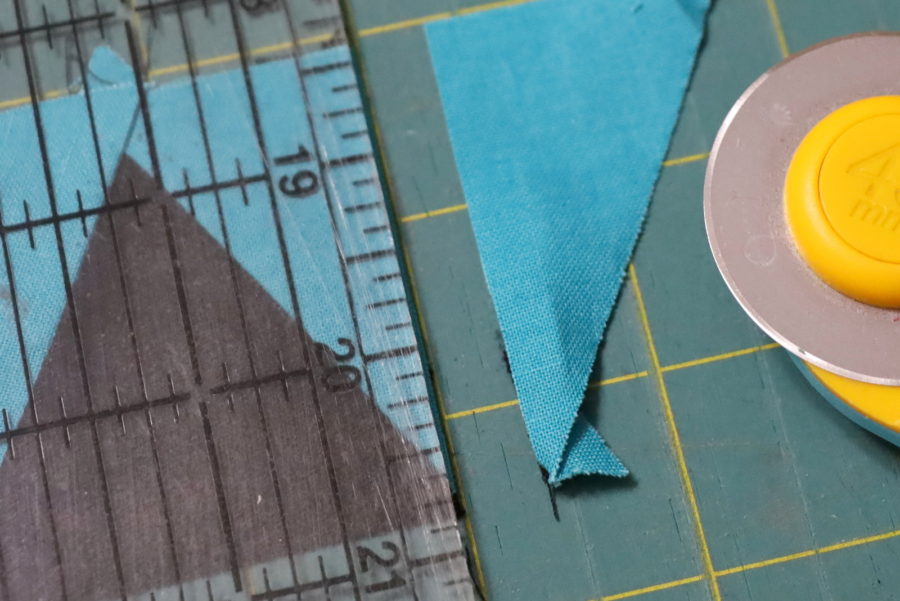
Press seams to sides. Trim ends as shown below. Strips should be 18″ long.
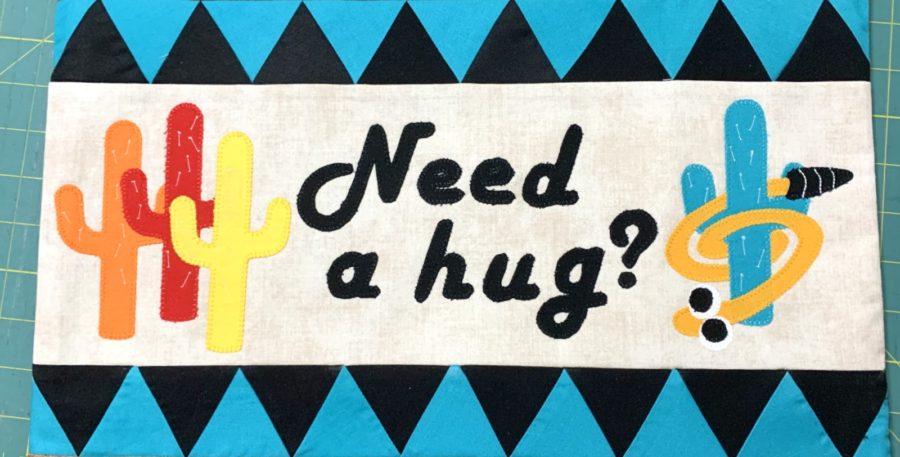
With right sides together, sew equilateral triangle strips to top and bottom of center applique strip.
With right sides together, sew 3” x 18” brown strips to top and bottom of equilateral triangles. Press seams towards brown strips.
Follow the video link above to sew the zipper bag together.
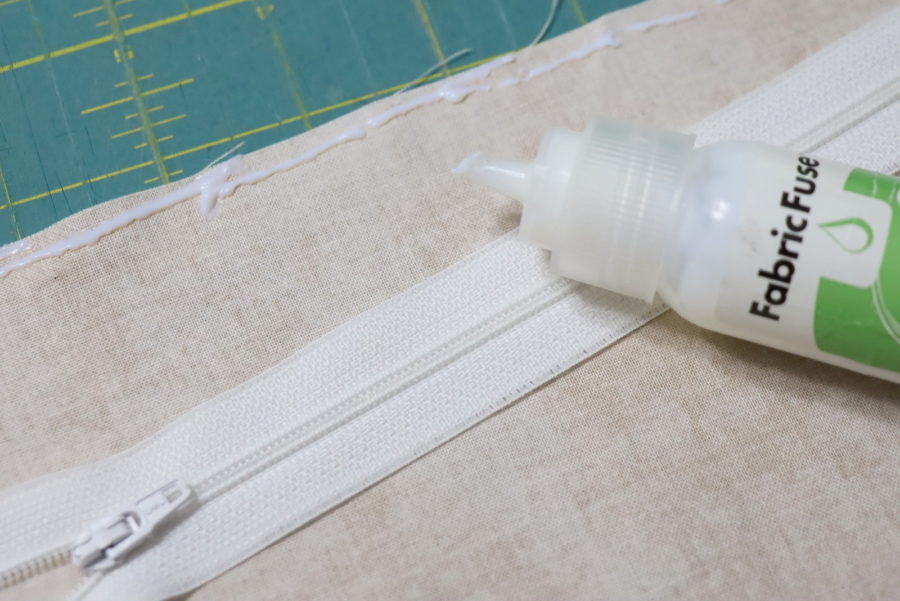
*Instead of pinning the zipper in place before sewing, use Fabric Fuse to hold it and the fabric layers in place. Just apply the Fabric Fuse to the fabric, lay the zipper on the fabric, let dry, and sew. You’ll love how it keeps the zipper right where it should be with no slipping out of place.
Fill your bag and share the hugs with someone you love!
This post contains affiliate links. For more information, see our disclosure HERE.
