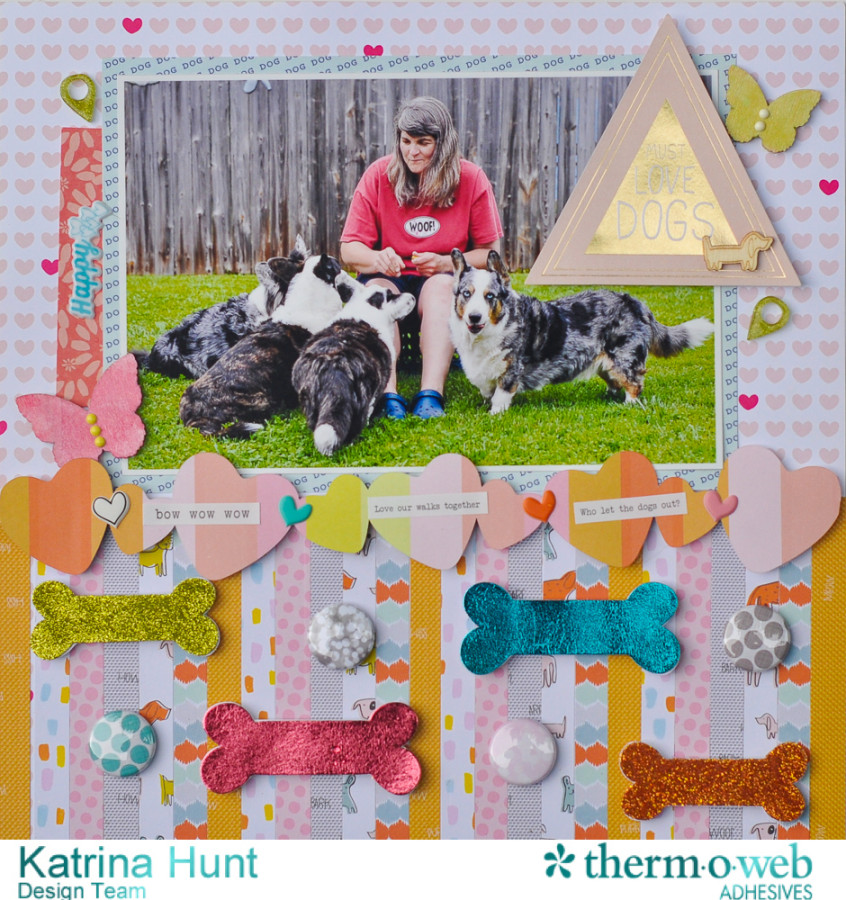
DecoFoil, glitter and dogs? What do those things have in common? Well, I am going to show you how well these go together on my project today!
Katrina here, from Paper, Scissors and Glue to share a layout with all these fun things combined. And a few tips and tricks on working not only with iCraft® Deco Foil™, but also the Deco Foil™ Foam Adhesive Sheets.
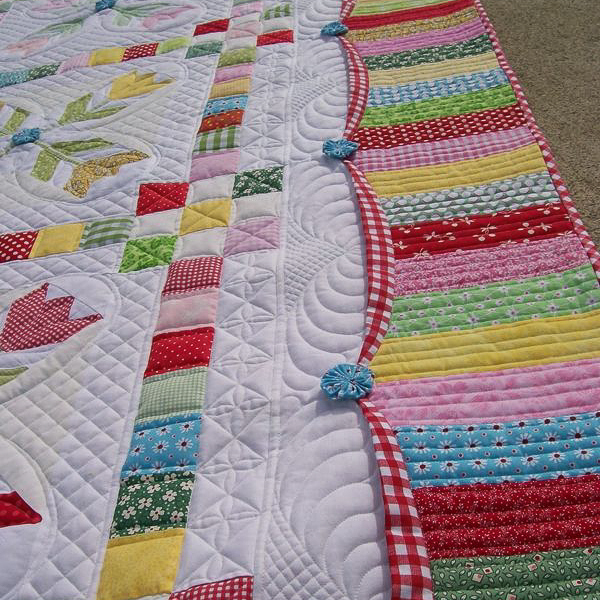
I was inspired by a quilt that I found on Pinterest. Now, my layout isn’t exactly like the quilt, but you can see where I got my inspiration from right?! (Original post for pin can be found HERE.)
Therm O Web Supplies:
Therm O Web 3D White Foam Squares-1/2 inch
Therm O Web 3D White Foam Squares-1/4 inch
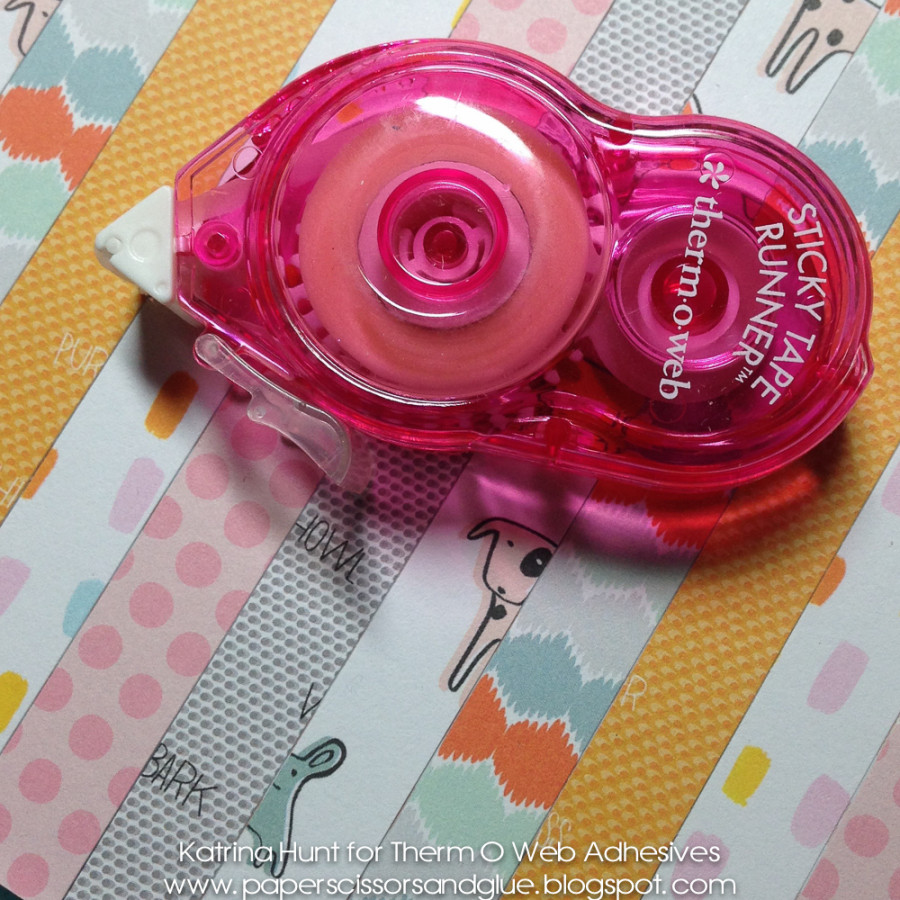
Therm O Web Sticky Tape Mini Runner
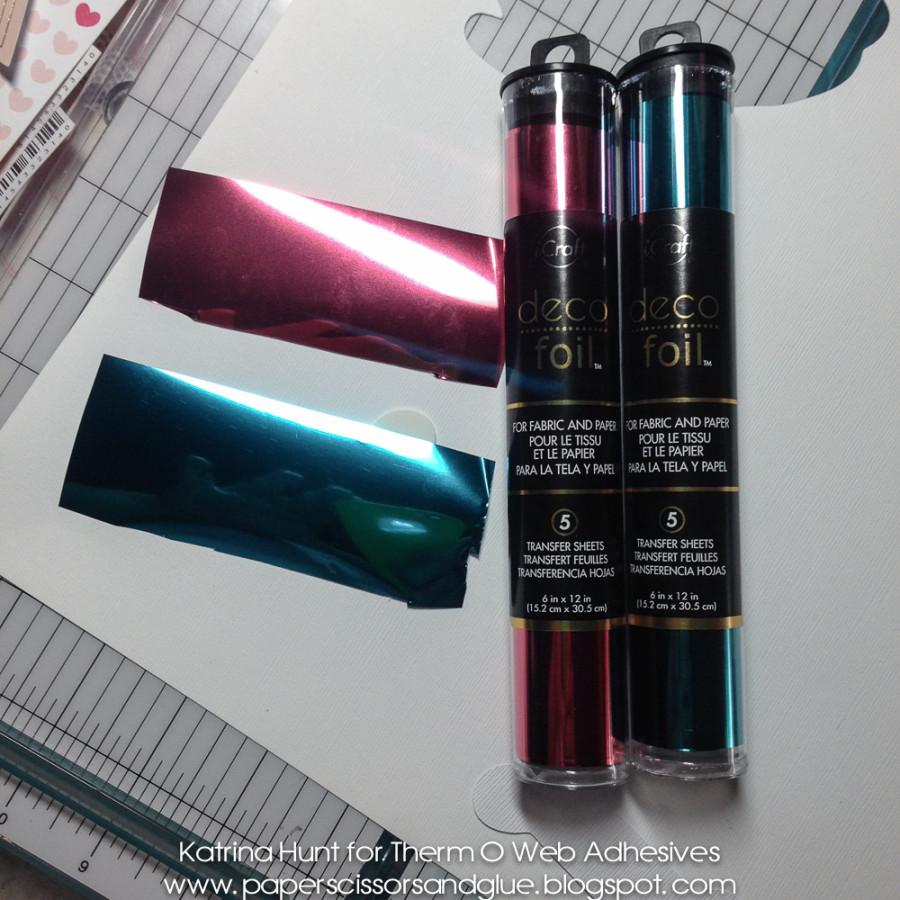
Therm O Web iCraft® DecoFoil™ – Pink Melon
Therm O Web iCraft® DecoFoil™ – Teal
Therm O Web iCraft® DecoFoil™ White Foam Adhesive
Other Supplies: Pattern Paper, Puffy Stickers, Stickers, Dog Wood Veneer-Seven Paper; Happy Puffy Sticker-Pinkfresh; Butterfly Wood Veneer-Studio Calico; Enamel Dots-My Mind’s Eye; Glitter-Martha Stewart; Flair-{a flair for buttons} Etsy Shoppe; GeoTags-KI Memories; Faber Castell Gelatos; Silhouette Cameo with cut files
Start by cutting strips of paper for the bottom part of layout. Attach these strips with Sticky Tape Mini Runner. Strips in the layout were 5 inches by .5 inches approximately.
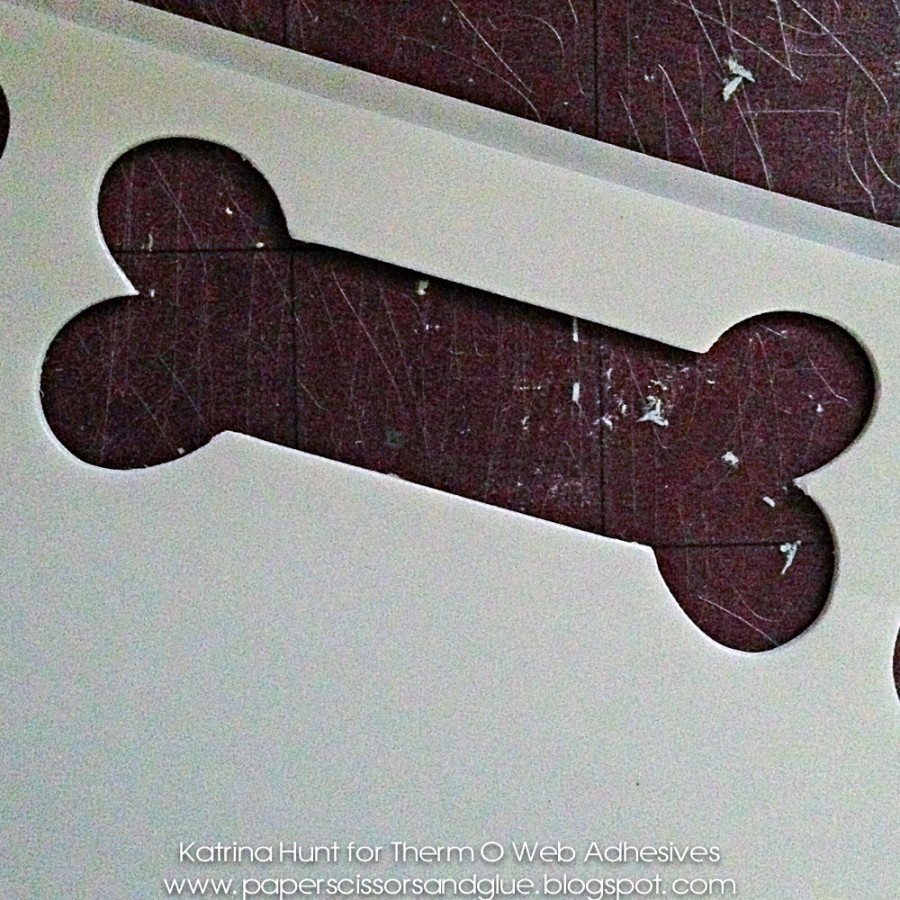
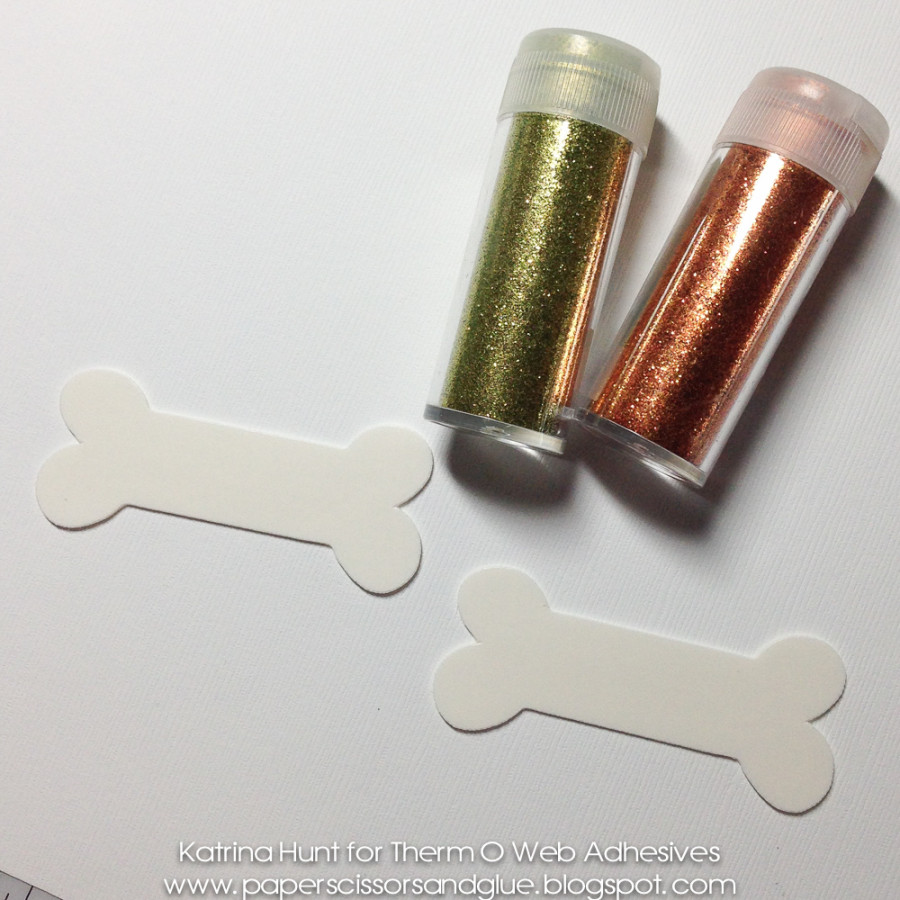
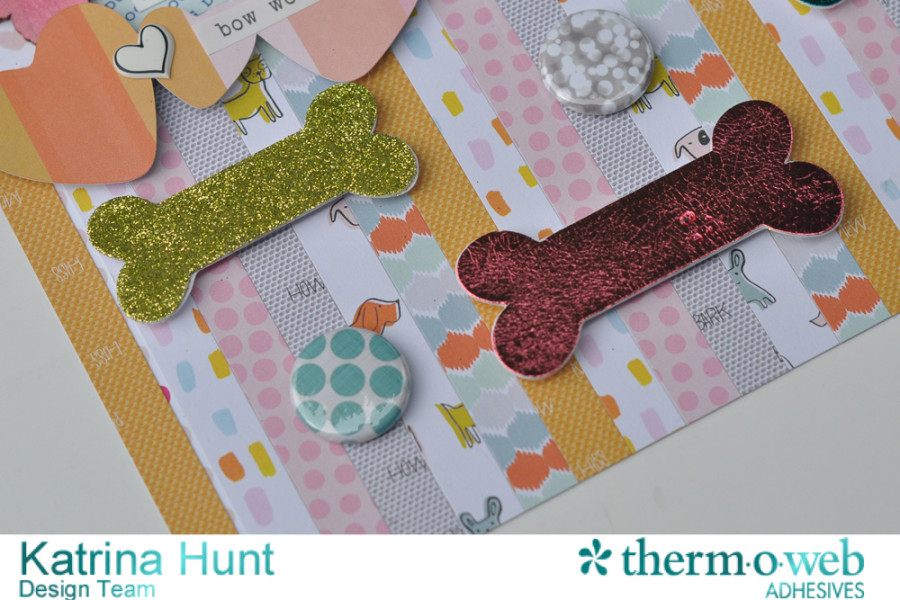
Cut bones out of DecoFoil™ Foam Adhesive Sheets using electronic die cutting machine. Two bones are sized slightly smaller than the other two. You will cover two bones with DecoFoil and two with glitter.
Tips for cutting foam with Silhouette Cameo:
- Place foam adhesive sheet dull side down on cutting mat, pressing firmly
- Use Stamp setting preset in cutting software. Change blade depth to 10. Cutting software is preset for 9.
- Speed set on 1. Thickness on 18.
- Double cut should be checked
- Line Segment Overcut should be on. I set start and end at .1mm
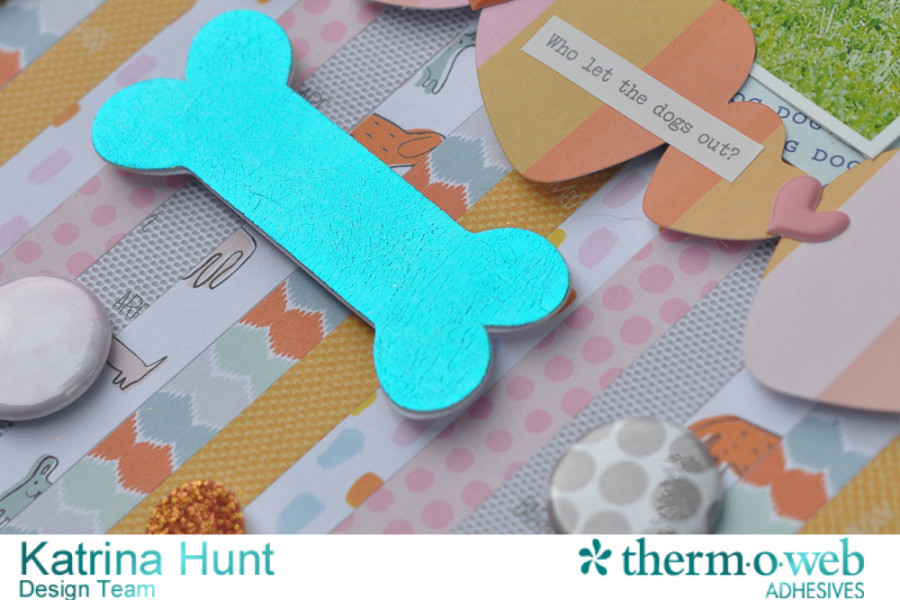
Choose colors of iCraft® DecoFoil™ transfer sheets to use. Cut a piece of transfer sheet slightly bigger than die cut. Peel off top layer of adhesive protective sheet of die cut and place foil transfer sheet on top, with silver side facing the sticky adhesive of the die cut. Rub slightly with finger until foil is completely transferred and die cut is covered. Once die cuts are covered place on to layout.
- I wanted my bones to stick up slightly, so I cut the same bones out of cardstock and attached the adhesive die cut on the cardstock for a sturdy backing. Then I used the 3D Foam Squares to pop them up off of the layout.
You can also use the Deco Foil™ Foam Adhesive Sheets for glitter! Pick glitter colors for the die cuts left.
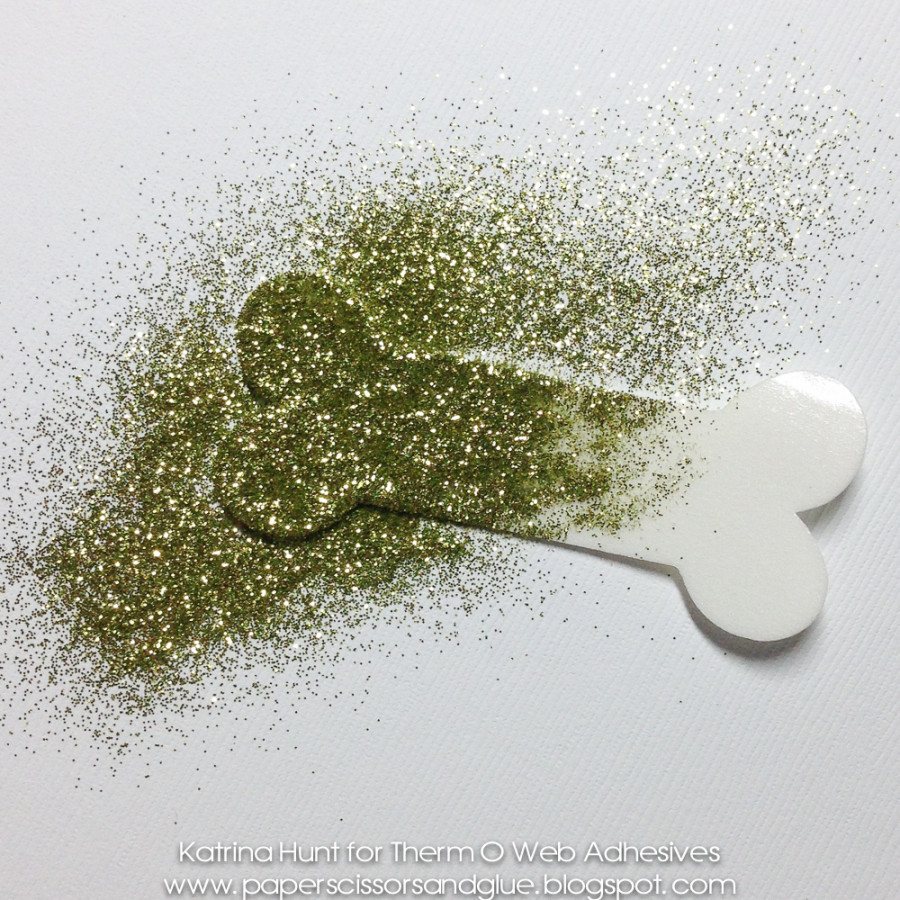
Removed adhesive protective coating and sprinkle glitter generously on die cut. Tap die cut to remove excess and also burnish with fingertip to make sure glitter is adhered.
Add more embellishments and you will have a fun project that combines all things sparkly, DecoFoil and glitter! Have a great Monday and thanks for stopping by the ThermOWeb blog.
Katrina Hunt

Beth Williams
June 22, 2015 at 7:15 pm (10 years ago)If I can get my 3 to set together-I am going to give this a try. Love the happy,bright colors.