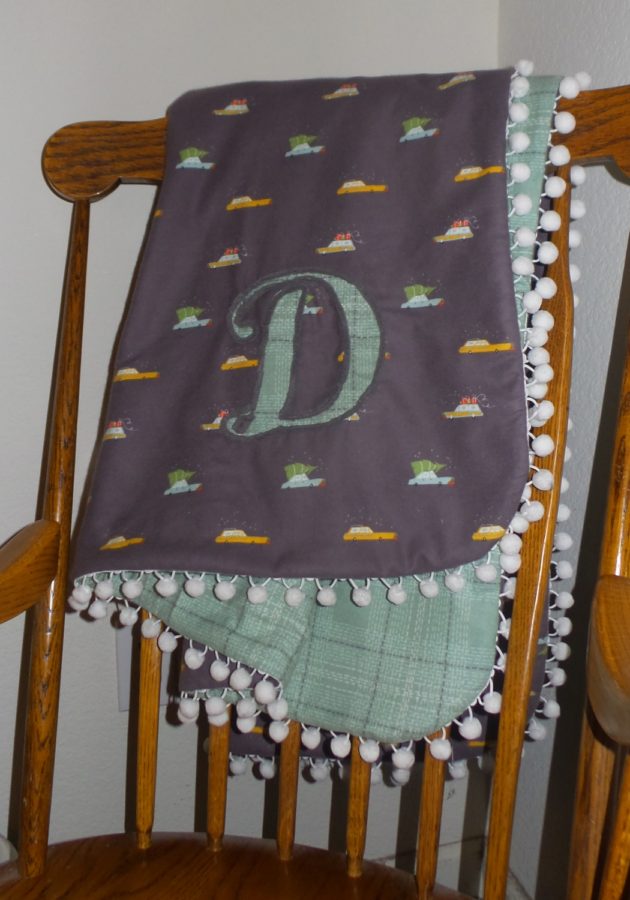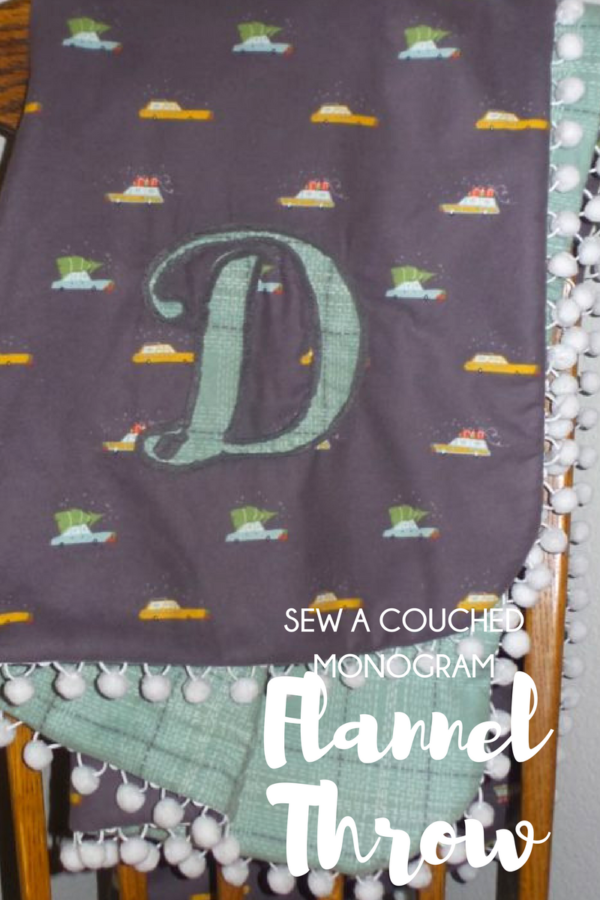
Designer Jennifer Davey will have you wishing you were cuddled up under this incredibly soft blanket! Our thanks to Dear Stella for providing the adorable fabric from their Winter Cabin Flannel Fabric Collection! We have to tell you..it is so soft! Watch for more projects featuring this adorable collection on the blog!
Today though we’re all about warmth and warmth from a cozy blanket that featuring a couched monogram!
Monogrammed Flannel Throw with StitchnSew Fleece
HeatnBond EZ Print FeatherLite • 8.5 in x 11 in
StitchnSew Fleece Sew-In High Loft – 1 1/2 yards
SpraynBond • Basting Adhesive
Fabric Fuse Liquid Adhesive
Aruifill Thread – 2620 & MT1000
Dear Stella Flannel: 1 1/2 yards plus 8 1/2 inch x 11 inches for monogram Dash Plaid (Spruce), 1 1/2 yards Holiday Cars (Gargoyle)
Pom Trim, 5 1/2 yards
Chenille yarn
Tools:
Oliso Iron
Sewing Machine (Used an Elan 780)
Walking foot
Couching foot
Zipper foot
Optional: Electronic Cutter (Artistic Edge 12) for cutting monogram.
Monogrammed Flannel Throw with StitchnSew Fleece Instructions:
Create monogram with your favorite font on your Electronic Cutter or by printing directly onto HeatnBond EZ Print FeatherLite • 8.5 in x 11 in. This throw used the font “Hello Script” in bold.
Align letter equal distance from side and bottom edges, as desired, these are about 5 inches away from the edges.
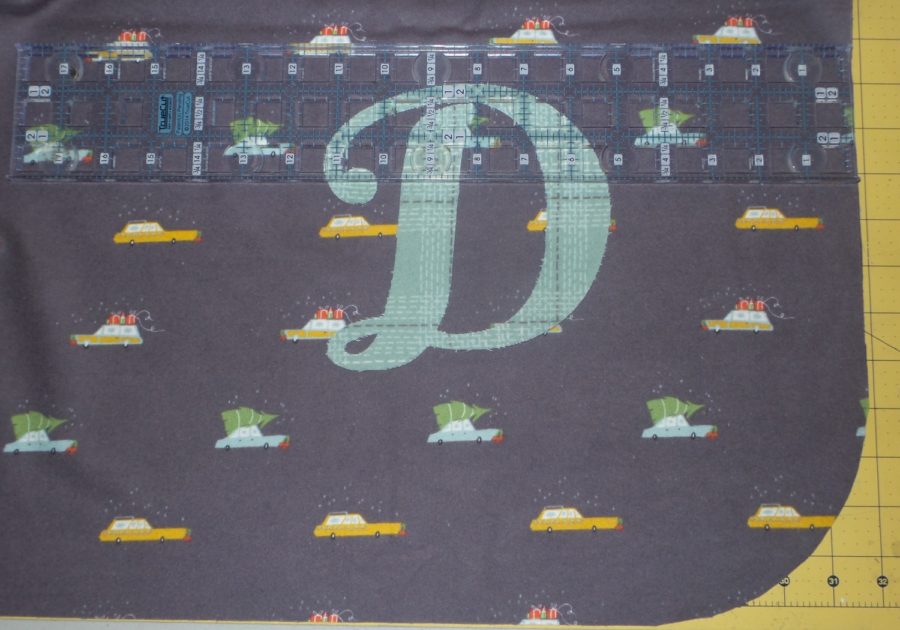 Press in place. Round corners if desired.
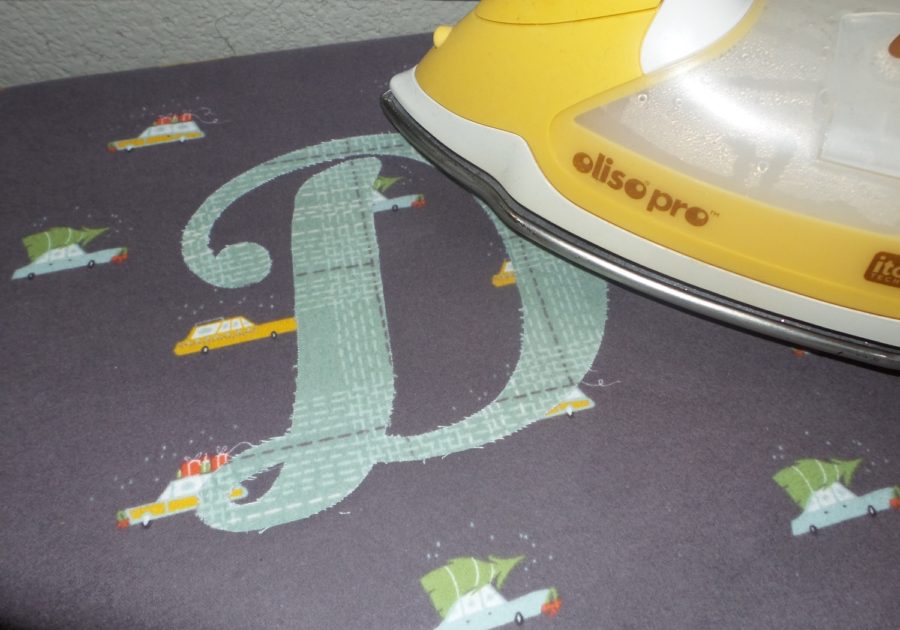
Apply StitchnSew Fleece to the wrong side of throw top with SPraynBond Basting Spray.
Install couching foot or free-motion quilting foot. Install Aurifil transparent thread (MT1000) in the top and thread to match yarn in the bobbin. Drop the feed dogs and prepare your machine for free motion.
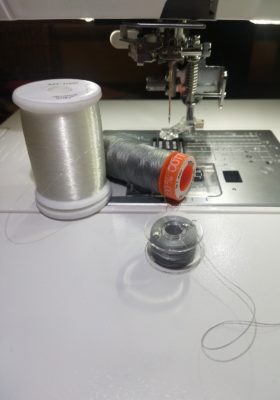
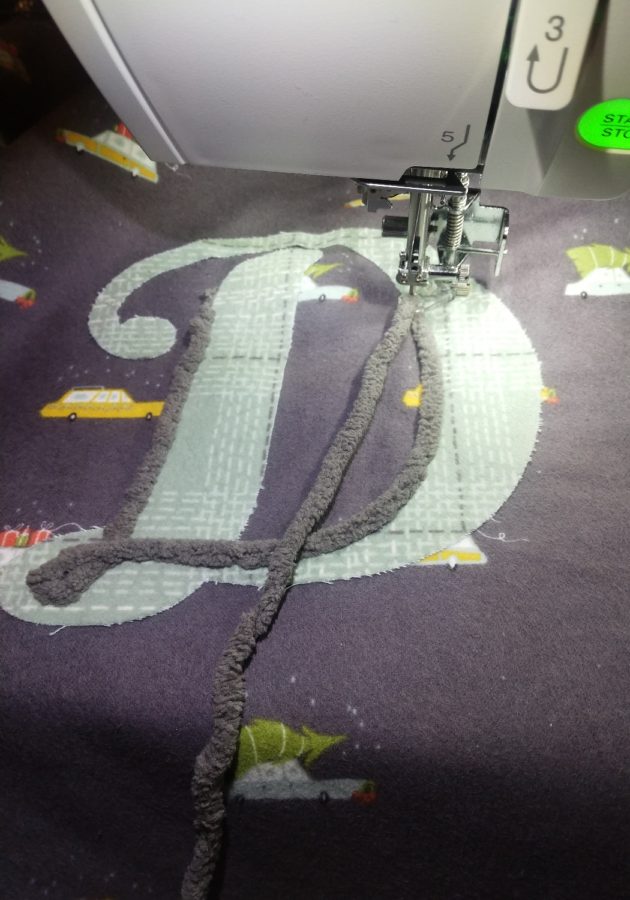
Thread yard threw presser foot and start stitching, trace around the outside of the letter. The yarn will be caught by the stitches as you go, just like magic. Add a dab of Fabric Fuse Liquid Adhesive at the cut ends of yarn to eliminate it’s tenancy to fray.
Return machine to straight stitch settings, install zipper foot and use a matching thread on top and bottom. Baste pom trim around outside edge of throw top with pom pointing in towards the center.
With right sides facing pin front and back of throw together and sew together leaving 8-10 inch opening to turn. Turn right side out and hand stitch opening closed.
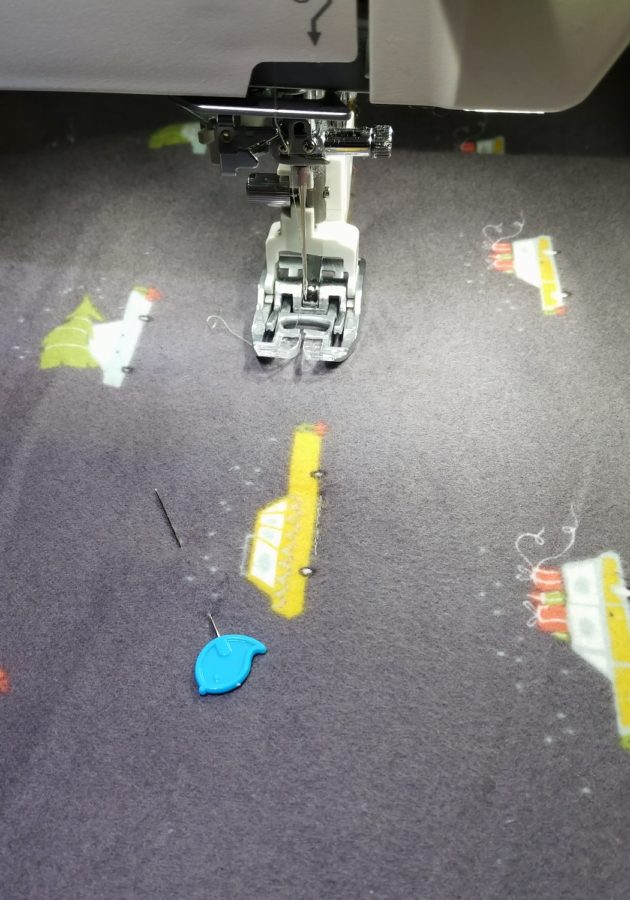
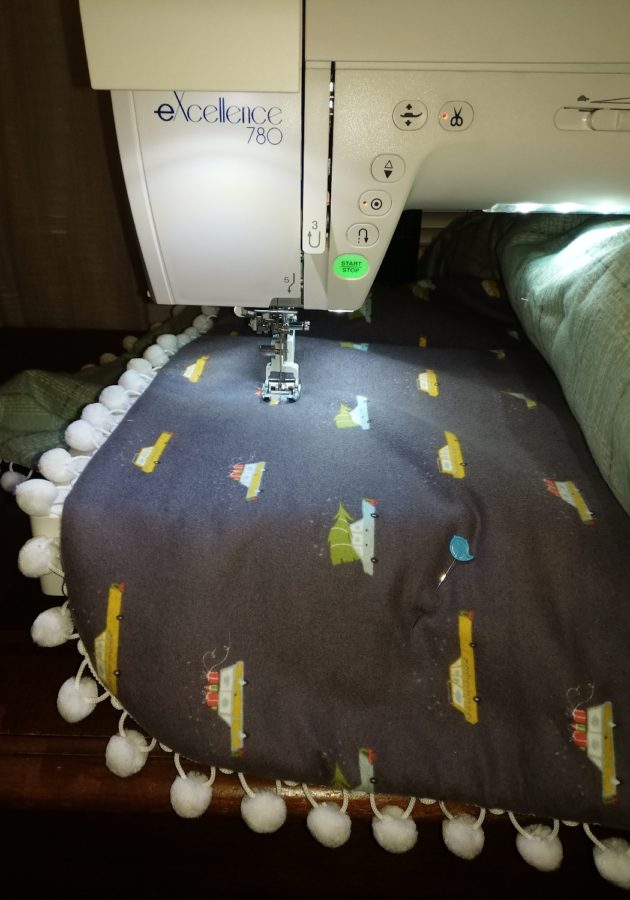
Smooth and pin top and bottom together. Instead of a traditional tied quilt that would pull attention from the adorable pom trim this throw is tied with a quick back and forth stitch. Locate repeating patterns or equal placements on the quilt and pin these points. This one was the bottom of some cars, Stitch back and forth 1/2 inch at each marked location. A walking foot is recommended this will keep layers from bunching or sliding.
TIP: For ease of maneuvering this throw on your machine roll excess throw up as you stitch these little sections.
Happy Sewing!
