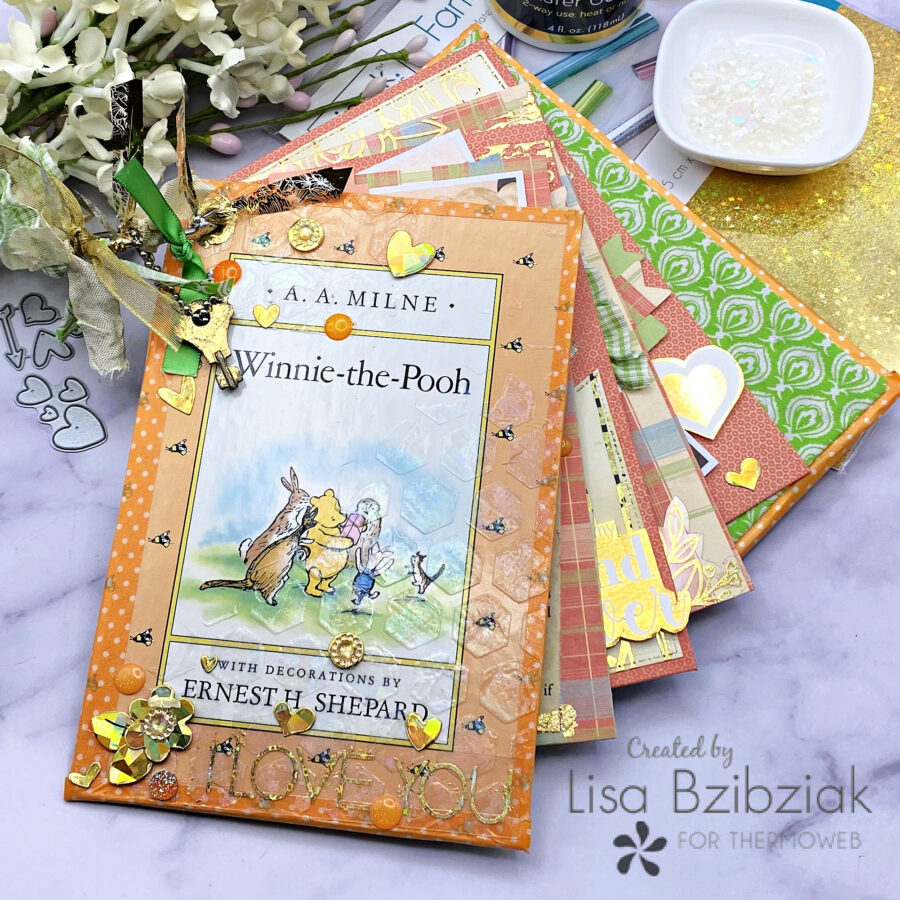
Hello! I’ve got a little Mixing of the Media for you today and I’ve created a mini scrapbook using an extra Winnie the Pooh hardcover book I had on my shelf. I had lots of fun altering it, adding various mediums and foiled products and of course some pics of my little guy (now a big guy).
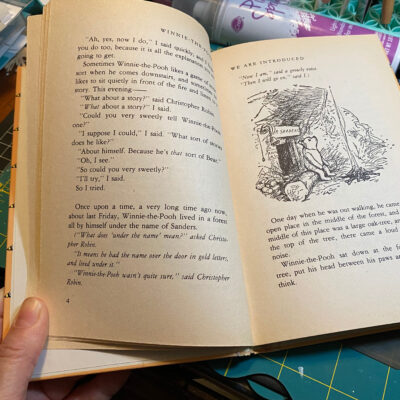
You think I’m crazy taking apart a book.. but I have the exact same book along with a few others because I’m a life long lover of Winnie The Pooh. And you can bet I’ll put all of these pages to use some day, including adding some more pages to this book eventually.
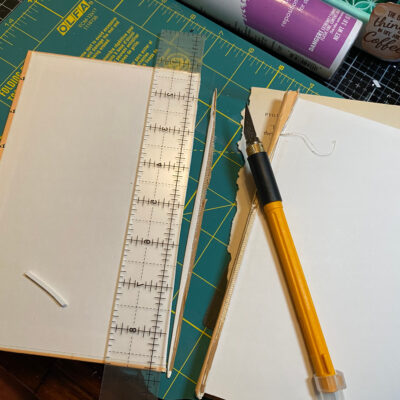
Bear with me because I’ve got lots of pics! I started by slicing off the covers using my Olfa Cushion Grip Art Knife, Frosted Acrylic Ruler and Folding Cutting Mat. It did take a few swipes of the knife, but it was quite easy with the sharp blade.
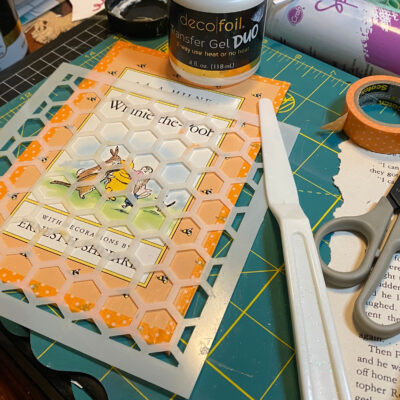
I cut the book cover to about 4 1/2 x 6 3/4 inches.. keeping it’s general dimension ratio but smaller. I added some washi tape around the edges and then used a Honey Comb stencil to add some Transfer Gel Duo over the top and set it aside to dry for a few hours to tacky.
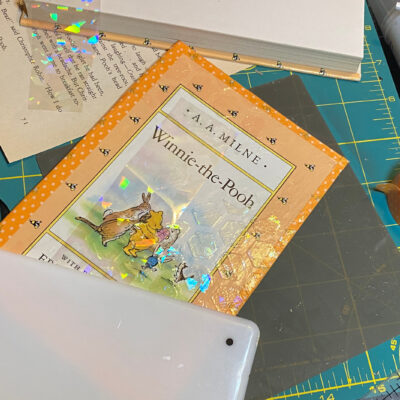
And then added some Magical Shattered Glass foil over it with my Stencil Pal and some pressure. Another great way to use up scraps! I asked my husband to drill a hole in my covers since they were so thick. Then I lined up the hole over my pages and used a hole punch for the rest.
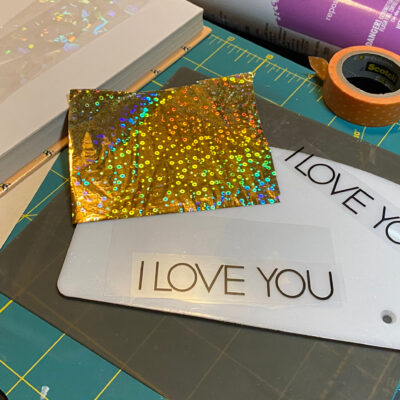
I decided I wanted to add one of the Adhesive Transfers to the front of the book, but with all of the bumpiness AND the fact that I didn’t know if I’d be able to apply enough pressure to transfer it cleanly, I decided to add it to a piece of acetate to give the illusion it was right on the book, but having the flexibility of adding it after my book was already together… this worked great for lots of pages where I’d already had them together and decided I wanted to add a transfer over the top.
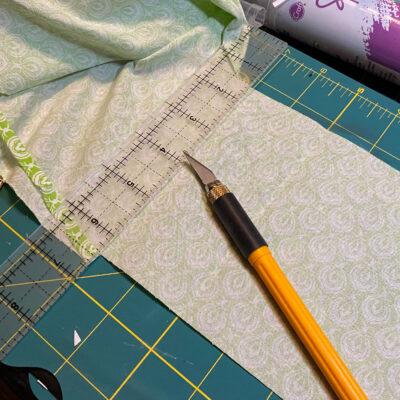
For the inside of the covers, I decided a fabric would be nice. I’ve had this small piece forever so I trimmed a thin piece of cardboard down to about 4 1/4″ x 6 1/2″ and then cut the fabric down to 4 3/4″ x 7″ so there was about a 1/4″ of overlap on all sides of the cardboard.
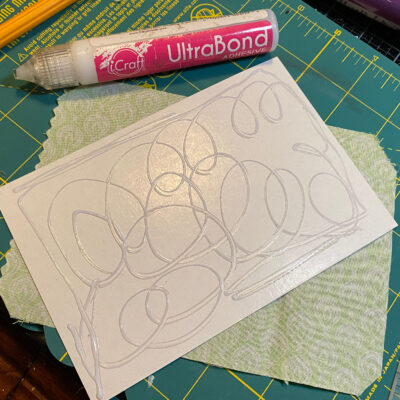
I applied iCraft UltraBond glue to the cardboard and adhered it to the center of the fabric. I cut the corners of the fabric perpendicular to the corner of the cardboard.
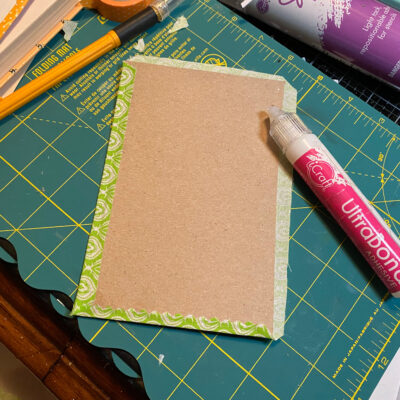
And then adhered the edges of the fabric over the edges of the cardboard… the sliced corner made it so I didn’t have a bunch of bulky fabric in the corner. And then I adhered the fabric covered cardboard onto the inside of the covers. This is also how I made all of my book “pages” except using paper instead of fabric to cover the cardboard. And all of the cardboard was from packaging that I’d saved.
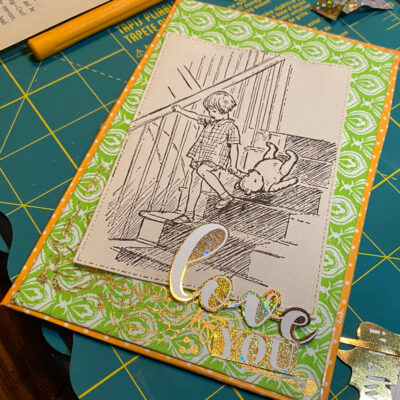
Then I started decorating! I cut pages from the book… die cut some and just trimmed others. I used some of the foiled sentiments from the Gina K Foil-Mates I’d foiled up during my Valentines card making and trimmed the sentiments so as not to take up too much space.
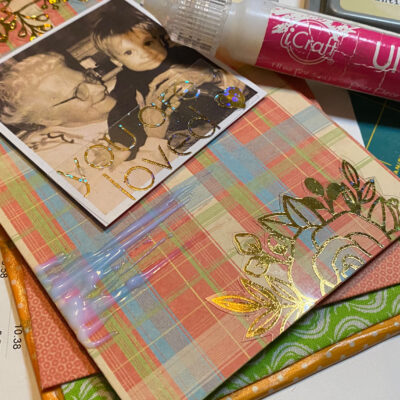
A fun way to add distressing AND sparkle to a piece is to just spread some glue around, let it dry to tacky and then use your scrap foil pieces to adhere foil. And I made lots more adhesive transfers foiled onto acetate so I could use them in various places even if I’d already gotten other items popped up on a page.
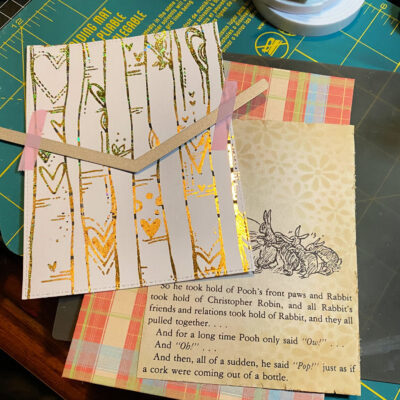
It was also fun to use this great Toner Card Front from Unity Stamps as a pocket and the other half as decor on a page after foiling it in gold. As you can see I used lots of gold foils… almost all of the golds…lol. I used some Antique Linen Distress Oxide to age some of the bright white and also add subtle stenciling to some pieces.
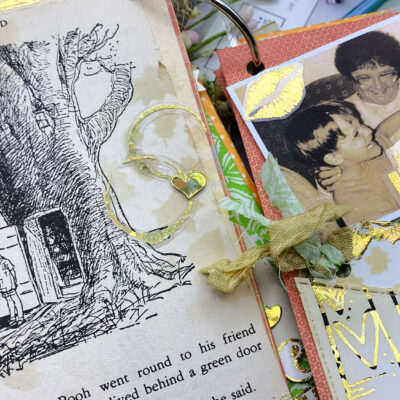
I used some of my scraps from previously foiled toner sheets to die cut hearts to sprinkle around on my pages.
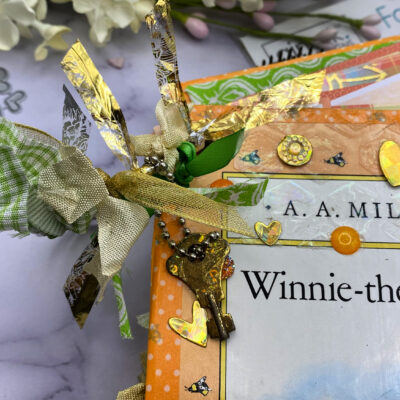
As well as adding glue to that little key and then foil when it was tacky. AND did you know that used foil sheets make fun “ribbon”?? I love adding ribbon to my ring that holds my books together, and the addition of some of my used foil sheets made a nice sparkly ribbon and also gives it a nice crackly sound when you’re handling it… I just love it!
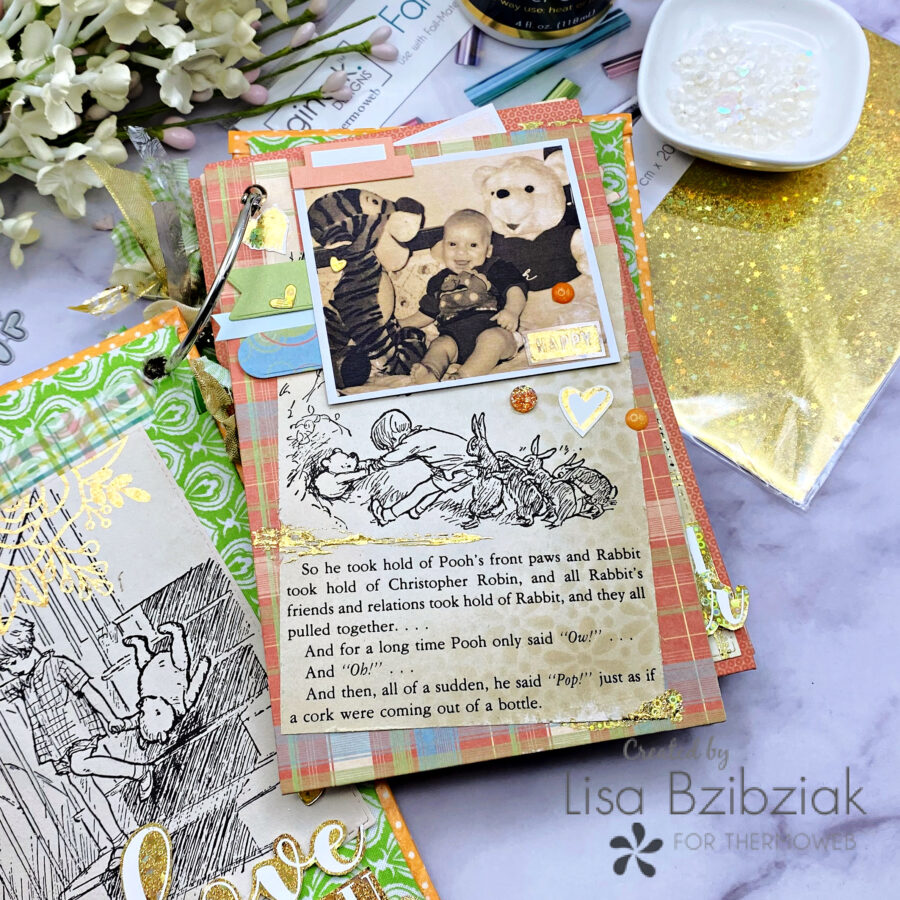
Now for the rest of the finished inside pages! You can see I used all of these techniques all throughout the book…
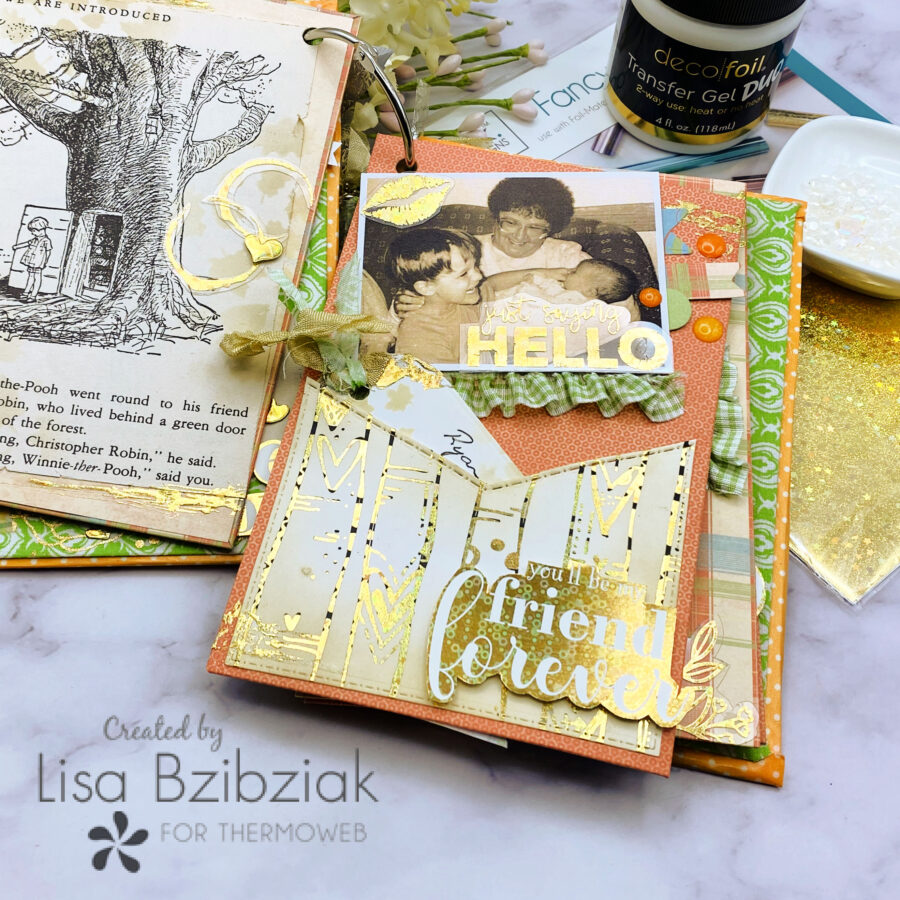
This page has a pic from right after he was born and his grandma and older brother came to visit us in the hospital. I added a tag to my pocket with his name, date of birth and where he was born in my own handwriting. I may tuck some more memorabilia in this pocket!
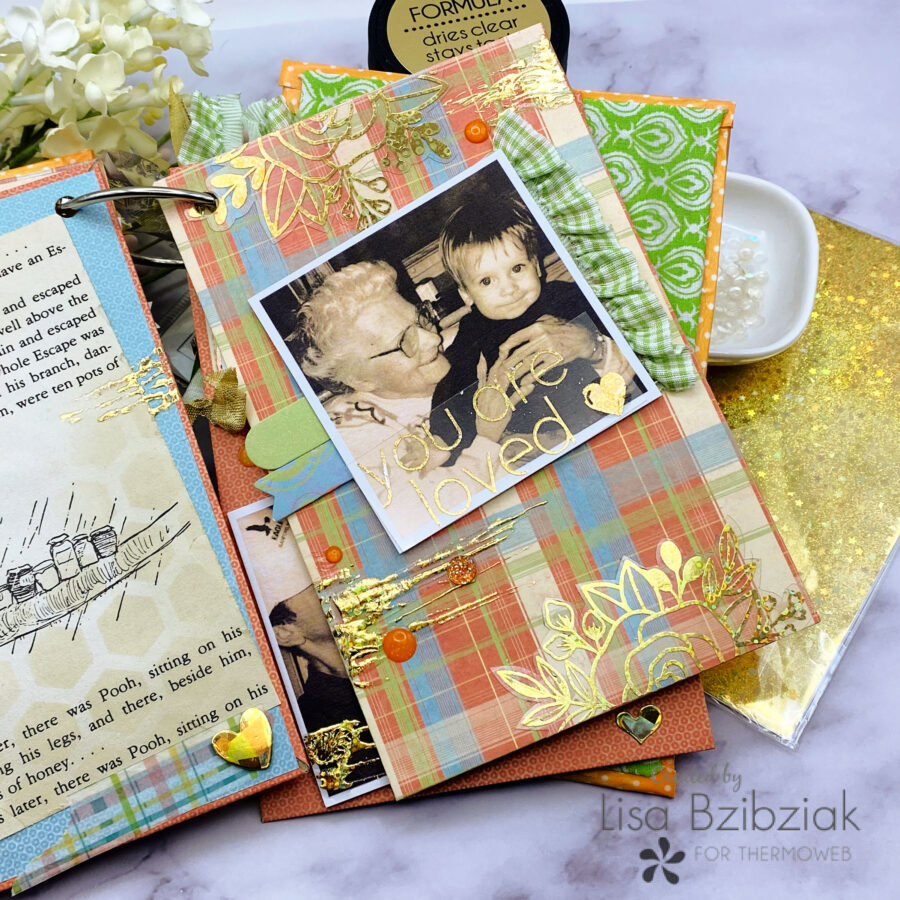
I glued that pretty crinkly plaid ribbon under a couple of the pics using the Mixed Media adhesive… I love all of the different adhesives in the shop. And of course, lots of foam taped was used throughout.
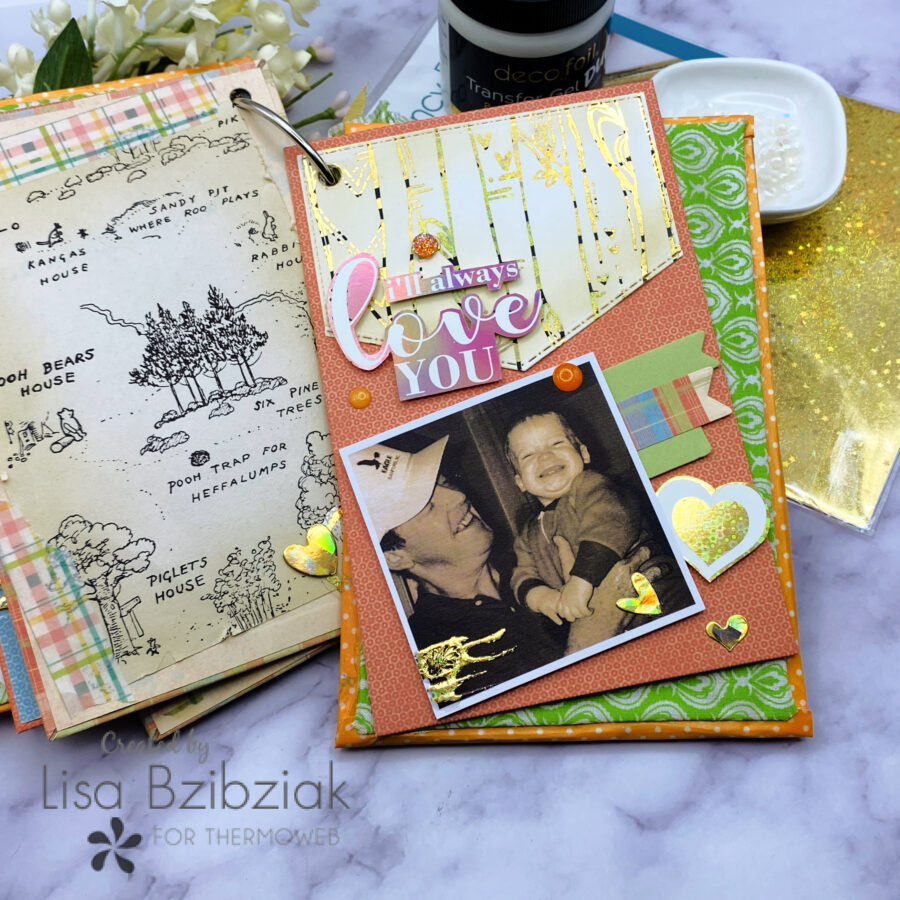
I used a large ring so I could add more pages as I come across some more of my favorite olds photos. And I loved making this one so much, I need to find a dinosaur book to create another one for this little guys big brother. I’m sure I’ll share that one with you too!
Thank you so much for stopping and be sure to come back for more inspiration!
I’ve added links to the products I used today below:

https://linkdeli.com/widget.js?id=f5e8378456858c916708
