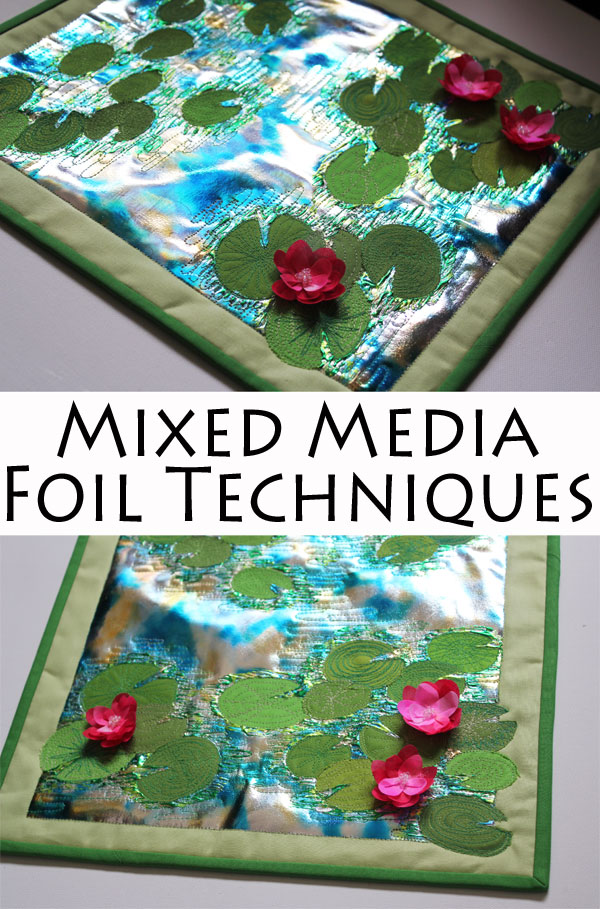
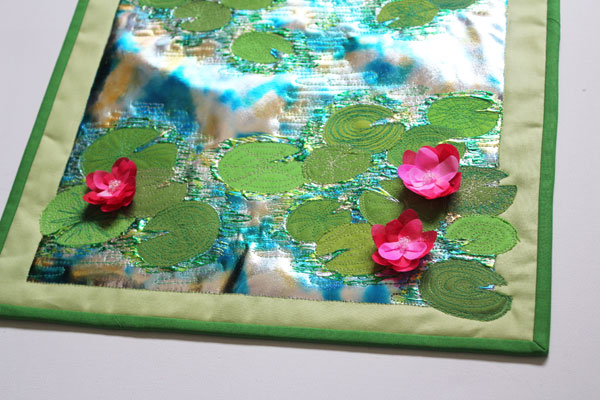
I love, love, love playing with iCraft DecoFoils™. There are so many fun ways you can use the foils in quilting and mixed media projects. Today I’m going to share with you this fun mini quilt inspired by Monet’s Waterlilies #44. I’ve used several very fun techniques you’ll want to use in your next foiling project! I’m also using the new Mixed Media Sheets (coming soon!) to add some dimension, and I’ll show you how to make those as well!
Project Supplies:
Fabric – 1/2 yard light green, 1/4 yard dark green, assorted scraps of various greens
Batting
Thermoweb SpraynBond® Basting Spray
Thermoweb pressing sheet
Lapis Watercolor blue iCraft Decfoil™ Transfer Sheets (coming soon!)
Green iCraft Decfoil™ Transfer Sheets
Spring Green iCraft Decofoil™ Transfer Sheets
Silver iCraft Decofoil™ Transfer Sheets
iCraft Deco Foil™ Hot Melt Adhesive
iCraft Deco Foil™ Liquid Adhesive
Themoweb Fabric Fuse™ Liquid Adhesive
Thermoweb iCraft® Mixed Media Sheets (new! Coming soon!)
Thermoweb iCraft® Mixed Media Adhesive (new! Coming soon!)
Alcohol Inks
Rubbing Alcohol
Scissors
Needle/Thread
Iron
Sewing Machine with free-motion quilting foot
Seed Beads
Project Instructions:
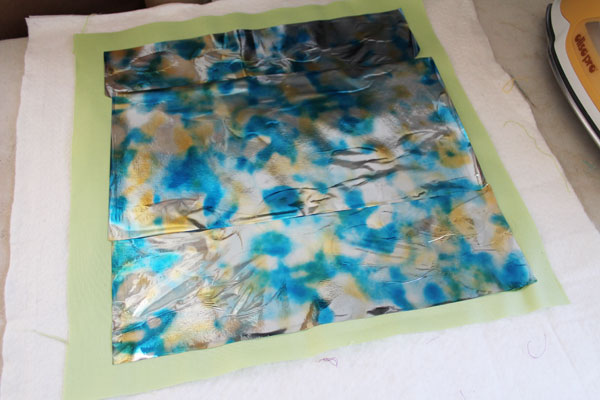
Cut your fabric 15″x15″. Place two sheets of iCraft Decofoil Hot Melt Adhesive on top, overlapping slightly. Fuse down.
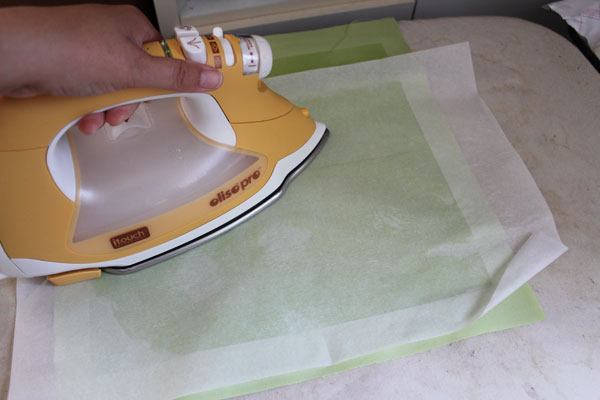
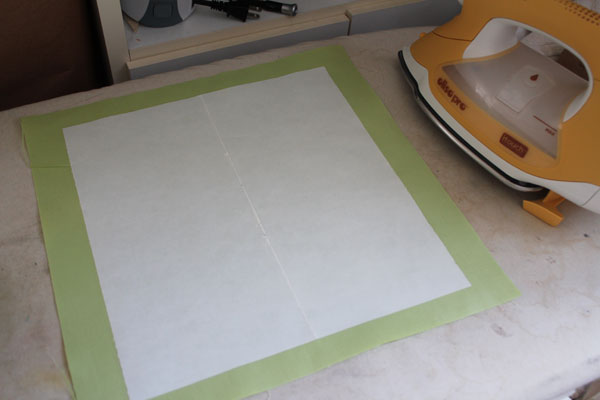 Allow to cool. Carefully peel away backing paper. Carefully pick out any paper that stays behind using a pin and tweezers. Put a Thermoweb pressing sheet on top, and fuse again so that all the adhesive (especially the seam in the middle) is smooth.
Allow to cool. Remove the pressing sheet.
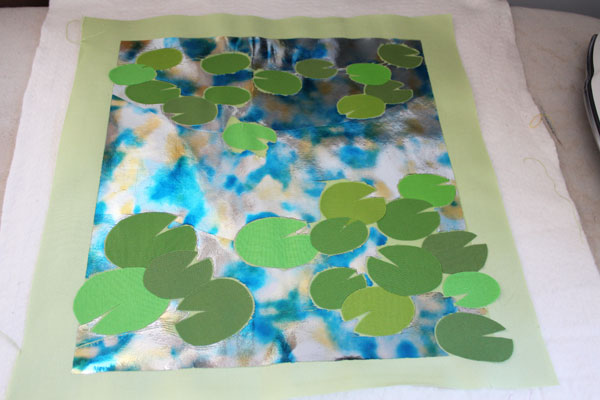
Using your favorite Monet (I used #44), cut ovals from the various greens, cutting a v-shape from each to make the lilypad. Place on the Deco Foil Hot Melt adhesive as desired. For interest, have some run off the side of the adhesive.
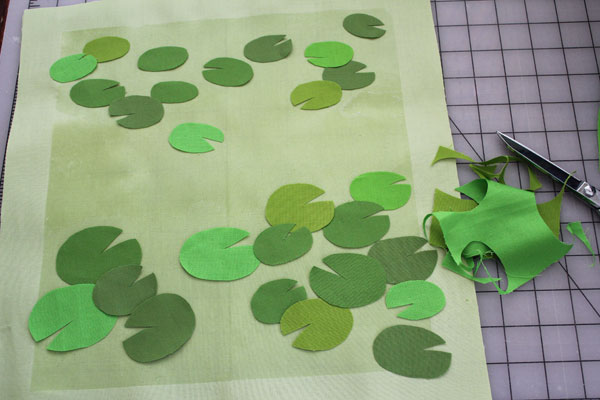 Put the pressing sheet back on top and fuse lightly into place.
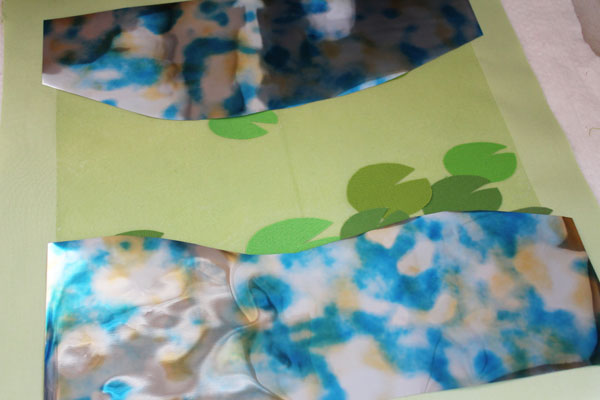
You’ll need three sheets of the watercolor foil to cover the DecoFoil Hot Melt. Cut one edge of each in a curve so that there isn’t a straight line across. Try to have this seam go across as many of the lilypads as possible. This will help hide the seam.
Place the third piece of foil (uncut) across the middle. All the Hot Melt should be covered. Fuse as directed on the foil package. Allow to cool completely.
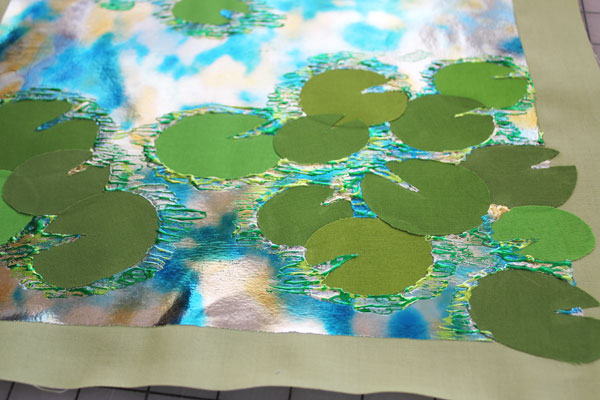
You’ll see that the seams from the foil meeting are still visible. But what is more noticeable is that the areas around the lilypads did not get foil. The bulk from the lilypads meant that the foil didn’t fuse in these areas. That is expected, and perfectly okay here. We want reflections and the water to have some movement here, and we’re going to get that look with the liquid adhesive.
Use the iCraft® Decofoil liquid adhesive to draw lines around the lilypads. It is fine for the liquid to not be smooth, that will add texture and help in the next step. Allow the liquid to dry COMPLETELY. For me, that means overnight.TooltipText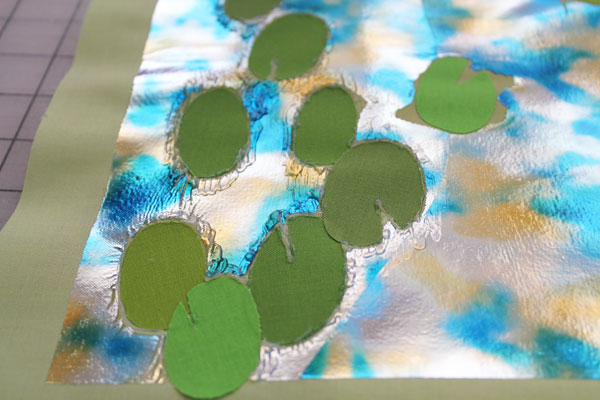 Gently touch the light green and dark green foil to the liquid adhesive. It will stick to just the top ridges of the adhesive. Once you’ve tapped foil onto those ridges, use the silver foil, and the remainder of the watercolor foil to get into the crevices. Use the balls of your fingers to burnish the foil down into those areas. If you need help, rubbing a cotton swab over the top of the foil helps to push it down.
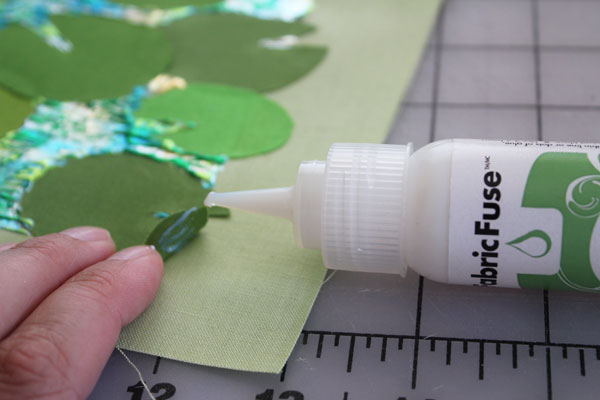
Use the Fabric Fuse™ to tack down any of the lilypad edges that went over the edges of the HotMelt.
Cut the backing fabric and batting. Baste using Thermoweb SpraynBond® Basting spray, and quilt. I used several colors of green thread to add interest to the lilypads, then added quilting lines around them to get the look of movement in the water. This quilting also helps to hide the seams in the foil.
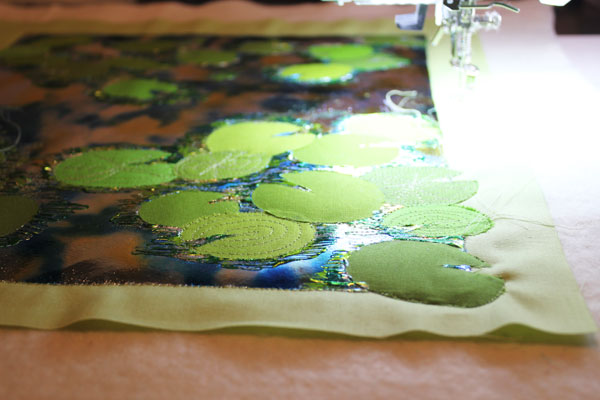 If you’re having trouble with thread breaking, try a different needle. I often use embroidery needles for quilting, but found that a “sharp” worked best to pierce the heavy Deco Foil™ Hot Melt adhesive.
Trim and bind your quilt as desired.
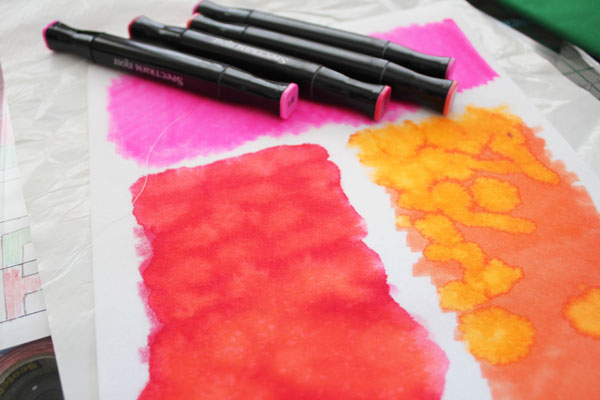
To make the flowers, color in the Mixed Media sheets with alcohol markers. Use drops of alcohol to blend the inks.
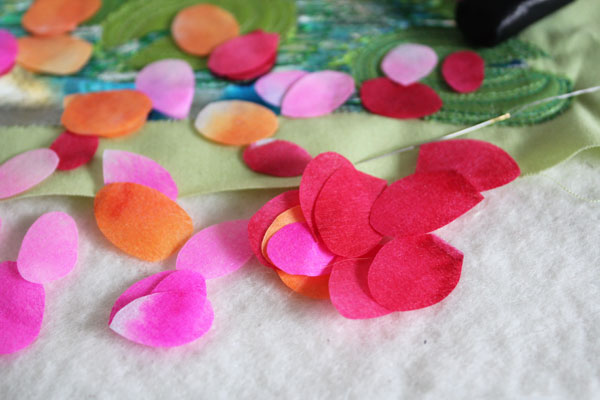
Cut petals about the size of your thumbprint.
Cut a scrap of fabric at least 1″x1″ to use as the base of your flower. It won’t be visible on the finished quilt.
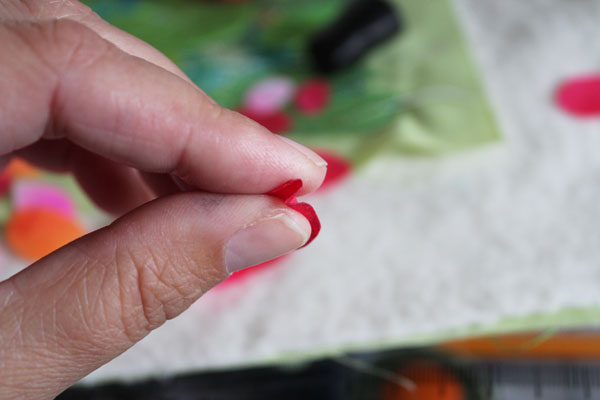
Fold a petal at the base, adding a pleat.
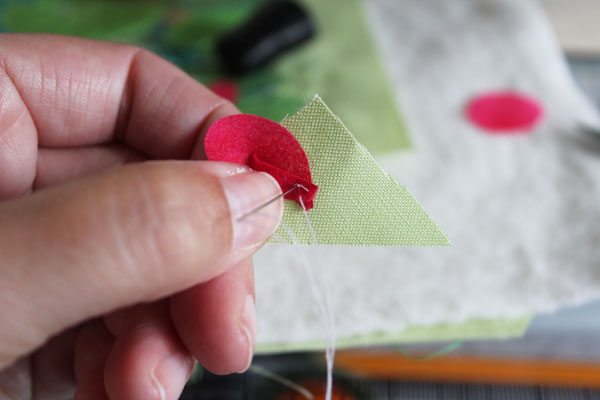 Add more and more petals. The more you add, the more full your flowers will be.
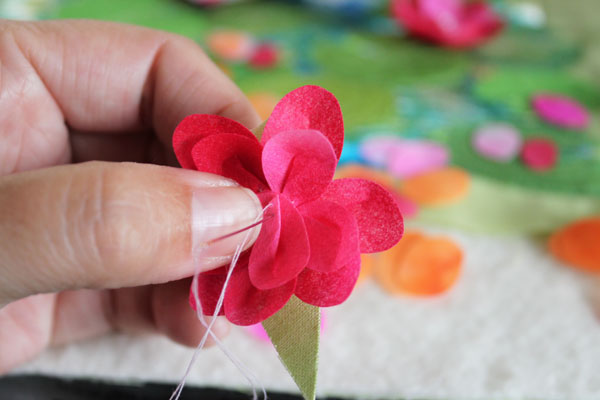 When you’ve added your petals, put 5-6 seed beads on the string, and cross over the center.
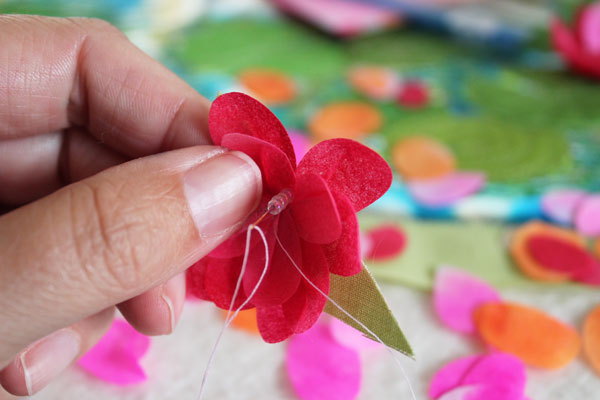 Repeat 2 more times, adding a little pile of beads to the middle of the flower. Secure the thread, trim the end, and cut away any extra backing fabric from the flower. Secure to the quilt with new iCraft® Mixed Media Adhesive. Make two more.
Your mini quilt is complete – and you’ve learned some awesome techniques for using foil! You’ve foiled an area larger than a single sheet of Deco Foil™ Hot Melt by seaming two sheets together. You’ve foiled an area bigger than a single sheet of foil by carefully placing your seams. You’ve combined Deco Foil Hot Melt and Deco Foil™ Liquid adhesive to get texture on your foil. You’ve used the Deco Foil Hot Melt to applique fabric in your foiled area. And you’ve quilted on your foil as well! Plus, you made some really fun flowers.
I hope you explore all the fun things that you can do with the foil to add dimension to all of your quilting projects.

Our team is at the Sierra Pacific Craft Mixed Media Event in beautiful Salt Lake City Utah! We’ll be showcasing our newest iCraft® Mixed Media products and NEW Watercolor Deco Foils™ that we know you’ll be very excited about. You can sign up for our emails to receive be first to hear when they are available for purchase!
We wanted to share with you a free printable we’ve created for the show attendees that you too can print off at home using our NEW Light Weight Mixed Media Sheets.(coming soon!!) Or you can print on paper as well!
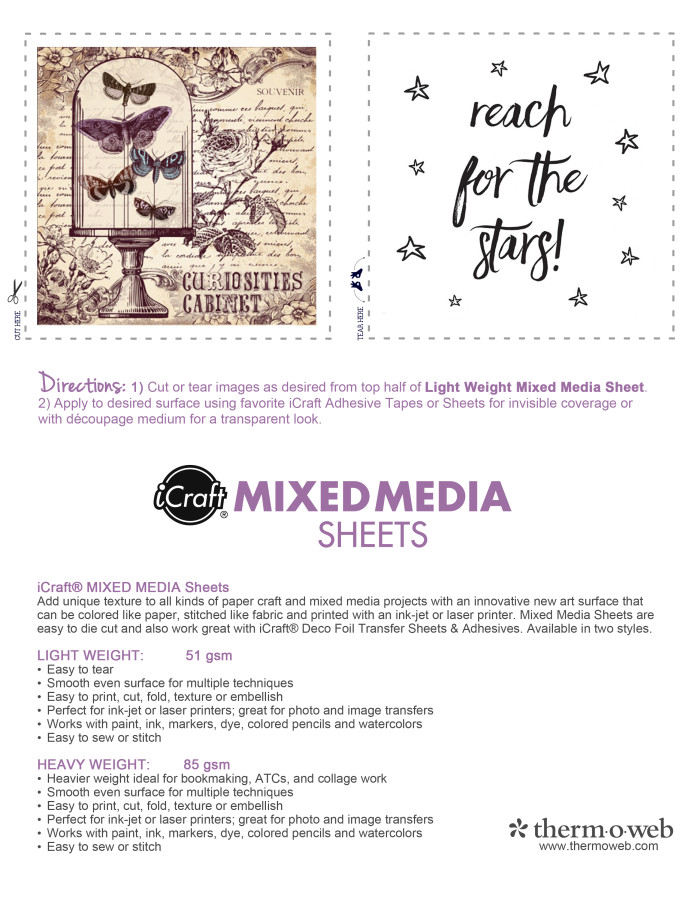
Simply right click on the image above to save or click this widget to download.
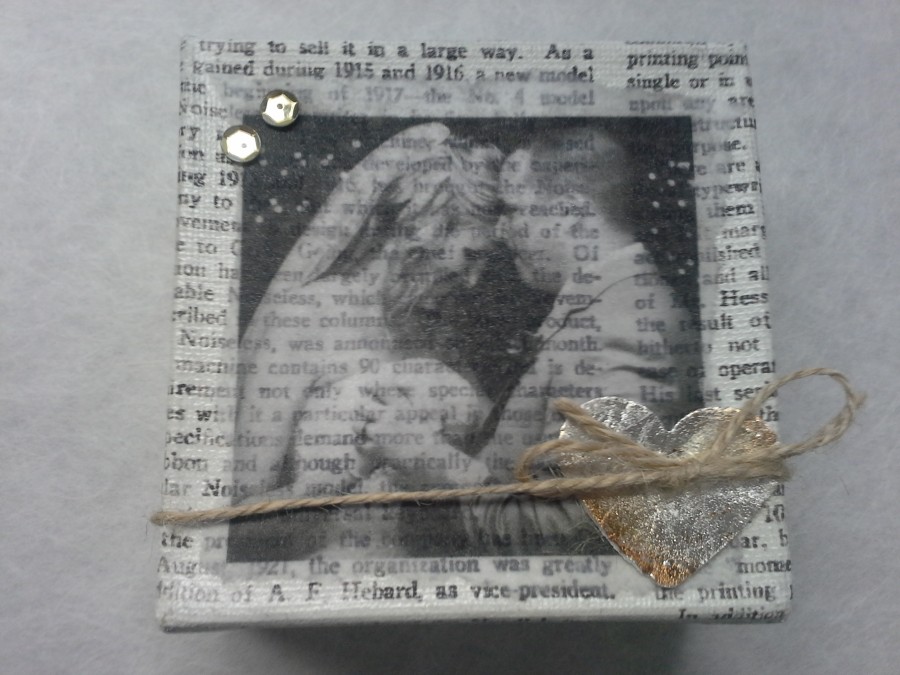
And here’s an idea of what you can do with the printable too! Simply print onto our NEW iCraft Mixed Media Sheets and then add to a canvas, card, pillow…you name it!
