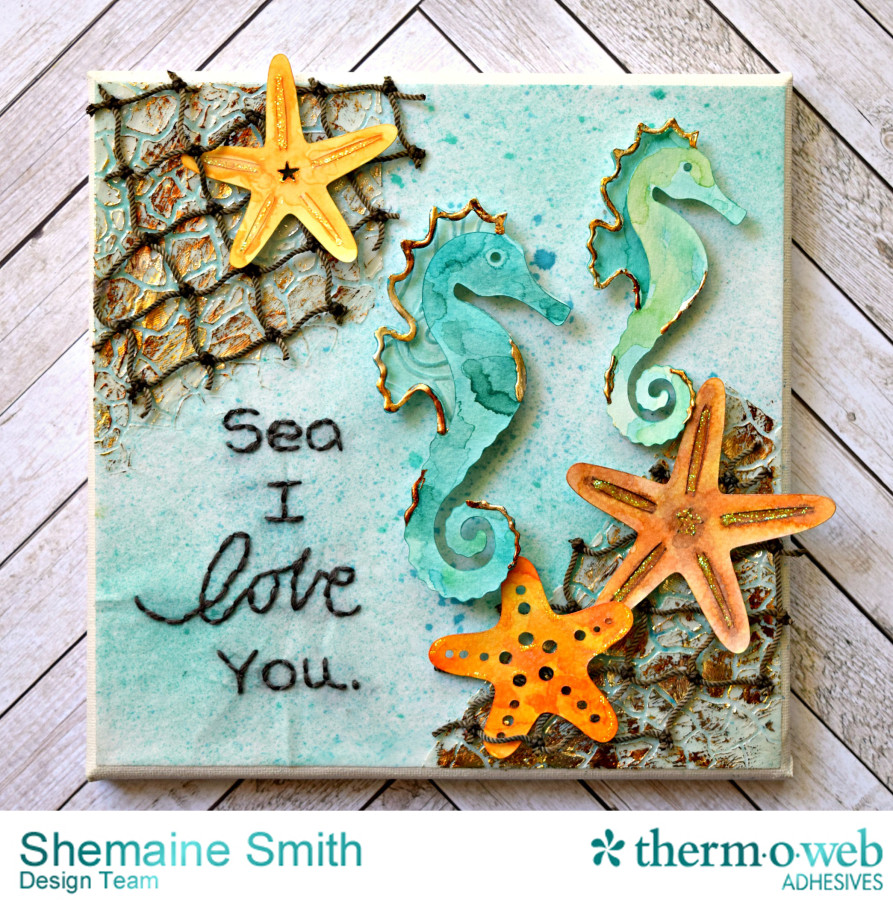
If you’re like us..the ocean and the beautiful beaches call your name. Peace and serenity is something that just happens when you’re watching the waves roll in. Designer Shemaine Smith create this amazing mixed media canvas using some of our newest product releases.

Mixed Media Sea Canvas by Shemaine Smith
Therm-O-Web Supplies
Deco Foil™ Liquid Adhesive 2.1oz
NEW iCraft® Mixed Media sheets
NEW iCraft® Mixed Media liquid glue
New Deco Foil™ Transfer Sheets – Amber Watercolor
Other Supplies
Dick Blick Canvas (8×8)
Cricut Explore
Misc netting
watercolor paper
embroidery thread
Faber Castel Gesso
Stickles
Heidi Swapp Color Shine Teal
Golden Molding Paste
Project Instructions:
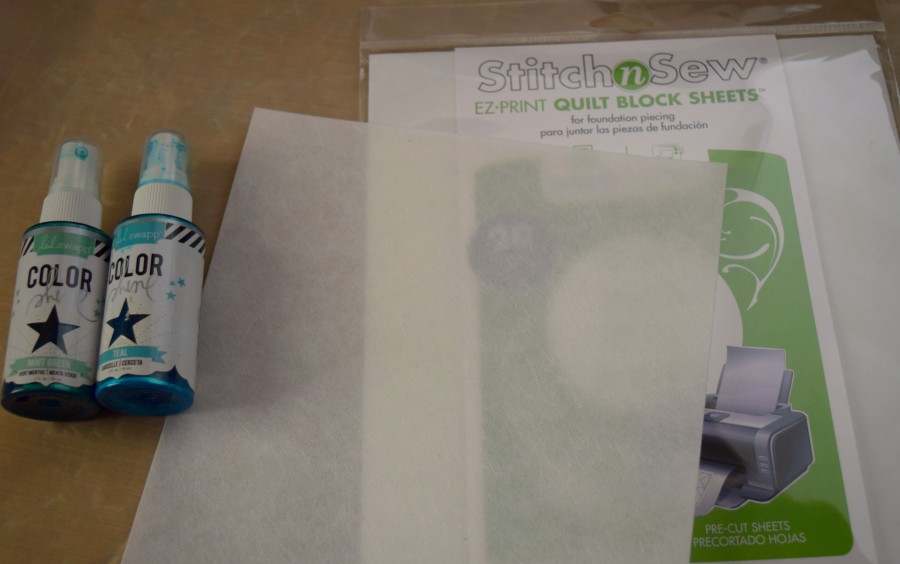
Cut the Heavy Weight iCraft® Mixed Media Sheets to fit the 8×8 canvas. Spray the Color shine mist and let dry.

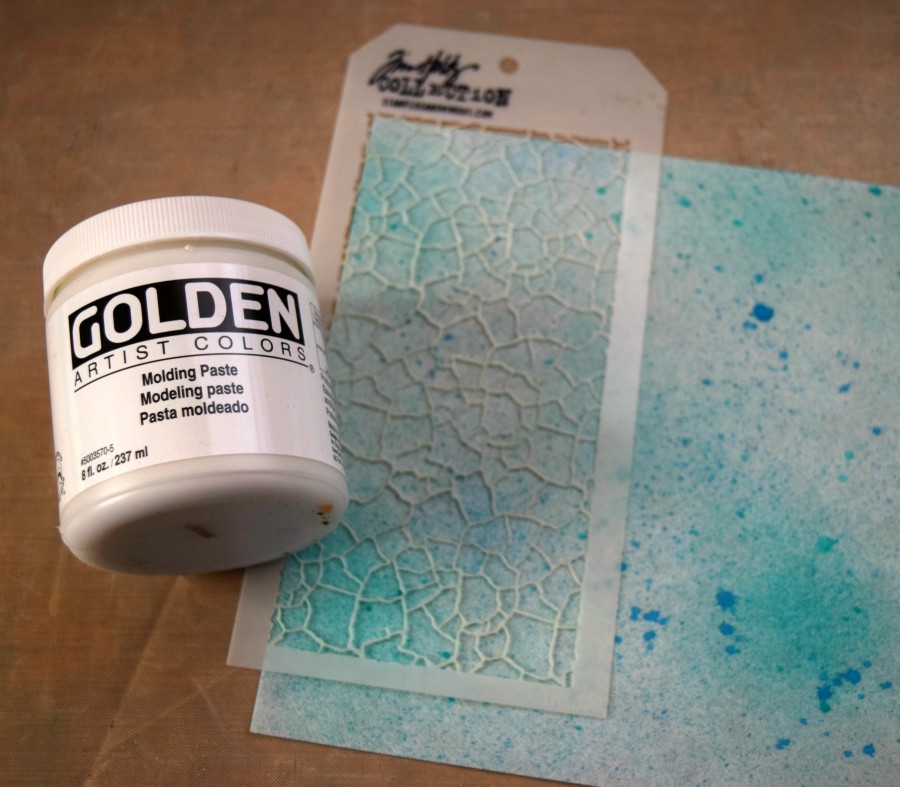
Then using a stencil and molding paste, create a 3D pattern and let dry for 3 hours.

Once the molding paste is dry, hand write your sentiment in pencil and stitch with embroidery thread using a back stitch .
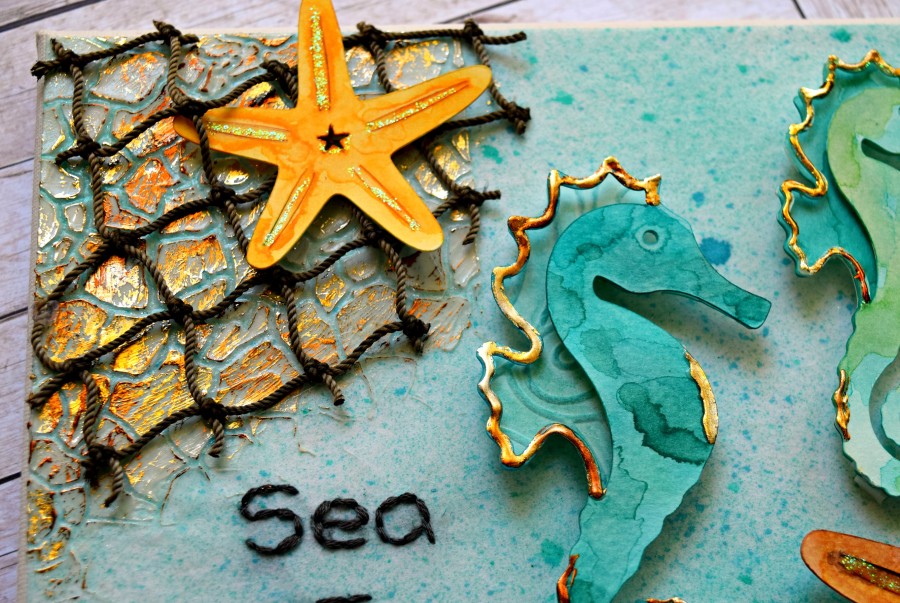
Paint the textured corners with iCraft® Mixed Media Adhesive and let dry 2 hours. Using the watercolor foil, burnish onto the texture.

Next cut some sea life images using Cricut Design space (these are from the Life’s a Beach cartridge) using water color paper. Water color paper cuts beautifully in the Cricut. Then use Tim Holtz distress inks to watercolor the die cuts. Then apply the mixed media glue as desired and let dry. Once the adhesive has dried, burnish the seahorse die cut with the Amber Watercolor foil. Secure onto the canvas using 3D foam squares.
Water color the startfish in desired colors and accent with Stickles. Adhere the net pieces onto the canvas using hot glue and arrange the starfish and adhere with 3D foam squares.
I hope this project will inspire you to step outside of your comfort zone and create a canvas for yourself.
Thank you for visiting the Therm-O-Web blog today.
Shemaine
