
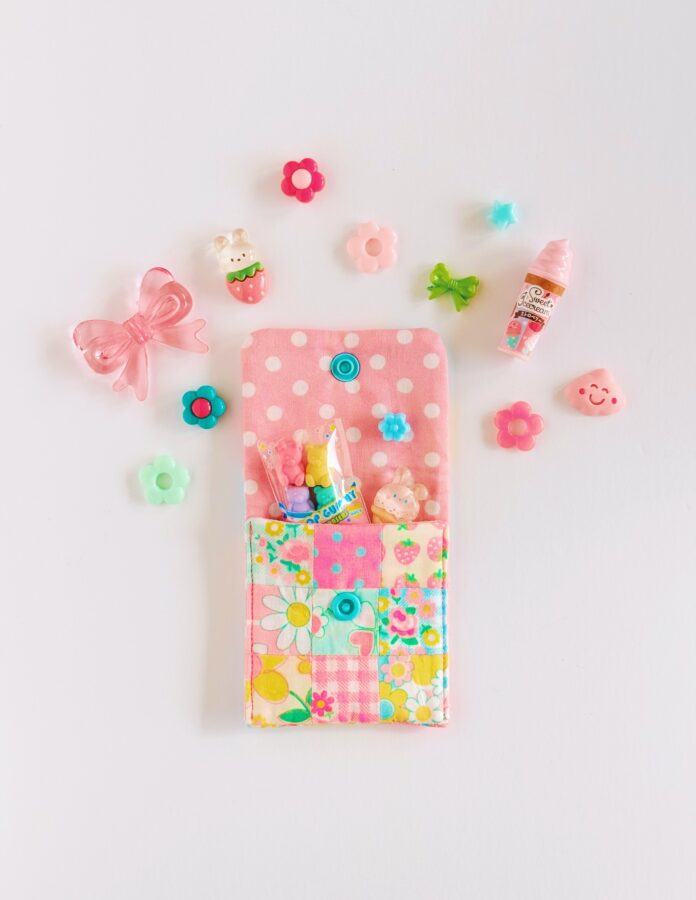
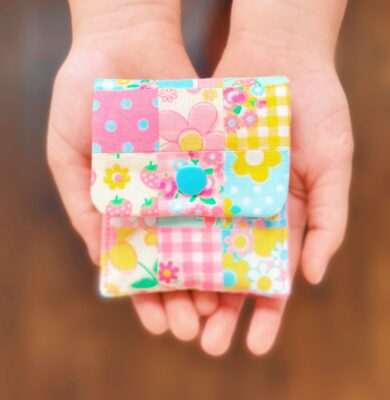
Hello! What do you do with all the fabric scraps? I save all of mine whether big or small,, stashed away for a rainy day. Here’s a cute, easy project for all those scraps – a Mini Pieced Coin Purse. I made this coin purse for my daughter who loves tiny things. You can make an army of these to give as gifts to friends and little ones too!
MINI COIN PURSE INSTRUCTIONS
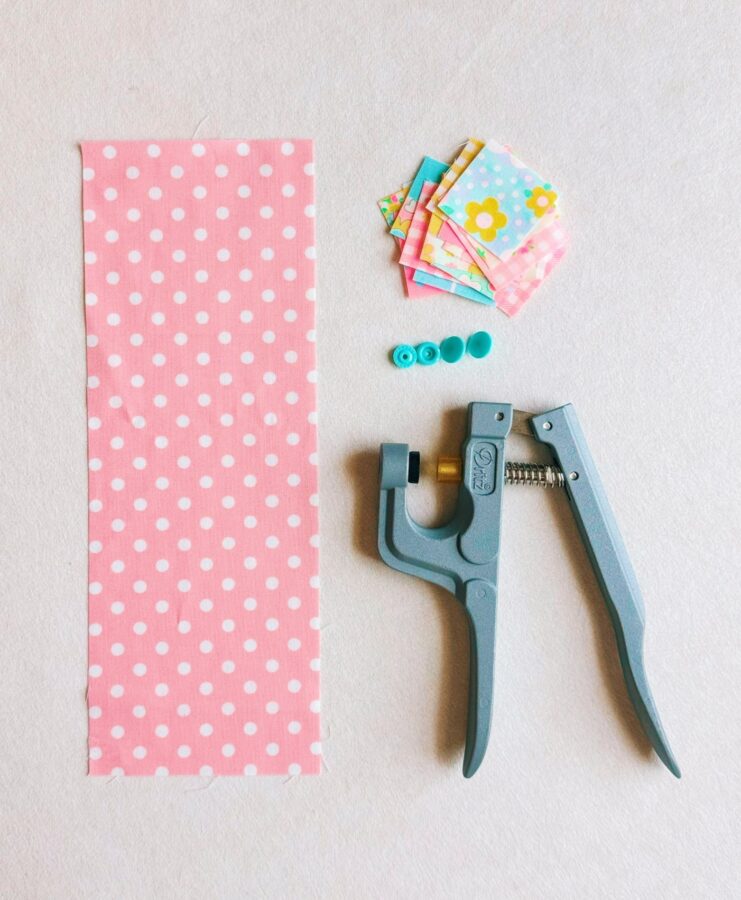
Materials and Tools Needed:
- Scraps of fabric (should measure 3 1/2″ x 9 1/2″ when pieced)
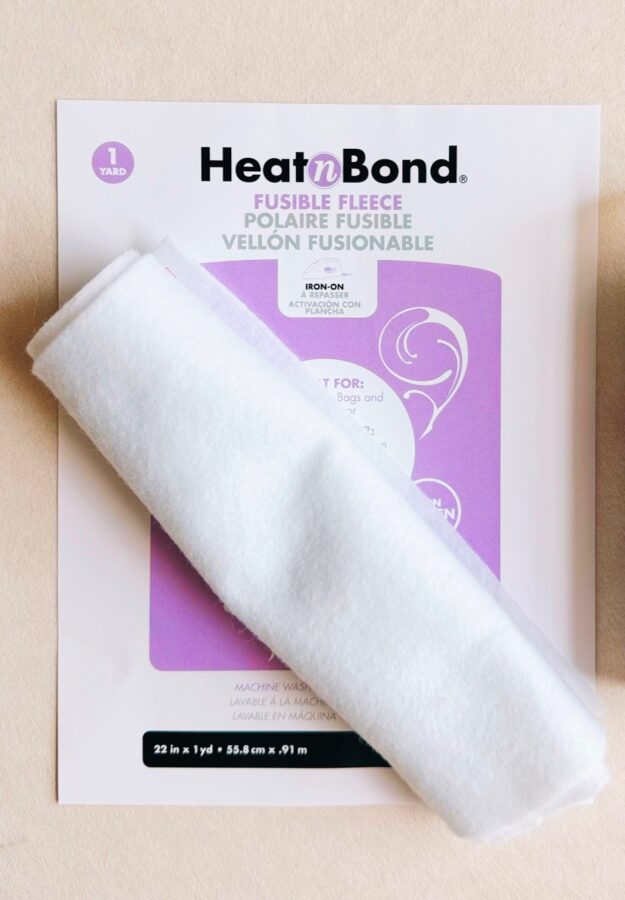
- HeatnBond Fusible Fleece
- One set of kam snap buttons or buttons of choice
- Snap Pliers
- Awl
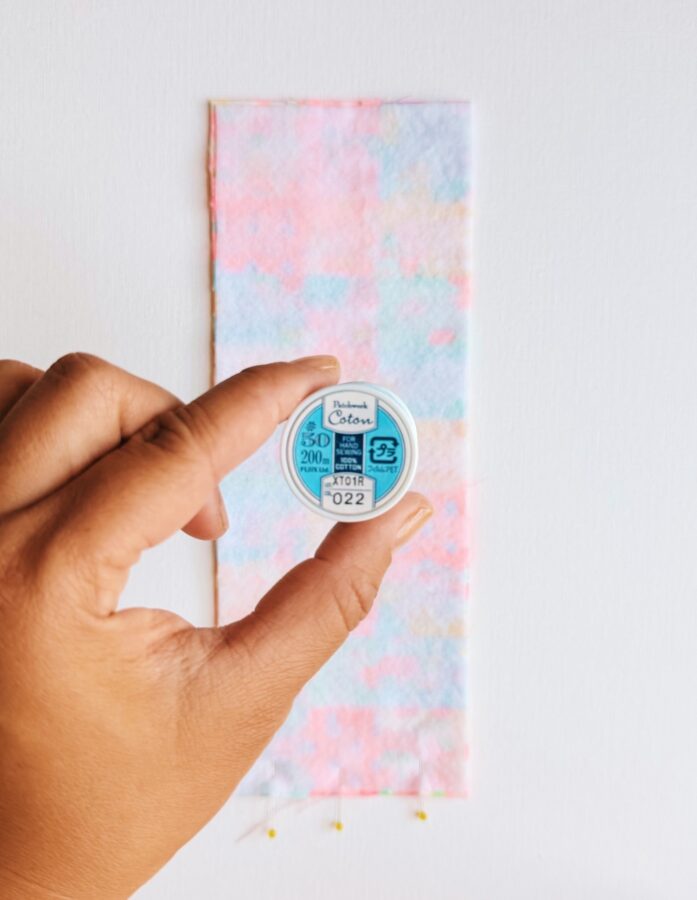
- Spool of thread (used to create the curve for the top flap)
- Iron – I love Oliso!
- Sewing Machine
- Rotary Cutter and Mat
- Ruler
- Stiletto or chopstick – to turn out project and smooth edges
- Erasable Marking Pen
Cutting
- From scraps of fabric – it should measure 3 1/2″ x 9 1/2″ when pieced together
- One 3 1/2″ x 9 1/2″ cotton rectangle
- One 3 1/2″ x 9 1/2″ HeatnBond fusible fleece rectangle
Tips
- Use a 1/4″ seam allowance unless noted otherwise
- Follow the instructions for HeatnBond Fusible Fleece as directed
Let’s Begin!
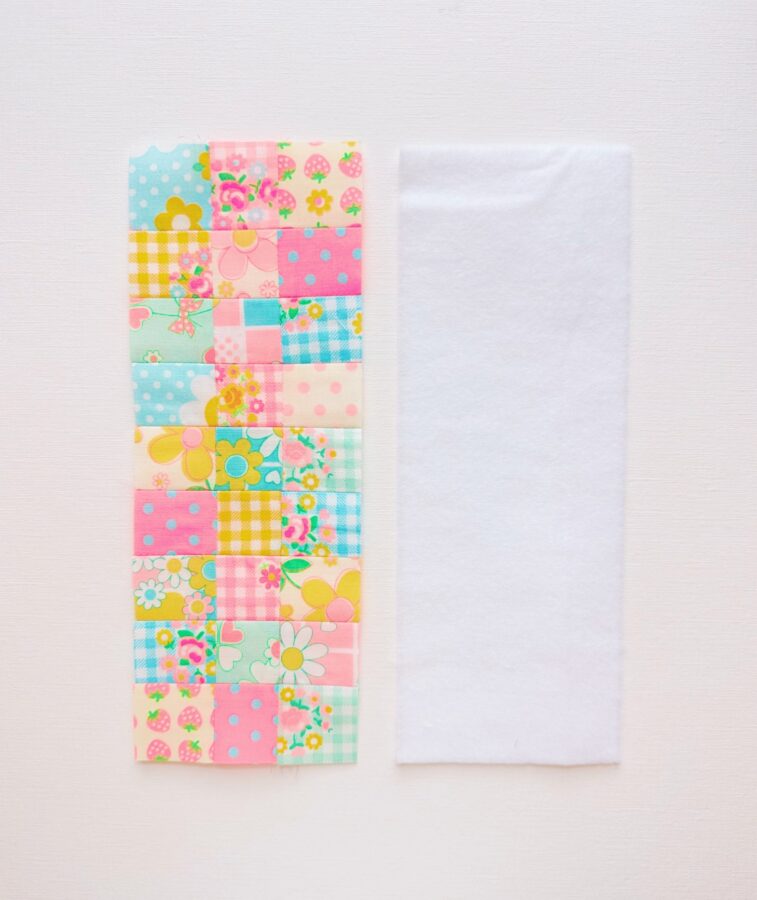
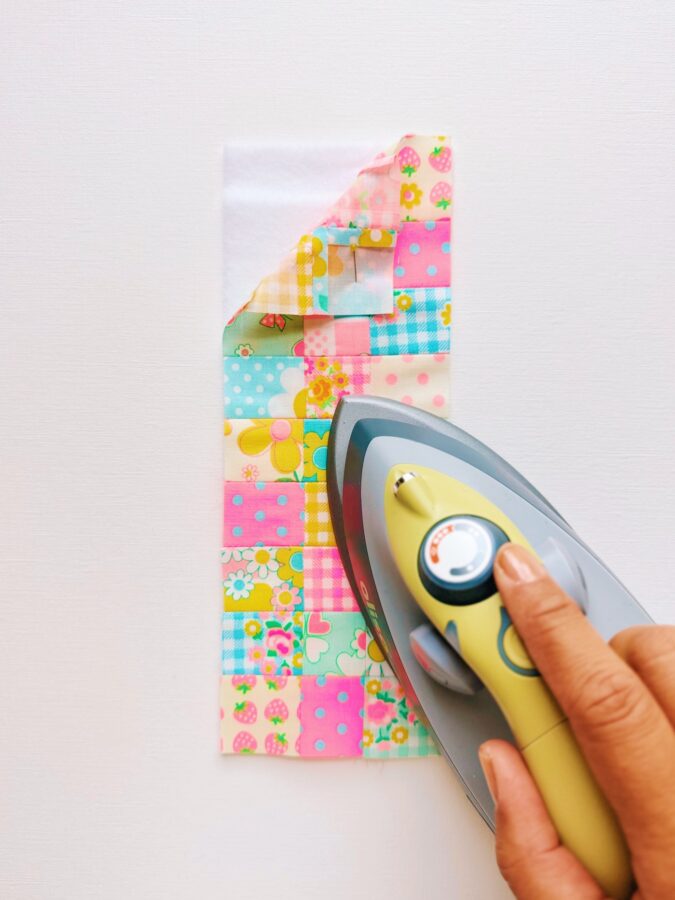
- Piece together your scraps as desired (I used 1 1/2″ cotton squares). Once pieced, cut so it measures 3 1/2″ x 9 1/2″. Press the seams as you sew each piece together. Once trimmed, attach to the 3 1/2″ x 9 1/2″ HeatnBond fusible fleece rectangle. Follow the directions per the package.
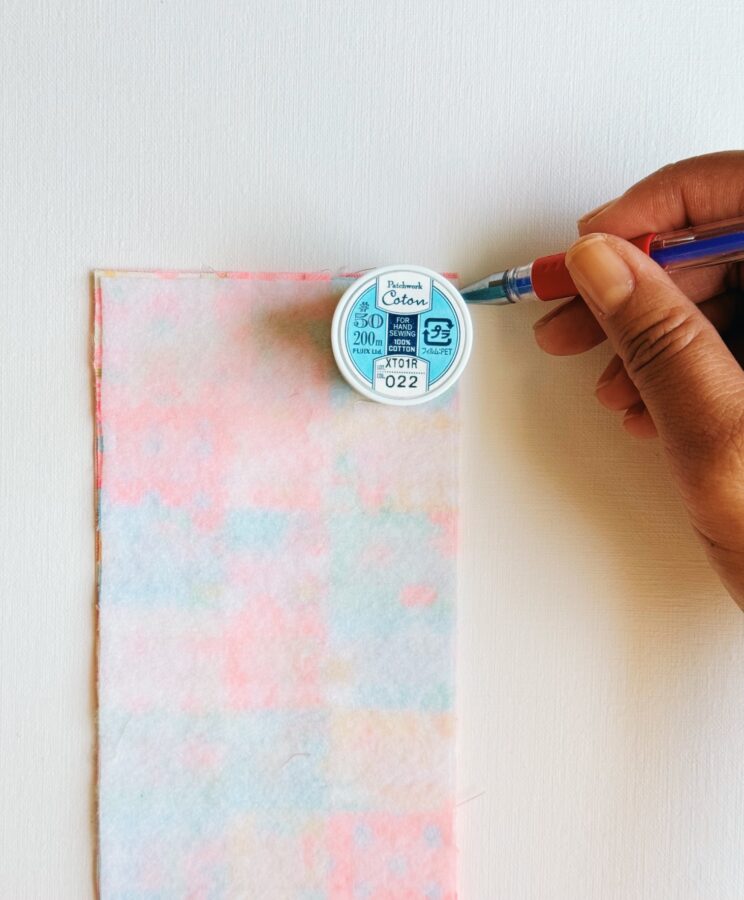
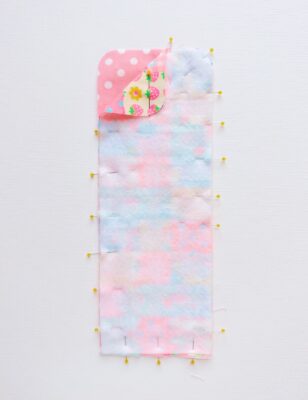
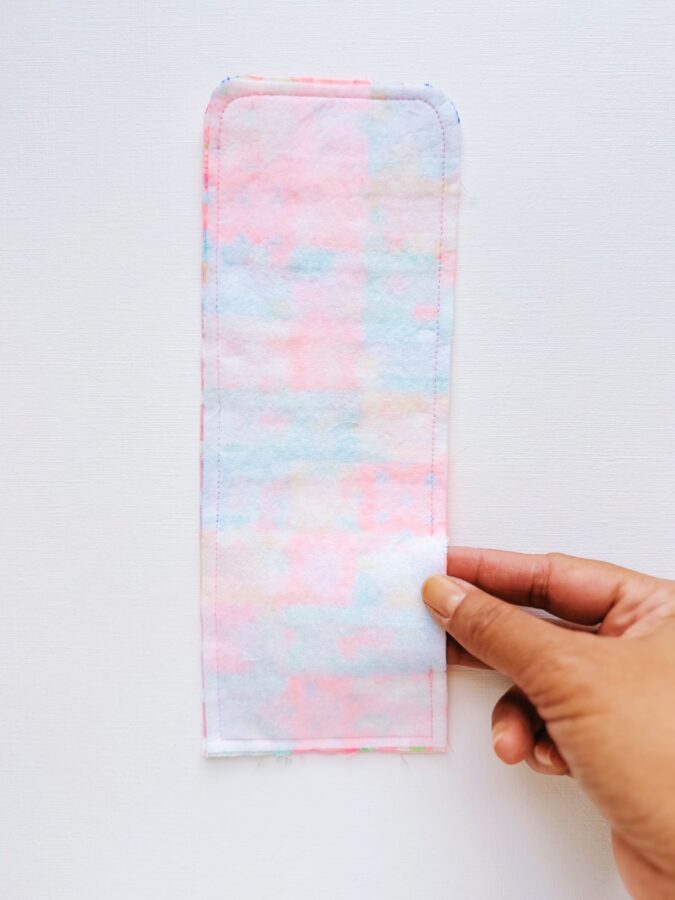
- With the pieced rectangle facing out, place the 3 1/2″ x 9 1/2″ cotton rectangle on top with right side facing in (wrong side facing out). Pin a few pins to keep in place. To create the top flap curve, take a spool of thread and line it up to the top right side of the pinned pieces. Trace the right side of the spool to the top right side. Repeat for the left side. Once traced, cut out the curves.
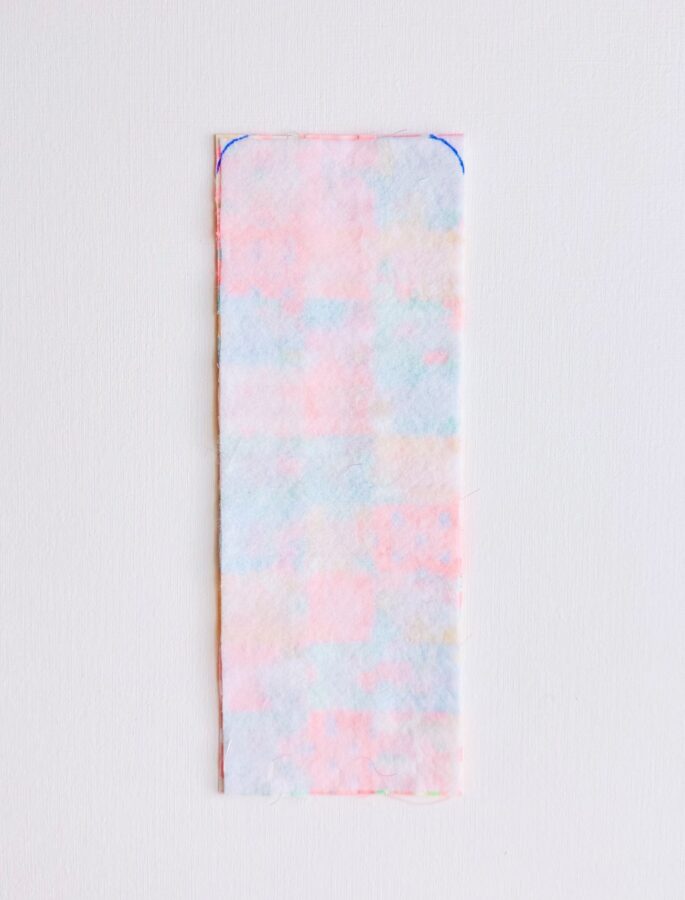
- Pin in place and sew around the entire piece, leaving a 2″ opening on the lower right hand side, making sure to backstitch from beginning to end. This will be the opening where you turn the piece right side out.
- Turn the piece right side out through the opening you made. Using your stiletto or chopstick, press out the corners, edges and seams. Press the piece once turned out. Hand sew the opening closed.

- Turn the piece to the inner side. Fold the bottom up to the desired position of where you’d like the pocket and clip in place. Sew a seam on both sides as close to the edges a possible, up to the folded edges, leaving the top flap unsewn. Make sure to backstitch from beginning to end.


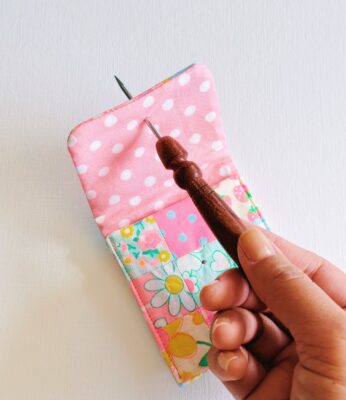
- Using an awl, make a hole for the desired location of the cam snap button on the flap and the body. Attach the cam snap buttons using your snap pliers.
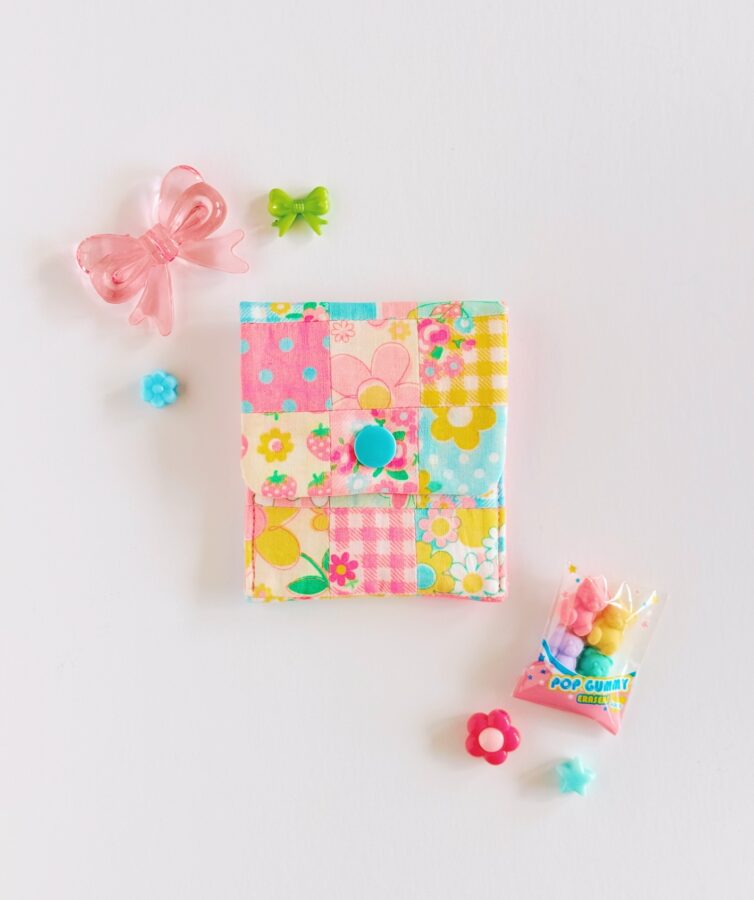
You are now finished! You can now make an army of these simple, cute, mini coin purses!
Cathy Schwarzkopf
July 5, 2024 at 7:55 pm (12 months ago)Would love to have this pattern.