


 Hi there! This is Amanda from Twiddler’s Nook stopping by with a really fun project to customize and create for your recipient – typically kiddos – but who wouldn’t love a mini coloring book to color the stress away?!?
Products used today:
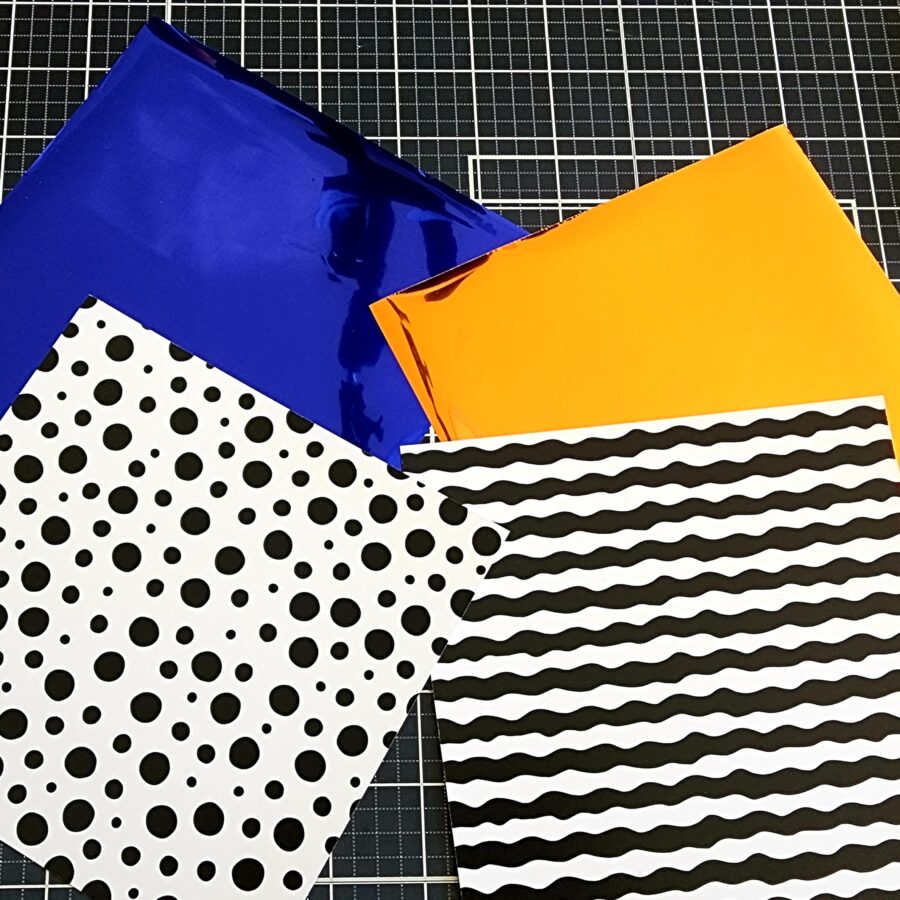
Laura Kelly Deco Foil Transfer Sheets – carrot orange and denim jeans blue
Laura Kelly Toner Sheets – spotty dots and wacky waves
Laura Kelly Kindness on Purpose stamps
Deco Foil Flock Transfer Sheets – sunshine yellow and emerald green
Craft & Carrier Sheets
UltraBond liquid glue pen
Lawn Fawn Outside In Scalloped Circle dies
Lawn Fawn Finley’s ABCs dies
Pink & Main Layered Circle dies
To start, I heated up the laminator and chose my toner sheets and deco foil colors so everything was ready to go. I also used the new craft & carrier sheets to do my foiling today and I really love them!!! Highly recommend!
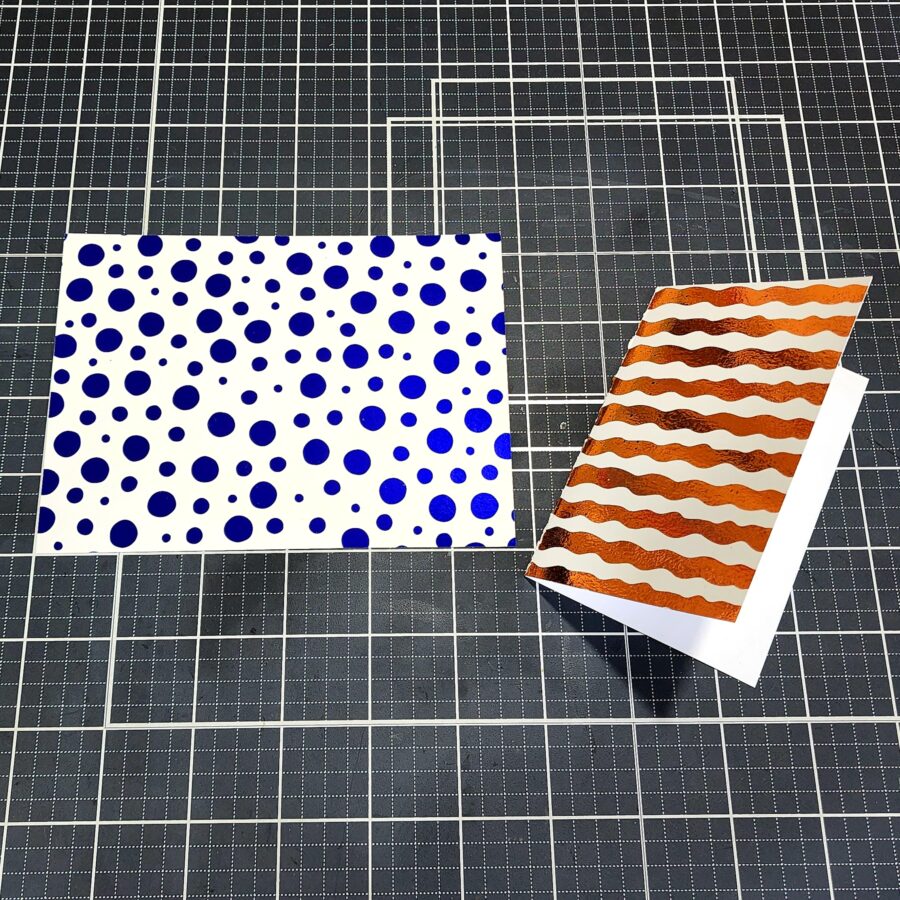
Once these were foiled, I trimmed them down to 4 14/ inches tall and just folded them in half. You can score them first at 2 7/8, which makes the crease a lot nicer with the foiling.
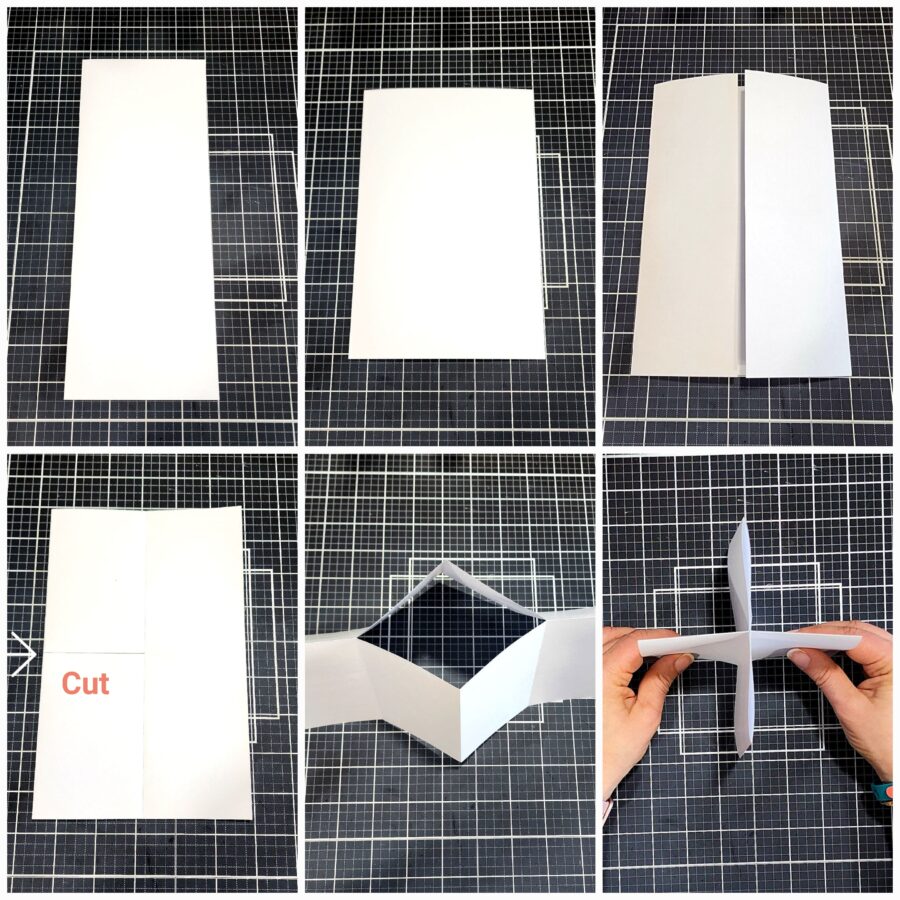
Now we need to create the inside of our coloring books. Take a regular 8 1/2×11 sheet of computer paper and follow the photos left to right, top to bottom. We’re going back to elementary school, so bear with me.
- Fold it hotdog style (long way)
- Open it and fold it hamburger style (short way)
- Open it and fold the sides in toward your hamburger fold (you should have 8 sections now)
- Fold it hamburger style again and cut a slit from the folded side into the next fold line
- Stand your paper up and push to open the slit you cut
- Keep pushing it together until you have a plus sign
- Finally, just fold it in half and you have a book
These fit perfectly in the sleeves you created with your foiling. I just slide them in, open them to the center and staple the covers to the booklet.
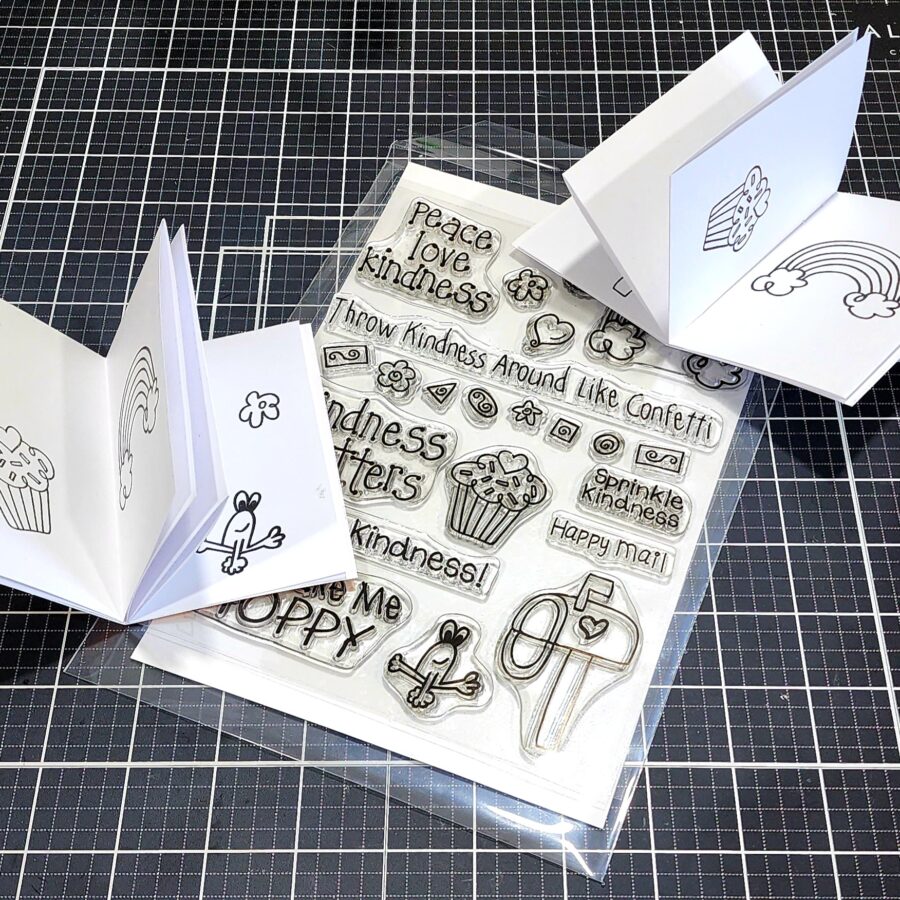
Next, I placed the books in my MISTI and stamped random images on a few of the pages for the kiddos to color. These are 5 year-olds so I left a few pages blank for them to draw on as well. So many options, it’s up to you!
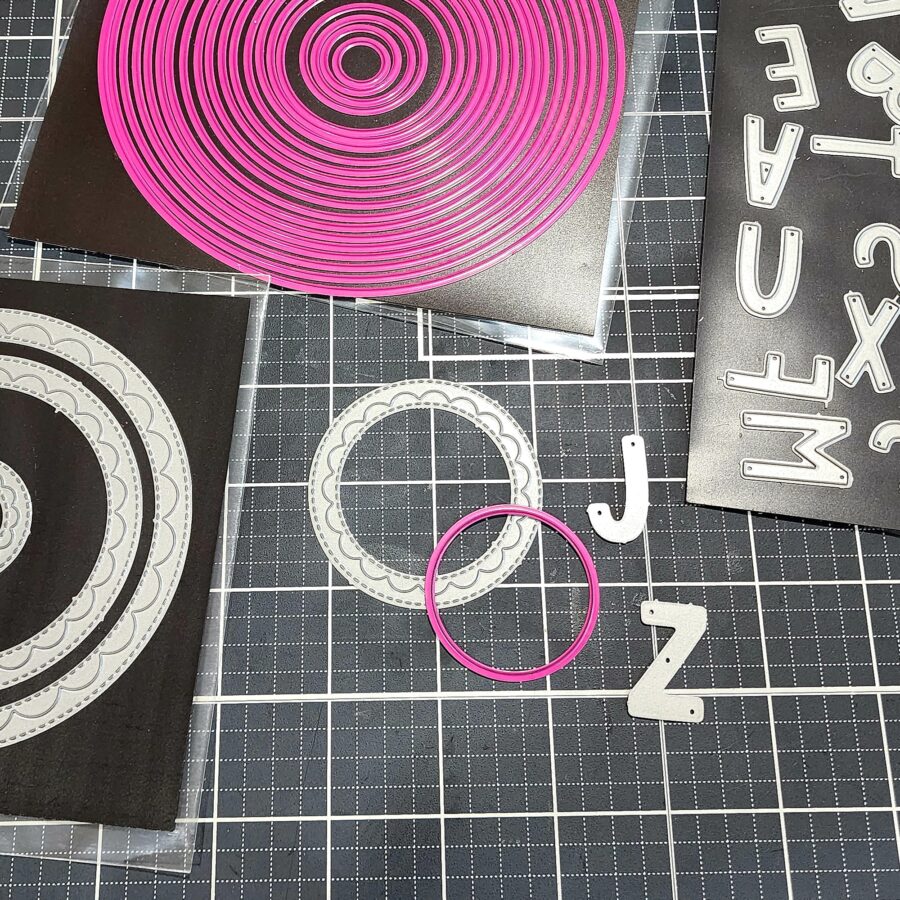
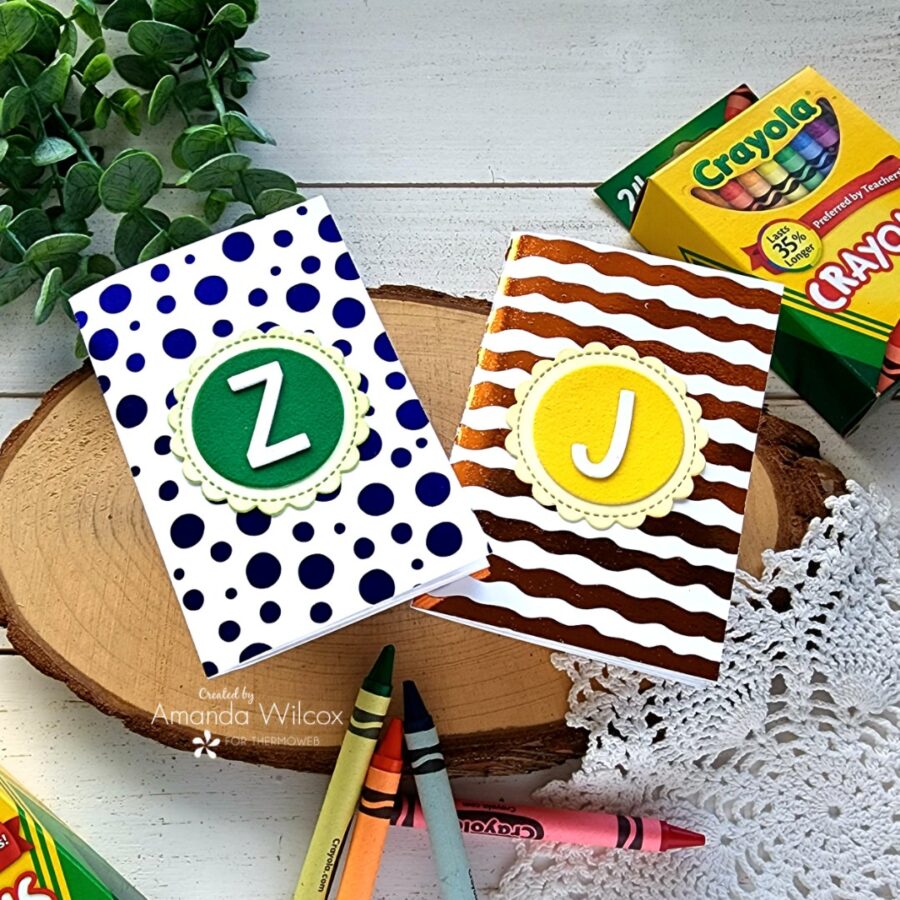
Decorating the front can be as simple or elaborate as you would like. Today I used a scalloped circle, regular circle and alphabet die to put the kiddo’s initials on the front.
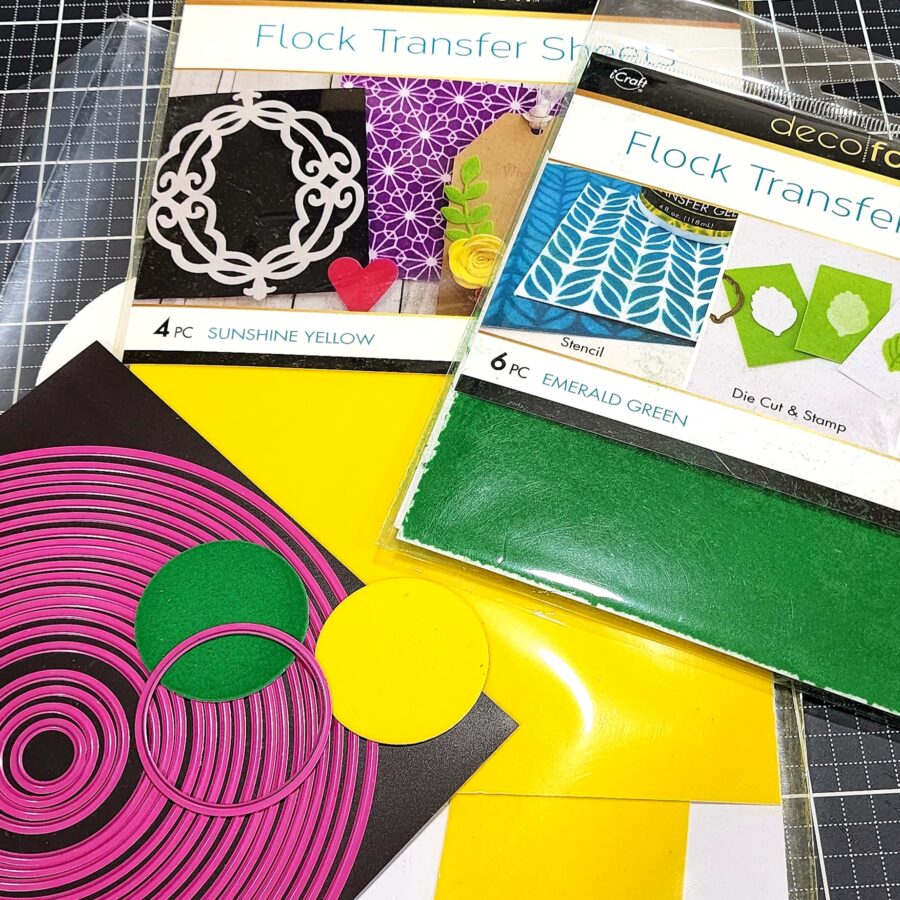
I cut the regular circle from deco foil flock transfer sheets in emerald green and sunshine yellow. I cut the letters from white cardstock 3 times and the scalloped circle from cardstock once.
I used my UltraBond liquid glue pen to adhere all of the layers together and then to the front of the books.
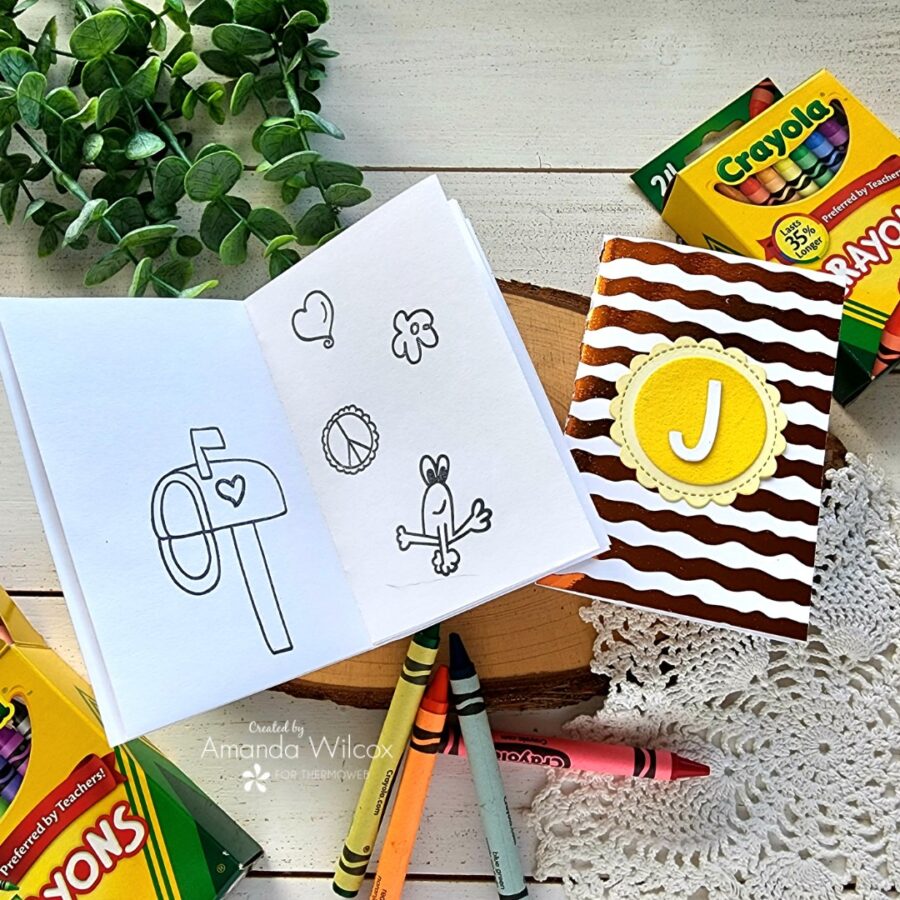
I just think they are so much fun and totally compact which is fun for popping in an Easter basket but also great for travel too!
You could make these for family vacations – road trips, airplane rides – all the things to keep anyone entertained.
I appreciate you sharing your time with me. Have a fabulous day!