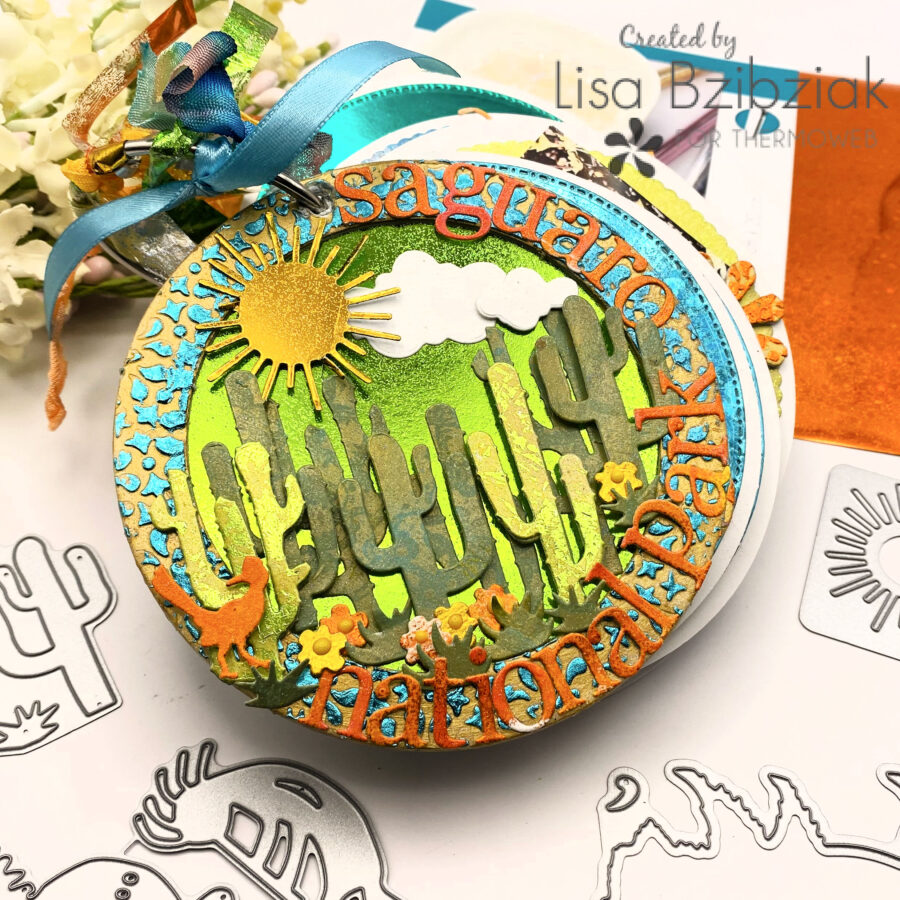
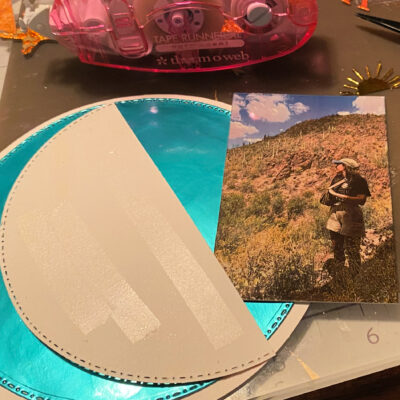
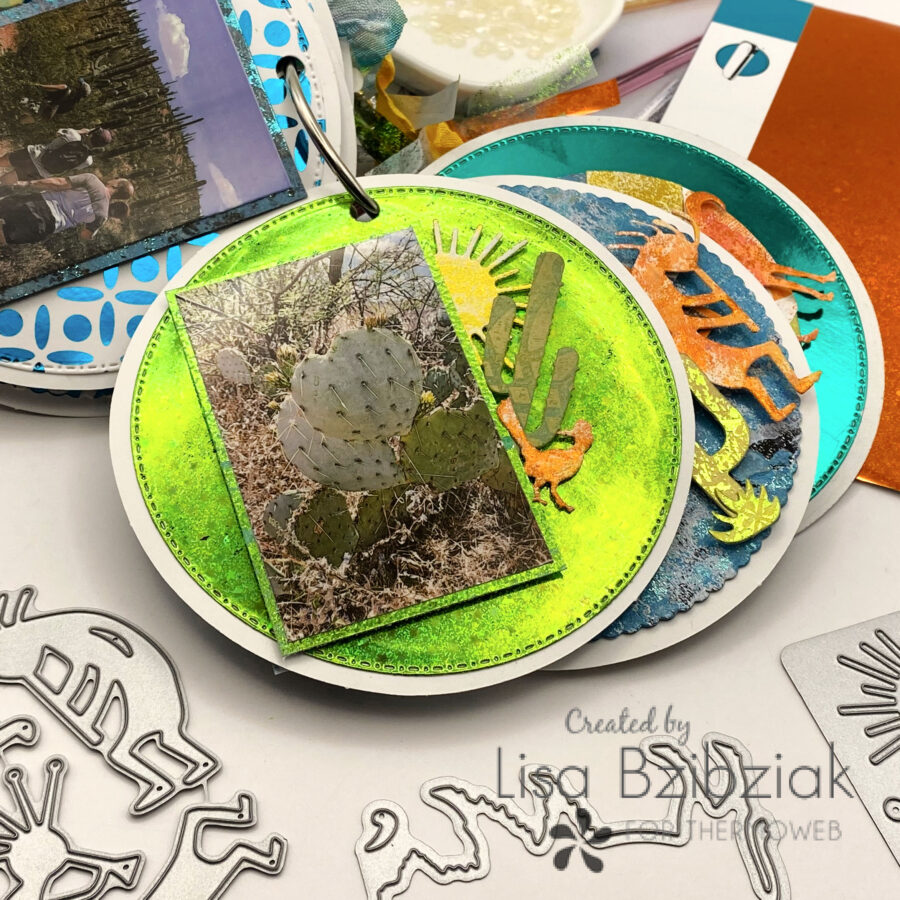
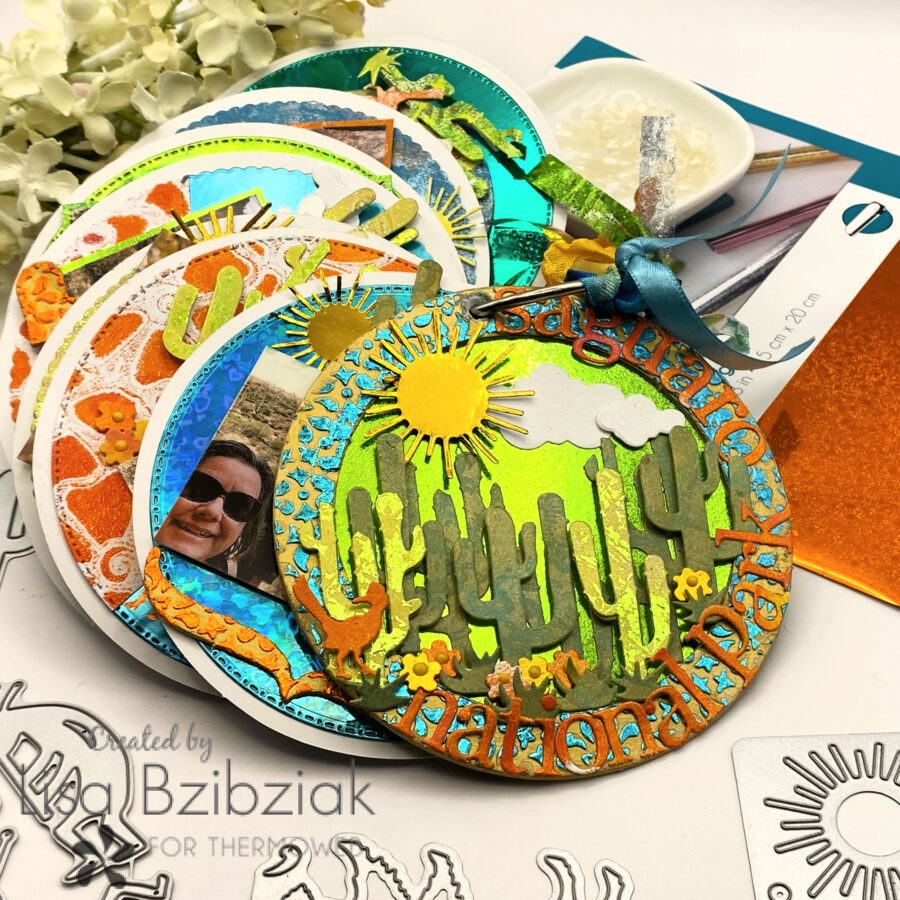
Welcome back! I have a fun Mini Album for you today! My kids came to visit a couple weeks ago and we went to Saguaro National Park for a day trip and I decided to create this album of the pics. I used my Sprocket to print the pictures right from my phone and they are the perfect size for a mini album!
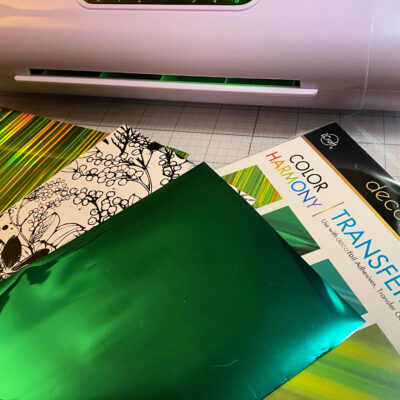
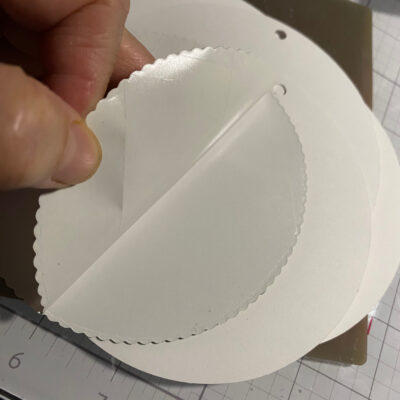
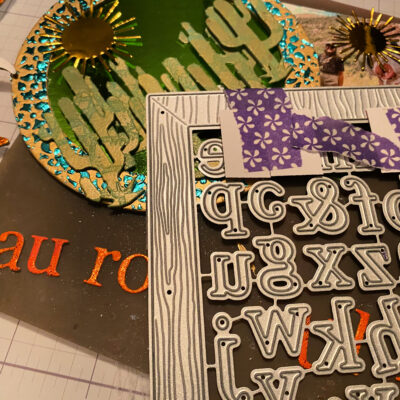
I had a round chipboard ring album in my stash and decided it was time to use it. So I started by applying Deco Foil to a few different types of paper, including some Toner Card Fronts and toner paper….
And cut them into circles that would fit onto the pages of the album. Did you know that Therm O Web has a self adhesive toner paper??
These made it so easy to adhere them to the pages!
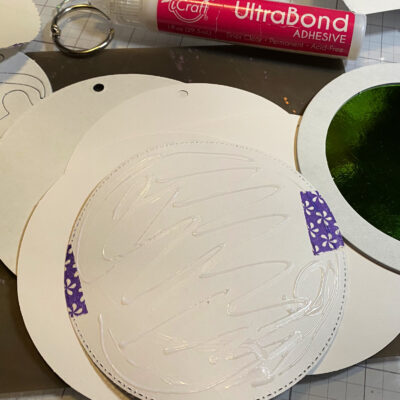
You can adhere the Toner Card Front pieces with glue or the adhesive tape runner. (If you use glue with the regular toner paper, you will want to smooth out the glue because it’s very thin).
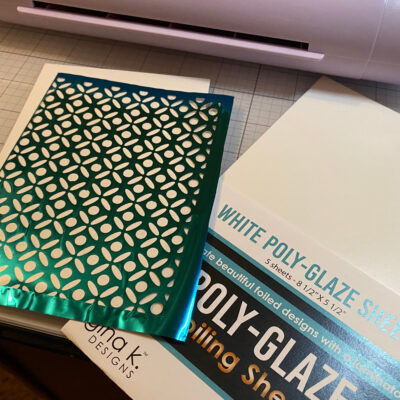
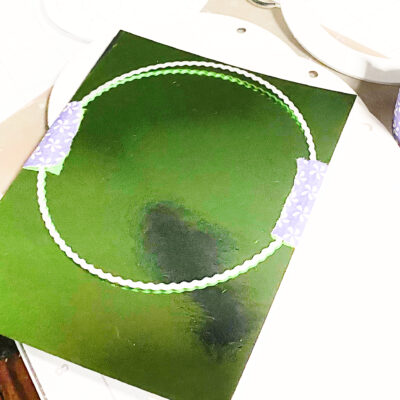
And Gina K Designs White Poly-Glaze Sheets are perfect for your negative transfer sheets!
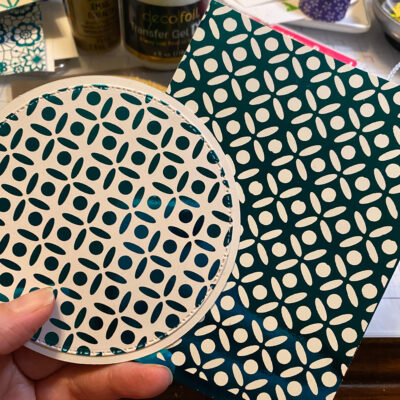
The one on the left was a Toner Card Front I Deco Foiled and the right was the negative on the Poly-Glaze sheets.
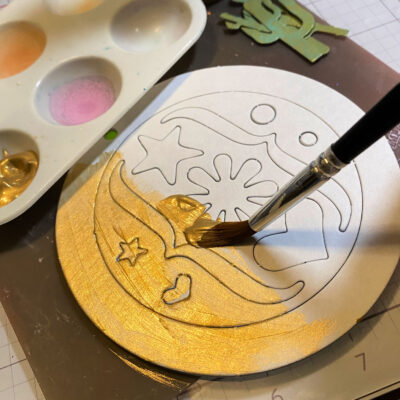
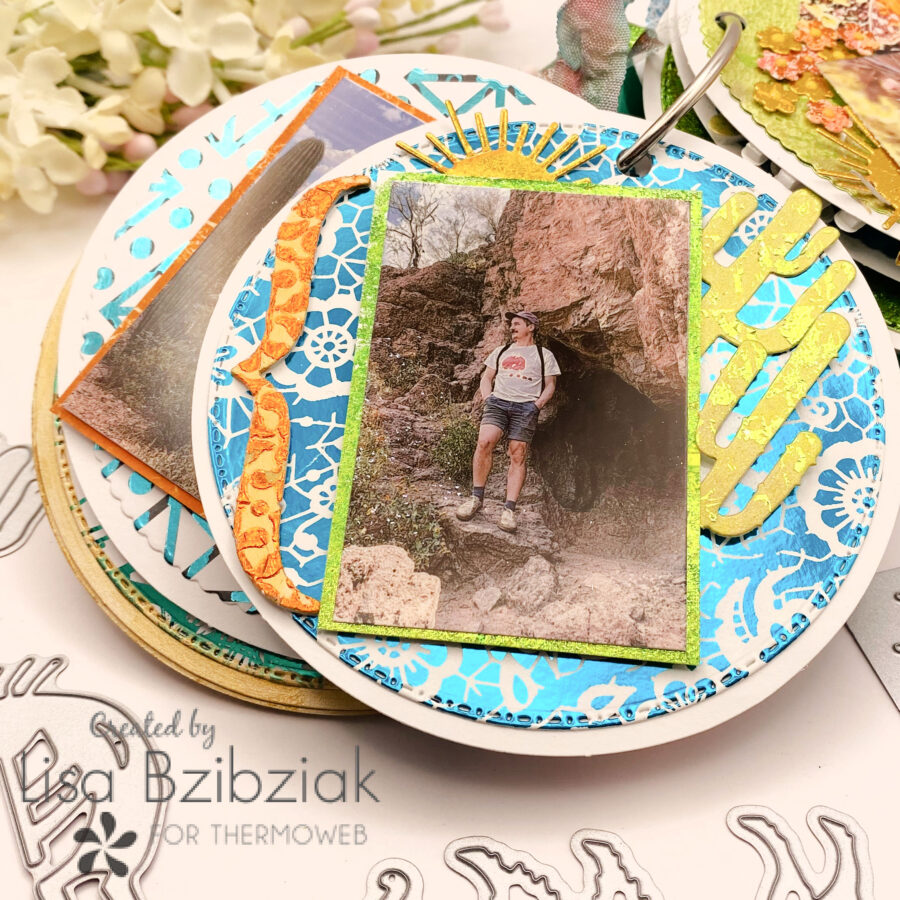
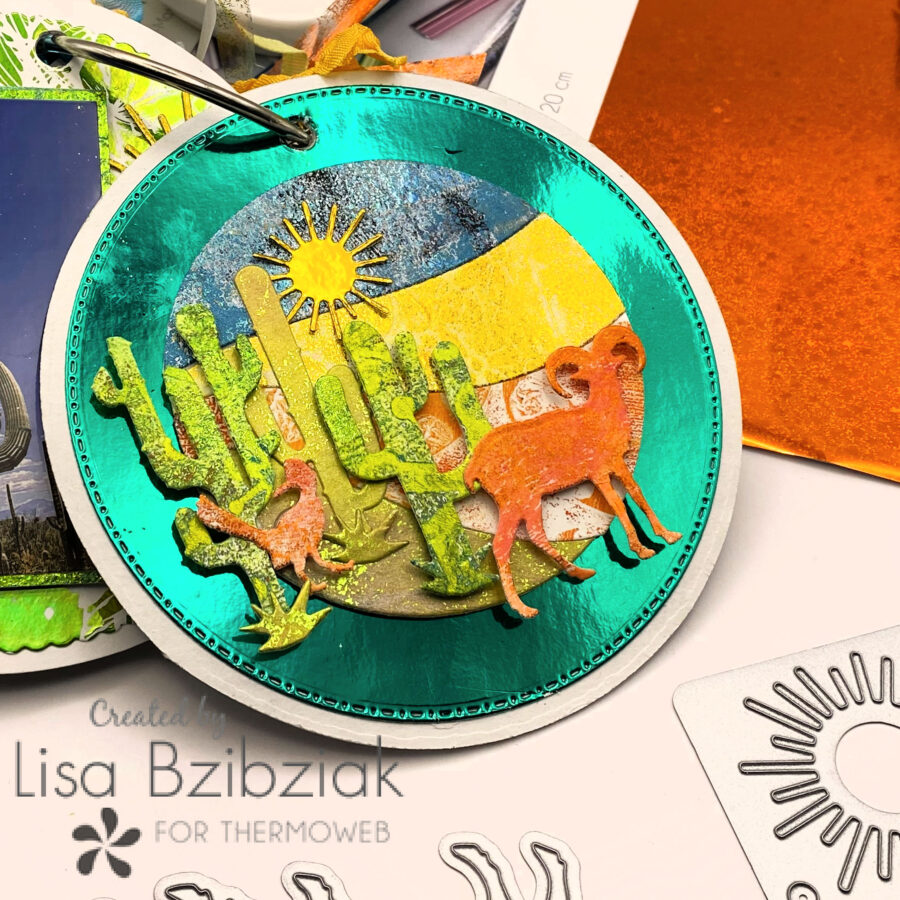
Then I started working on the front. That center piece pops out leaving a frame, but I had already adhered the Deco Foiled Toner Paper to the frame, so I inserted the center back in to protect it and it made it so much easier to paint the entire piece in gold.
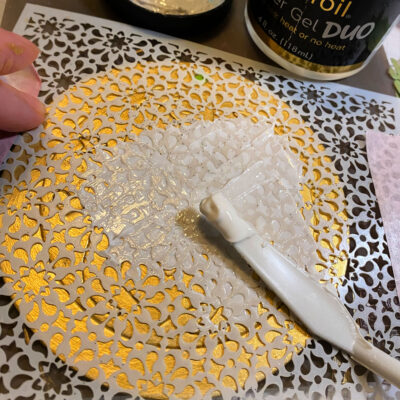
After the paint dried, I added Transfer Gel Duo through a stencil for some texture and let it dry to tacky.
I took the center piece out before it dried so it would be easier to take it out.

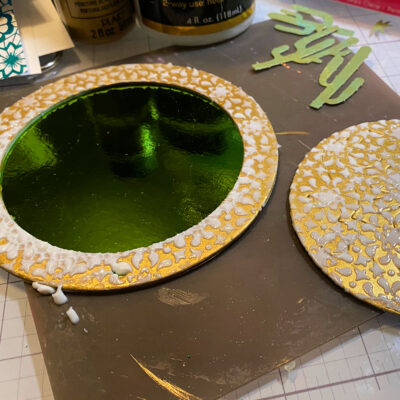
Then I applied some Deco Foil… I took out the shims from my Die Cutting machine and used the pressure to add the foil to the frame and also used it to add orange foil to the center piece.
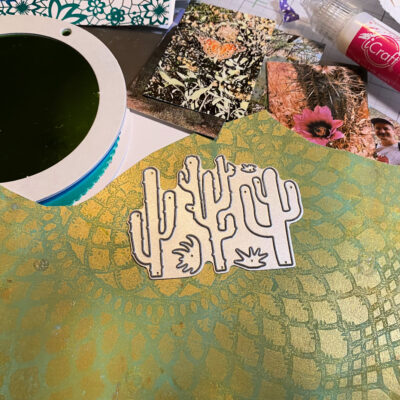
I started die cutting my cacti and other die cuts from gel prints.. some I added Deco Foil to and others I didn’t. I also die cut from Deco Foiled Toner Paper.
I added my title by die cutting letters from Deco Foiled Gel Prints… I like the thickness of the Gel Print and you can add Glitter Dust to the Gel Print and let it dry to get better foil transfer through the Fuse. When I was done I also sprayed the entire cover with Glitter Dust Spray.
Once I was done with the cover, I proceeded to add more papers, photos and flare to all of the pages. I used the same die cuts on all (for a cohesive look) cut from various papers (for interest).
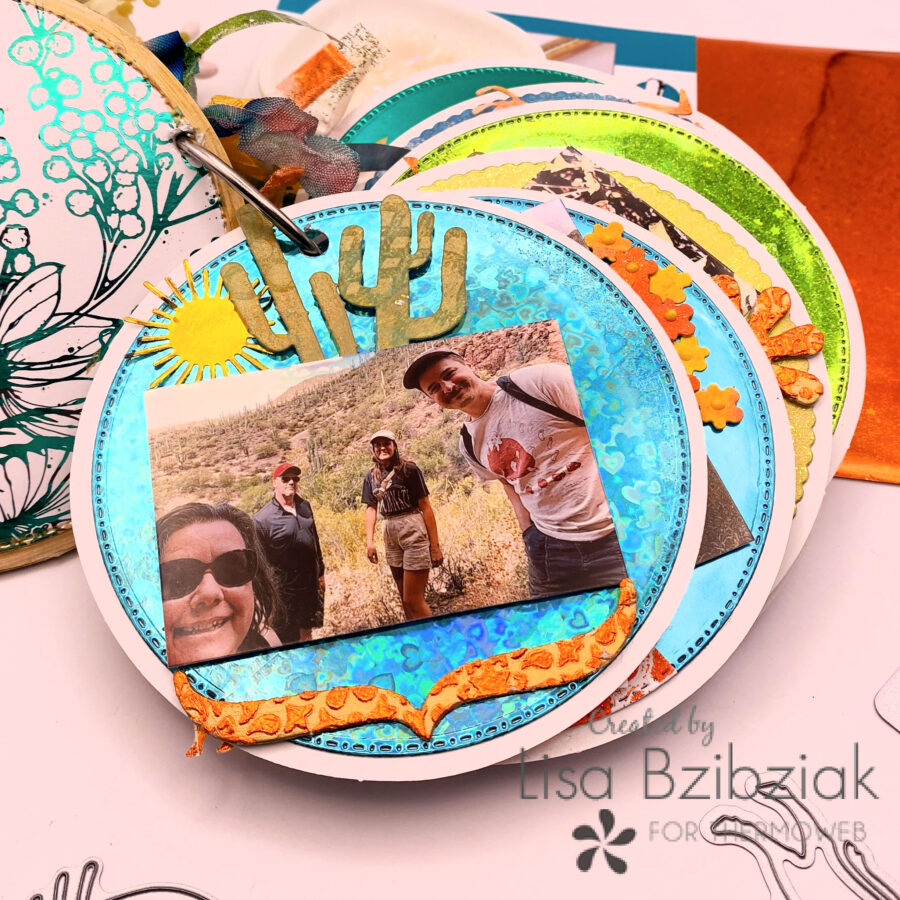
It was fun to use those pieces from the center of the album cover! This is me, my brother, Brittany and Corey.
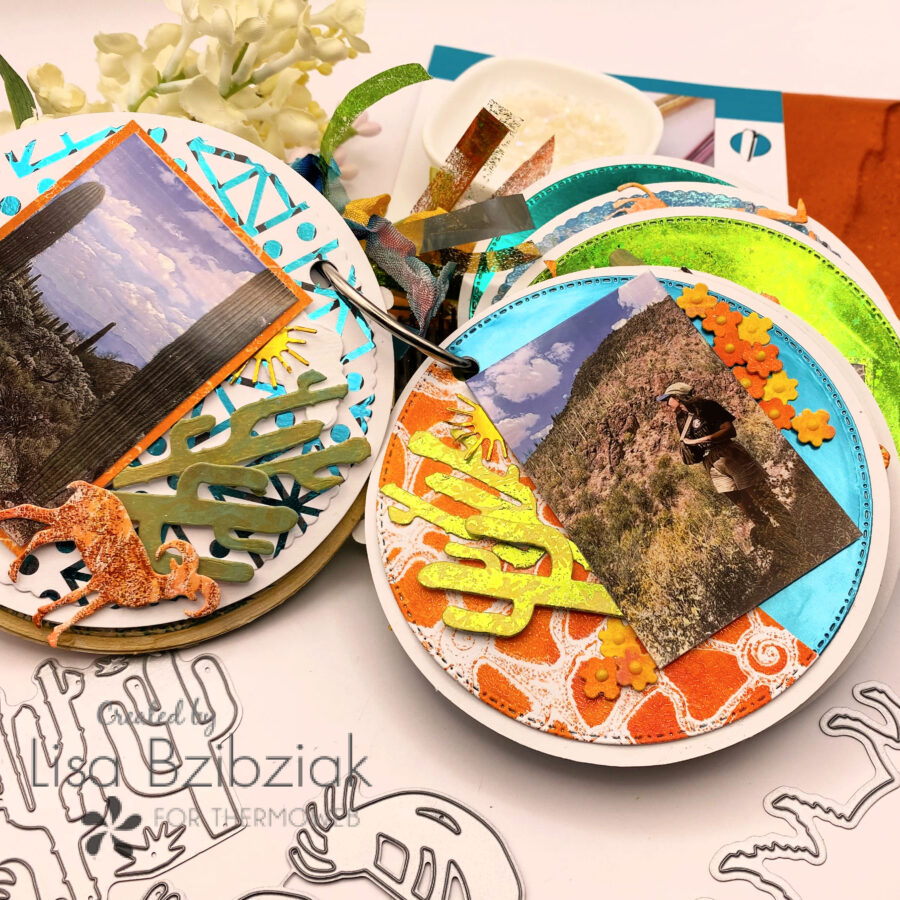
For this one, I added a gel print to half of my background.
This park is simply amazing… we did a 3 mile hike, although I think it may have been further… pretty sure we took a turn, but it was a beautiful day and we had a fabulous lunch to look forward to.
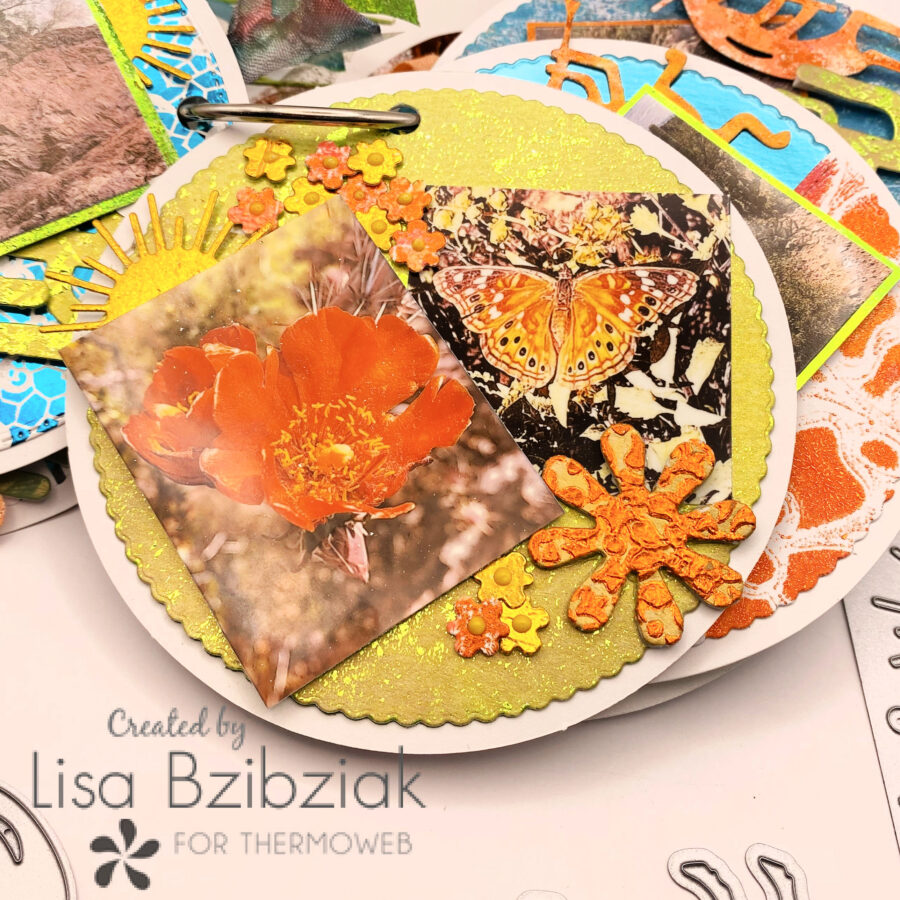
The end of April, beginning of May is the perfect time to hike in the desert… the temps are good and the cacti are blooming…
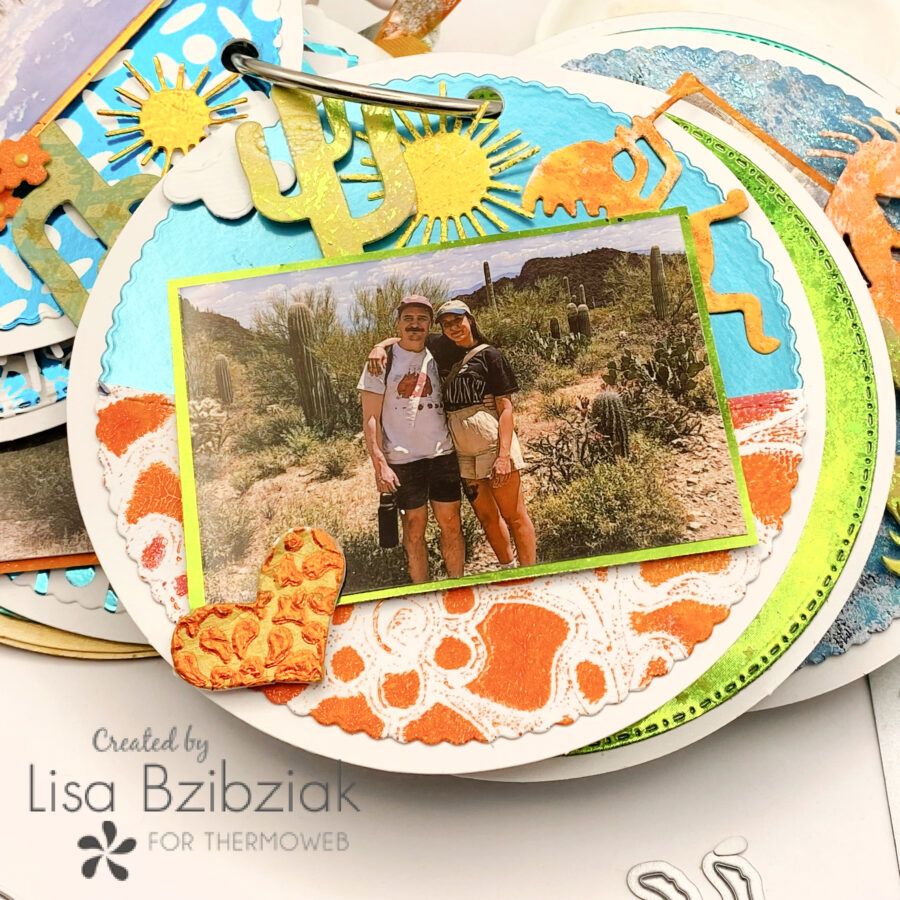
These two… are perfect for each other… I saved that heart for this one.
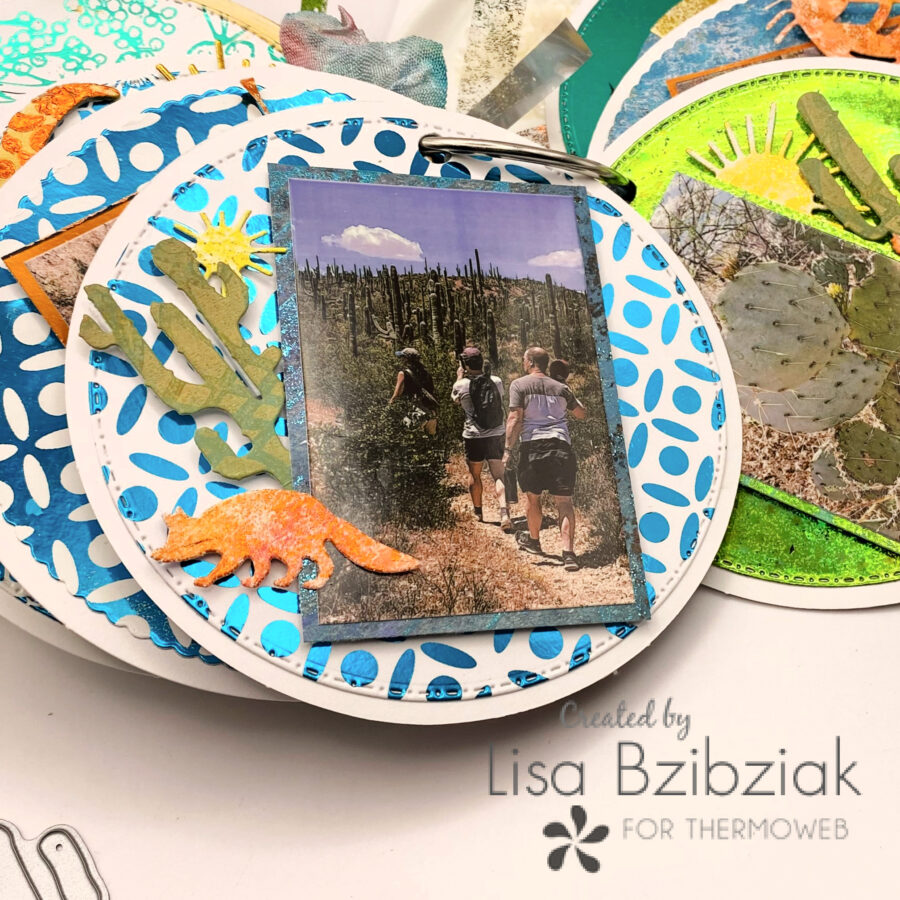
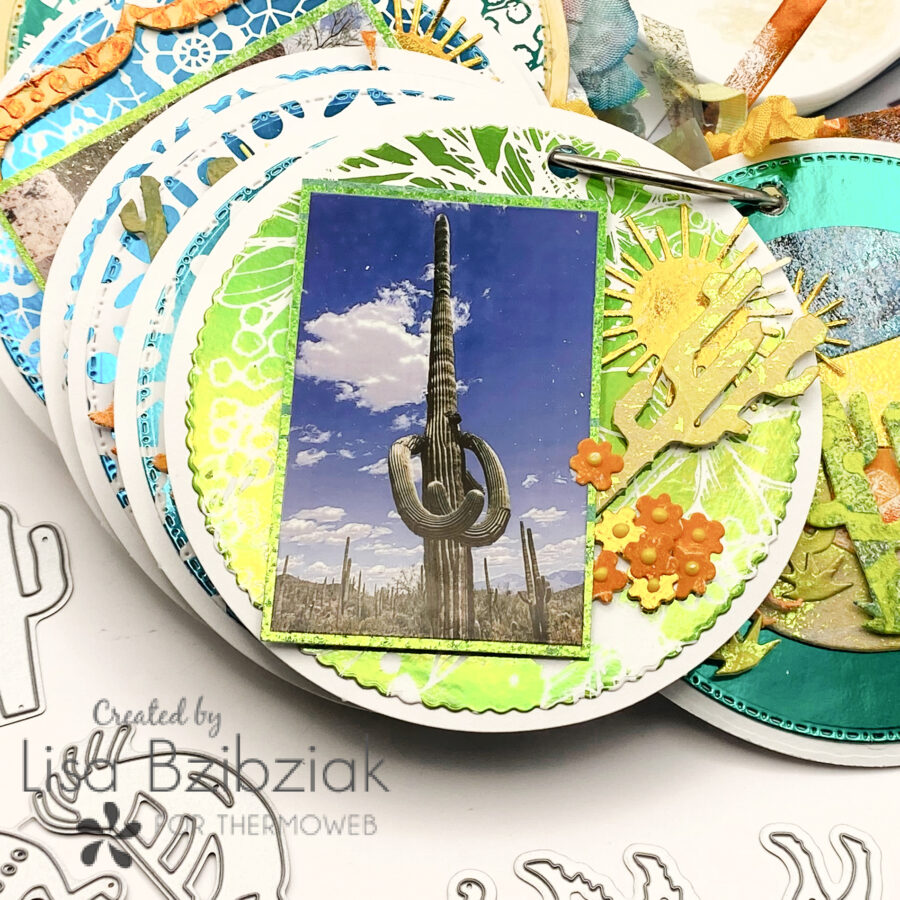
I always take a picture from behind… and would you check out all of those saguaros! I always considered them the friendliest cacti. We had a lot of fun giving them personalities as we hiked.
It is always a must to find a heart shaped prickly pear….
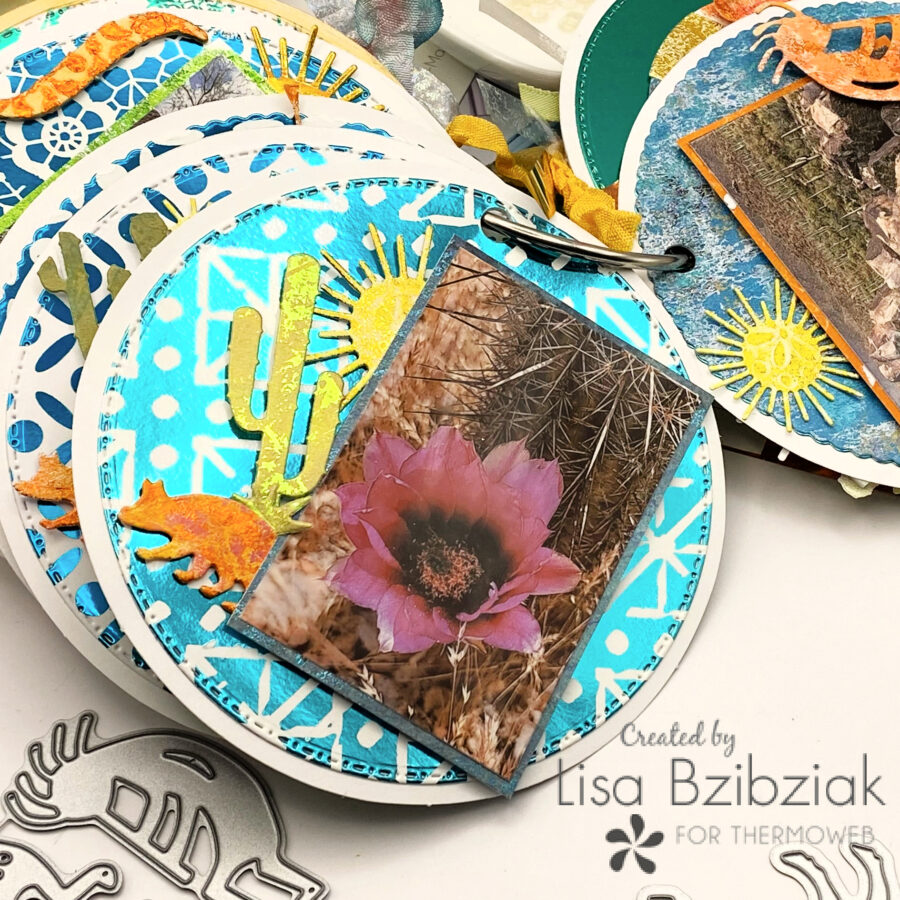
and you often have to look under one cactus to find another … did I mention the blooms??
I felt like this guy was judging me…he was a little sassy.
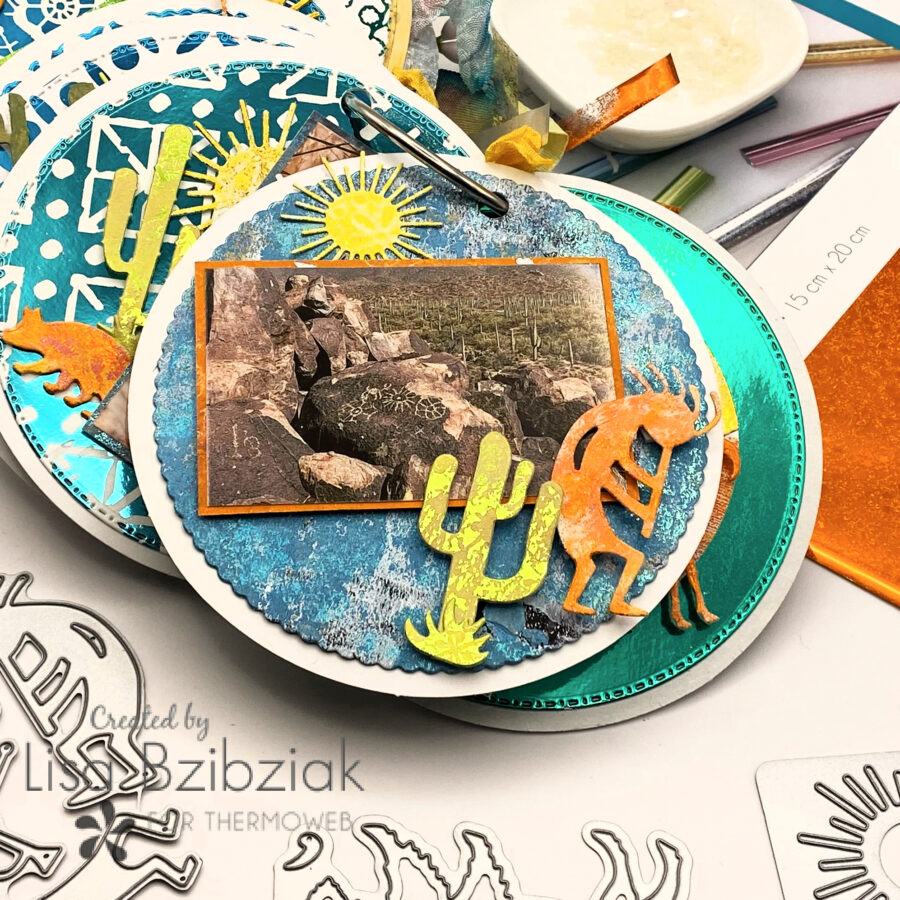
And we even got to see some petroglyphs….
And for my last page I added a little scene I created with some of my leftovers.
The great thing with a ring album is you can always insert more pages … I forgot to add a pic of our awesome charcuterie style picnic lunch!
That’s me for today! I hope you enjoyed it and that you got some inspiration from my project. I really enjoyed creating it. I have added links below for the products I used today. Come again soon!