Christmas time will be here soon and if you are a crafter, you’ve probably started your plan for decorating and gift giving. Here is a fun ornament idea by Carla from Creatin’ in the Sticks with HeatnBond Fusible Interfacing – Craft Extra-Firm, HeatnBond Lite, and Merry and Bright Fabrics by Corri Dantini for Blend Fabrics.
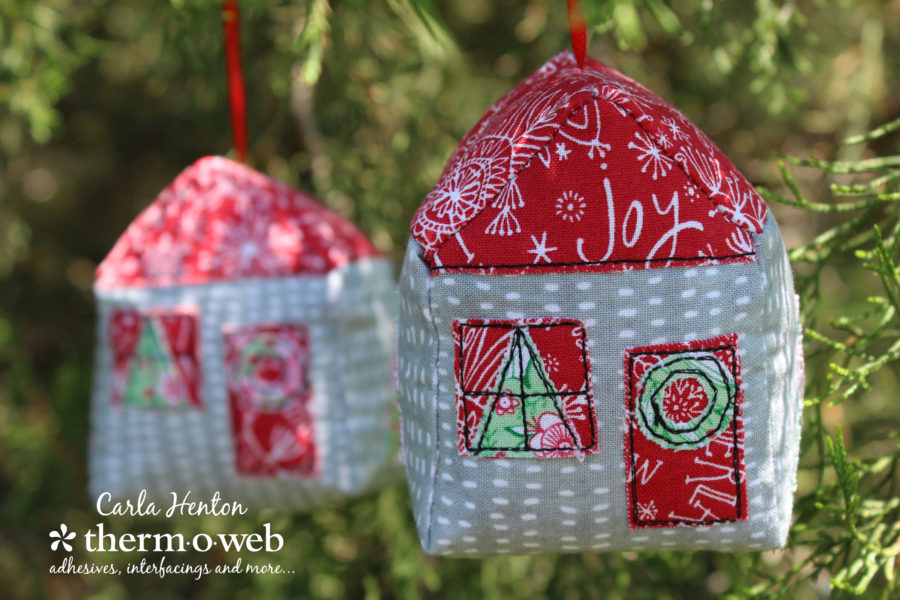
Adorn your Christmas tree with sweet little house ornaments.
Merry and Bright Christmas House Ornaments
By Carla Henton at Creatin’ in the Sticks
Finished size: without the hanger – about 2 ½” x 3 ½”
Ornament Supplies:
Christmas House Ornament PDF Pattern – Christmas+House+Ornament+by+Carla+at+Creatin+in+the+Sticks
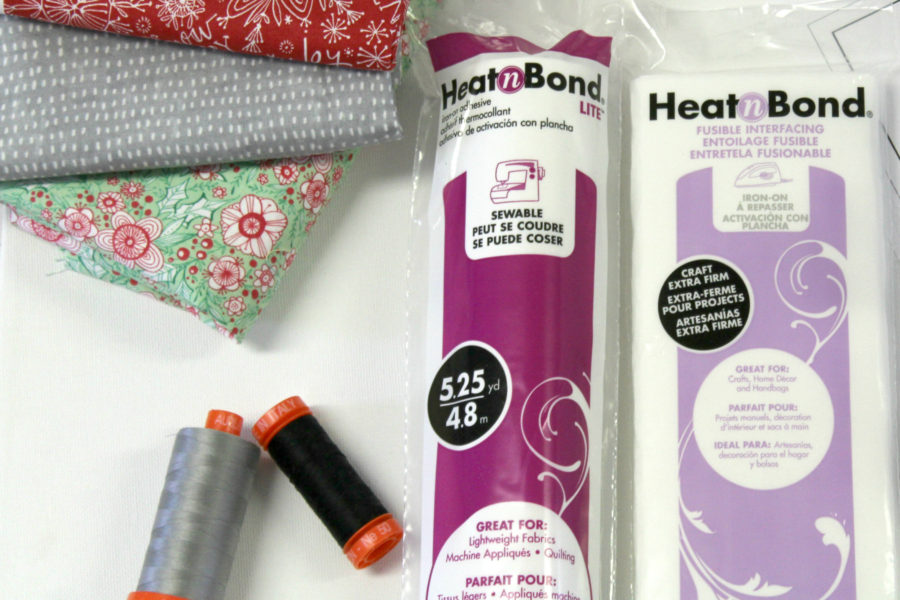
Fabric: Merry and Bright by Cori Dantini for Blend Fabrics
½ yard of each fabric will yield 8 houses
112.114.19 Seeds Fog – for outside of the house
112.120.03.1 Snow Happy Red – roof, door, and windows
112.120.04.1 Winter Blooms Green – trees and wreath
Interfacing: HeatnBond Fusible – Craft extra firm
Iron on adhesive: 1 sheet of HeatnBond EZ Print Lite or HeatnBond Lite
Aurifil thread: 50wt # 2692 and #2620
Inkjet printer
Iron – I love my Oliso Pro
Ribbon – 1/8” x 9 ½”
Cardboard (poster board or cardstock) – 2 ¼” x 2 ¼”
Fiberfill stuffing
Basic sewing supplies – scissors, thread, needles, pins, sewing machine, etc.
Merry and Bright Christmas House Ornament Instructions:
**All seams are ¼” unless otherwise noted
Please read through the complete instructions before starting.
Step 1: Print pattern for the house. Make sure to print actual size.
Step 2: Cut out 1 of the house patterns from interfacing and grey fabric. Cut two rectangles from interfacing and two from red fabric – 2” x 2 ¾” for the roof.
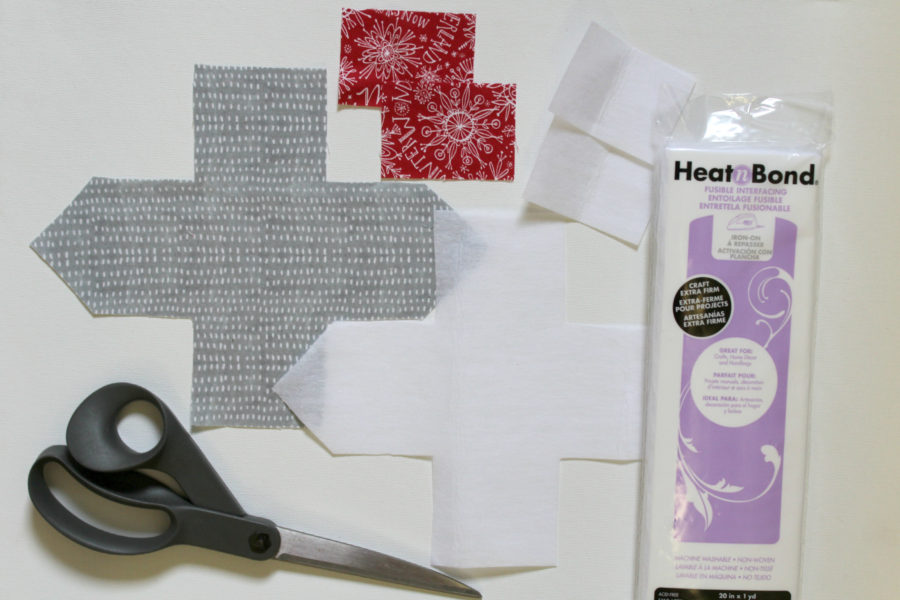
Step 3: Bond the interfacing to the wrong side of fabrics following the package instructions.
Step 4: Print the applique pieces on a printer following the instructions by HeatnBond Lite EZ Print or trace the patterns with a permanent marker onto the paper side of HeatnBond Lite. Fuse the patterns to the wrong side of fabrics following the manufacturer’s instructions and cut out the applique pieces. Use the pattern key as a guide to place the applique pieces on the house pattern after peeling the backing paper off. Once all the pieces are in place, bond the pieces all at once to the house following the manufacturer’s instructions.
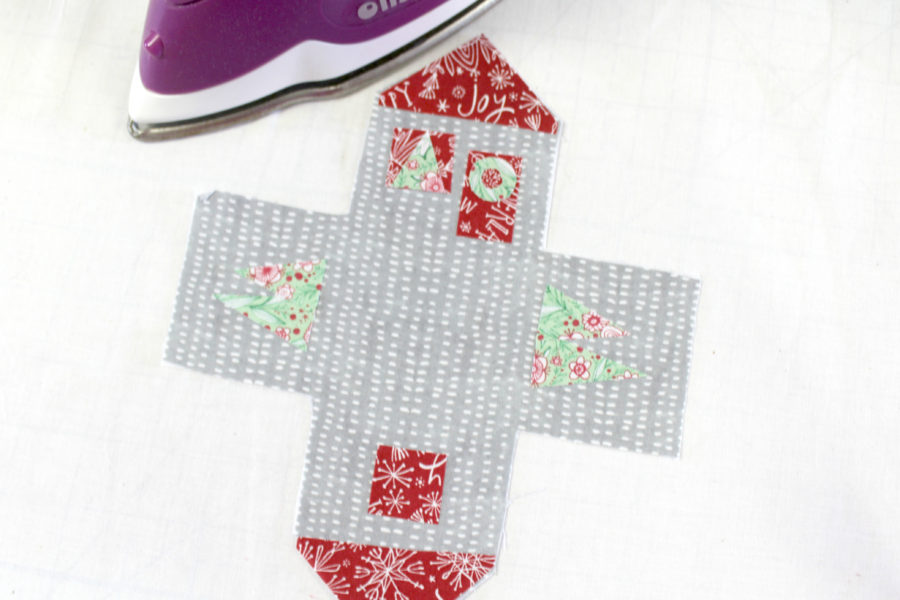
To finish the appliques, stitch around the edges of the appliques twice using a straight stitch with Aurifil thread: 50wt # 2692. Stitch lines on windows by stitching the lines in the middle both horizontally and vertically.
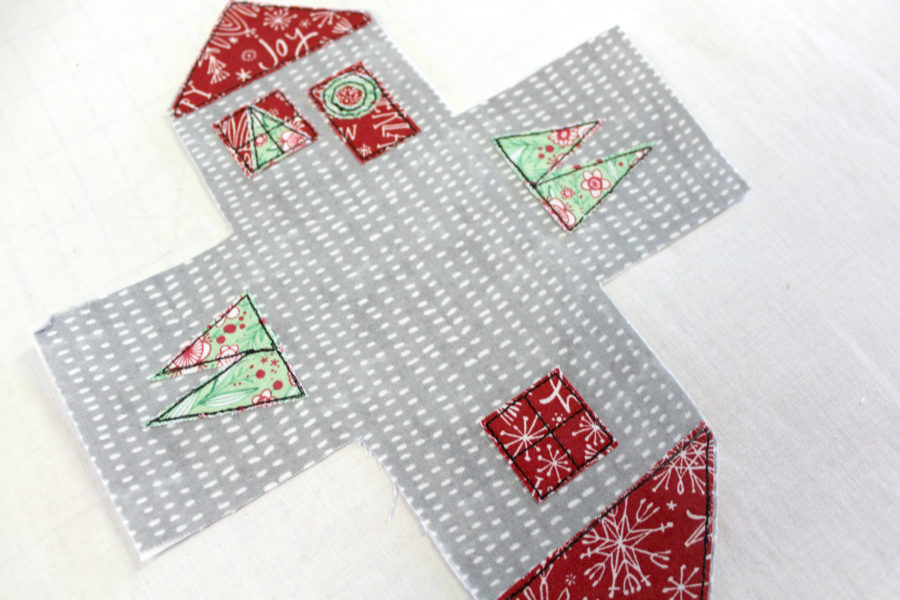
Step 5: Stitch the house together following the steps in the PDF pattern.
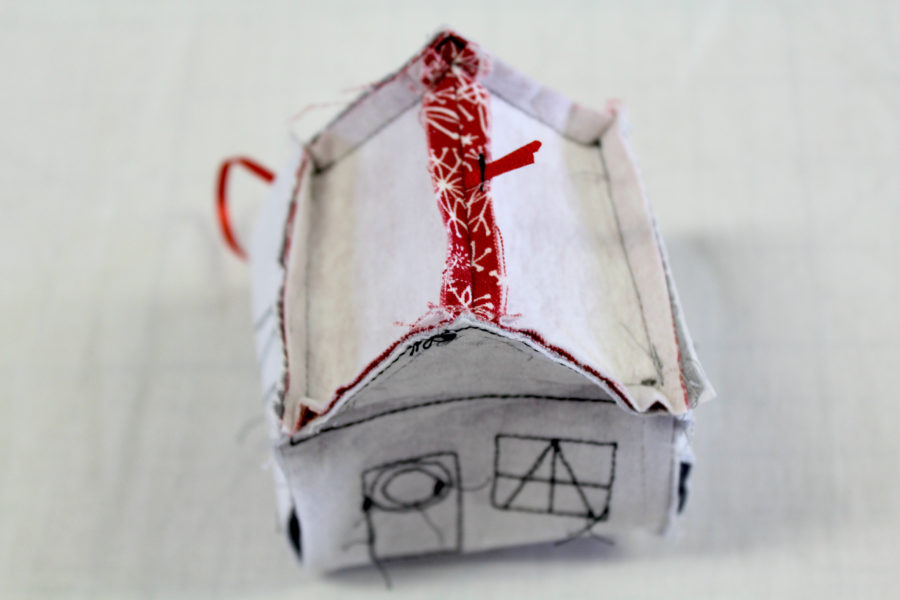
Step 6: Turn the tiny house right side out, place the cardboard in the bottom, stuff it with fiberfill, and stitch up the last wall.
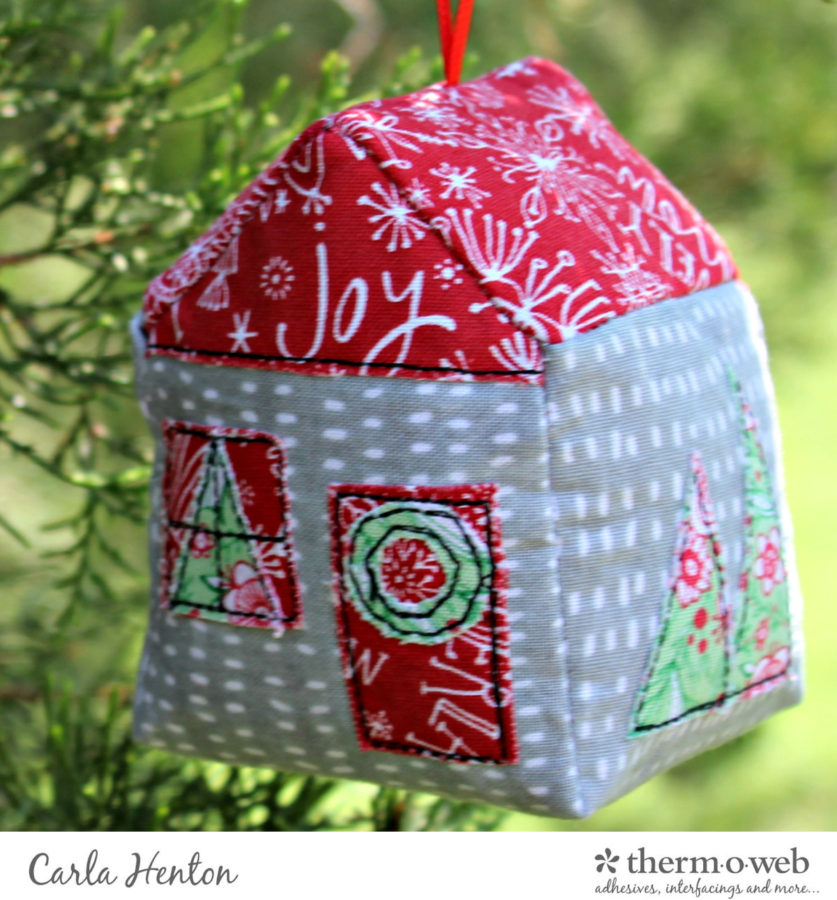
How cute would a tree be with a house theme? Hmmm.
Carla

Sharon Gullikson
August 23, 2018 at 12:11 pm (7 years ago)Those are really cute, and can use of scraps. NICE
Carla Henton
August 26, 2018 at 7:06 am (7 years ago)Thank you, Sharon. There are so many possibilities with these little houses.
Paige
July 29, 2020 at 7:06 pm (5 years ago)These are really cute but when i click on the link to the pattern, it isn’t there (bluprint).
admin
August 26, 2020 at 3:09 pm (5 years ago)Here’s a link to the pattern http://thermoweb.com/blog/wp-content/uploads/2018/08/ChristmasHouseOrnamentbyCarlaatCreatinintheSticks.pdf
Carla Hundley
July 29, 2020 at 7:33 pm (5 years ago)These are so darling!
Anyway to get the
pattern? The link
doesn’t work now.
Carla from Utah
Carla Henton
July 30, 2020 at 7:21 am (5 years ago)Sorry about that, the link is fixed and you should be able to download the complete PDF pattern now.
Dana Hinson
July 29, 2020 at 11:55 pm (5 years ago)I can’t get the link to the pdf free pattern to work. Can you help me please?
admin
August 3, 2020 at 1:34 pm (5 years ago)Hi Dana…the link to the pattern is the first listed supply. If you have an ad block or pop-up blocker on, that would prevent the window from opening to the pattern. If you need further help, please email me at JSandvoss@thermoweb.com Julia