Hello! Carla here from Creatin’ in the Sticks. Is it just me or does it seem like the day after the 4th of July means the end of summer? School will start in no time. Meet the teacher with a sweet schoolhouse that is filled with sticky notes. The secret to keeping the walls firm is the Heat-n-Bond® – Craft Extra Firm Fusible Interfacing.
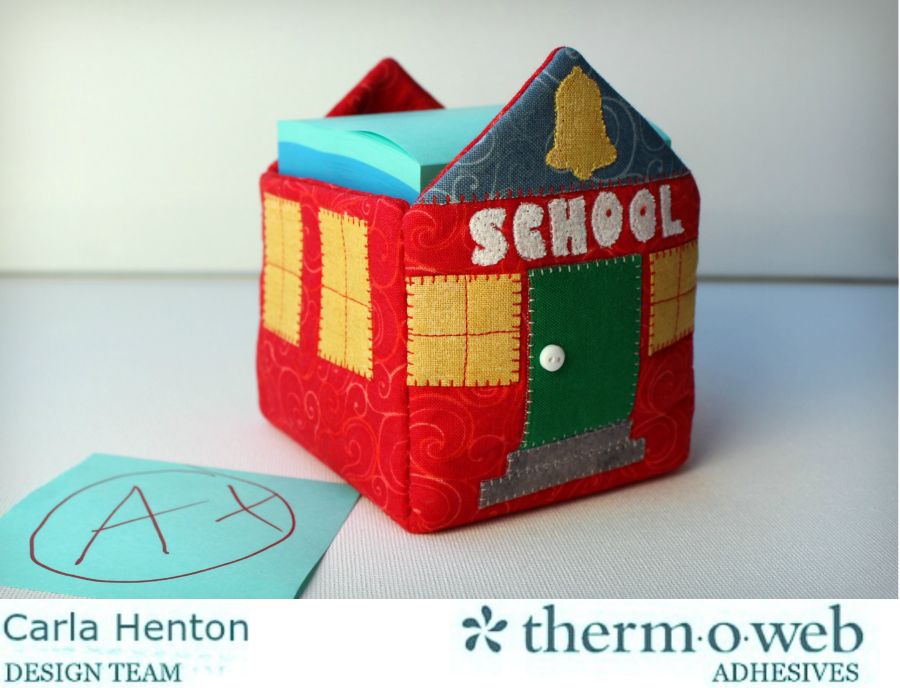
Schoolhouse Sticky Note Box
by Carla Henton, Creatin’ in the Sticks
Finished size: about 3 ½” x 3 ½” x 4 ¼”
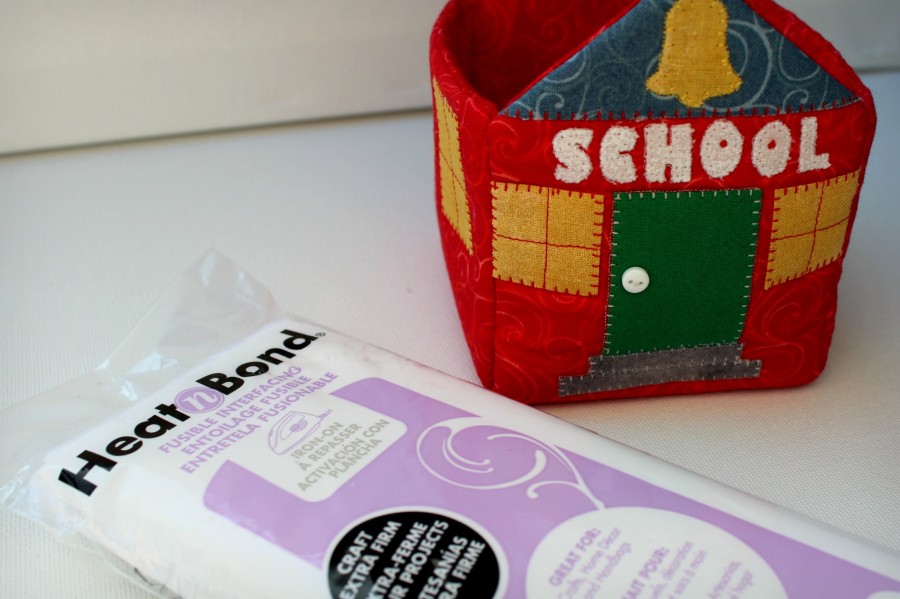
Supplies:
Fabric: 1 fat quarter for outside, 1 fat quarter for lining, assorted scraps of fabric for windows, doors, etc.
Interfacing: Heat-n-Bond® Fusible – Craft extra firm
Batting: 12” x 14”
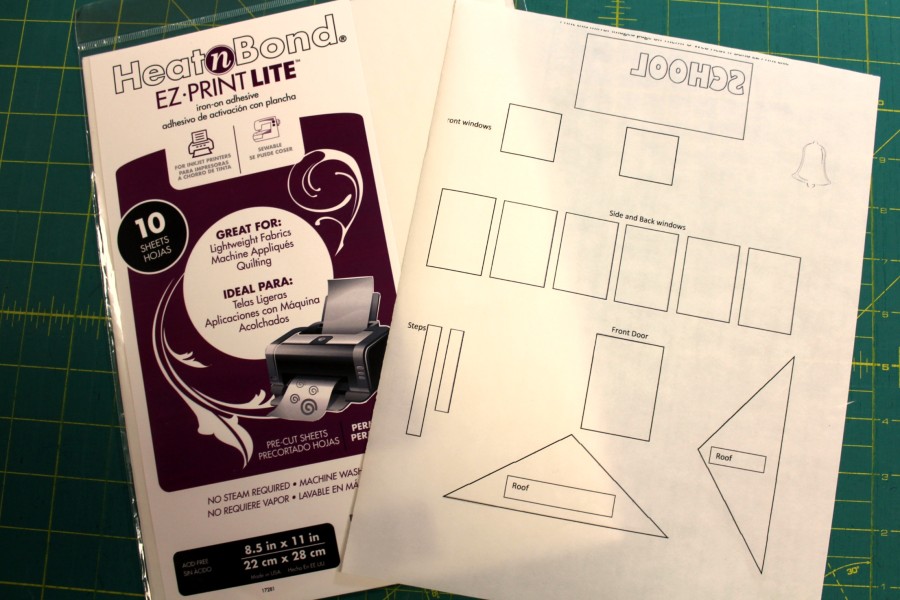
Iron on adhesive: 1 sheet of Heat-N-Bond EZ Print Lite
Spray-n-Bond® basting adhesive
Schoolhouse Box PDF pattern can be found HERE
Sharp scissors, matching thread, hand sewing needle
Instructions:
**All seams are ¼” unless otherwise noted
Step 1: Print pattern. Make sure to print actual size. Tape the pattern together overlapping the center square.
Step 2: Cut out 2 of the schoolhouse patterns from interfacing.
TIP: cut the 2 interfacing pieces out and then fuse them to the wrong side of fabric. Let the interfacing cool and then cut out the patterns from the fabric using the interfacing as a guide for cutting.
One of the schoolhouse patterns is for the outside (where the appliques are applied) and one is the lining. Following the pattern, cut one from batting.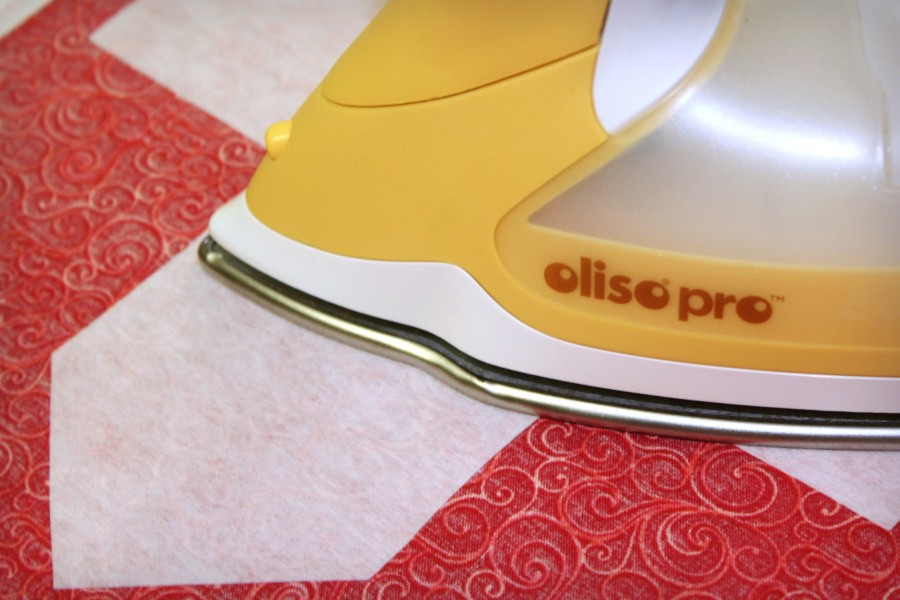
Step 3: Print the applique pieces on a printer following the instructions by Heat-N-Bond. Fuse the patterns to the wrong side of fabrics following manufacturer’s instructions and cut applique pieces. Use the pattern as a guide to place the applique pieces on oneof the school house patterns after peeling the back paper off. This will be the outside of the box. Once all the pieces are in place, bond pieces to school house
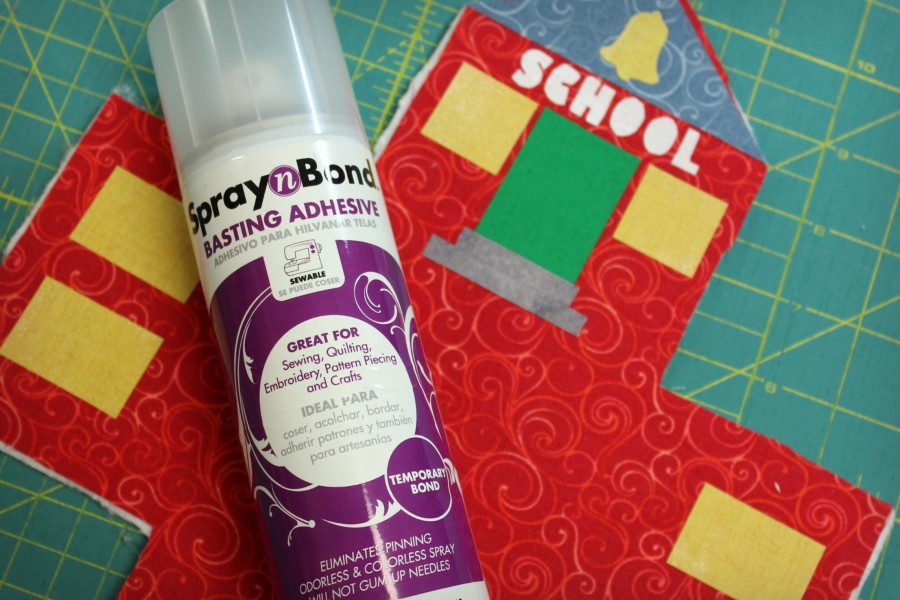
Step 4: Spray baste the fabric with the fused appliques on top of the batting piece using Spray-n-Bond® basting adhesive.. Stitch around the edges of the appliques using a favorite stitch.
Step 5: With right sides together pin the appliqued school house and the lining together. Press one of the straight walls at top with a 1/4” seam allowance and pin for both the lining and the outside of the school house. This side is left open for tuning right side out. Stitch around the schoolhouse using a ¼” seam leaving the folded side unstitched. Clip the outside corners off to reduce bulk. Clip seam allowances at inside corners close to stitching.
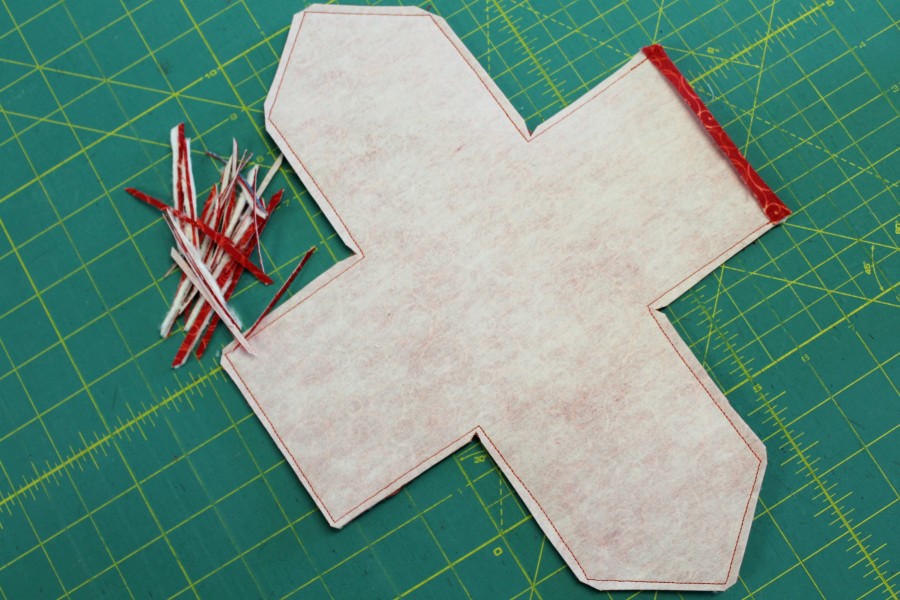
Turn right side out.
TIP: A chop stick is helpful to gently push the corners out. Press and hand stitch the opening closed.TooltipTextStep 6: Machine stitch on the stitching lines shown on the pattern. This is where the walls will fold up.
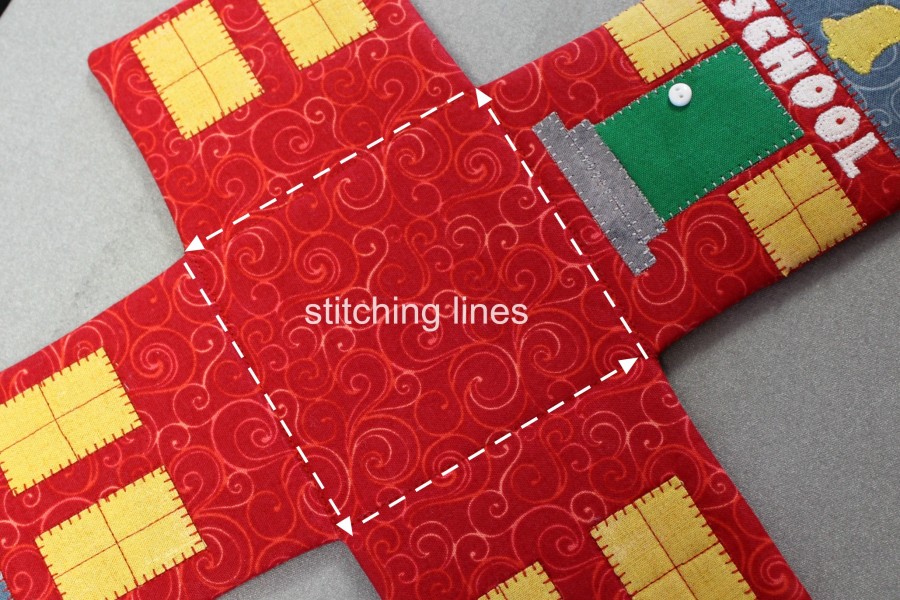
Step 7: Hand stitch the four corners of the schoolhouse together matching the top of the walls using a ladder stitch or whip stitch.
Tip: Use double thread for extra strength.TooltipText
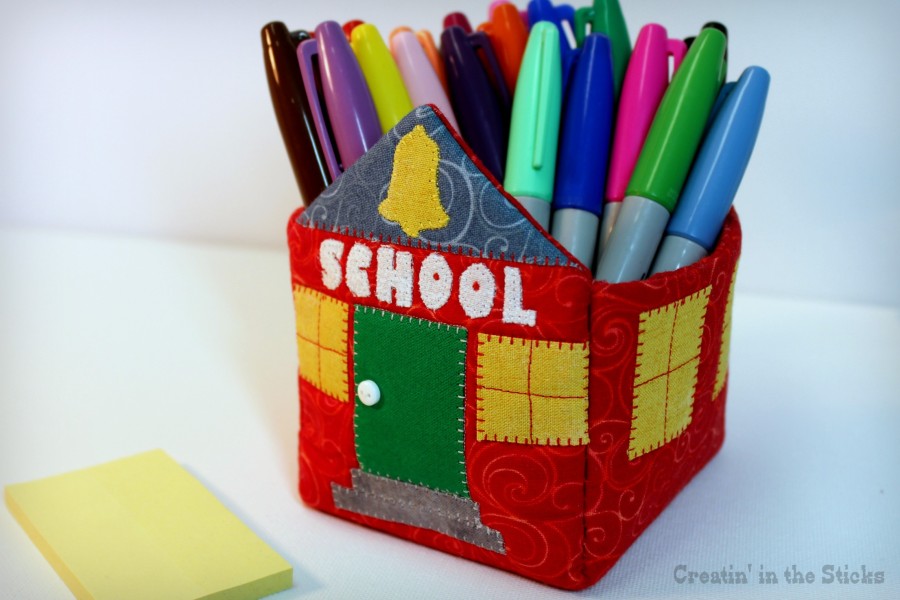
Fill this box with candy, paper clips, markers, or anything a teacher may need for the coming school year.

Sandy
July 5, 2016 at 7:58 am (9 years ago)Love this idea and design. What a cute idea with very precise and detailed instructions. Thank you Carla and I look forward to seeing more of your creative ideas.
Susan Berry
July 5, 2016 at 9:20 am (9 years ago)Congratulations and Best Wishes to a very talented and creative young woman on your very first design with this company. May you have continued success on your journey to inspire others with your creative ideas and beautiful patterns!
Looking forward to your next accomplishment!! Your loudest cheerleader and biggest fan, Love Mom