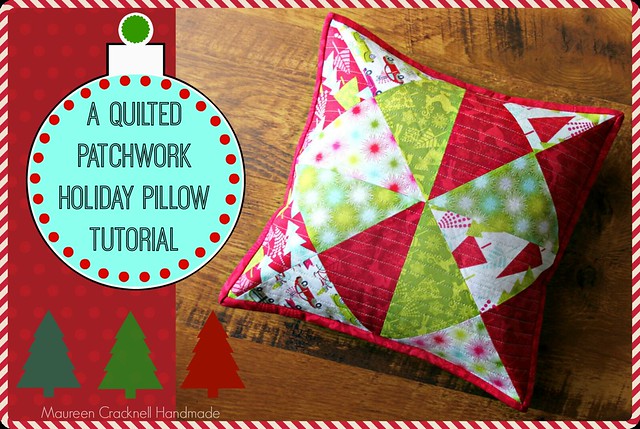
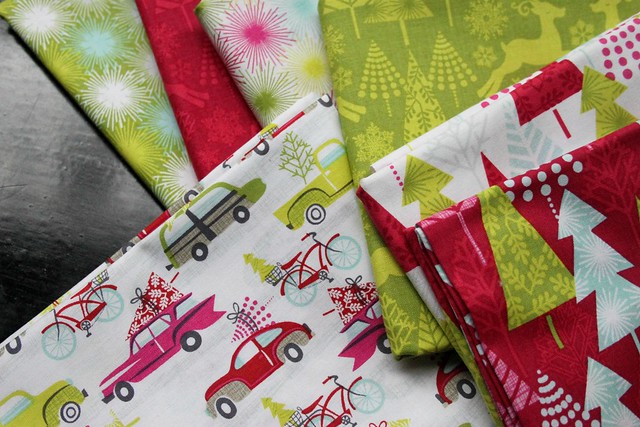
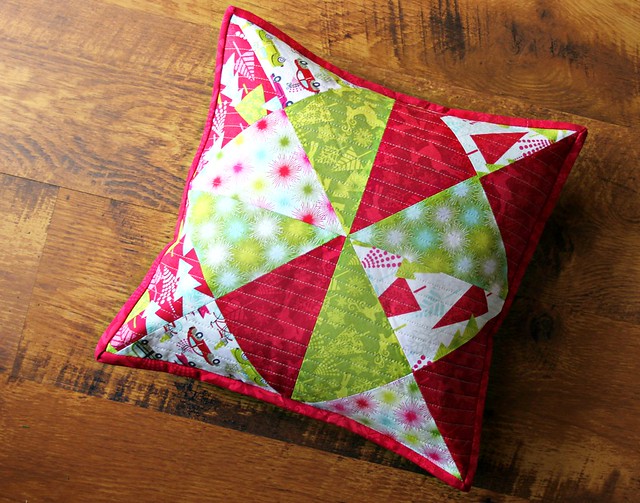
 Hello! It’s Maureen here from Maureen Cracknell Handmade! Today I’m sharing my tutorial for a Quilted Patchwork Pillow, a project I designed for ThermoWeb using HeatnBond® Fusible Fleece and Josephine Kimberling’s holiday collection, Hip Holiday for Blend Fabrics. I hope you like this super quick & easy pillow project! It takes only eight 6″ charm squaresto make the pillow front, plus the backing and binding fabrics, and when you finish you’ll have a new, cozy holiday pillow! Let’s get started!!
What you’ll need:
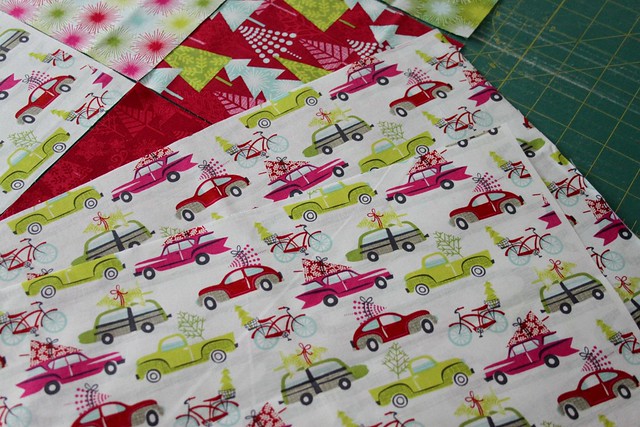
- 8 – 6″ charms of fabrics of your choosing (Hip Holiday)
- 2 – 9.5″ X 14.5″ cuts for the pillow backing fabric
- 1 – 2.5″ X 14.5″ cut of fabric for pillow backing binding
- 1/4 yd of binding for finishing the pillow
- 1 – 14″ pillow insert
- Coordinating Thread, I prefer Aurifil
- Rotary Cutter/Mat/Ruler
Cutting and Piecing the Fabrics:
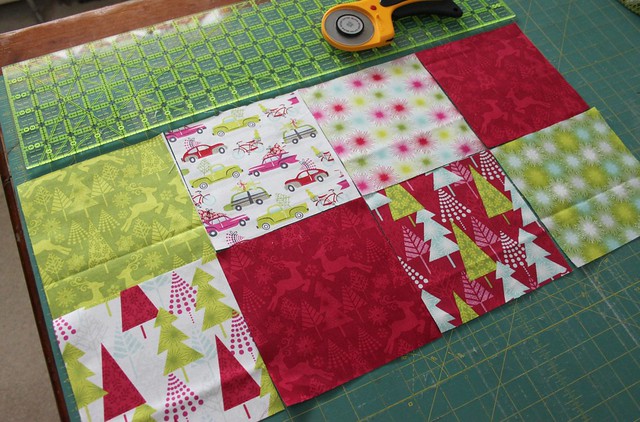
1. Cut eight 6″ charm squares from the fabrics you’ve chosen for the
pillow front (I recommend using a rotary cutter and mat set for cutting)
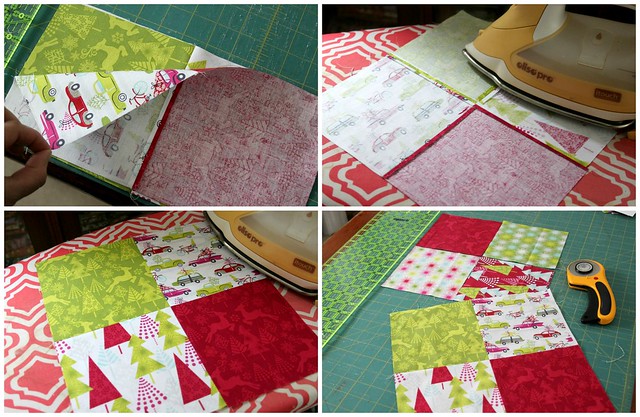
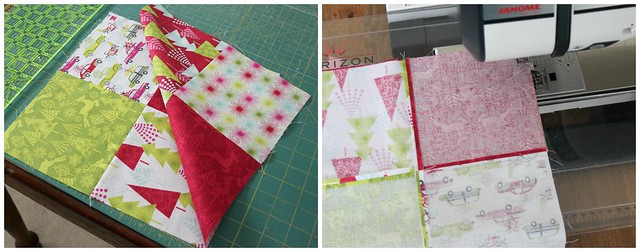
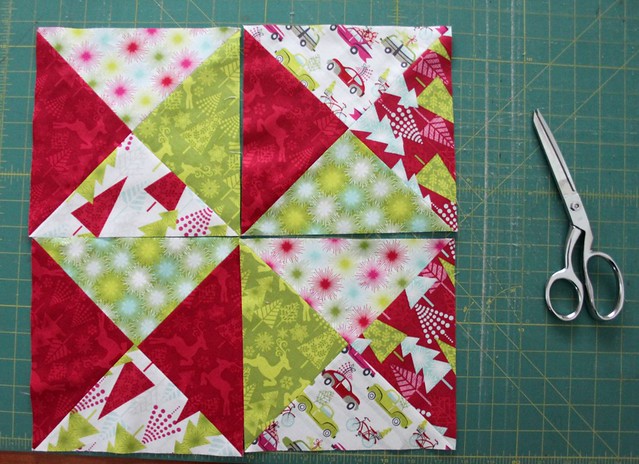
2. With right sides facing, pin and sew using a 1/4″ seam allowance two squares together using a straight stitch. Repeat with two more squares, pressing all seams open as you go 3. Sew the two sets of two squares together, with rights sides facing to create a four patch block. Repeat this for the second set of four – 6″ charm squares. When finished you’ll have two – four patch blocks
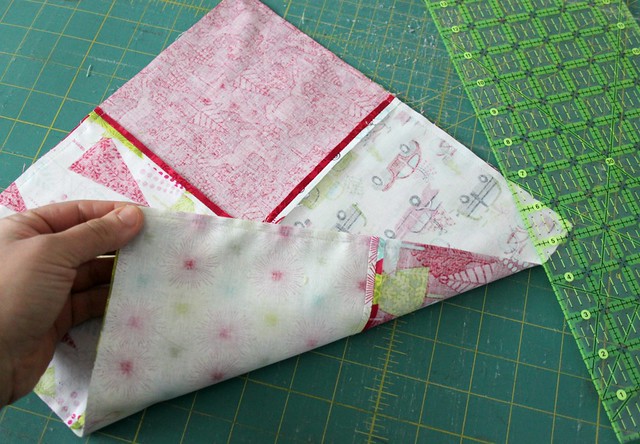
4. With right sides facing, place the two four patch blocks together, pin and sew around all four edges sewing a 1/4″ from the very out edge
Cutting and Quilting the Pillow Top:
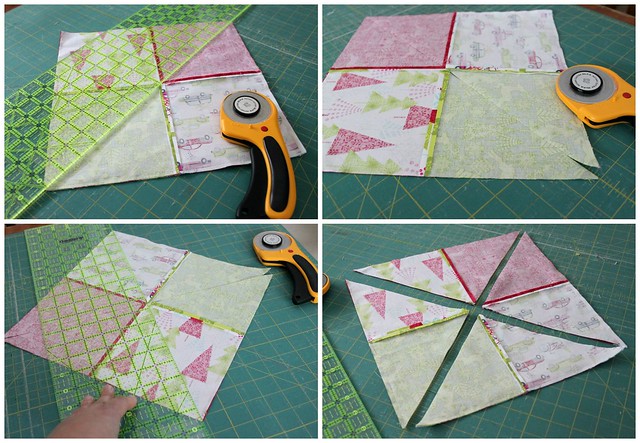
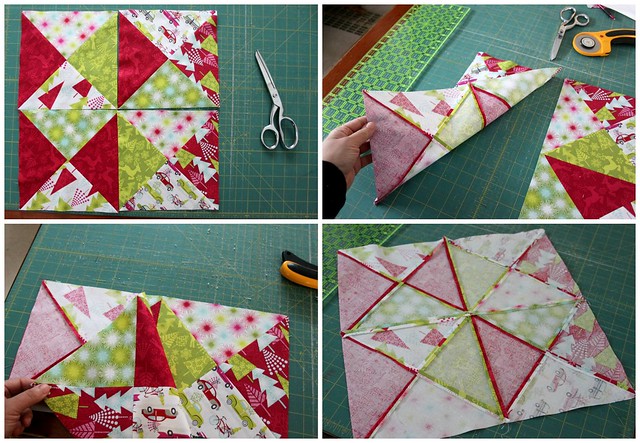
5. Use a ruler and place it across the middle of the sewn square. Be
sure to position the ruler to ensure the cutting will pass through the
point where the stitches meet at each opposing corner. Once the ruler is in place, make the cut using a rotary cutter. Repeat across the other
direction to create four triangles
6. Press with seams open, trim away any exposed seam allowances, and square each block to make four nice and neat 8″ hourglass blocks
7. Arrange the four blocks in a layout you’re happy with. With right sides facing, pin and sew using a 1/4″ seam allowance two blocks together using a straight stitch. Repeat with the two remaining blocks, pressing all seams open as you go
8. Sew the two sets of two blocks together, with rights sides facing to create the patchwork pillow front
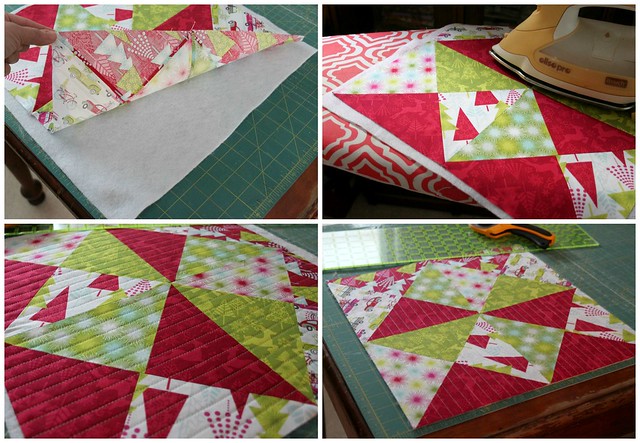
9. Place the pieced pillow front onto a prepared piece of HeatnBond® Fusible Fleece so the wrong side of the pillow front is facing the rough side of the fleece. Press with a hot iron to adhere the fleece to the pillow front. Allow piece to cool
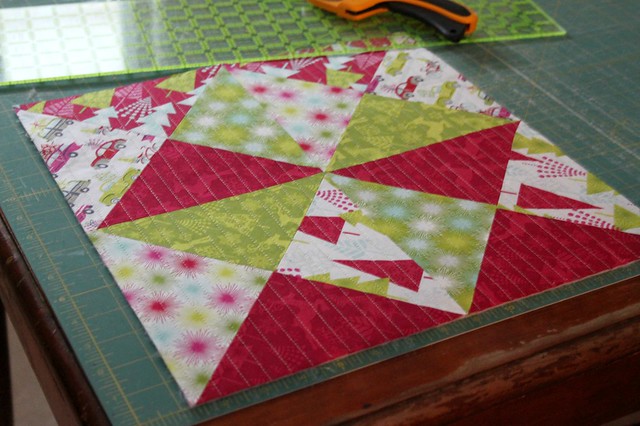
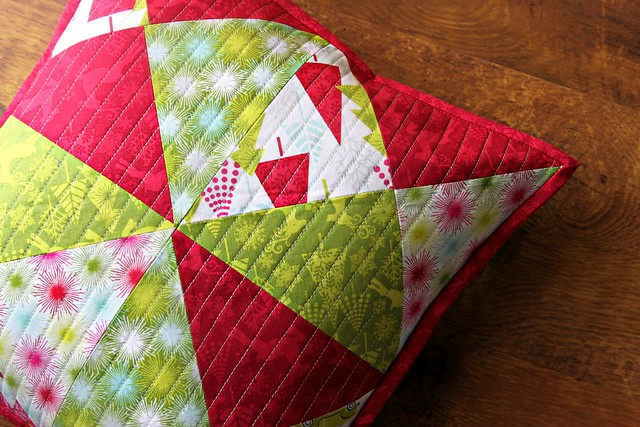
10. With stitches space a 1/2″ a part, quilt the pillow front to the fleece. Trim away excess fleece to finish a pillow top that measure a 14 1/2″ square
Finishing the Pillow:
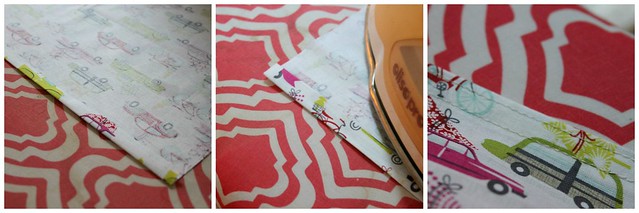
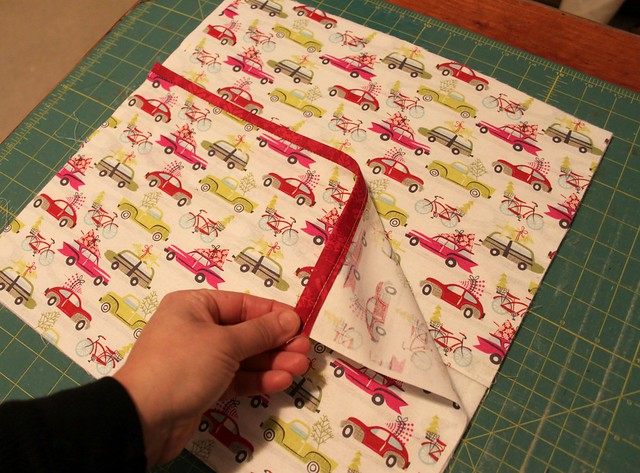
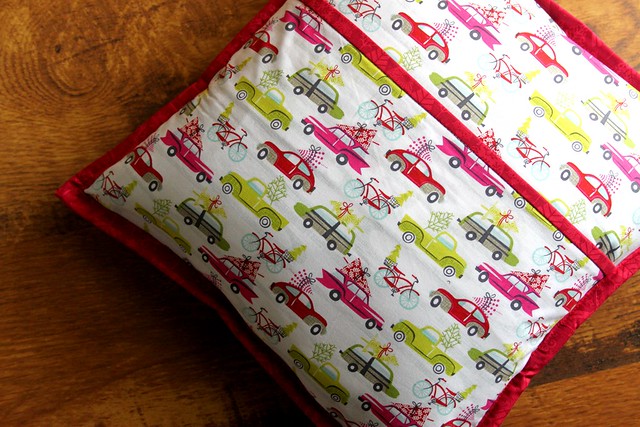
11. Prepare back pieces — Using one of the pillow back fabrics measuring 9.5″ x 14.5″, fold over one of the sides measuring 14.5″ a 1/4″, press, fold over again, press. Sew along inner folded edge and along the outer edge, staying close to the fold. This will create the double seam finish
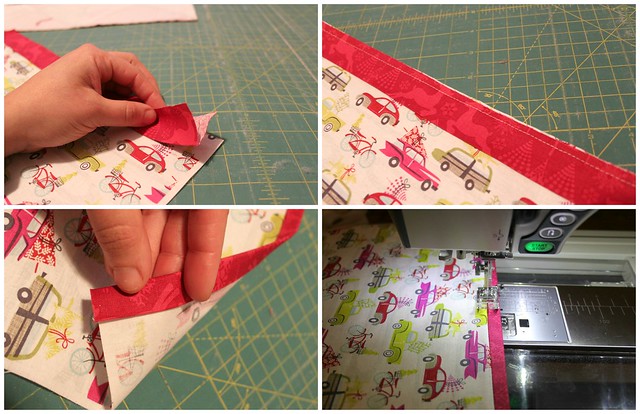
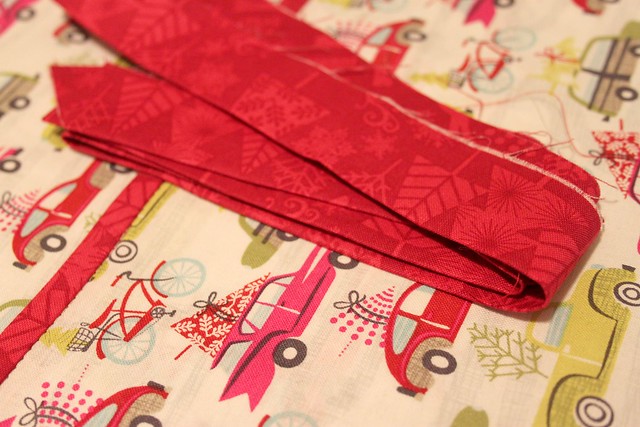
12. Using the remaining pillow back fabric and the fabric piece measuring 2.5″ x 14.5″, fold the 2.5″ piece in half and press with iron, place this piece matching up the raw edges with the raw edge of the pillow back fabric, pin in place and sew a 1/4″ from the edge. Fold the fabric piece over to the reverse side and attach by sewing along the front binding edge
13. Place the pillow backing fabrics onto the wrong side of the quilted pillow front. Sew a basting stitch all the way around the very outer edge of the pillow layers to attach them. Finish the pillow using a 1/4yd of binding just as you would adding binding to a quilt.
Insert your pillow form and now you have a very cute Hip Holiday Quilted Patchwork Pillow of your very own!!
If you do give this tutorial a go at anytime, be sure to share on my Facebook page or in my Maureen Cracknell Handmade Flickr group. I love seeing them!!
Thanks so much for stopping by today!! ♥, Maureen
8 Comments on Maureen Holiday Quilted Pillow Tutorial
1Pingbacks & Trackbacks on Maureen Holiday Quilted Pillow Tutorial
-
[…] I follow Maureen Cracknell’s blog and she wrote up a tutorial for quilted cushion covers (here) that were finished exactly that way and I thought hurrah – it can be […]



Pam in IL
December 20, 2013 at 8:18 am (11 years ago)Love it! I’m looking forward to making some of these!
chark
December 22, 2013 at 7:30 pm (11 years ago)great fabric choices!
Irena
July 11, 2014 at 3:43 am (11 years ago)Thank you for this tutorial. Very pretty cushion
Lori
December 14, 2014 at 3:33 pm (10 years ago)So cute! I want to make a set for my mom for Christmas. I have already bought 16″ pillows and then noticed when I got home you made 14″ pillows. So my question is what size charms do I start with to use a 16″ pillow form? Thank you!
admin
December 17, 2014 at 9:04 am (10 years ago)Hi Lori…we asked Maureen her thoughts and here’s her answer: I think the 16″ will fit just fine and will make for a fuller pillow. I often add larger inserts to my pillow covers for that reason.
Ives Garcia
March 22, 2021 at 10:11 pm (4 years ago)This is nice, i love it
luxebet88
March 23, 2021 at 9:41 pm (4 years ago)Thank you for sharing
Luxebet88