


I am pretty much obsessed with HeatnBond Lite. It’s my favorite way to create crisp, clean shapes for quilts, stitchery projects, pillows, etc. There are pretty much only three items you need to add shapes to a project: a pattern/template, fabric scraps, and of course, HeatnBond Lite Iron-on Adhesive!
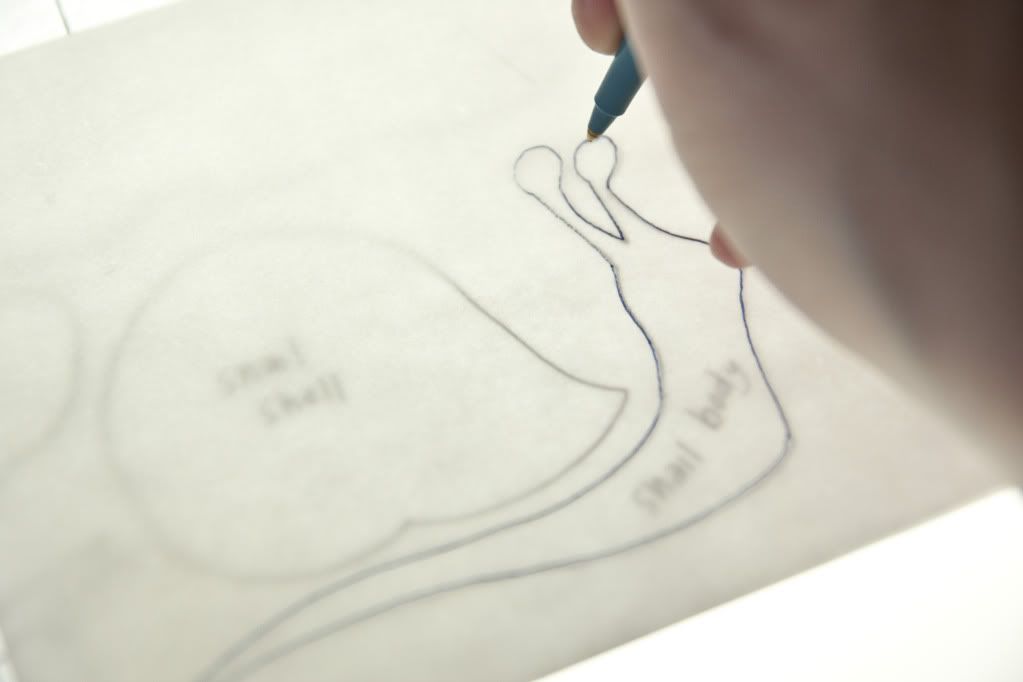
If you’re using HeatnBond for the first time, you will notice that there is a gritty-side and a paper-side. Using a lightbox or sunlit window, trace the [reverse image of] a shape onto the paper-side of the iron-adhesive. (For a snail body that faces left, I will trace one that faces right, i.e.)
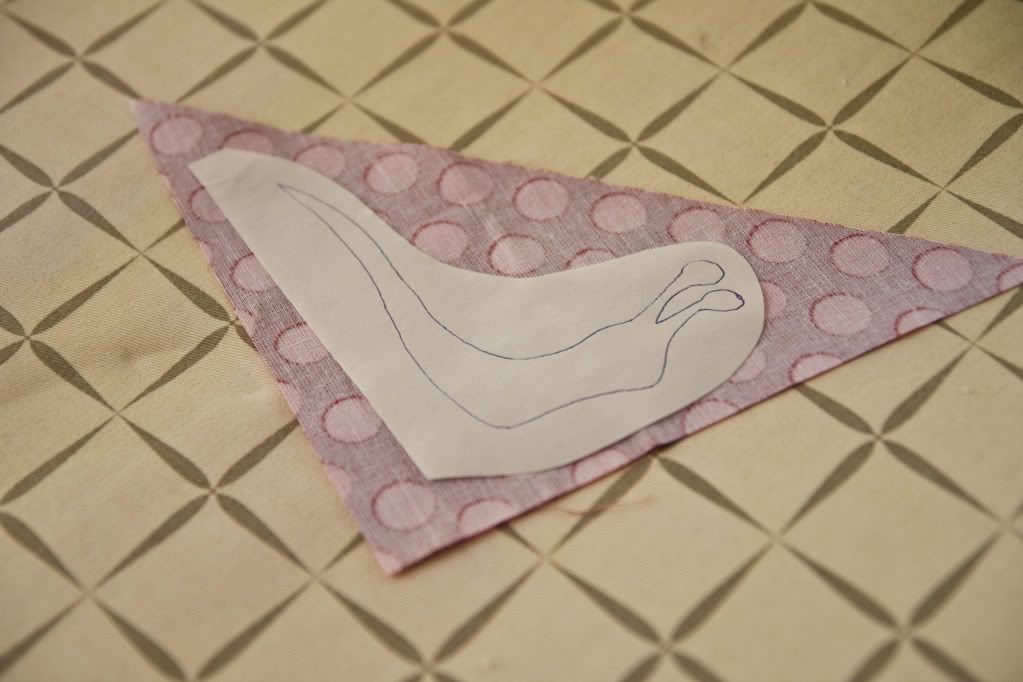
Loosely cut around the image. Lay the image onto the fabric scrap so that he gritty-side of the HnB touches the “wrong side” of the fabric.
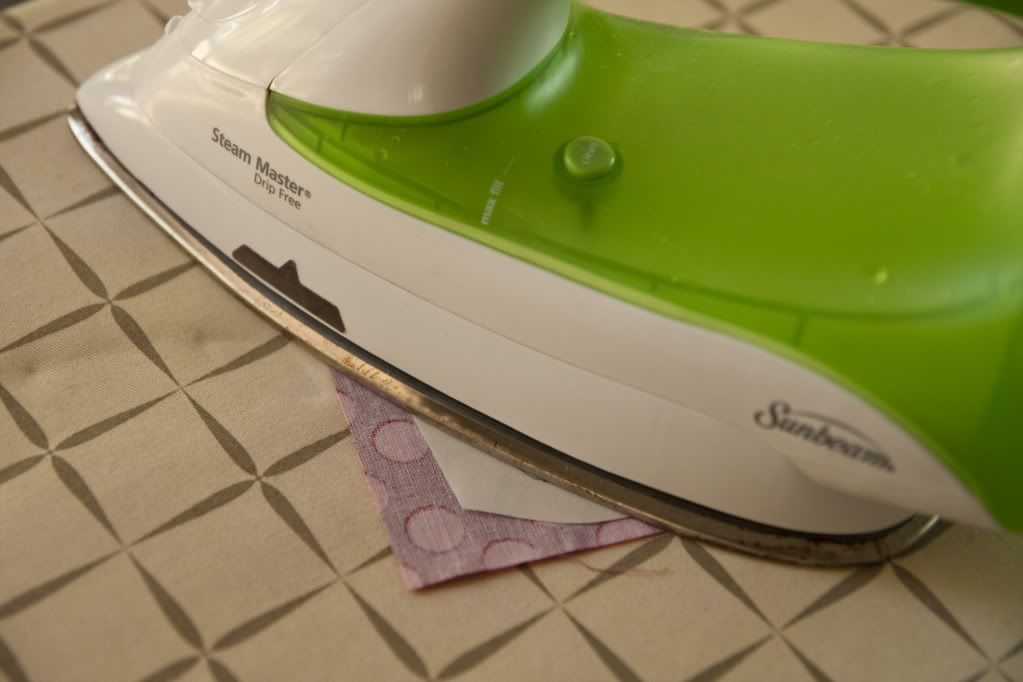
Iron over the layers (medium heat with no steam). The heat from the iron will fuse the two layers together.
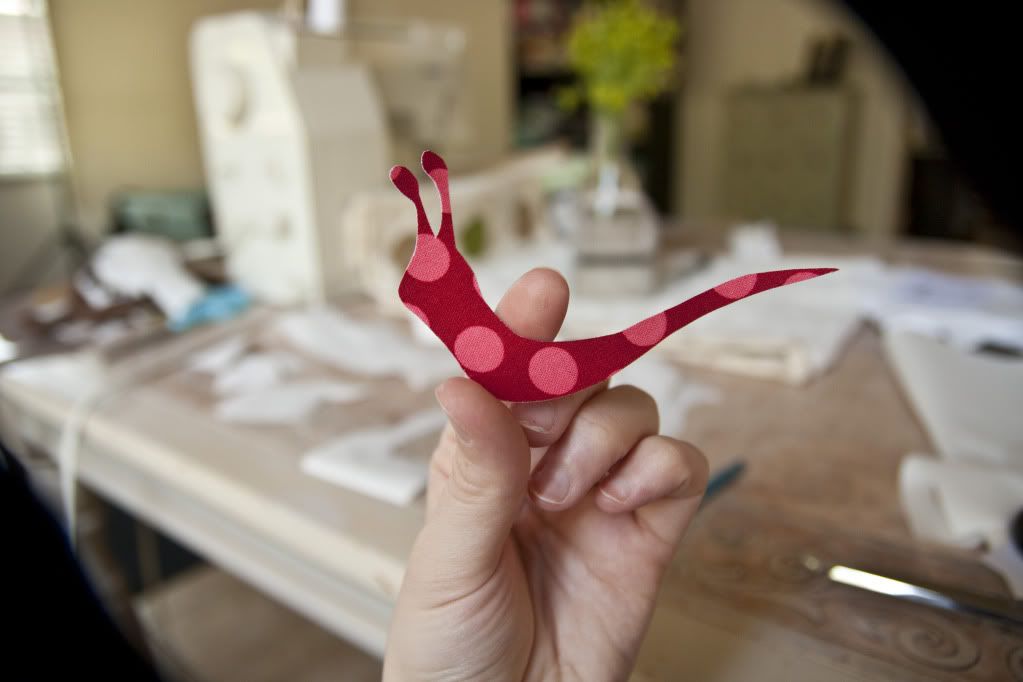
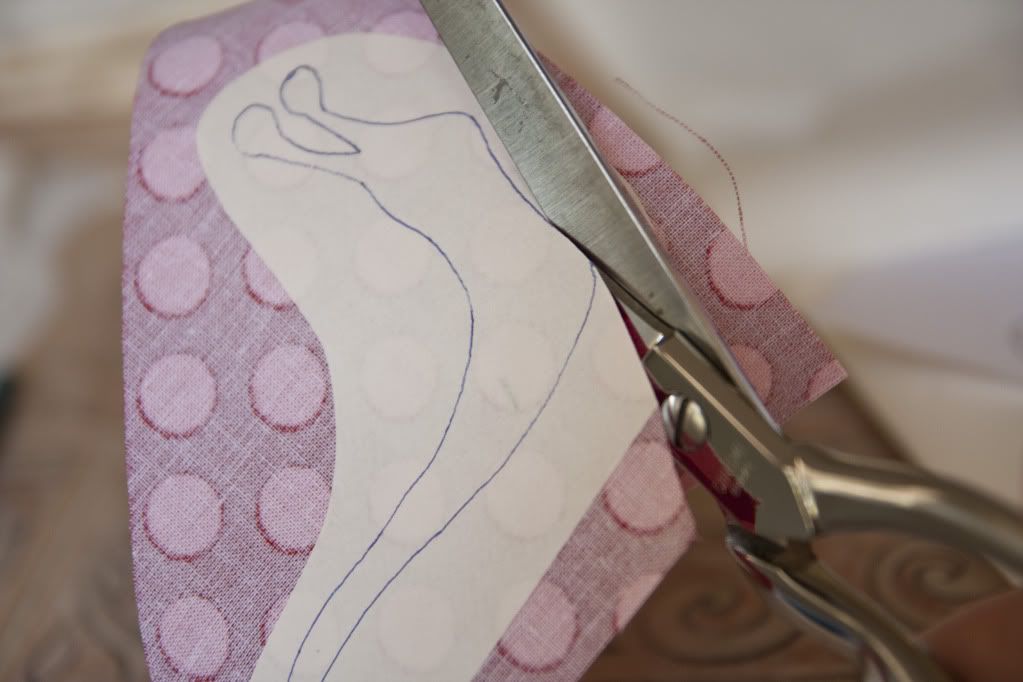
Carefully cut out the image.
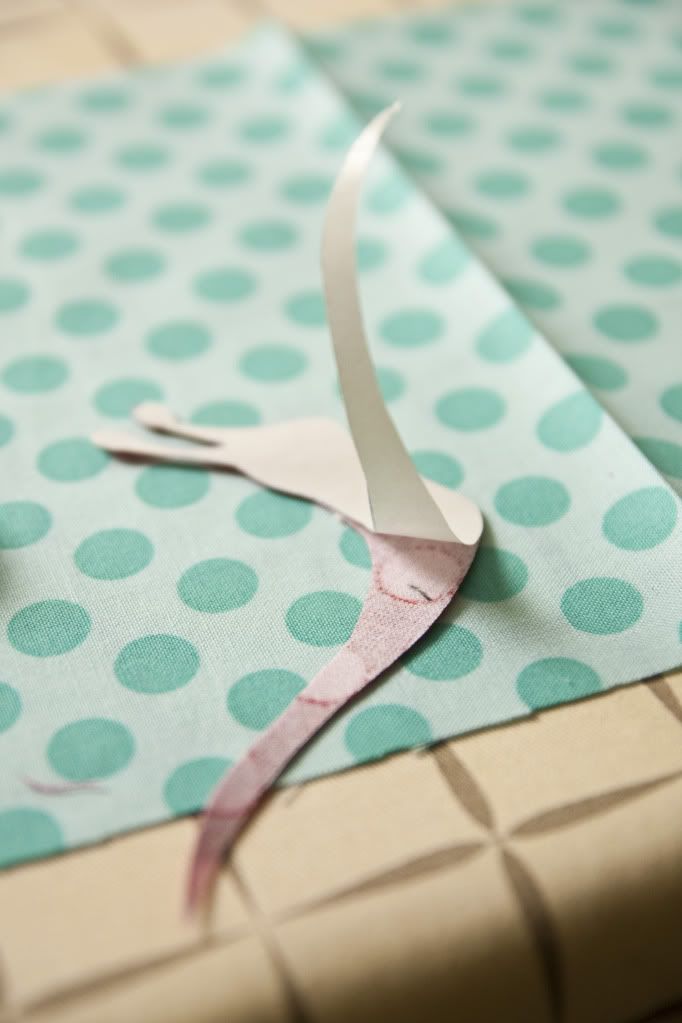
Remove the paper.
Then, this little snail is ready to be ironed onto your project! (He happens to be going in a baby boy texture book project found here.) Oh and after you fuse the shape to the project, I always like to stitch the shape in place by machine or hand–just gives it a nice “finished” look.
Now that was easy, am I right?

Candace
March 22, 2012 at 1:36 pm (12 years ago)Fantastic tips! And I LOVE the book! So adorable!!!