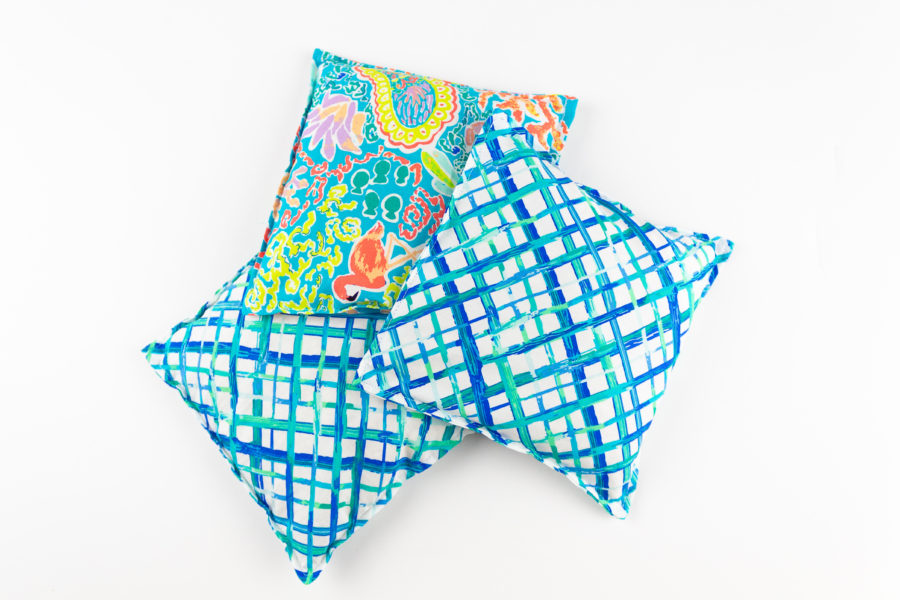
Summertime is officially here for a lot of us (though school won’t be out here on the northeast for another 10 days), and with summertime comes lots of outdoor play! Our family is big on outdoor activities that the whole family can participate in. With children ranging from 3 years old all the way up to 15, we like versatile games that the littles AND the bigs can enjoy.
Thus, our favorite quick and easy summer project, bean bags! Not only can you use these for cornhole (the bigs LOVE this one), our littles love them for playing hopscotch and sidewalk tic-tac-toe. We make a new set each year because somehow we end up losing them every single year (kids, am I right?) and the kids love to help me sew these. It’s perfect for teaching children of any age to sew.
Bean Bag Tutorial
All seam allowances are 3/8” unless otherwise noted.
Supplies:
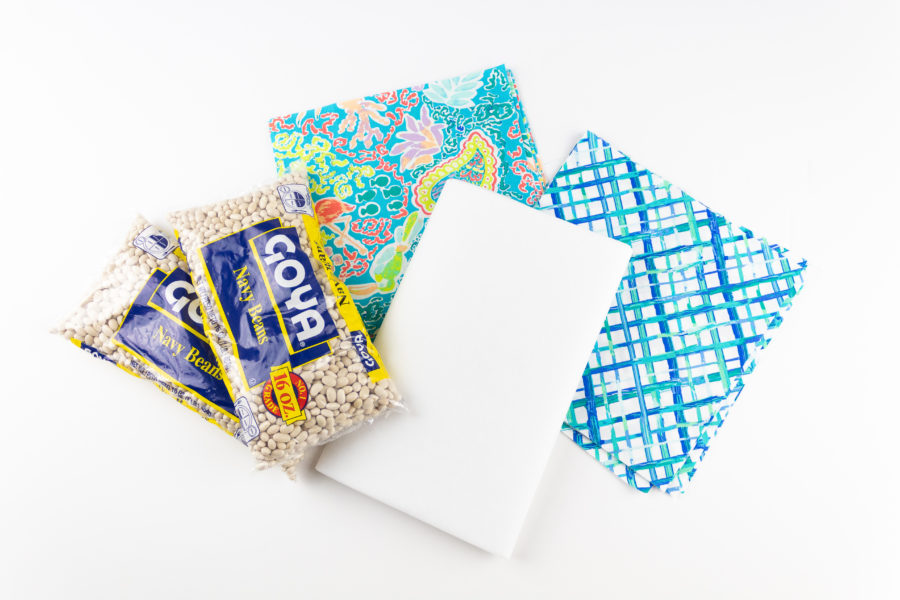
- Heat n Bond Fusible Light Weight Interfacing cut into 16 – 7.5” x 7.5” squares
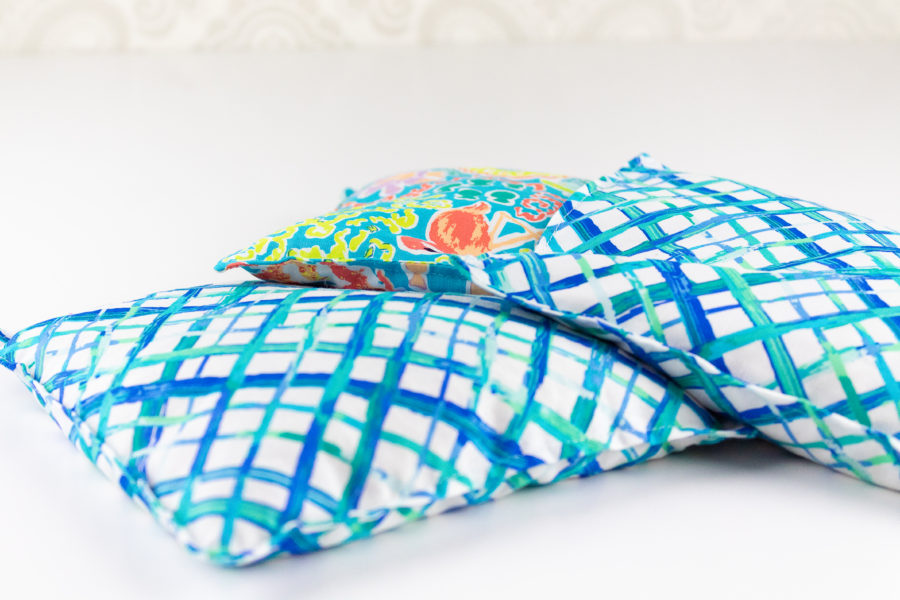
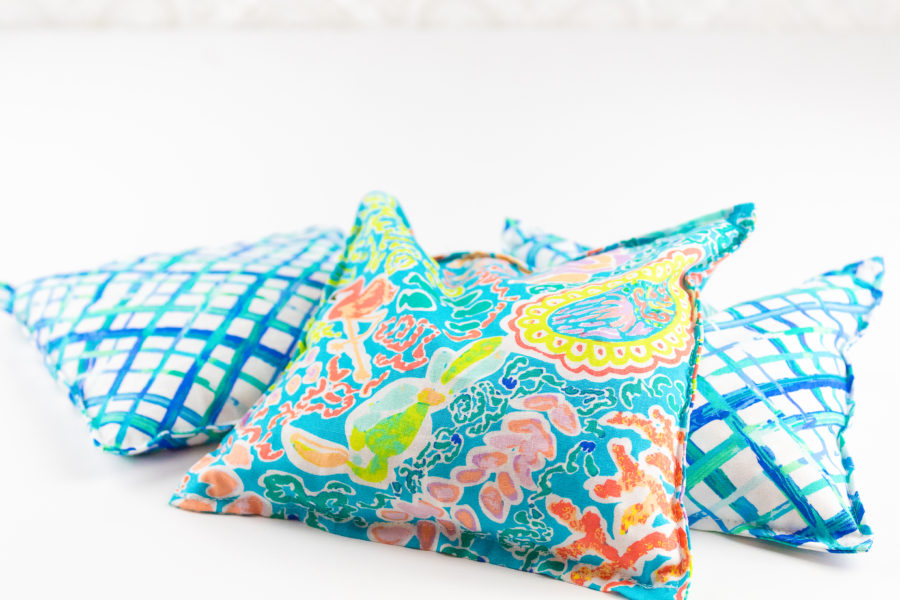
- 16 – 7.5” x 7.5” squares of cotton fabric (8 in 1st print, 8 in 2nd print) I am using Art Gallery Fabrics West Palm Collection by Katie Skoog
- Pins or Clips
- 8 pounds of dry beans (a total of 8 – 16oz bags) alternatively, you may use dry corn
Bean Bag Sewing Instructions
Please read through the instructions completely before sewing.
Step 1:
- Fuse your Heat n Bond interfacing to the WRONG side of each square. Traditionally you would use duck cloth to make bean bags for cornhole, but there just aren’t many cute prints available. Interfacing quilting cotton gives the structure that you’d achieve using a duck cloth.
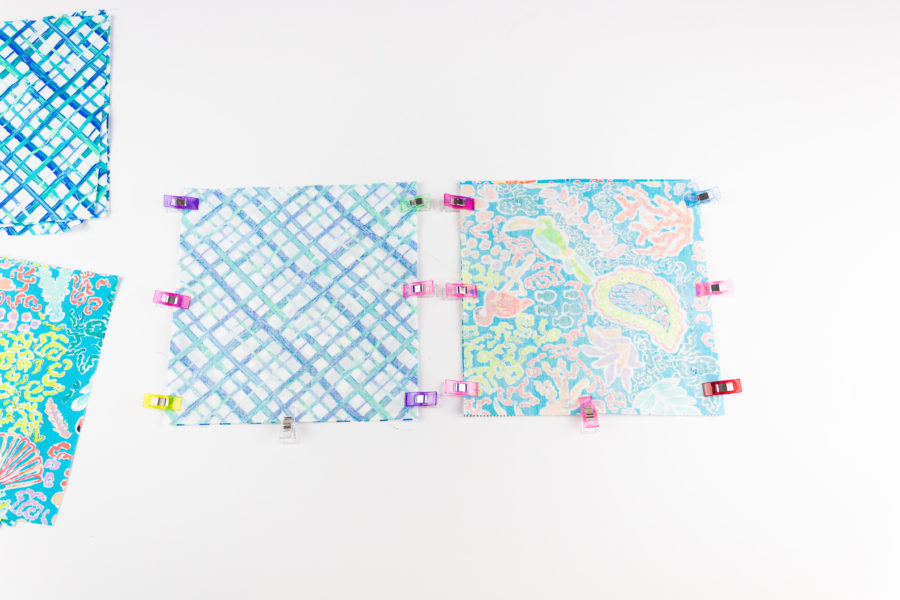
- Place 2 pieces of the same print right sides together and sew along 3 edges. Leave the top edge open for filling. Repeat with all of your pieces. You will end up with 4 bags in the 1st print and 4 in the second print
- Snip the corners to allow for a sharper edge when turning right side out.
Step 2:
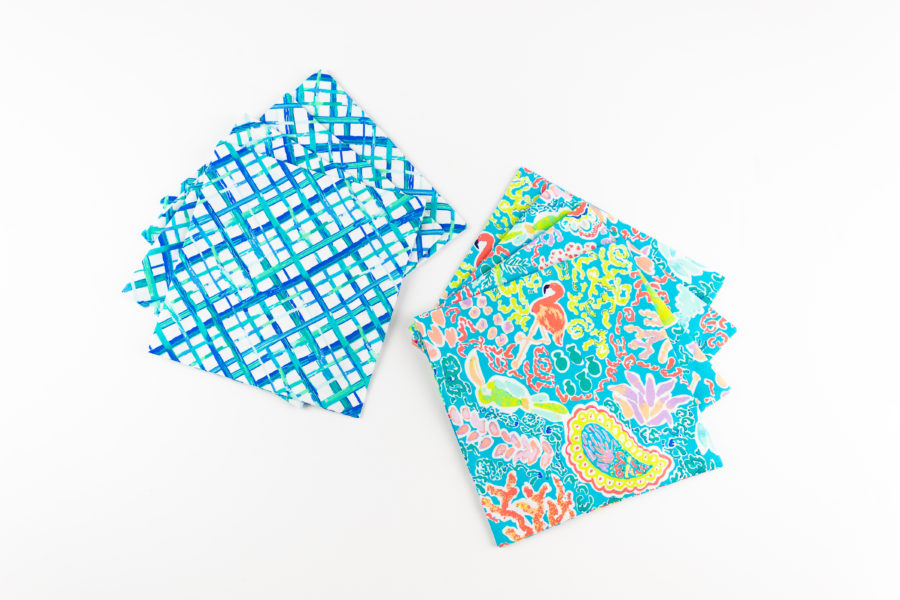
- Turn your bean bags right side out and push out the corners. A wooden chopstick works great for pushing the corners out nicely.
- Press flat using an iron.
- Topstitch along the 3 closed edges of each bean bag with a 1/8″ seam allowance. It is very important that you do not sew the bags closed yet.
Step 3:
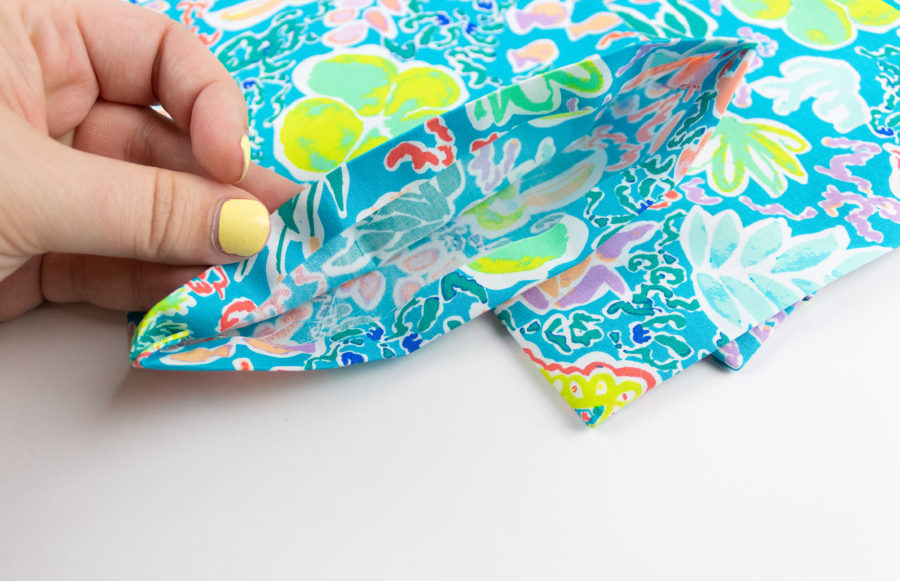
- Turn the raw edges on each bean bag in 3/8″ and press with an iron.
Step 4:
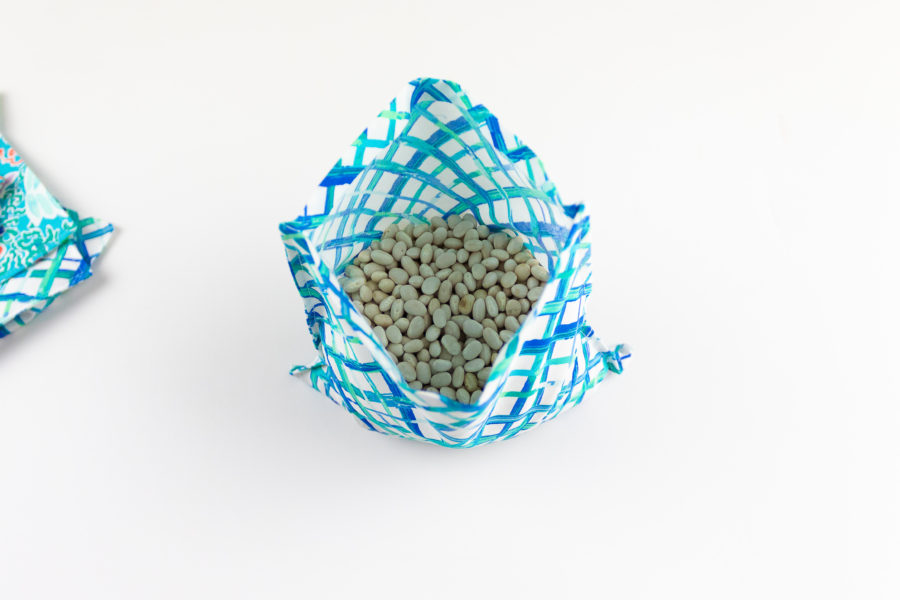
- Fill each bag with 16oz of beans. If you used 16oz bags like I did, each bean bag will take 1 whole bag of beans.
Step 5:
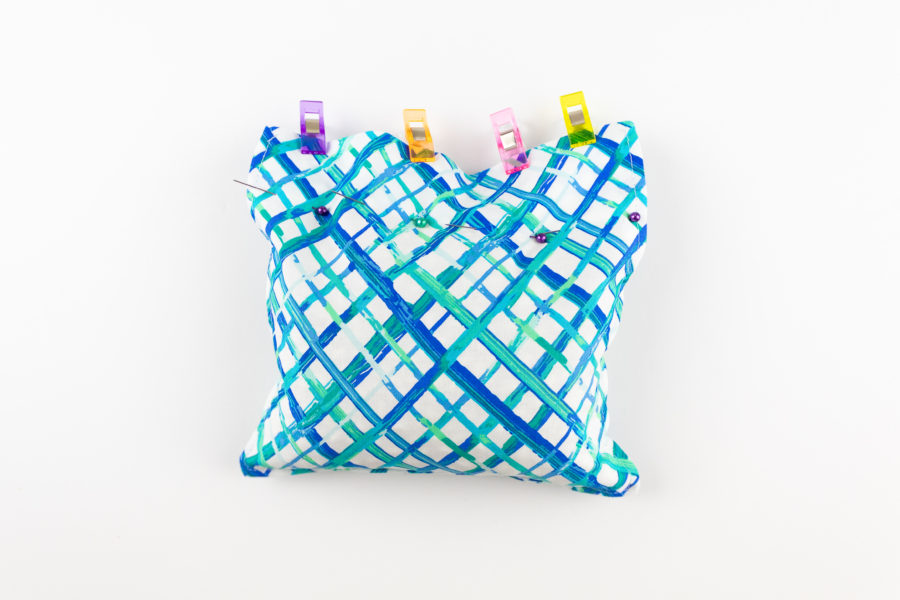
- Place pins all the way across the bean bag to keep the beans in place. It’s quite difficult to sew the open edge closed if the beans aren’t secured at the bottom of the bag with the pins.
- Sew the open edge of the bean bag closed using a 1/8″ seam allowance.
- Repeat with the remaining bean bags.
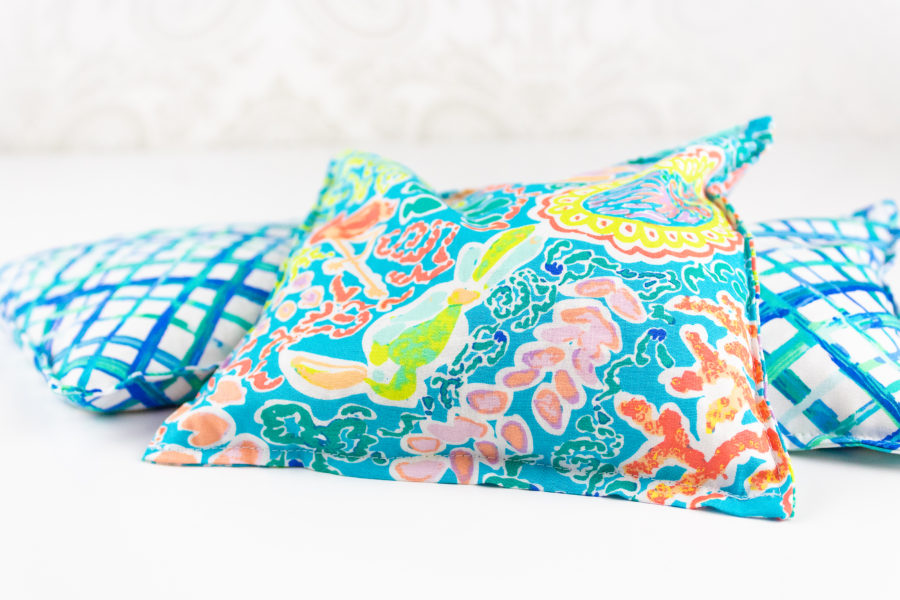
You are done! Now go outside and have some family fun!
Happy sewing!
xoxo, Gail
