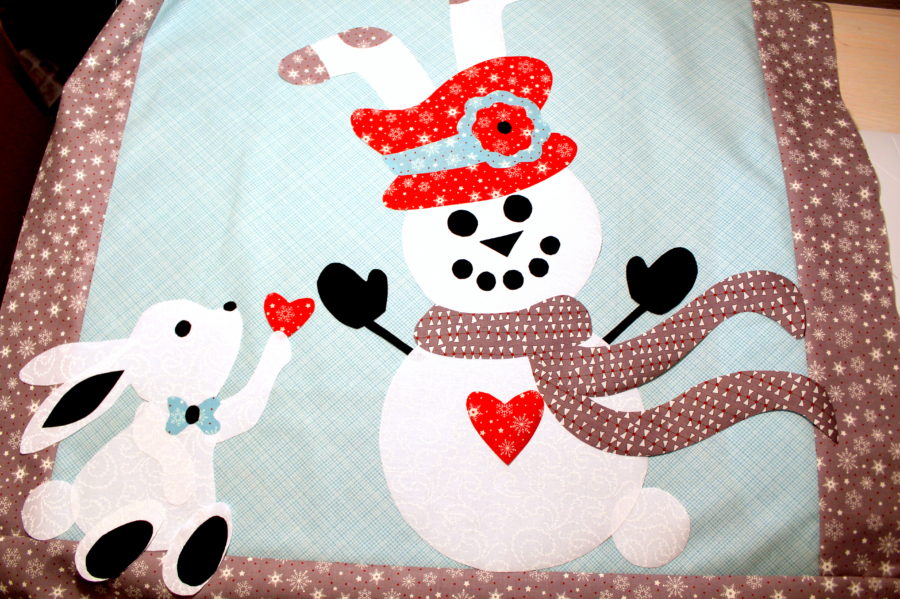
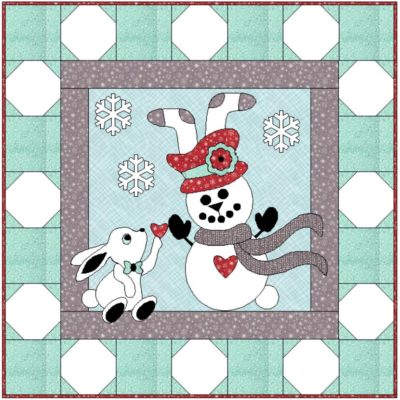
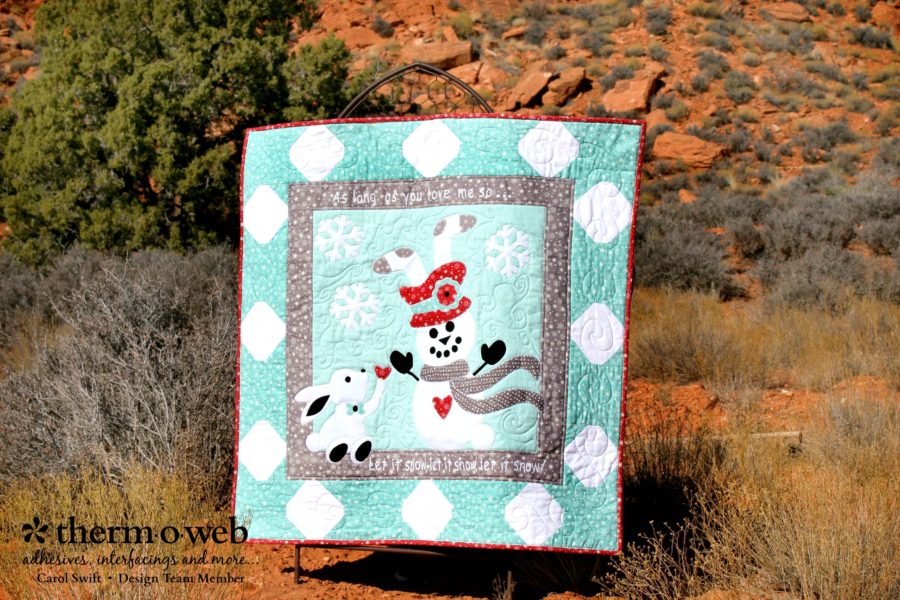
Singing “Let it snow, let it snow, let it snow” doesn’t seem to be encouraging any white flakes to fall in my neighborhood. It’s winter so there should be snow…right? For now, I’ll just have to settle for the fabric snowflakes on this “Let It Snow” 35” x 35” quilt. It’s the perfect size to hang on the wall or use as a table topper during the winter months. It’s so soft and warm with the Therm O Web Stitch n Sew™ Fleece Sew-in High Loft for batting.
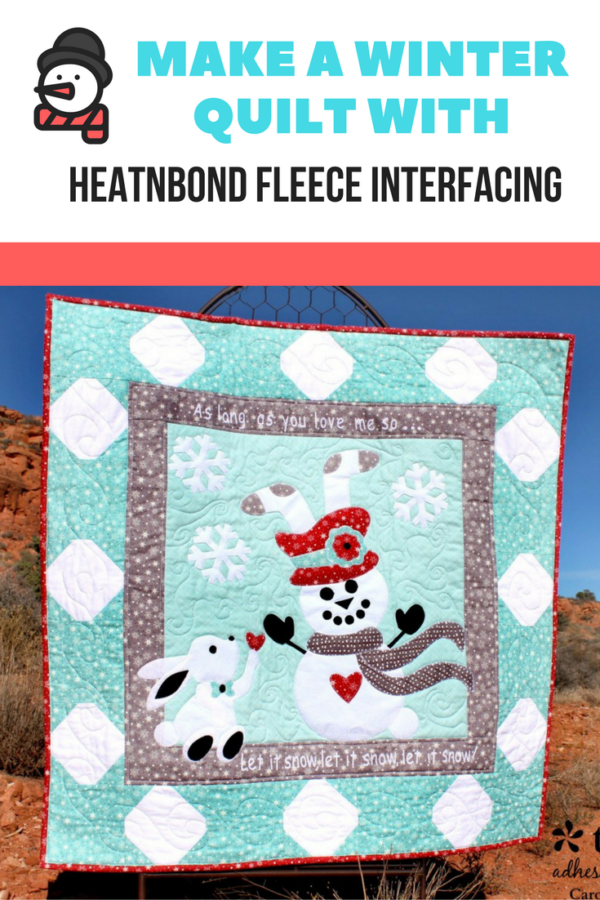
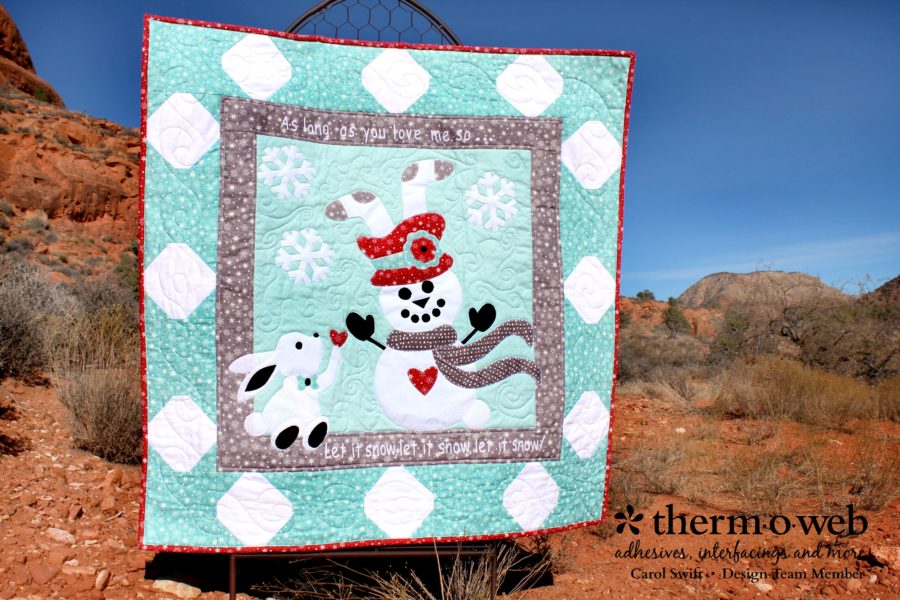
Building a snowman shaped like a lady bunny seems to have attracted a lovelorn rabbit. It looks as though he’s being ignored by the snow lady, doesn’t it? Maybe the little red heart he’s holding will catch her attention or he could sing, “As long as you love me so…” to melt her heart. Oh wait…melting would not be good for the snow lady! Hopefully, the gift of a red heart will bring the love he desires.
Make A Winter Quilt Using ThermOWeb Fleece Interfacing
Let It Snow Quilt by Carol Swift from Just Let Me Quilt, finished size: 35” x 35”
What you’ll need:
Therm O Web Heat n Bond® EZ Print Lite sheets, 8½” x 11”
Therm O Web Stitch n Sew™ Fleece Sew-in High Loft/Batting
Therm O Web Spray n Bond® Basting Adhesive
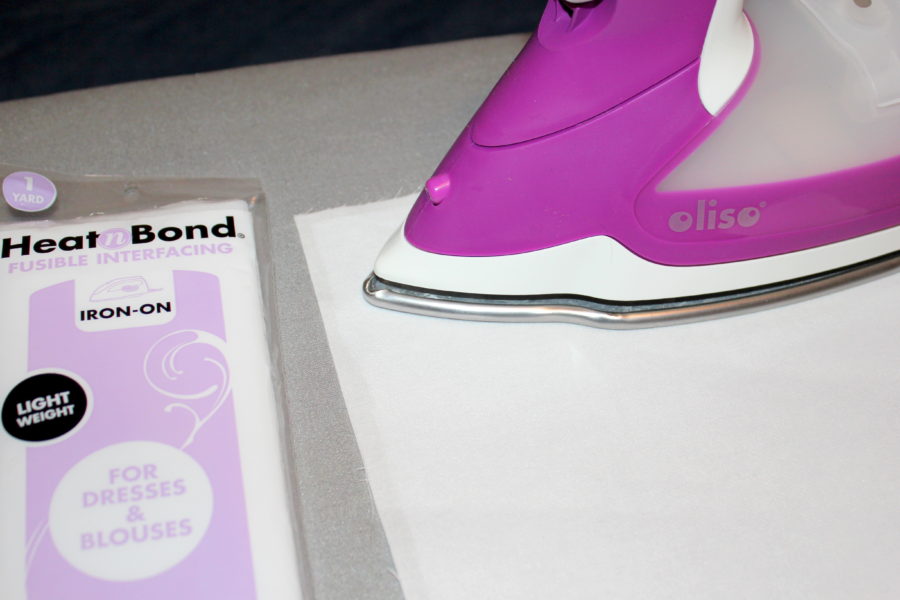
Heat n Bond® Fusible Interfacing – Light Weight
Iron (I love ironing with my purple Oliso!)
Fabric
Cutting instructions:
Cut 1 – 20½” x 20½” square (center square)
Cut 2 – 3” x 20½” strips (left and right center border)
Cut 2 – 3” x 25½” strips (top and bottom center border)
Cut 12 – 5½” x 5½” white squares (snowballs)
Cut 12 – 5½” x 5½” squares
Cut 48 – 2½” x 2½” squares (snowball corners)
Cut 4 – 2½” x 42” strips (binding)
Cut 1 – 40” x 40” square (backing-will be trimmed)
Fabric Applique Instructions:
Step 1: Prepare the applique templates following the instructions below:
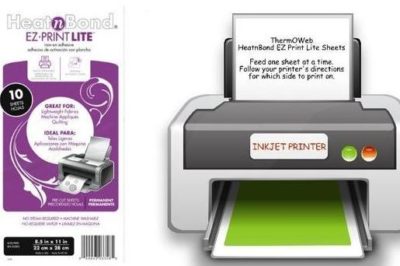
Applique with printable Heat n Bond EZ Print Lite sheets: Using your inkjet printer, print out applique pattern pieces using Therm O Web Heat n Bond® EZ Print Lite sheets, 8½” x 11”. Load one sheet at a time into the paper tray. Sheet should be placed so printing is on the smooth side of the paper. Print quality at the normal setting and for plain paper. Allow 5-10 seconds for ink to dry.
Sewing instructions:
Step 1: Sew 3” x 20½” left and right center border strips to 20½” center square.
Step 2: Sew 3” x 25½” top and bottom strips to center block and borders.
Step 3: Fuse applique pieces to center block by following the directions below:
Fusing Applique Instructions: Iron adhesive pieces to wrong sides of fabrics with a medium heat iron, no steam. Press for 2 seconds. Repeat until all surfaces have been bonded to fabric. Let cool.
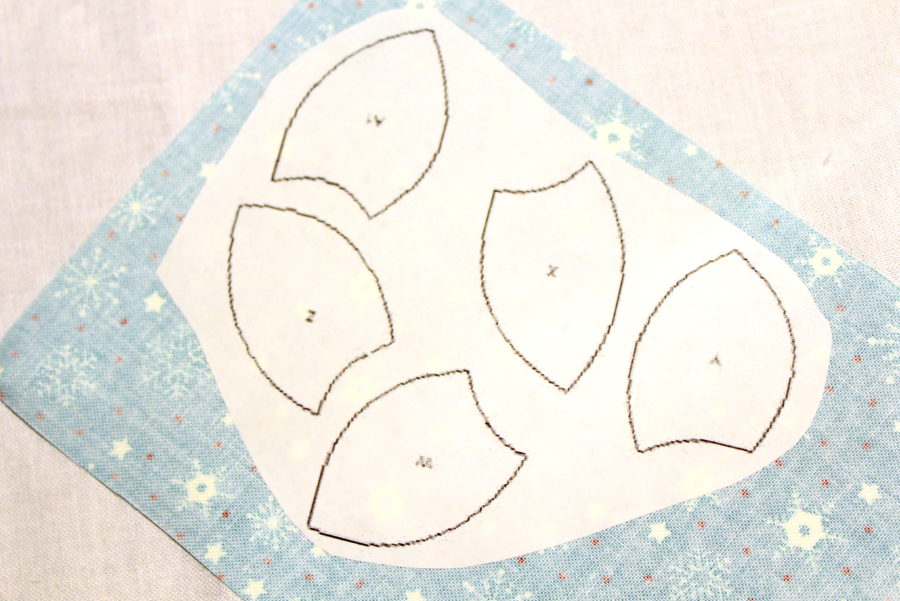
Cut out applique pieces. Peel off paper liner. Place applique shape, adhesive side down, on top of project. Press and hold iron for 6 seconds on each section until entire piece is bonded. Stitch around edges of applique pieces by hand or machine using a blanket stitch, zig-zag stitch, or straight stitch.
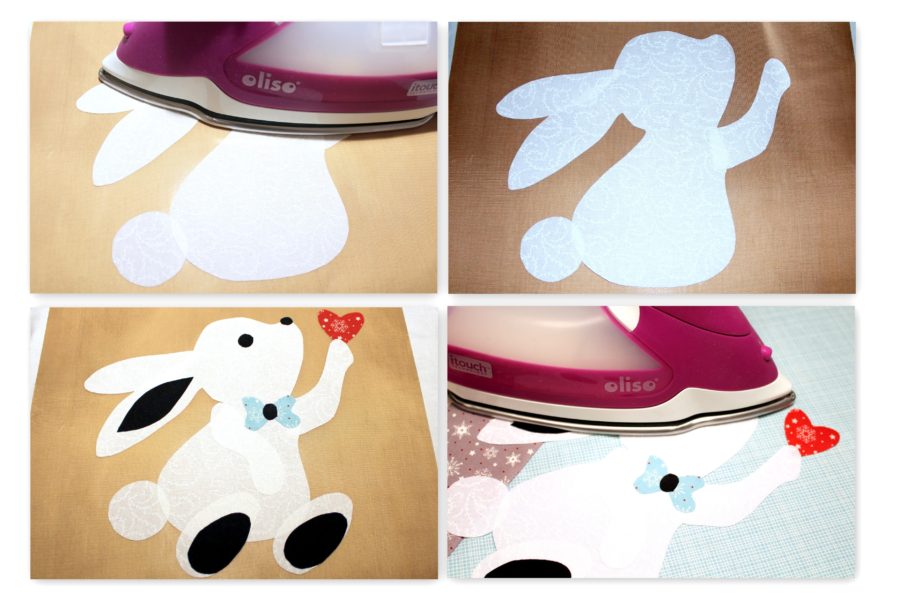
Step 4: Create each of the snowball blocks by sewing a 2½” x 2½” square to each corner of a 5½” x 5½” white square. Draw a line or fold to create a diagonal line on each 2½” x 2½” square. Sew on the lines. Clip seam a quarter inch from each sewn line.
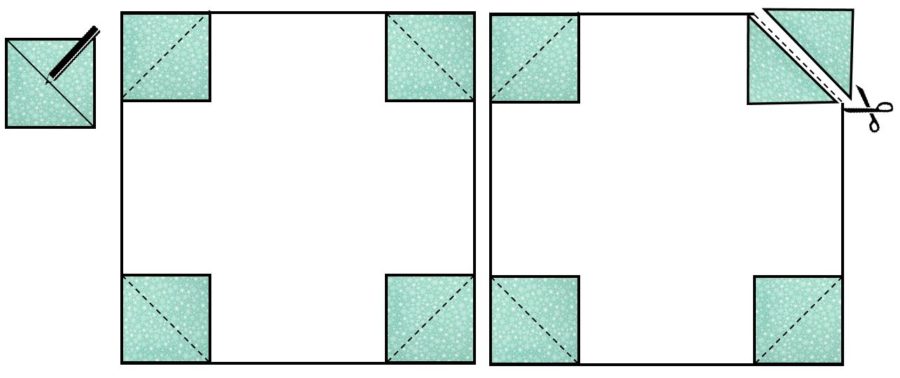
Press corners open.
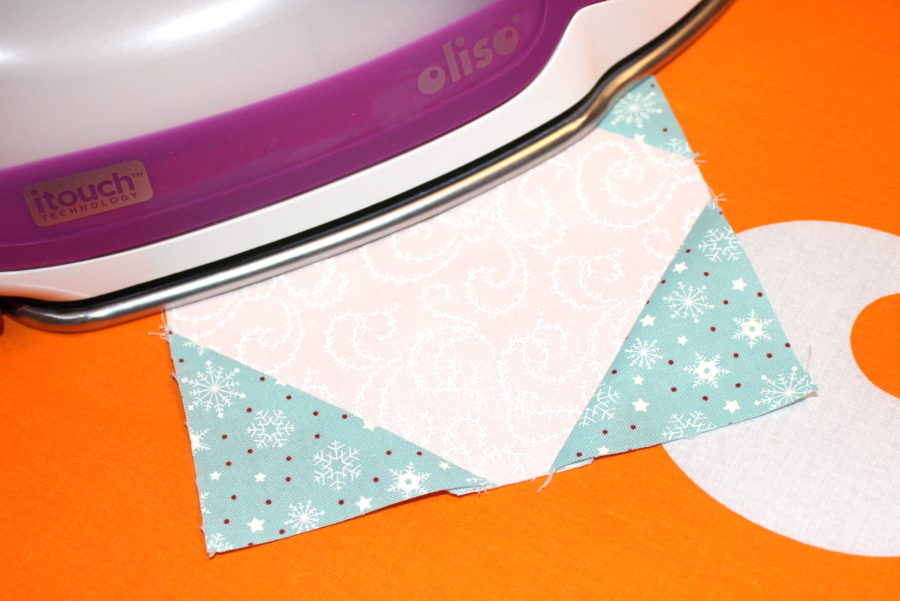
Step 5: Left and right snowball rows – Sew two rows with three snowballs and two 5½” x 5½” squares.
Step 6: Top and bottom snowball rows – Sew two rows with three snowballs and four 5½” x 5½” squares.
Step 7: Sew Step 5’s rows to left and right of center block. Press towards center.
Step 8: Sew Step 6’s rows to top and bottom of center block; match seams. Press towards center.
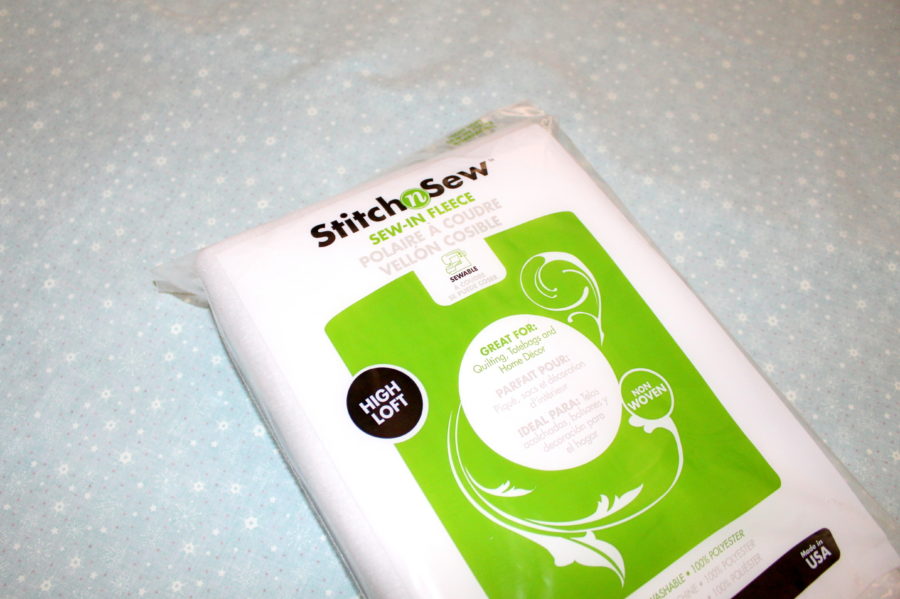
Step 9: Finishing the quilt: Lay quilt backing with right side down on protective cloth or paper (to prevent over spray.) Spray wrong side of backing with Therm O Web Spray n Bond Basting Adhesive following manufacturer’s directions. Lay Therm O Web Stitch n Sew Fleece Sew-in High Loft/Batting on backing and smooth to remove wrinkles and creases.
Spray batting with Therm O Web Spray n Bond® Basting Adhesive. Lay quilt top, wrong side down, on sprayed batting. Smooth to remove wrinkles and creases. *Tip: Working in small amounts, about 12” x WOF, helps to keep quilt smooth.
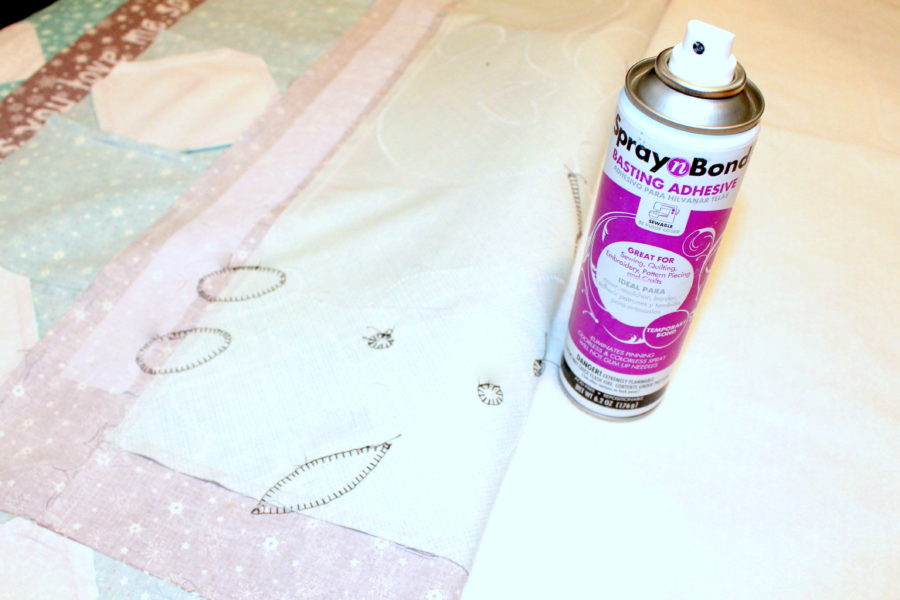
Allow to dry completely and then quilt as desired. Add binding using your favorite method.
That’s it! Soooo…is it snowing, yet?
You can find Let It Snow’s PDF pattern and applique templates at Just Carol’s Etsy store HERE.

BunnyD
December 20, 2016 at 8:50 am (8 years ago)What a fabulous design and so fun! I hope bunny finds a girlfriend.