 Hey friends! Gail here from Sunflower Seams Pattern Company. I am so excited to share with you this super easy tutorial for making any bag pattern into a wet bag with the brand new HeatnBond Liquid Vinyl.
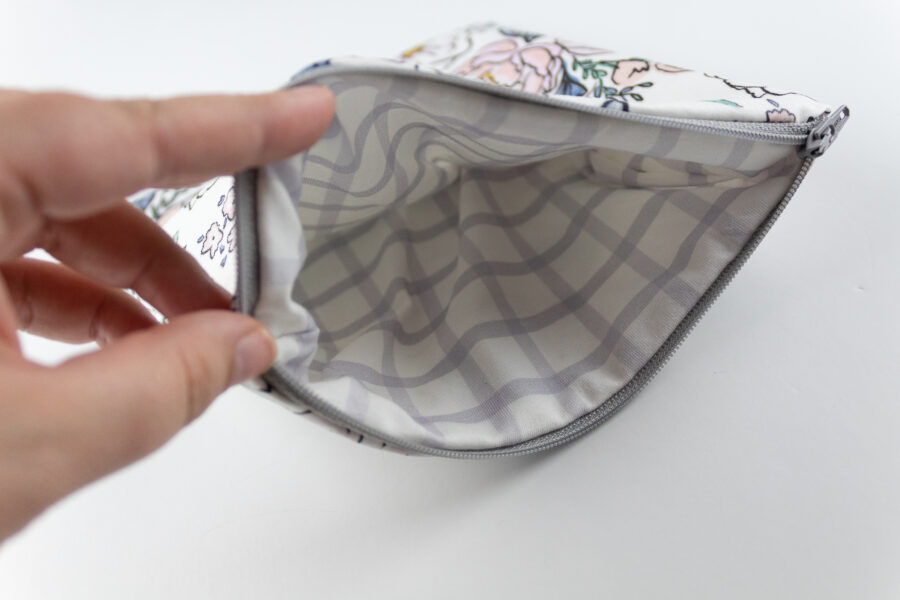
What is a wet bag, you ask? They can be used for many things, but the short and sweet answer is this: you put wet things in it. We like to use them at the beach to throw our wet swimsuits into when we are done. I will also store our dry clothes in them until we are ready to change. Because the bag is waterproof, the dry clothes inside STAY dry! When my kiddos were much younger we used them for storing cloth diapers while we were out and about. They are also perfect for storing reusable cloth pads.

Wet Bag with Liquid Vinyl
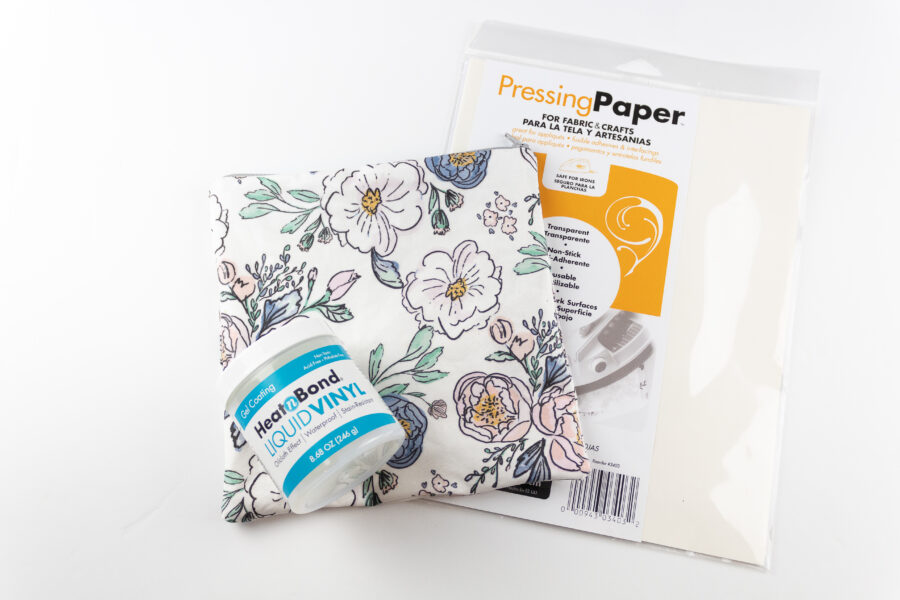
Supplies
- 9″ zipper
- New HeatnBond Liquid Vinyl
- ThermOWeb Pressing Paper
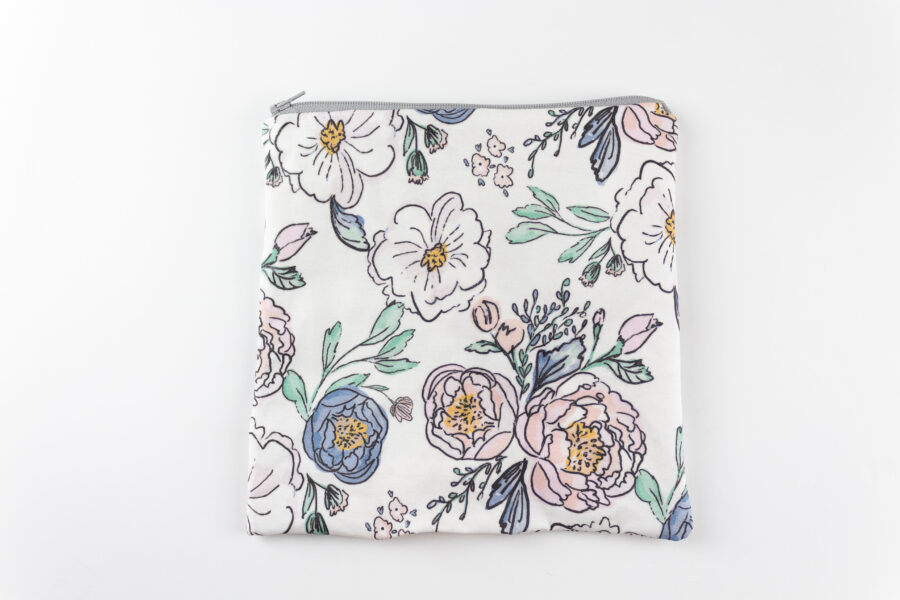
- 4 9″ x 9″ squares of fabric, two for the main (outside) layer and 2 for the lining (inside) layer.
Wet Bag Instructions
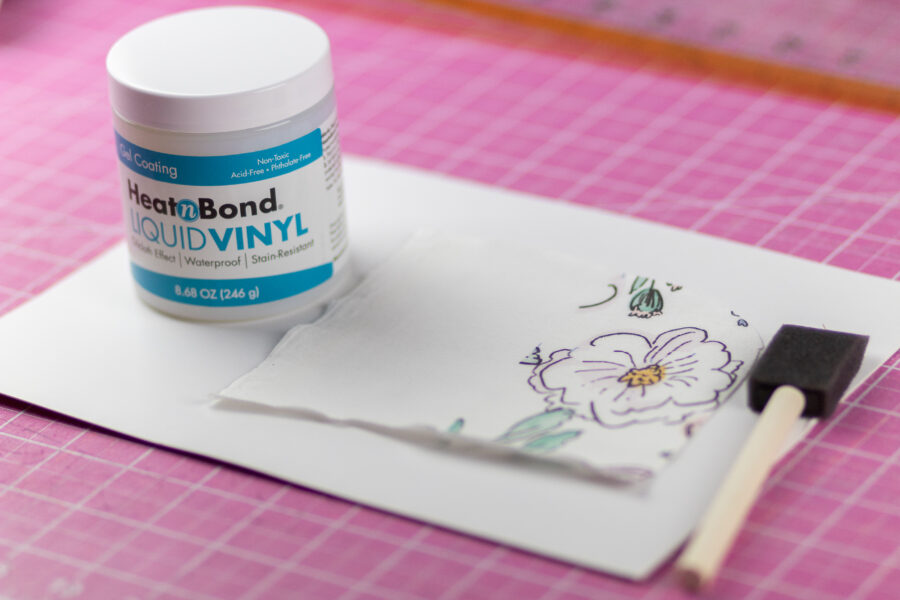
 First, we want to do a test swatch with our fabric and the HeatnBond Liquid Vinyl. To do this, I cut a small scrap piece of my fabric, and following the manufacturer’s instructions I painted it with a thin layer of Liquid Vinyl. In my test, due to the weight of my fabric, I decided that for my main fabric I would be cutting my squares about 1″ larger than necessary on each side. This way, when I apply the Liquid Vinyl onto the fabric I can hold onto the dry edges with my fingers and not make a royal mess. Once I finished heat setting my final pieces of fabric then I trimmed the fabric down to the appropriate size.
Another tip I want to mention is this: make sure when you are pressing your fabric to set the Liquid Vinyl (and when you are applying the Liquid Vinyl) that your fabric is laying perfectly flat. When I pressed my test swatch a small edge folded over and now is heat-sealed folded over.
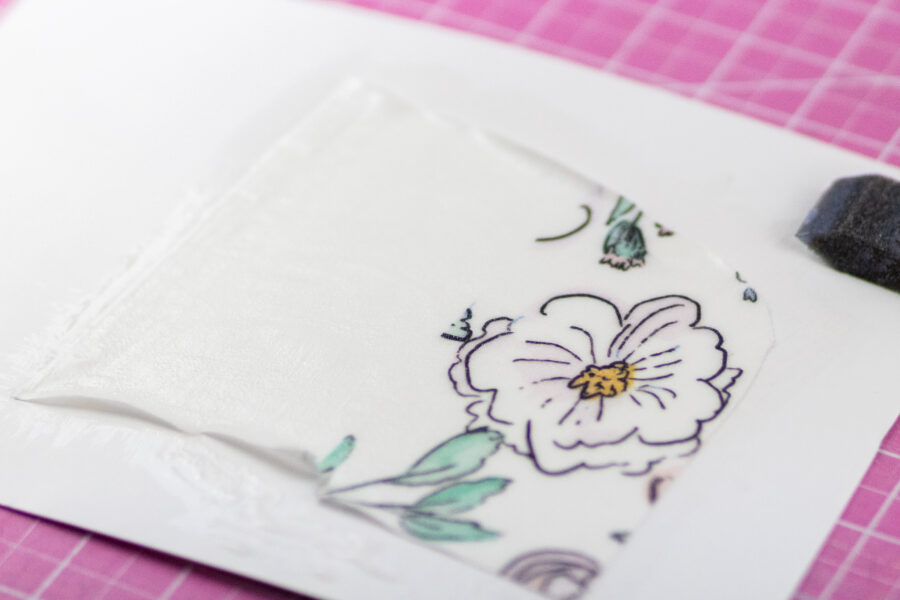
- Now that you’ve tested a swatch of your fabric, following the manufacturer’s instructions, apply 1-3 coats of HeatnBond Liquid Vinyl onto your fabric squares. Use the Thermoweb Pressing Paper between coats to press your fabric as directed.
Sewing the bag
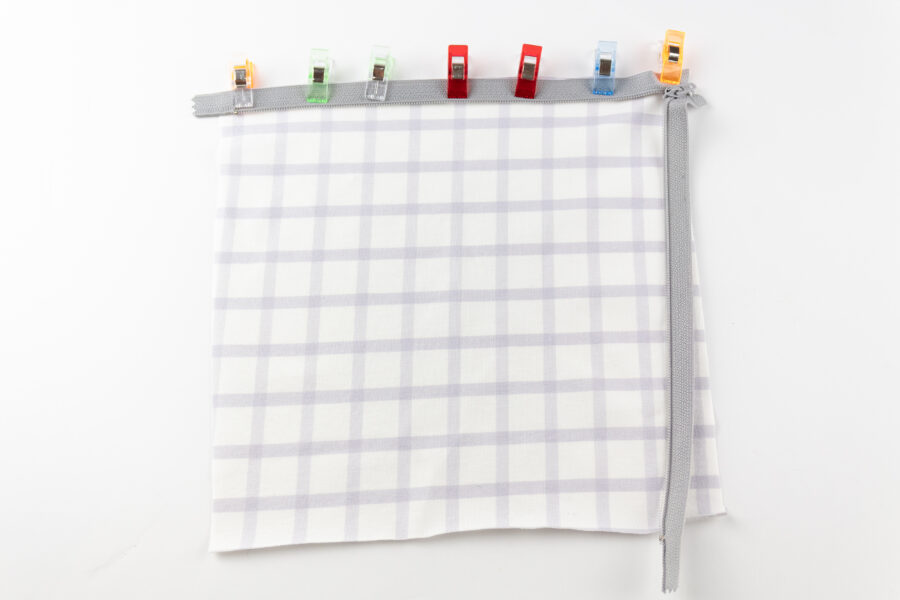
- Align your zipper and lining fabric so that the wrong side of the zipper is facing the right side of the lining fabric. Using a zipper foot, sew them together using a 1/4″ seam allowance.
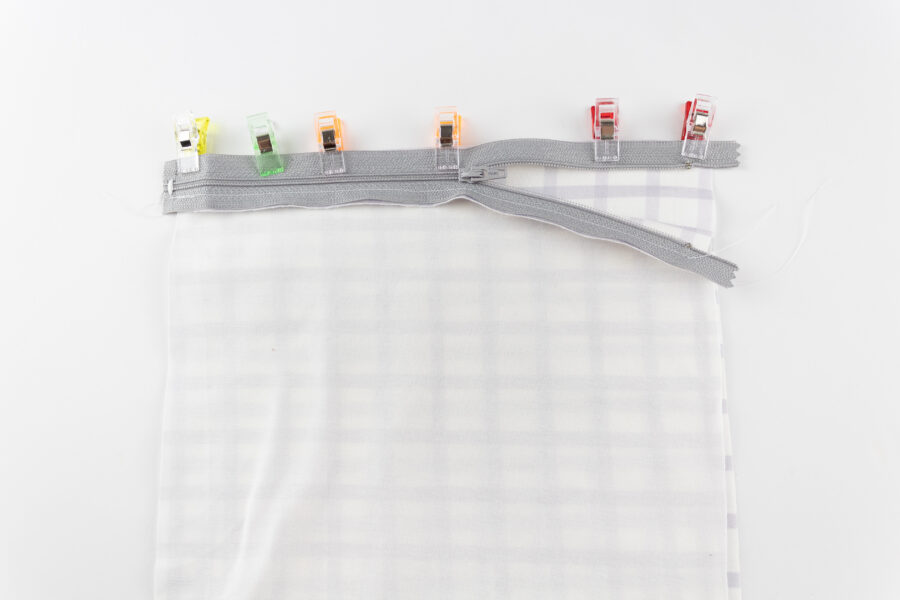
- Repeat this process to attach the opposite side of the zipper to the remaining lining fabric.
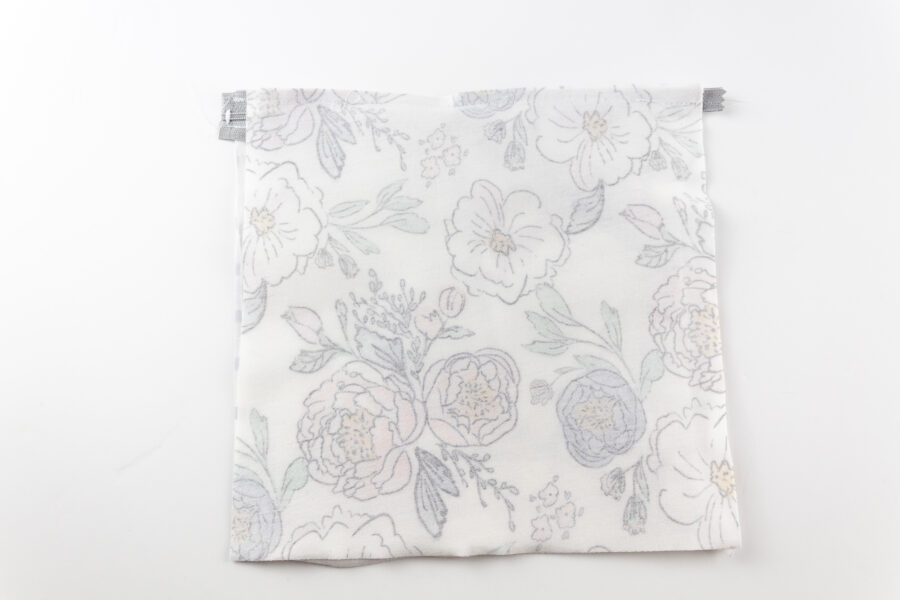
- Align the right side of your main fabric to the right side of one side of the zipper. The zipper will be sandwiched in between the lining and main fabrics. Using a zipper foot, sew them together using a 1/4″ seam allowance.
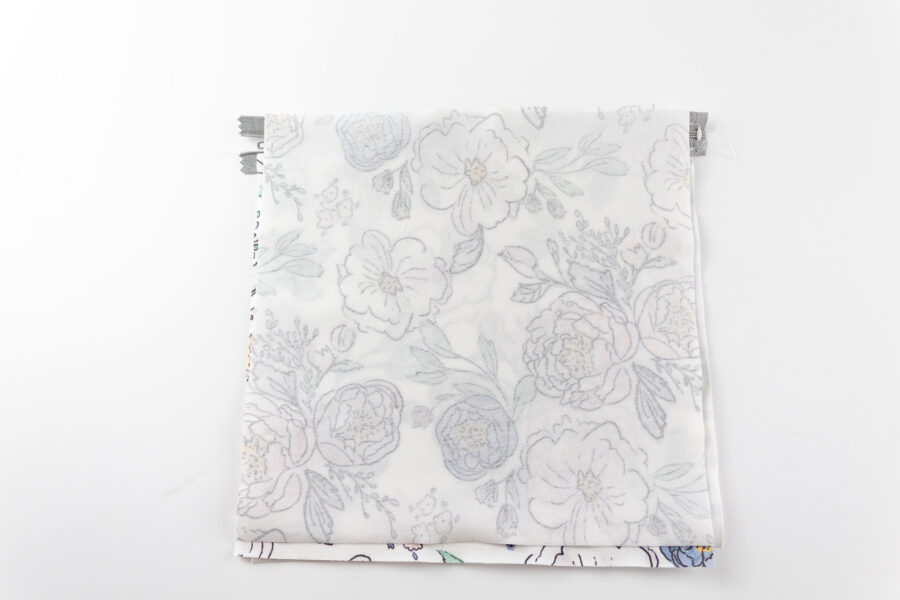
- Repeat this process to attach the opposite side of the zipper to the remaining main fabric.
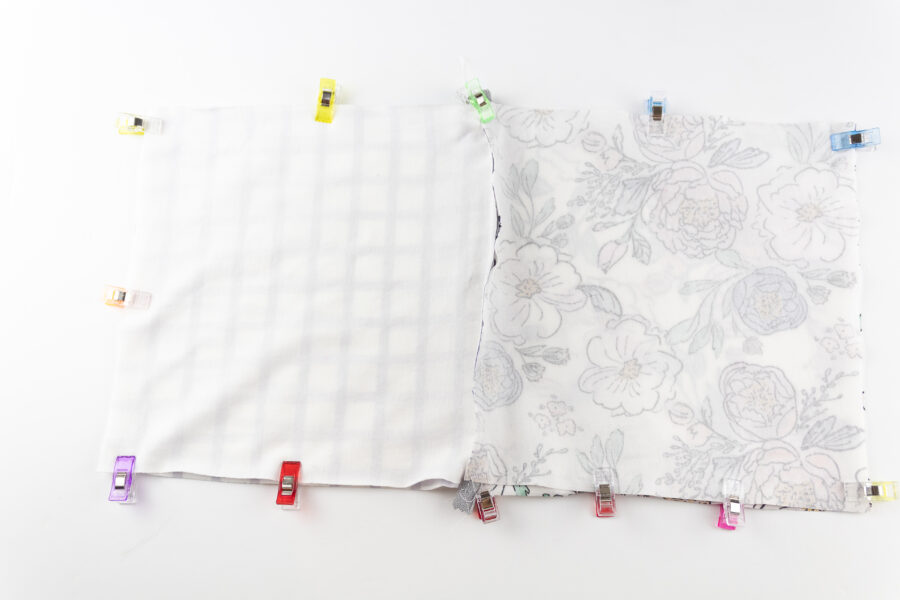
- Separate your main fabric from your lining fabric. Align the main fabric so that they are right sides together. Repeat with the lining fabric. Pin or clip in place. Sew along the entire outer edges using a 1/4″ seam allowance leaving a small 2″ gap at the bottom so of the lining layer so that you can turn the bag right side out.
- Clip your corners so that they turn nicely. Turn your bag right side out through the opening that you left.
- Hand stitch or topstitch your opening closed.
You are done! Happy sewing, friends!
xoxo-Gail