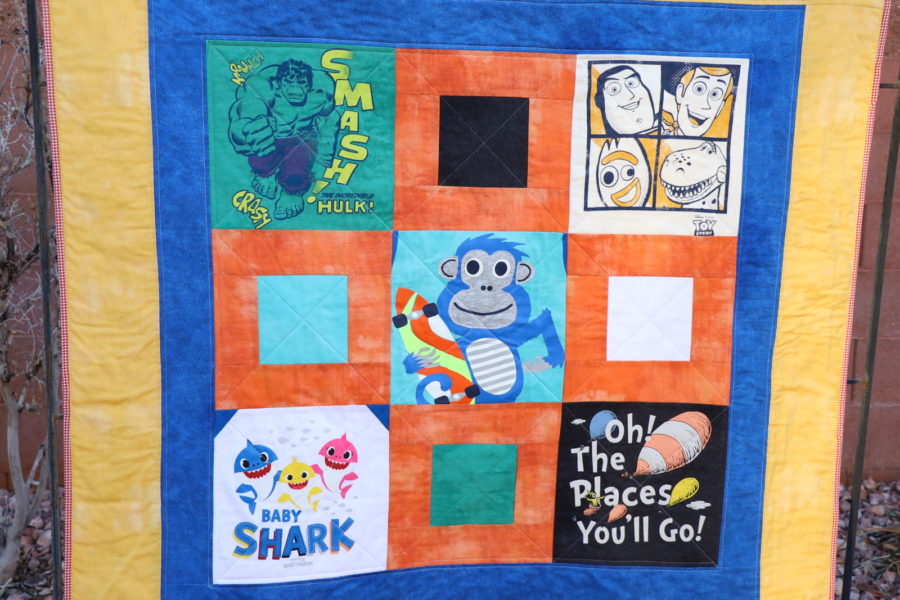
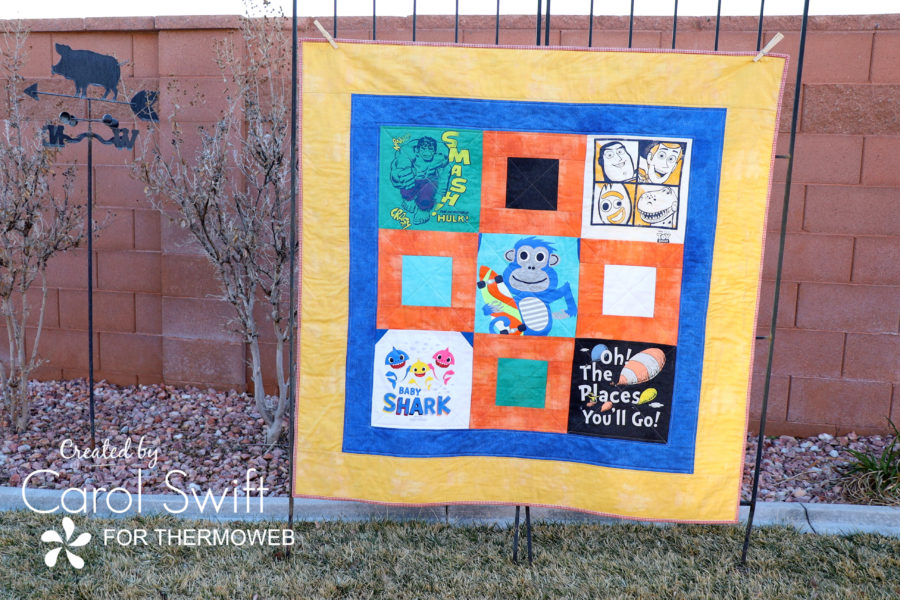
Children’s t-shirts are so adorable and create wonderful memories for all of us. Putting them into a quilt can make the memories last even longer. Sometimes the t-shirts are pretty worn out and stained, but you can still make a quilt using t-shirts you purchase at discount or thrift stores. That’s what was used for this quilt and it was so fun choosing shirts that would be a hit with any child.
Baby Tee Shirt Quilt
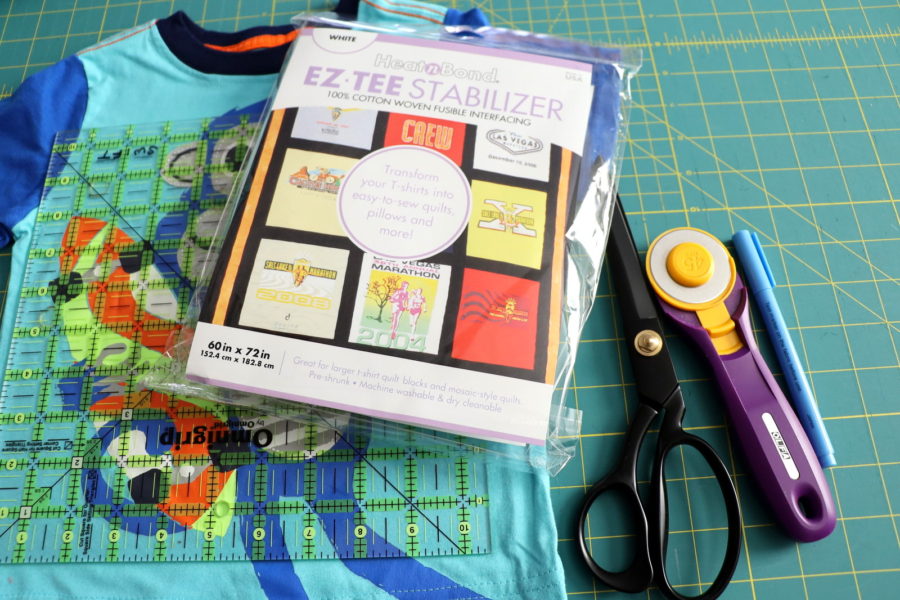
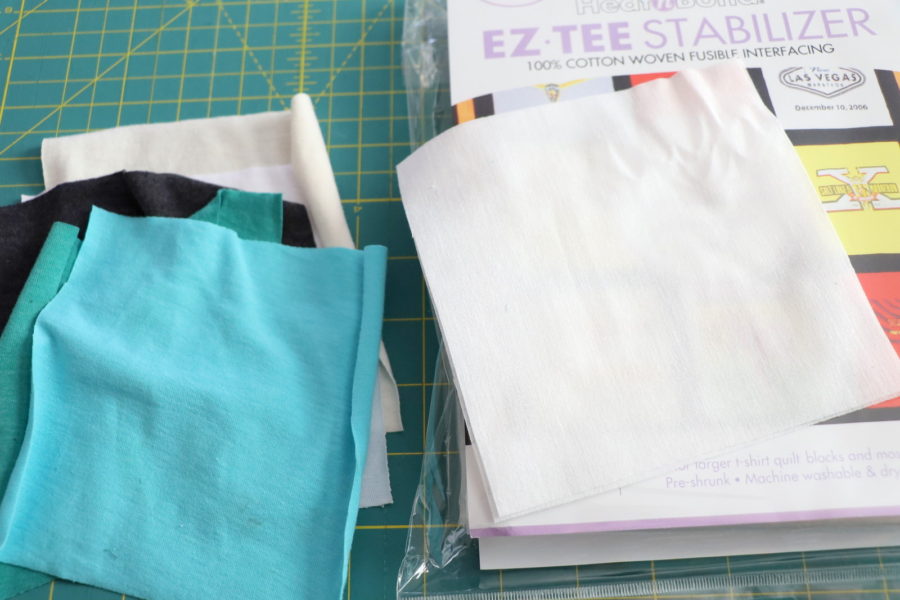
T-shirt fabric is incredibly stretchy, so before sewing those sweet memory blocks into a quilt they need to be stabilized. The best way is to use Heat N Bond EZ-Tee Stabilizer. It keeps the t-shirts from stretching out of shape without making them stiff and when washed they remain soft. It totally makes this quilt so easy to put together!
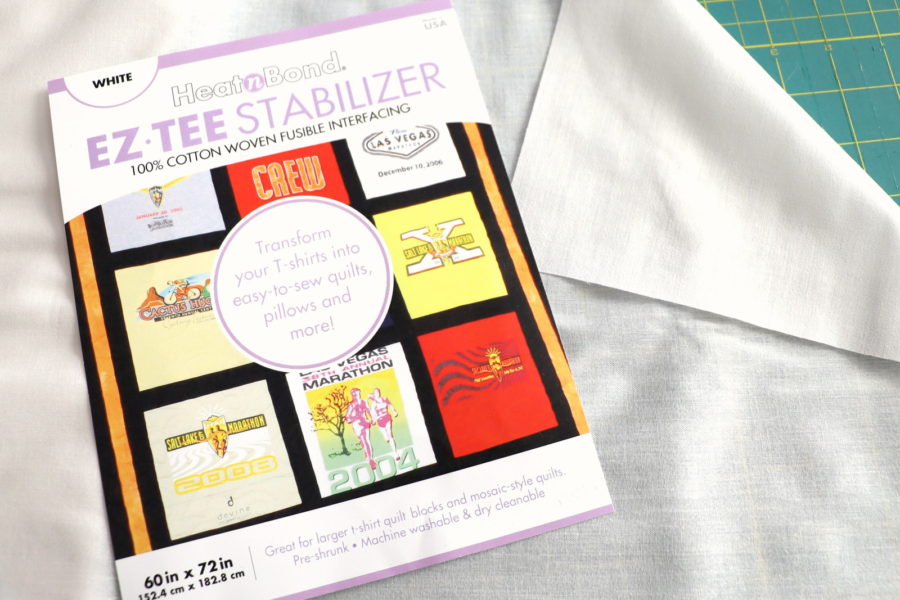
Heat N Bond EZ-Tee Stabilizer has a different texture than regular interfacing with more of a cloth-like look and feel with a slight stretch. It is a wonderful product for t-shirt quilts!
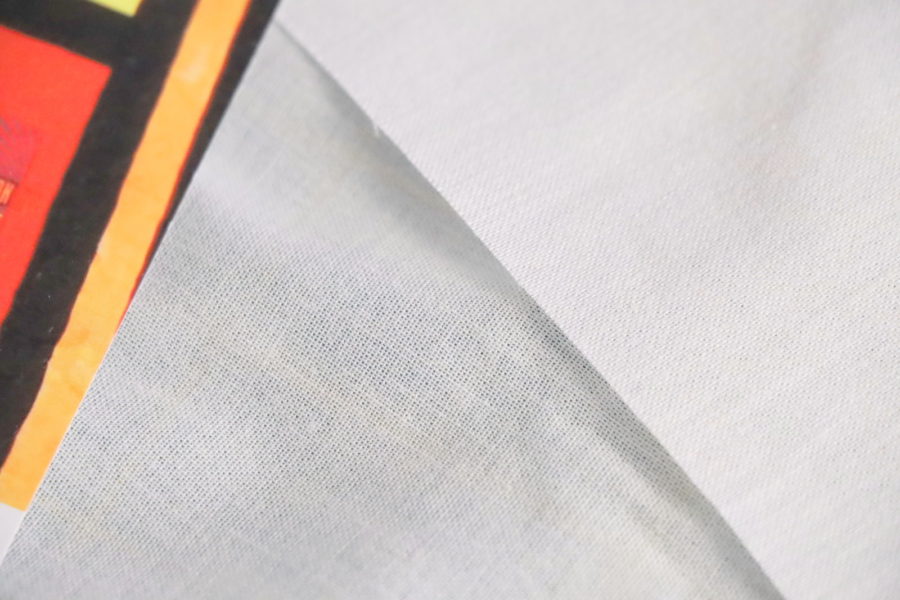
Let’s get started making those t-shirts into a sweet baby quilt!
What you’ll need:
Heat N Bond EZ-Tee Stabilizer
Oliso Mini Project Iron
Five size 3T – 4T t-shirts (washed) (Check your t-shirt’s logo/decal to make sure a 10” finished block is big enough. The directions are for finished 10” x 10” blocks.)
10½” x 10½” square ruler and rotary cutter
Batting
Thread
Scissors
Rotary Cutter
Cutting Instructions:
Cut 5 – 10 ½” x 10 ½” t-shirt *fussy cut squares from the front of shirts
Cut 4 – 5 ½” x 5 ½” t-shirt squares from the back of shirts (alternate blocks)
Cut 8 – 3” x 5 ½” orange cotton fabric (left and right of alternate blocks)
Cut 8 – 3” x 10 ½” orange cotton fabric (top and bottom of alternate blocks)
Cut 2 – 3 ½” x 30 ½” blue cotton fabric (left and right Border A)
Cut 2 – 3 ½” x 36 ½” blue cotton fabric (top and bottom Border A)
Cut 2 – 5 ½” x 36 ½” yellow cotton fabric (left and right Border B)
Cut 2 – 5 ½” x 46 ½” yellow cotton fabric (top and bottom Border B)
Cut 1 – 50” x 50” quilt backing fabric (allow extra for quilting)
Cut 1 – 50” x 50” batting (allow extra for quilting)
Cut 5 – 2 ½” x 42” strips for binding
Cut 5 – 10 ½” x 10 ½” squares of Heat N Bond EZ-Tee Stabilizer
Cut 4 – 5 ½” x 5 ½” squares of Heat N Bond EZ-Tee Stabilizer
*Fussy Cut means you cut a specific area of the fabric to target a design instead of random cutting. Fussy cut the front of t-shirts using a clear 10 ½” x 10 ½” square ruler. Allow a 1/4″ seam allowance around the logo/decal if possible.
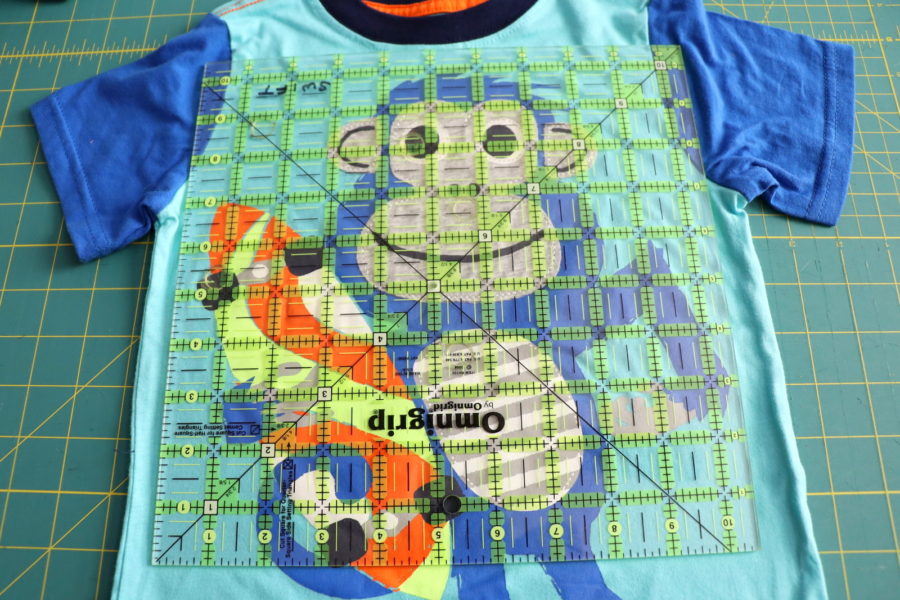
Sewing Instructions: Seams are sewn at 1/4″
Step 1: T-Shirt Blocks – Cut the front section along the sides to separate from the back. You’ll use the back of the t-shirts for the alternate blocks.
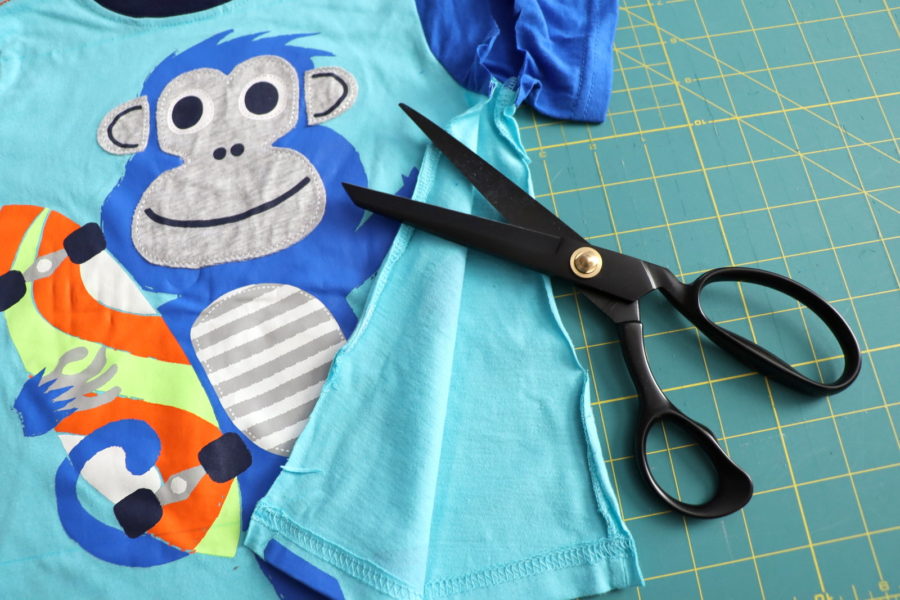
Step 2: Fussy cut the squares using the square ruler. It’s okay if you overlap into the sleeve or neck area.
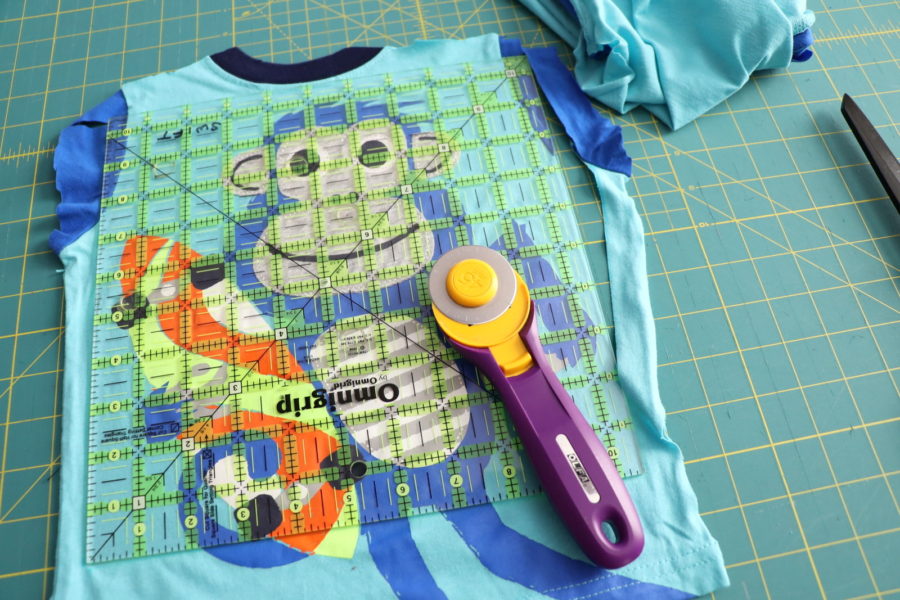
Step 3: Following the Heat N Bond Fusible EZ-Tee Stabilizer directions, iron the adhesive side of the fusible interfacing (it’s a little rougher feeling on the adhesive side) to the wrong side of the t-shirt blocks using a protective cloth. Be careful not to touch your iron to the right side of the logo/decal or it might melt. Let them sit until cool to the touch.
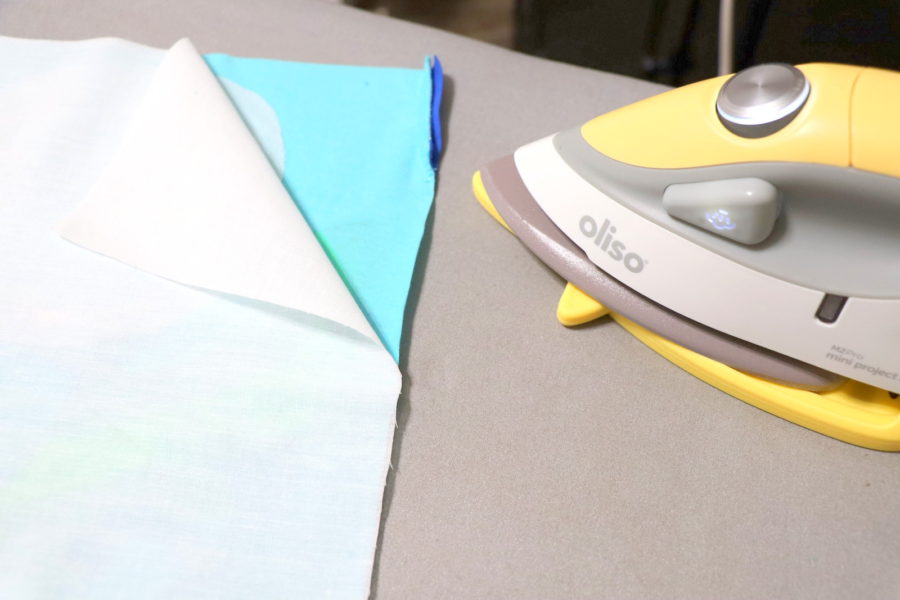
Step 4: Measure the blocks again to ensure they are 10½” x 10½”; trim if necessary.
Step 5: Alternate Blocks – Following the Heat N Bond Fusible EZ-Tee Stabilizer directions, iron the adhesive side of the fusible interfacing to the wrong side of the 5 ½” x 5 ½” t-shirt squares from the back of shirts using a protective cloth.
Step 6: With right sides together, sew 3” x 5 ½” orange fabric to left and right of 5 ½” x 5 ½” t-shirt squares from the back of shirts. Press seams towards sides. With right sides together, sew 3” x 10 ½” orange fabric to top and bottom of block. Press seams down.
Step 7: Center Block Assembly – With right sides together, sew rows as shown below; press seams in opposite directions to allow nesting of seams.
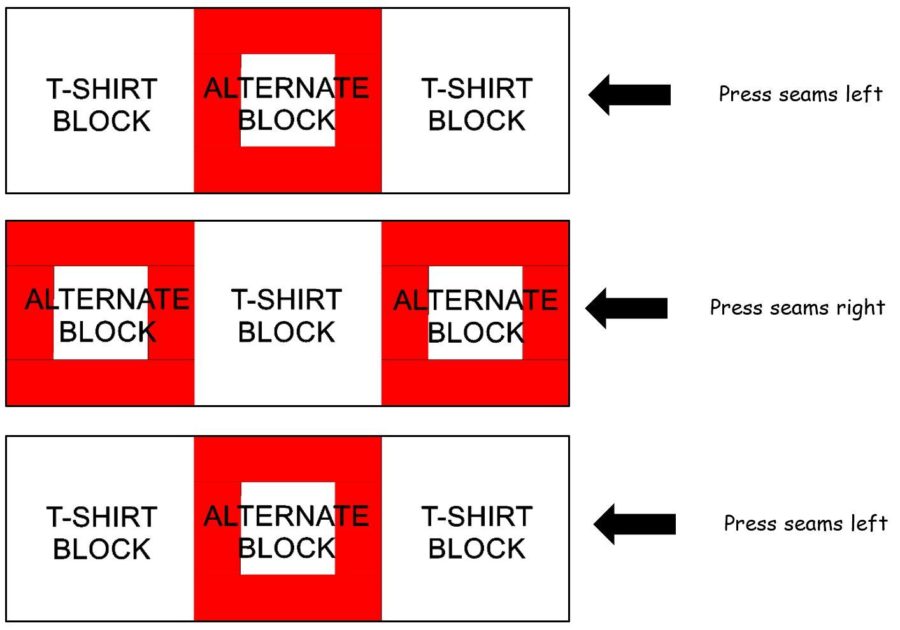
Step 8: With right sides together, sew rows together matching seams; press seams down.
Step 9: Border A – With right sides together, sew 3 ½” x 30 ½” blue strips to left and right of Center Blocks. Press seams towards border. With right sides together, sew 3 ½” x 36 ½” blue strips to top and bottom of Center Blocks. Press seams down.
Step 10: Border B – With right sides together, sew 5 ½” x 36 ½” yellow strips to left and right of Border A. Press seams towards border. With right sides together, sew 5 ½” x 46 ½” yellow strips to top and bottom of Border A. Press seams down.
Step 11: Finish quilt using your favorite method of quilting and binding.
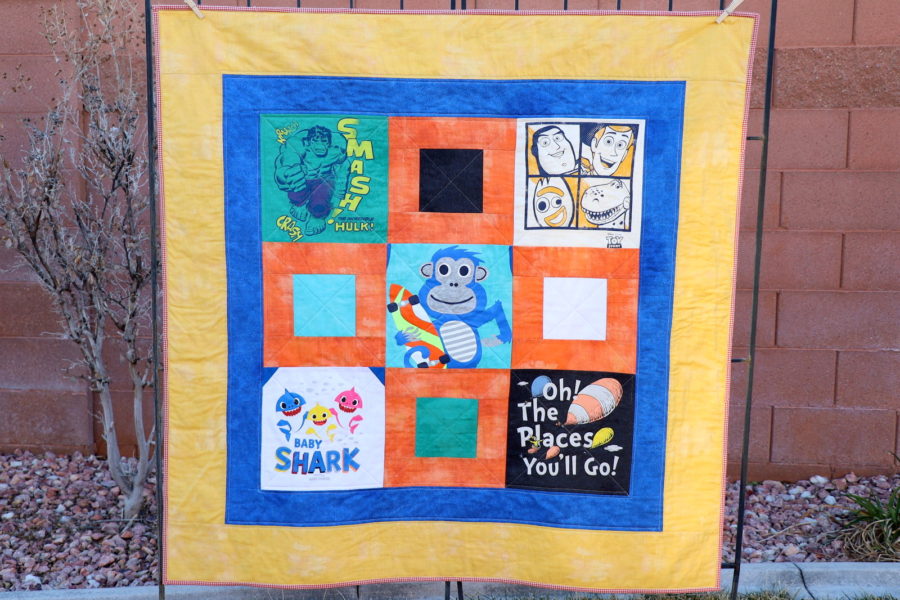
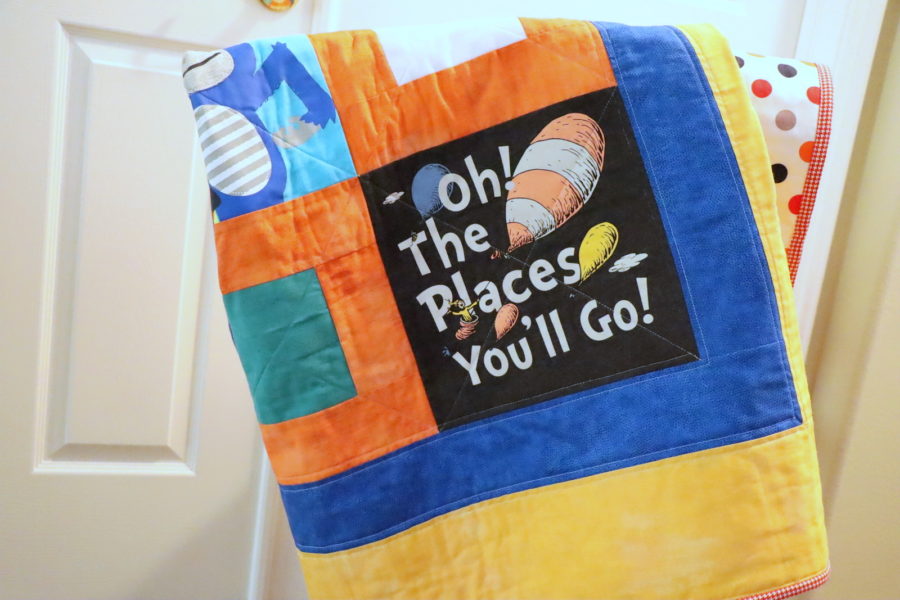
“Oh The Places You’ll Go” when you use your imagination in a t-shirt quilt!
*Optional quilting method using Spray n Bond Basting Adhesive:
Protect the area where you will be working by placing an old sheet of paper under and around the area you’ll be spraying. Place the batting on the work area, smoothing to remove wrinkles. Place the quilt backing, wrong side down, on top of the batting. Smooth to remove wrinkles. Having the batting a bit larger than the backing is suggested.
Rollback about six inches of the quilt back to expose some of the batting. Using the basting spray, spray batting from one edge to the other. Carefully lay the wrong side of quilt backing over the sprayed surface of batting. Smooth fabric to ensure it adheres to the sprayed fabric and removes any wrinkles. Rollback the rest of the quilt back to continue spraying and smoothing about six inches at a time until you reach the bottom of the quilt back. Check for creases or folds you might have missed.
Turn the backing and batting over to have batting facing up. Lay quilt front, wrong side down, on batting. Make sure quilt front is lined up correctly; smooth out wrinkles. Use the same spray and smooth method as the backing. Trim edges and square-up quilt. Quilt as desired and add the binding.
