


 Hi everyone, this is Ashley Young and I’m so happy to share my third blog post as a Guest Designer for Thermoweb. I’ve had such a great time sharing my creations using all of the amazing new (and old!) products, and I hope you’ve enjoyed following along!
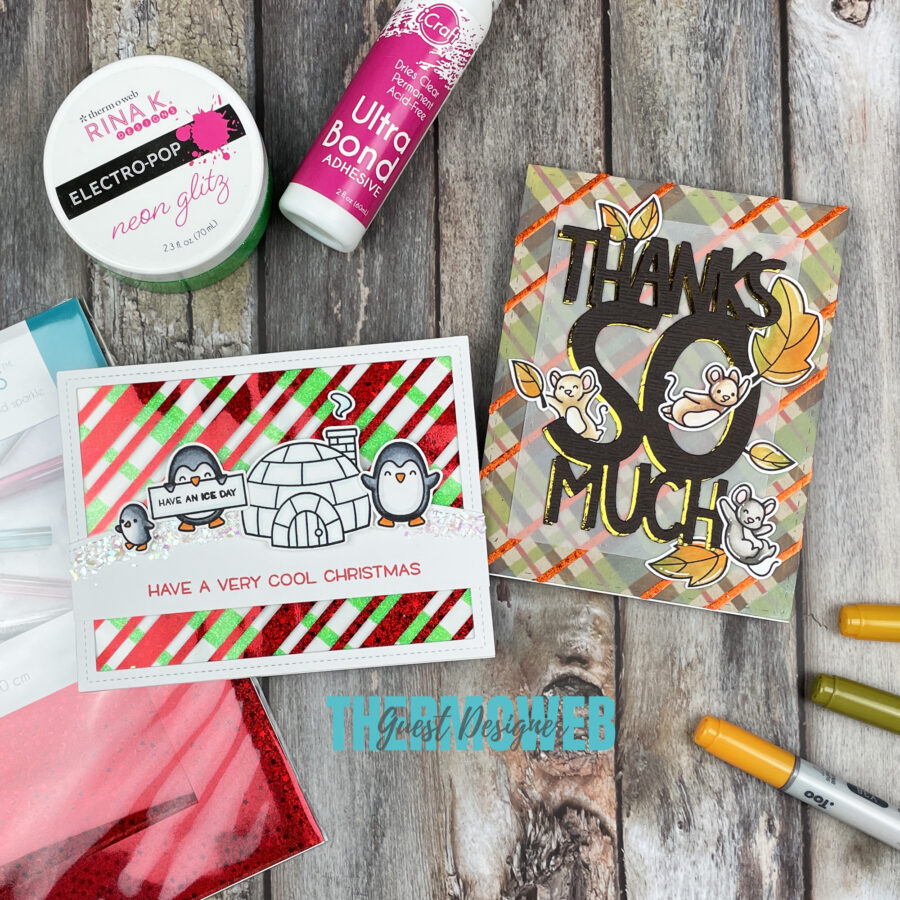
Today I have two cards to share, both with plaid patterns involving foil. Since it’s that time of year, I themed one for autumn and one for Christmas!
Mad About Plaid Cards with Fancy Foils
 I started by making the backgrounds for both cards. For the autumn-themed card, I started by stencilling with three autumnal colours of Distress Oxide ink using a Lawn Fawn Plaid stencil. However, I left space without colour for some thin lines, that will turn into foiled lines.
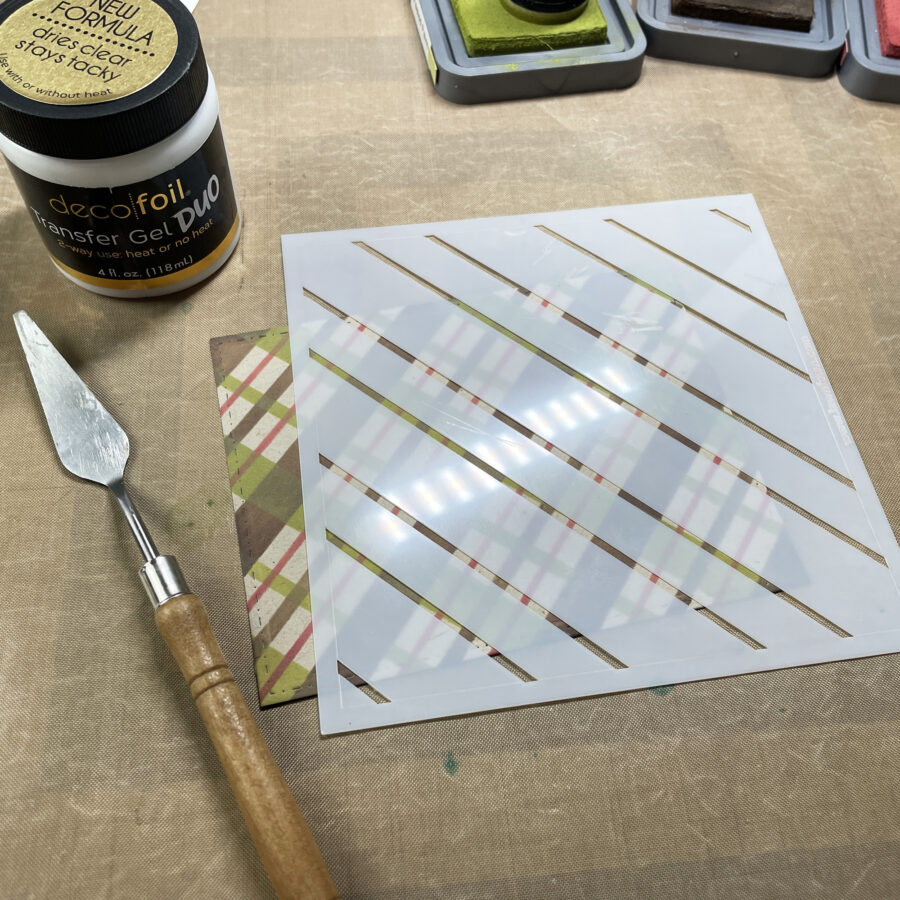
Once the inking was done, I used a palette knife to spread some Deco Foil Transfer Gel Duo through the thin stripes, in the space I had left. I then set the piece aside to dry until the gel was translucent.
Once it had dried, I placed the inked piece underneath a piece of Gina K. Designs Fancy Transfer Foil in Dazzling Orange, and placed both pieces between a sandwich of parchment paper before running it twice through my laminator machine. I pulled back the foil to reveal the shiny design!
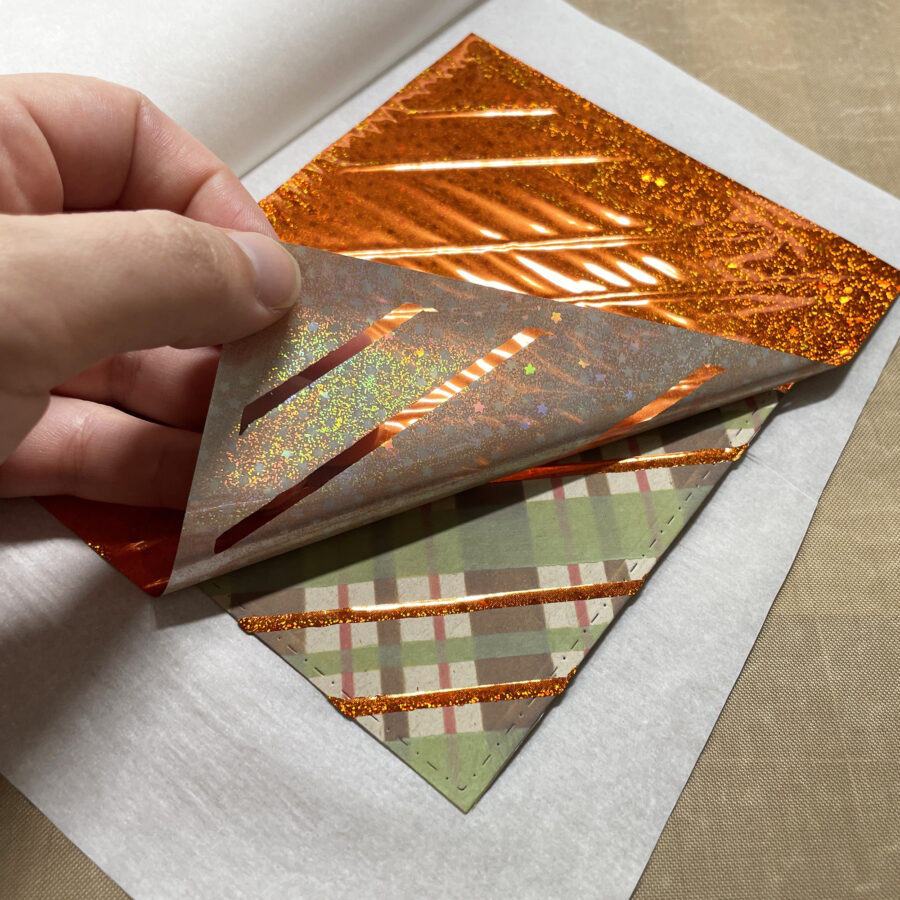
How gorgeous is that foil?! It has little stars embedded into it, which are a bit hard to see in the photos but completely dazzling in real life!
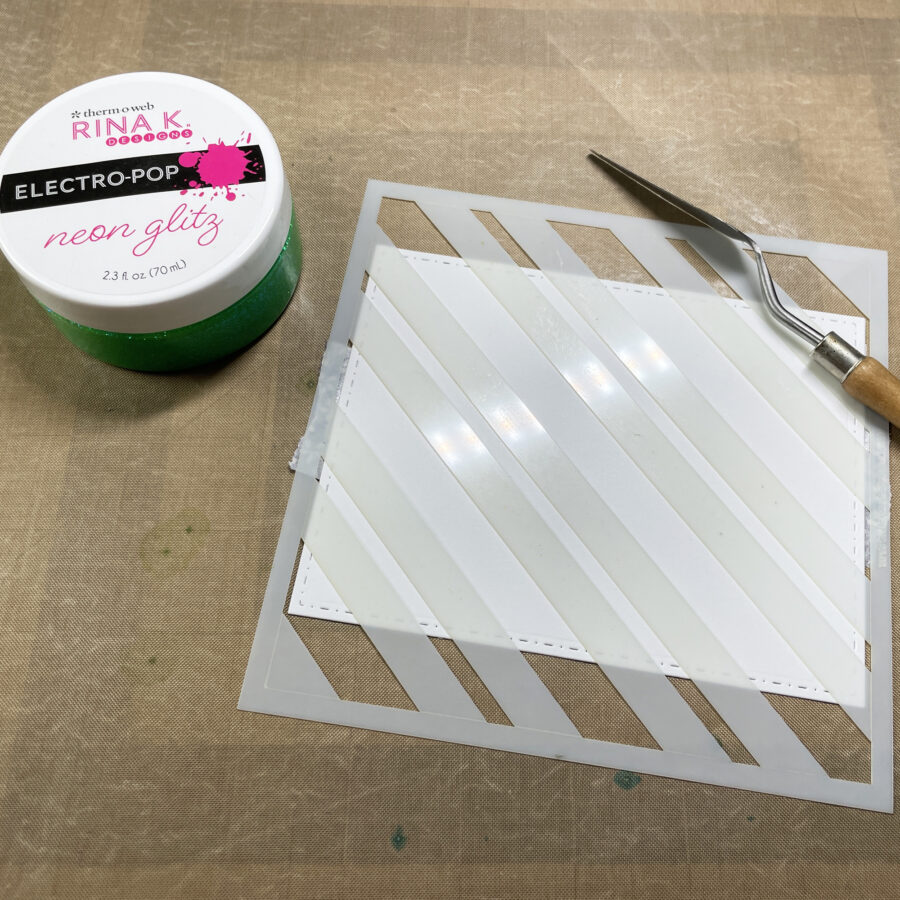
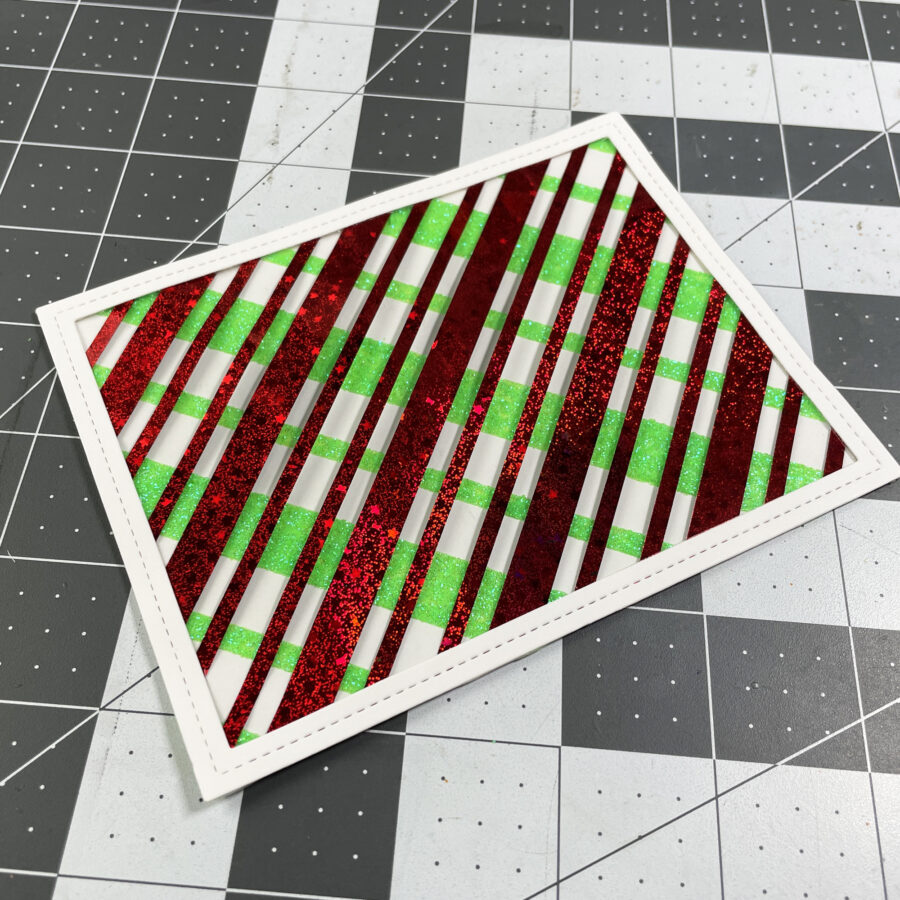
Next up is the Christmas plaid background. For this one, I started with a piece of white cardstock and used just one part of the Lawn Fawn Plaid stencil (the part with thick lines) and a palette knife to spread out some Rina K. Designs Neon Glitz Glitter Gel in Screamin’ Green.
I set that aside to dry and worked next on the red piece. I grabbed a Deco Foil Clear Designer Toner Sheet in Candy Stripes and cut it down to the size of a standard card (4.25″ x 5.5″). I then cut a piece of Gina K. Designs Fancy Foils in Radiant Red to slightly larger than that and sandwiched the pieces together as before. I ran the sandwich through my laminator twice and revealed the gorgeous foiled pattern.
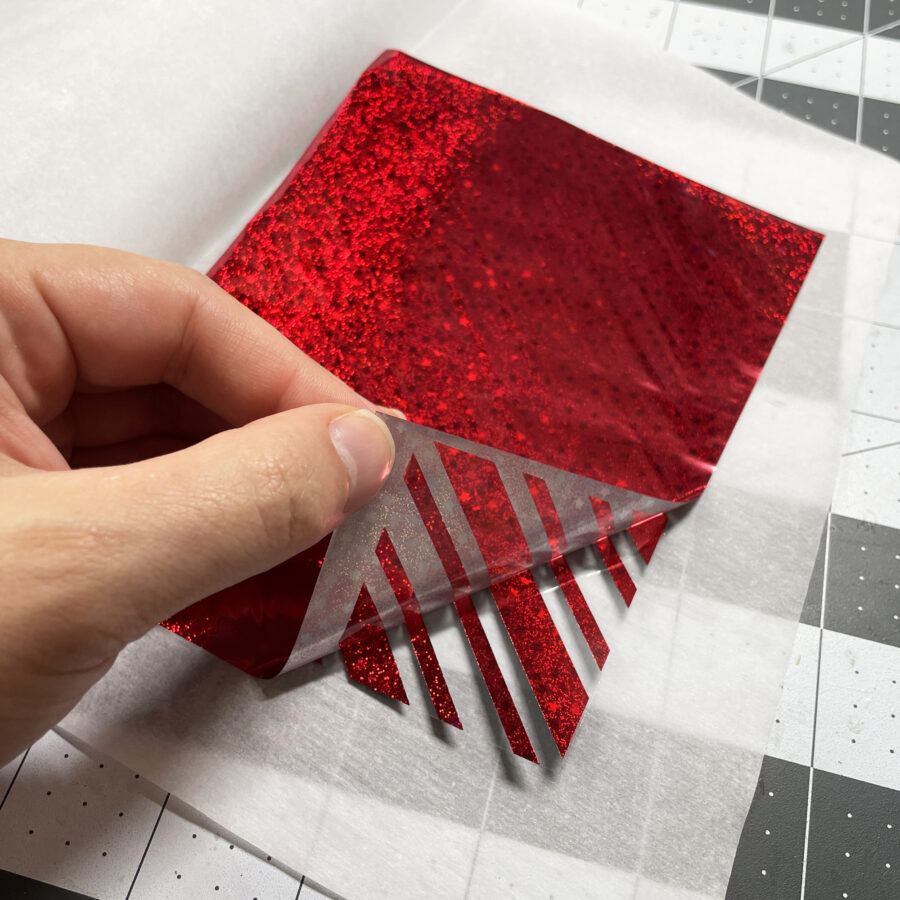
Again, this foil is absolutely stunning! It has the same stars as the orange foil, and you can really see them in the larger stripes. And, since this toner sheet is clear, you can see through the spaces between the stripes. It is so, so gorgeous!
To finish this background, I laid the red striped piece overtop the green striped piece and adhered them together by laying double-sided tape around the edges. I covered over the adhesive with a rectangle frame that I die-cut from white cardstock.
Okay, now that both backgrounds are complete it’s time to turn them into cards!
For the autumn-themed card, I die-cut the words “Thanks So Much” using a Lawn Fawn die, once from brown woodgrain cardstock and once from Deco Foil Toner Sheets. For the Toner Sheet version, I cut a piece of Gina K. Designs Fancy Foils in Wild Dandelion to be slightly larger than the die-cut, and ran both pieces twice through my laminator machine. The result was a golden-yellow shiny die-cut!

To finish this card, I laid both die-cut words overtop of a rectangular piece of vellum, and glued everything down onto the plaid piece. I added some stamped images of mice and leaves to make it a bit more fun.
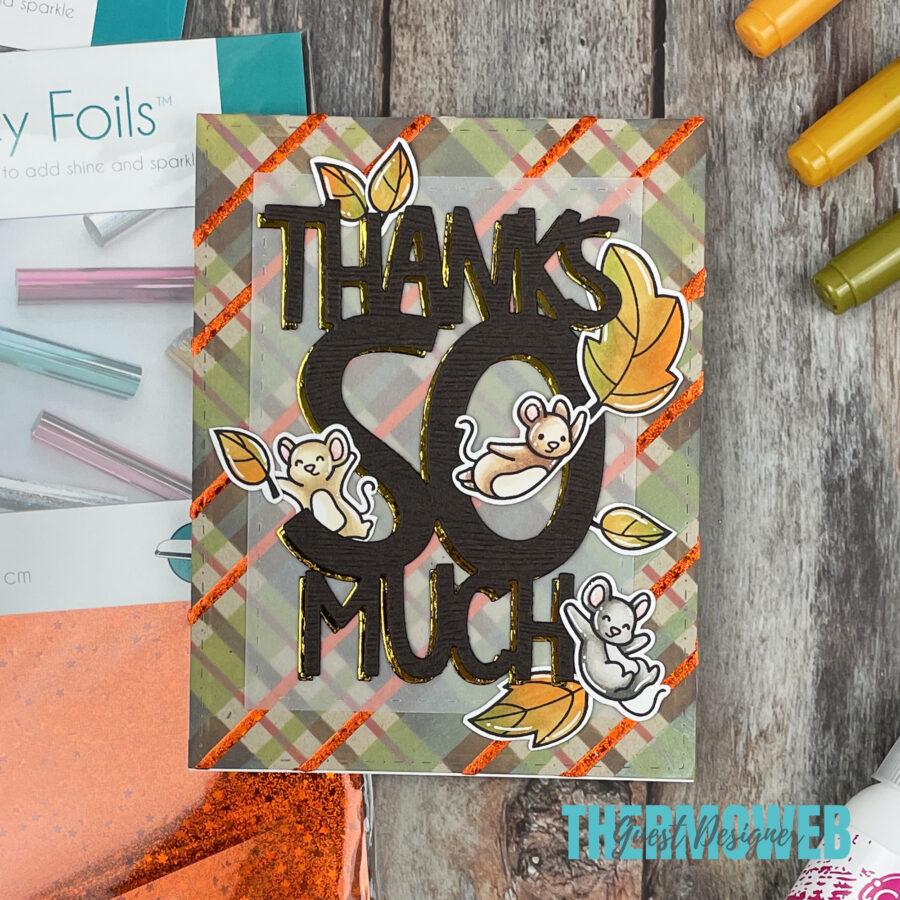
I really love how the shiny orange stripes stand out against the more muted background!
For the Christmas card, I stamped and coloured a bunch of Lawn Fawn images. I also cut a piece of white cardstock using a hillside border and glued some glitter onto the edge to look like glittery snow. I stamped a sentiment onto that piece in red ink. Finally, I assembled all the pieces onto the plaid background and glued the whole thing onto a card base.

And that’s it! Thank you so much for stopping by, and thank you Thermoweb for having me as a Guest Designer – I had so much fun with all of these glittery, shiny, fancy products that made my cards super special!