


 Sparkle up your decor with the patriotic mini quilt, “Love For America”.
 It’s a fun and quick project that can be finished just in time for the 4th of July! Hang it or table it to show your red, white, and blue.
![]()
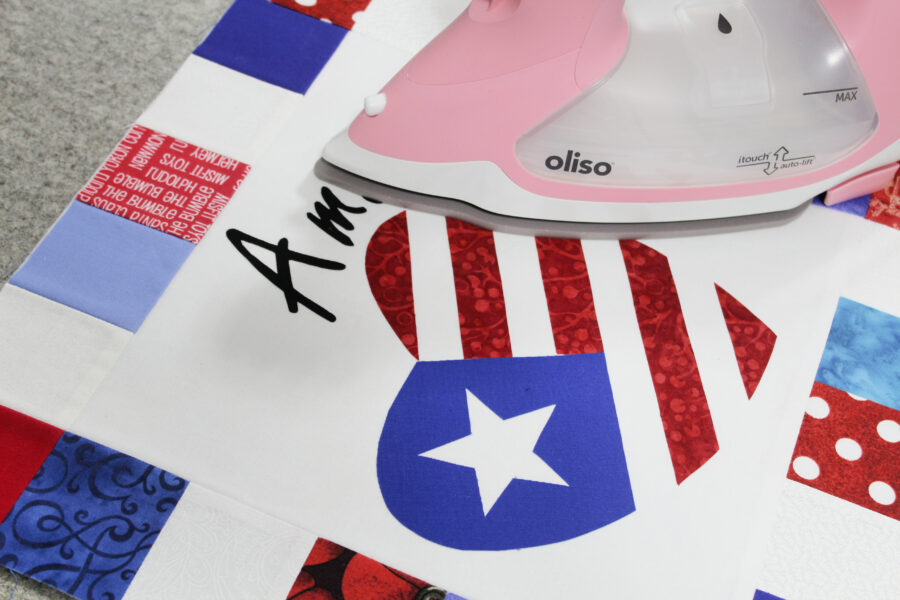
Love for America Mini Quilt
by Carla at Creatin’ in the Sticks
Finished Size: about 14” X 14”
please read through the complete instructions before starting.
Love for America Supplies:
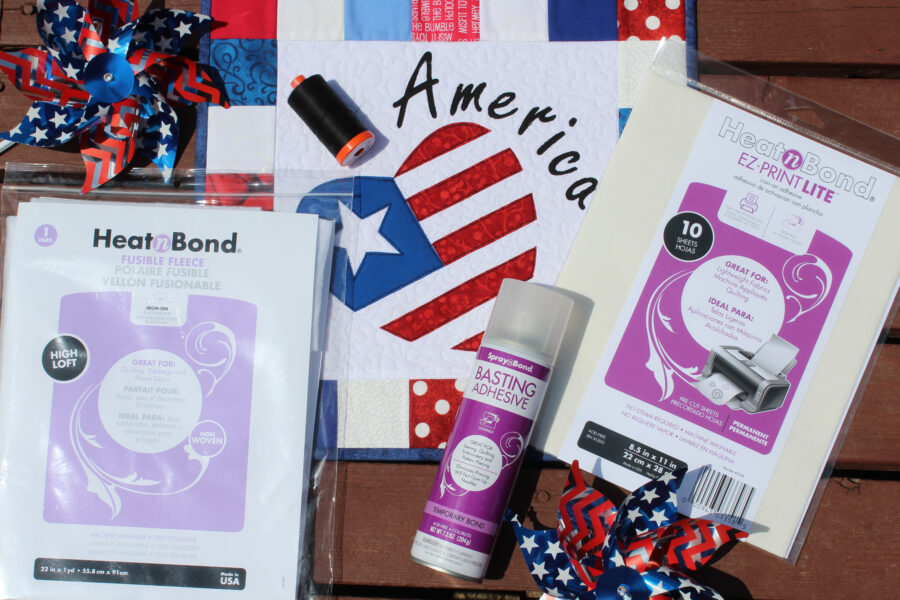
Free Pattern download click here: Love for America Mini Quilt by Carla Henton at Creatin in the Sticks
HeatnBond EZ Print Lite iron-on adhesive – 1 sheet
Fabric:
1 background 10 ½” square (white)
Patchwork Border – 8 – 2 ½” white squares, 8 – 2 ½” red squares, 8 – 2 ½” blue squares
2 – 2 ¼” strips x WOF for binding
Quilt Backing – 1 square 15 ½”
Applique fabric: Red 7” square for heart stripes; Blue 5” square for heart star; Black 6” square for letters
Other Supplies:
Ink Jet Printer, Iron (I love my Oliso), Sewing machine, Aurifil Thread 50 weight #2692,
Sharp scissors, and other basic sewing supplies.
Love For America Mini Quilt Sewing Instructions:
Prepare Quilt top:
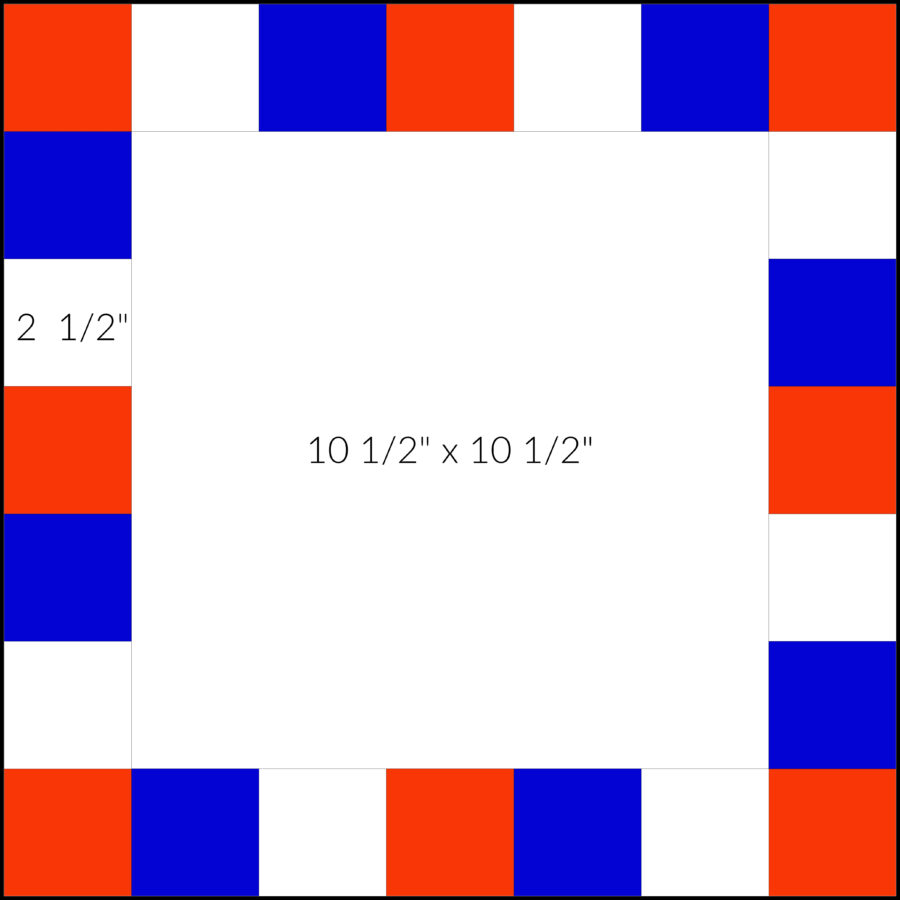
Firstly, stitch the Red, White, and Blue squares together as shown with ¼” seams. 5 squares are needed for each of the sides and 7 squares each for the top and bottom. Stitch the sides first then stitch the squares to the top and bottom. All seams are ¼”.
Make the Quilt Sandwich:
Cut one square of HeatnBond Fusible Fleece 14 ½”. Follow the package instructions to bond the fleece to the wrong side of the red, white, and blue background unit.
Before applying the applique, make the quilt sandwich by attaching the backing fabric with SpraynBond basting adhesive.
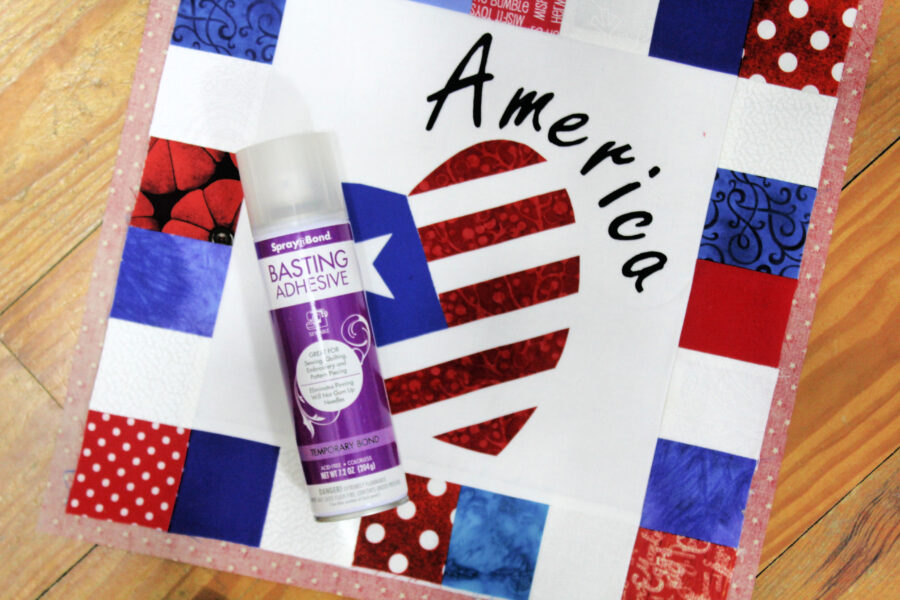
By attaching the backing fabric now, part of the quilting is accomplished while the applique pieces are stitched.
Applique Instructions:
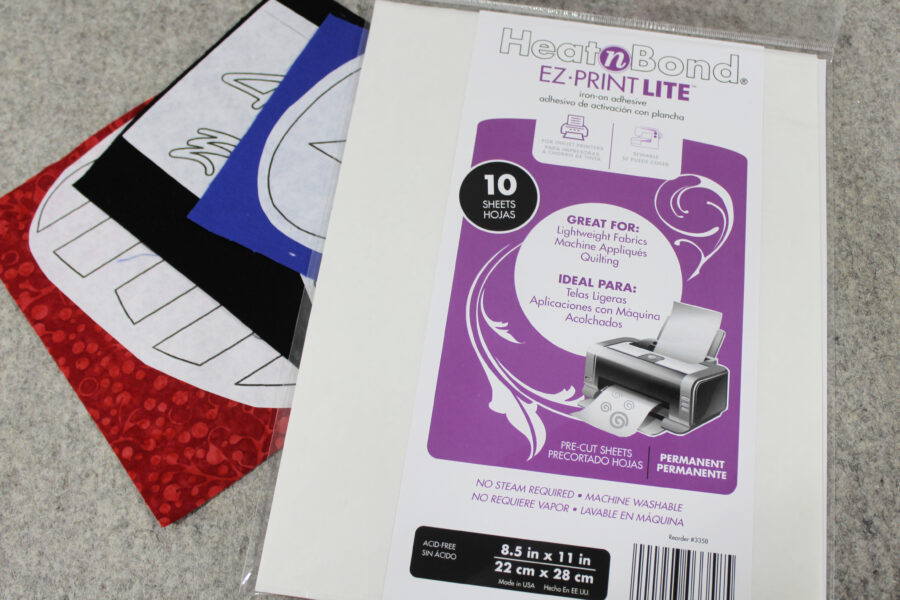
Prepare the applique patterns:
With HeatnBond EZ Print Lite sheets, print the applique pattern pieces (the last sheet of the pattern) with your inkjet printer. The patterns are reversed for you.
NO TRACING! How awesome is that?
Follow the package instructions for printing and bonding to the wrong side of the fabrics.
Cut out all applique pieces on the solid black lines, peel off the backing paper, and place the applique pieces with the adhesive side down on the 14 ½” x 14 ½” background fabric unit. Moreover, the applique template key is included in the pattern.
Bond the Applique Pieces to the Background:
Follow the package instructions to work in sections to press the entire applique to the background until the entire applique is fused.
Stitch around appliques:
Next, use a straight stitch with Aurifil 50 wt thread #2692 and stitch around each applique piece twice.
Finish the quilt:
The last step is to quilt as desired and add the binding with the preferred method.
![]()
The very last step is to have a Happy 4th of July!
Carla
![]()