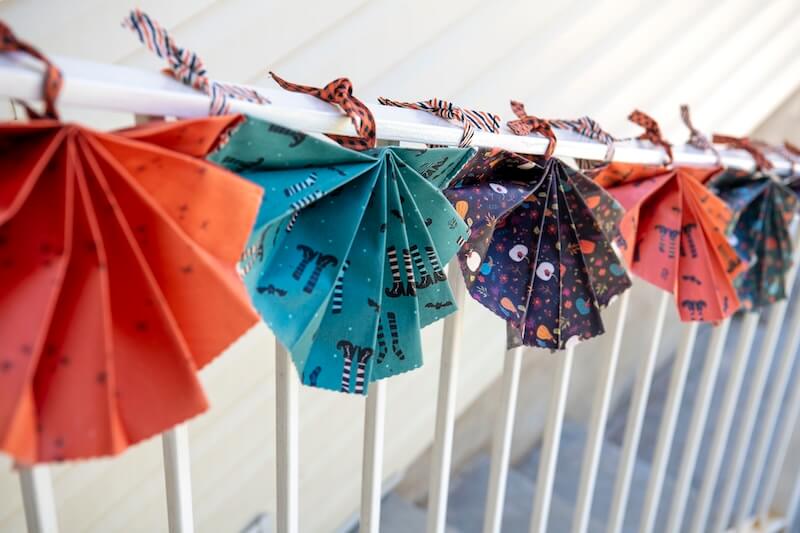
Hi friends! Today I am sharing a quick and easy outdoor friendly flag banner to run along your railing. I’ll be using the Riley Blake Little Witch line designed by Jennifer Long. We will be adding some liquid vinyl to it to make it waterproof to hold up in the elements. It also helps the fabric to hold its shape which is a bonus. I started with a version that has all the edges hemmed, but this version is much quicker and goes well with the witchy Halloween look we’re going for. Let’s get started.
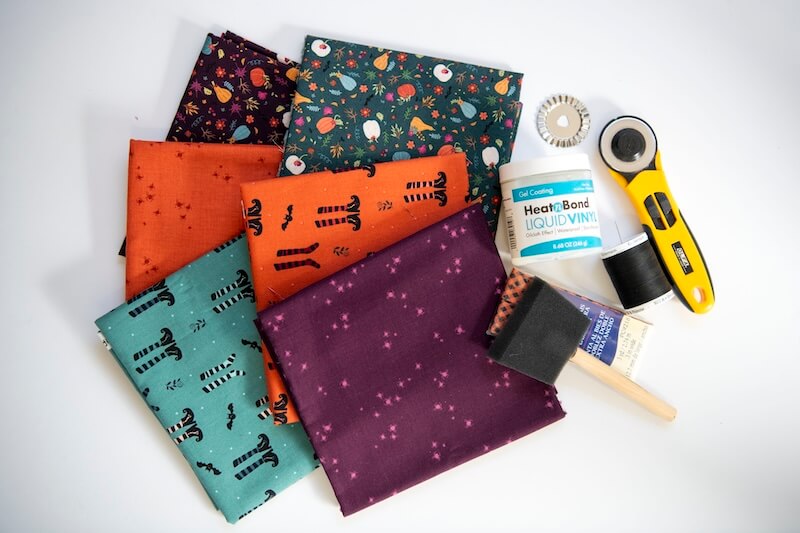
SUPPLIES:
- Little Witch fabric (⅓ yd will make two flags)
- HeatnBond Liquid Vinyl Gel Coating
- Sponge Brush
- Double Fold Bias Tape or half inch wide ribbon
- Rotary Cutter with pinking blade or pinking sheers
- Hand sewing needle/thread
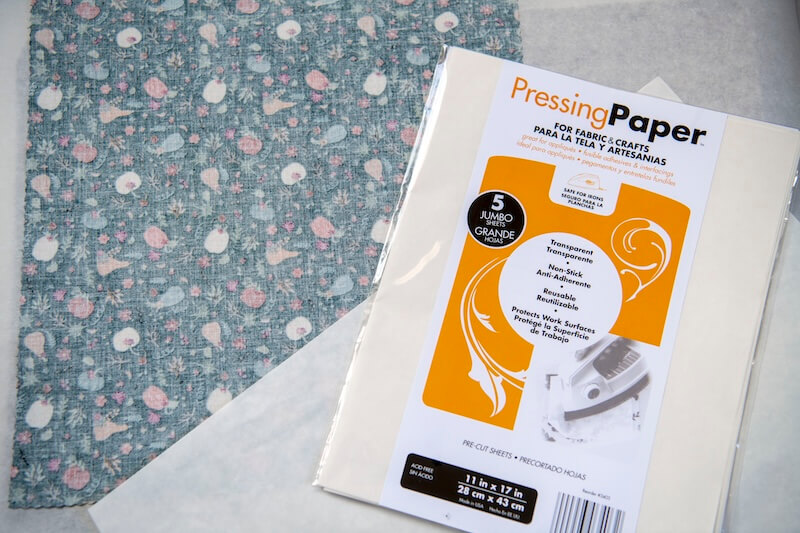
- Pressing Paper
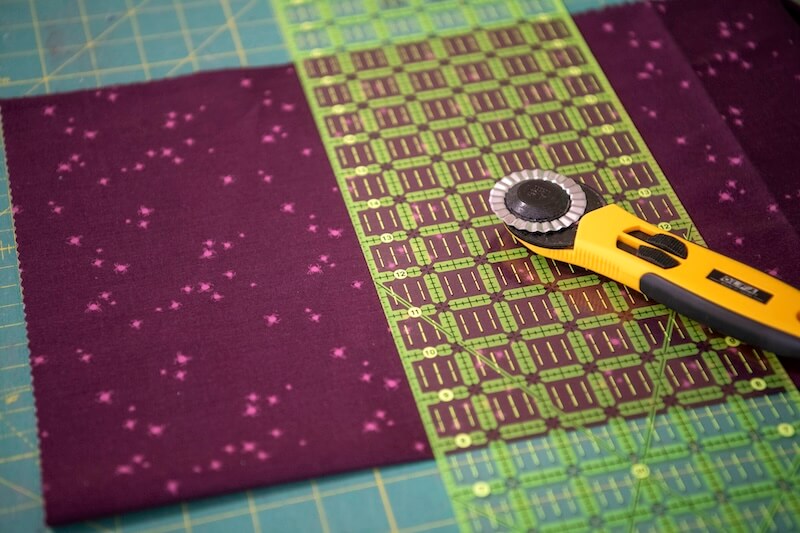
First iron your fabrics. Determine how many flags you need to go across the railing you’ll be displaying your banner on. Cut out one 12”x15.5” rectangle for each flag using your pinking sheers or pinking blade rotary cutter.

Alright, next we need to apply the HeatnBond Liquid Vinyl Gel Coating with a sponge brush following the instructions on the bottle. I used two coats.
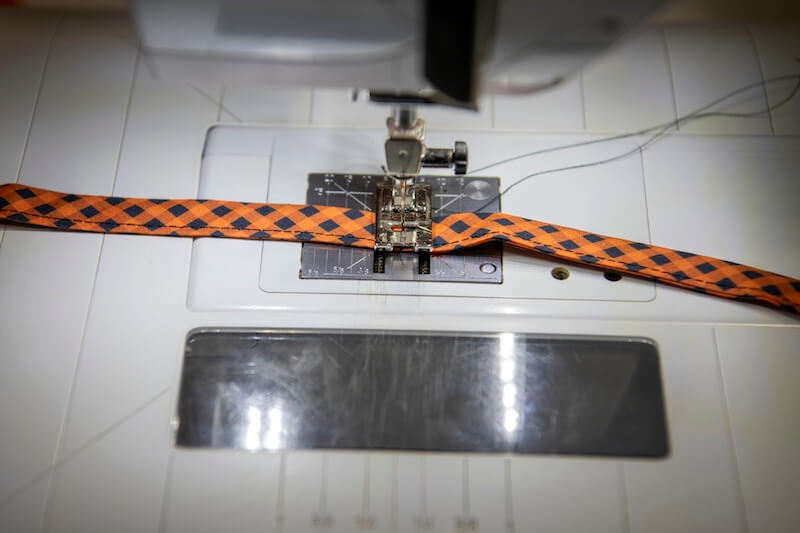
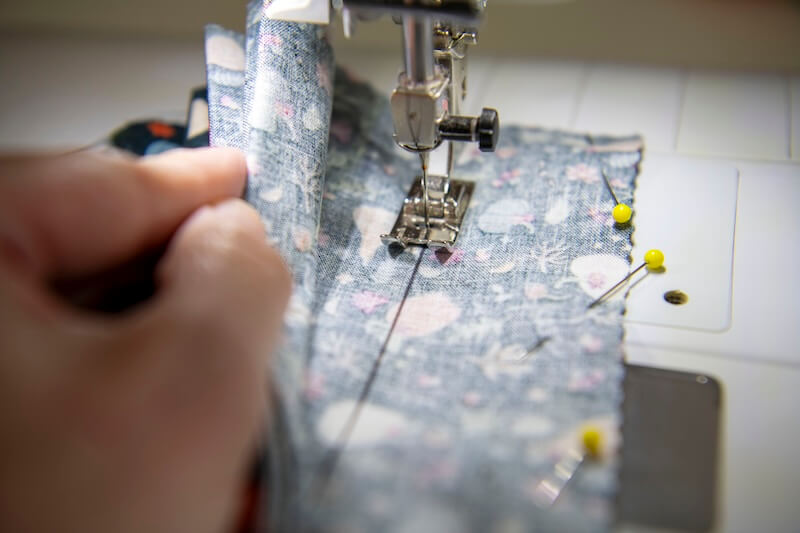
While the liquid vinyl dries, let’s prep our bias tape. Take the bias tape to your machine and top stitch the opening closed all along the edge. Next we need to cut the bias into 12-inch long pieces (if you have wide railing make it longer to fit your needs).
First, mark the end at twelve inches and sew a line across the short ends to lock in your previous stitches. Then use your pinking sheers to cut on the outer edge of your sewn line. Repeat along the rest of your bias tape cutting it down into twelve inch pieces.
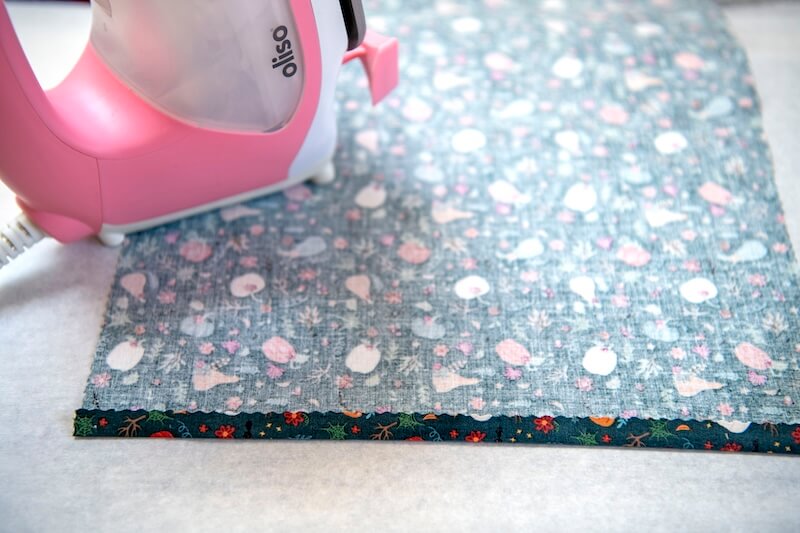
Back to our vinyl-applied fabrics, take and press them using your pressing paper to set the liquid vinyl as directed. You do not want to press your fabric coated with liquid vinyl without a barrier between it and your iron. Use a parchment under your fabric as well to protect the surface below as well.
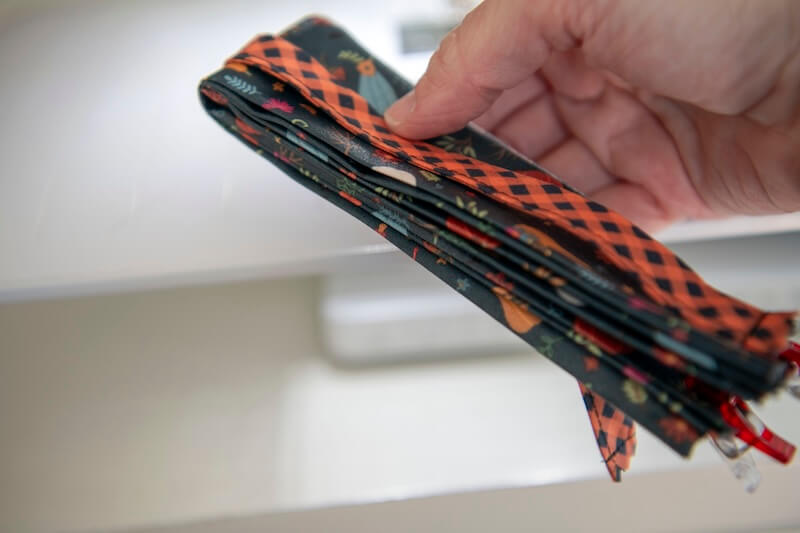
Ok, let’s start shaping them. Take your first fabric rectangle with wrong side up and turn one short end under ¼” towards towards the back.

Make the second fold 1.5” fold in the same direction (also towards the back).
Flip your fabric over and make your next 1.5” in the opposite direction (towards the front). Continue folding your fabric 1.5” back and forth like a fan until you come to the end. There will be extra fabric left.
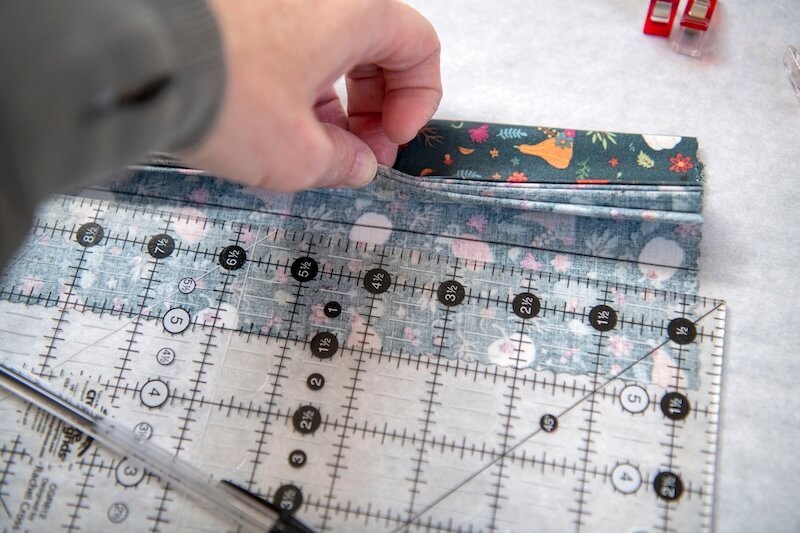
Take a ruler and pen and draw a line right where that extra fabric meets your 1.5” folds.
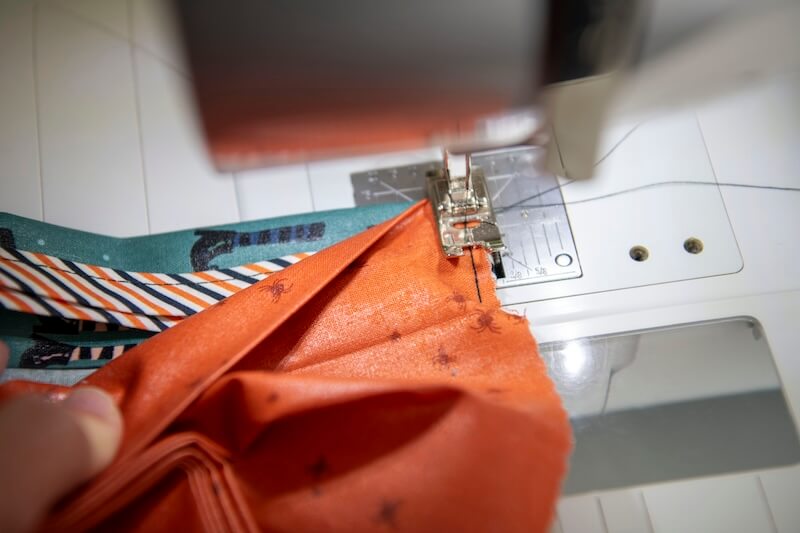
Take the fabric to your sewing machine. Fold your fan in half. Match up the ends with right sides together and sew on the drawn line along the back (on the wrong side). Trim the excess seam allowance using your pinking sheers.
Next we need to add our bias. Lay your bias over the outside edge of your fabric fan. Fold the fan in half and find the center.
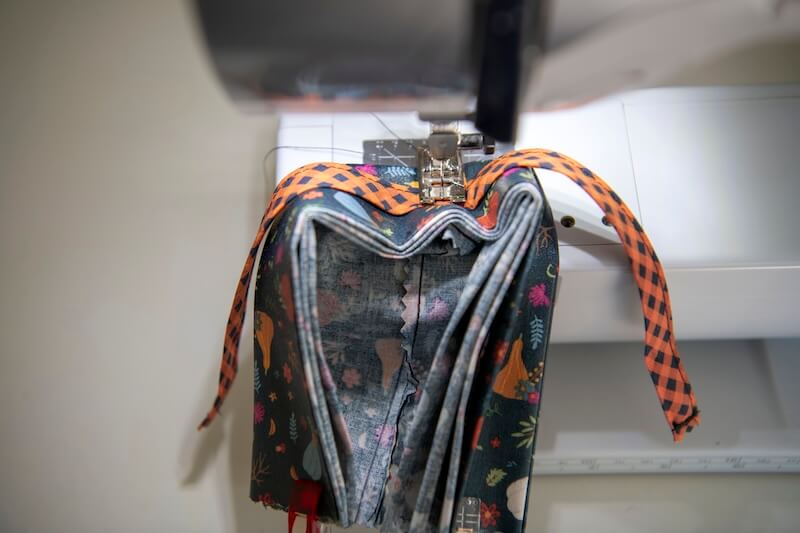
Tack the bias to your fan just along the top center edge making sure to catch all of the layers (it is a tight fit). This will be your tie to attach it to your railing. Repeat making all of your fans.
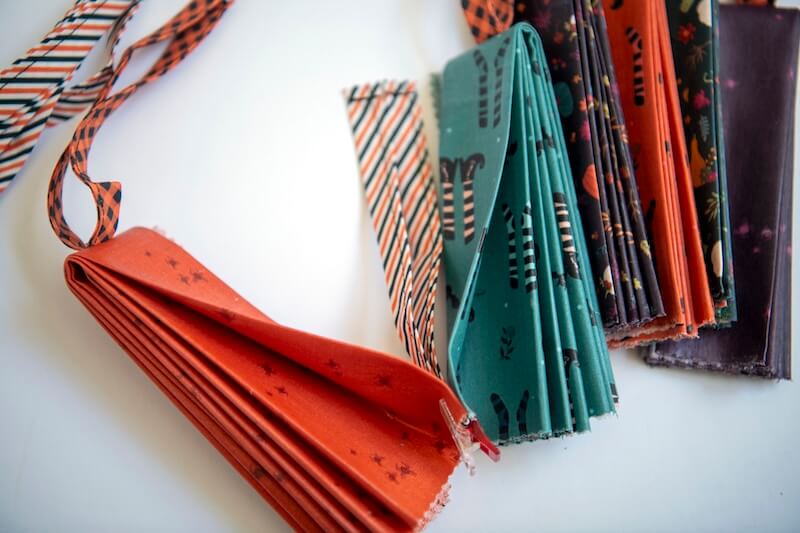
Next, add a tie between each fan. Take the outside fold on one fan, fold a bias strip in half with the ties facing up and sandwich it between the outside fold of the second fan.
Tack the bottom edge (approximately ⅛” from the edge). Repeat until all the fans are attached. Add a tie to both outside flag ends as well.

Hang your fans by tying the bias strap to your railing. To store, fold your fans back up. Thank you so much for sewing along with me!