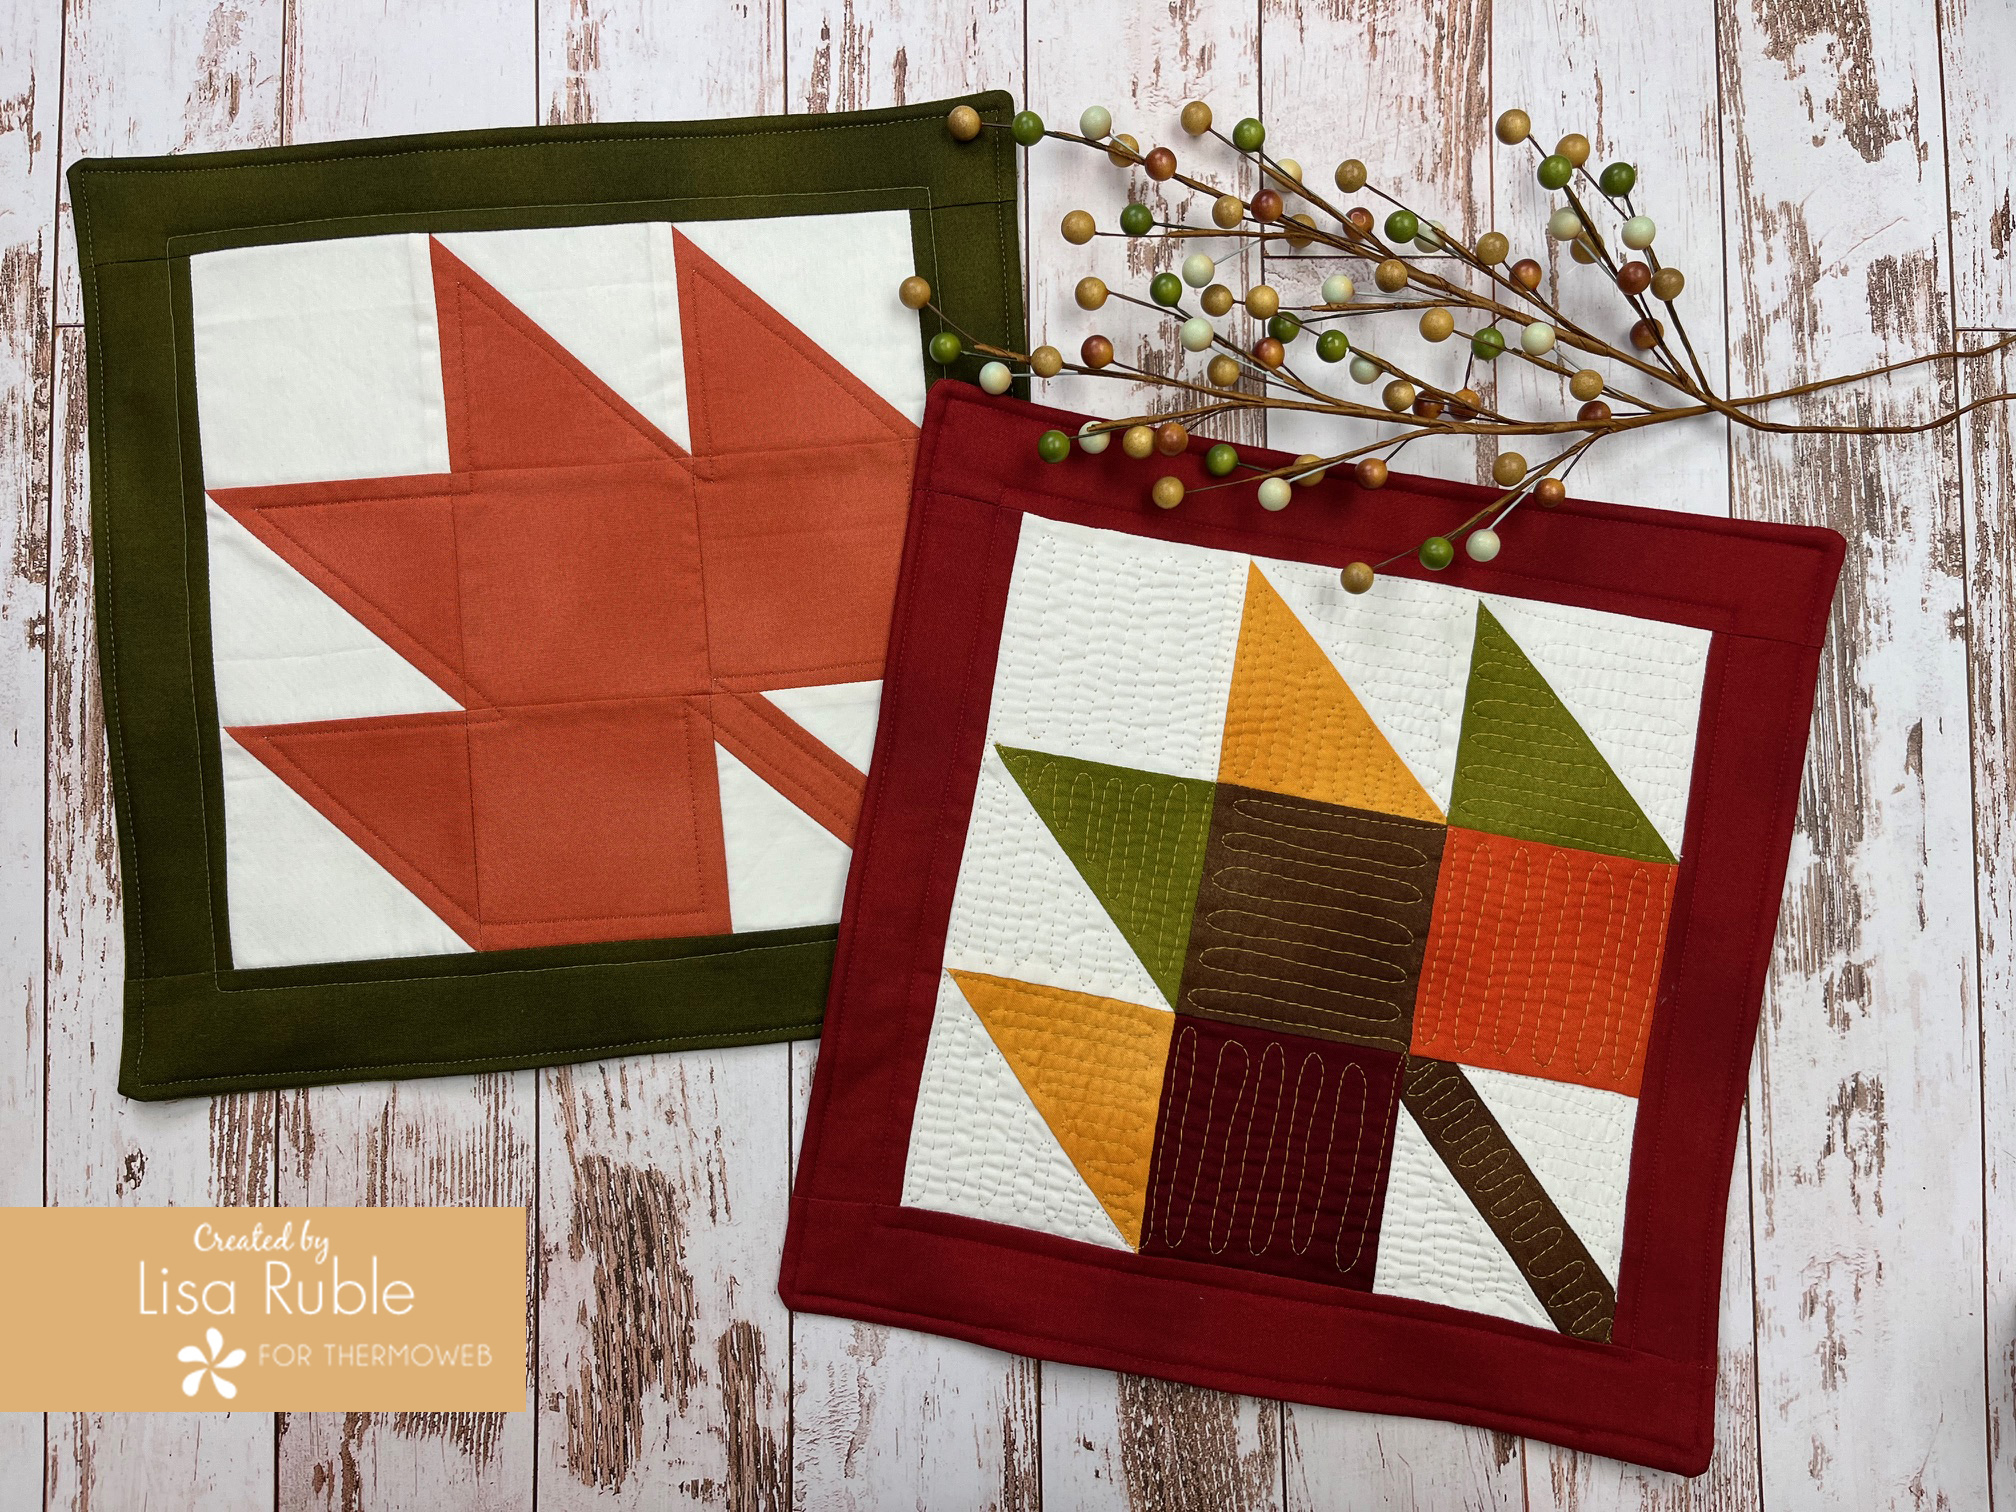
I say this every autumn, but I love the vibrant color palette of fall leaf season. Rich reds, awesome oranges, deep golds…all gorgeous! I made these Little Leaf Quilts to bring some of that color inside (no raking required!).
I chose a palette of Shadow Blush fall colors from Benartex for this project – so many choices, so little time! Follow the steps below to make your own Little Leaf Quilt (or two or three…).
You’ll Need:
3 fat quarters of assorted fall colors (or scraps of more if you want a scrappy look!)
1 fat quarter cream background
HeatnBond Fusible Fleece
Cutting:
From the rust print:
(2) 4″ squares
(3) 3-1/2″ squares
(1) 1-1/4″ x 6″
From the cream:
(3) 4″ squares
(3) 3-1/2″ squares
From the green:
(2) 2″ x 12-1/2″ strips
(2) 2″ x 9-1/2″ strips
From the backing fabric:
(1) 12-1/2″ square
From the HeatnBond Fusible Fleece:
(1) 12-1/2″ square
Make the Leaf Block
Step 1 Draw a diagonal line on the wrong side of (2) 4″ cream squares. Layer (1) marked square right sides together with (1) 4″ rust square.
Step 2 Stitch 1/4″ on each side of the drawn line. Cut on the line.
Step 3 Press each HST unit open and square up to measure 3-1/2” square. Make a total of (4) HST units. 

Step 5 Cut (1) 4” cream square diagonally in half once. Fold each triangle in half and press to mark the center point on the long edge. Fold the 1-1/4” x 6” rust strip in half and press to mark the center point.

Step 6 Matching center points, sew the triangles to the strip. Square up stem unit to measure 3-1/2”. 

Step 7 Lay out the (4) HST units, (1) stem unit, (3) 3-1/2” rust squares and (1) 3-1/2” cream square into (3) rows of (3). 
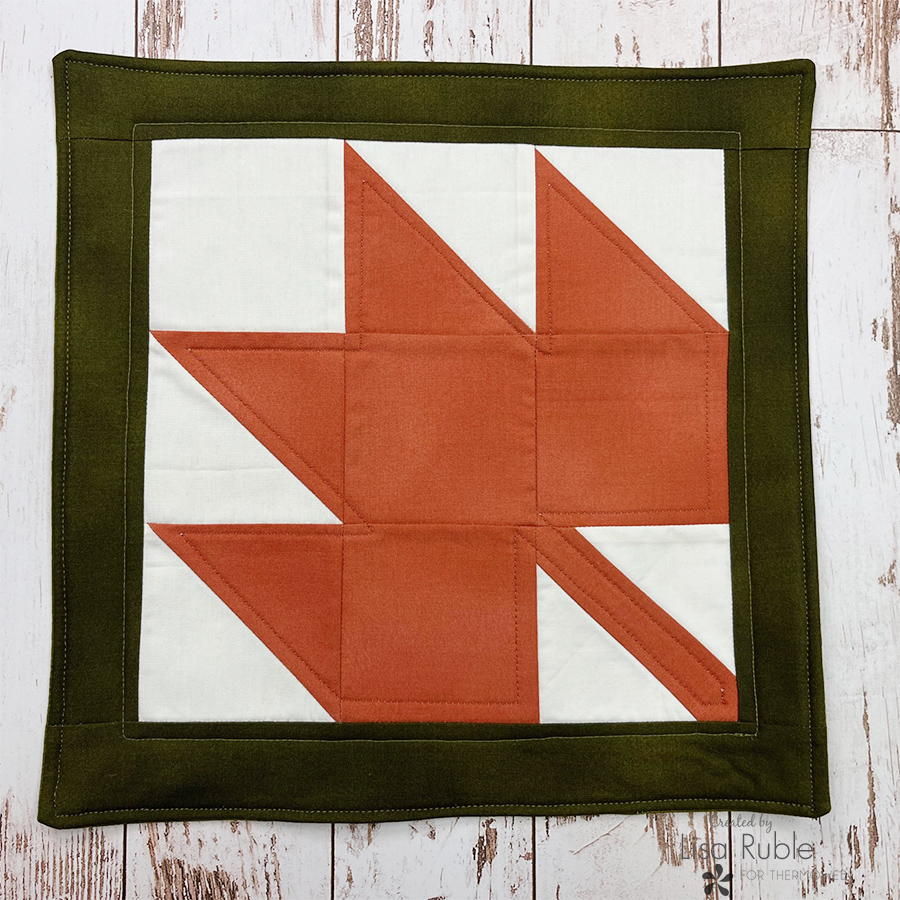
Step 8 Sew the pieces into rows. Press the top and bottom row to the left and the middle row to the right. This allows seam allowances to nest as you join the rows. Sew the rows together to complete the leaf block measuring 9-1/2” square. 

Step 2 Layer the leaf quilt top with (1) 12-1/2” square of HeatnBond Fusible Fleece and press to adhere. 

Step 3 If desired, outline quilt the leaf. 
Step 4 Lay the 12-1/2” green backing square right sides together with the leaf quilt top. Sew around the outer edge using a 1/4” seam allowance, leaving a 5” opening along one side for turning. Clip corners. Turn right side out, press, and fold raw edges in. Topstitch around the outer edge of the quilt, securing the opening as you sew. 
Here’s what my finished Leaf Mini Quilt looks like:
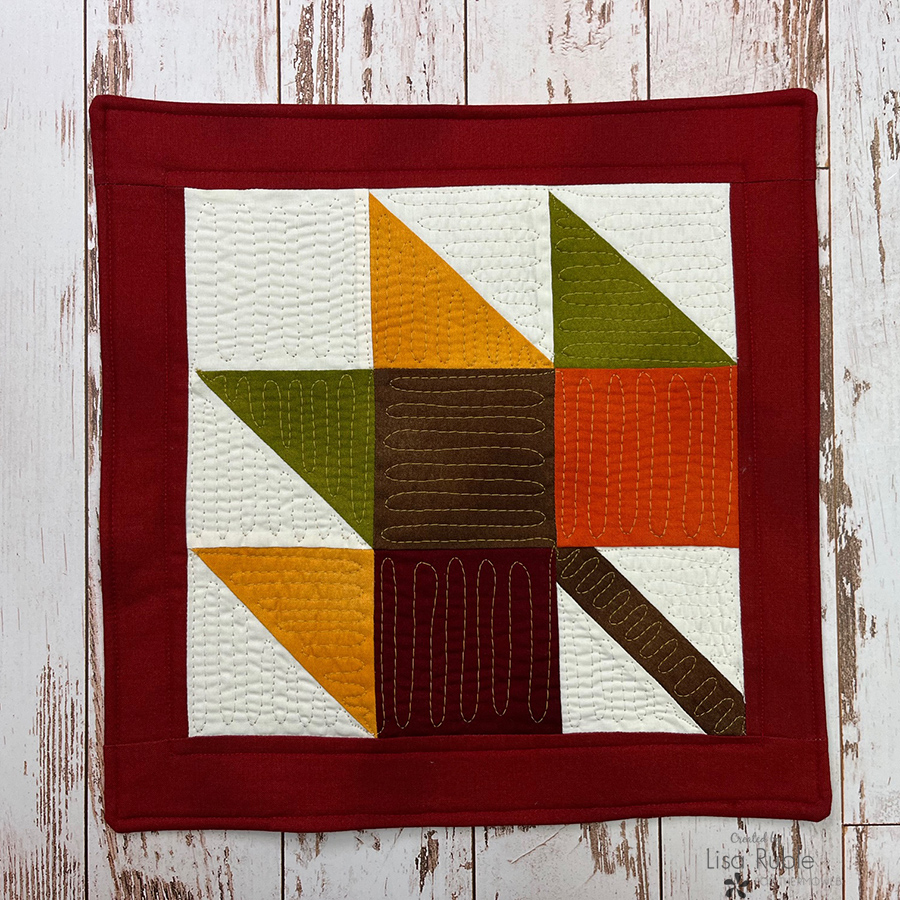
I had so many fun fall colors to play with, so I created a second version using multiple colors. I love this scrappy look! I also did some free-motion quilting on it, just to try a different look.

I hope you enjoy making these Little Leaf Quilts! They’re quick and easy and super satisfying!
Looking for more fall sewing projects? Check out the round-up on my blog.
Happy Fall!
Lisa


