


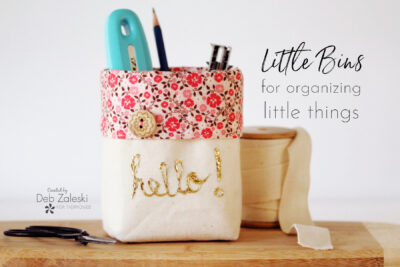
I have a little bit of an addiction to sewing up bins and trying to keep my sewing and crafting space organized. This is a fun size to use in the sewing space for sewing tools or in an office space for pencils. They’re also perfect for gift giving.
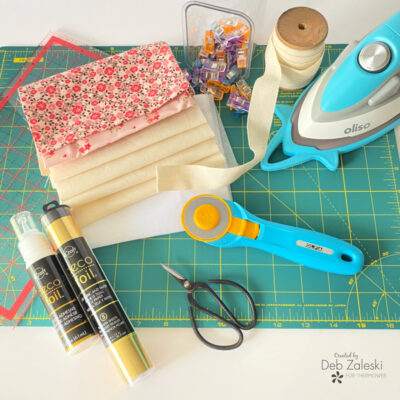
It’s time to get creative so gather your supplies and tools!
SUPPLIES:
- 1/2 yard HeatNbond Medium non-woven fusible interfacing
- 1/4 yard cotton print fabric
- 1/4 yard natural cotton fabric
- Buttons or other embellishments
- Coordinating threads
- Deo Foil Gold Transfer Sheets
- Deco Foil Liquid Adhesive
TOOLS:
- Iron & ironing board
- Rotaty cutter
- Self-healing mat
- Quilting ruler
- Sewing machine
- Scissors
GETTING STARTED:
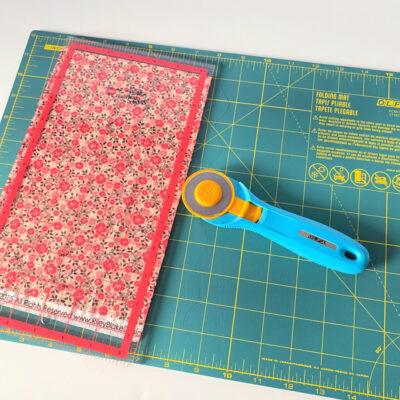
1. Cut out two 6.5″ x 8.5″ rectangles from each of the printed cotton, natural cotton and HeatNbond non-woven interfacing
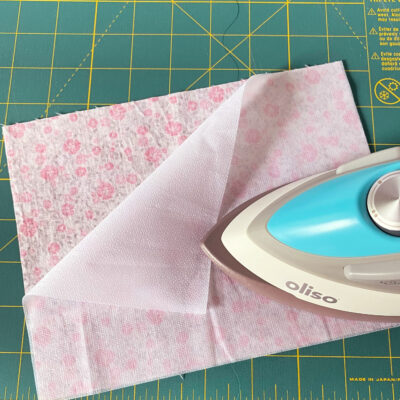
2. Fuse the interfacing to the lining (in this project it’s the cotton print fabric) according to manufacturer’s instructions.
Here are a few tips for applying interfacing:
- Use the highest heat setting on your iron without steam.
- Press the fabric to warm it up before applying the interfacing.
- Insert a sheet of teflon between the iron and interfacing to avoid getting glue on your iron and ironing board.
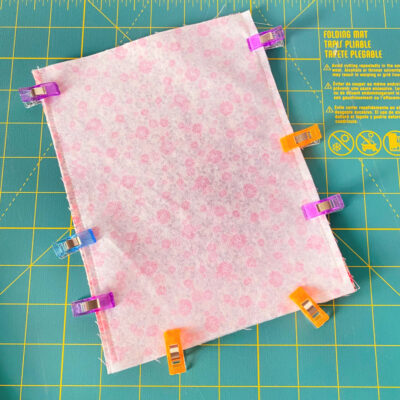
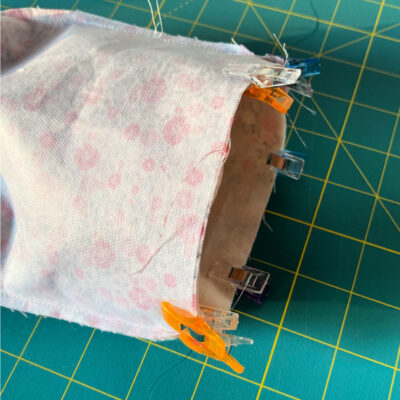
3. Place the right sides together of natural cotton and sew the two long sides and the one short side using a 1/4″ seam allowance. Repeat this process with the cotton print.
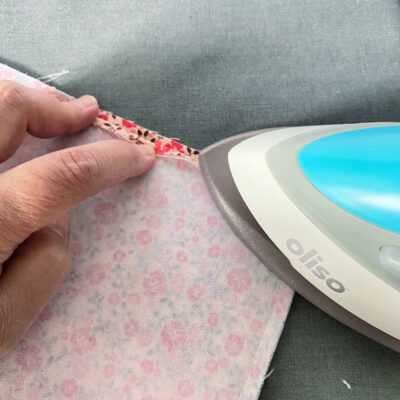
4. Press the seams open on all 3 sides of each the lining and the nautral cotton.
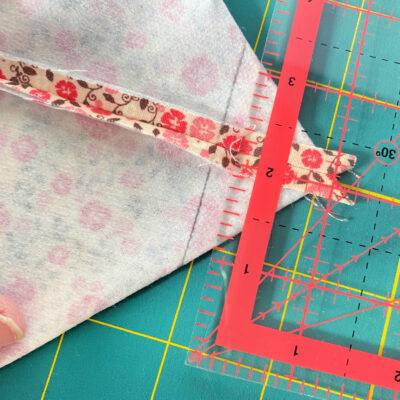
5. Pinch the lower corners, meaure a line about 1- 1.25″ from the point. Draw a line and stitch over this line. Repeat for the other corner to create the base of the Little Bin. Repeat the process for the natural cotton unit.
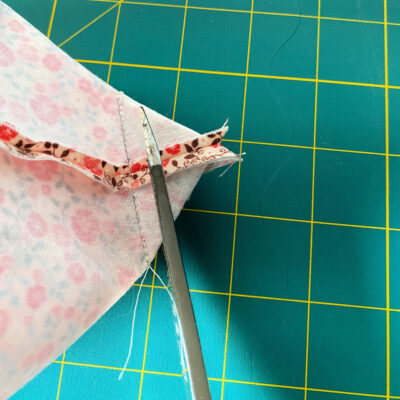
6. Trim the corner to leave a 1/4″ seam allowance.
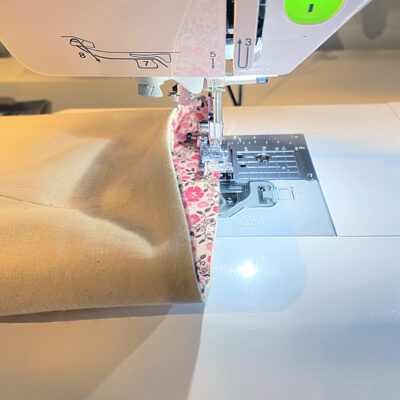
7. Insert the natural cotton bin into the cotton print bin with right sides together and matching up the side seams. Stitch around the top edge using a 1/4″ seam allowance. Leave a 3″ opening to be able to turn your work right side out.
8. Press the top edge. and top stitch the top edge of the bin 1/8″ away from the edge.
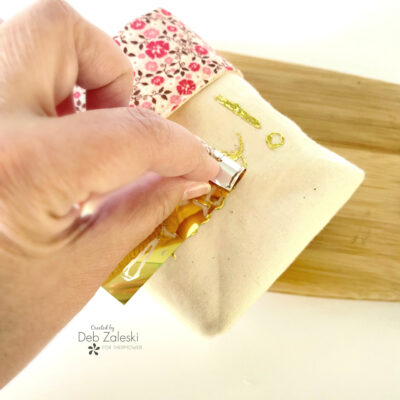
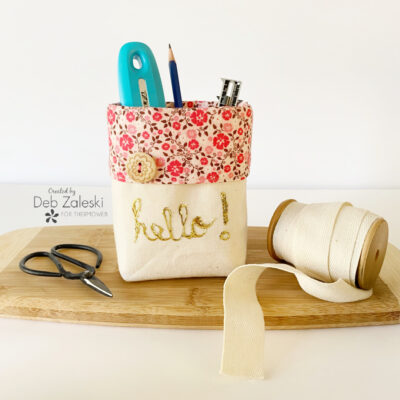
9. Fold down the top edge of the bin to reveal the cotton print. Add buttons or other embellishments. I added a little Deco Foil embellishment. I used the liquid adhesive to free-hand the word “hello!”
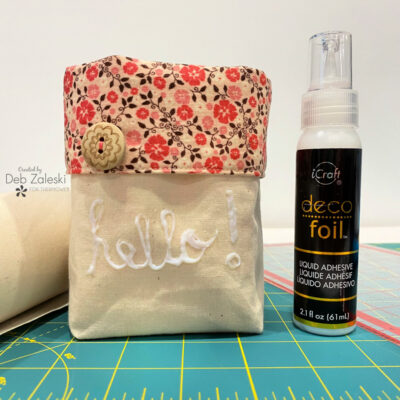
10. I waited for the adhesive to dry and pressed the gold transfer sheet into place.
This was my first time using Deo Foil and I’m now completely obsessed. I keep thinking of all the other ways I can use it in all the other projects I have going on. I may have to sew up a new LIttle Bin but bigger in size to be able to collect all the other Deco Foil sheet colors.

Thanks for joining me and I hope I’ve inspired you to create your own Little Bins to help you get organized in the different rooms in your home. If you liked this project please let me know by posting a comment. And don’t forget to stop by my Instagram and say HI!