Hi Everyone, It’s Becky from Patchwork Posse. Home of fun sewing projects, quilt alongs, and a lot of chit chat!
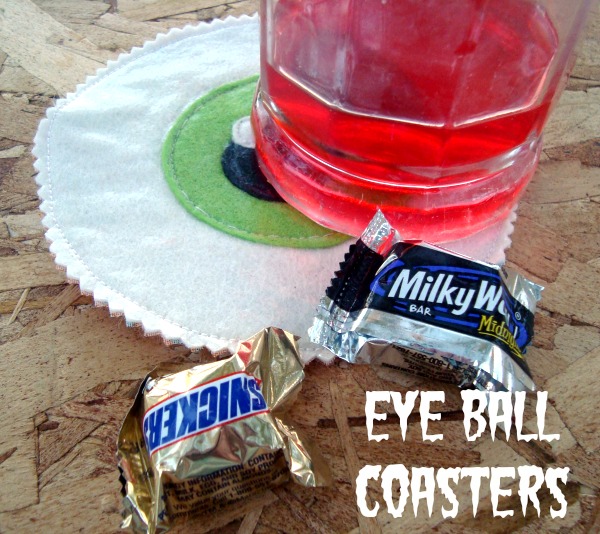
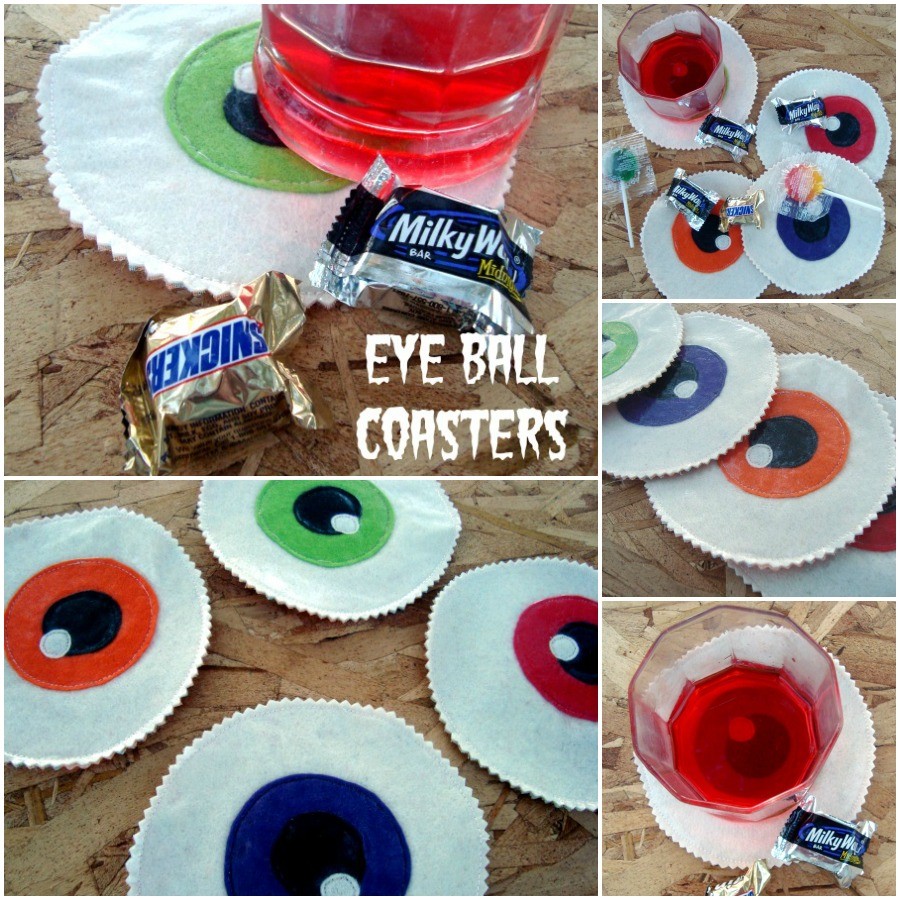
Today I am so excited to share with you some super cute and spooky-eyeball coasters. Using templates you have hanging around your house, these are super quick to sew up and make a great addition to any party.
Liquid Fabric Fuse Halloween Eyeball Coasters Tutorial
Materials Needed:
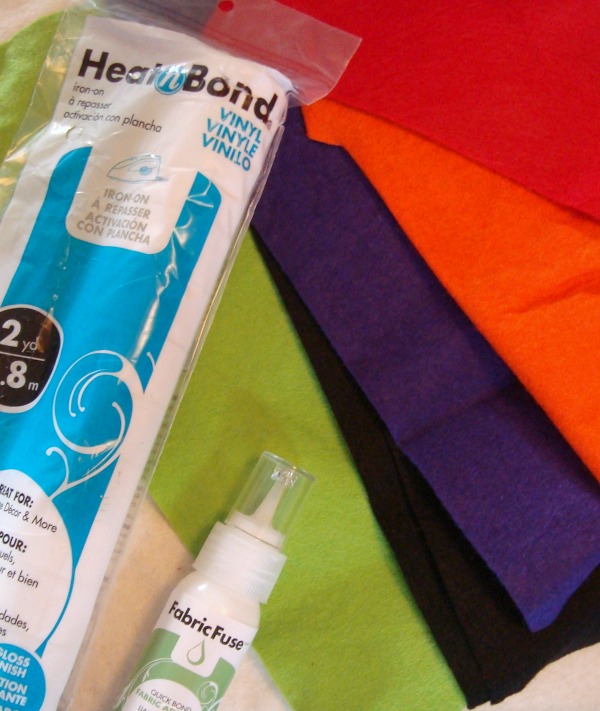
Thermoweb® HeatnBond Iron-On Vinyl
Thermoweb Liquid Fabric Fuse glue
felt – white, black, and the colors of your eyes
fabric or felt for the backing
Halloween Eye Ball Coasters Instructions:
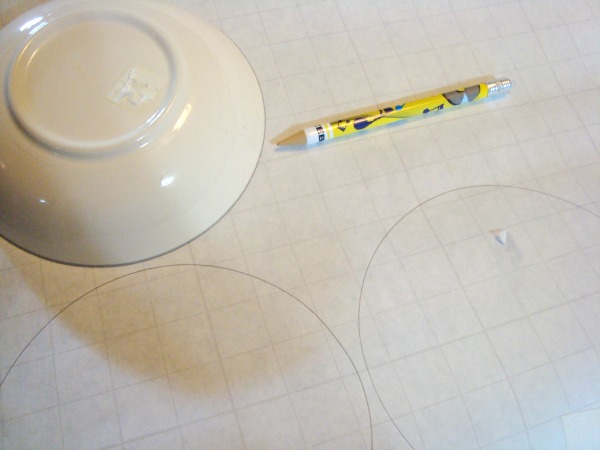
1) Trace one large circle on the white felt. Cut out.
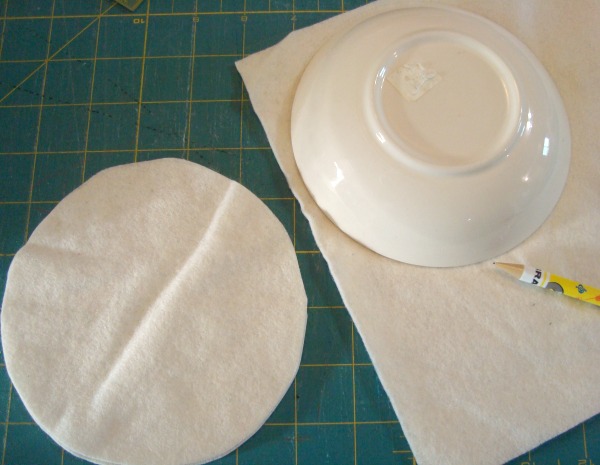
2) Trace one medium circle on the colored felt- these are the eye centers. Cut out
3) Trace one small circle on the black felt and cut out
4) Cut out one small white circle for the eye highlight
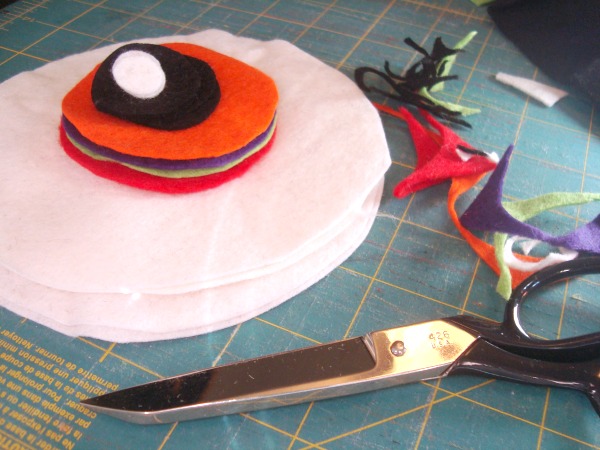
5) Place color circle on the white background circle. Use the Liquid Fabric Fuse glue to secure in place
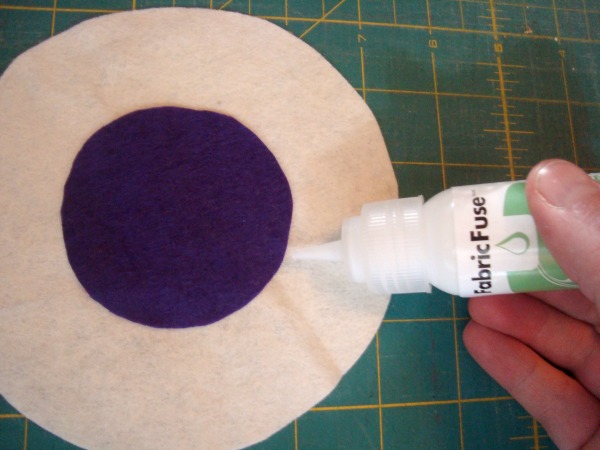
6) Sew around the outside of the color circle
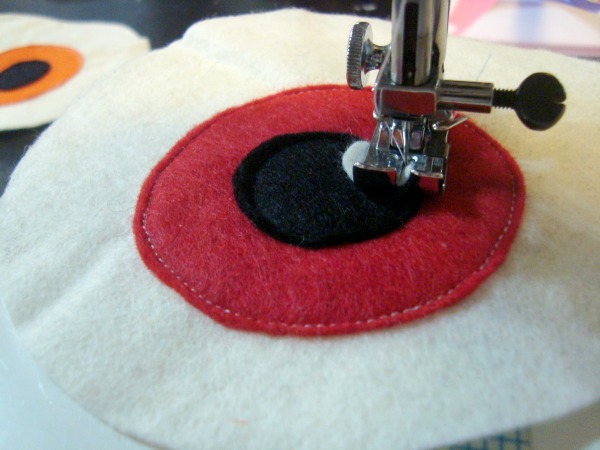
7) Repeat with the black circle and then the small white circle- sewing after gluing in place each of them
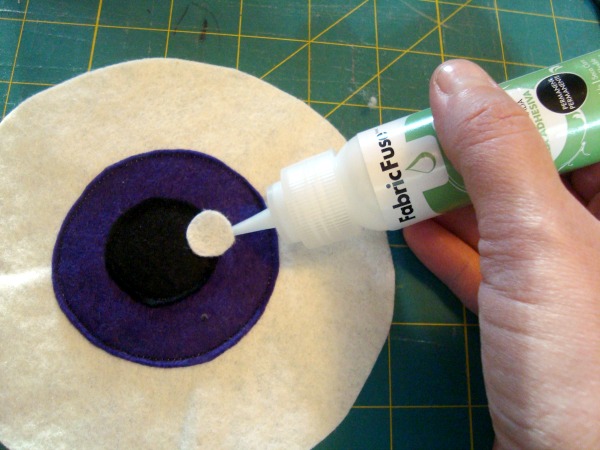
8) Using the instructions with the vinyl– trace the large white circle template on the paper side of the vinyl- cut out
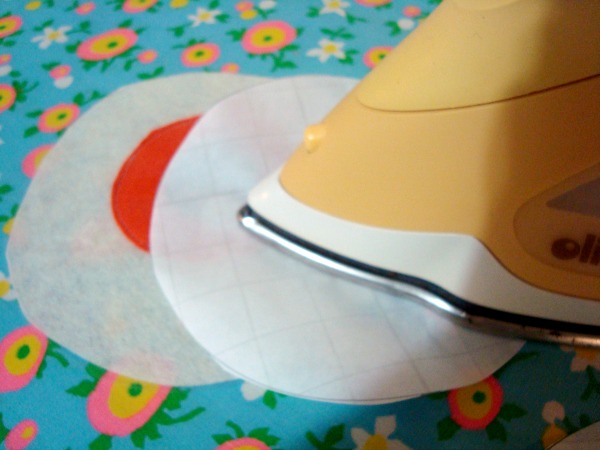
9) Place the vinyl on top of the eye and iron–again, follow the instructions on the packaging
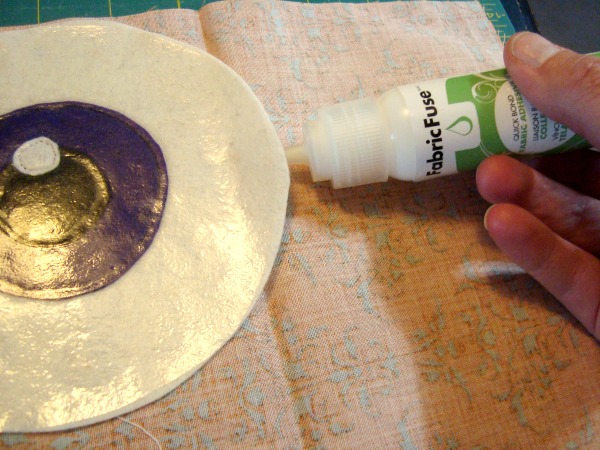
10) Place the laminated eyeball on top of the backing fabric or felt- wrong sides facing, use fabric fuse to secure the placement
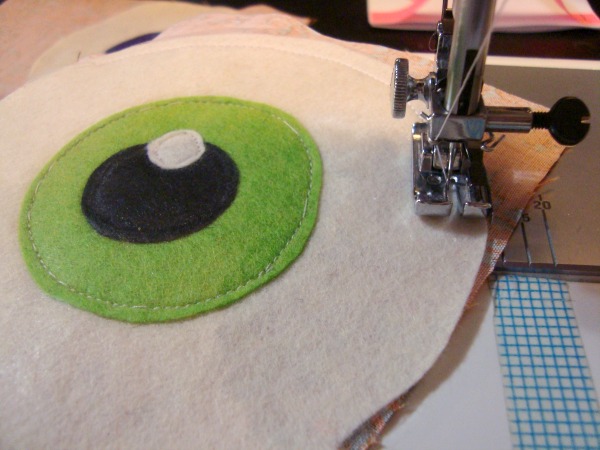
11) Sew around the outside edge
12) Trim the outside with pinking shears and enjoy!
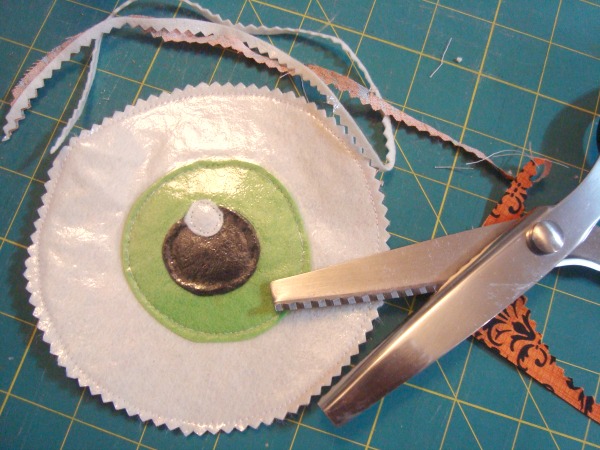
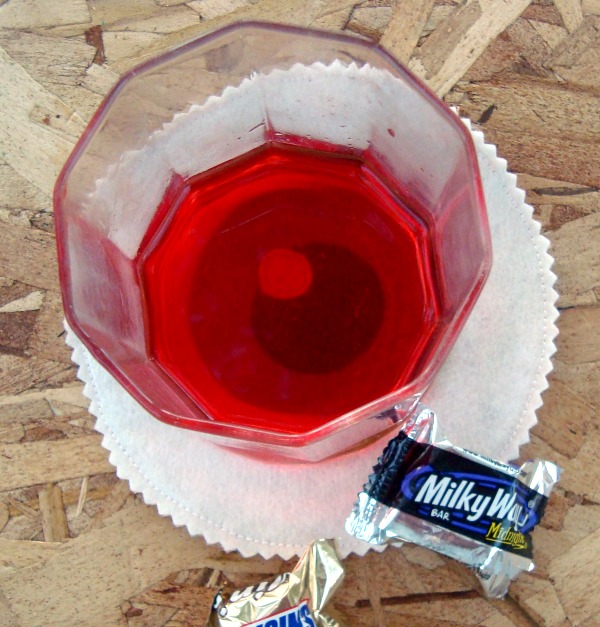
Check out the close-up of the eyeball staring at you from the bottom of the cup—- spooky……
For more quilt tutorials and easy sewing projects, stop by my blog or facebook.
– Becky
3 Comments on Liquid Fabric Fuse Halloween Eyeball Coasters Tutorial
2Pingbacks & Trackbacks on Liquid Fabric Fuse Halloween Eyeball Coasters Tutorial
-
[…] You’ll find the full tutorial here– Eye Ball Coasters Tutorial […]
-
[…] […]

Linda @ Sewing Shop
October 20, 2015 at 4:02 am (10 years ago)These coasters are really cool and they would be great for a Halloween party! Thanks for sharing this tutorial!