 Hey friends! Gail here from Sunflower Seams Pattern Co. Today I’m sharing another fun project using your kid’s artwork. This time, with a super cute treat bag!
Trick or Treat Halloween Bag
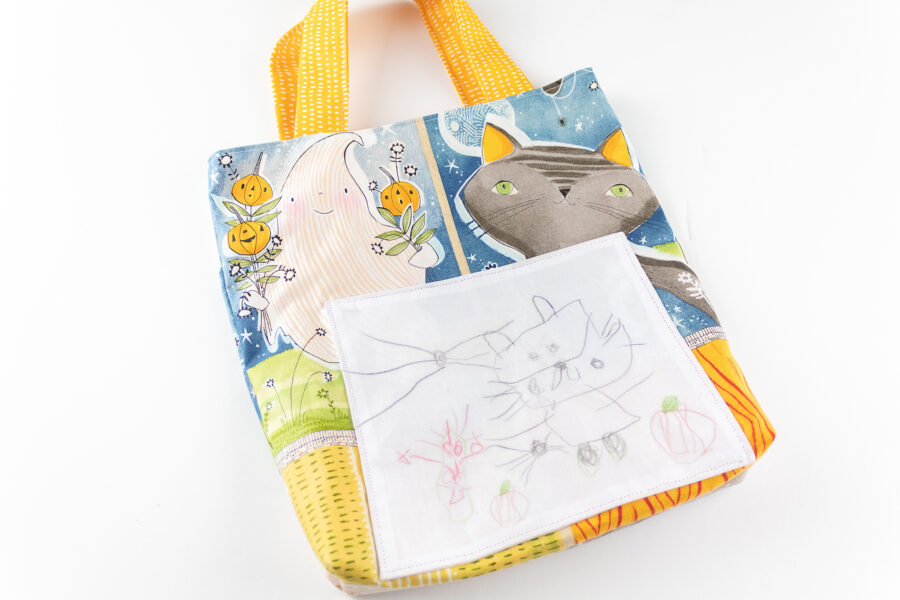
 I received this adorable fabric from the Spirit of Halloween collection by Cori Dantini for Free Spirit and I am just in LOVE with the panels! I knew they would make the sweetest bag and my daughter loved the fun characters. So much so, that she decided to recreate Cori’s kitty (as well as a 4-year-old can) and add her own spooky elements.
Supplies
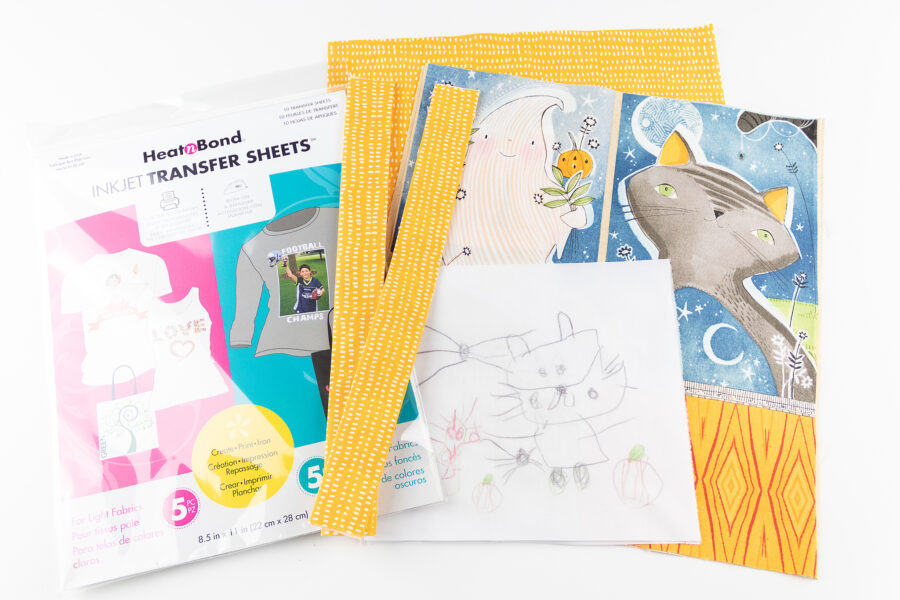
- HeatnBond Inkjet Transfer Sheets
- A fat quarter of fabric for the main (outside) and a fat quarter of fabric for the lining (inside)
- Iron
- Thread to match
Cutting Instructions
- (2) 12″ x 10″ Main Fabric
- (2) 12″ x 10″ Lining Fabric
- (2) 5″ x 12″ Straps
- (2) 6″ x 7″ Front Pocket
Sewing Instructions
This tutorial uses a 3/8″ (1cm) seam allowance
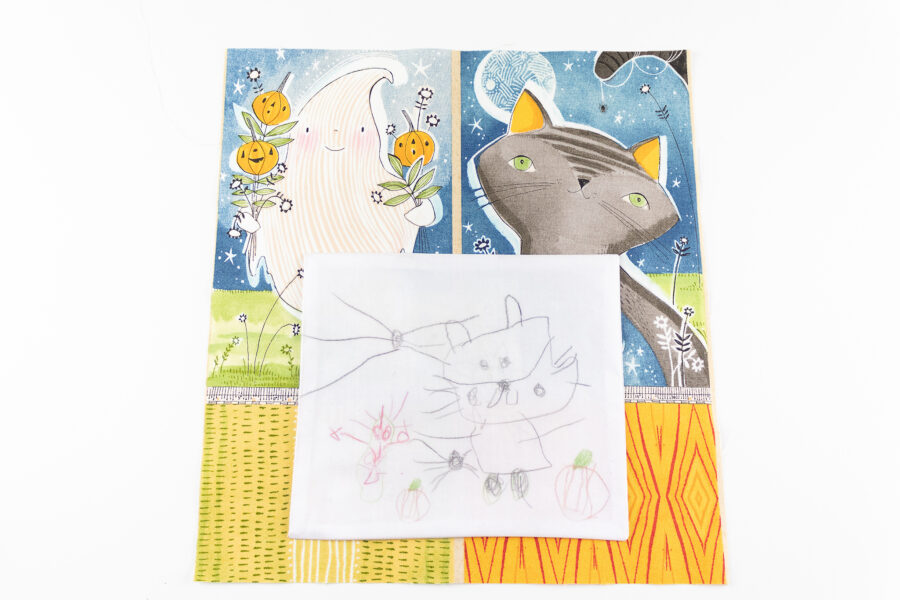
- Using the manufacturer’s instructions, transfer the image of your child’s drawing onto the main pocket piece.
- Place the two pocket pieces on right sides together and sew along all 4 edges, be sure to leave a 1.5-2″ opening so that you can turn the pocket right side out. Turn right side out and press well. Topstitch along the top edge of the pocket only.
- Measure 2.5″ up from the bottom of the front main and center the pocket. Pin in place. (Note: I placed my pocket 1″ from the bottom so that I didn’t hide the cute characters on the panels I used)
- Sew around the two sides and the bottom edge, leaving the top open to create the pocket.
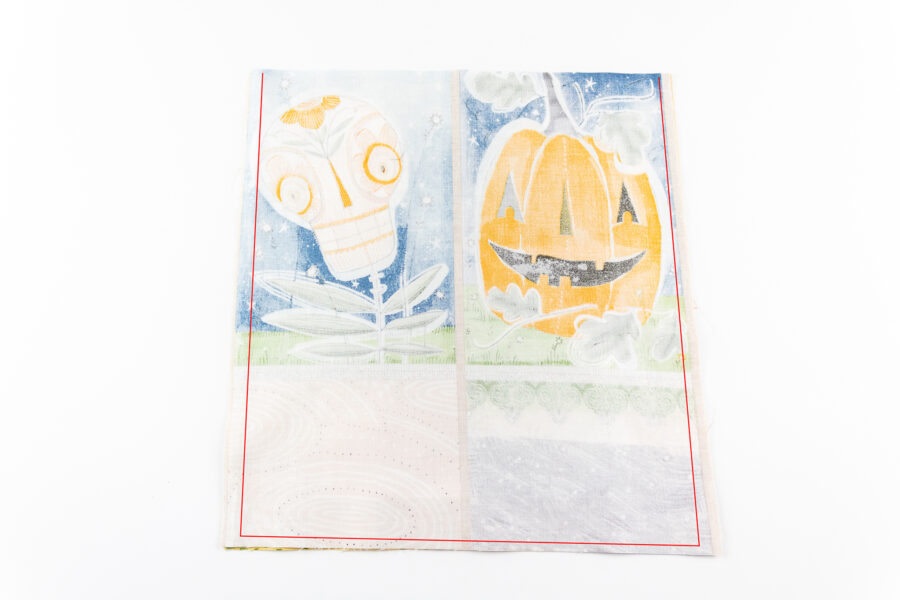
- Pin the main fabric pieces right sides together and sew along the two sides and the bottom. Repeat this process with the lining pieces, however, leave a 2″ opening along the center of the bottom edge. We will use this opening for turning our bag right side out later.
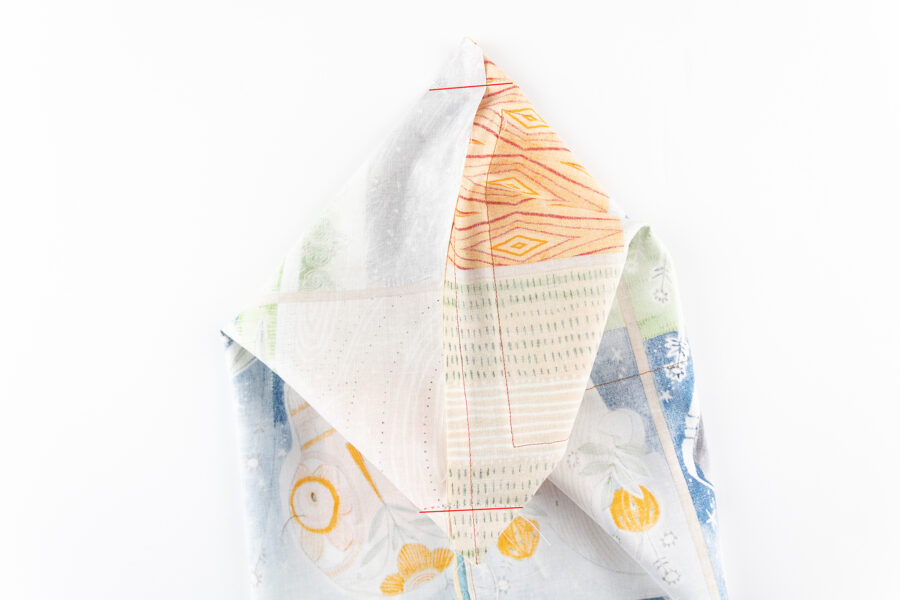
- Make box corners by pressing the corner into a flat triangle. Measure 1″ in from the corner and sew. Repeat this process for the remaining corners on the main and lining pieces. Trim the excess fabric.
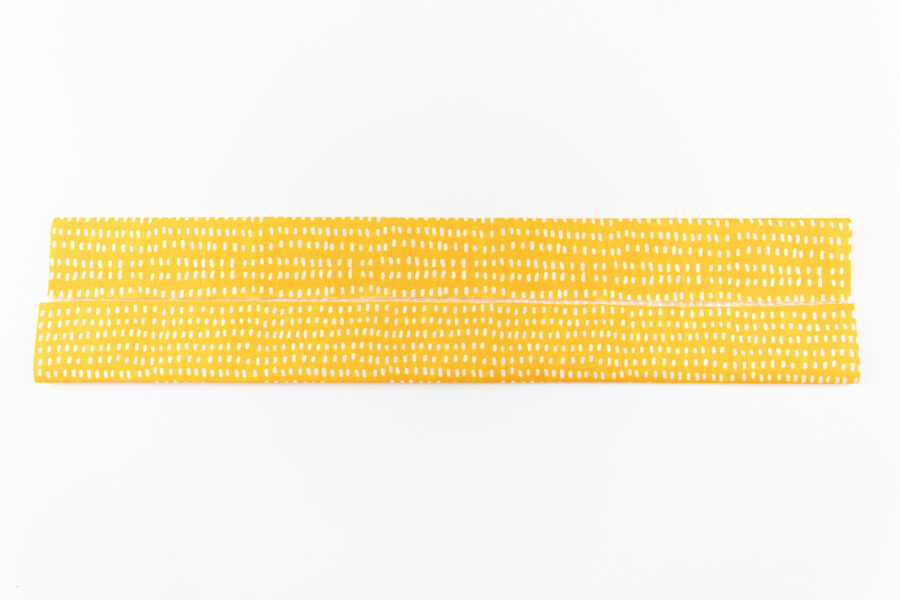
- Fold the strap pieces in half so the long raw edges are aligned and press. Open up and fold the long raw edges in once more so that they meet in the center along the crease you just created. Press well.
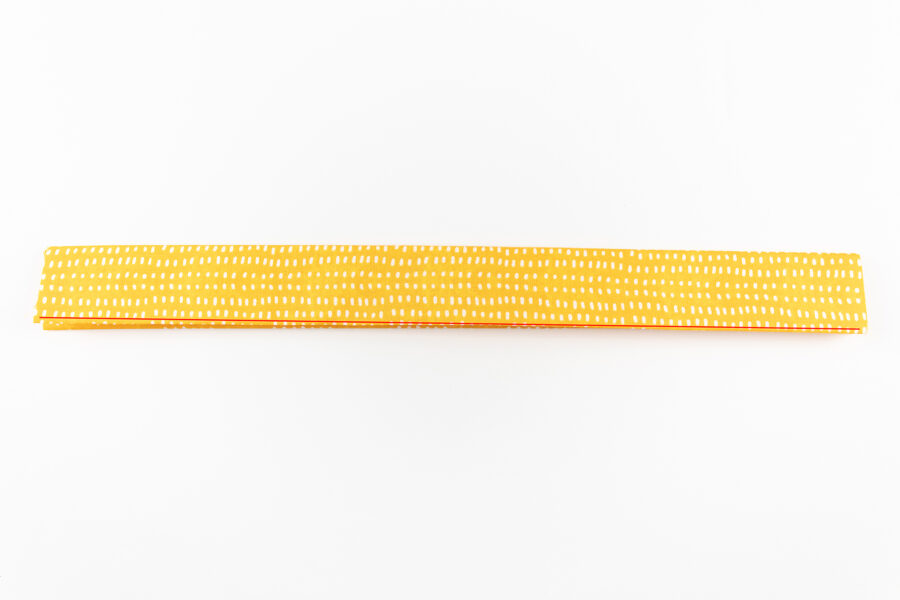
- Fold in half again so the two folded edges are aligned, creating your strap, and sew closed.
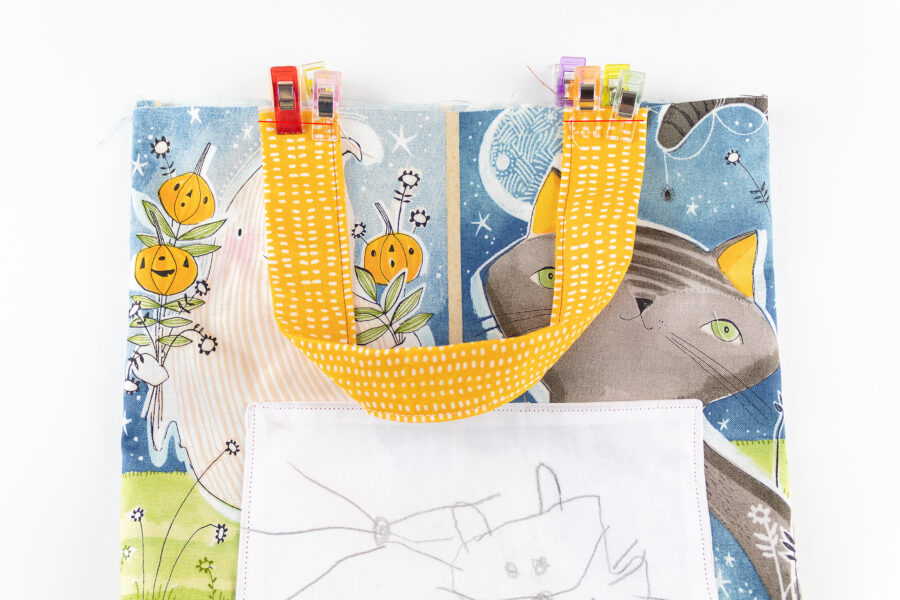
- Measure 1.5″ from the center point of the bag and place the straps. Baste in place. Repeat on the back of the bag.
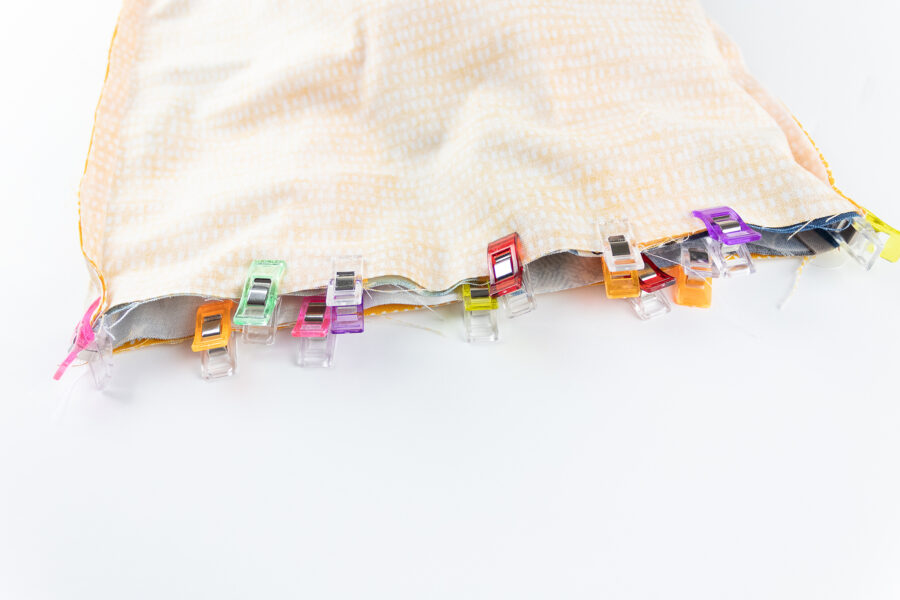
- Turn the lining wrong side out and place the main bag piece inside the lining so that the right sides are touching. Pin along the top raw edge and then sew closed.
- Turn the bag right side out using the opening you left in the bottom of the lining. Once right side out, sew the opening closed.
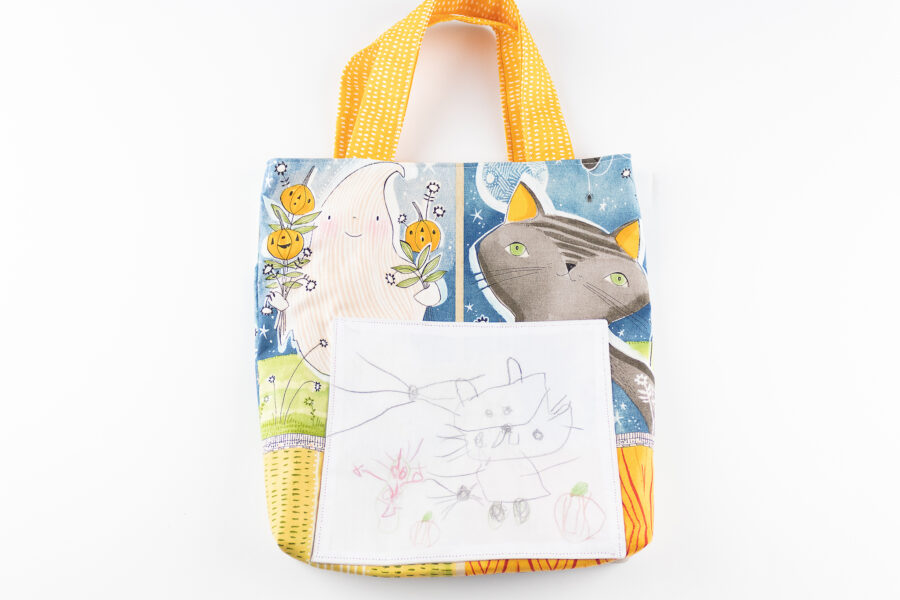
You are done! How fun is this adorable bag?
Happy Sewing!

Sharon Gullikson
October 8, 2021 at 10:17 am (4 years ago)Oh how I love this!