So, I am just going to put it out there….mixed media scares me!! But Rebekah Meier’s Therm O Web line of products makes it easy! This is Katrina from Paper, Scissors and Glue here today to share a canvas made with the new Mixed Media products and a digital scrapbooking kit.
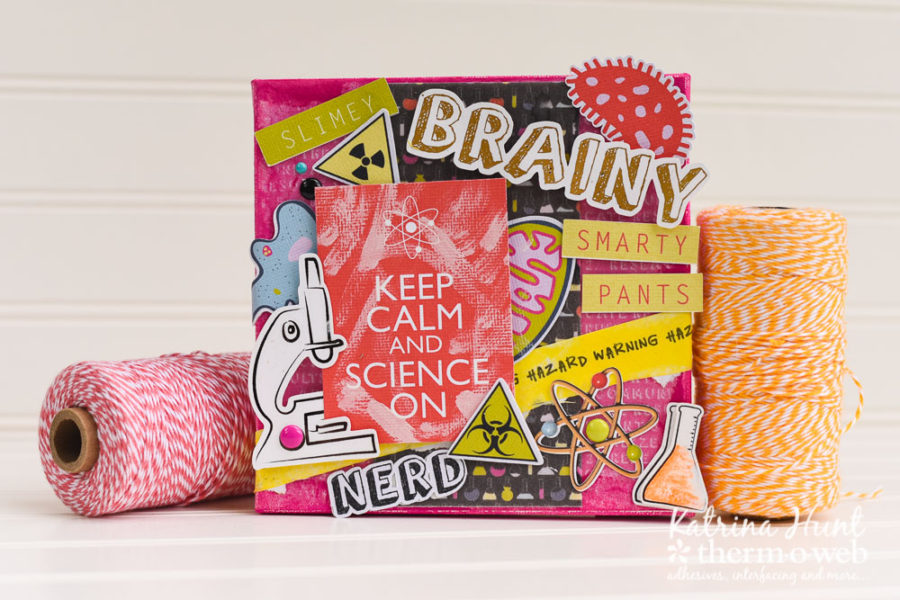
Keep Calm and Science-On Mixed Media with Rebekah Meier
Therm O Web Supplies Used
Rebekah Meier Designs Transfer Foil-Old Gold
Rebekah Meier Designs Transfer Foil-Patina
Rebekah Meier Designs Mixed Media Medium
Rebekah Meier Designs Mixed Media Art Paper
Rebekah Meier Designs Mixed Media Art Tape
Rebekah Meier Designs Mixed Media Foam Sheets
Other Supplies: Digital Scrapbooking Kit by Amber LaBau (Science Chic); Laser Printer, Inkjet Printer, Cardstock, Silhouette Cameo using Print and Cut, Canvas, Enamel Dot-Simple Stories, Paint-Dylusions and Martha Stewart, Gesso-Liquitex
Keep Calm and Science-On Instructions:
Turn laminator and let heat for at least 20 minutes if you are going to use foil for anything.
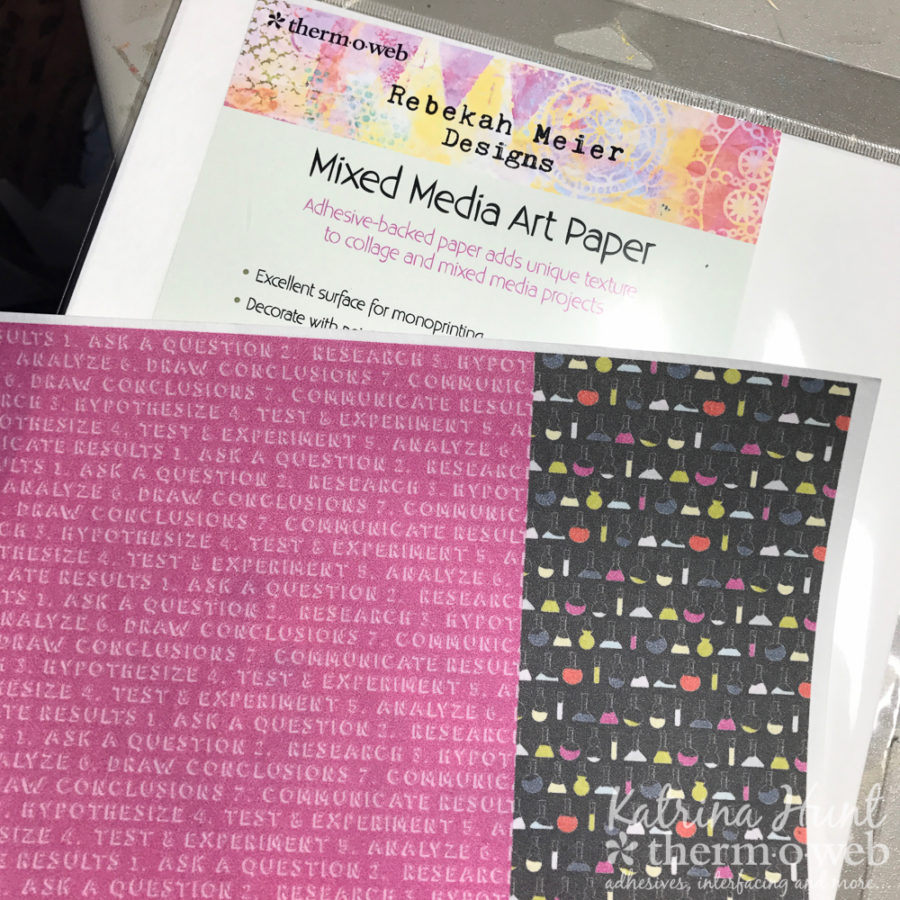
Find a digital kit that you would like to work with.(there are endless options online and also through Pinterest!) Cut the Mixed Media Art Paper down to fit in your printer. (Or use a wide format printer.) Print out your papers that you want to use and attach them with the adhesive back to the canvas
TIP: Paper saving note…print only the size you need and then put multiple papers on one page. Paint around edges of canvas for a fun look.TooltipText
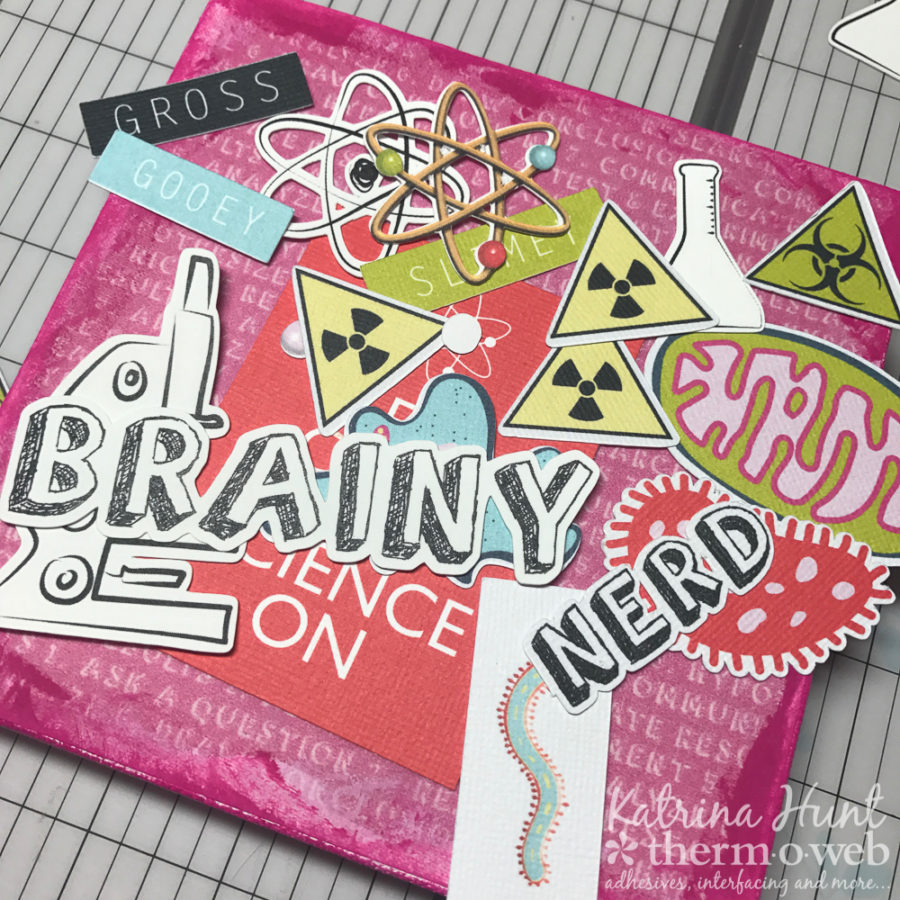
I used the print and cut feature for my Silhouette Cameo to get digital elements that were included with the kit I had picked out to use. You could also just print these out of Word and hand cut if you don’t have a die cutting machine that can do this. Here I have all the goodies I picked out ready to work with. Most of these I printed on an inkjet printer, but a few I used my laser printer so that I could foil them.
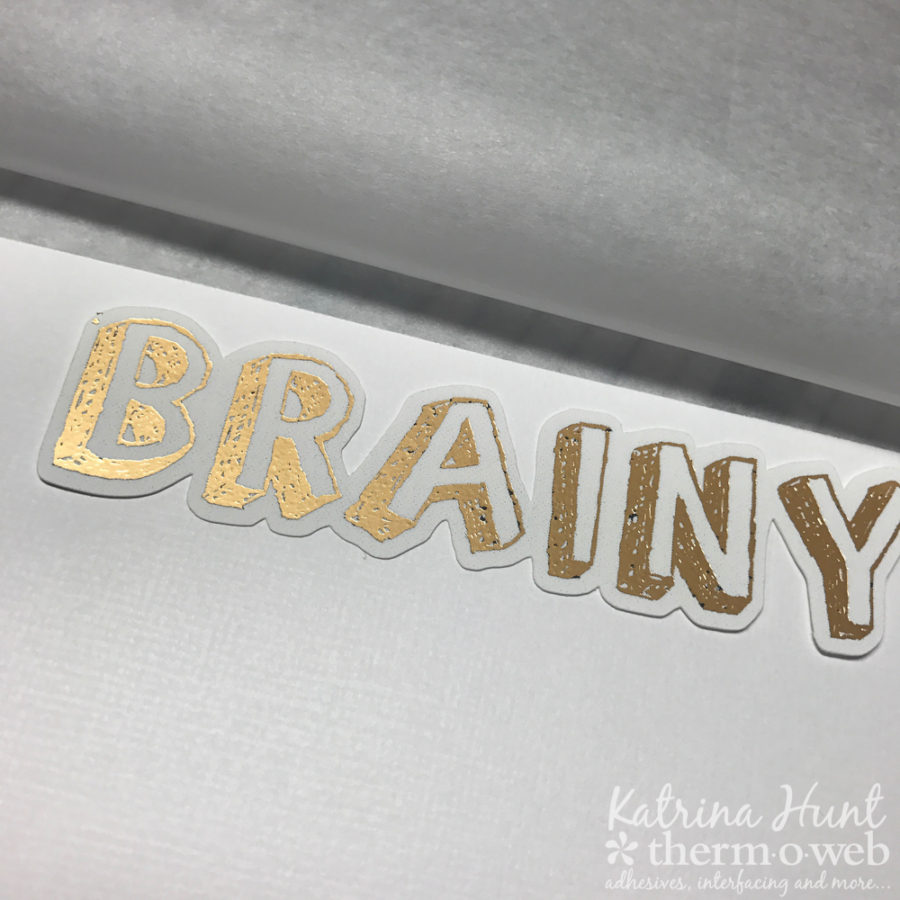
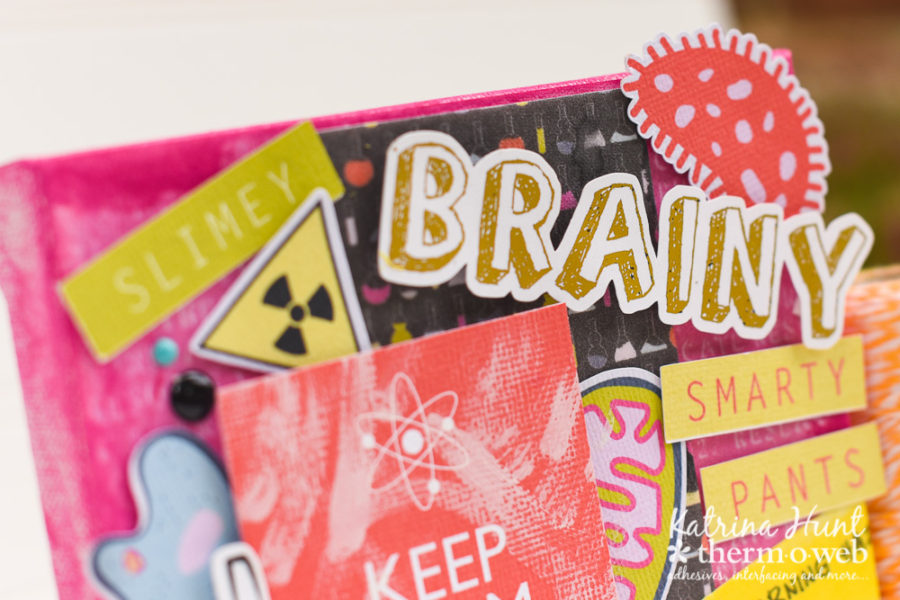
Next, if you have items to foil go ahead and do that step. The word “brainy” and then the microscope were my choices for this project to foil.
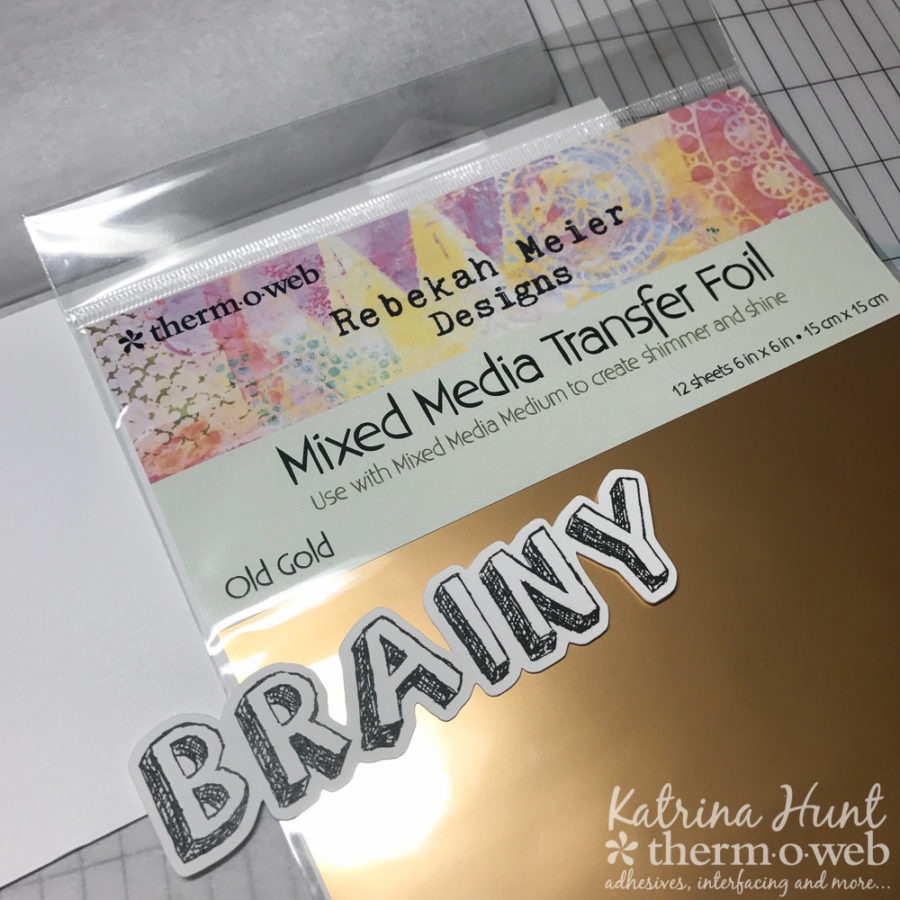
Let the magic happen!
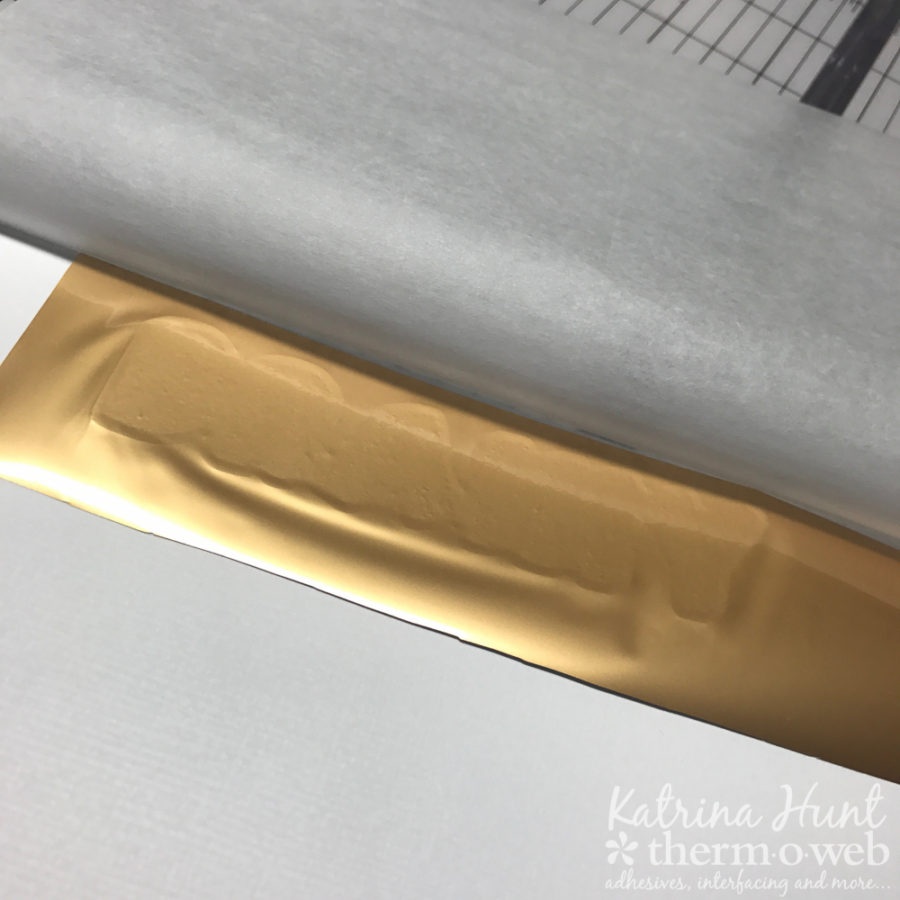
As you can tell above, the word was “sketched” on the black parts. This gives the foil a sketched look, which is pretty cool in my opinion!
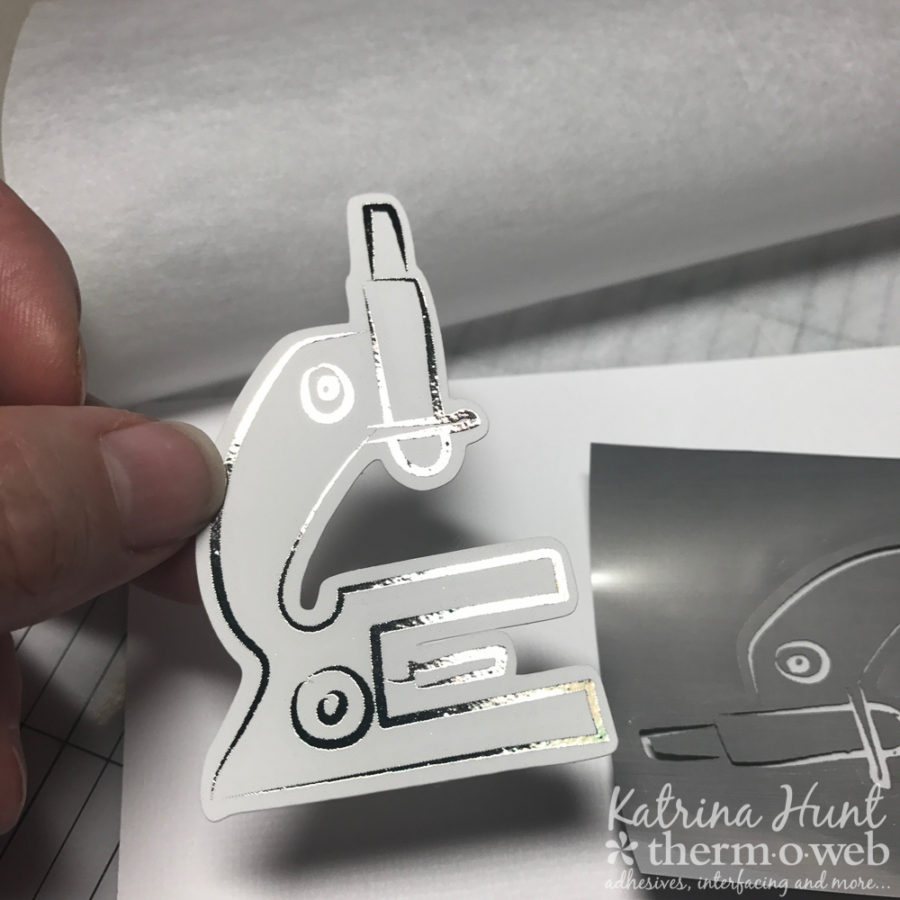
For the microscope I used the Patina color and it is a little hard to see, but it turned out so pretty, below I did a close up in good light so that you can see it just did the outline that was printed.
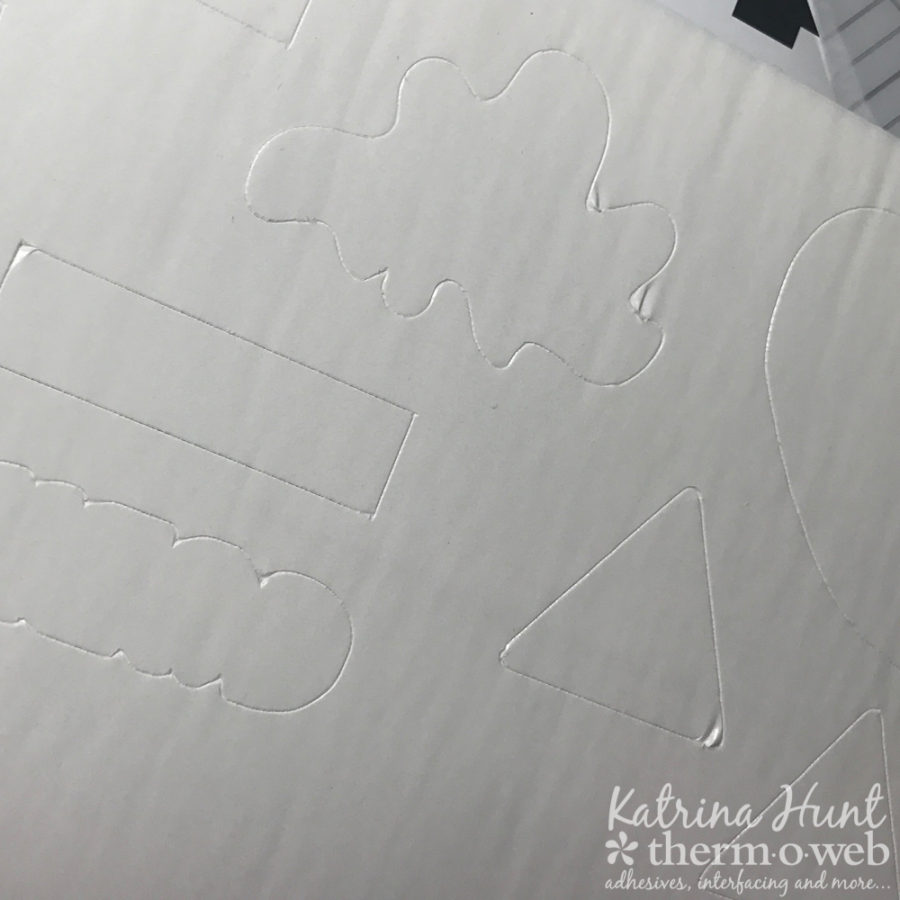
For a lot of my pieces, I cut the Mixed Media Foam Adhesive with my Silhouette, just using the same print and cut file I had created, only just cutting not printing! Use the following setting for cutting the foam: Stamp Setting, Blade Depth 10, Blade Speed 1, Double Cut, Thickness 18, Line Segment Overcut On (.1 for start and end). Make sure to put the shiny side up. Then just cut!
Stamp Setting, Blade Depth 10, Blade Speed 1, Double Cut, Thickness 18, Line Segment Overcut On (.1 for start and end). Make sure to put the shiny side up. Then just cut!
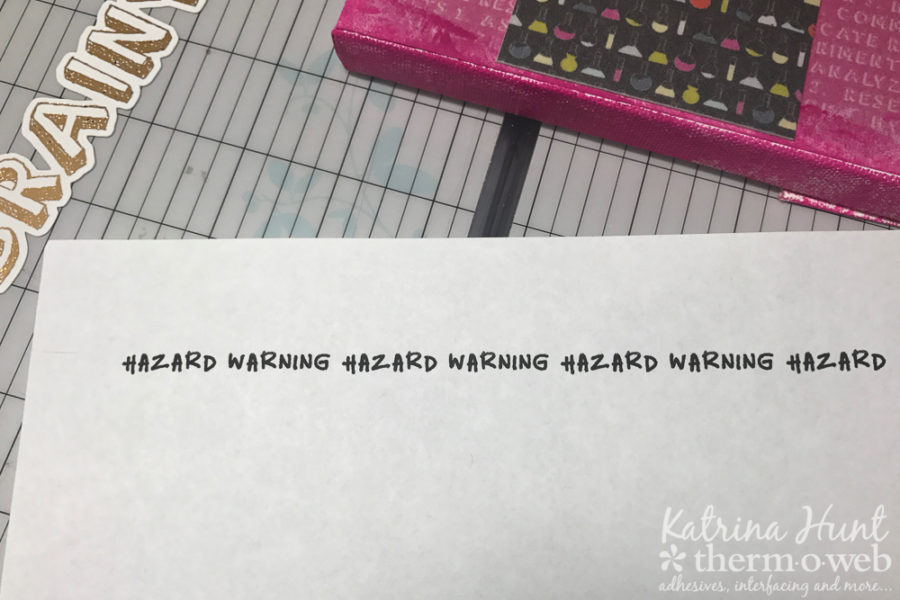
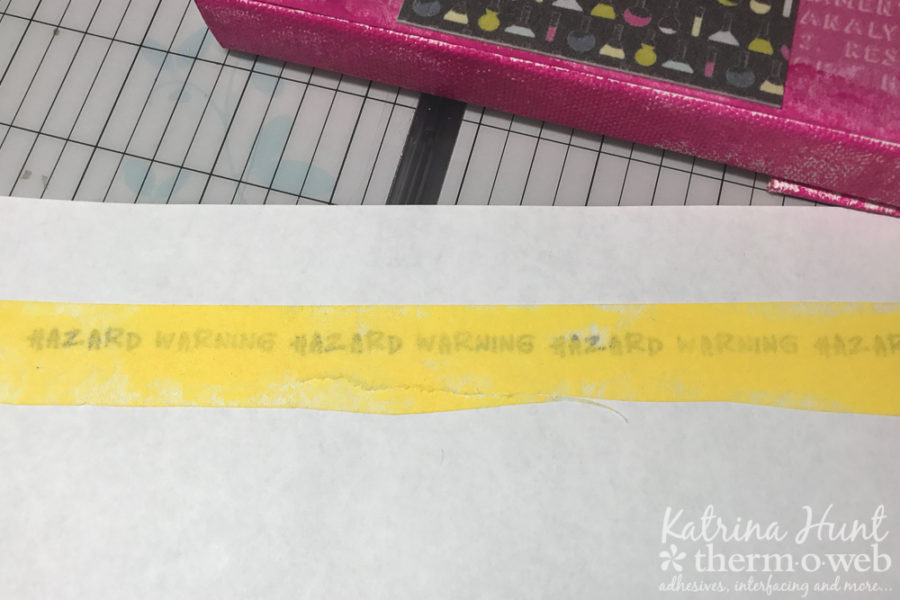
I had some fun experimenting with the Rebekah Meier Art Paper Tape! I first painted a strip of the tape with yellow acrylic paint and let dry. Then, printed my “hazard warning” out of my inkjet printer on just regular paper. Adhere the paper tape right down on the saying, so I knew where my printer would print and ran that right back thru my printer. Viola! Fun tape strip to add to my canvas.
How cute does that look? I have all kinds of ideas of running this paper tape thru my printer now!
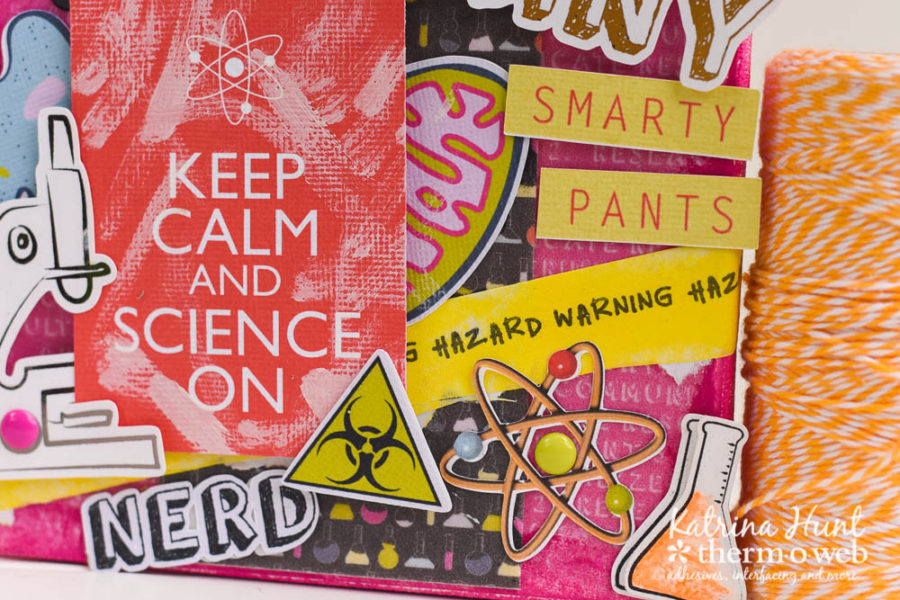
So, if I can give you one tip to get over your fear of mixed media creations, just go for it! You can put your own spin on things and still create in your same style like I did here. I like bright and fun, so I stuck to that for my project! So just get some stuff and play!
