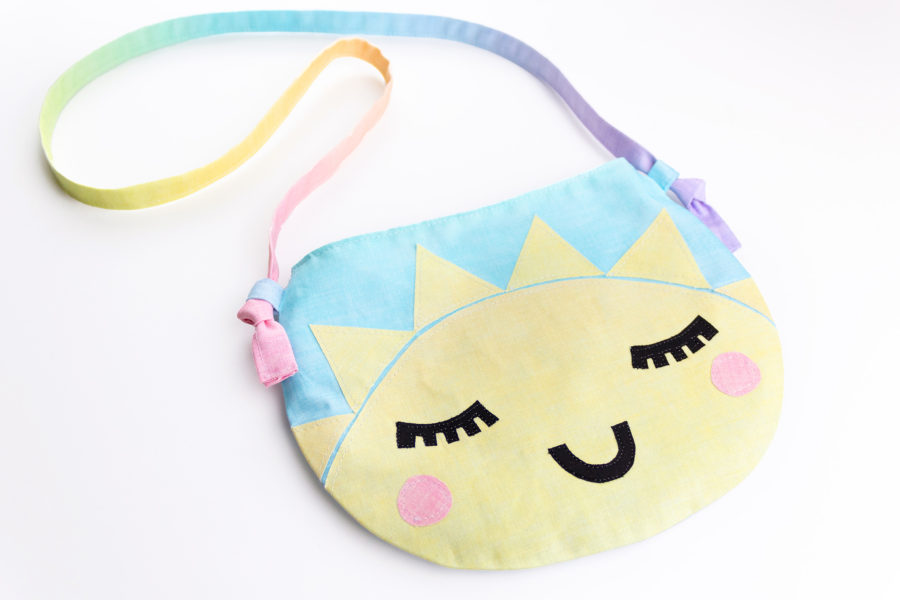
Hello there! Gail here, from Boo and Lu Designs and The Simple Life Pattern Company. I am so excited to share a tutorial with you today for creating this adorable Kawaii Happy Sun Purse.
This is the perfect purse for any of the little ladies in your life. My daughters (3 and 6) carry theirs with them everywhere they go. Fill it up with empty gift cards, pretend money, and play makeup, and you’ve got the perfect little pretend play set to keep them busy for a while.
Kawaii Happy Sun Purse
Supplies Needed
- Cotton Fabric
- For the strap: Cut one strip of fabric 2.5″ by the full width of the fabric (i.e. selvage to selvage)
- For the strap loops: Cut 2 pieces of fabric 2″x2″
- OPTIONAL: Felt for the sun and face details (You may use cotton fabric or felt)
- Pins or Clips
- HeatnBond Lite (I have the value pack but you only need the single pack for this project)
- Happy Sun Purse Pattern
Happy Sun Purse Sewing Instructions
- Using the Happy Purse Pattern and the measurements above, cut out your straps, strap loops, 2 pieces of the purse main, and 2 pieces of the purse lining.
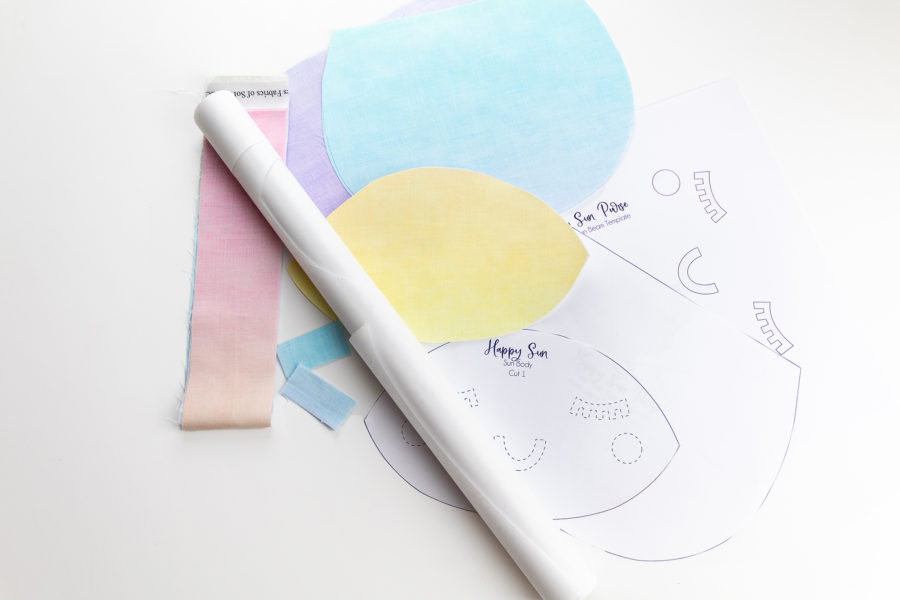
- Using a pen or marker, trace the face and sunbeam template and the sun body pattern piece onto the paper backing side of your HeatnBond.
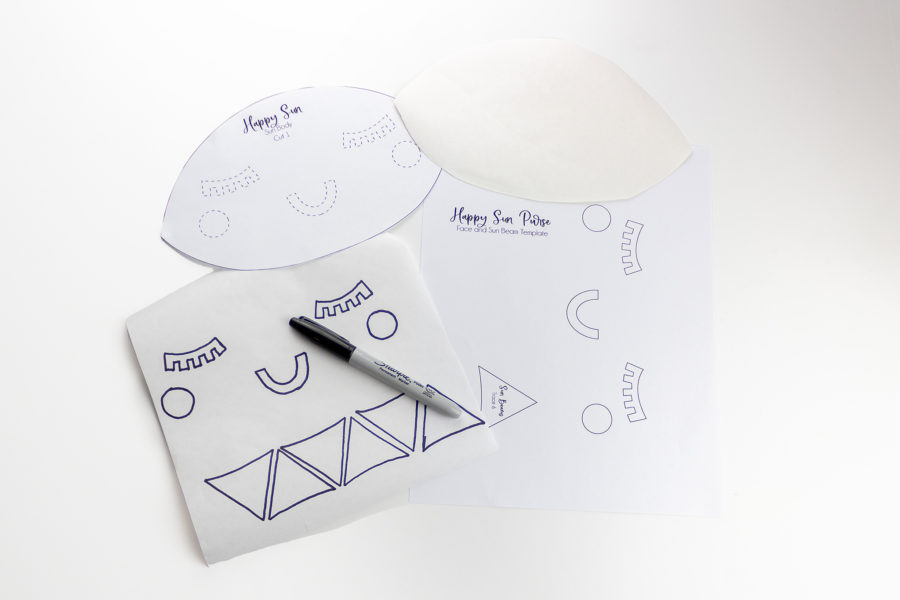
- Using your iron, press your HeatnBond onto the wrong side of your fabric.
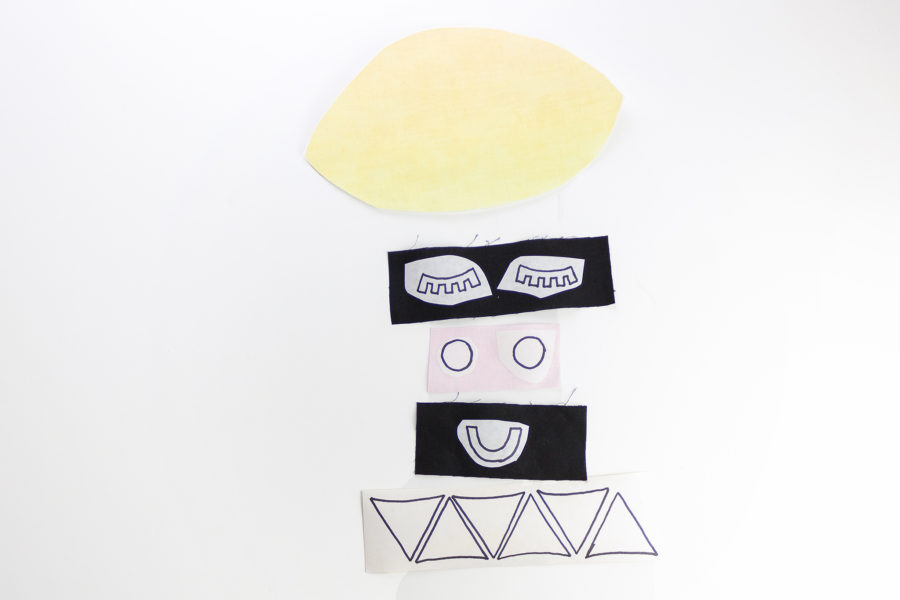
- After your fabric cools, cut around the traced pieces and peel off the paper backing.
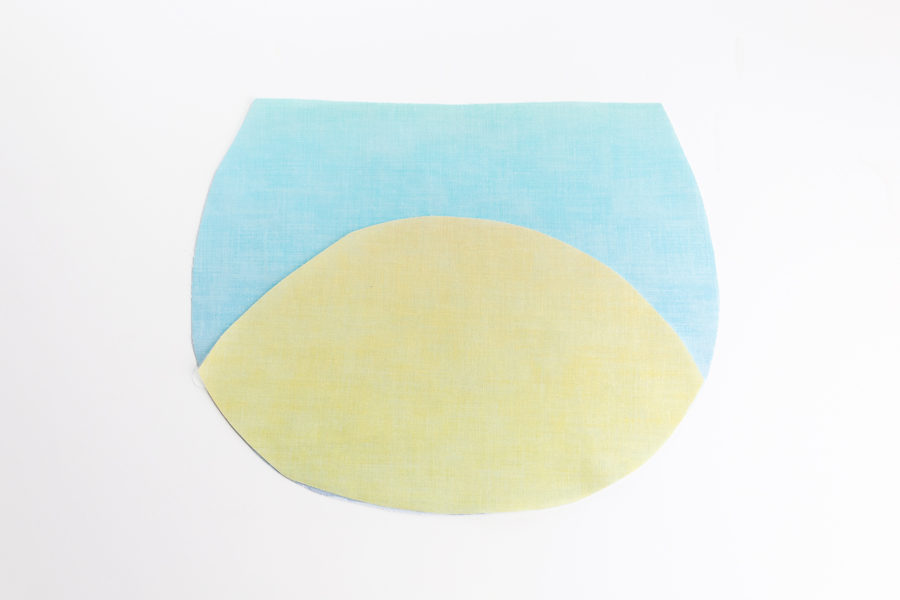
- Place your sun body piece onto one of your purse main pieces so that the adhesive side of the sun body is facing the RIGHT side of the purse main.
- Using your iron, press to adhere your sun body to the purse main.
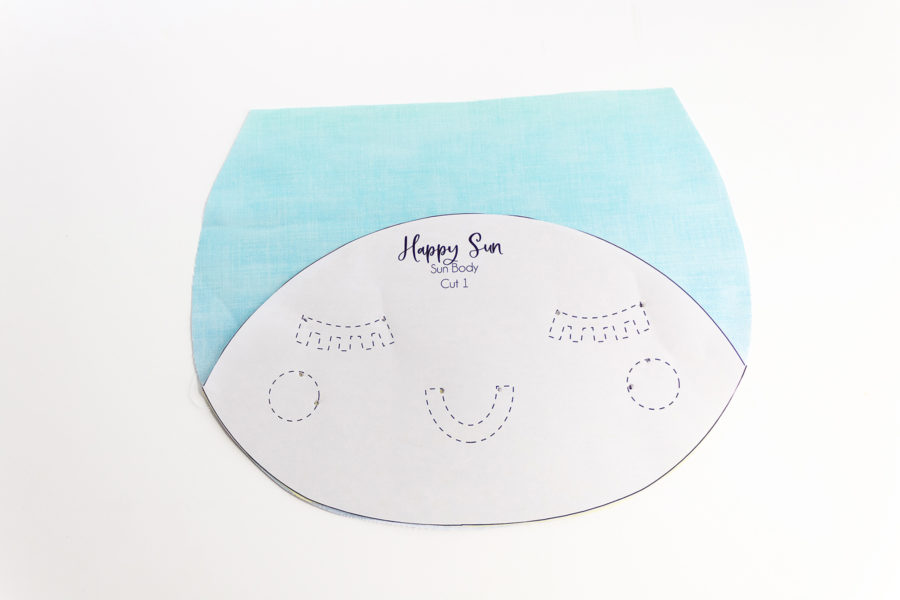
- Place your sun body pattern piece on top of the sun body and transfer the face placement marks onto your fabric.
- Personally, I poke a hole in the pattern piece at the corners and mark a tiny dot with fabric marker onto my fabric.
- Adhere the face pieces onto your sun body using the marks that you made as a guide.
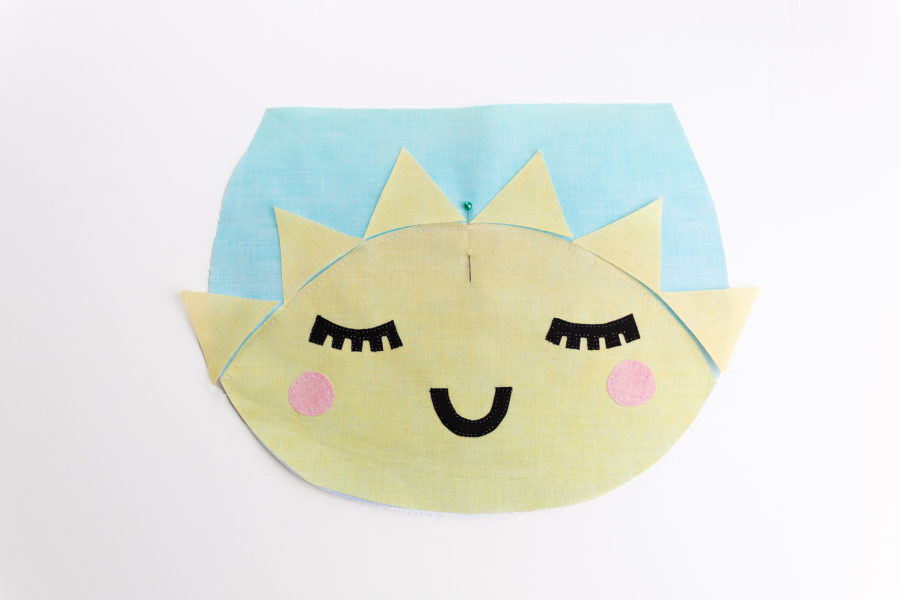
- Find the center of the sun by folding the purse in half and marking with a pin.
- Align two sun beam pieces so that one corner of each piece aligns with the center mark as shown below.
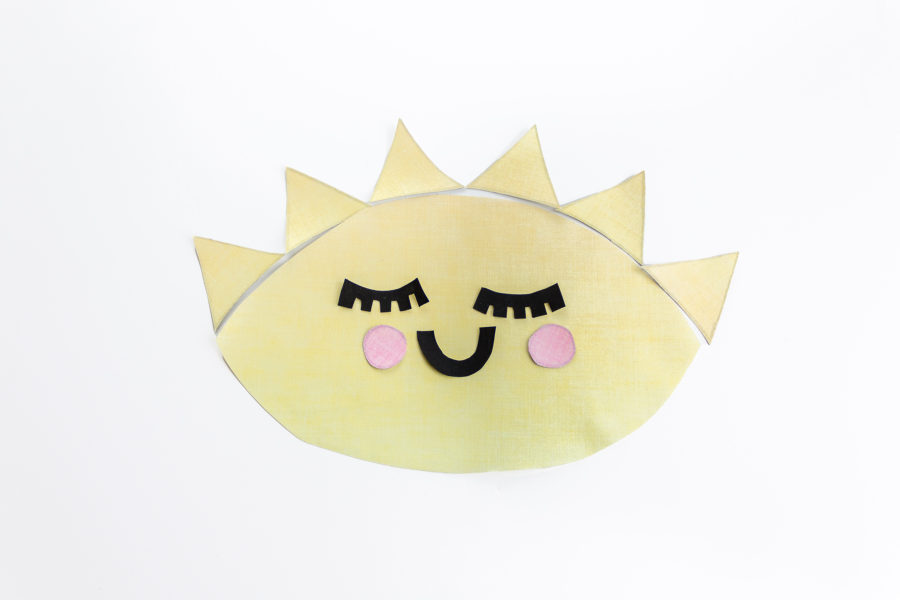
- Place the rest of your sun beam pieces. You will place 6 total. 2 of your sun beams will hang off the edge of the purse. This is okay, we will trim it in the next step.
- Using a rotary cutter or scissors trim the excess off of your sun beam pieces so that they align with the edge of the purse.
- Using your iron, press to adhere all of your sun beam pieces to the purse main.
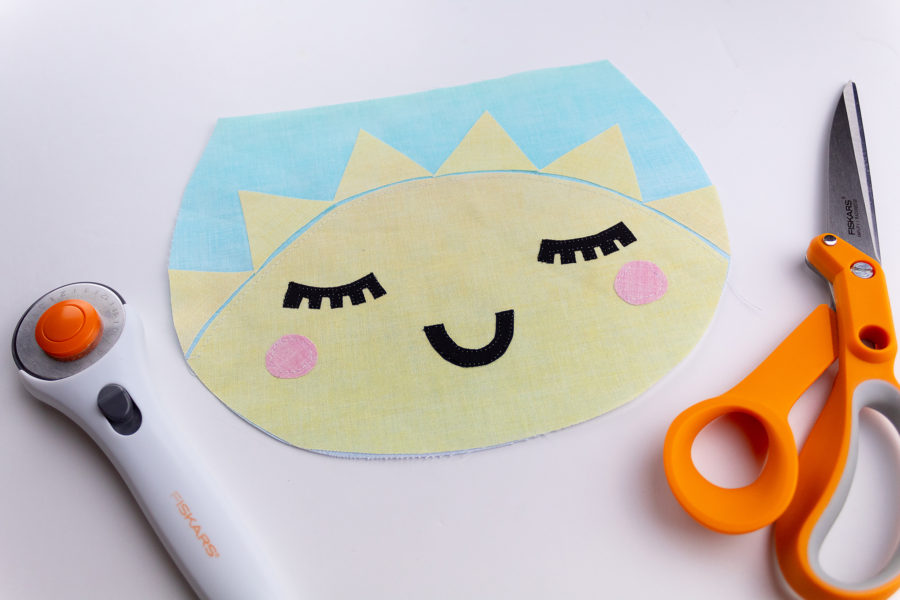
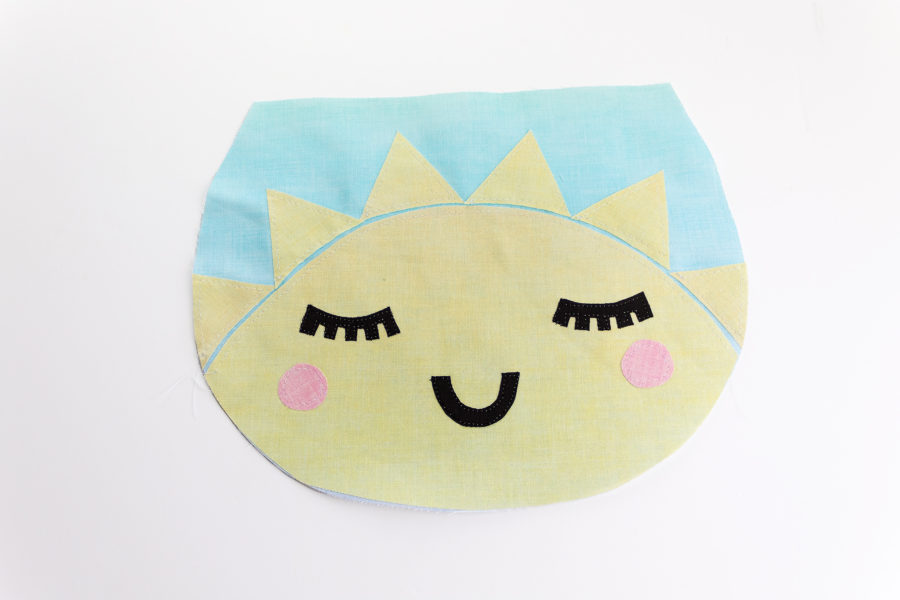
- Carefully top stitch along all of your applique pieces.
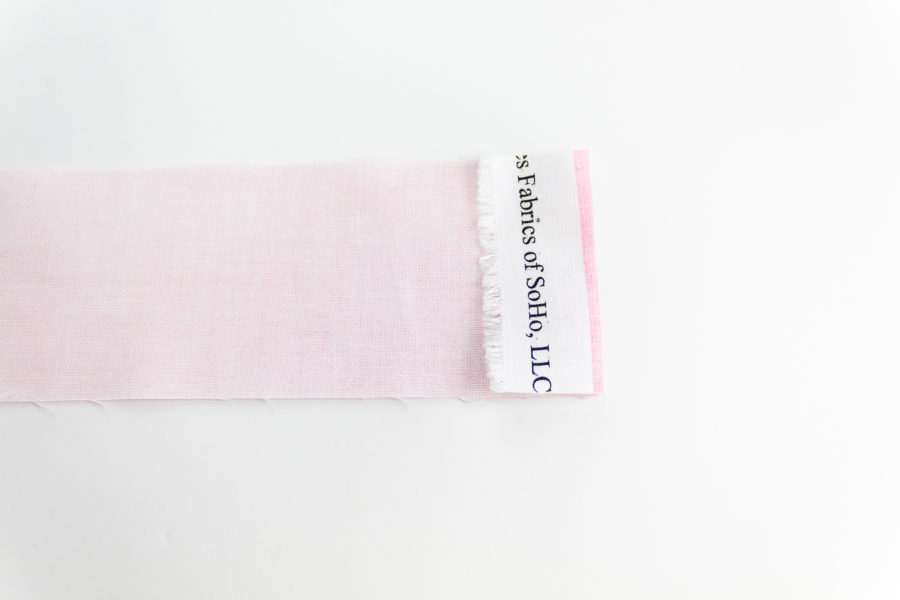
- Fold each selvage end of your strap piece wrong sides together so that the entire selvage will be enclosed in your strap once finished.
- Fold your strap and your strap loop pieces in half wrong sides together and press. (Your strap will be folded so that the long raw edges align).
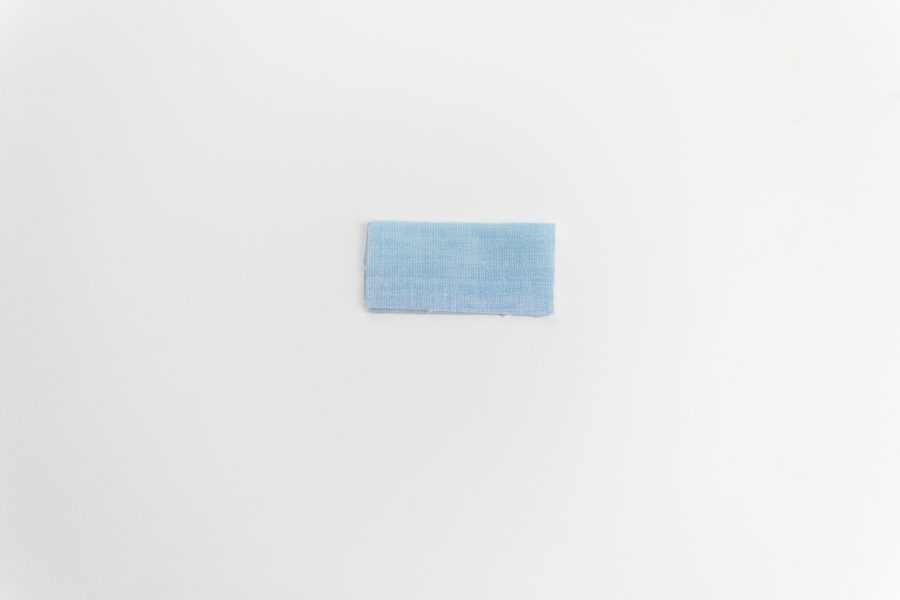
- Open the strap and strap loops back up and fold the raw edges in, wrong sides together, so that they meet in the middle and press.
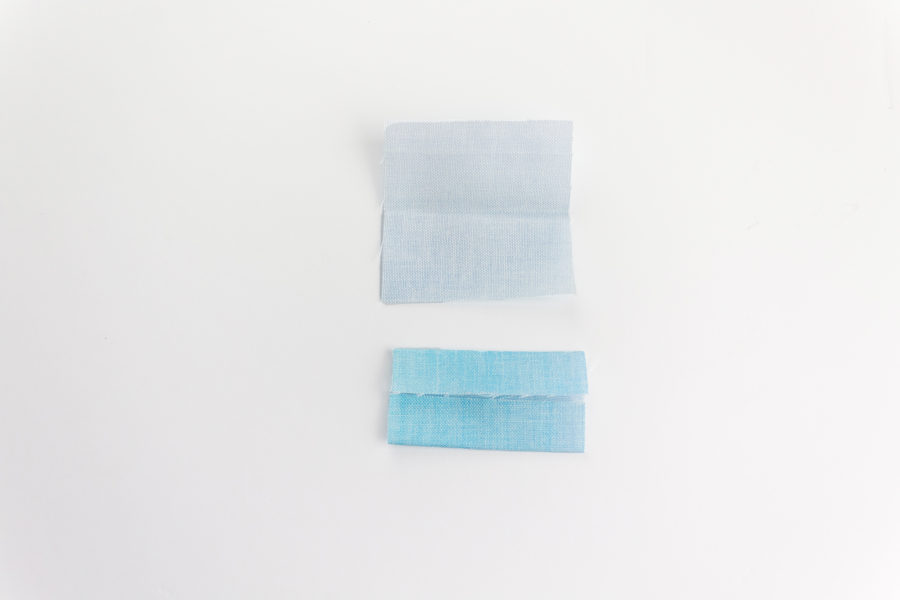
- Fold your strap and strap loops in half again so that the folded edges are aligned and press.
- Sew with a 1/8″ seam allowance.
- Set your strap aside for later.
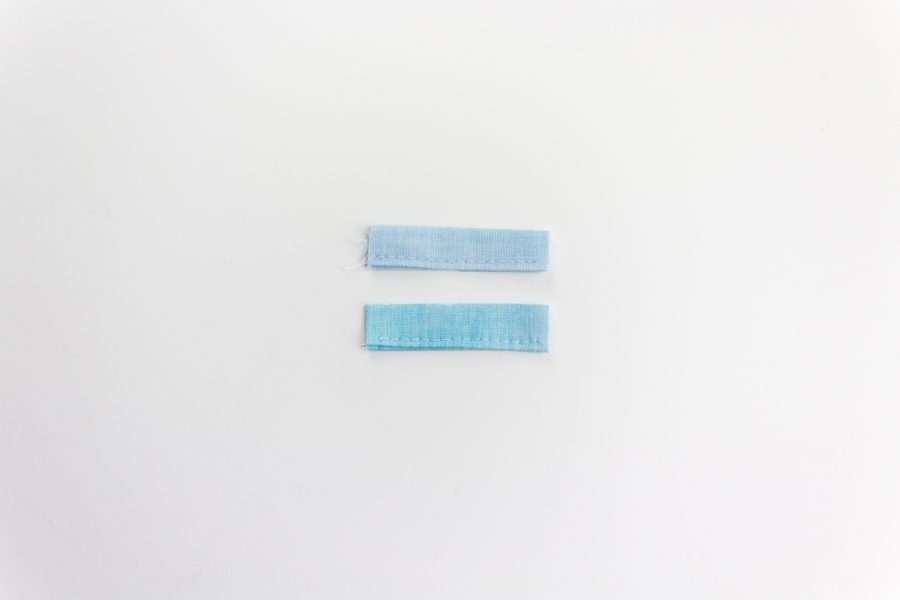
- Fold your strap loops in half so the short raw ends are aligned and pin/clip.
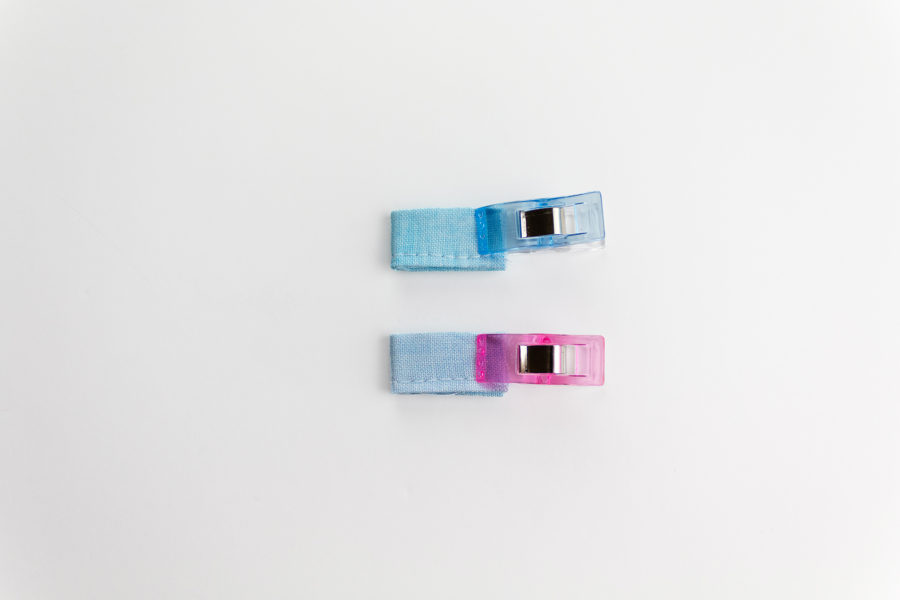
- Measure 1″ down from the top of your purse main and pin/clip the strap loops so that the raw edges are aligned.
- Baste in place.
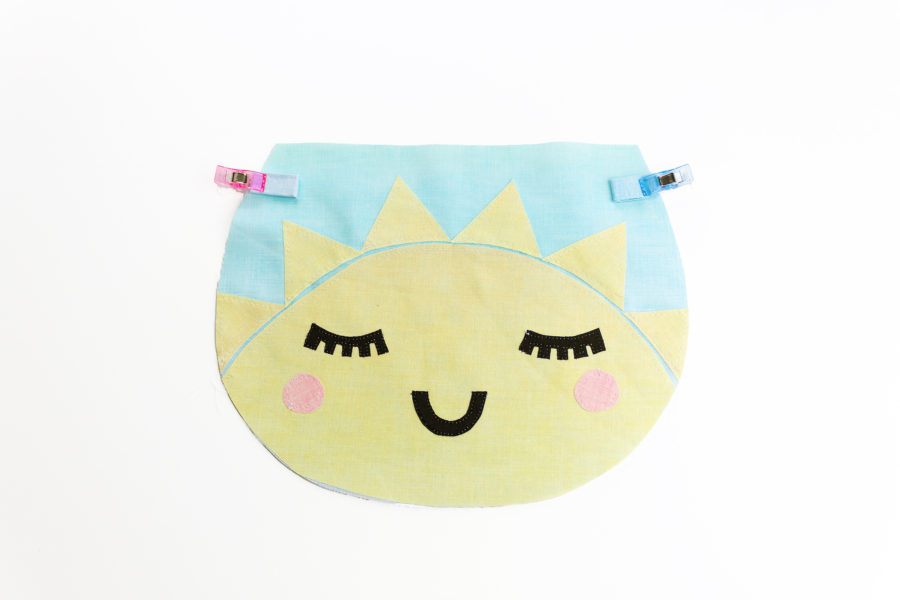
- Place both purse main pieces right sides together and sew along the rounded edge using a 1/4″ seam allowance.
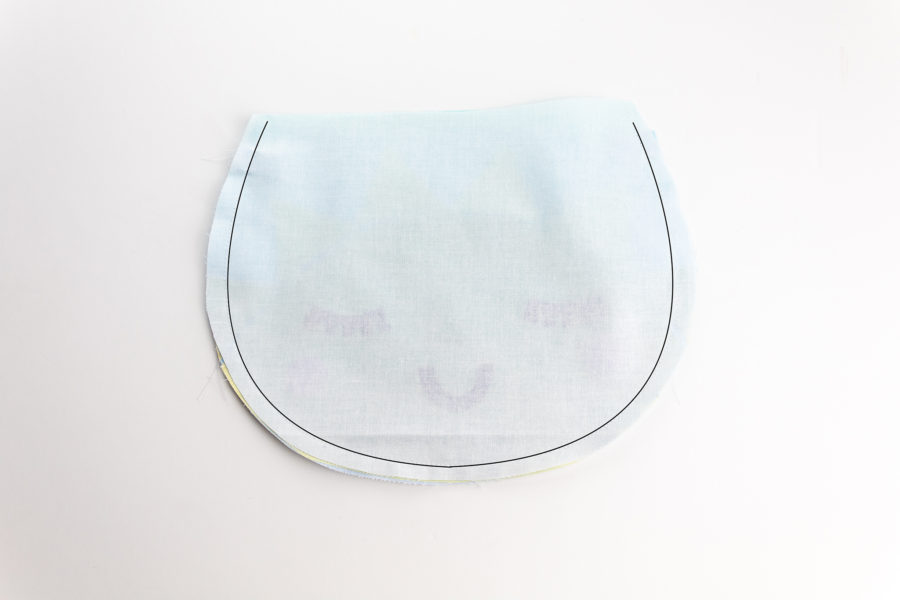
- Place both purse lining pieces right sides together and sew along the rounded edge using a 1/4″ seam allowance. Leave a 2″ opening for turning the purse right side out later.
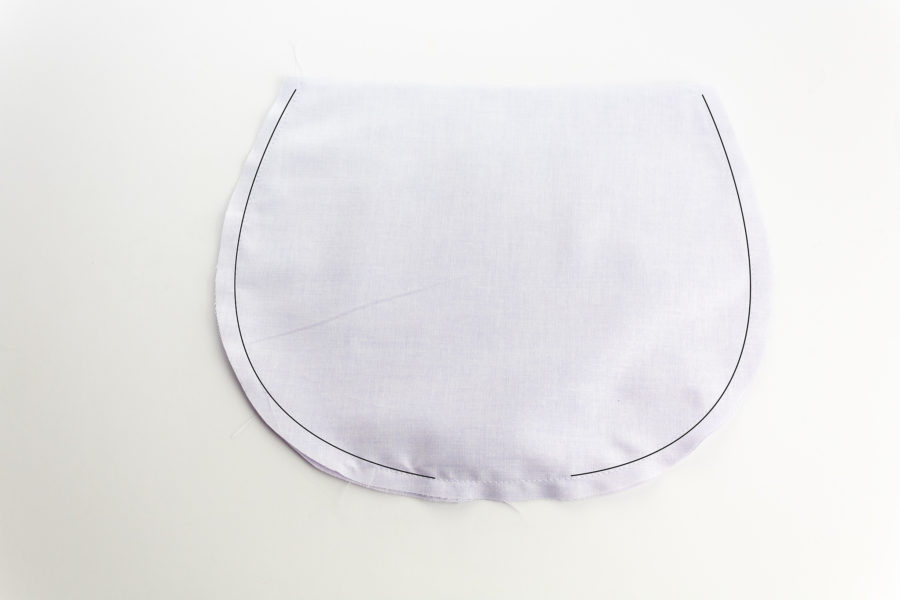
- Turn the purse main right sides out and place it inside the purse lining so that the right sides are touching.
- Align the top raw edges and sew using a 1/4″ seam allowance.
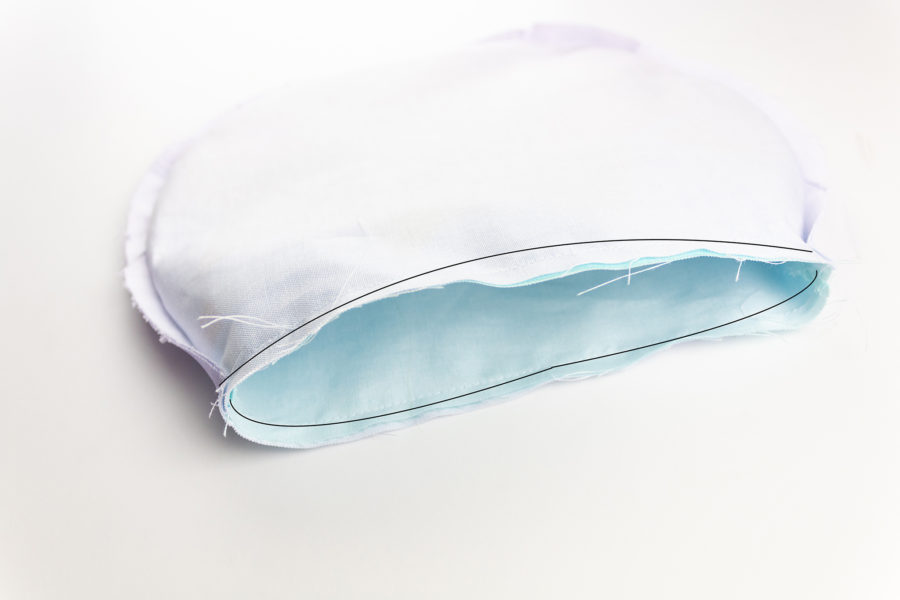
- Turn your purse right sides out by gently pulling it through the opening that you left in the lining.
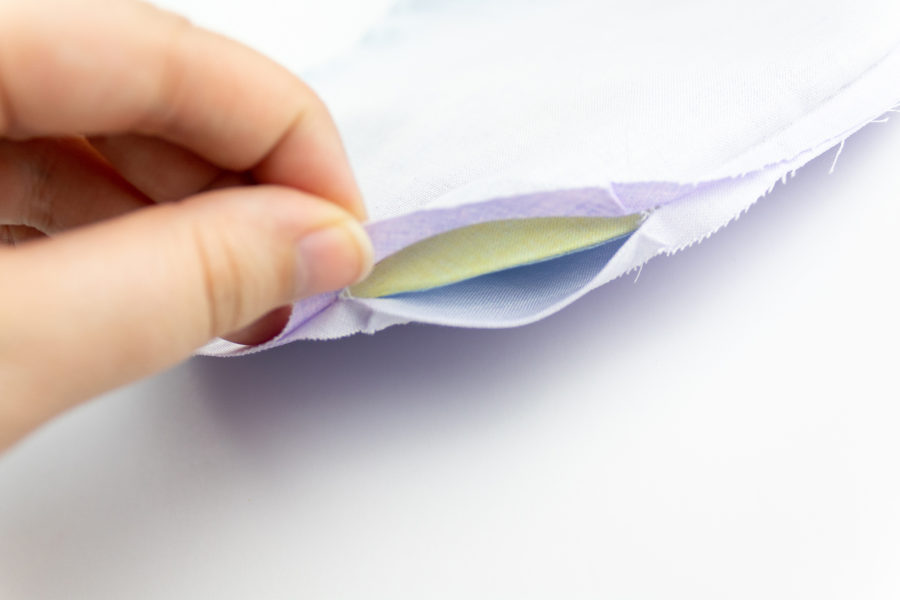
- Fold the edge of the opening in and sew it closed using a 1/8″ seam allowance.
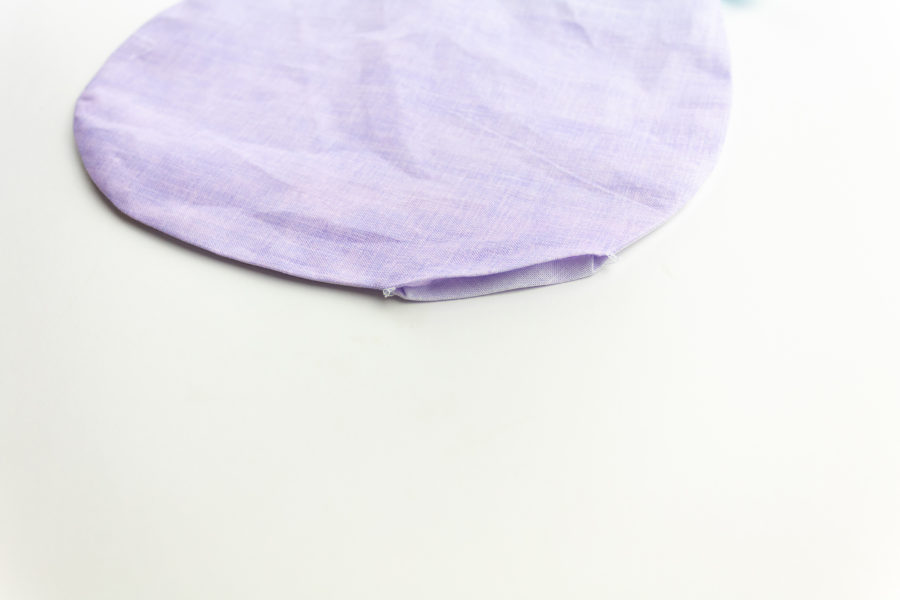
- Push the lining into the purse main so that your purse is now fully right side out.
- Feed the straps through the strap loops.
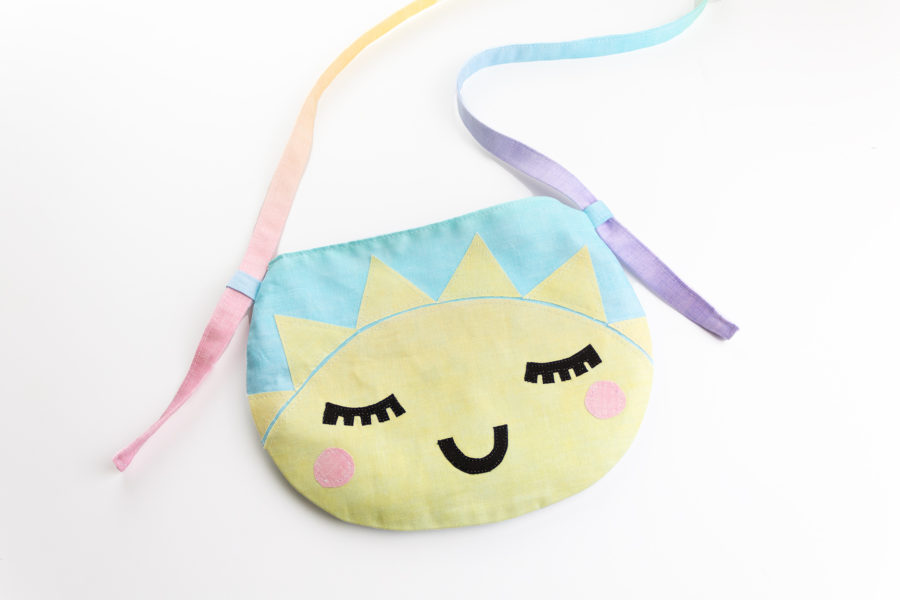
- Knot the ends of your your straps so that they stay in the loops.
- You are now finished!
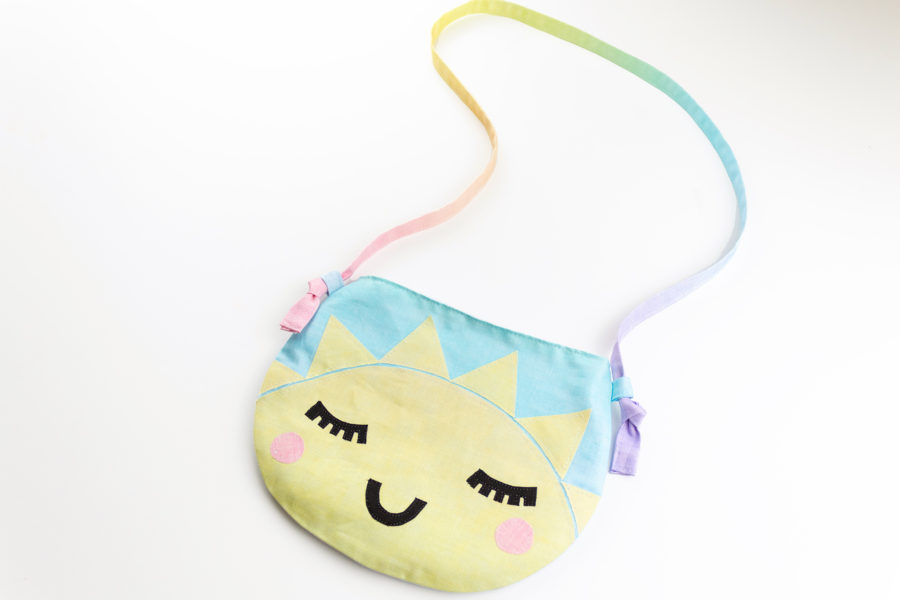
I hope that you enjoyed this tutorial! Happy Sewing Friends!
xoxo, Gail

Linda Otis
December 4, 2021 at 7:34 pm (4 years ago)Kwaii Happy Sun purse ok I pushed the purple bar to get the pattern. the direction showed but where is the pattern? I guess I can copy and paste into Word the 8 or so pages of directions and large pictures but still doesn’t give inches and dimensions. ????? or is there a real pattern?????
admin
December 7, 2021 at 10:42 am (3 years ago)Hi Linda…the pattern is clickable through the link provided in the project tutorial. The pattern pieces themselves are actual size. You should be able to open the pattern file here > https://blog.thermoweb.com/wp-content/uploads/2020/05/Happy-Sun-Purse.pdf