


We could not be more excited to share with you that we have a very exciting new release to share! For the first time, Therm O Web is launching our very own Stamps & Die Sets (and Toner Sheets) PLUS coordinating Deco Foil Adhesive Transfers!
That’s right…stamps…dies…toner sheets….adhesive transfers…and if that’s not enough…we’re going to share this week some incredible ideas for using those thanks to our talented Education Team to get you pumped up about all this fun. (because this is some serious FUN!)
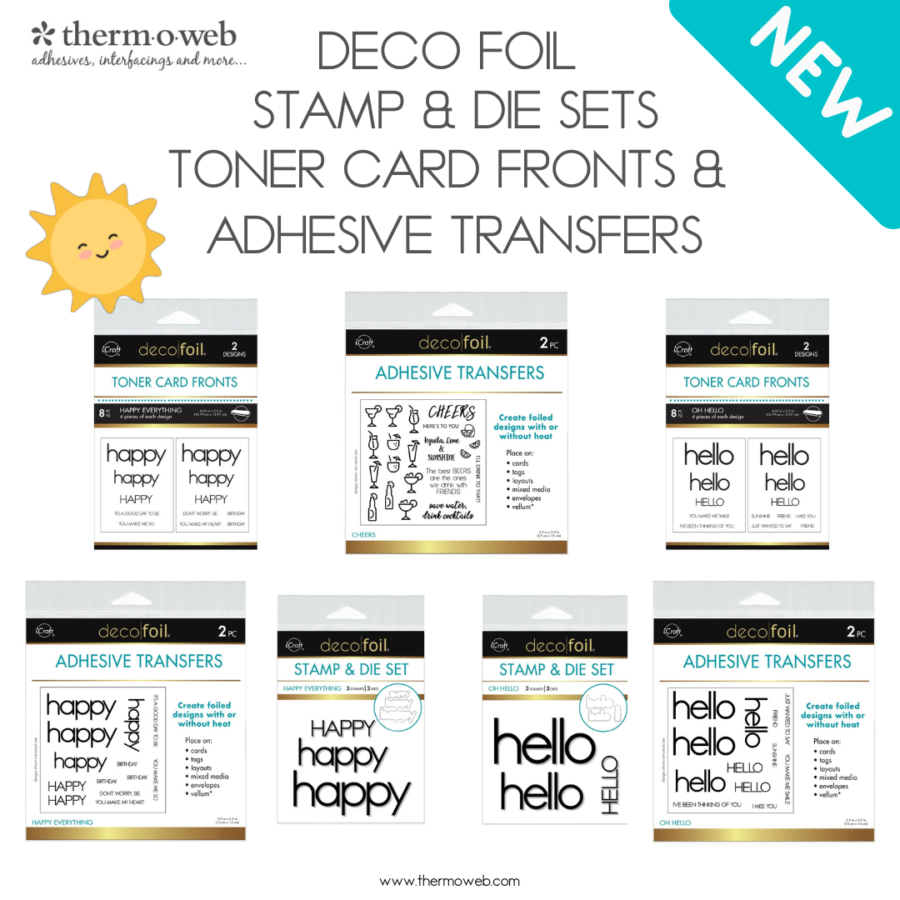
We’re simply overjoyed about this fab release and know you will be too! Introducing our Oh Hello and Happy Everything coordinating Stamp & Die Set plus the coordinating Adhesive Transfers! And let’s not forget the adorable Cheers Adhesive Transfers!
Join us all this week as we share ideas for you featuring these new products! Then set your alarm clock to shop till you drop this Friday, September 9th for our newest release! Be sure to join us each day as we share ideas using all these incredible products. Kicking things off… Cheers to Amanda and her save water cards!!
Hey there!!! It’s Katrina from Paper, Scissors, Glue and Hybrid Too sharing some of the NEW fun Deco Foil products that Therm O Web is releasing this week!! New Toner Adhesive Sheets, Stamp and Die Sets and more!
Therm O Web Supplies Used
NEW Deco Foil Adhesive Transfers – Cheers
NEW Deco Foil Stamp and Die Set-Happy Everything
Deco Foil Foil Transfer Sheets – Gold Shattered Glass
Deco Foil Foil Transfer Sheets-Mystic Rainbow
Memory Runner XL
Memory Runner XL Refill
Ultra Bond Liquid Adhesive
3D Foam Squares – Combo Pack
3D FOAM SQUARES BOX
NEW 3D FOAM TAPE ROLL 1/16
NEW 3D FOAM TAPE ROLL 1/8
3D Foam Tape Roll-Black 1/16
Pixie Tape
Other Supplies Used
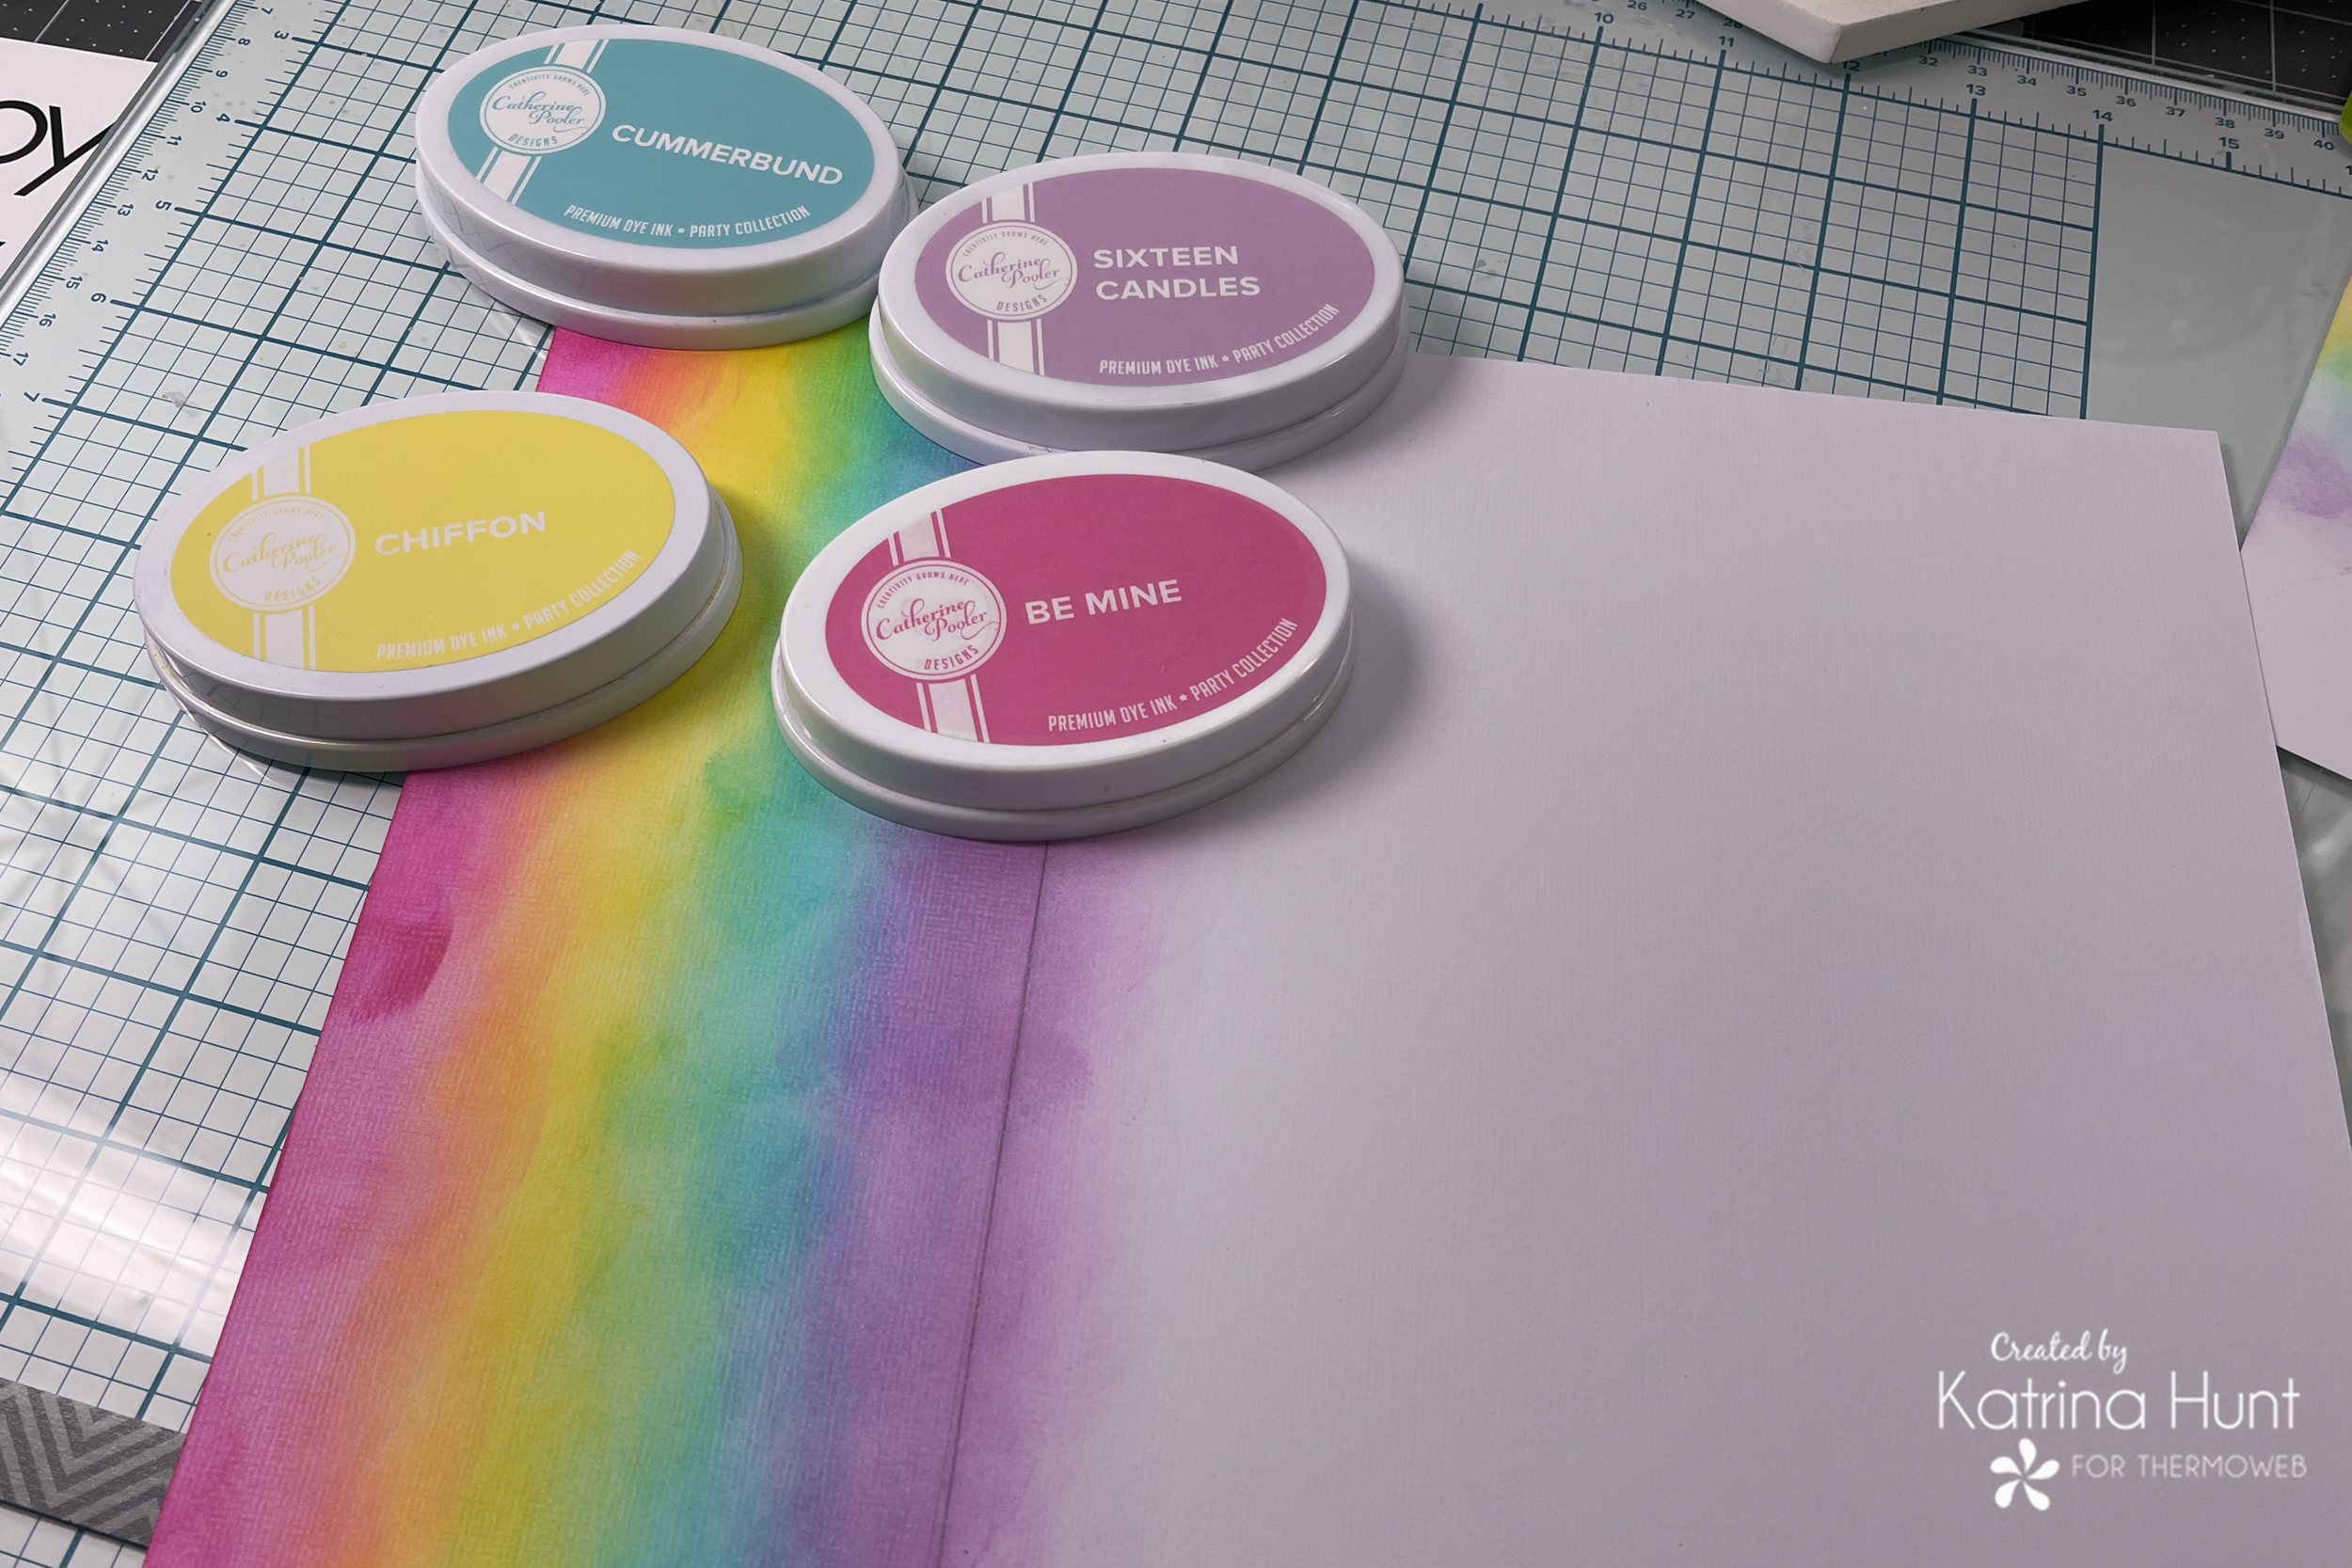
Cathrine Pooler Inks
Be Mine
Chiffon
Cummberbund
Sixteen Candles
American Crafts Vicki Boutin-Sweet Rush Collection
Unity Stamp Company-Jot It Down Background
Dina Wakely Gloss Spray-Lime
Dina Wakley Gloss Spray-Carnation
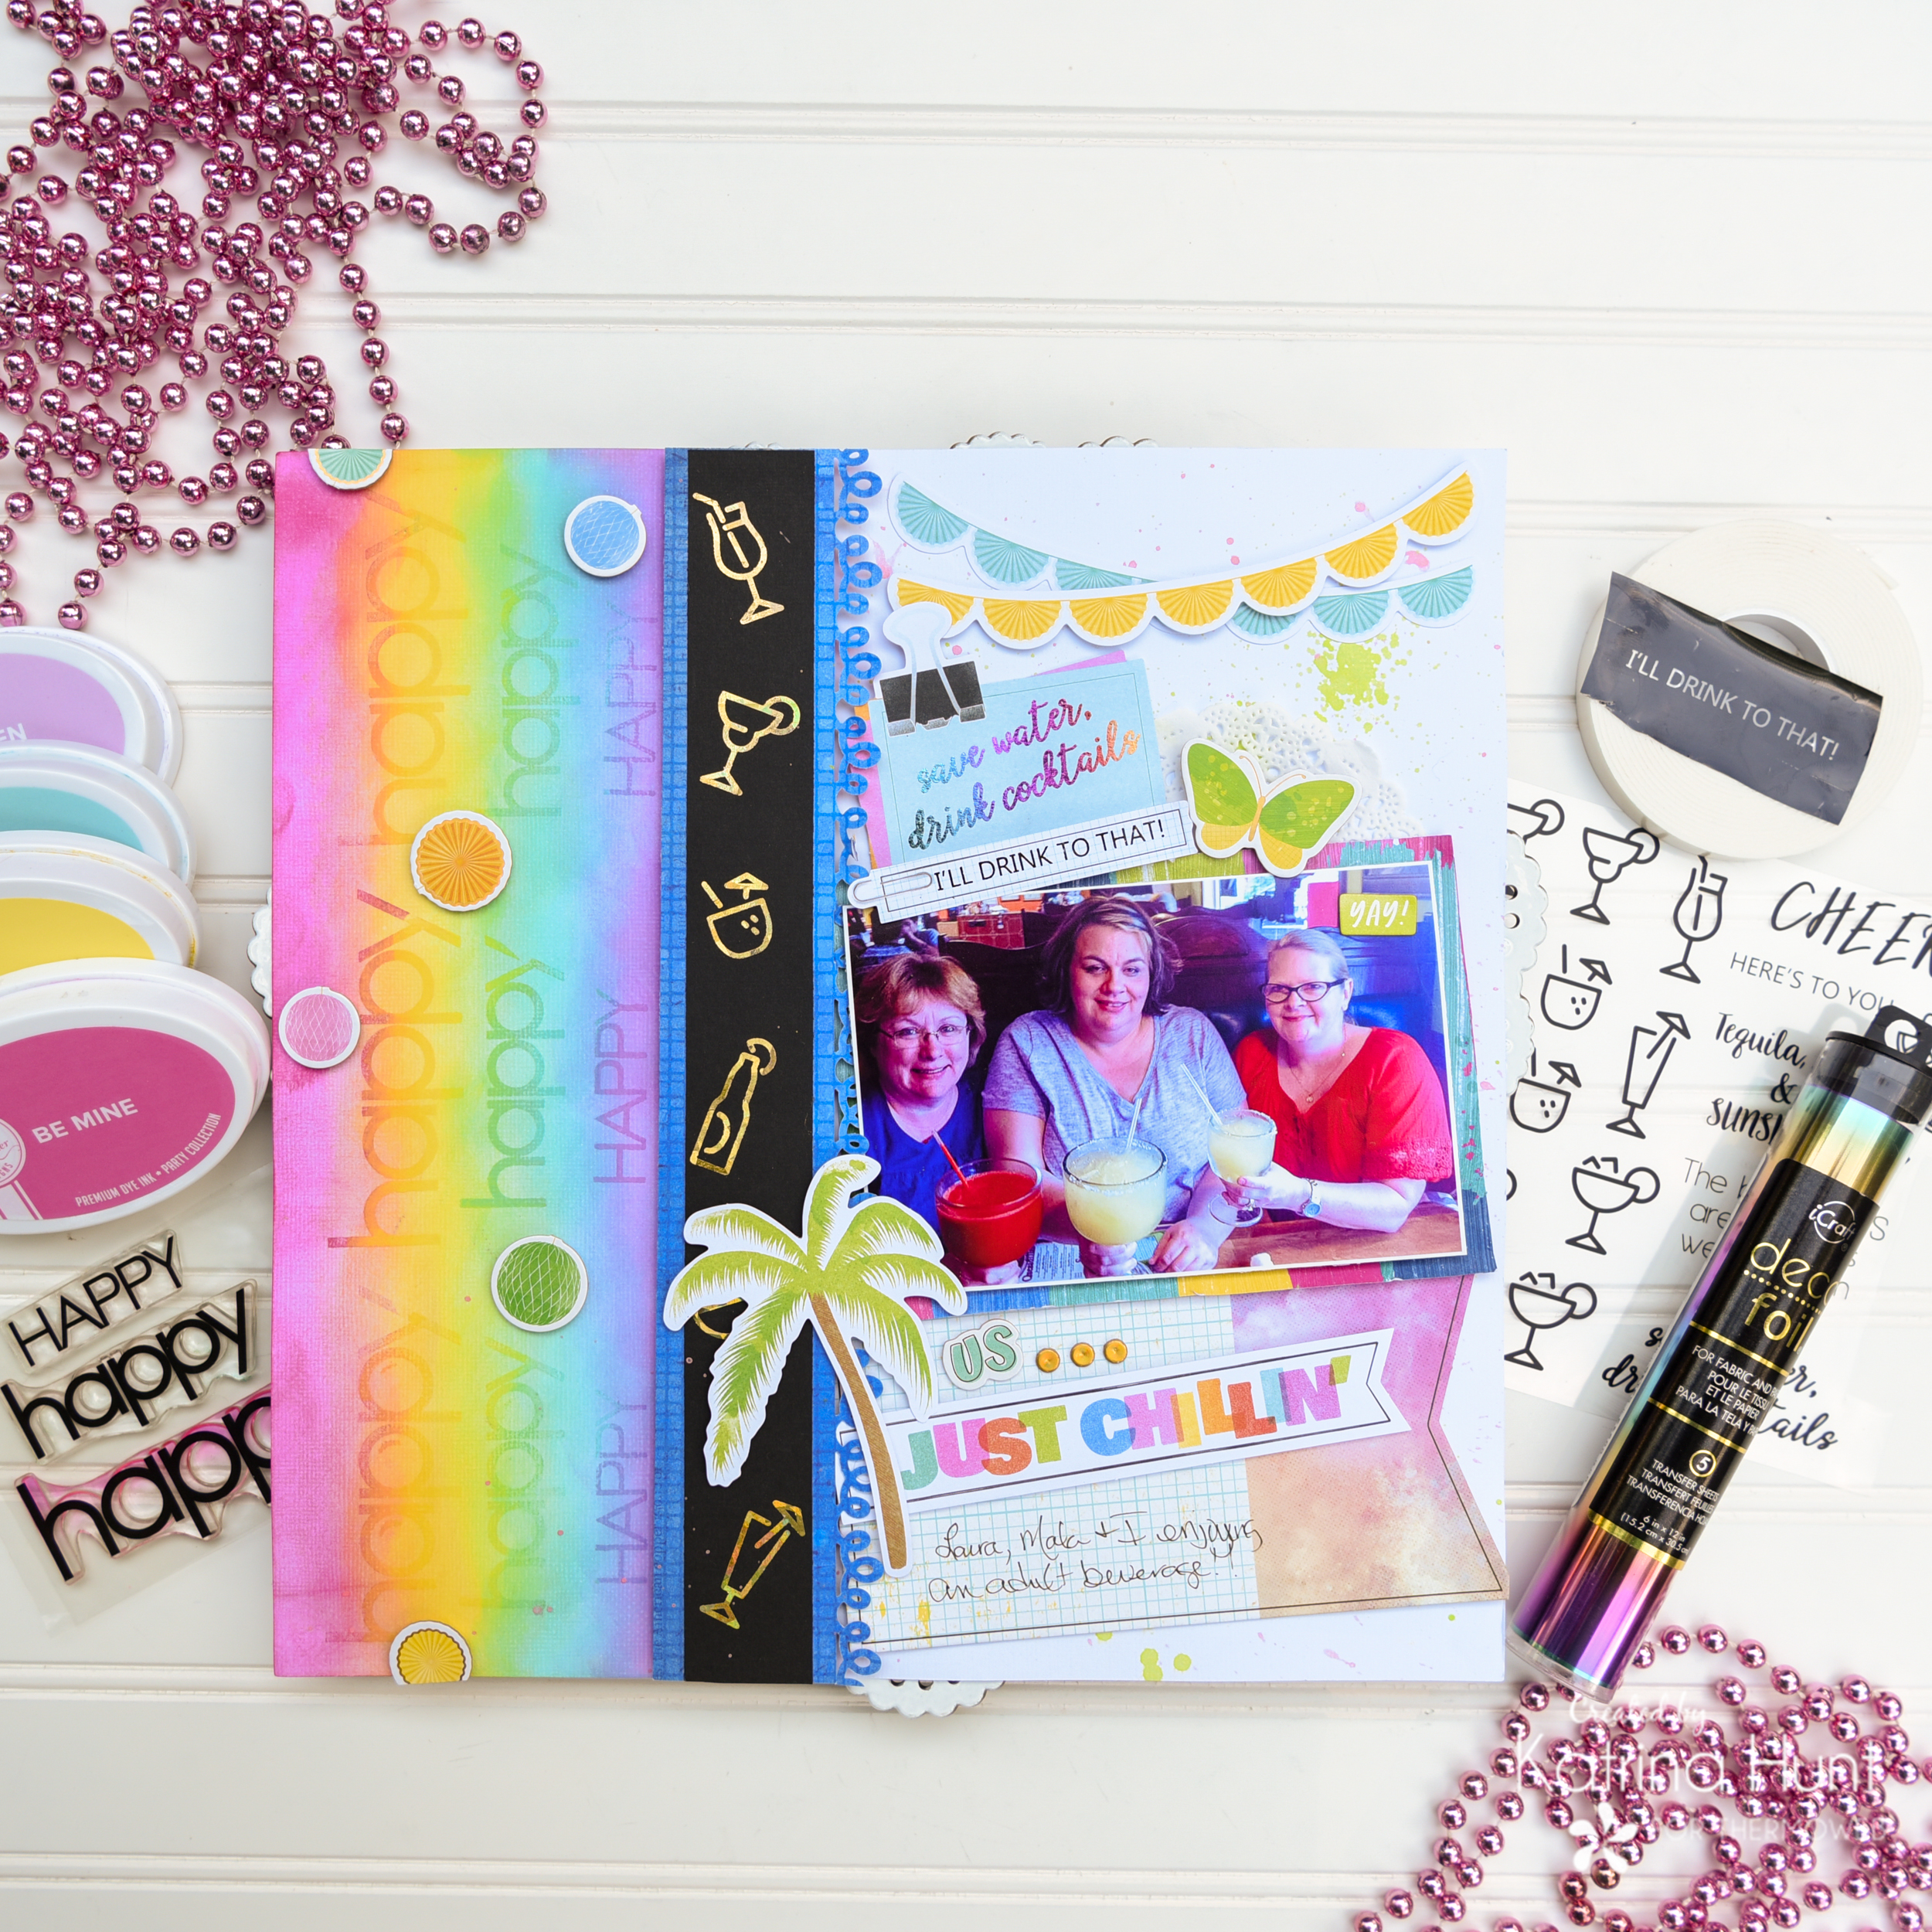
Just Chillin’ Layout Details

Those different sizes of the Happy stamp gave me so many ideas for using all of them. I opted for some ink blending and then some stamping in the same colors I ink blended in. To use as a guide, I penciled in a line, so that I would know how far to ink blend. This also gave me a guide on how far I needed to ink blend each color.
I used my Misti to stamp the happys all along the top of my page. my stamps with all the colors I ink blended with and stamped away. I love these stamps because I got a good impression the first time I stamped them!

You can see my results here. I decided after I stamped I wanted to use the ink blending/stamping area sideways on my page.
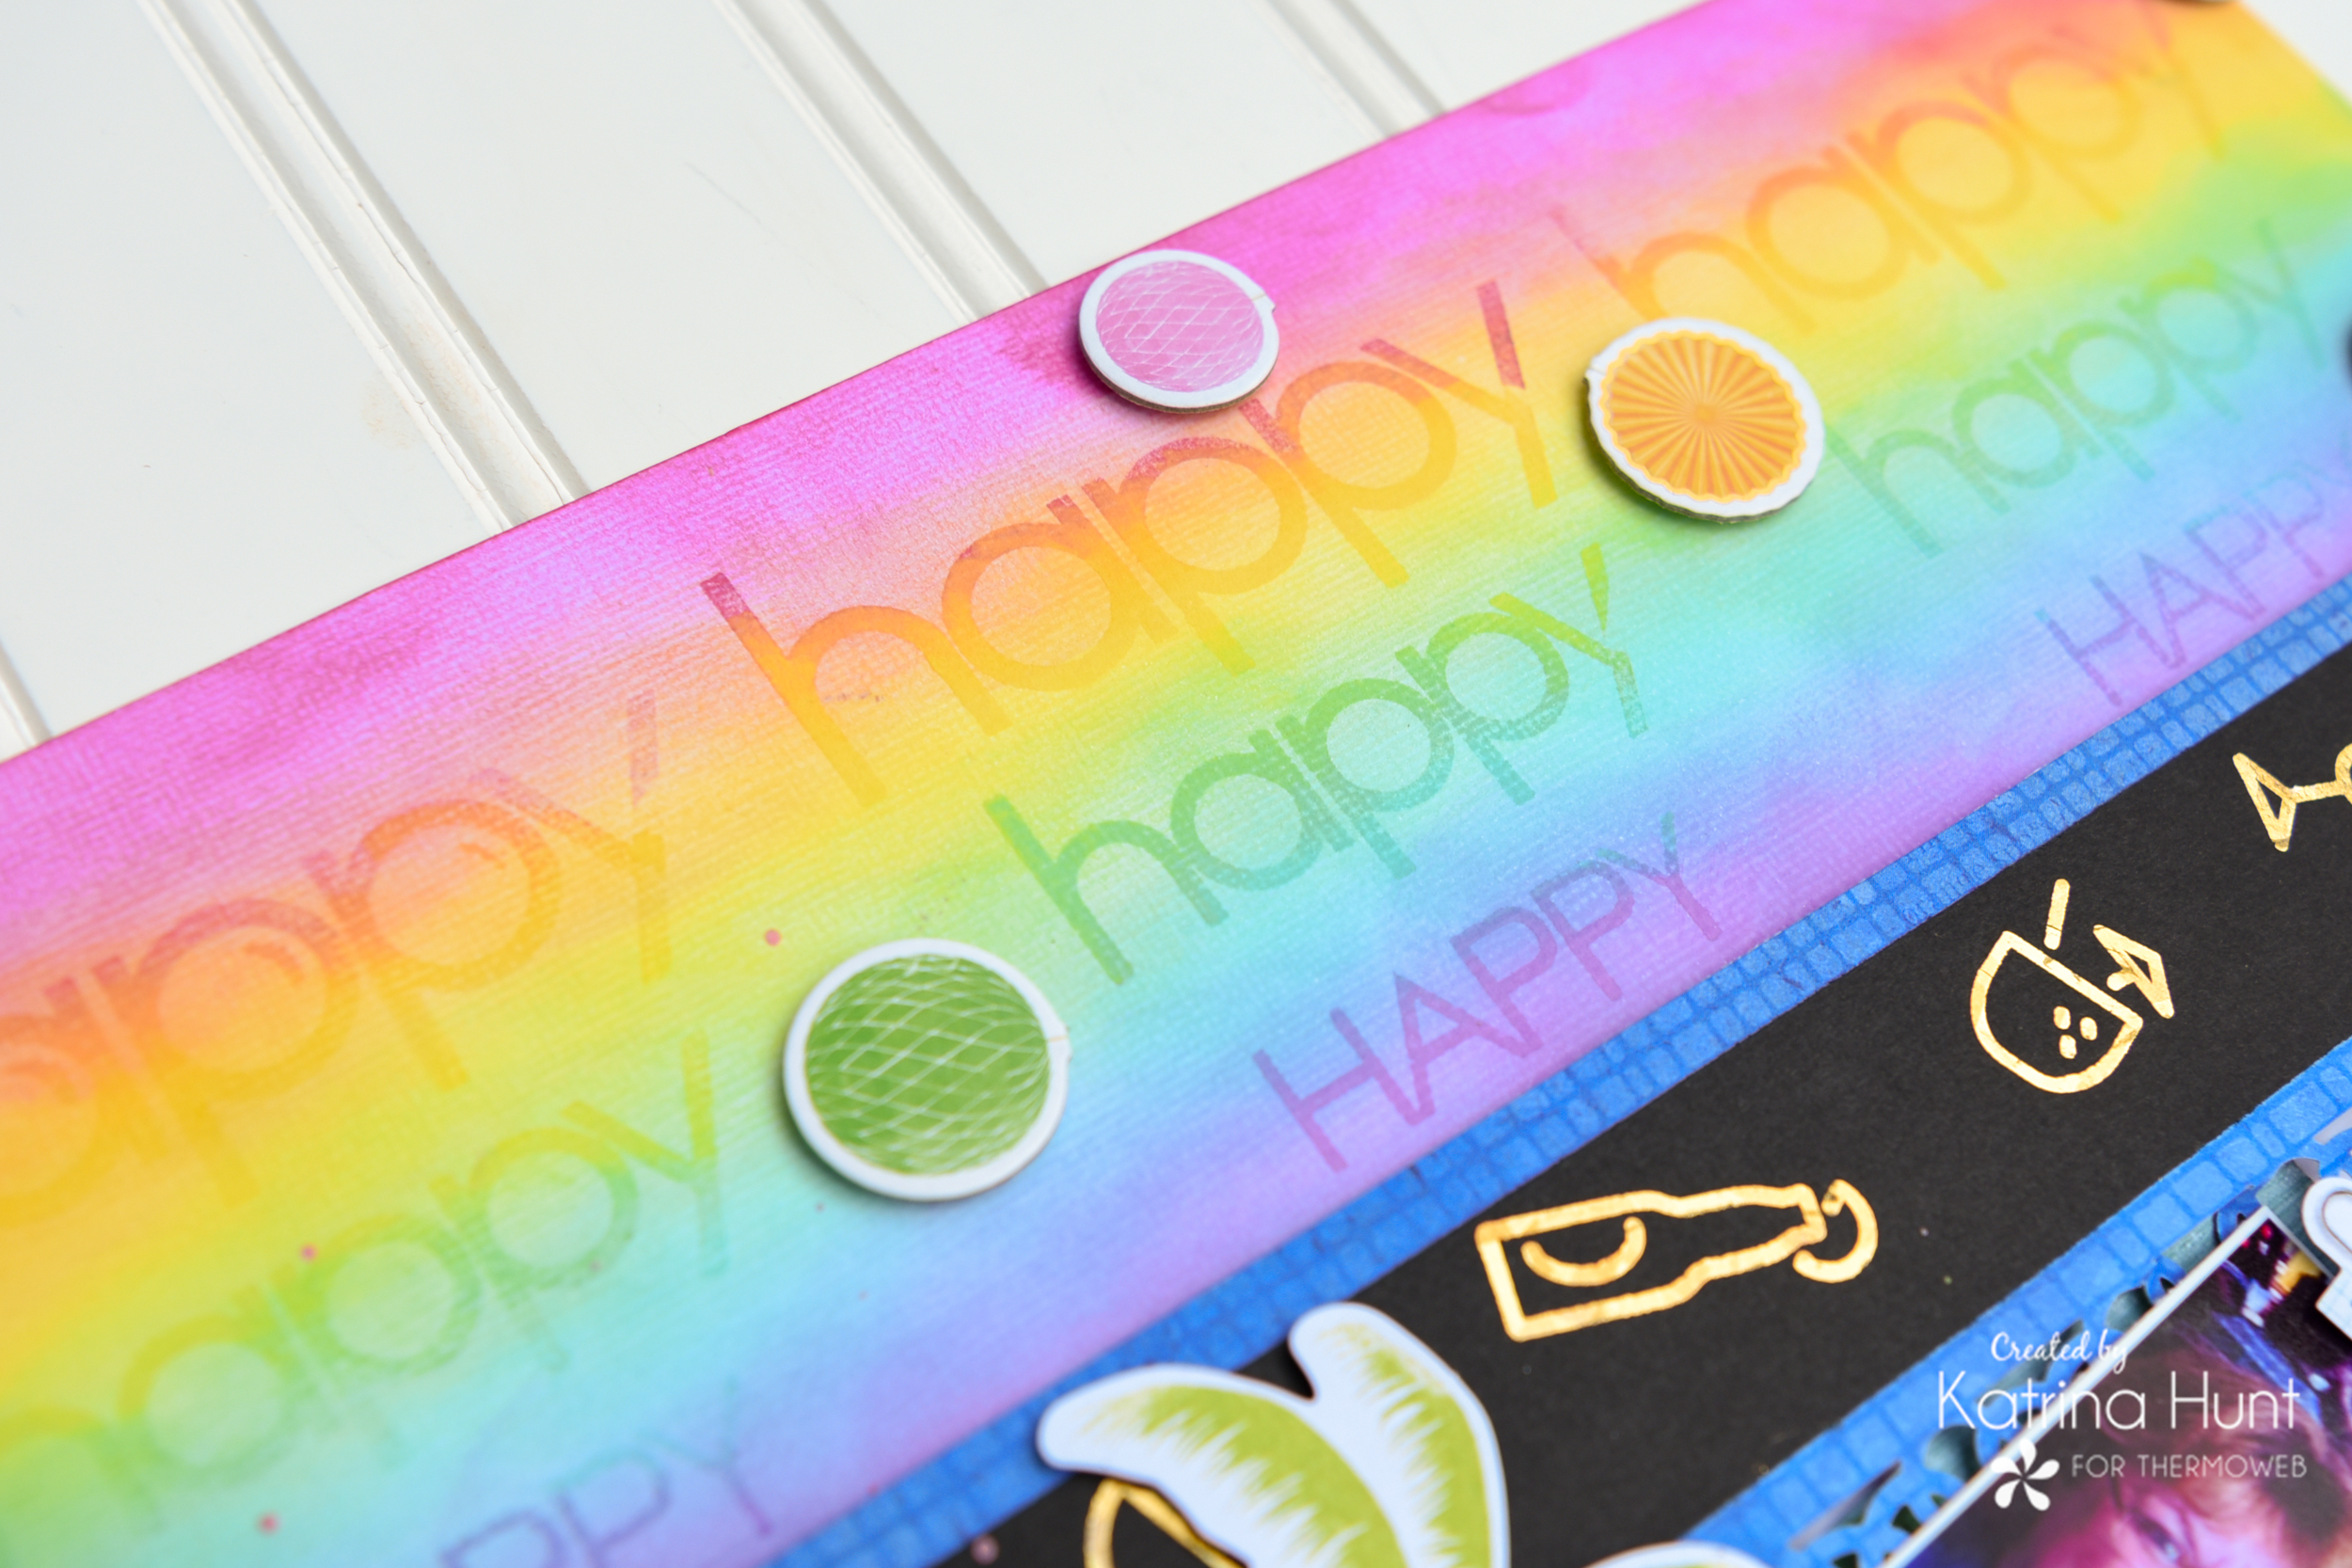
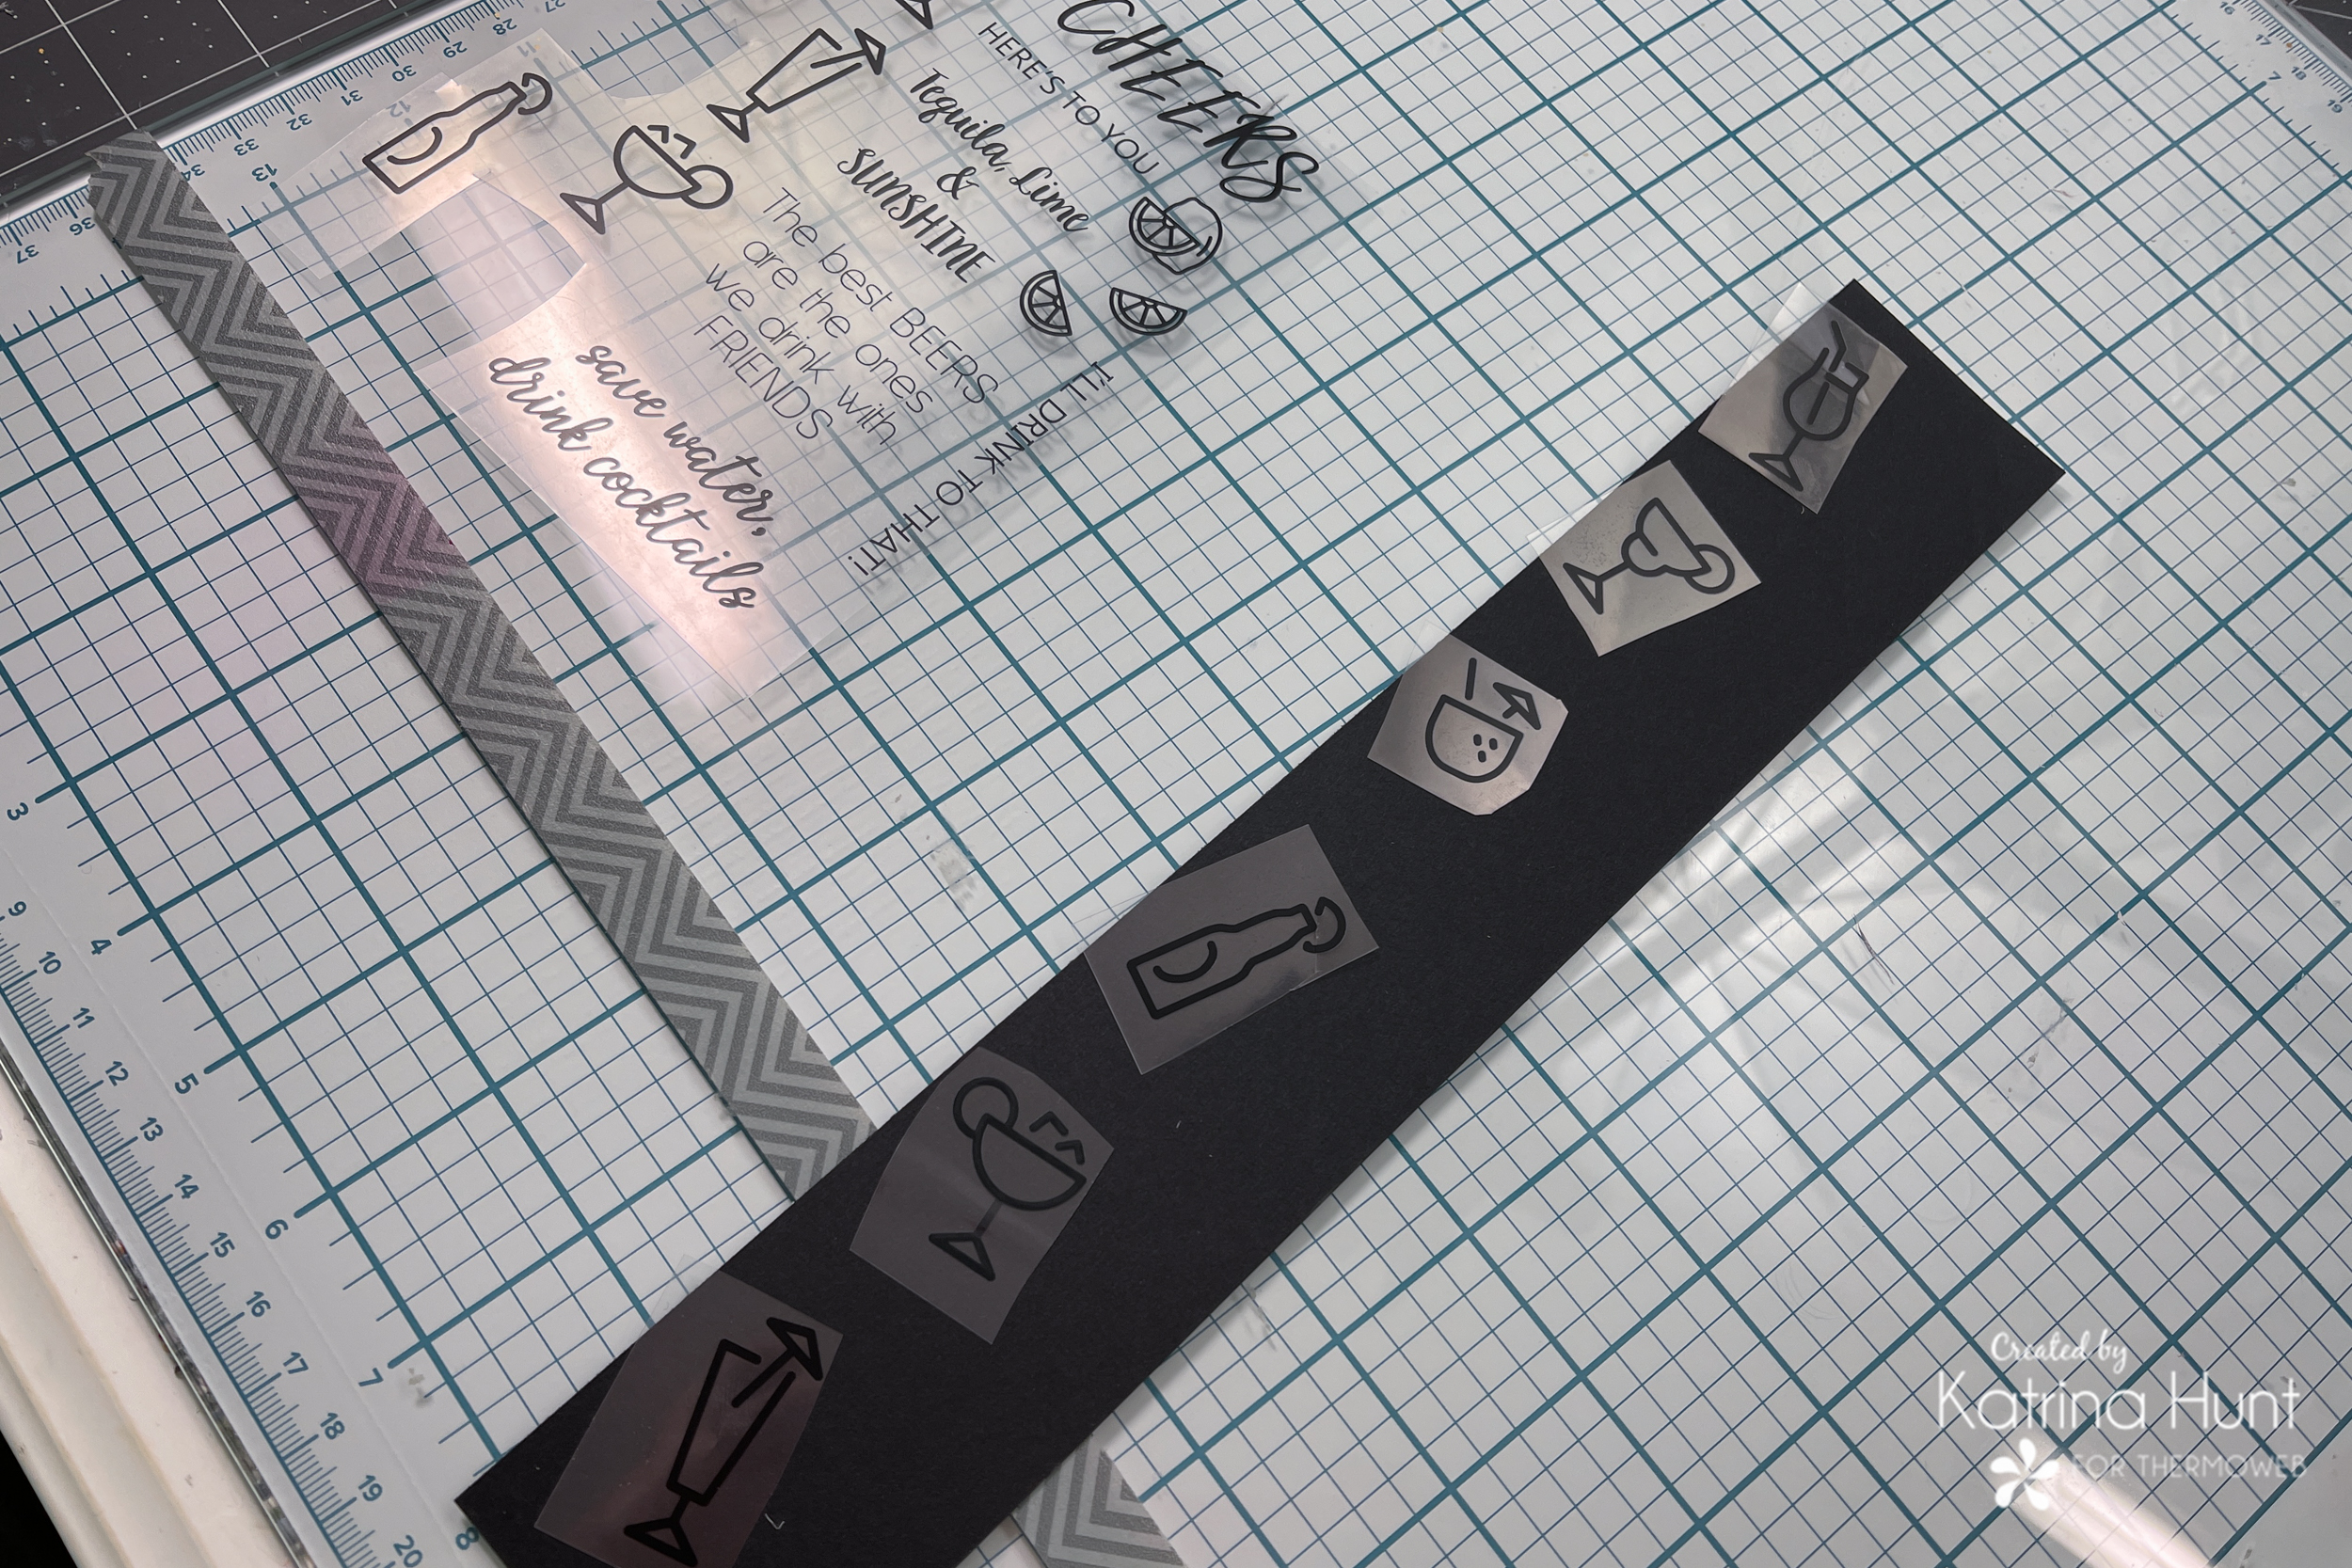
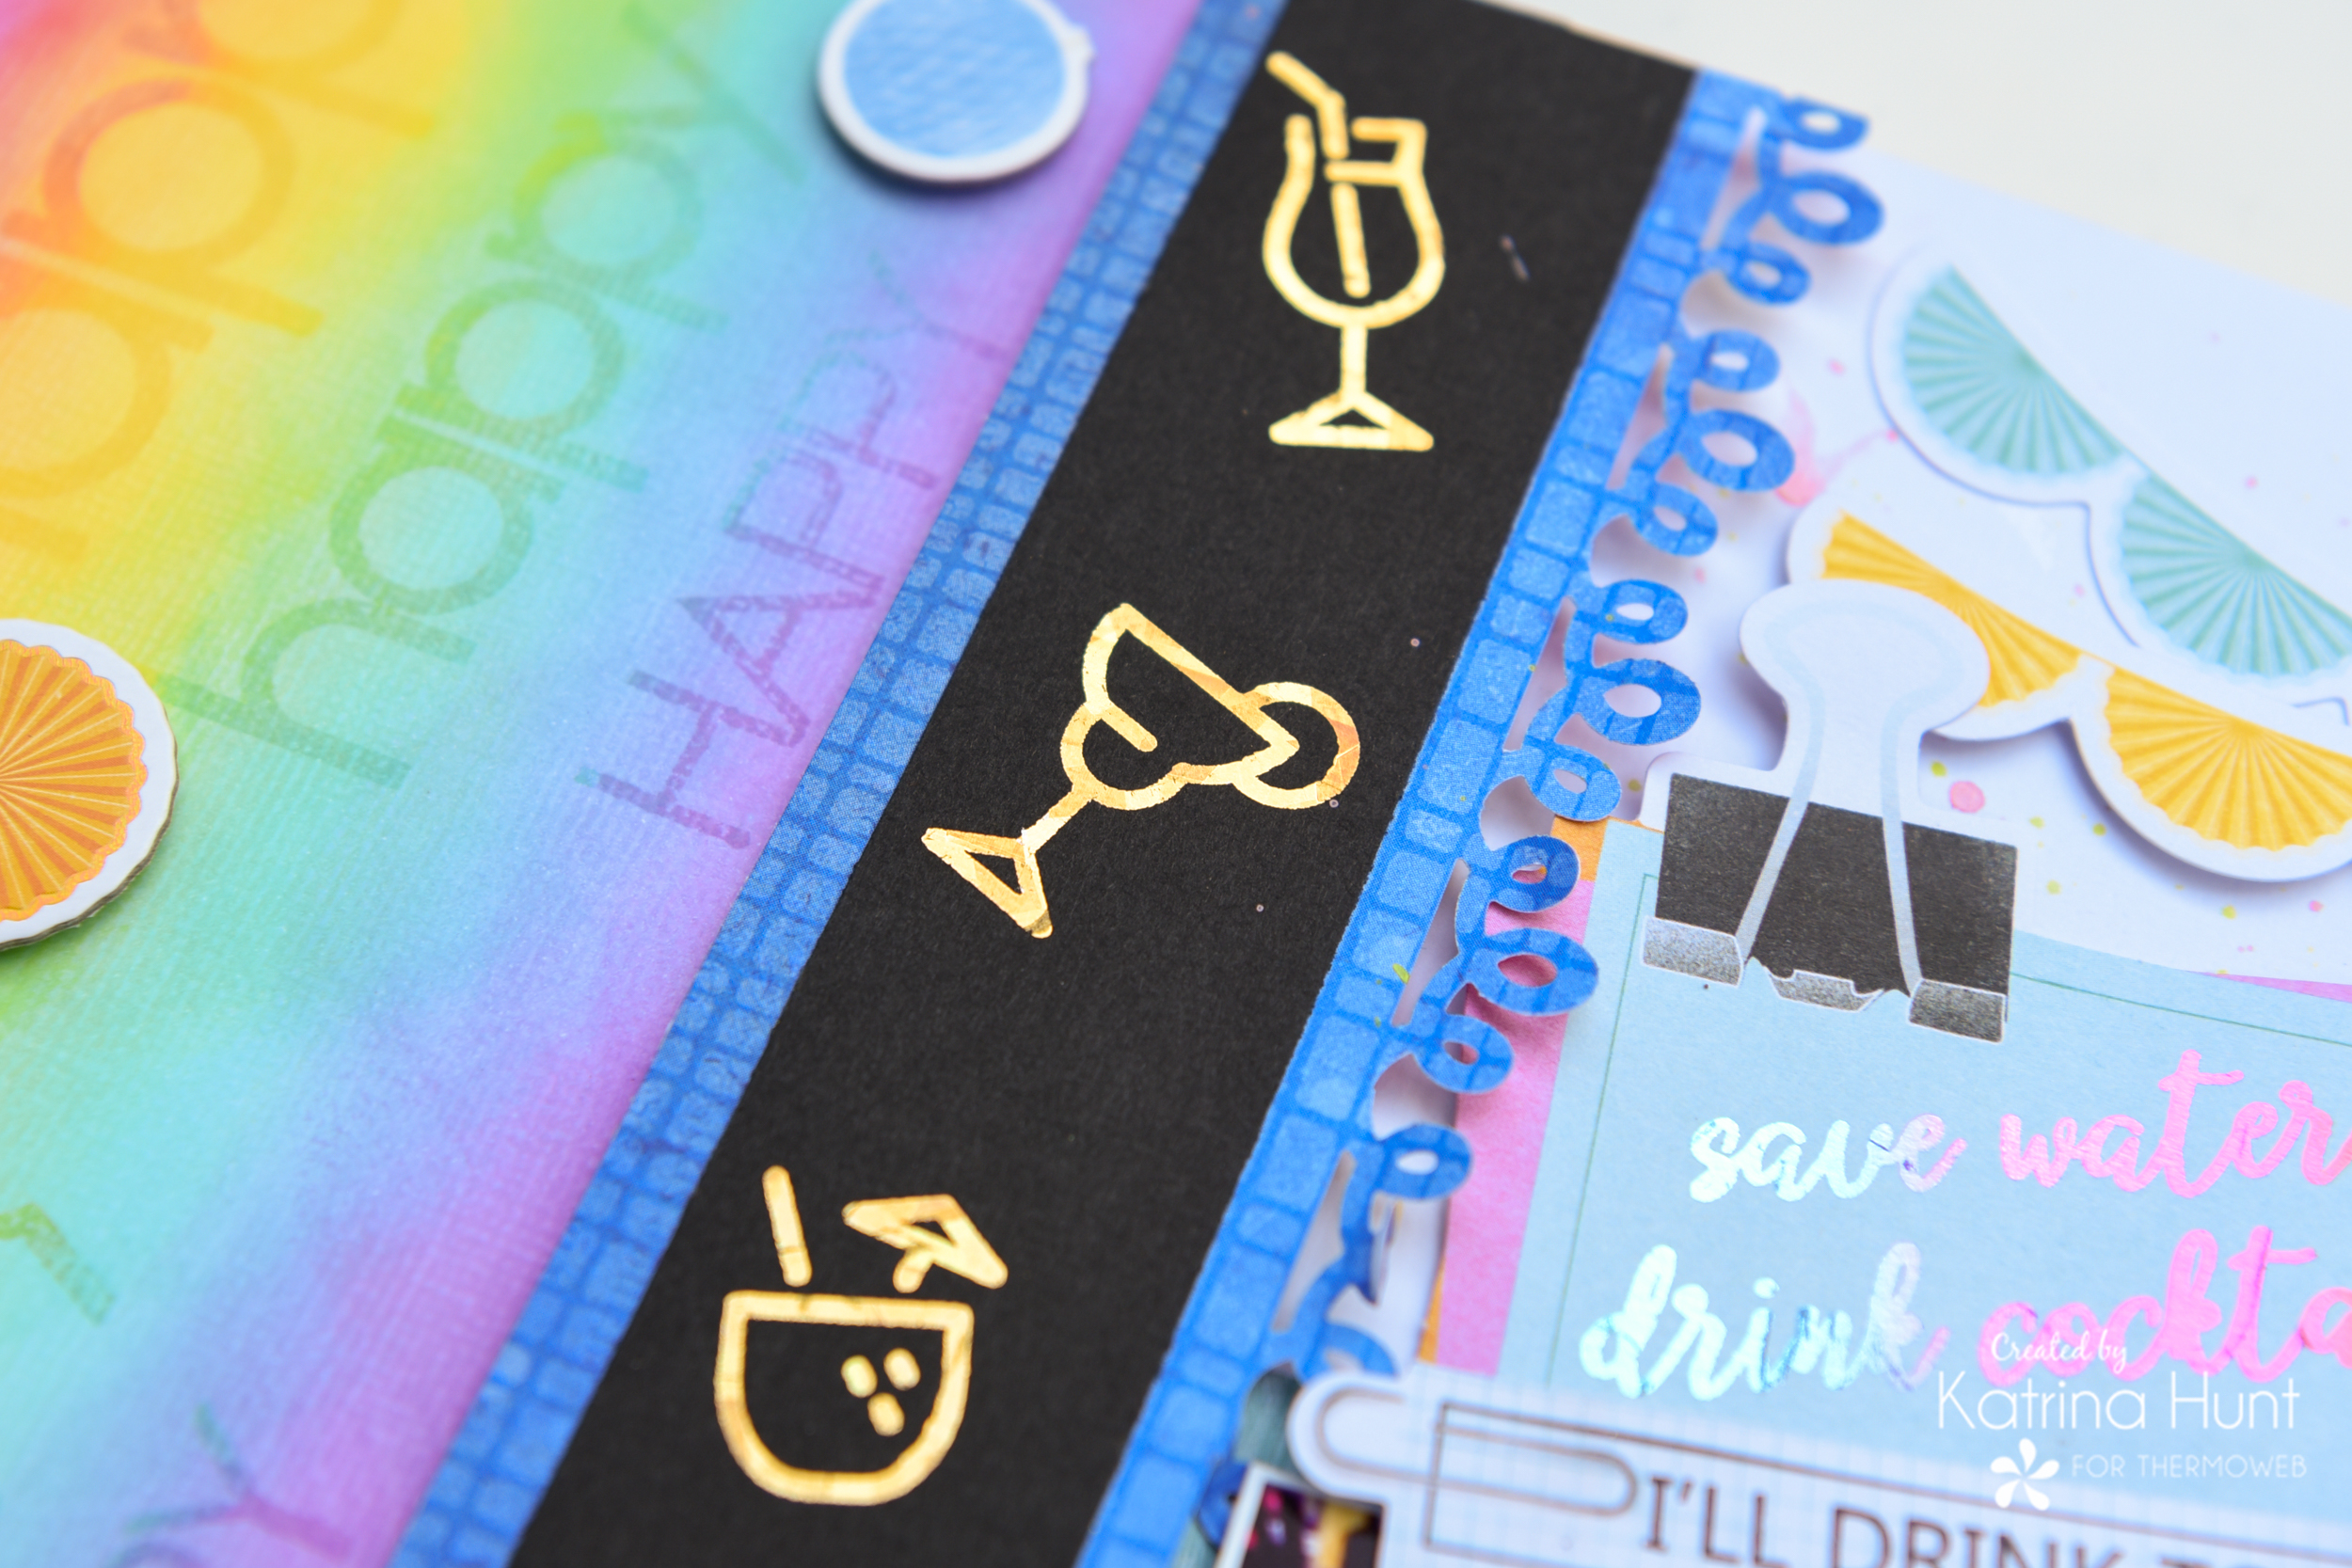
Next up I had to cover that pencil line that I made a little too dark! I border punched a strip to put over the line and then decided those little drink transfers would be fun lined up and down that area. I trimmed a piece of black cardstock to fit on top of the blue paper and then used my laminator to apply the adhesive transfers to my strip of paper.
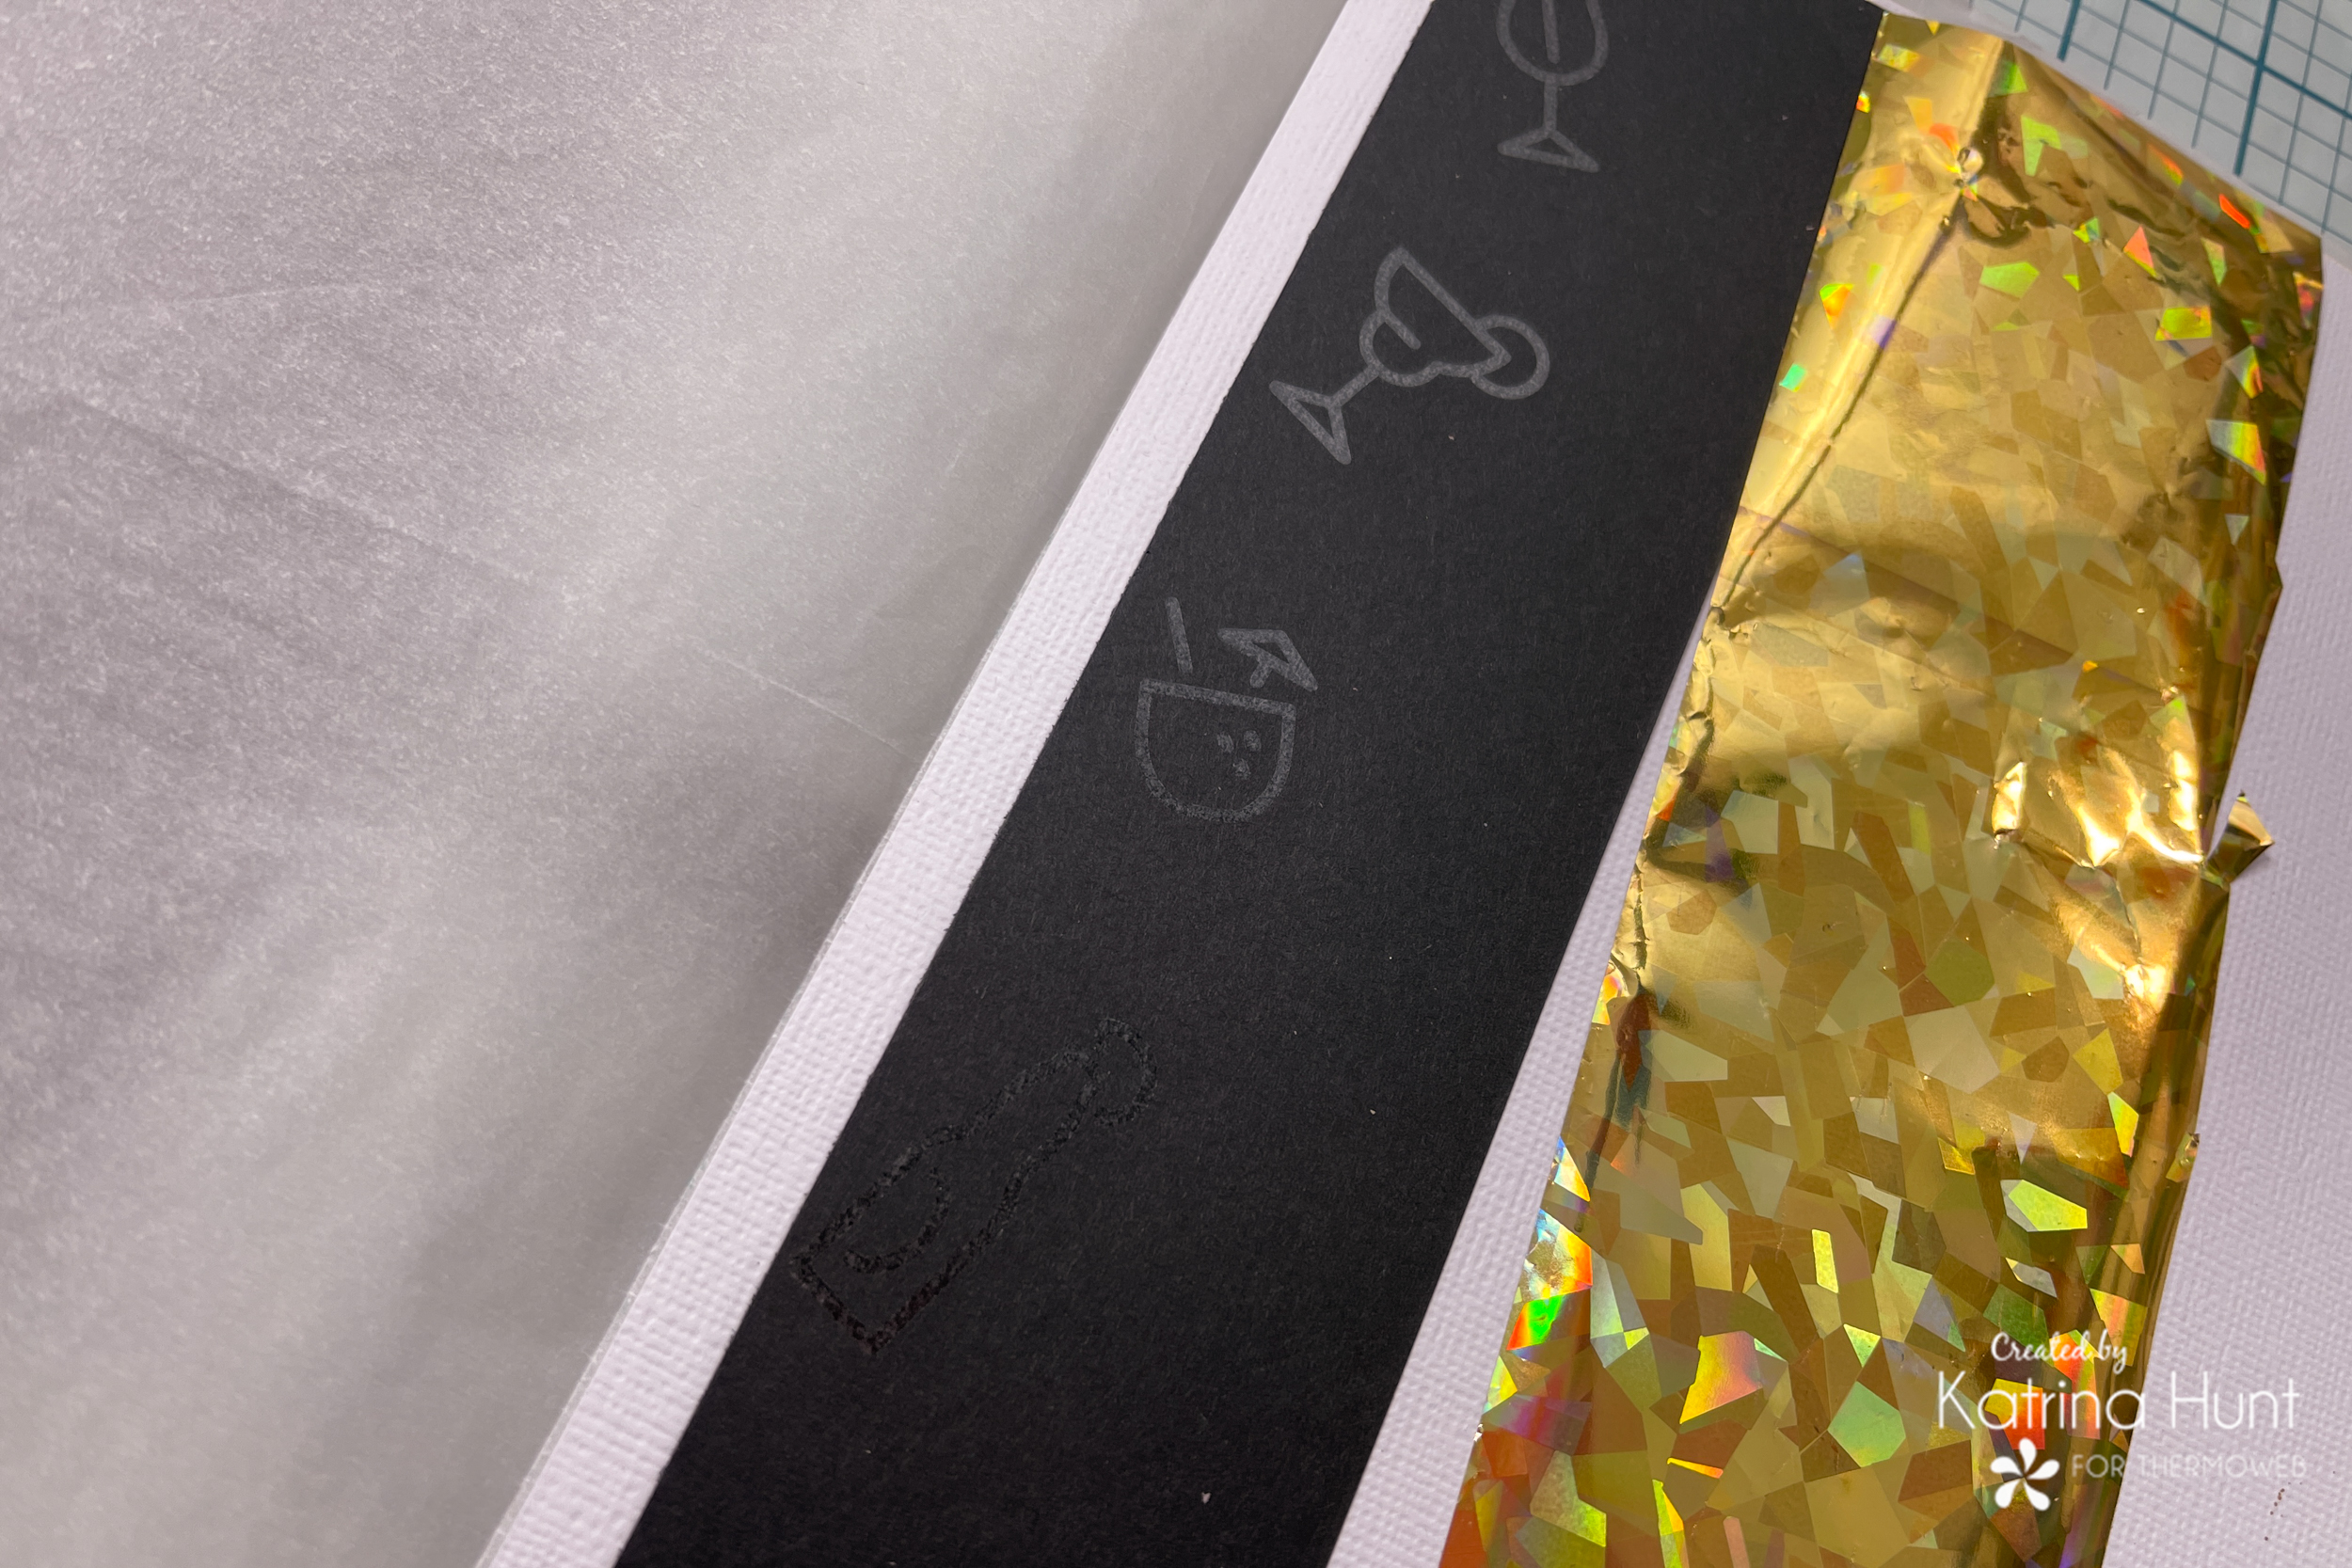
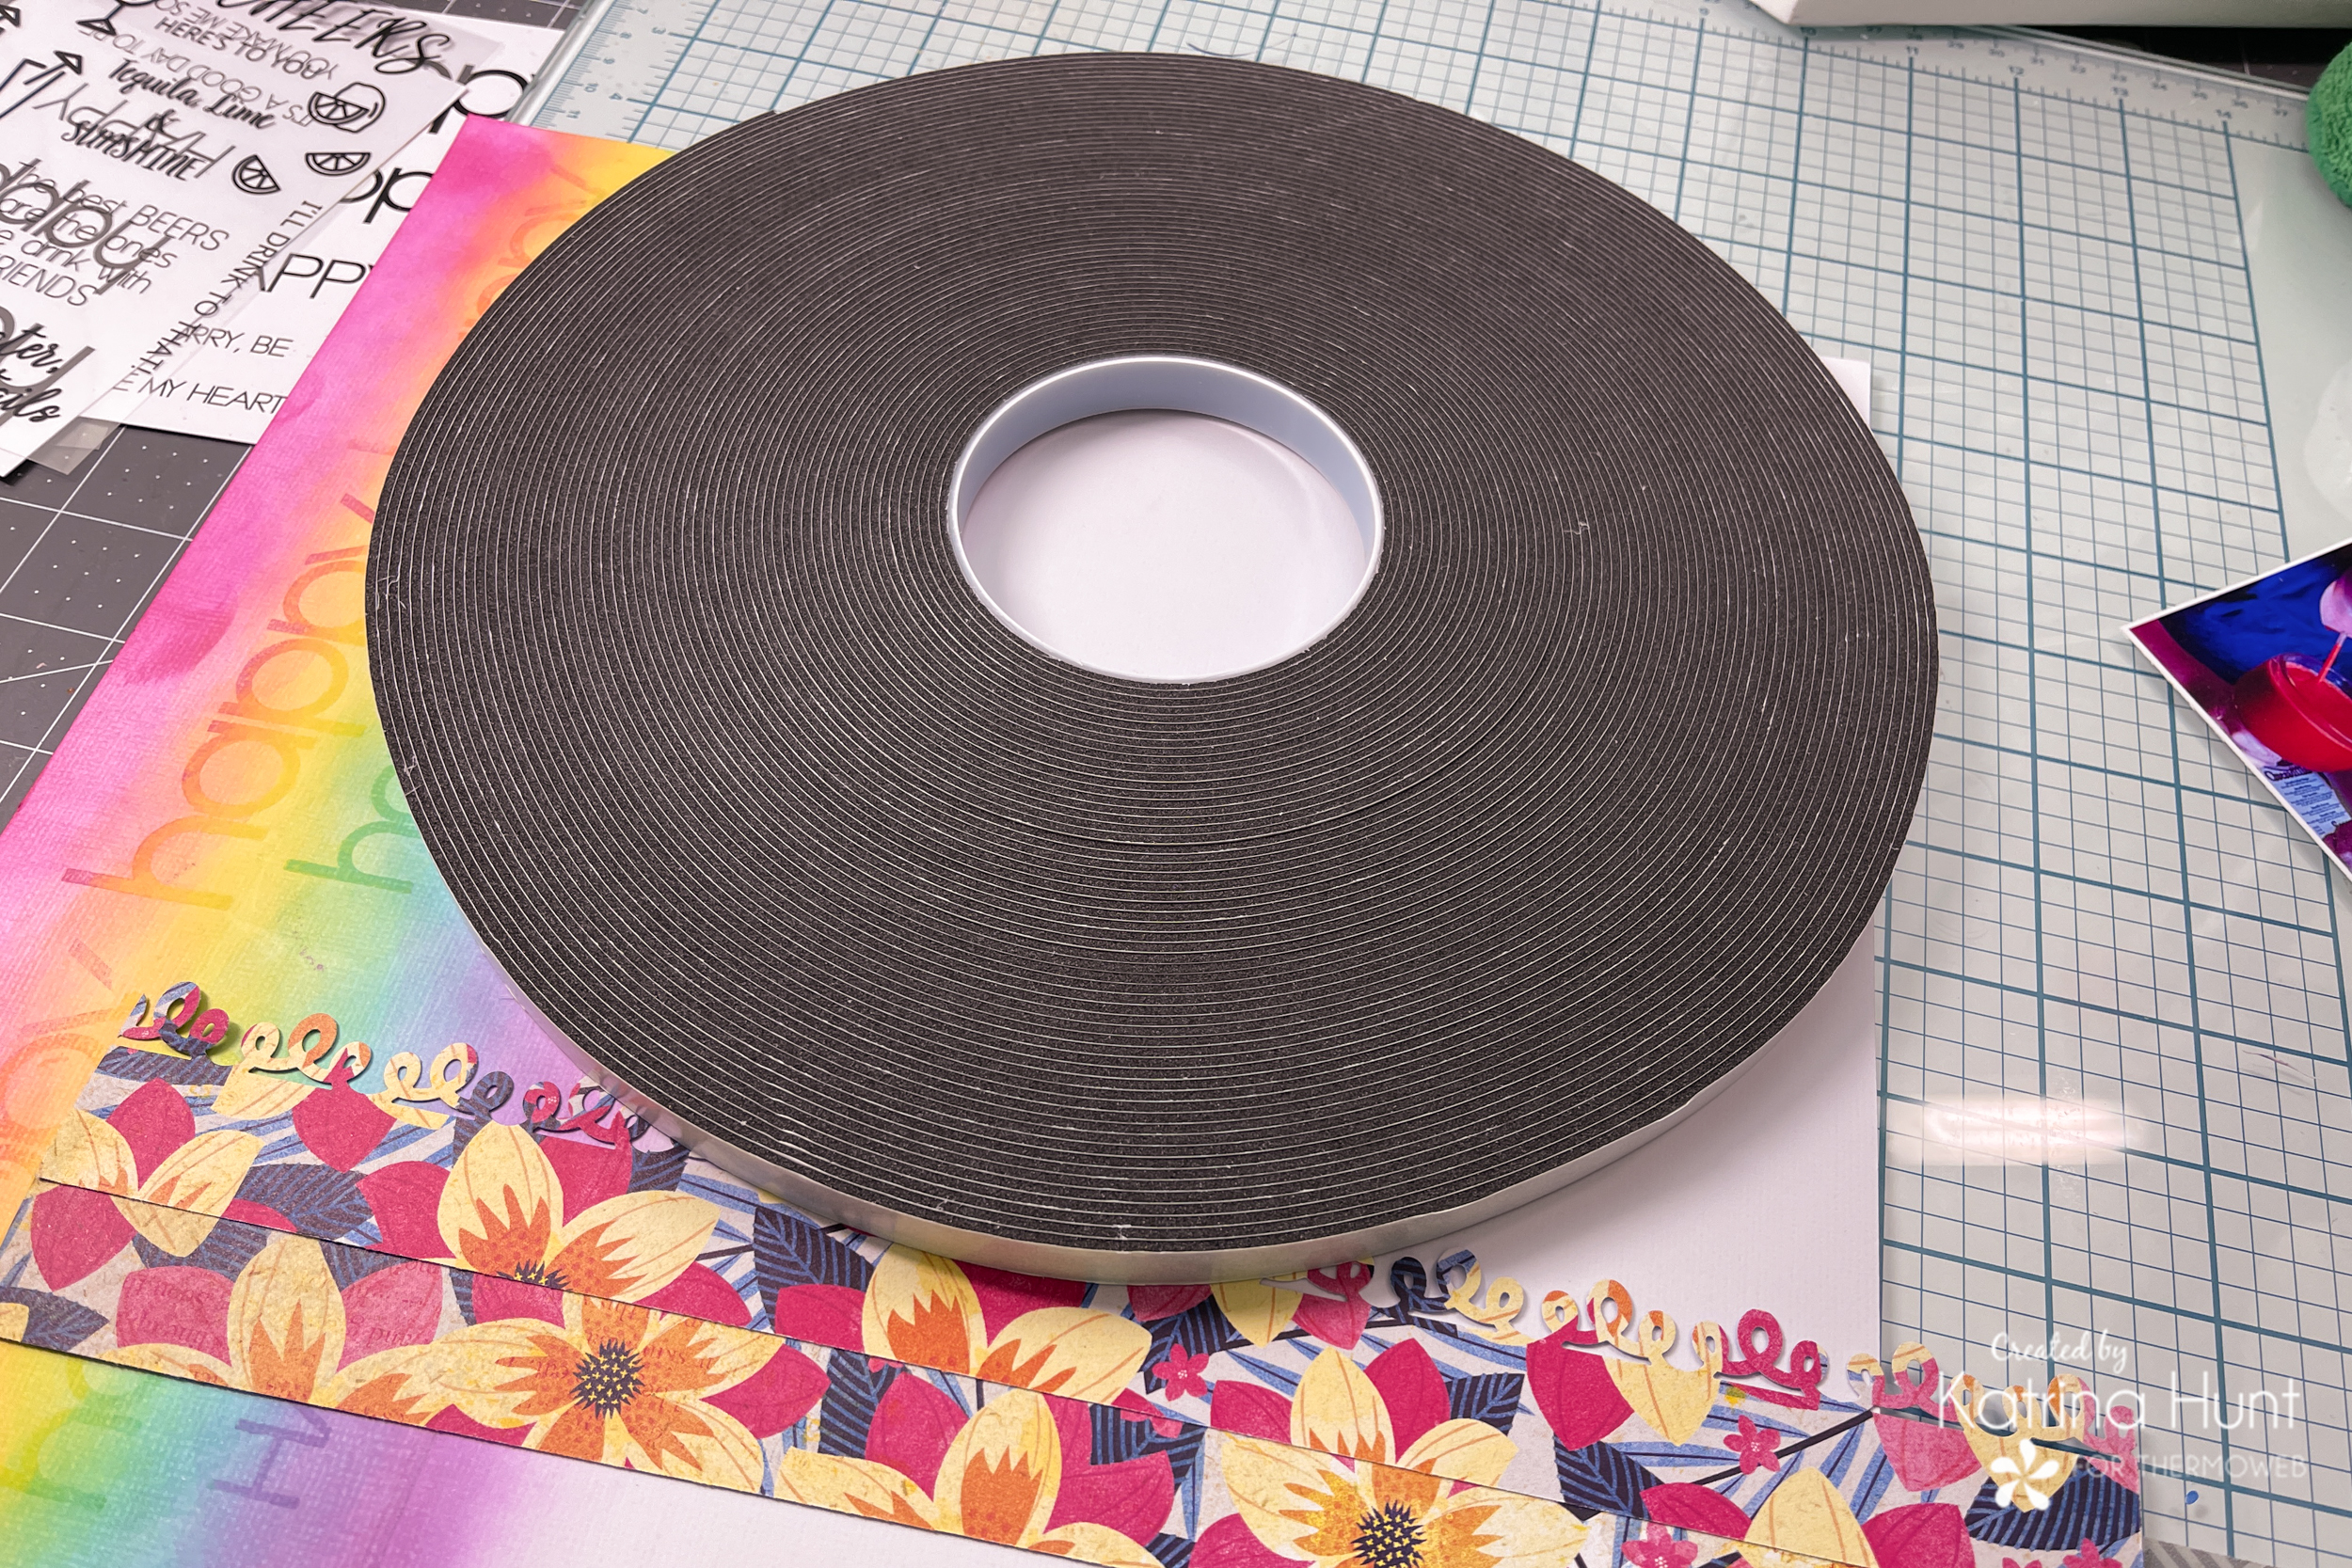
Gold Shattered Glass foil was my choice of foil. I love the gold against the black. After I foiled and adhered my strip to the punched strip, I popped everything up with some 3D Foam Tape.
Creating Areas of Interest
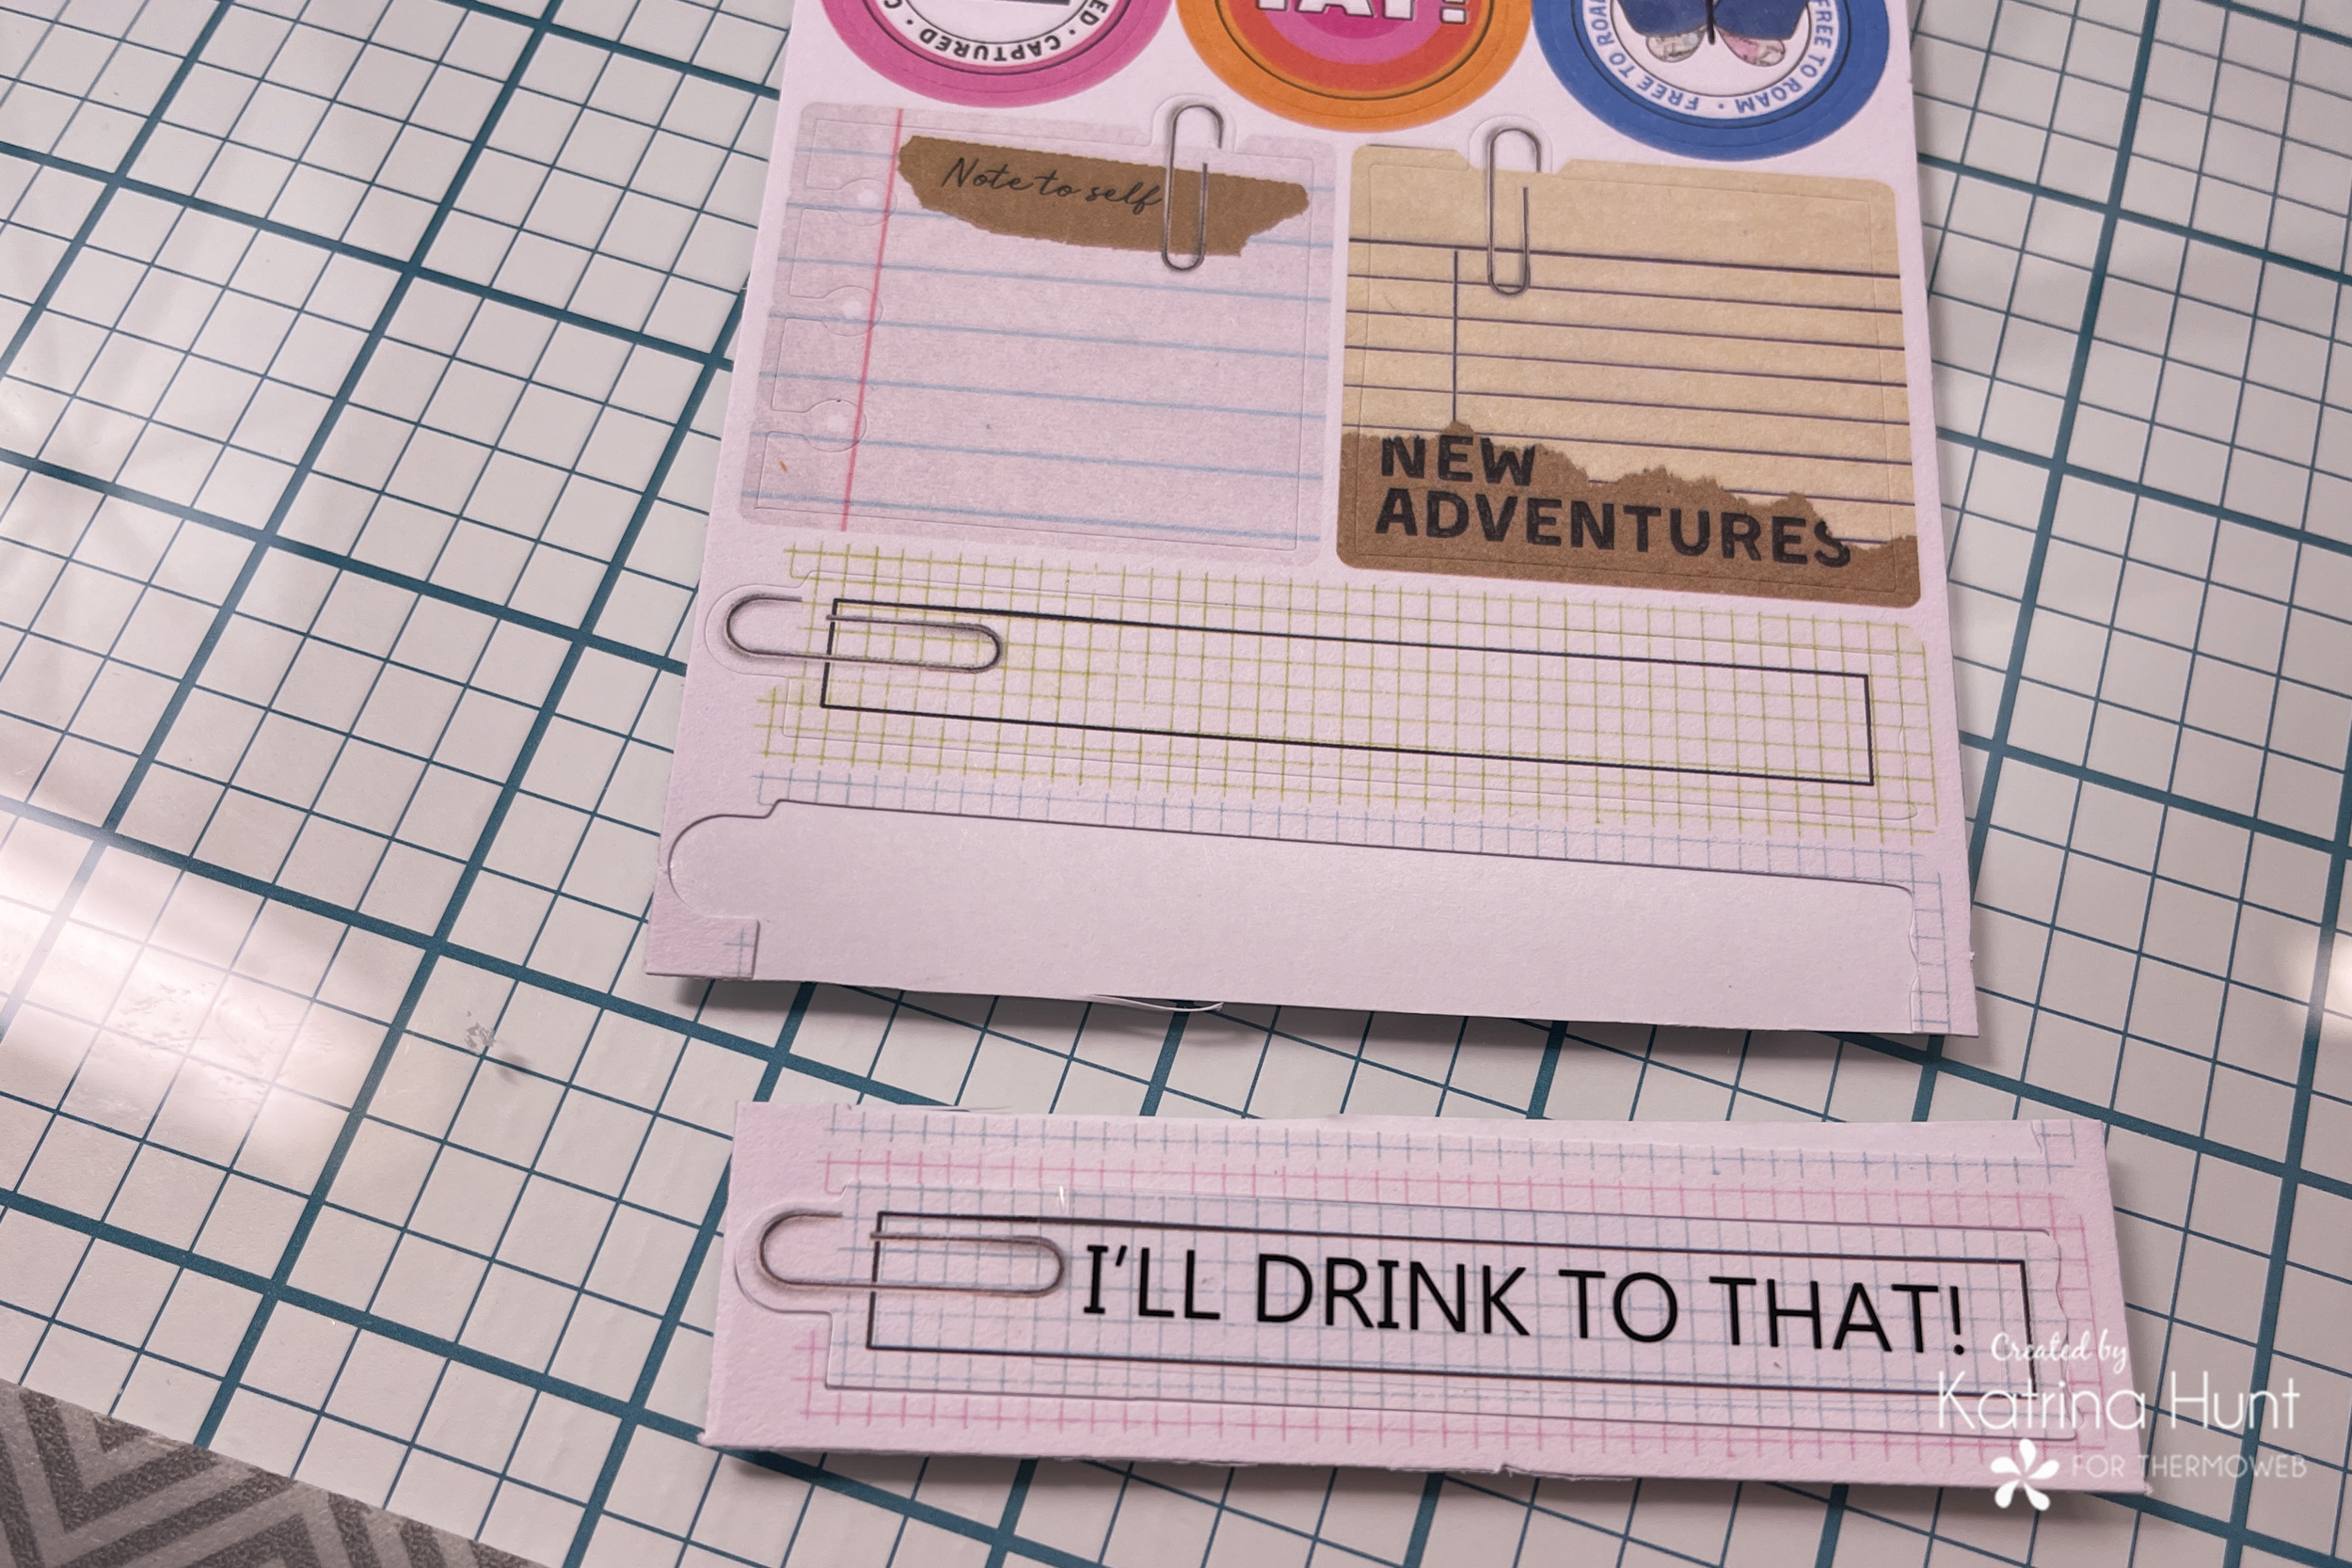
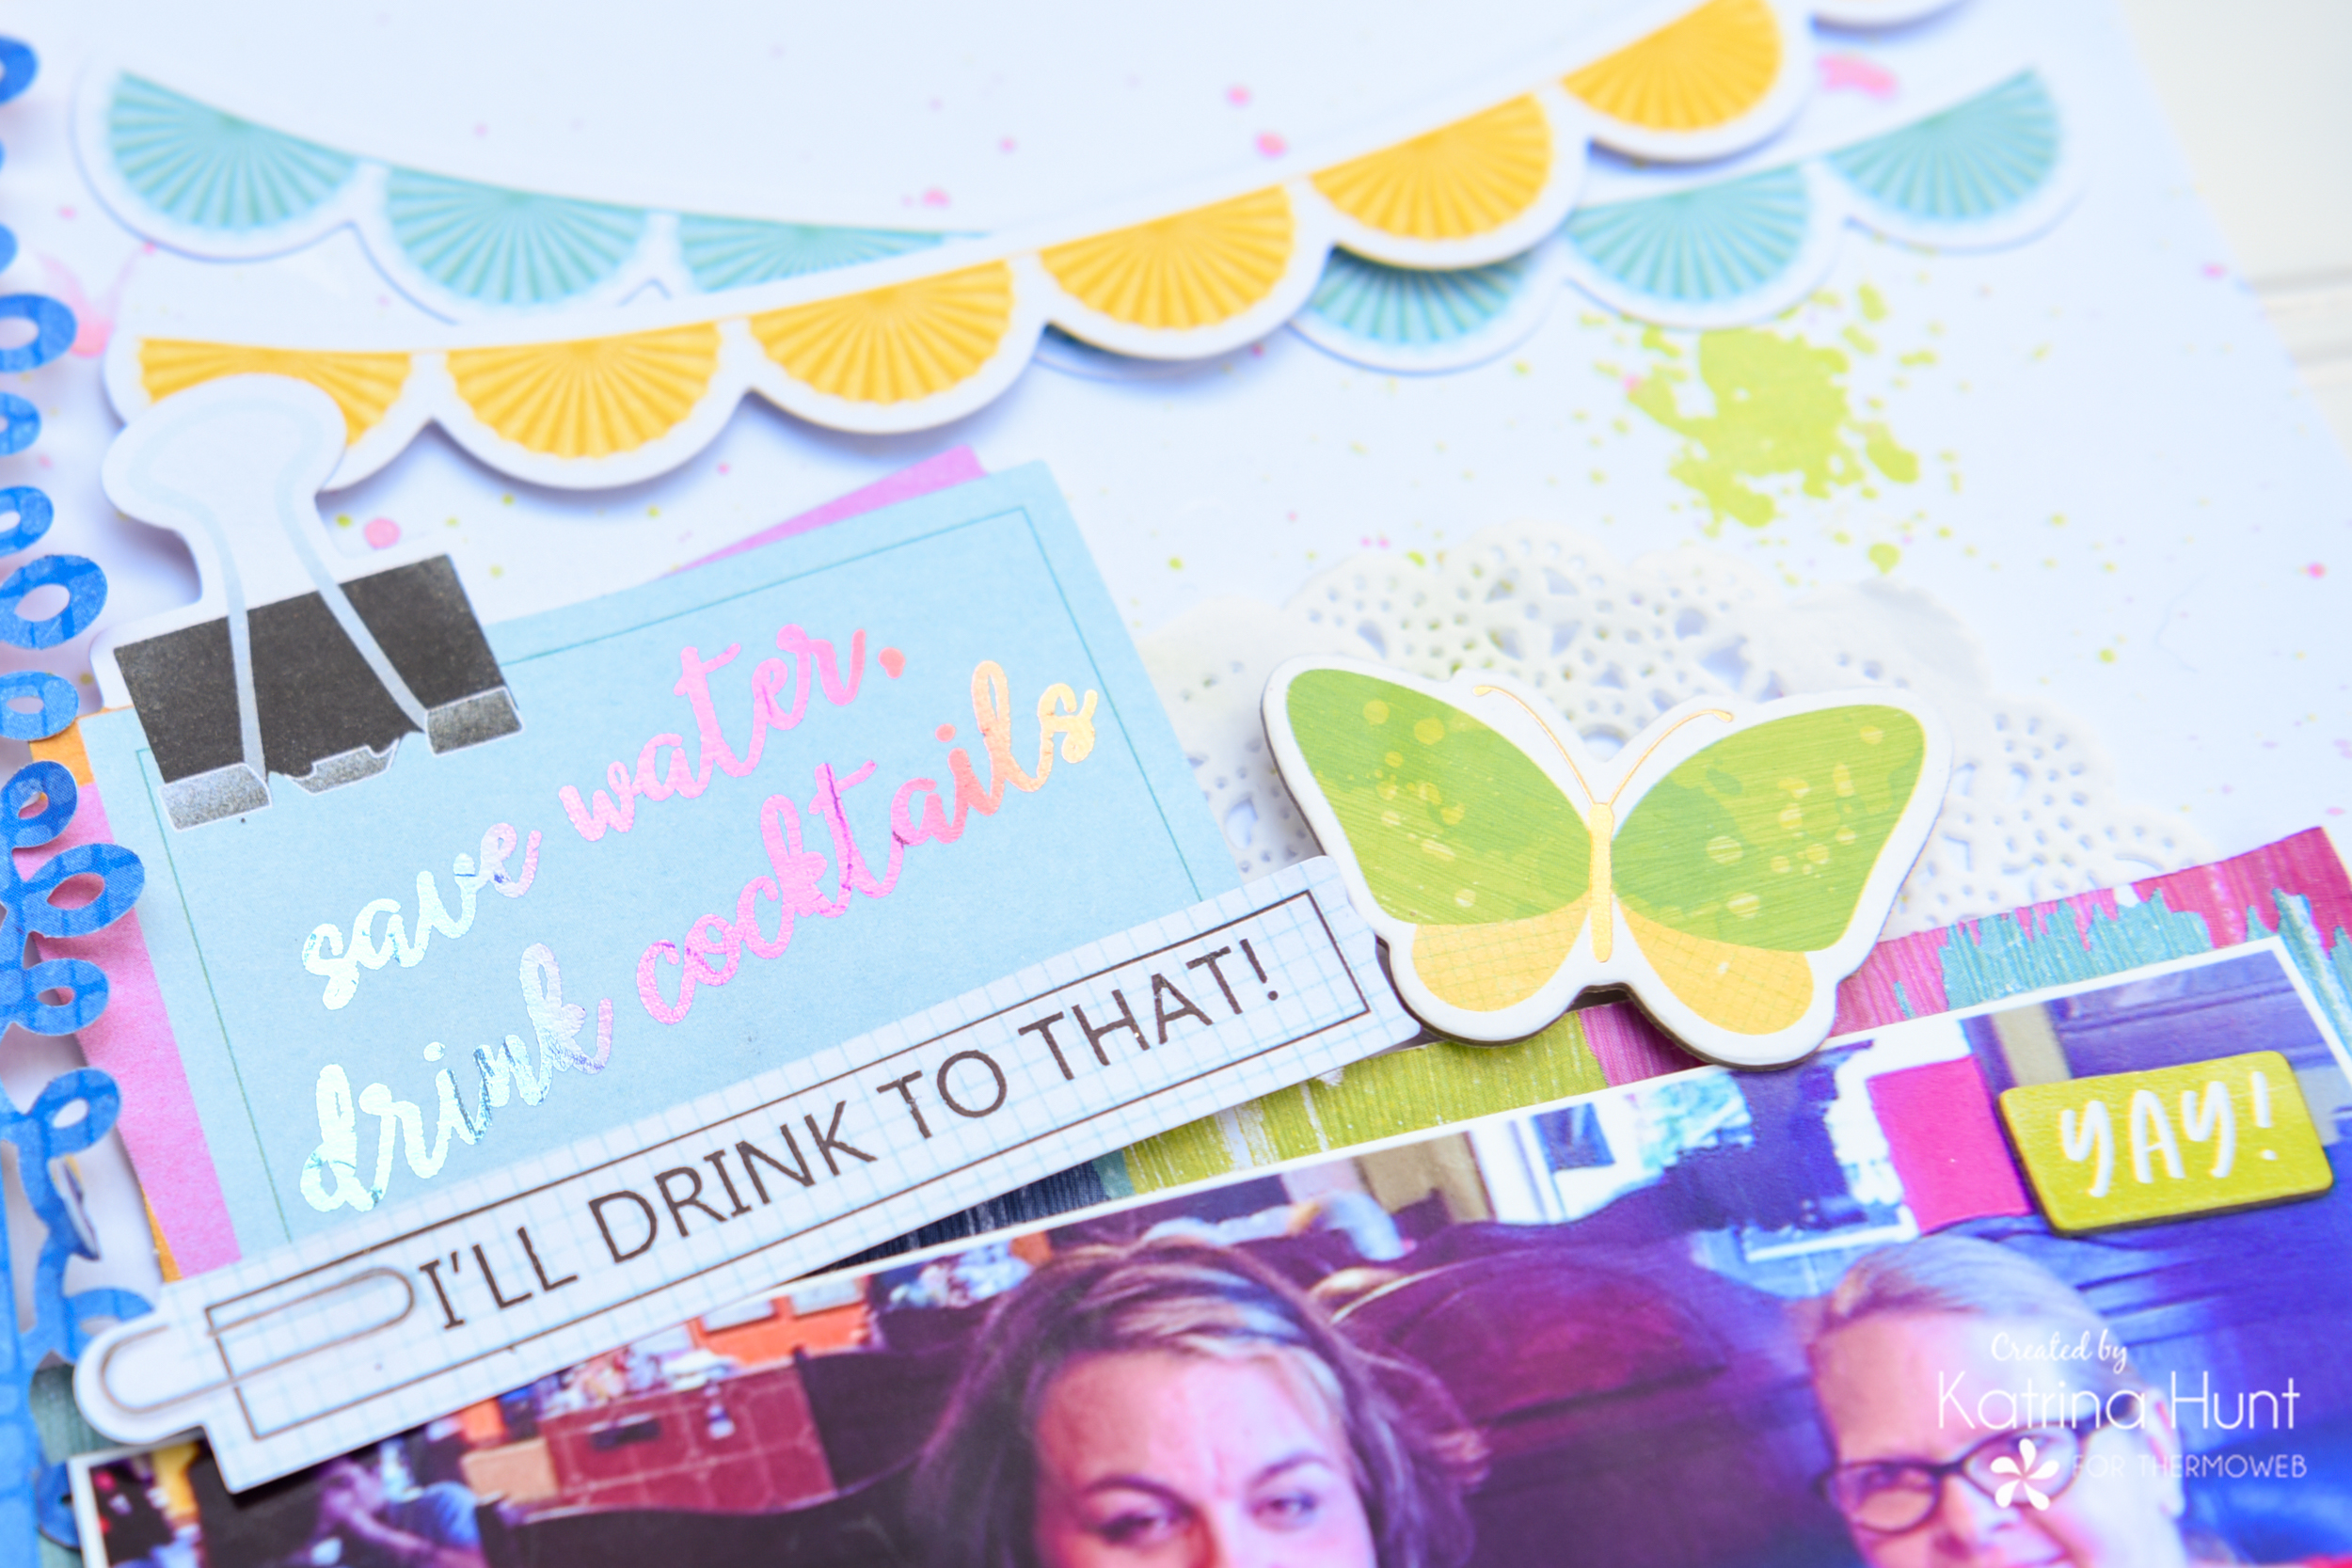
Premade die cuts that come with paper collections are wonderful areas to add your adhesive transfers. This collection had a sticker sheet and the “I’ll Drink To That” transfer was just the right size to apply to the sticker.
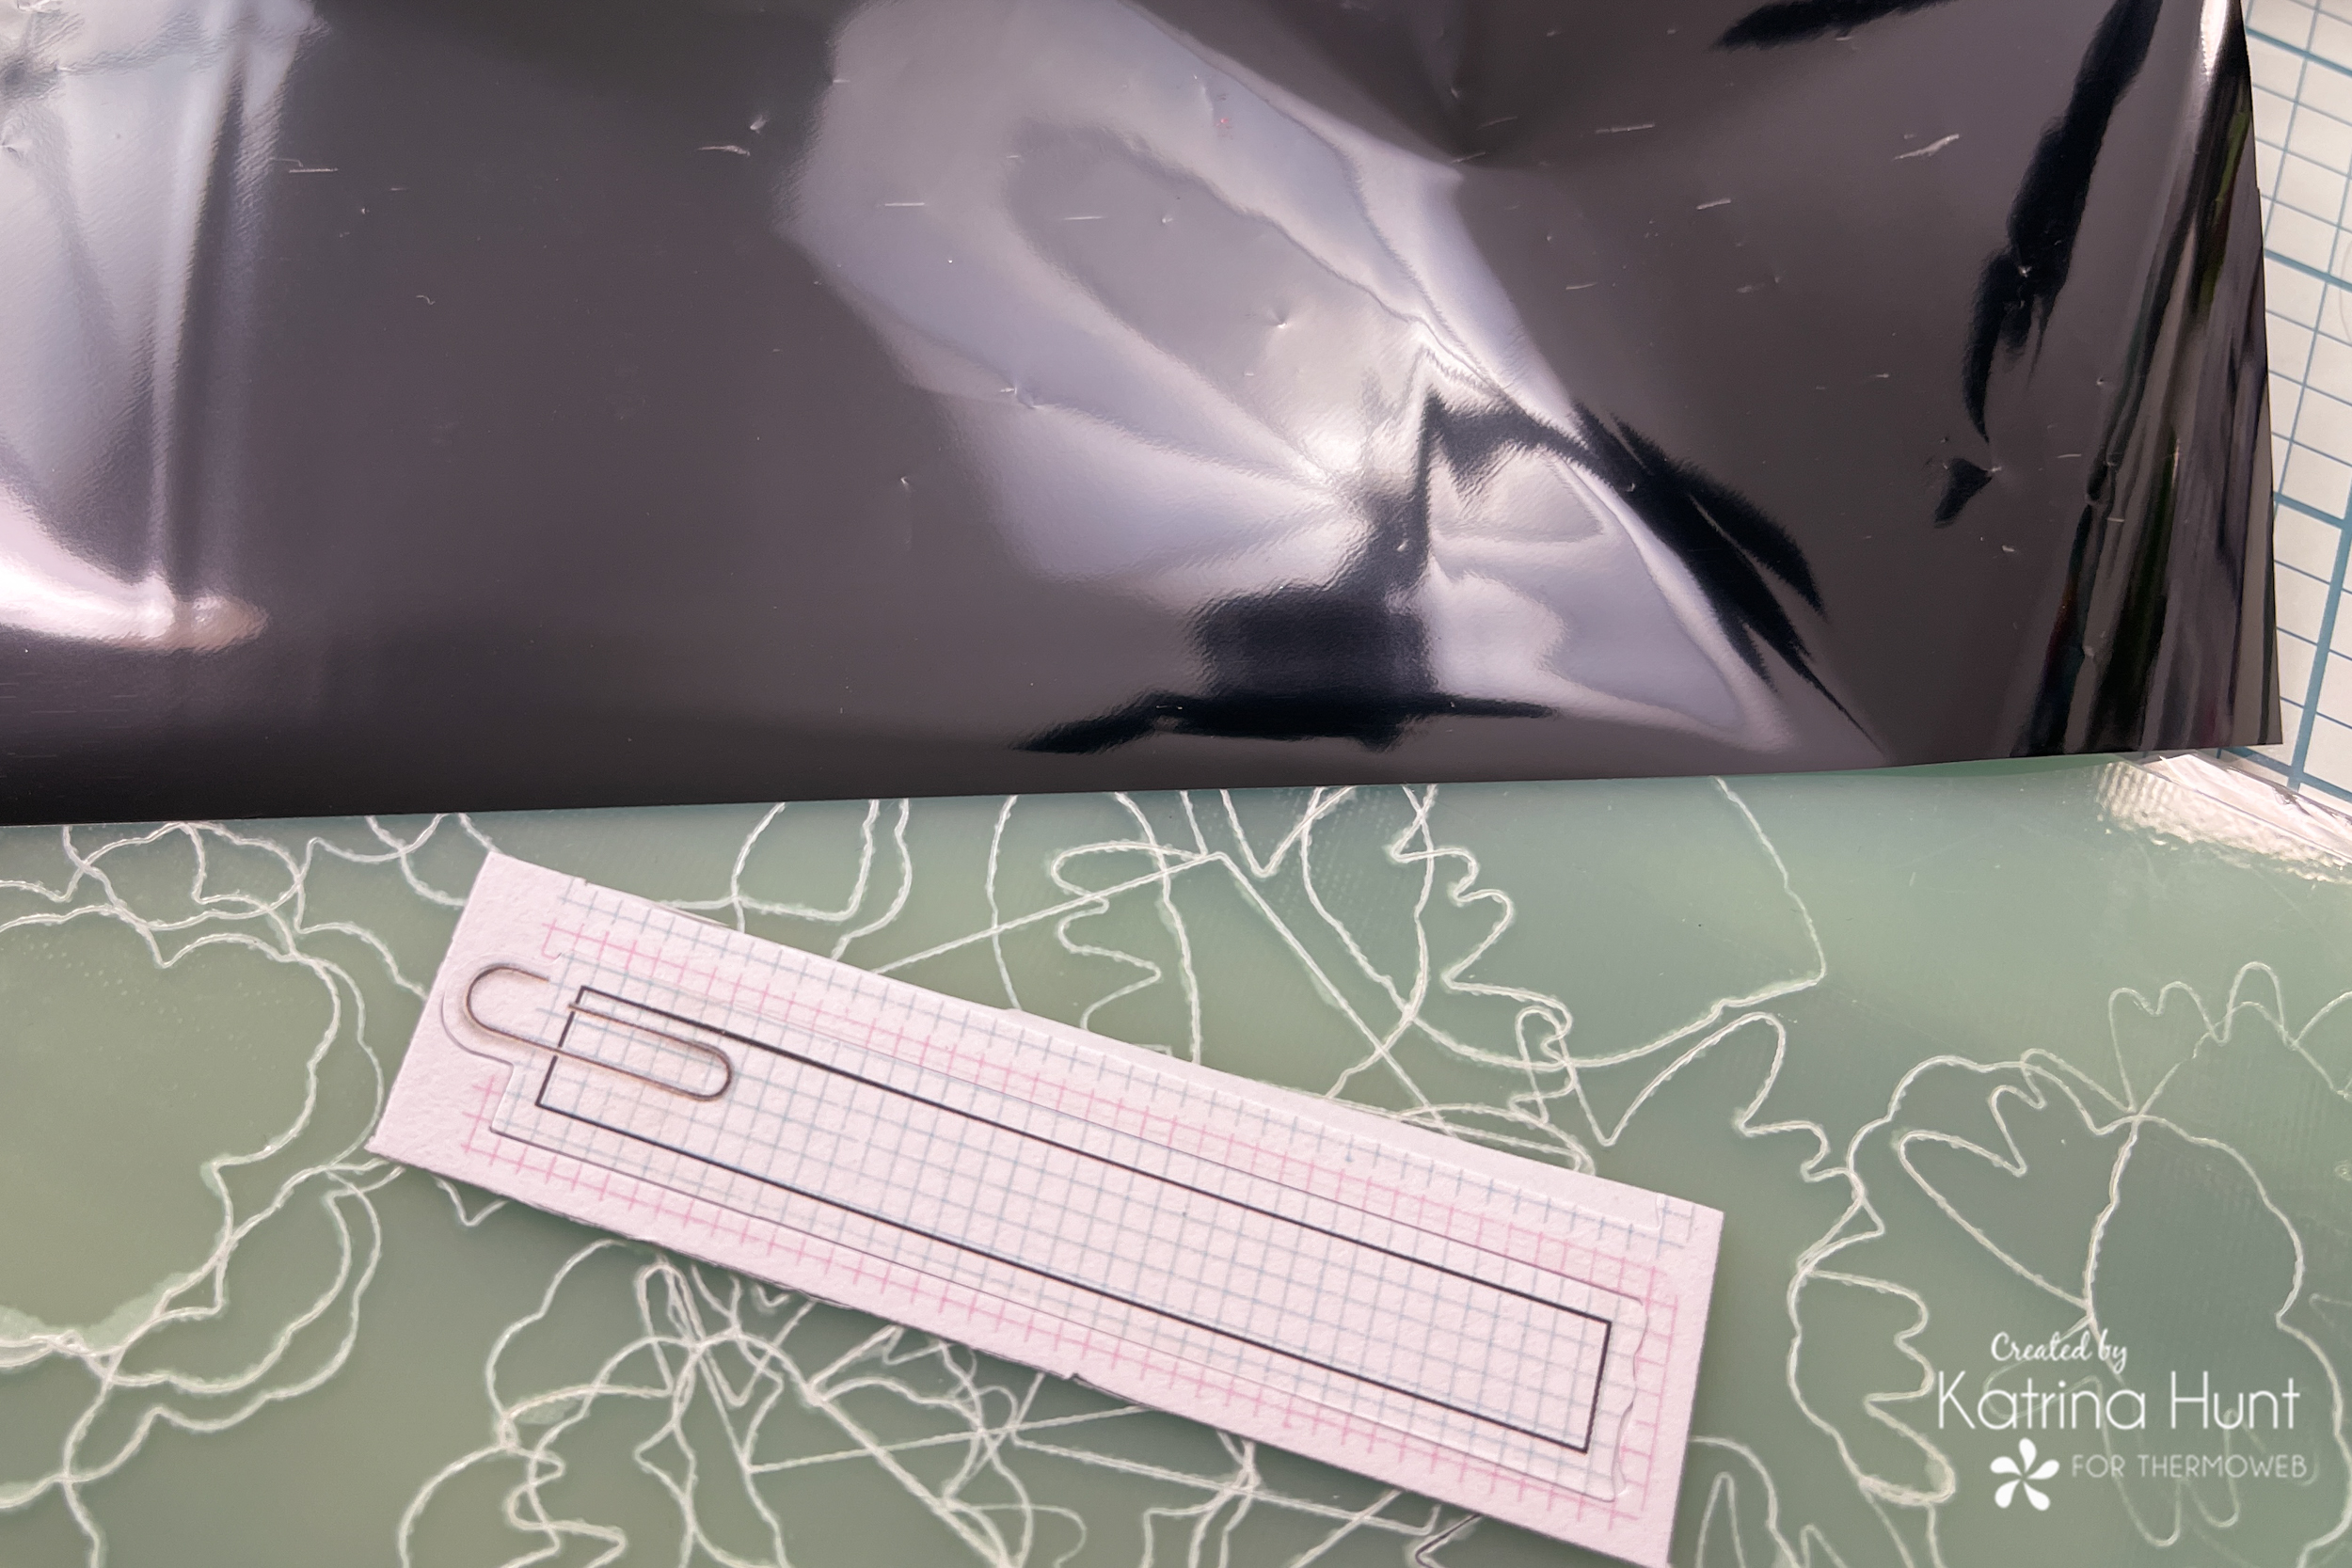
Wanting to tie in the black cocktail strip, I wanted the wording to stay black. The Black Deco Foil was able to accomplish that!
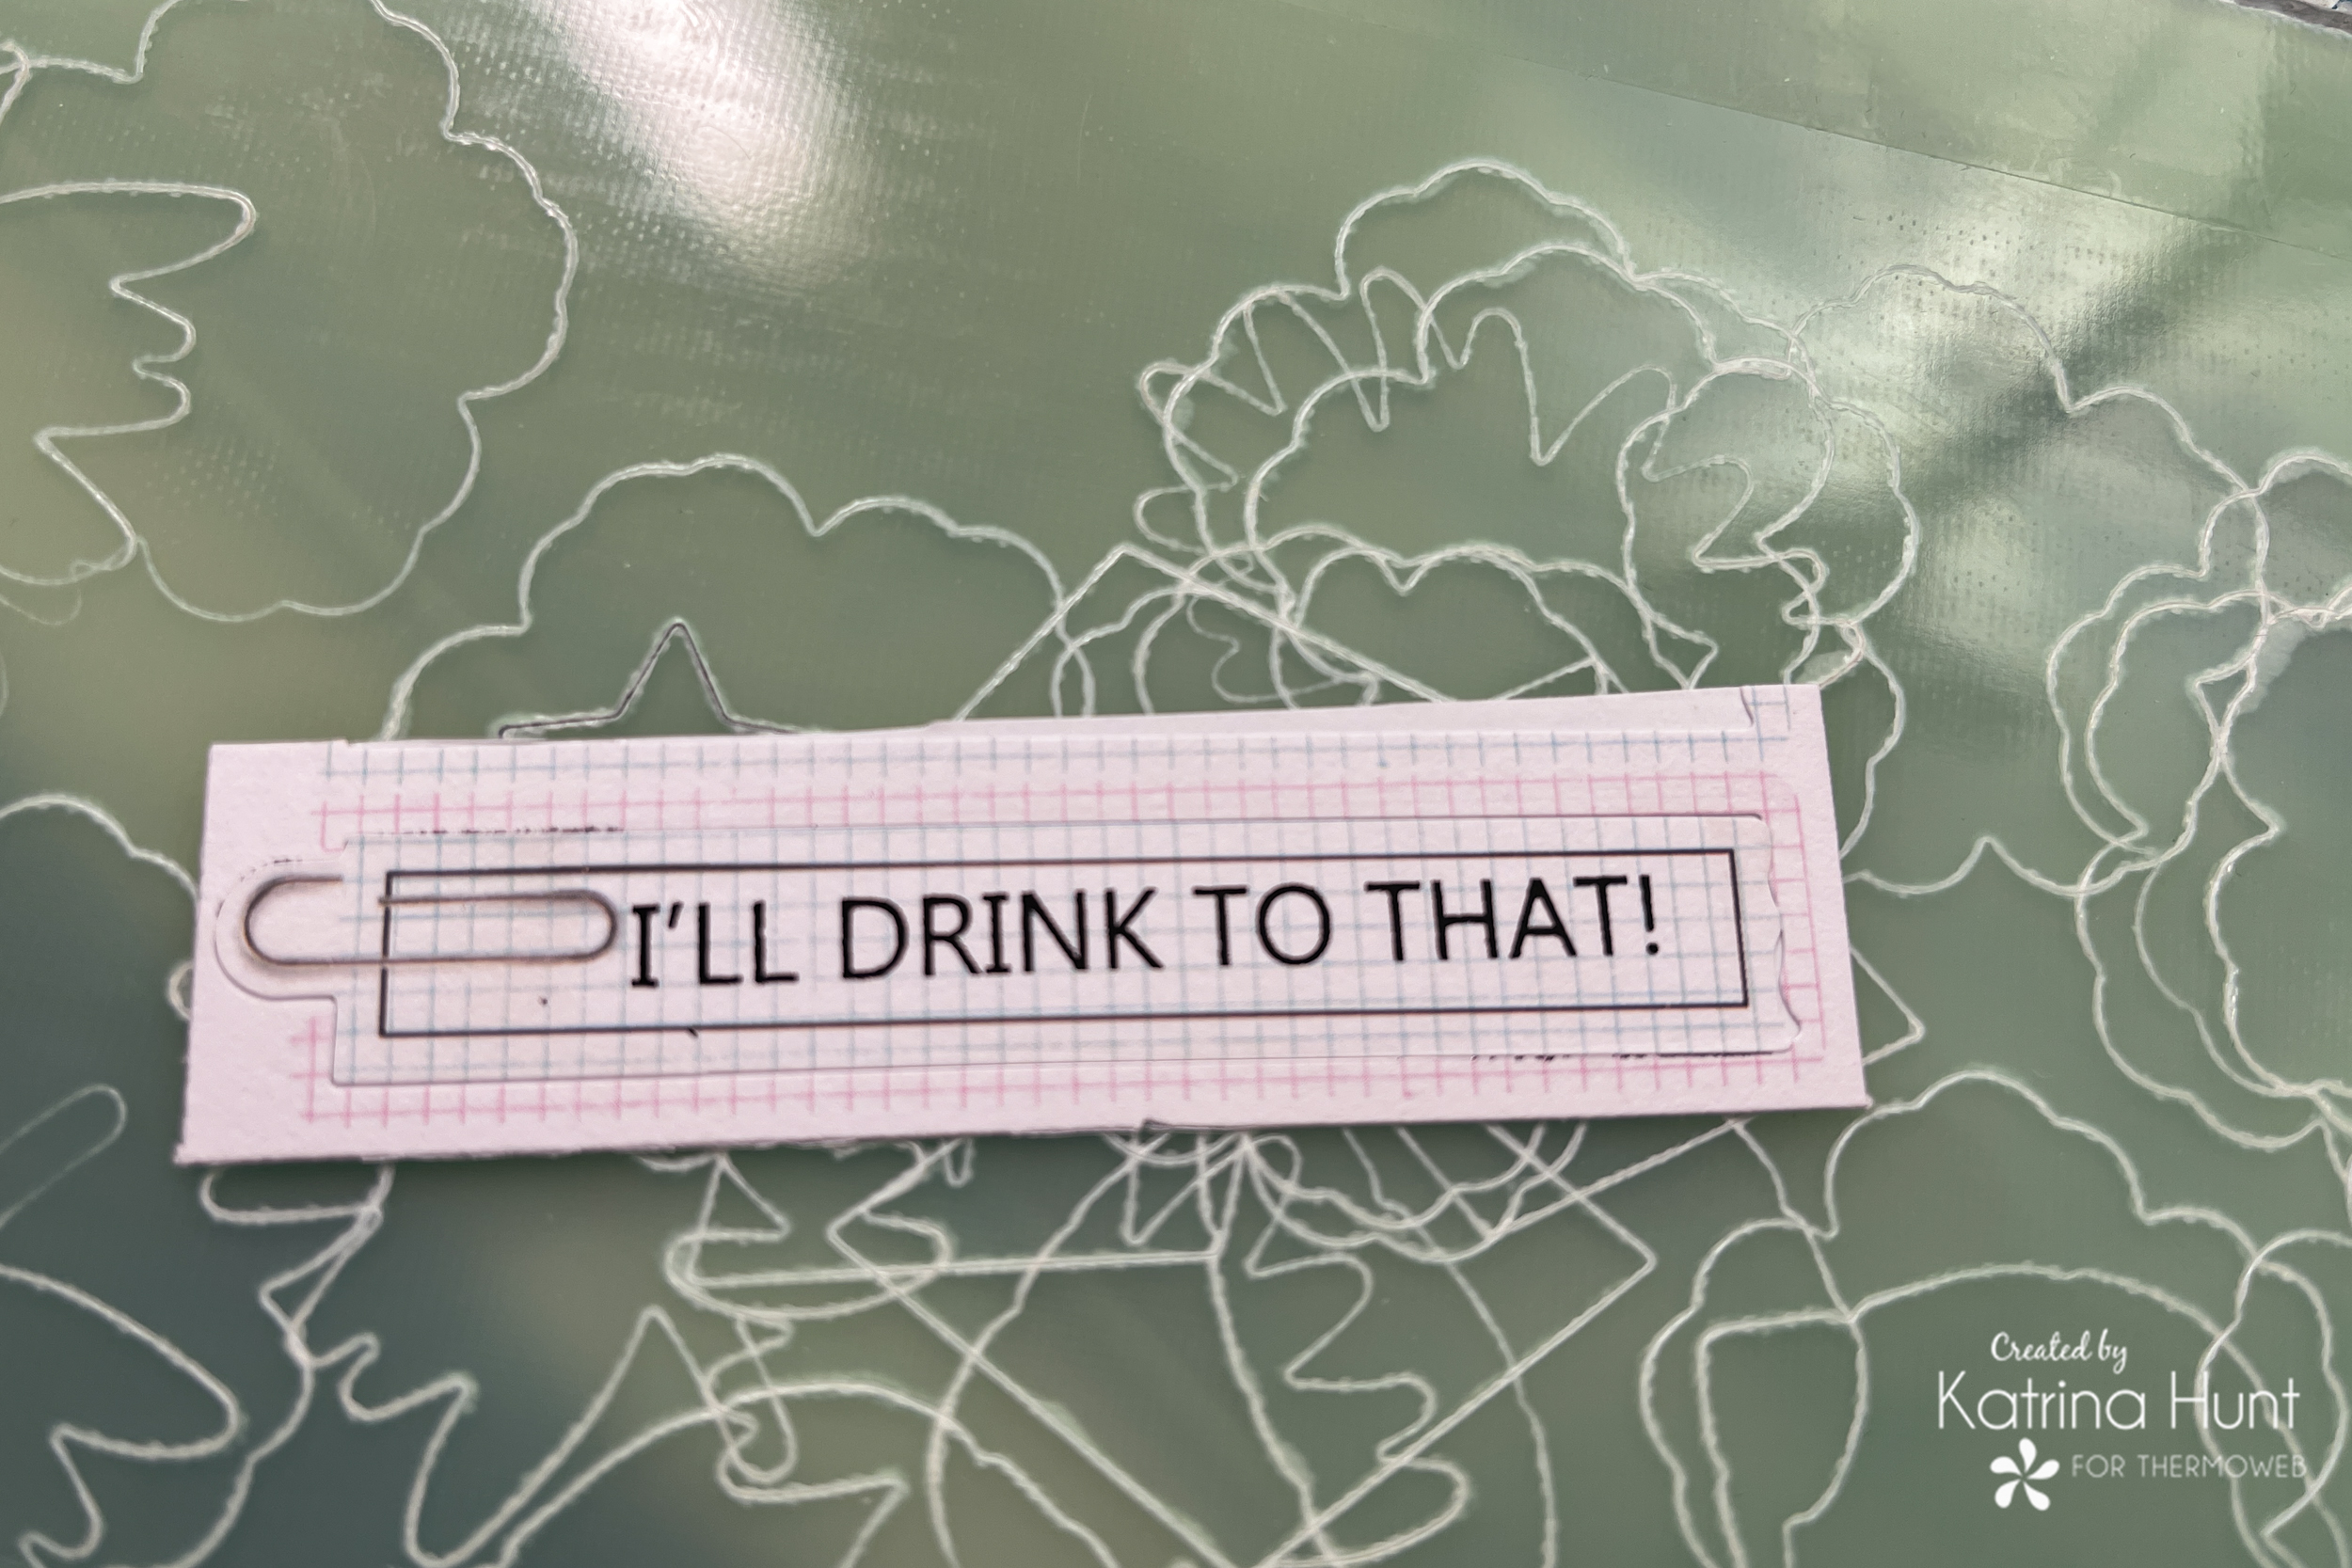
Now I had a little sticker that was spruced up and I could use on my layout!
On to one more die cut that I added a transfer to! There was a little journaling spot that I thought would look super cute above my picture. The phrase “save water, drink cocktails” seemed to fit this picture perfectly!

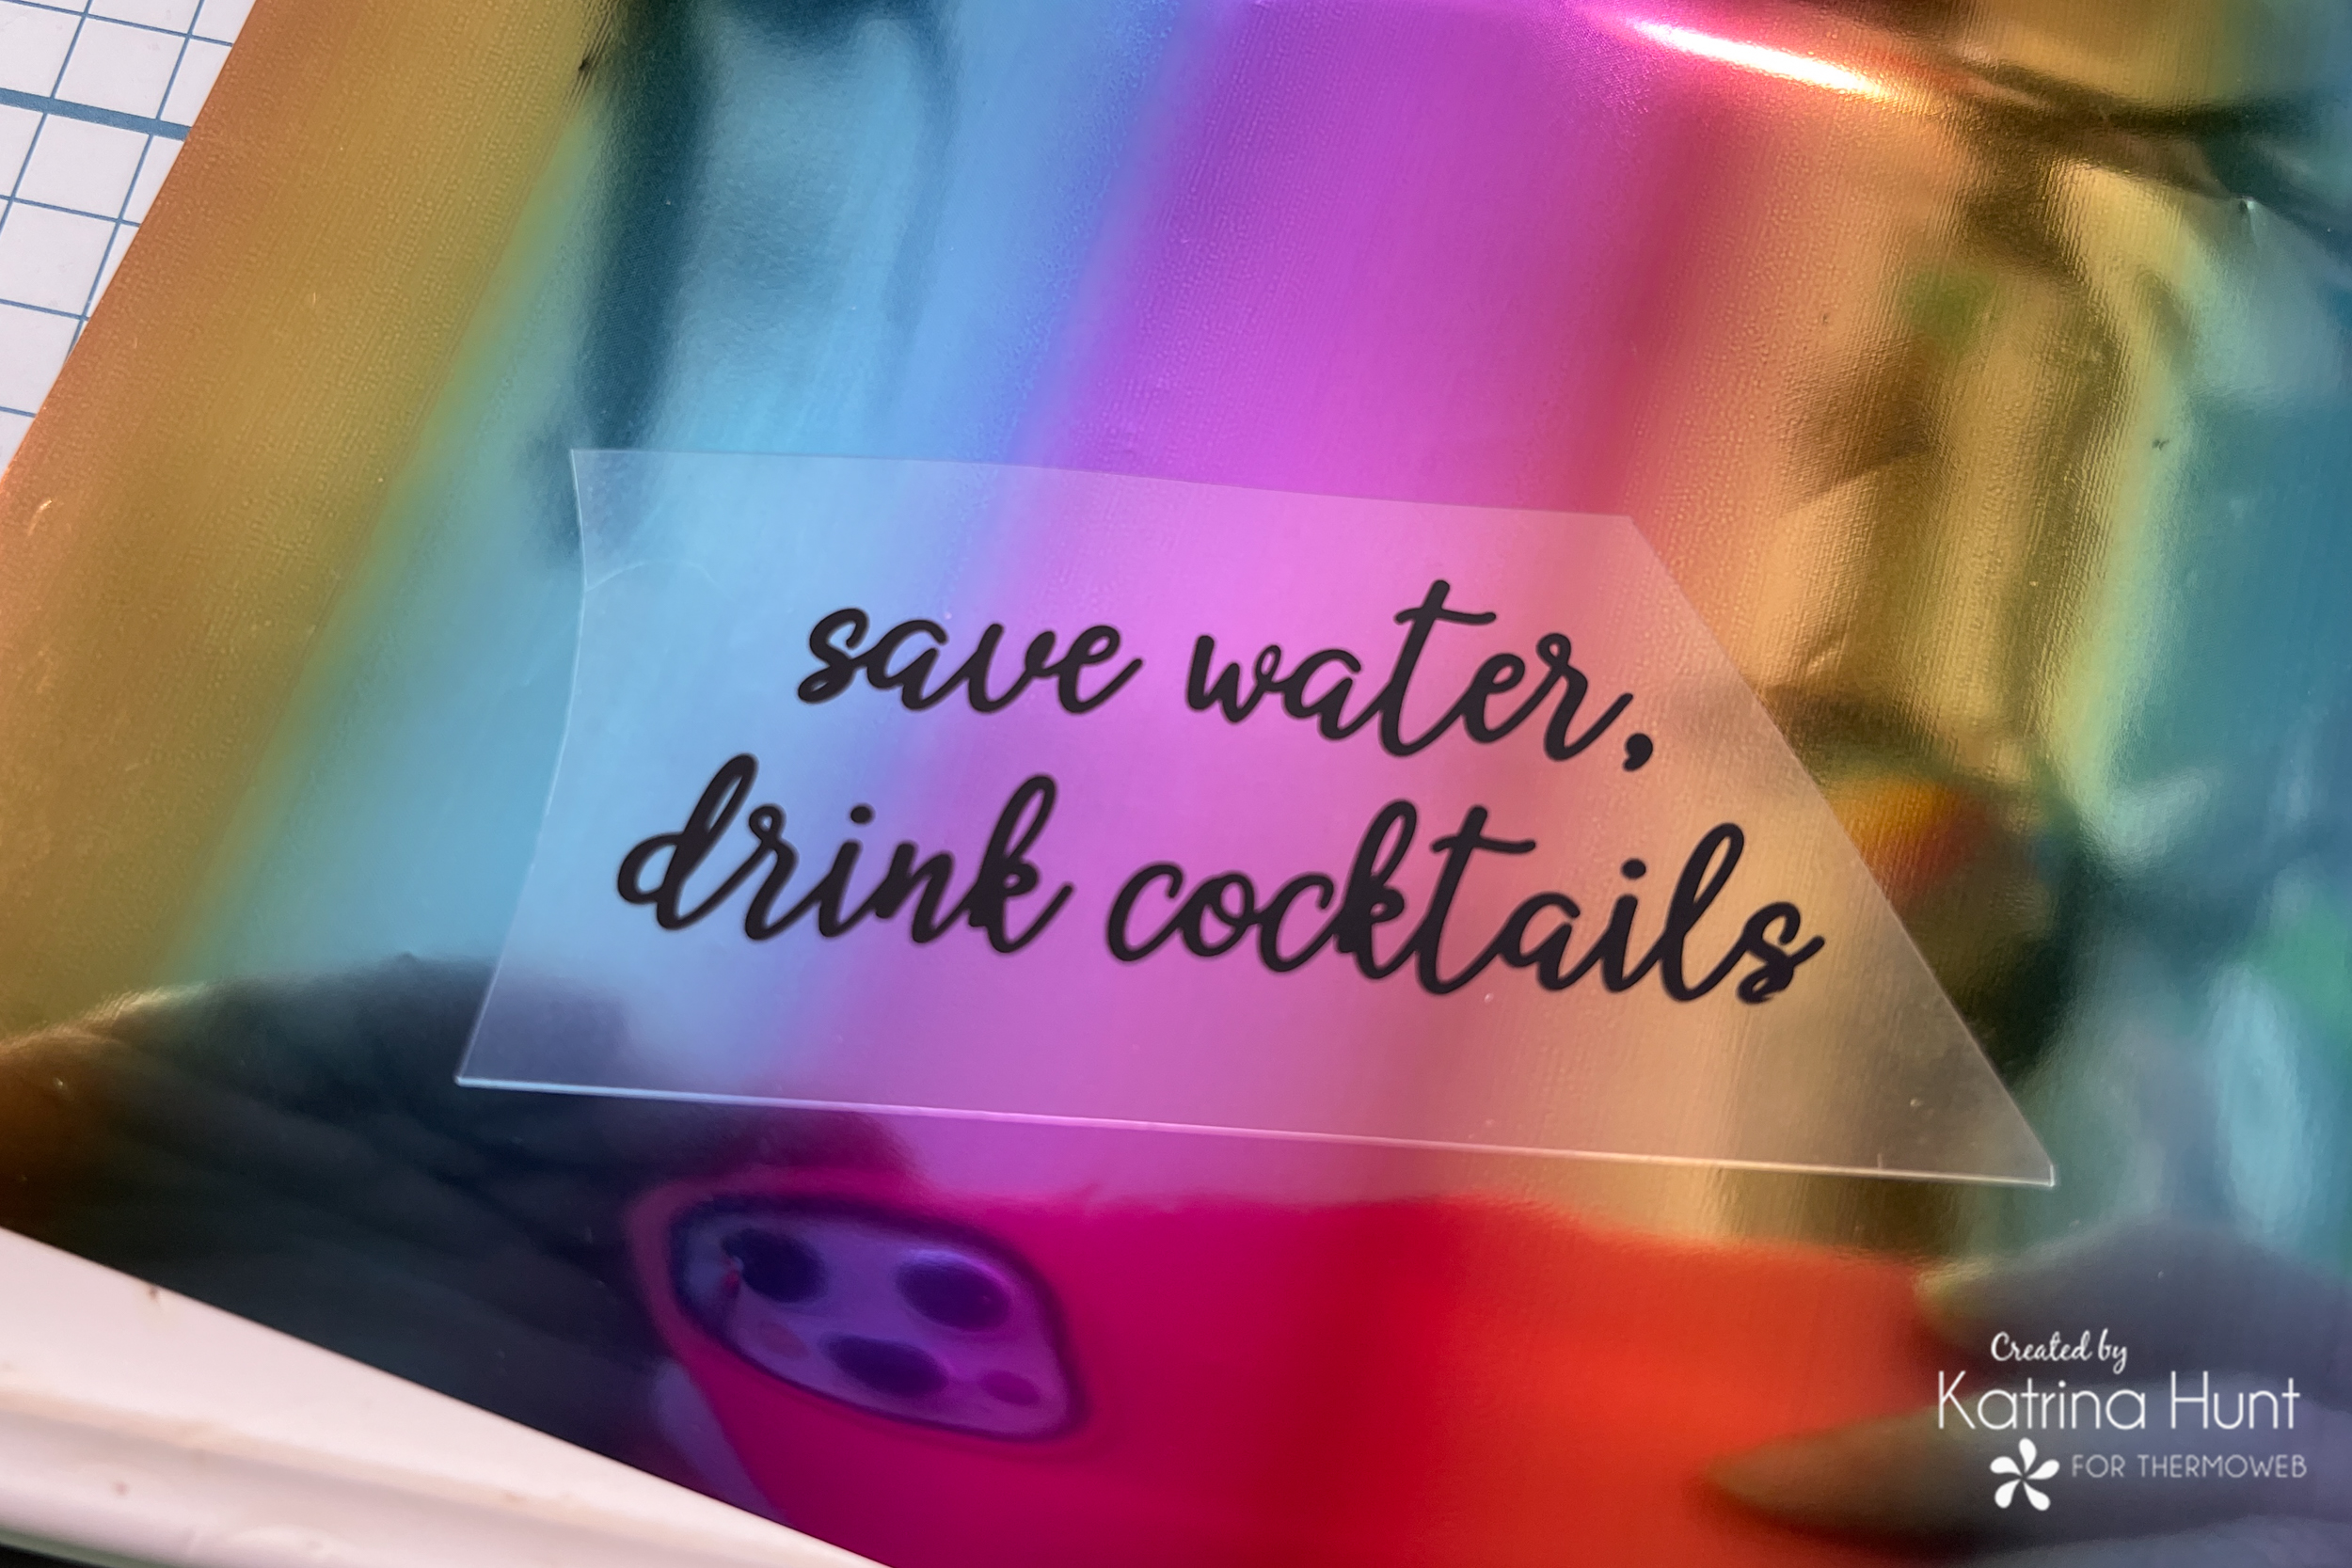
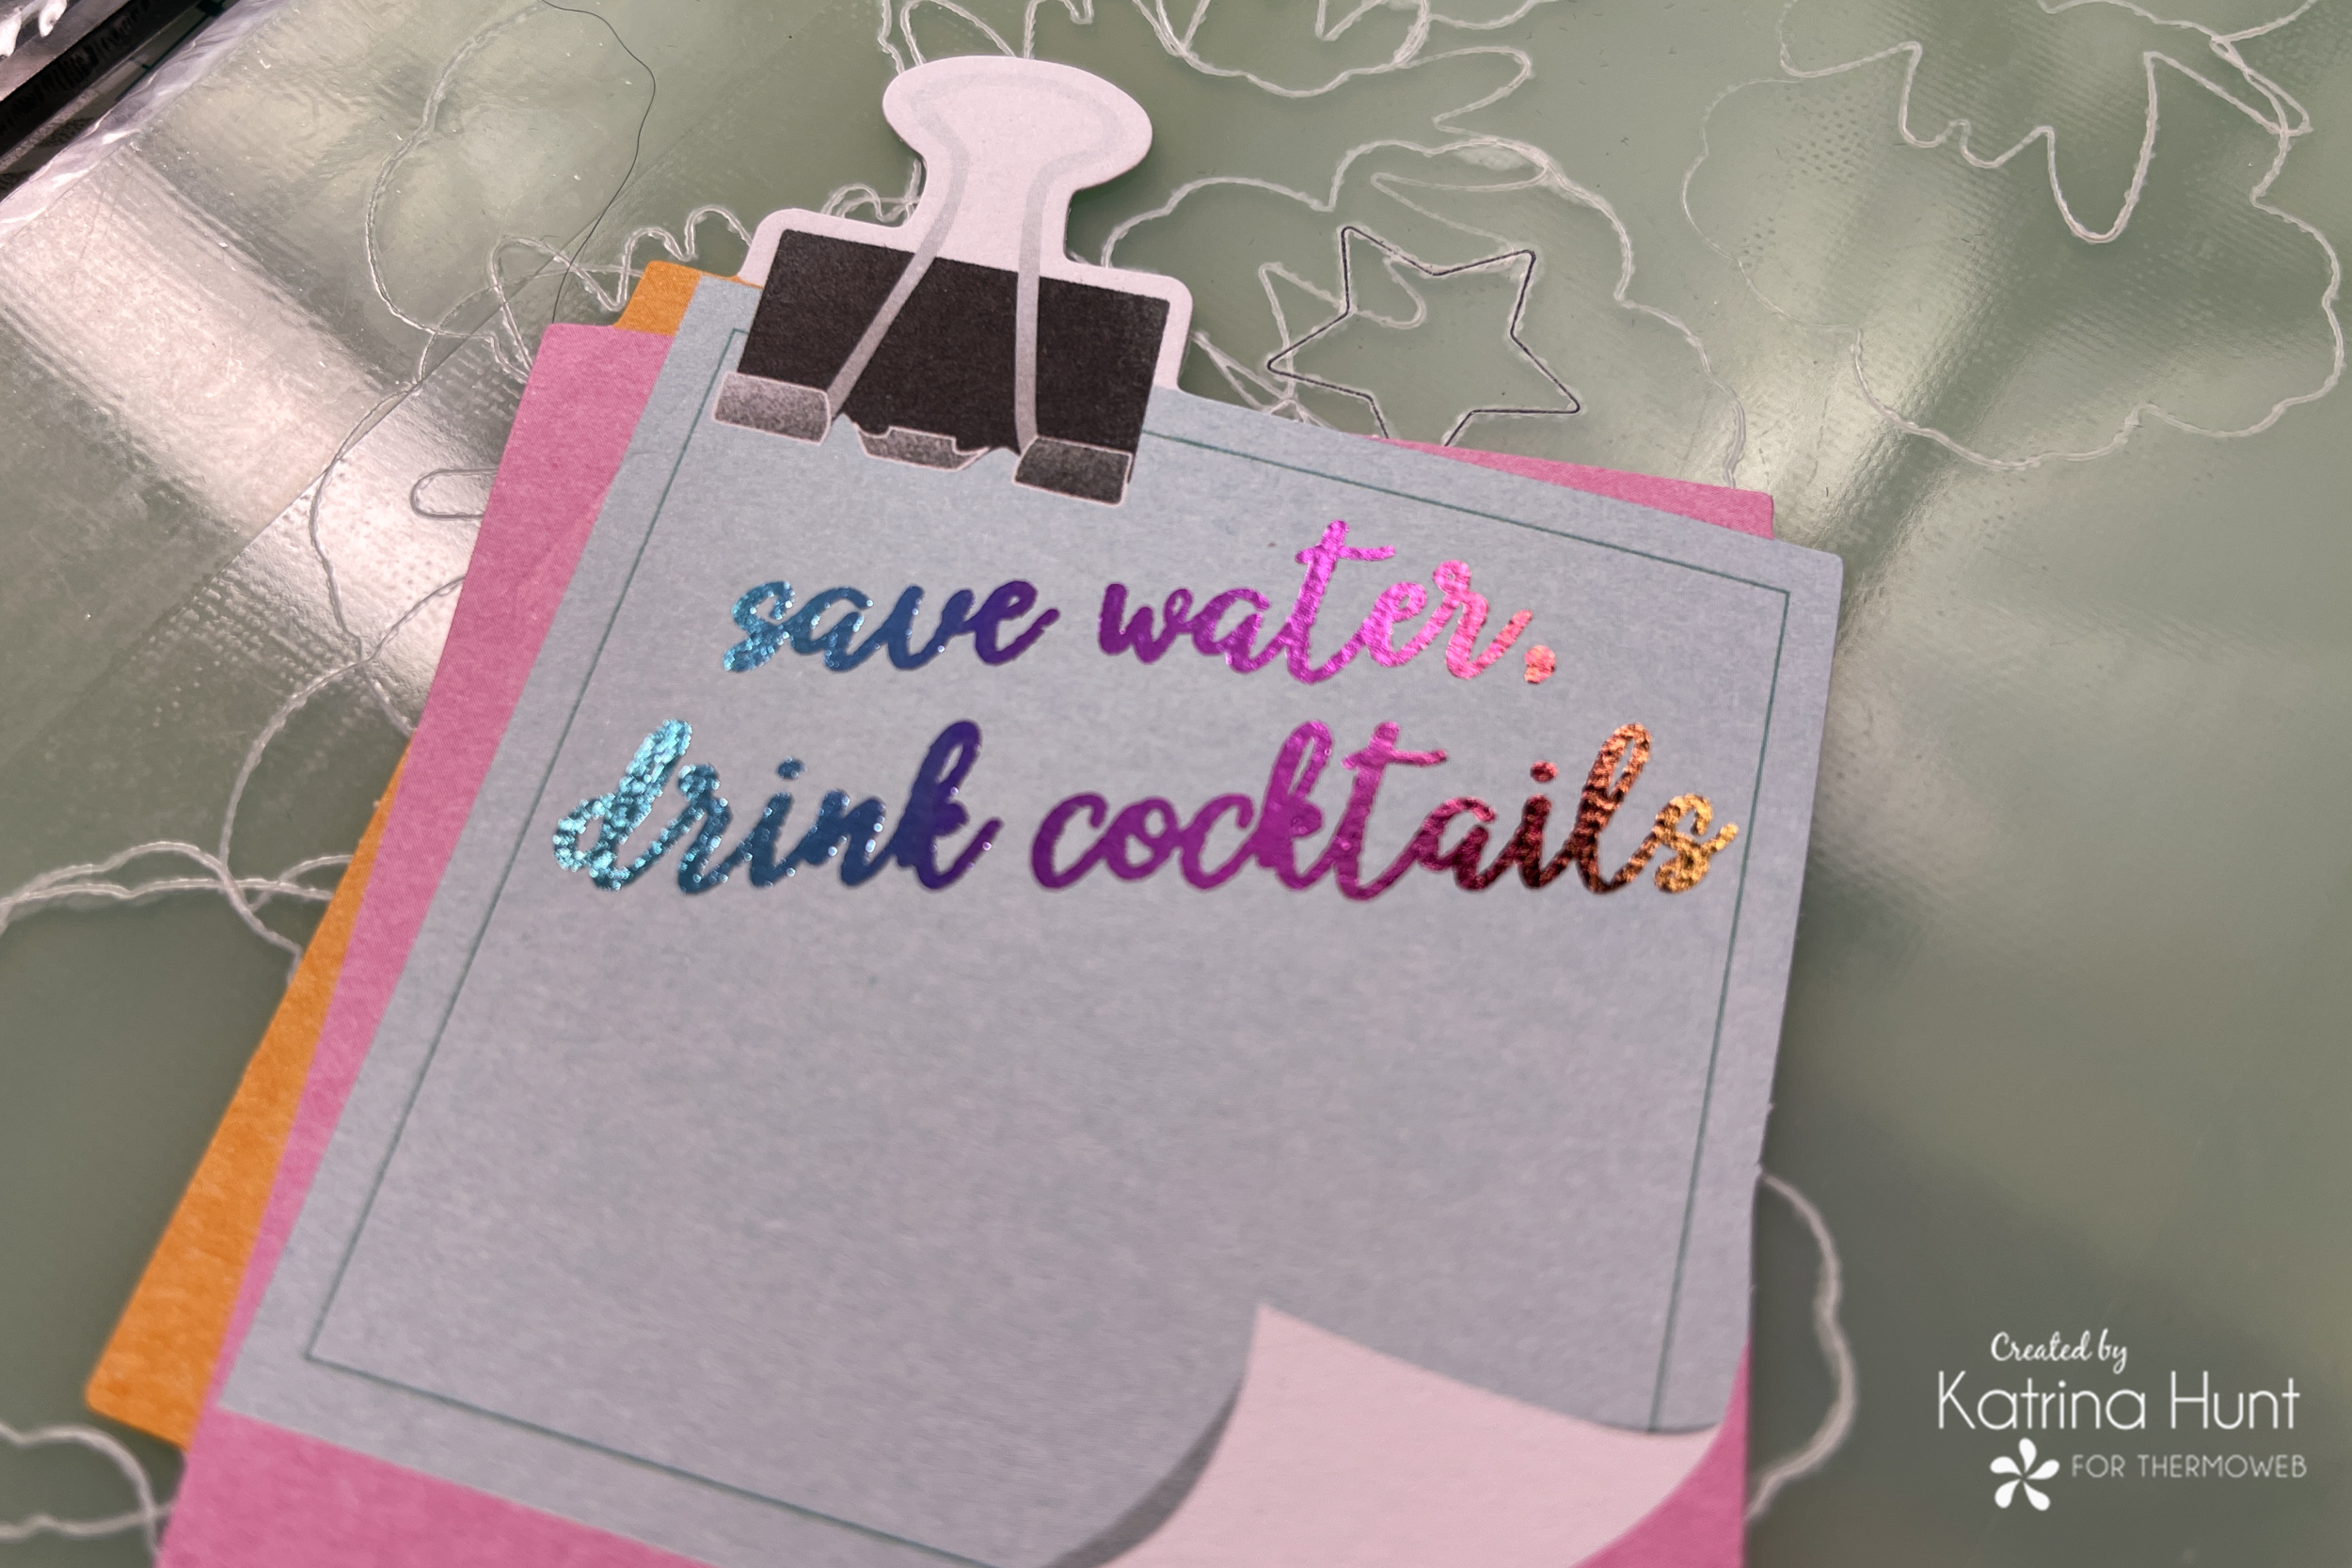
I placed the adhesive transfer (before transferring) on my Mystic Rainbow foil to figure out the placement of the colors. Then, I just cut around that area! I applied the transfer and the foil by running thru my Gemini Jr. die cutting machine. And afterward, I had a cute little addition to my die cut!
To finish up my layout, I created a title area with a chipboard tag from the collection. I used the Ultra bond Liquid adhesive to adhere the chipboard to my layout.
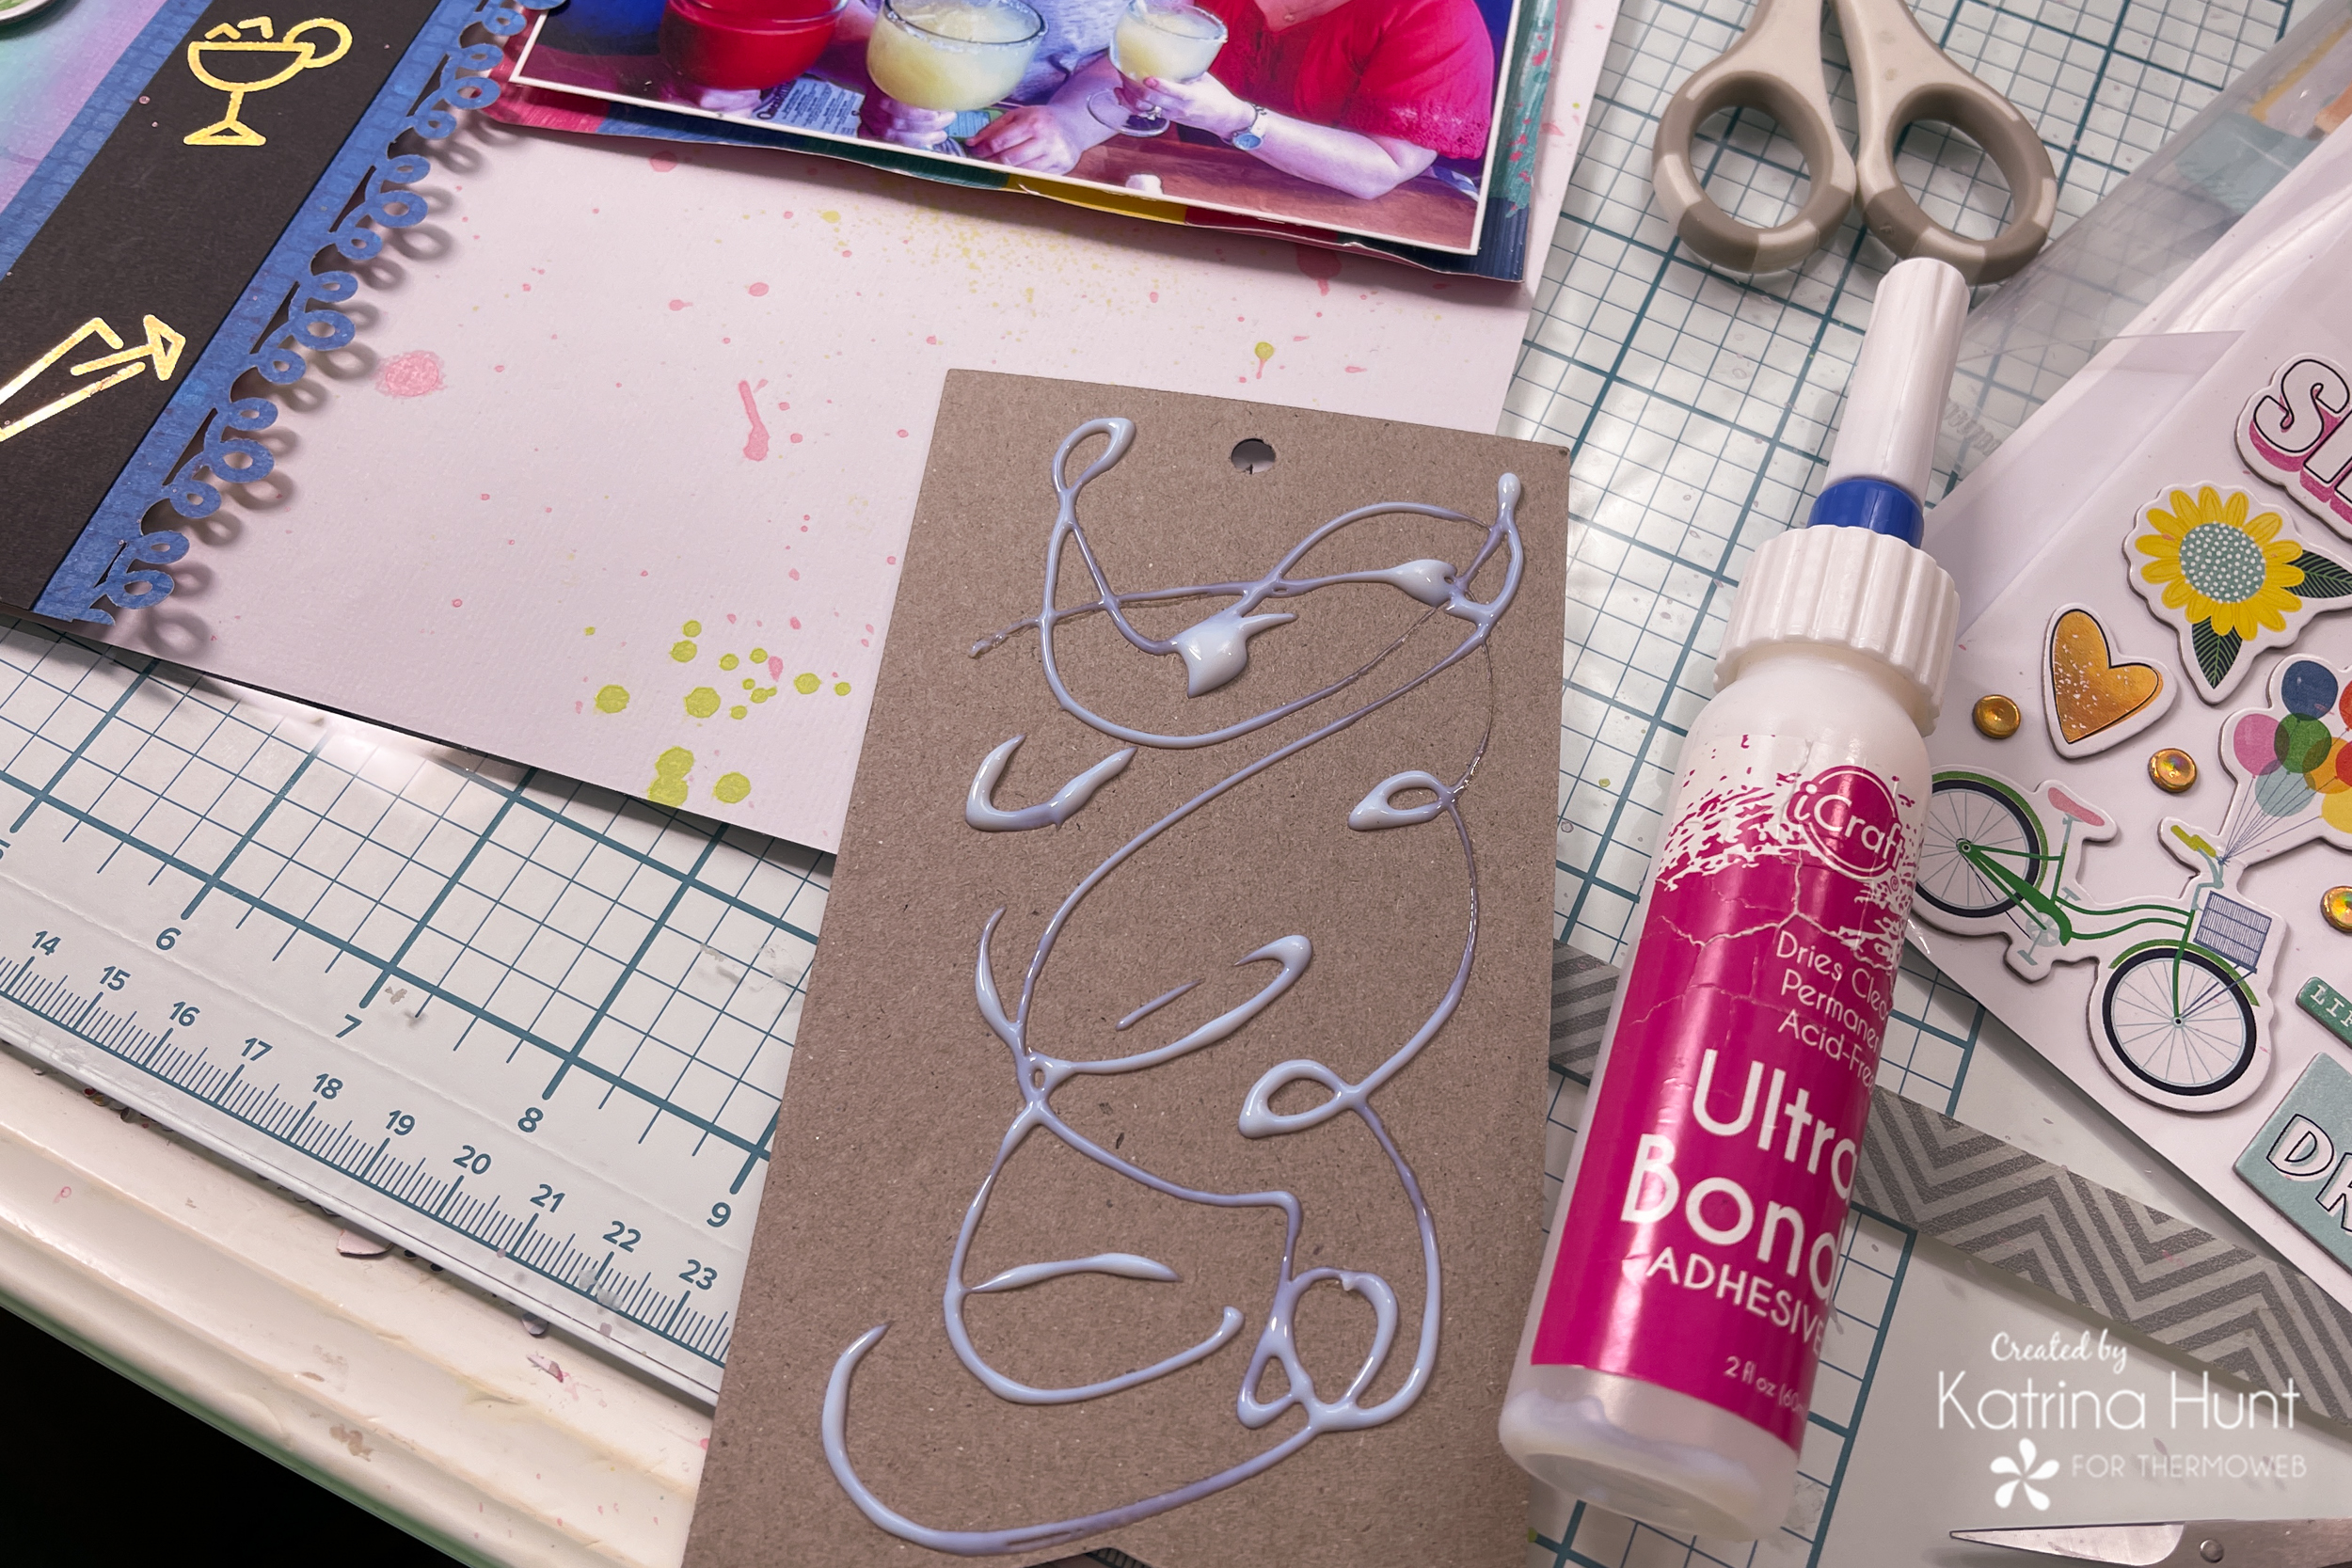
Once I made that little area, my layout was done!!! Love how the journaling tag and sticker look above my picture.
I think you are going to LOVE the new releases, I know I do! There are so many possibilities with them! Have a wonderful week!
 While you’re waiting to shop this NEW RELEASE be sure to take a moment to get entered to win a $40 Gift Card to shop with us! Remember you’ll be able to shop till you drop for our NEW Release starting THIS Friday, September 9th! Until this sit back and plan the projects you’ll make with our newest products!