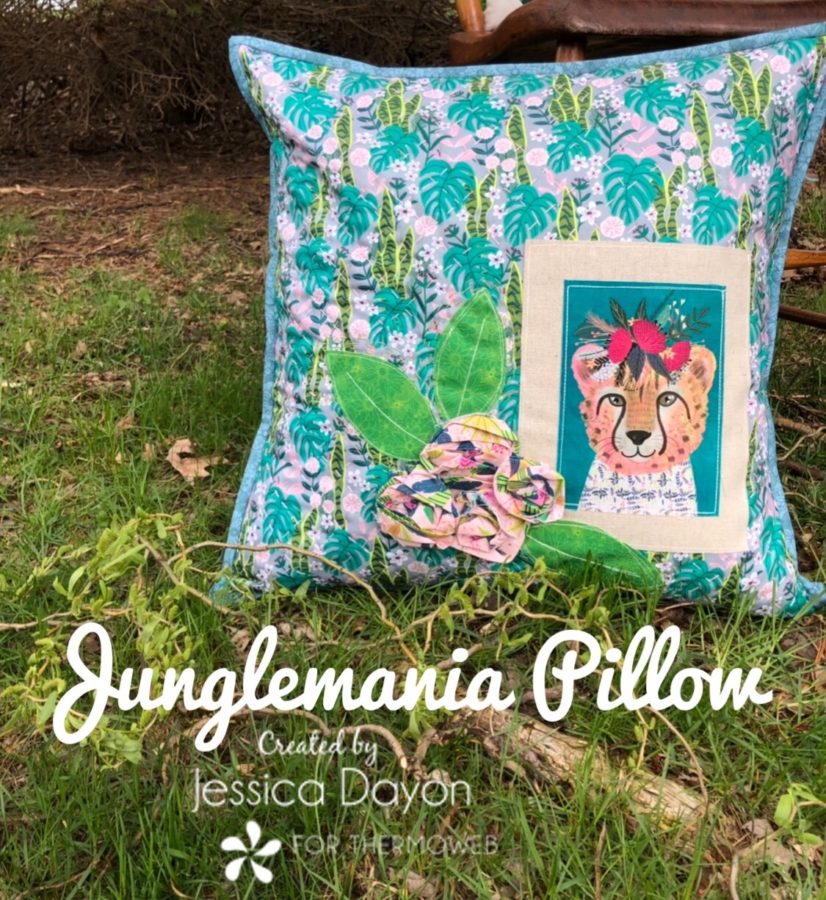
Hi, Everyone! My name is Jessica Dayon and I’m back to share another tutorial with you!
Today we will be making a pillow cover using Junglemania by Blend Fabrics. I created this pillow to showcase the beautiful animal panel that is in this line. And, I added lots of design elements to really show the panel off and make this project lots of fun to make! Let’s get started…
JUNGLEMANIA PILLOW
This pillow finishes at 18″ x 18″
MATERIALS
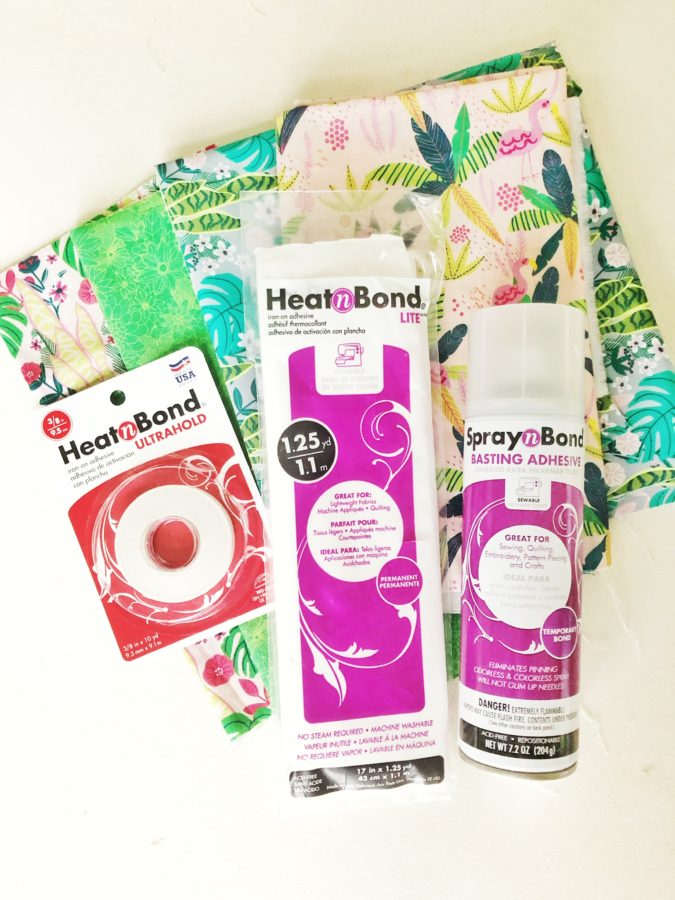
3 fat quarters of Junglemania fabric for the pillow front, pillow back, and binding
1 Junglemania animal panel
1 small piece of linen blend fabric, measuring 6″ x 8″
1 fat eighth of pink Junglemania fabric for the roses
1 fat eighth of green Junglemania fabric for the leaves
Heat n Bond Lite Fusible Single pack
Heat n Bond Ultra Hold Fusible 3/8″ Hem tape
21.5″ zipper
Size 8 Cotton Perle thread in pink and green
10mm pearl beads
19″ x 19″ piece of batting
Pillow Instructions
BASIC INSTRUCTIONS
Read through the instructions before beginning
All seams are sewn with ¼” seam allowance unless noted
RST means right sides together
WOF means Width of Fabric
CUTTING
From the fabric for the pillow front, cut 1- 18.5″ x 18.5″ square
From the Junglemania panel, cut out one animal, following along on the outside edges of the individual panel rectangle
From the pink fabric, cut 2- 2.5″ x 21″ strips
From the Heat n Bond Lite, cut 1- 9″ x 10″ rectangle, 1- 6″ x 8″ rectangle, and 1- panel sized rectangle
From the fabric for the pillow back, cut 2- 10″ x 18.5″ rectangles
From the binding fabric, cut 4- 2.5″ x 21″ strips
MAKING THE PILLOW TOP
Follow the package directions and fuse the 6″ x 8″ piece of Heat n Bond Lite to the back of the linen rectangle, the panel sized rectangle of Heat n Bond Lite to the back of the Junglemania panel, and the 9″ x 10″ piece of Heat n Bond Lite to the back of the green fabric.
Next, fuse the linen to the pillow top fabric. I like to put mine somewhere in the bottom right corner but you can place it anywhere you’d like. Once it is fused, sew around the perimeter of the linen about 1/8″ from the outside. Fuse the panel rectangle in the middle of the linen. Once it is fused, sew around the perimeter of the panel about 1/8″ from the outside.
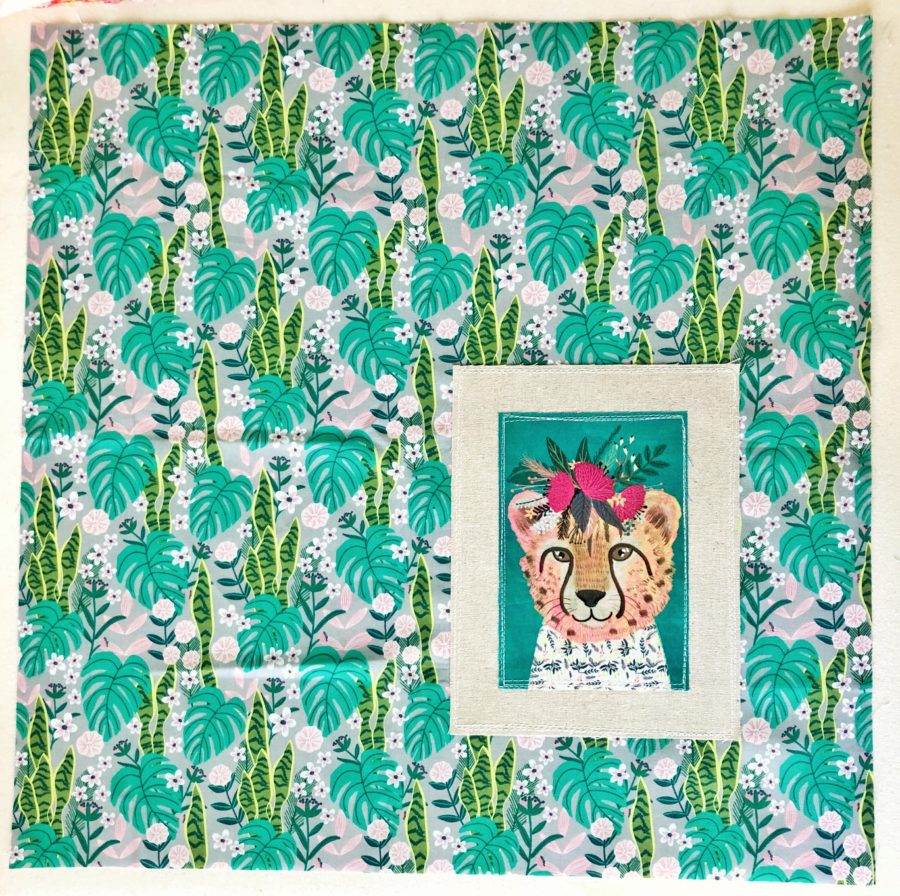
After that, take the pink fabric, join the two strips to make one continuous 2.5″ strip. Iron the strip in half width-wise. You will use this to make roses on the pillow top. First, get an idea of where you’d like the roses to be by swirling up the fabric into a rose and choosing placement.
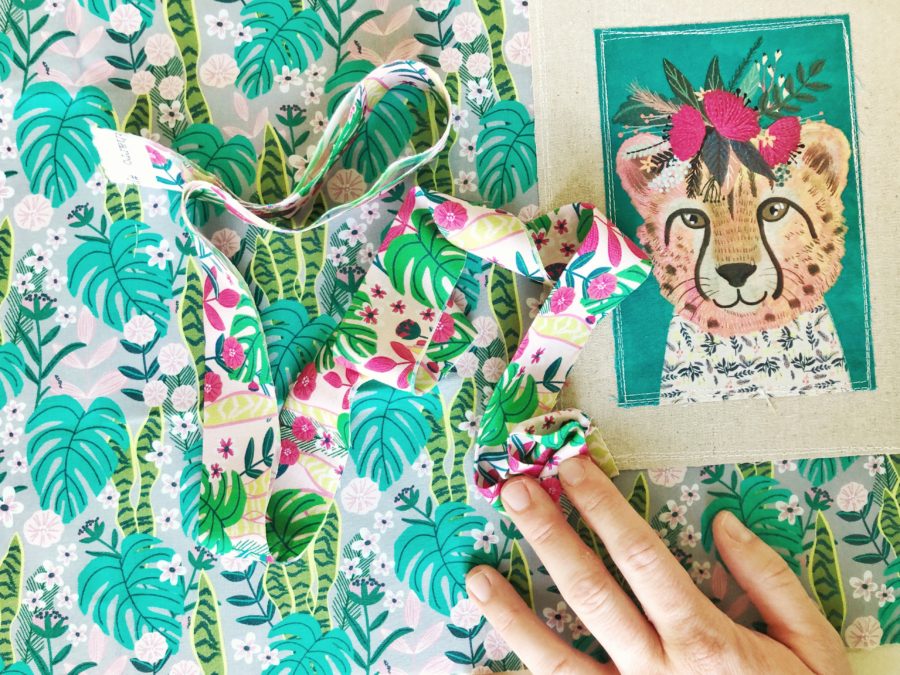
Then, move the swirled fabric aside and fuse some hem tape in four separate areas (work on one at a time to be sure you like the placement).
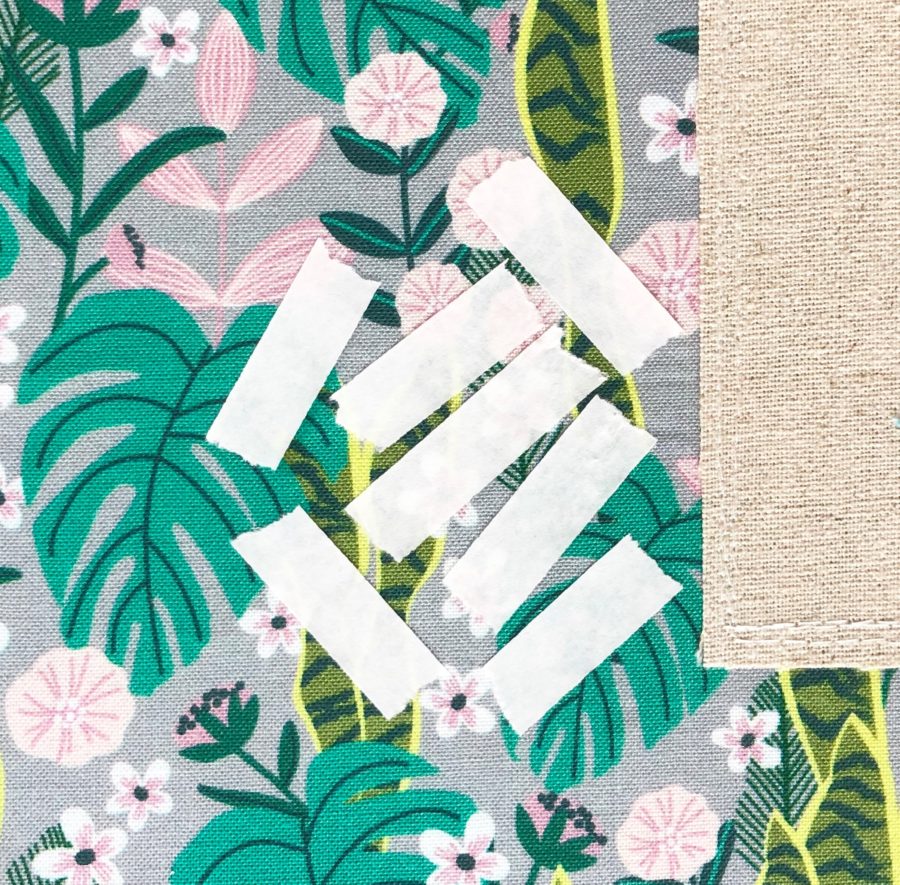
Once fused, peel the paper off. Swirl the pink fabric around with the side that has the raw edges down to the fabric. Fuse with your iron.
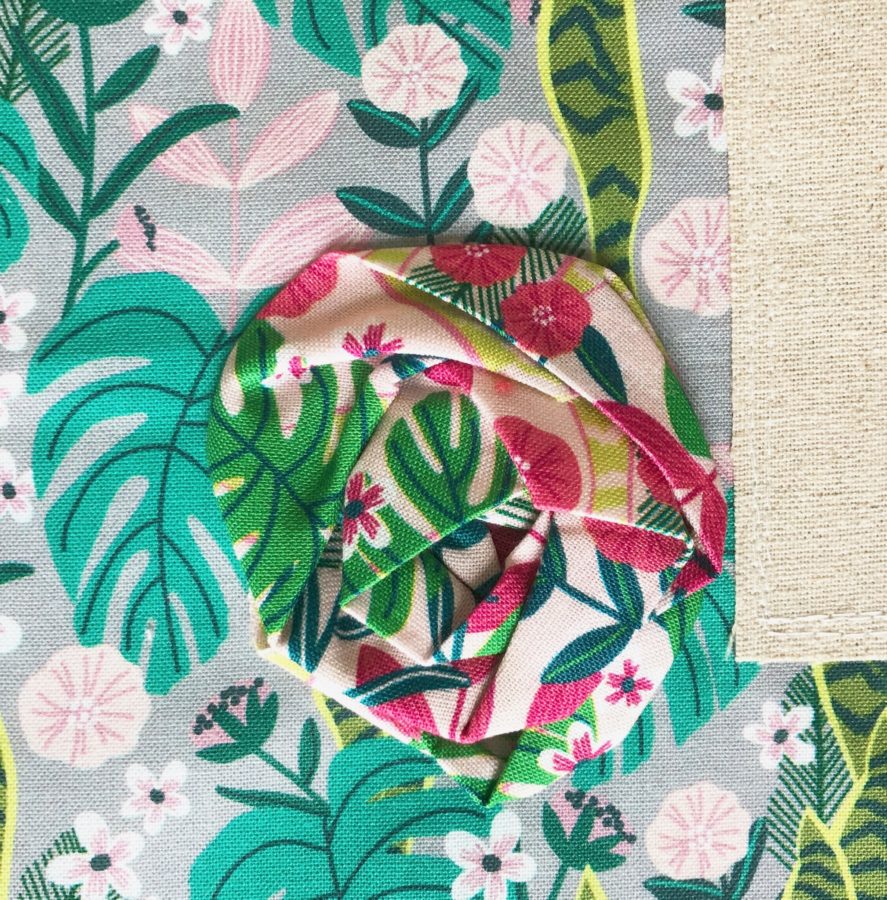
If there are any parts that are not secured (where there was no hem tape), you can secure by sewing a few stitches with your sewing machine. Repeat these steps and make 4 roses in total.
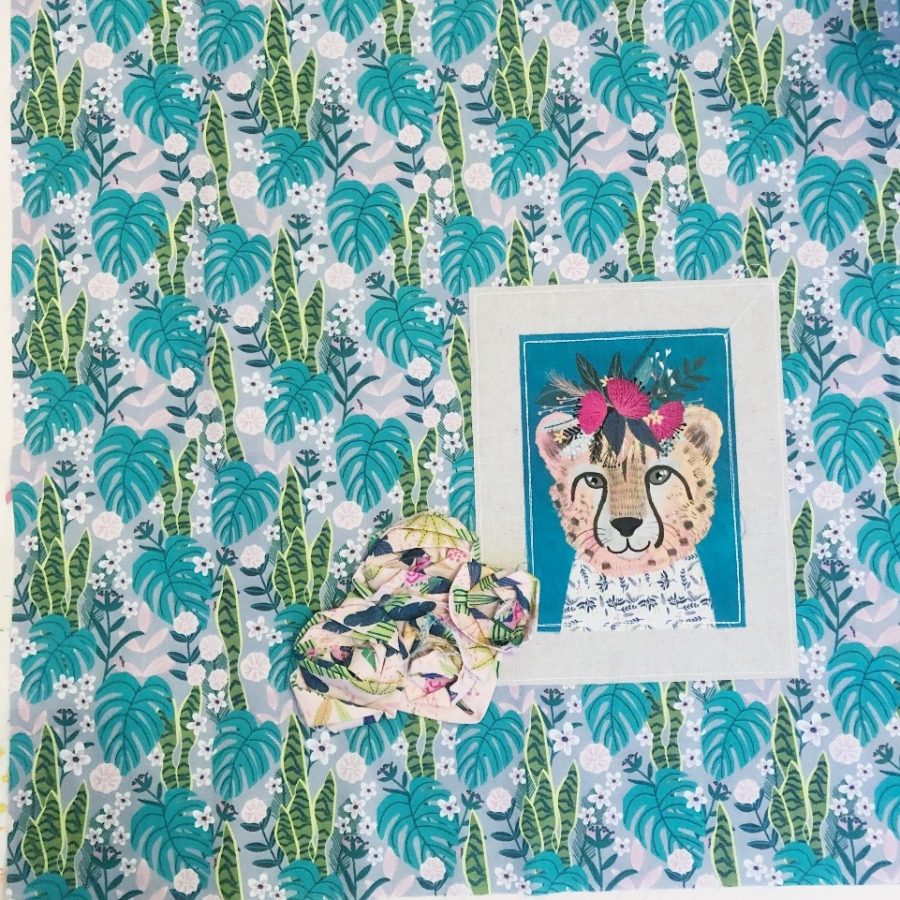
Next, print the leaf template and cut the out leaf template. Trace the template onto the paper side of the HeatnBond that is fused to the green fabric. Cut the leaves out. Position the leaves as desired and fuse to the pillow. Once it is fused, sew around the leaves about 1/8″ from the outside and up the middle if desired.
PILLOW ASSEMBLY
Use the basting spray to baste the binding and pillow top together. With the green cotton Perle, quilt echo lines around the leaves. With the pink cotton Perle, quilt echo lines around the roses. Then, quilt a cross-hatch pattern on the rest of the pillow. I chose to not mark my cross-hatch lines because I wanted them to be very organic and slightly varying widths. However, if you would like your lines to be a perfect distance apart, mark the lines 1″ apart with your favorite quilt marking tool before you start quilting.

Pillow Back
Make the zippered pillow back. Take the 2- 10″ x 18.5″ rectangles of the backing and the zipper. Follow this tutorial HERE to make the zipper back.
Join the 4 strips of binding together to make one continuous strip. Press in half widthwise.
Place the pillow back with the wrong side up then put the pillow top on top of it with the wrong side down (and right side facing up). Trim away the excess pillow backing so that the backing and top are exactly the same sizes. Pin them together.
Sew the binding on to the front of the pillow. When you are attaching your binding, you are also sewing the pillow layers together. Remove the pins. Flip the pillow over. To secure the binding down, use the hem tape. Measure a length of hem tape and adhere it to one side. Remove the paper, pull the binding around, and adhere the binding down to the pillow back. Repeat all the way around.
Next, sew 3 pearls in a cluster in the middle of each flower.
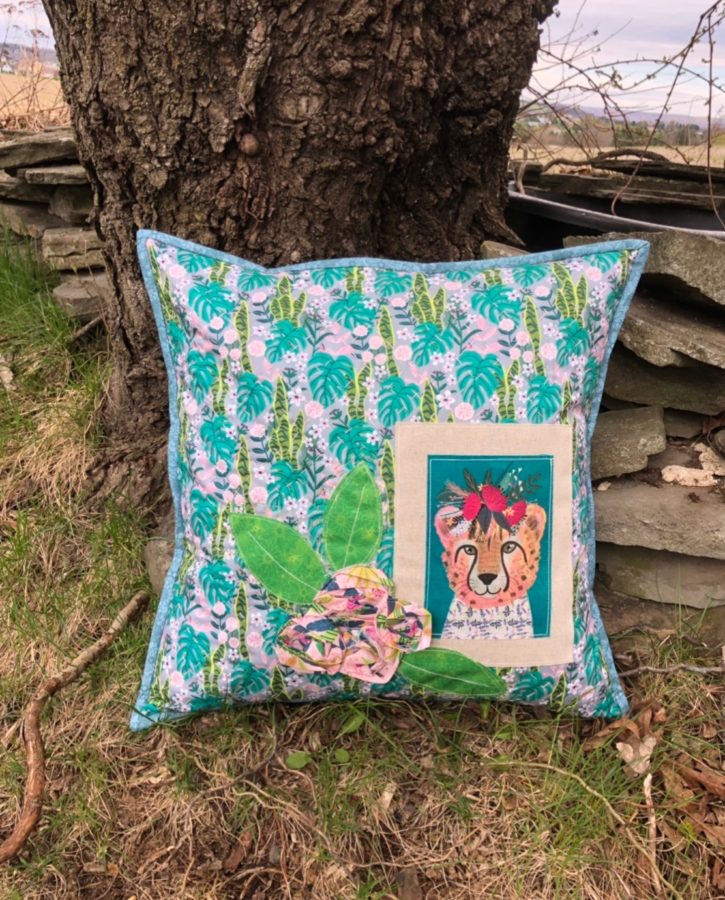
You are all set! I hope you have enjoyed this tutorial!
You can find my blog HERE. On it, I share free quilt patterns and tutorials so go check it out! You can also find me on Instagram @jessicadayon where you can connect with me and see my daily work, current projects, inspiration, giveaways, quilt along, and all of my patterns. Share what you made! I’d love to see your progress photos and finished the mini quilt! Use the hashtags #jessicadayonpatterns #thermoweb #heatnbond #spraynbond and tag me so I can see your version @jessicadayon
