


 Hi Friends!
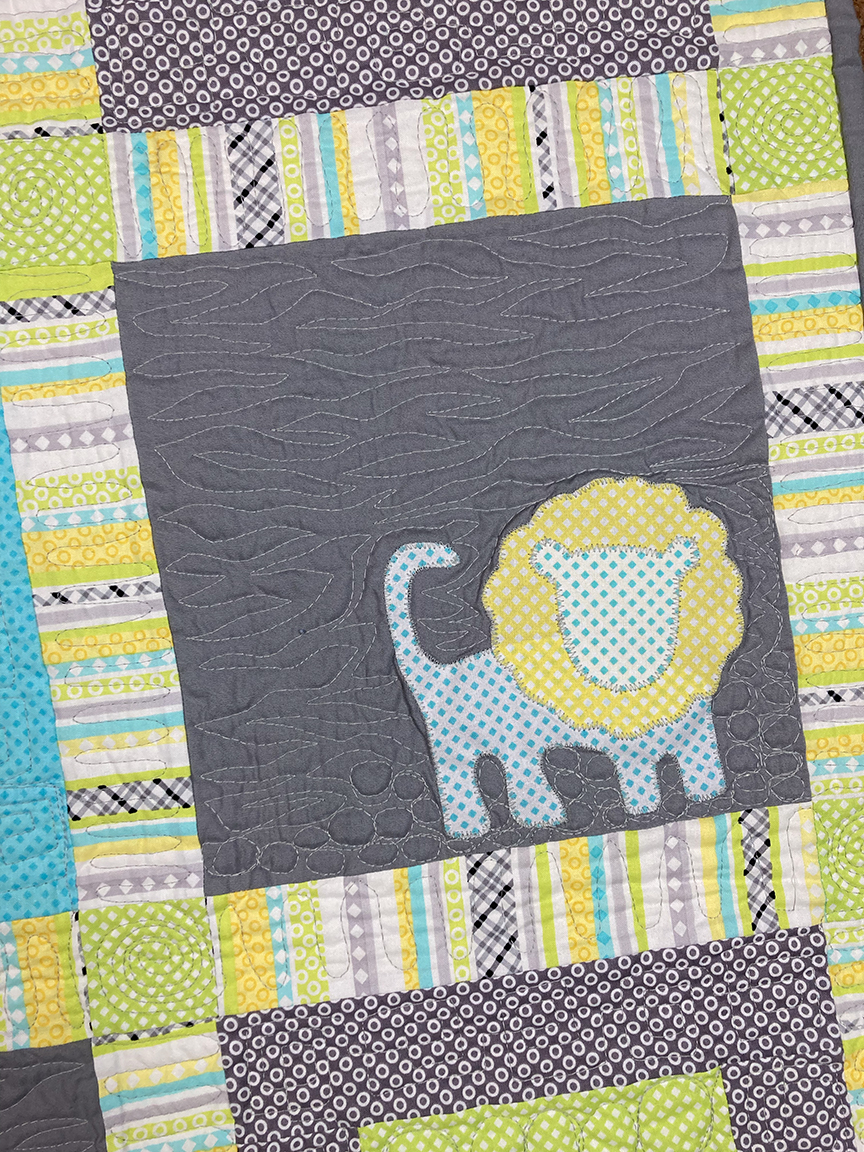
I’m Lisa Ruble from Love to Color My World and I’m so excited to be part of Jungle Week! When I was pregnant with my now 13-year-old, I designed and stitched a safari animal-themed quilt for his nursery (visit my blog to see the original!).
Over the years, I’ve thought about turning that quilt into a pattern, and I even recreated the quilt in bright gender-neutral lime, yellow, aqua, and gray palette. But surprise, surprise, I couldn’t stop there. I went one step further and created a second quilt with a more modern layout. Here are the two quilts:
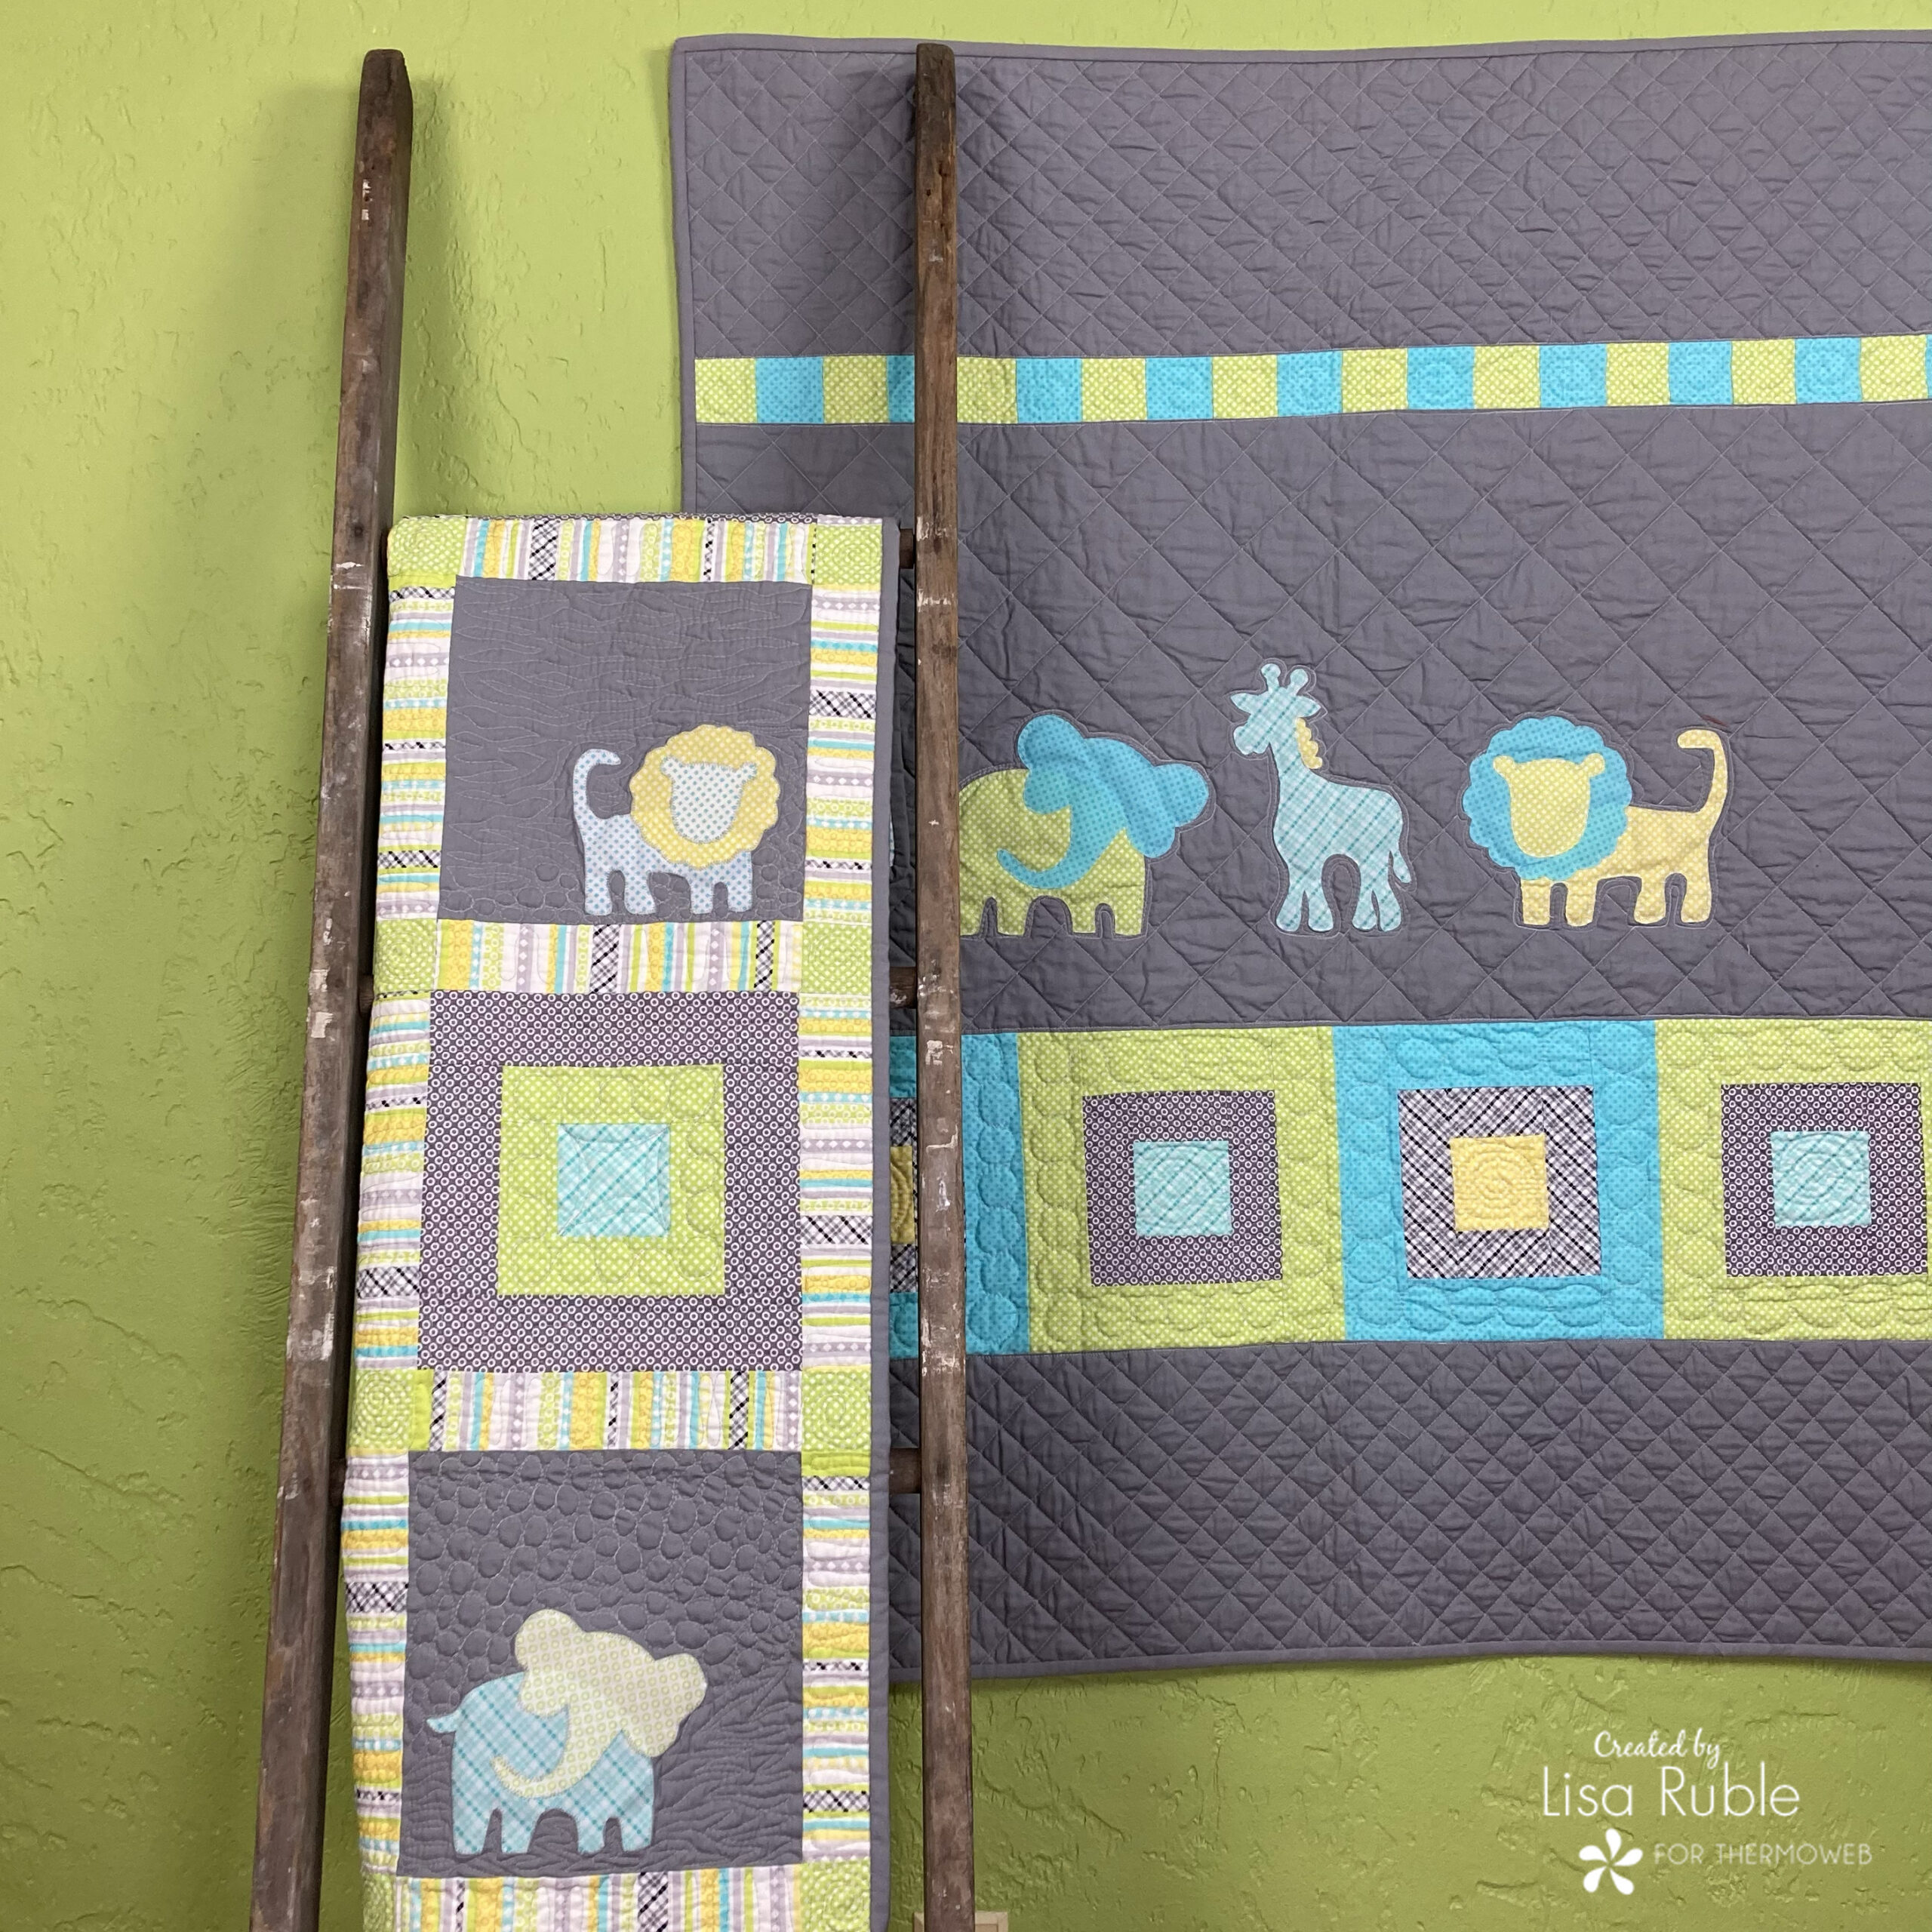
The official pattern for these two quilts is still in the works, but today I’m sharing the templates for the three jungle animals, as well as my 10 best appliqué tips. I’ve got another Jungle Baby project in the works (see the photos below) – head over to my blog to follow along as I finish it!
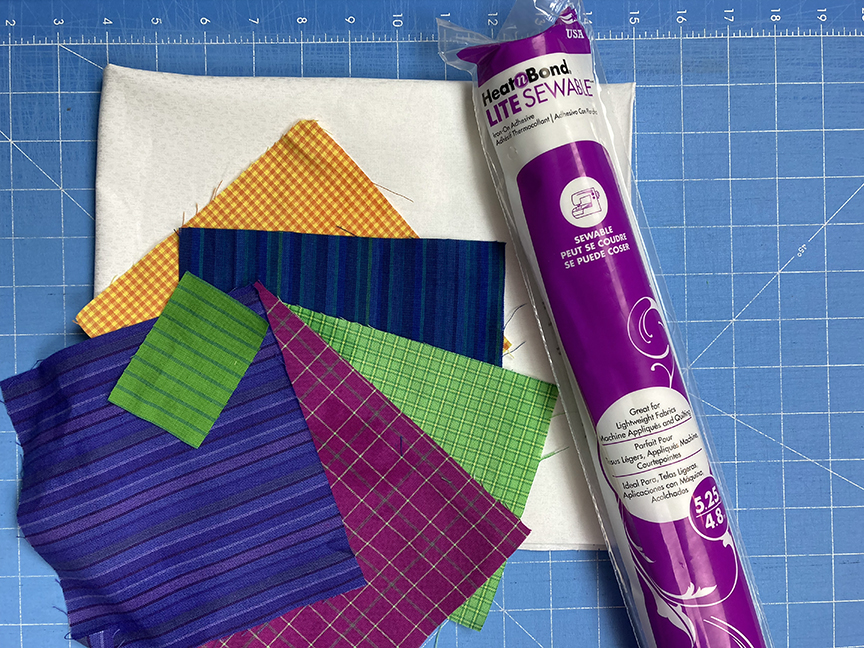
Materials:
*Fabric scraps for the animals
*Background fabric
*HeatnBond Lite Sewable Iron-On Adhesive
Download the appliqué shapes here.
Appliqué the Animals
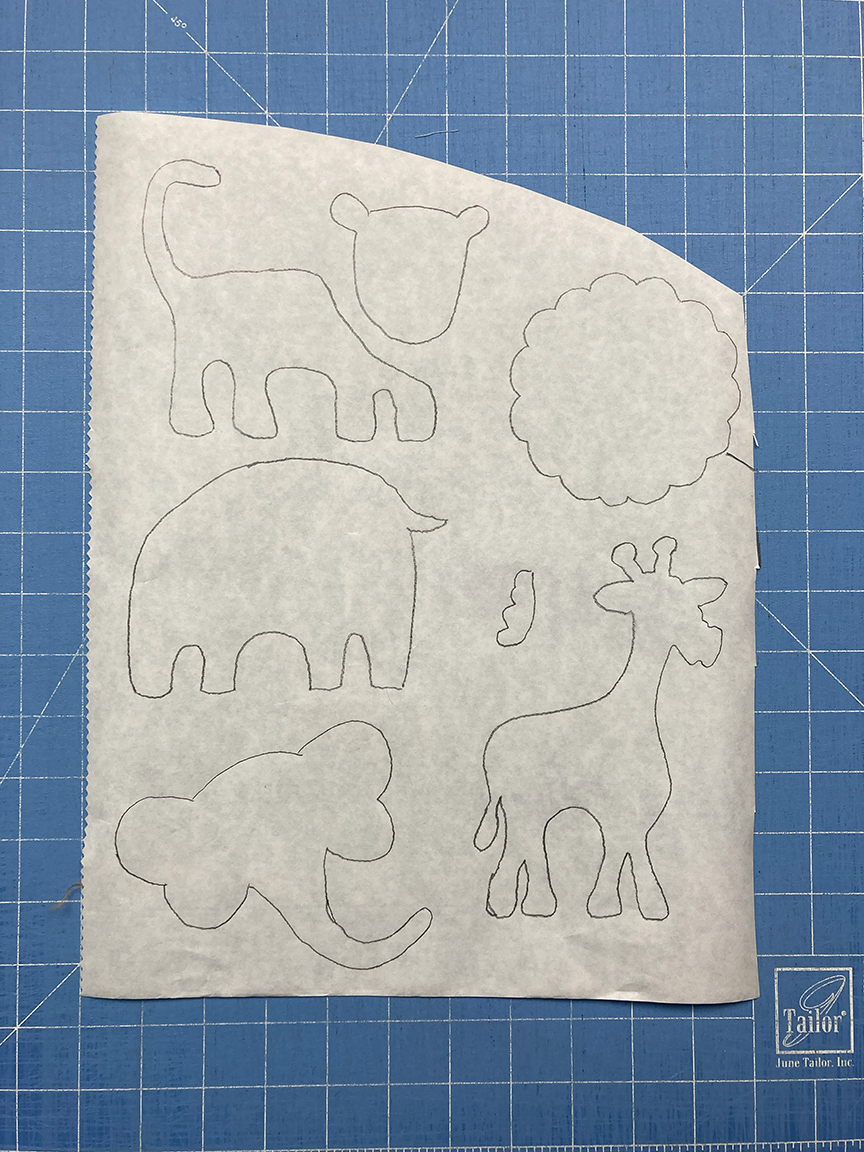
Step 1 Trace the animal appliqués onto the paper side of the Iron-On Adhesive, leaving 1/2″ between each shape. Or another option is to print directly onto HeatnBond EZ Print Lite Sheets to save a step!
Tip 1: Before tracing your templates, double-check that they are printed in reverse. They are for more patterns, but you don’t want to realize after you’ve traced everything that it’s all backward (especially for letters!) And don’t forget – what you trace should be backward/opposite what you see in the finished product, because the iron-on adhesive will be applied to the back of the fabric.)
Tip 2: I recommend cutting your background fabric approximately 1/2″ – 1″ larger than the indicated measurements. This gives you wiggle room for trimming the block later, either because your shapes aren’t as centered as you like, or because stitching the appliqués down pulls on the background fabric a bit.
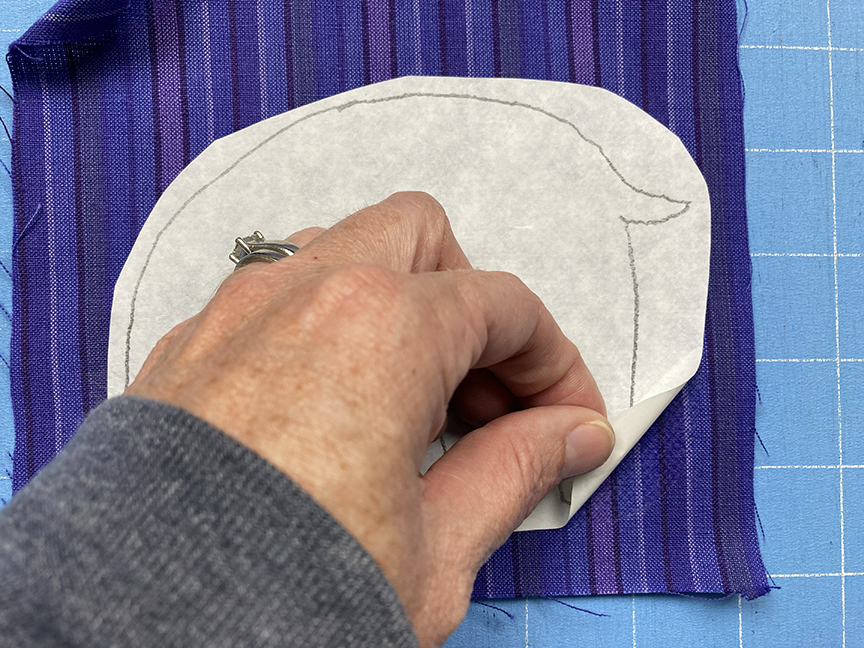
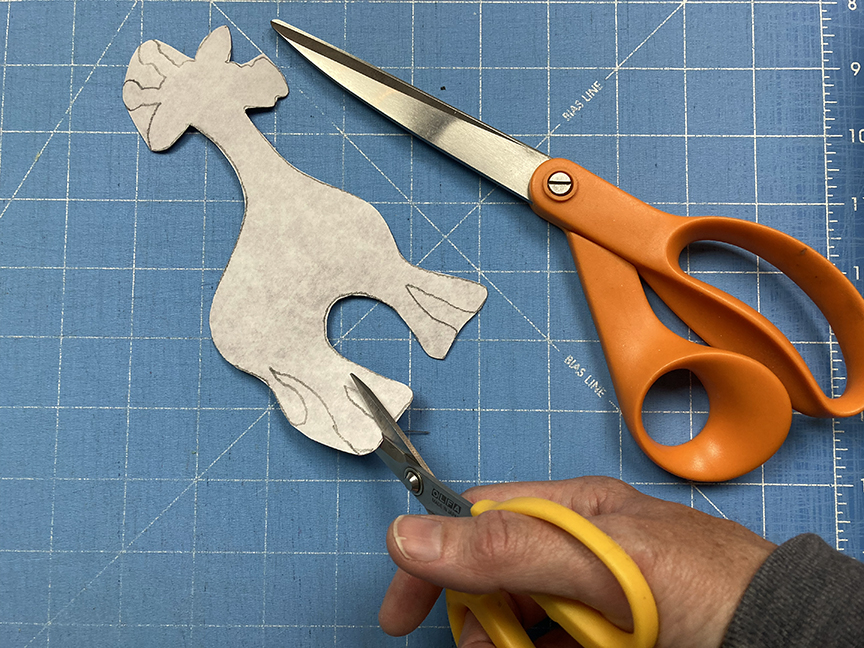
Step 2 Cut out each shape approximately 1/4” past the drawn lines. Fuse to the wrong side of the desired fabrics.
Tip 3: If you’re using a directional fabric (like my stripes, shown here!), make sure that when you position your traced shapes, you align it with the fabric so your fabric motif if straight on your shape.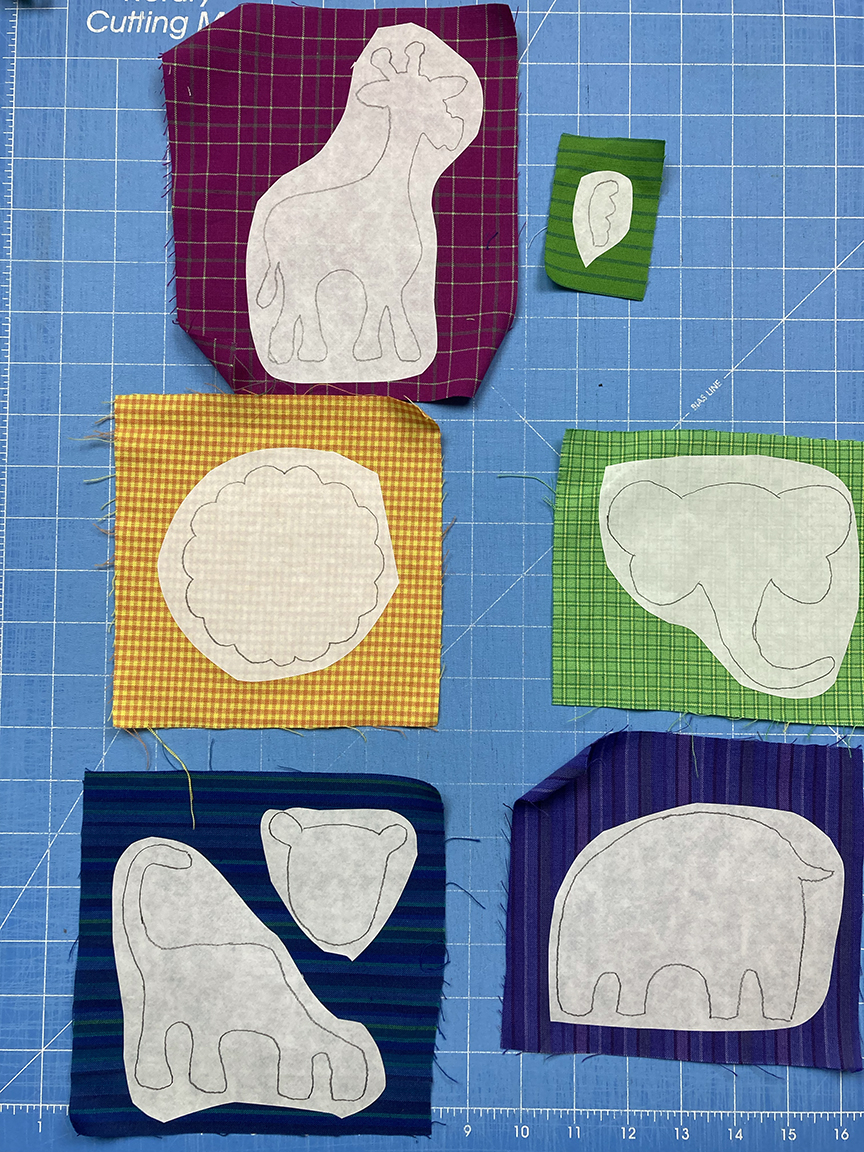
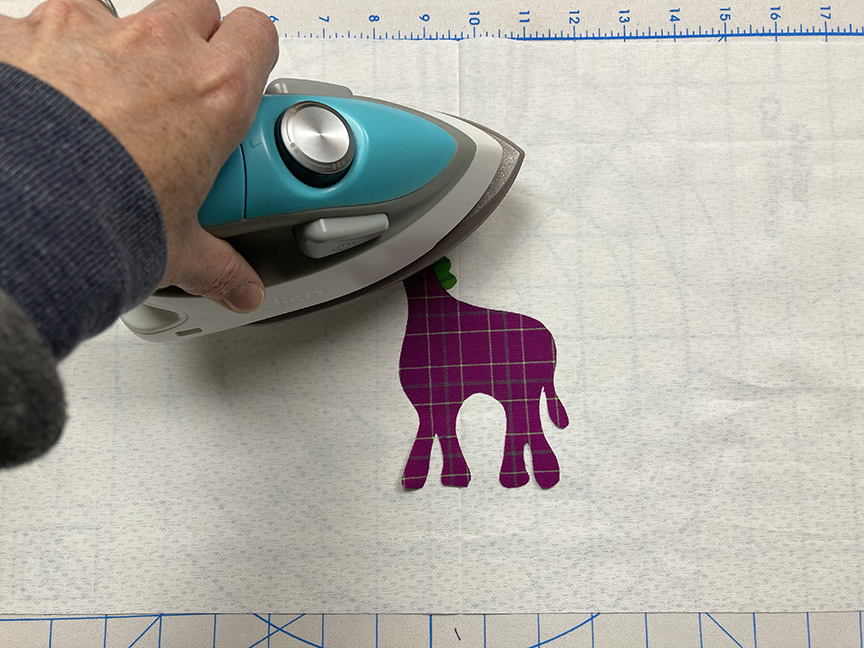
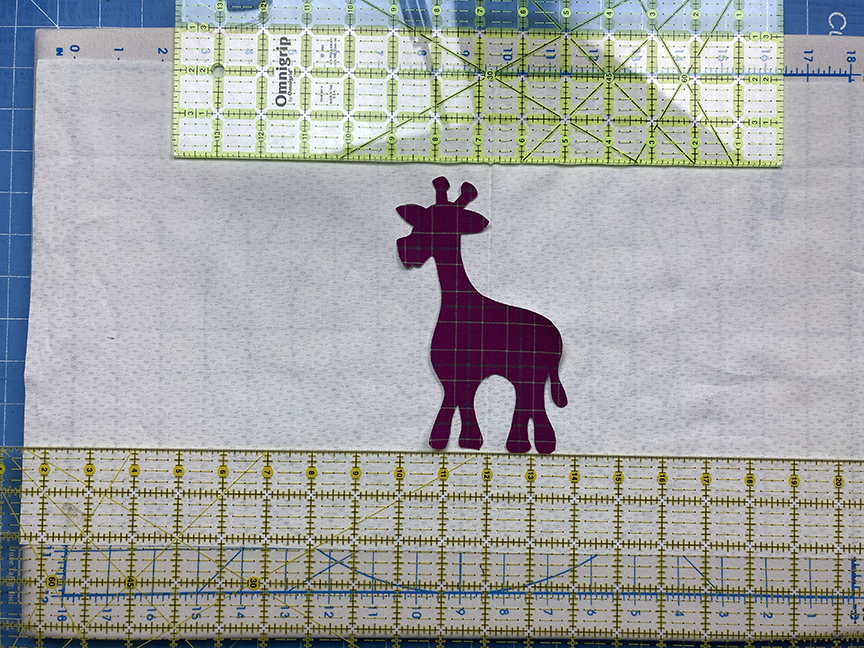
Step 7 Continue positioning and fusing all appliqués in place. Pay attention to the spacing between pieces (for example, between my elephant, giraffe, and lion) so they are equal distances apart. 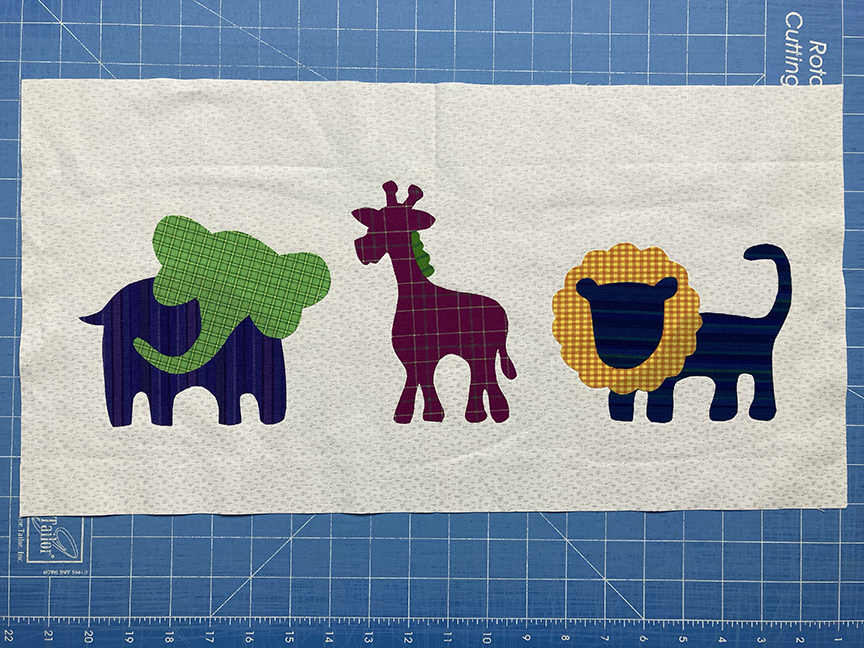
I love these fun, bright plaid animals! How do you think I should finish this piece? Pillow? wall quilt? Center of a larger quilt? Leave a comment below, letting me know, and be sure to visit my blog to watch what I make out of it!
What’s Next? Stitch the Appliqués in place!
Tip 9: Don’t forget to stitch your fused appliqués down! I prefer either a zigzag stitch or a straight stitch, depending on what the project is being used for. If it’s a wall hanging that won’t be handled or washed frequently, I typically choose a straight stitch, right near the edge of the appliqué. If it’s a bed or snuggle quilt, I typically choose a zig-zag stitch because it holds the edges more securely.
Tip 10: If you’re new to using a zigzag stitch on appliqué, select a stitch that is both slightly wider and less dense. This gives you more wiggle room as you stitch, and any mistakes will be less obvious.
I can’t wait to see what you make with these jungle animal appliqués!