 Hey there! It’s Katrina Hunt from Paper, Scissors and Glue today sharing quick watercolored and Deco Foil card for our team up with Joy Clair.
Joy Clair and Deco Foil No Line Watercolor Sending Smiles Card
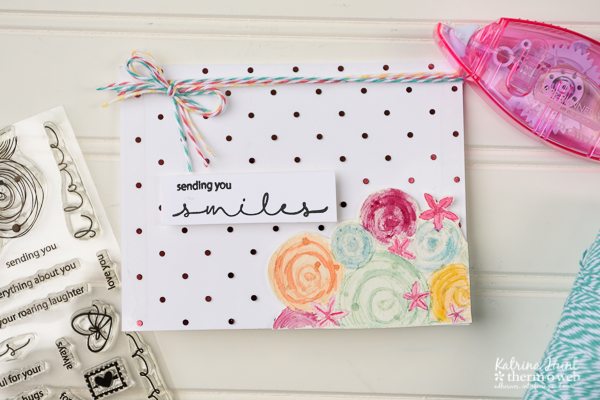
Therm O Web Supplies Used:
Therm O Web 3D Foam Squares– 1/2 inch
Therm O Web Memory Runner XL
Deco Foil Transfer Sheets – Pink Melon
Deco Foil Clear Toner Sheets-Polka Dot
Therm O Web Deco Foil Foam Adhesive
Laminator
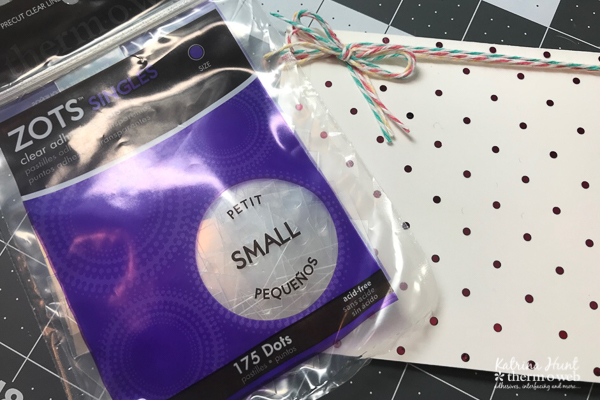
Therm O Web Zots-Singles-Small
ThermOWeb iCraft Purple Tape
Joy Clair Stamp Set Hugs and Smiles
Other Supplies: Twine-The Twinery; Ink-Versafine and Inkon3 No Line Ink; Cardstock; Watercolor Paper; Daniel Smith watercolors
Joy Clair and Deco Foil No Line Watercolor Sending Smiles Card Instructions
Warm your laminator up for at least 20 minutes on the 5 ml setting
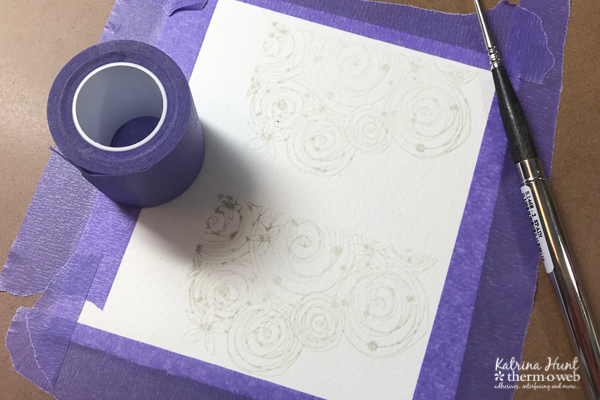
While laminator is warming, stamp image with fade out ink onto watercolor paper of your choice. You may find it helpful to use a stamp positioning tool like the Misti so that you can stamp a few time to get a good impression since watercolor paper is textured.
Using iCraft Purple Tape, adhere watercolor paper with stamped images to a board, such as a clipboard to keep the paper from warping while watercoloring. After the image is watercolored, trim out with scissors.
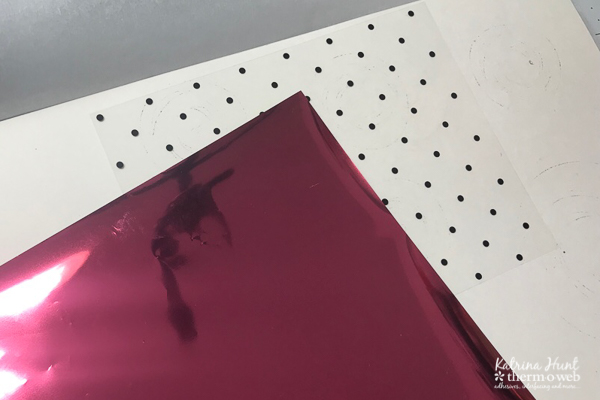
Cut card base out of white cardstock 8.5 x 5.50 inches and fold in half. Next, cut a piece of the Deco Foil Clear Toner Sheet Polka Dot to fit your card front (4.25 x 5.50 inches). Cut a piece of Deco Foil Transfer Sheet in Pink Melon to fit over the clear toner sheet. Run the clear toner sheet with the foil transfer sheet on top thru the laminator.
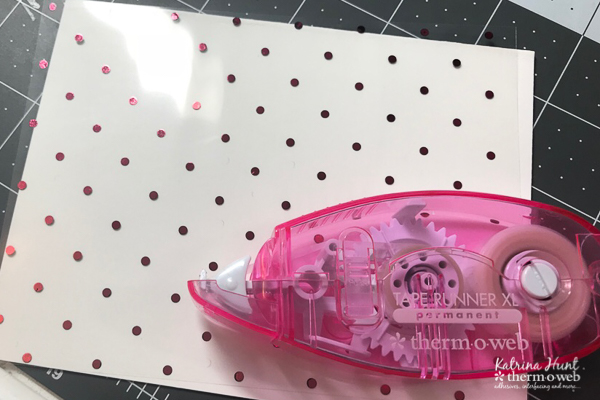
Once the clear toner sheet is foiled, adhere it to the front of card base using the Memory Runner XL.
Adhere the cut out the watercolored image onto card front using Deco Foil Foam Adhesive to give some dimension to the image.
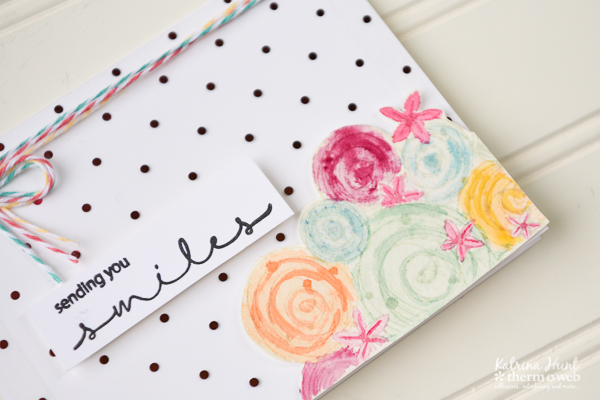
Cut a length of twine in three different colors, wrap and tie a small bow at the top of the card base, near the fold. Hold the bow in place with a small Zot.
Stamp and cut out the sentiment. Adhere to card front using 3D Foam Adhesive Squares.
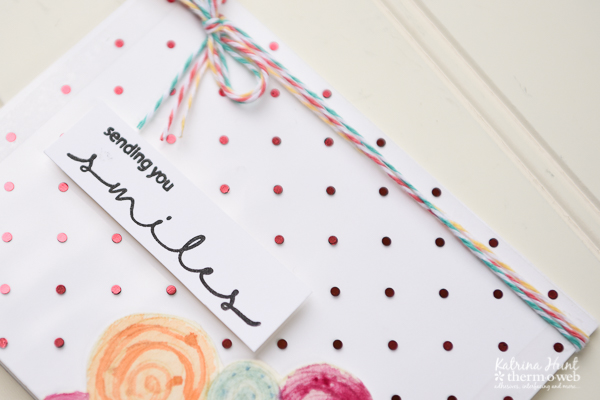
Now, you just need to send the card to someone that needs a pick me up! Thanks for stopping by the blog today!
We hope you’ve enjoyed the projects we’ve been sharing this week! We have had a blast sharing all the creative ways to use our products! Plus we’ve loved all the new projects with from our friends at Joy Clair! Like this one from Lindsay with Crafting While Caffeinated!
Be sure to stop by their blog daily for added ideas and inspiration featuring our two companies products!
And so you can pick some new supplies to have fun creating…we’re offering you a chance to win a $25 Gift Card to shop with us!

Dana M
October 18, 2018 at 8:54 am (7 years ago)Beautiful! One of my favorite Joy Clair stamp sets.
trainwithmeghan
October 18, 2018 at 3:10 pm (7 years ago)Such a gorgeous card! Great watercolor technique
Jeanne Beam
October 18, 2018 at 4:21 pm (7 years ago)Beautiful card.
Thanks for sharing…
Karthikha Uday
October 19, 2018 at 1:58 pm (7 years ago)Such a beautiful card! Simple and elegant 🙂
Cindy Deily
October 19, 2018 at 2:27 pm (7 years ago)I love how the simple detail of the red foil dots makes this card really pop!
Helen Gullett
October 19, 2018 at 7:13 pm (7 years ago)What a beautiful card!!! Love love love it