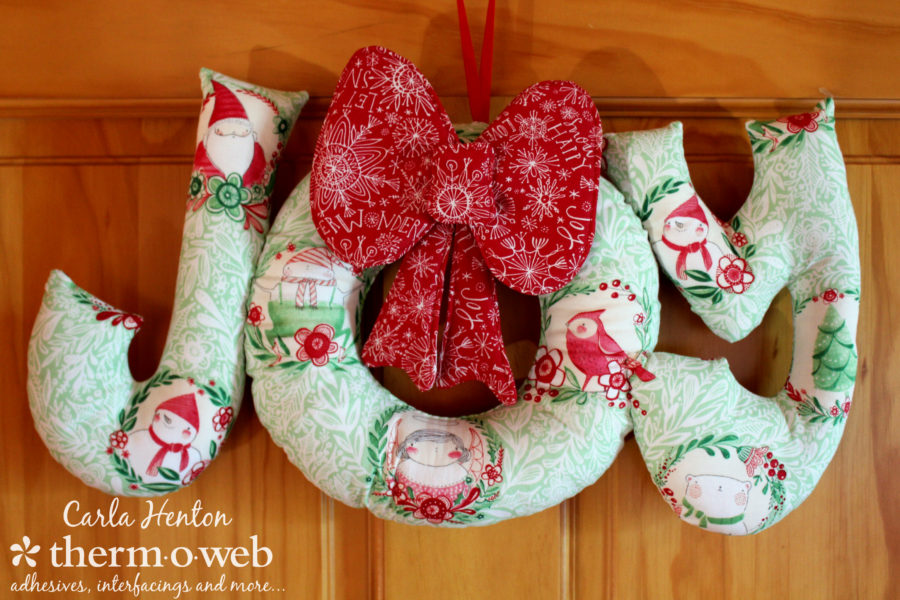
Christmas crafting is in full swing for decor and gift giving. Today, Carla from Creatin’ in the Sticks is on the blog to share a whimsical fabric wreath made with HeatnBond Fusible Interfacing, HeatnBond Fusible Fleece, and Merry and Bright Fabrics by Corri Dantini for Blend Fabrics.
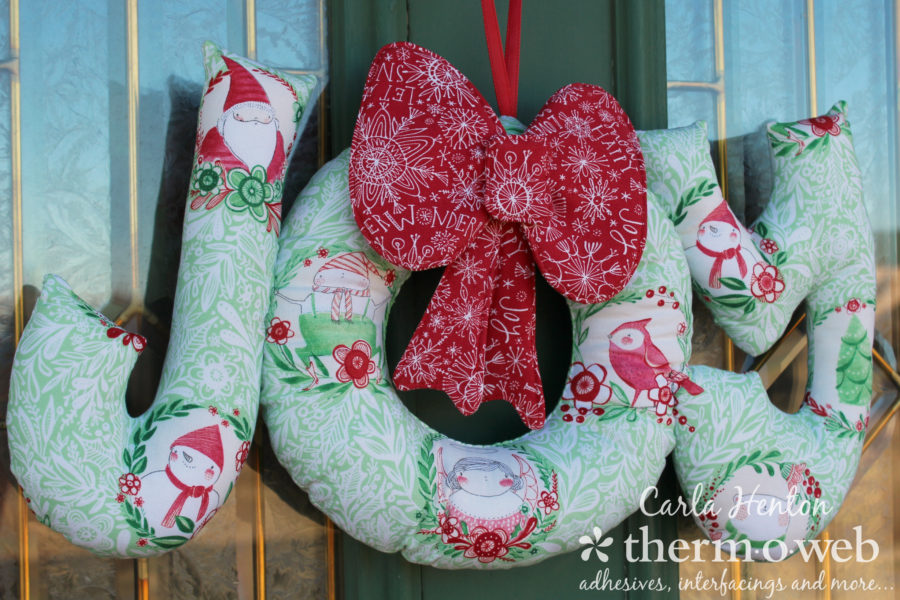
Bring joy to your decor with this super fun wreath.
Joy Christmas Wreath
By Carla Henton at Creatin’ in the Sticks
Finished size: without the hanger – about 9 ½” x 17”
Wreath Supplies:
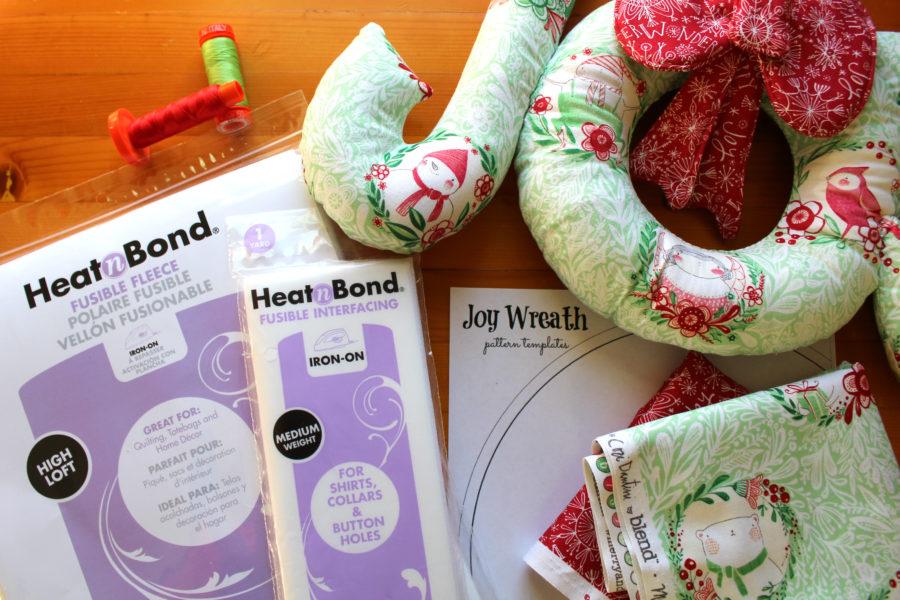
Pattern Templates: DOWNLOAD HERE
HEATnBOND® fusible interfacing Medium Weight
HEATnBOND® High Loft Fusible Fleece
Aurifil thread: 50wt #5017 and #2270
Fabric: Merry and Bright by Cori Dantini for Blend Fabrics
1/2 yard of green and 1/4 yard of red
9″ of 1/4″ wide red ribbon
Other supplies:
Scissors
Clips and pins
needle
fiberfill for stuffing the letters
ruler
iron (I love my Oliso Pro)
sewing machine and other general sewing supplies
Joy Wreath Instructions:
Step 1:
The first step is to print the patterns and tape the “O” pattern together. Next, cut out two of each letter from the interfacing.
TIP: Interfacing makes fussy cutting fabric easy. To fussy cut the fabric for the letters, cut the interfacing out and fuse it to the wrong side of the fabric where the design is desired. No guesswork. The fabric was lined up perfectly for the interfacing “O” in the following picture.TooltipText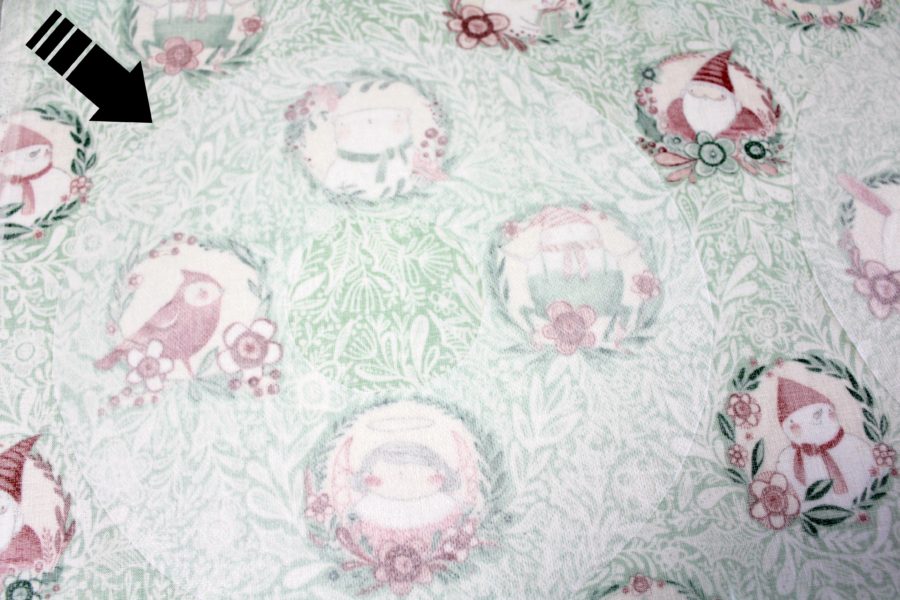
Follow the package instructions to bond the interfacing to the wrong side of the green fabric. Then follow the interfacing edges to cut the letters from the fabric.
Step 2:
Sew the J and the Y together with 1/4″ seams, right sides together. Leave a 3″ opening for turning them right side out. Lightly stuff the letters with fiberfill and close the openings by hand stitching.
Step 3:
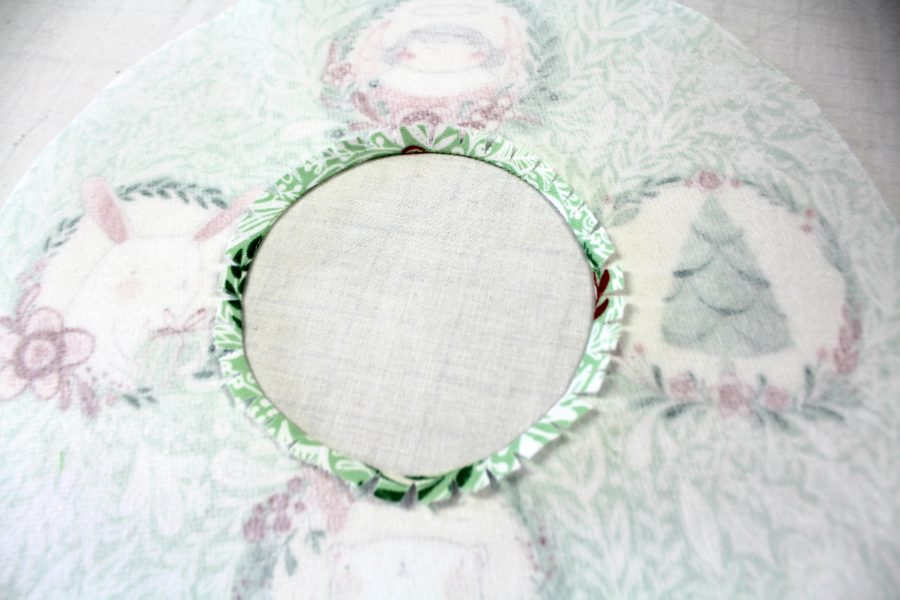
Stitch 1/4″ from the edge of the center of both “O”s.
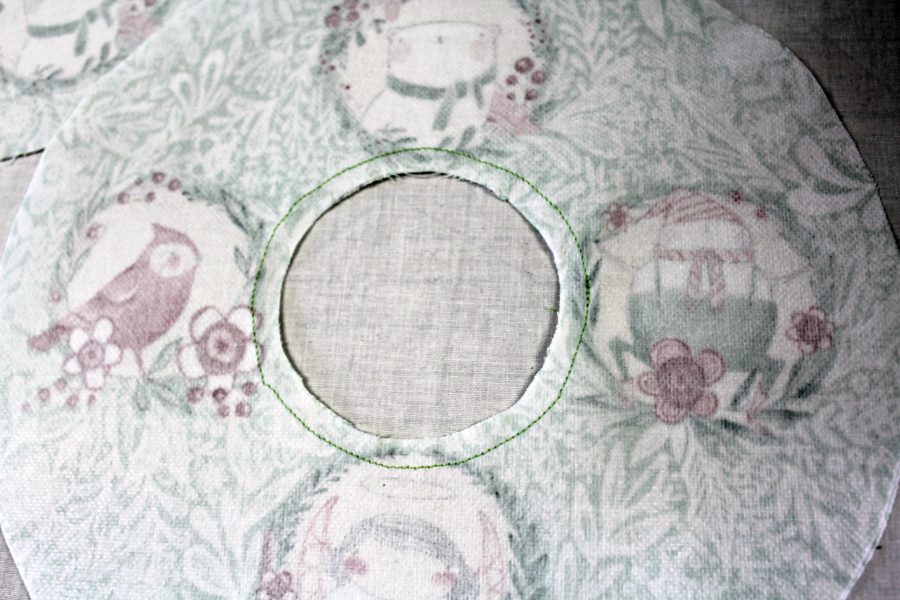
Next, clip the seam allowances and press the seam allowances toward the wrong side of the “O”s.
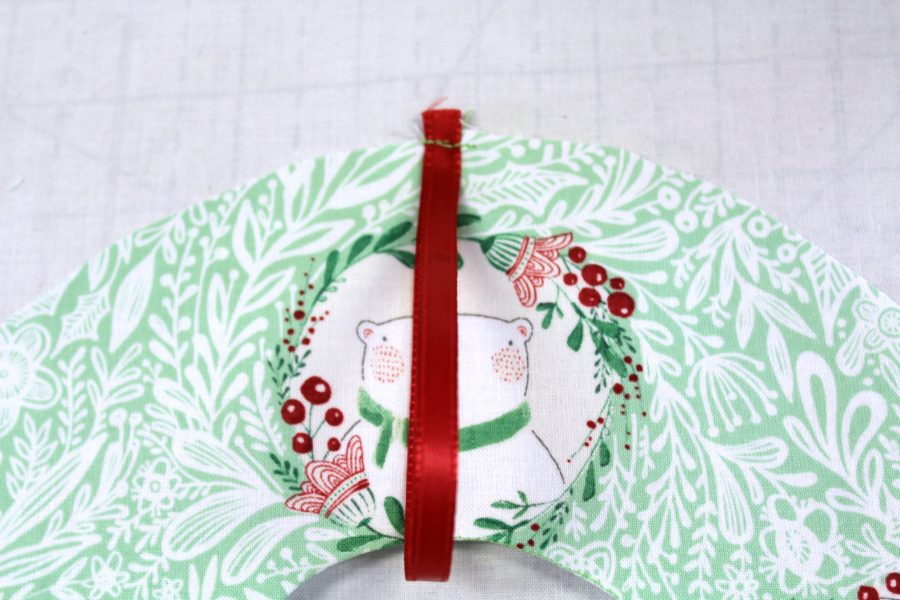
Stitch the ends of the ribbon to the top on the right side of one of the “O”s 1/8” from the edge.
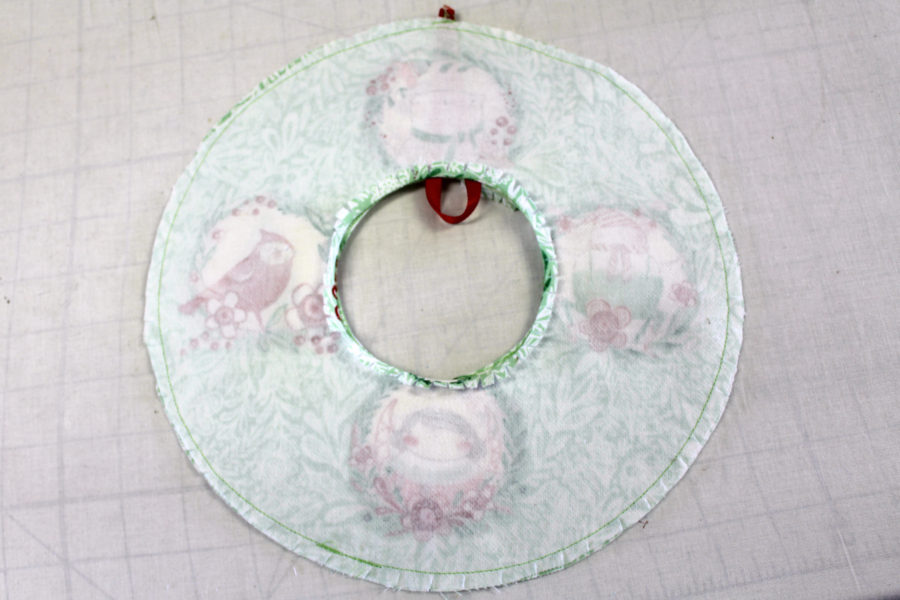
Finish the “O” by pinning both right sides together with the ribbon sandwiched between. Stitch 1/4″ from the edge of the outside of the “O” completely around. Backstitch at the beginning and the end.
Turn the “O” right side out through the middle. Stitch the middle circle together with a whip stitch in matching Aurifl thread. Lightly stuff the “O” before finishing the stitching.
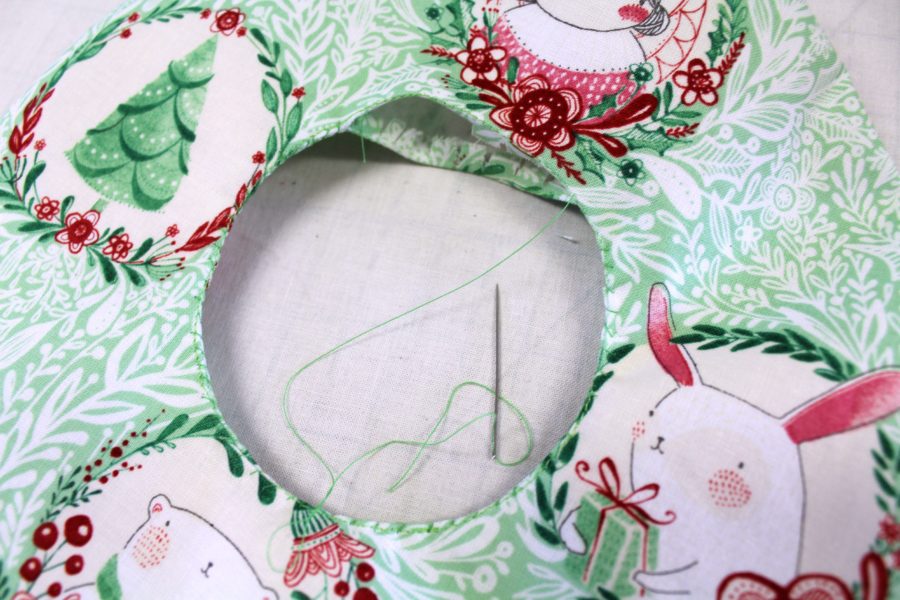
Step 4:
Make the bow by cutting 2 of each pattern piece of red fabric and fusible fleece. Follow the package instructions to bond the fleece to the wrong side of the red fabric pieces. Pin and stitch each piece with right sides together leaving openings for turning right side out. Once the pieces are right side out and pressed, top stitch around each piece. Stich the bow ties to the back of the big bow.
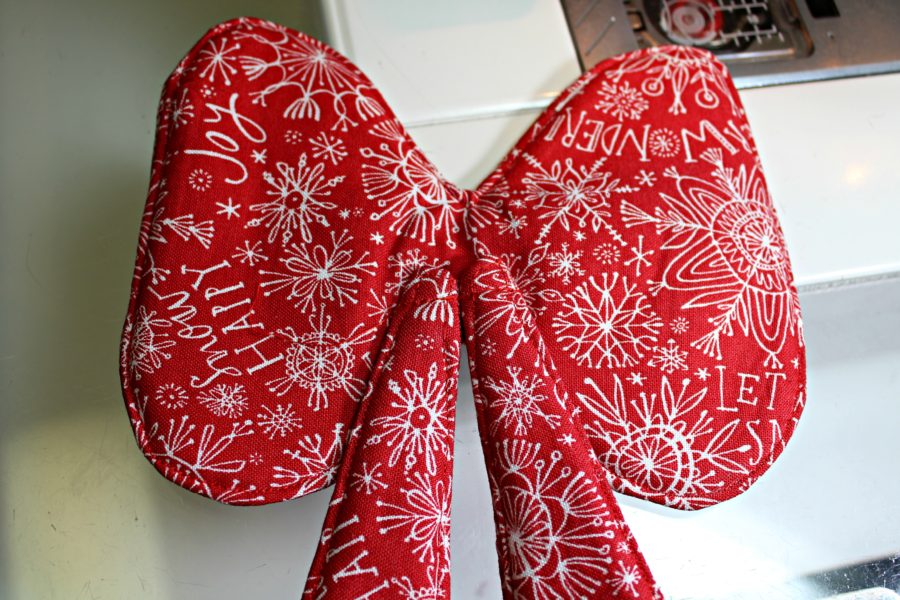
Stitch the center bow to the top of the big bow.
Step 5:
Pin the “J” and the “Y” to the “O” to make sure the wreath is balanced when it is hanging with the ribbon loop.
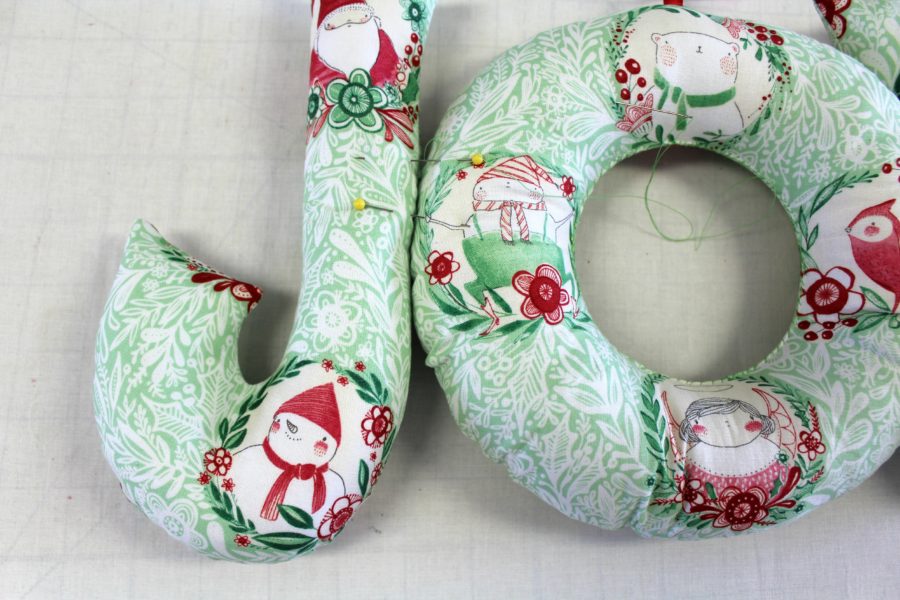
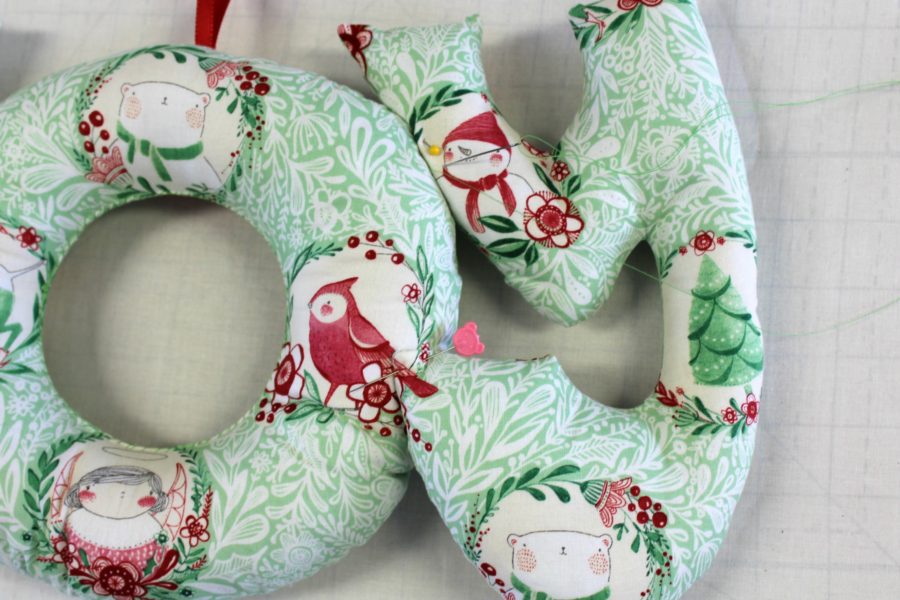
Hand stitch the letters together where they are pinned.
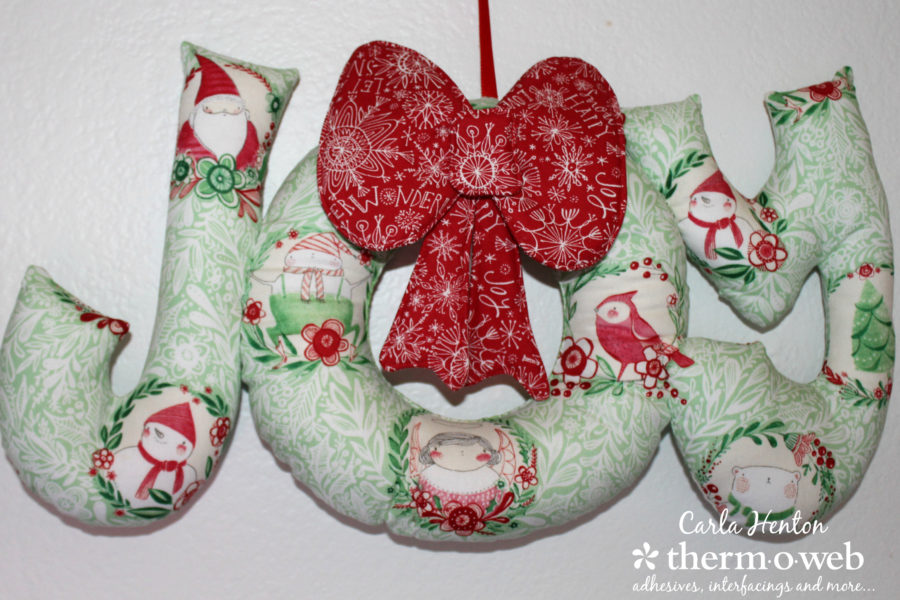
The last step is to hand stitch the bow to the top of the “O” and joy is ready to be hung and enjoyed.
Merry Christmas!
Carla

Carol Kussart
November 29, 2018 at 5:56 am (7 years ago)Carla, I saw this on your cookie exchange post and had to look at it this way too–I like it even better this time. Love the fabrics and I like the size of the bow too. Great job!
Carla Henton
November 29, 2018 at 6:37 am (7 years ago)Thank you, so much, Carol. Don’t you just love the Blend fabrics? This was the inspiration for those cookies.