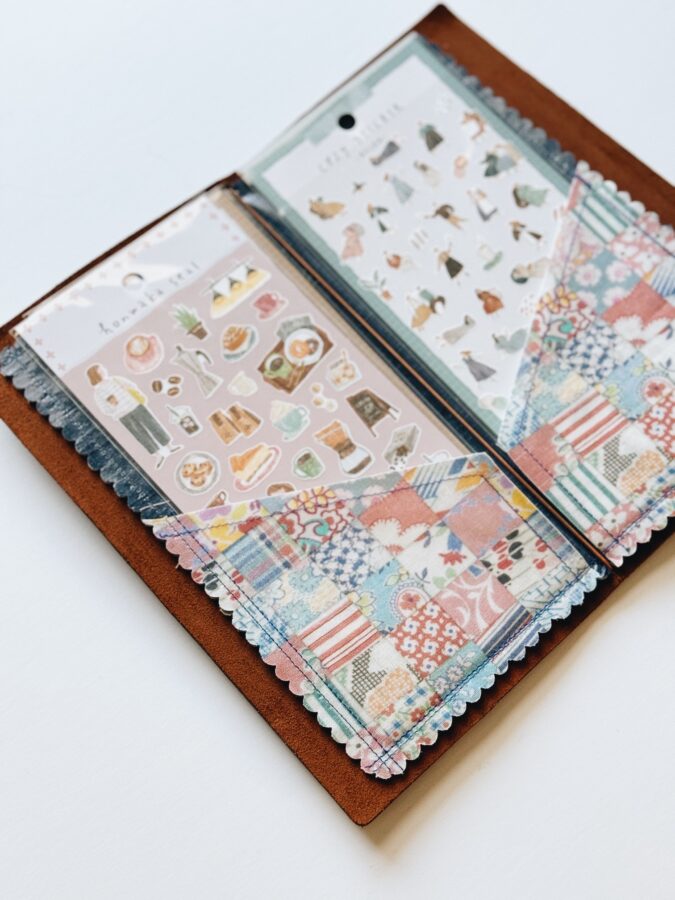
Hello! I have a fun project for all you journaling crafty people – a Journal Folder! Or if you want to make a sweet little gift, this is a good one too! I’m always looking for cute, useful ways for my journaling storage. Specifically, for all my stickers! I journal mostly in a Traveler’s Journal which measures about 8 1/2″ x 5″. This project is a fun way to use one of my favorite HeatnBond Iron-On Vinyl products. This medium is a great way to laminate and add structure to most fabrics.
Journal Folder Instructions
Materials Needed:
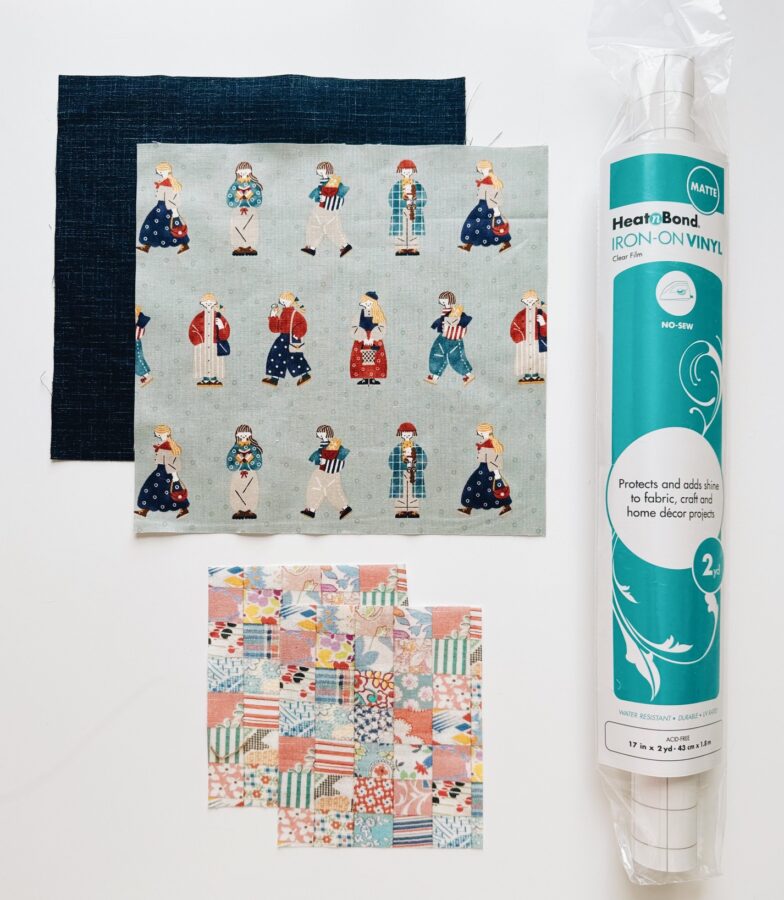
- 2 fat quarters of cotton fabric – in contrasting prints for outside and inside of folder
- Scrap cotton fabric – for inner pockets
- HeatnBond Iron-On Vinyl – I use the Matte version
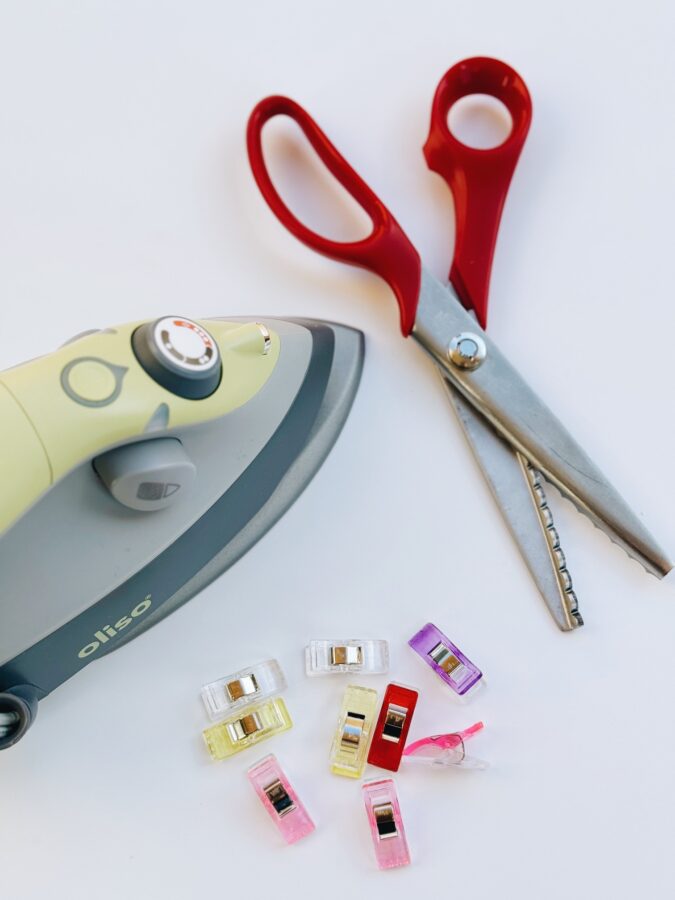
Tools Needed:
- Sewing machine
- Mat and rotary cutter
- Ruler
- Iron – I love Oliso!
- Pinking shears or scissors
Cutting Requirements:
- Cut one 9 1/4″ x 8 3/4″ (length x height) cotton rectangle for outer folder
- Cut one 9 1/4″ x 8 3/4″ (length x height) cotton rectangle for inner folder
- Cut two 4 1/2″ x 5 1/4″ (length x height) cotton squares for inner pockets
- Cut two 9 1/4″ x 8 3/4″ (length x height) HeatnBond Iron-On Vinyl rectangles
- Cut two 4 1/2″ x 5 1/4″ (length x height) HeatnBond Iron-On Vinyl squares
Tips:
- Use a 1/2″ seam allowance unless noted otherwise
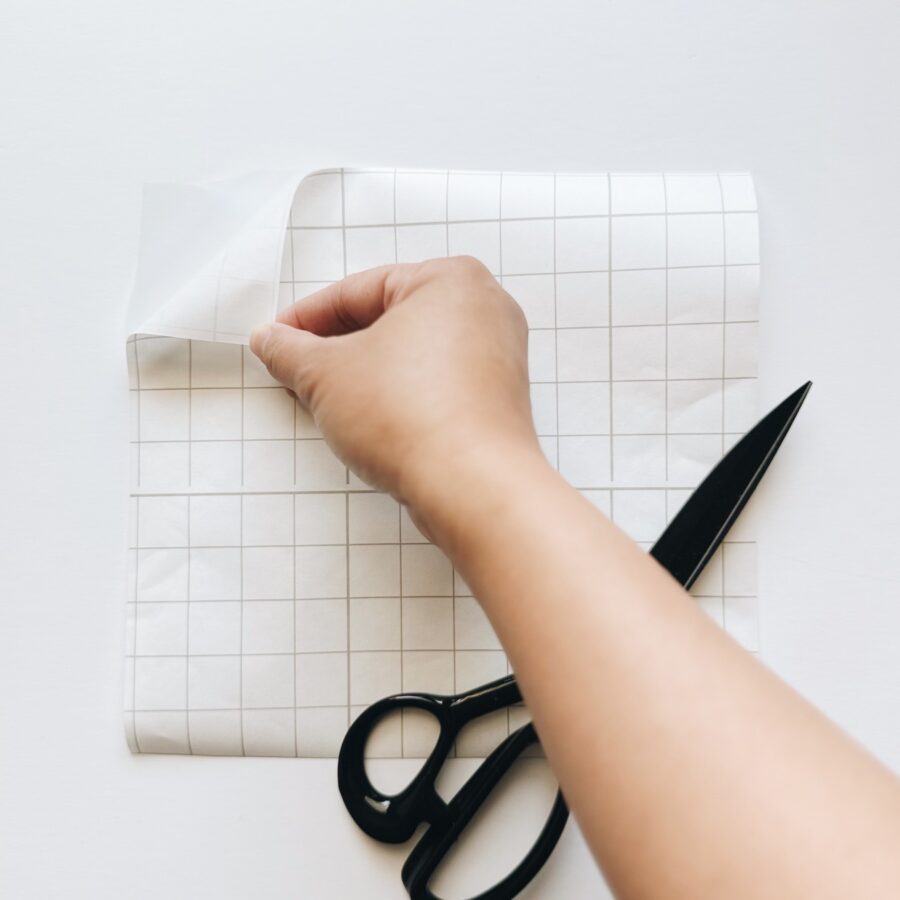
- Follow the instructions for HeatnBond Iron-On Vinyl as directed
Let’s Begin!
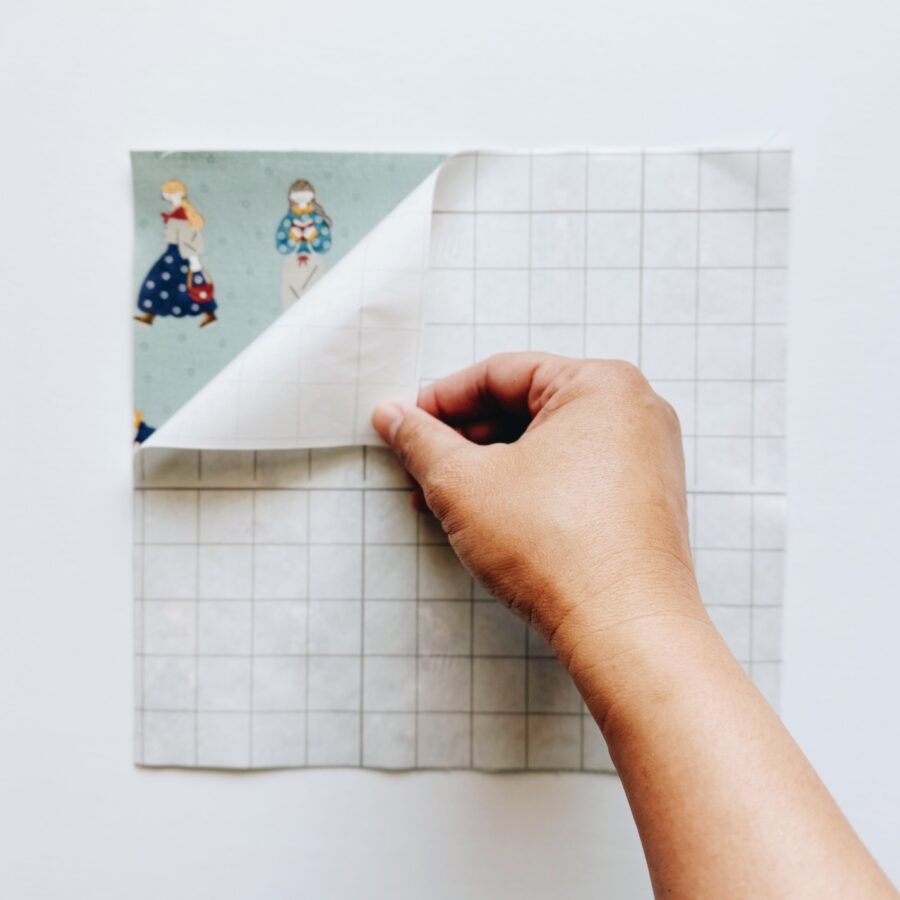
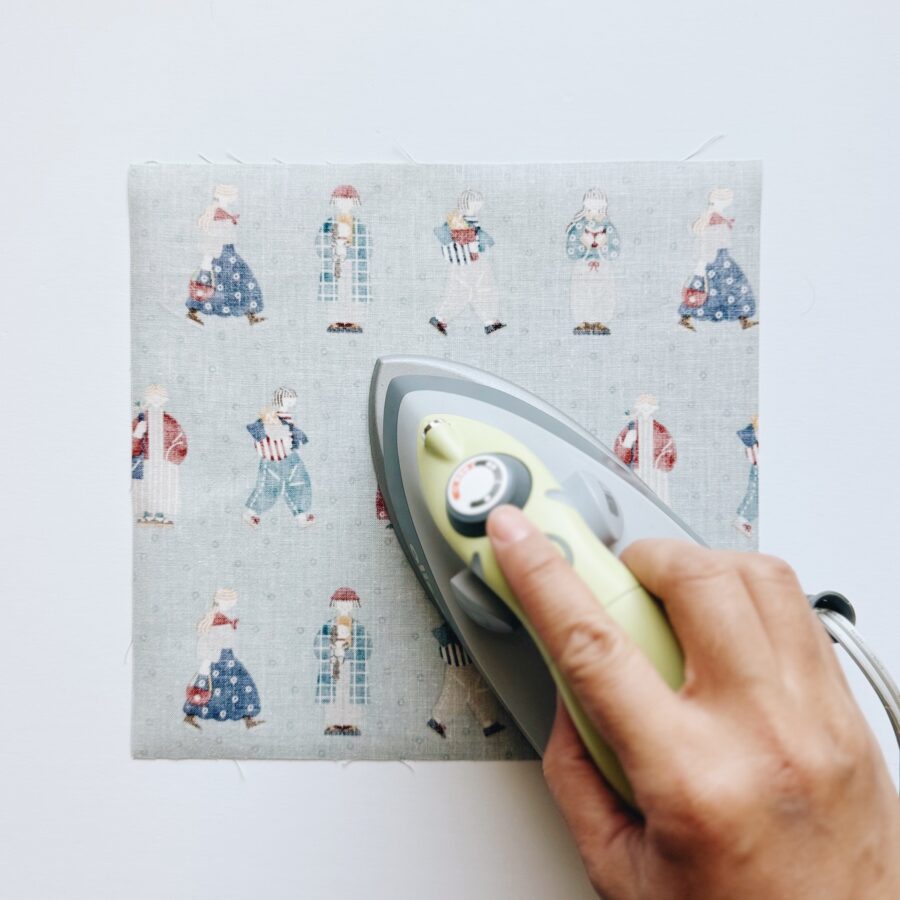
- Adhere the 9 1/4″ x 8 3/4″ HeatnBond Iron-On Vinyl rectangles to the front of the outer 9 1/4″ x 8 3/4″ cotton rectangle and the inner 9 1/4″ x 8 3/4″ cotton rectangle. Follow the instructions as indicated on the package. Repeat for the inner 4 1/2″ x 5 1/4″ pocket pieces.


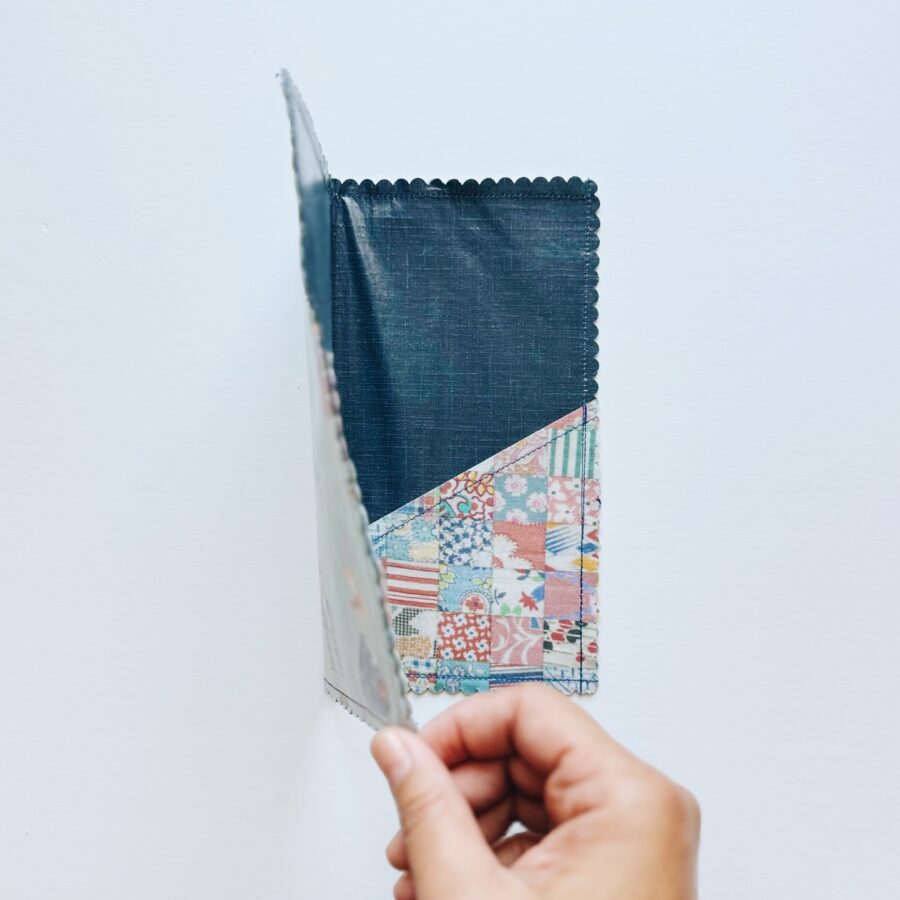
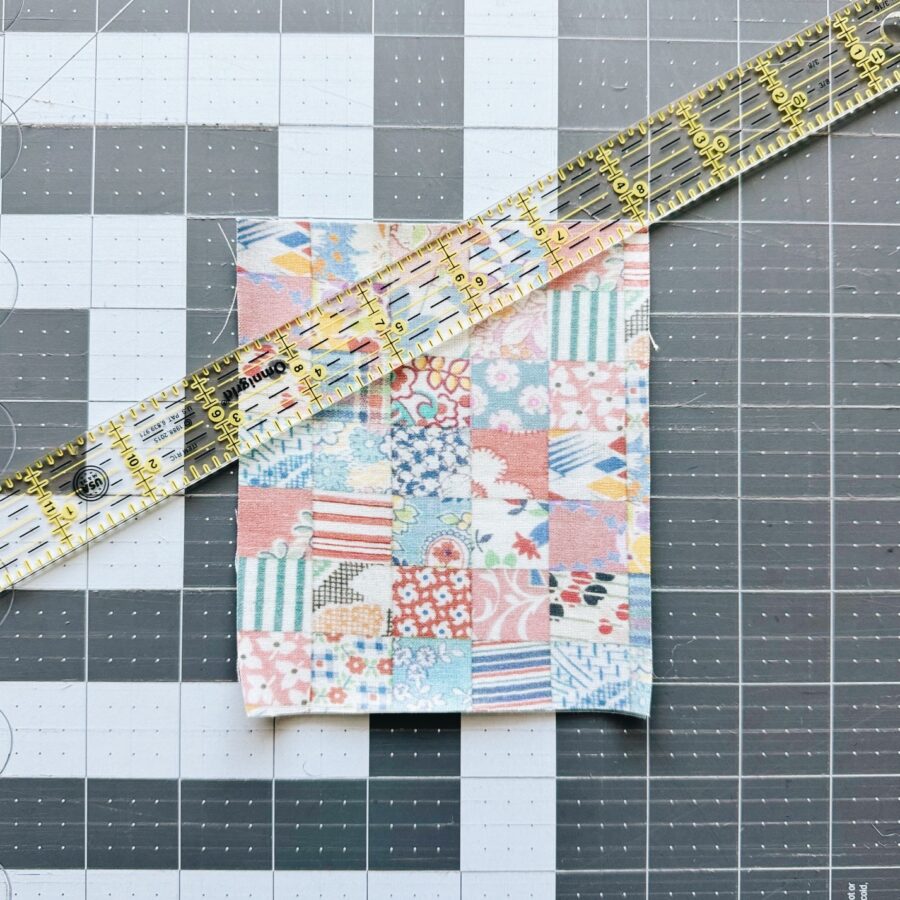
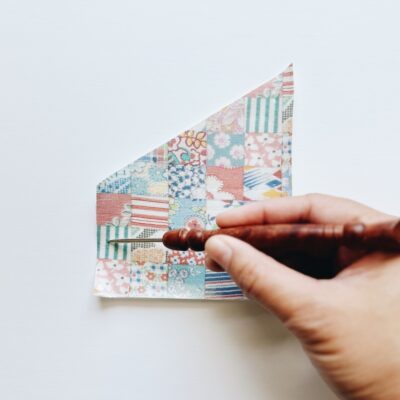
- Trim the inner pocket pieces. Using your cutting mat, lay each 4 1/2″ x 5″ 1/4″ squares on top of one another with both right sides facing out, and align the top area of the squares onto one of the angles lines guides. NOTE: If you don’t have a mat with angled guide lines, just make an angled cut onto the top of the squares. Using a ruler and rotary cutter, cut along the guide line.
- Sew a 1/4″ seam on the top and shorter edges for both pockets.
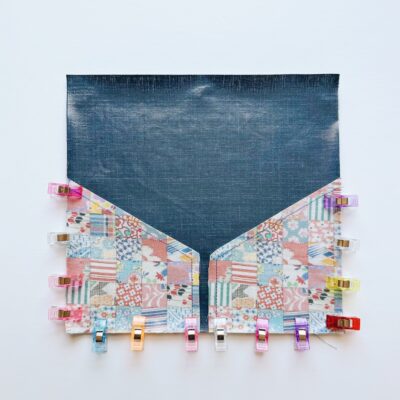
- Lay each cut square onto the bottom corners of the inner folder, with right sides facing out. Clip and sew around the edges using a 1/2′ seam allowance.
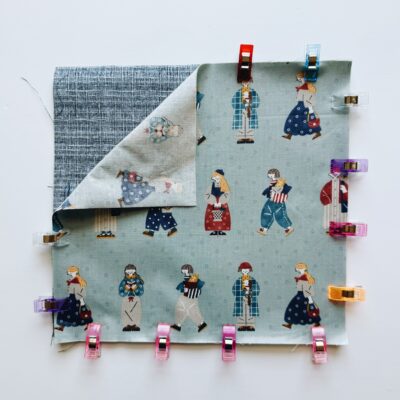
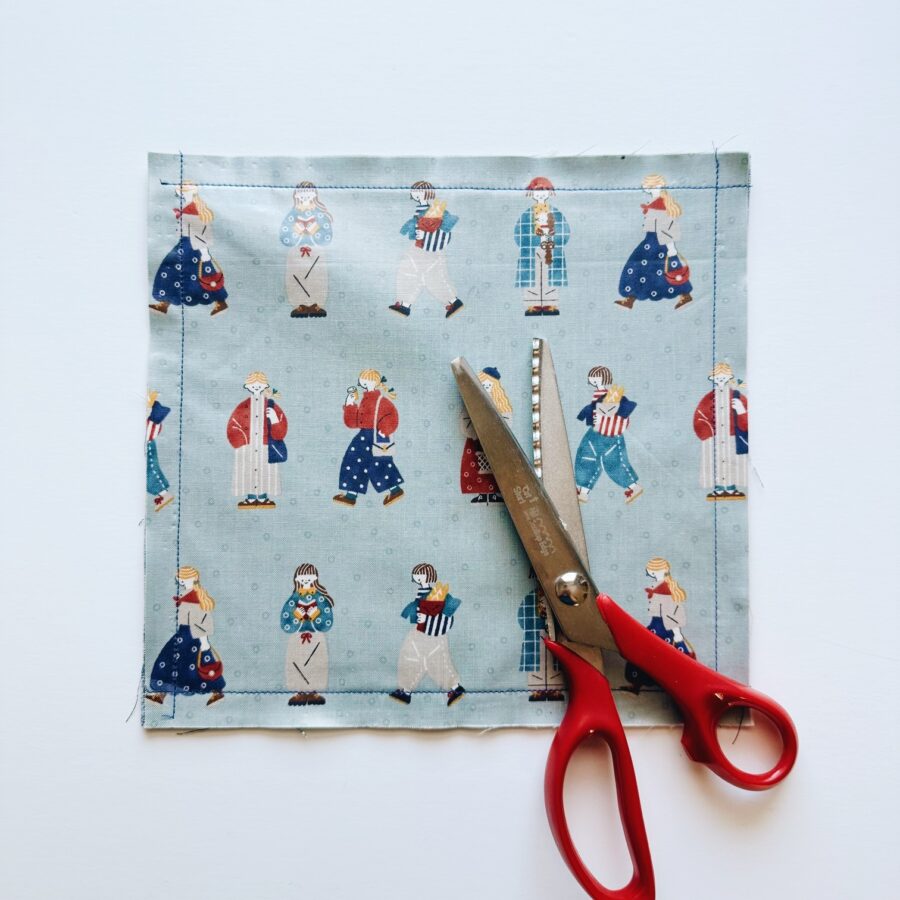
- Take the outer folder piece and the inner folder piece and lay on top of one another with right sides facing out. Clip in place and sew around the entire piece using a 1/2″ seam allowance.
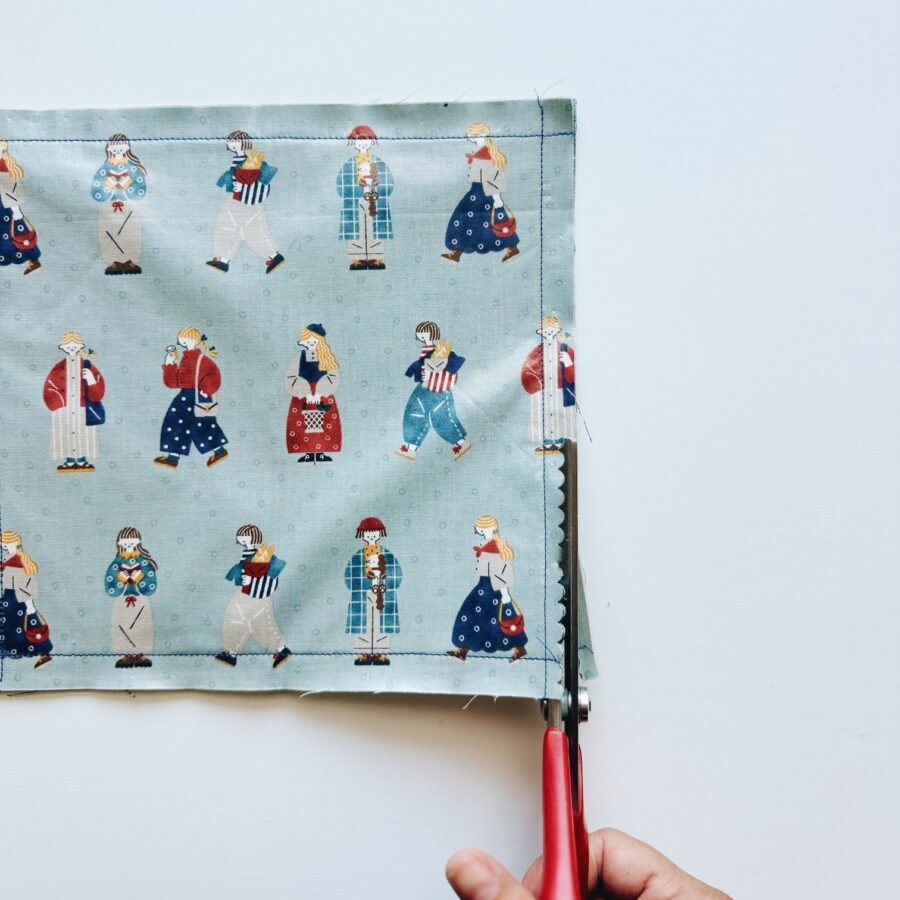
- Using your pinking shears or scissors, cut around the entire piece, leaving a 1/4″ seam.
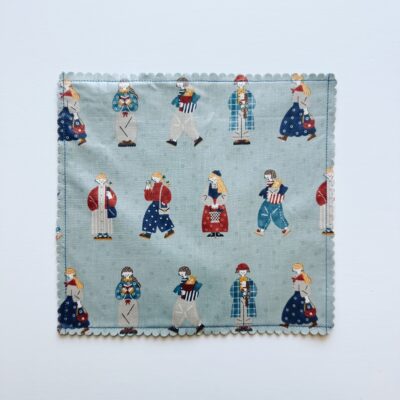
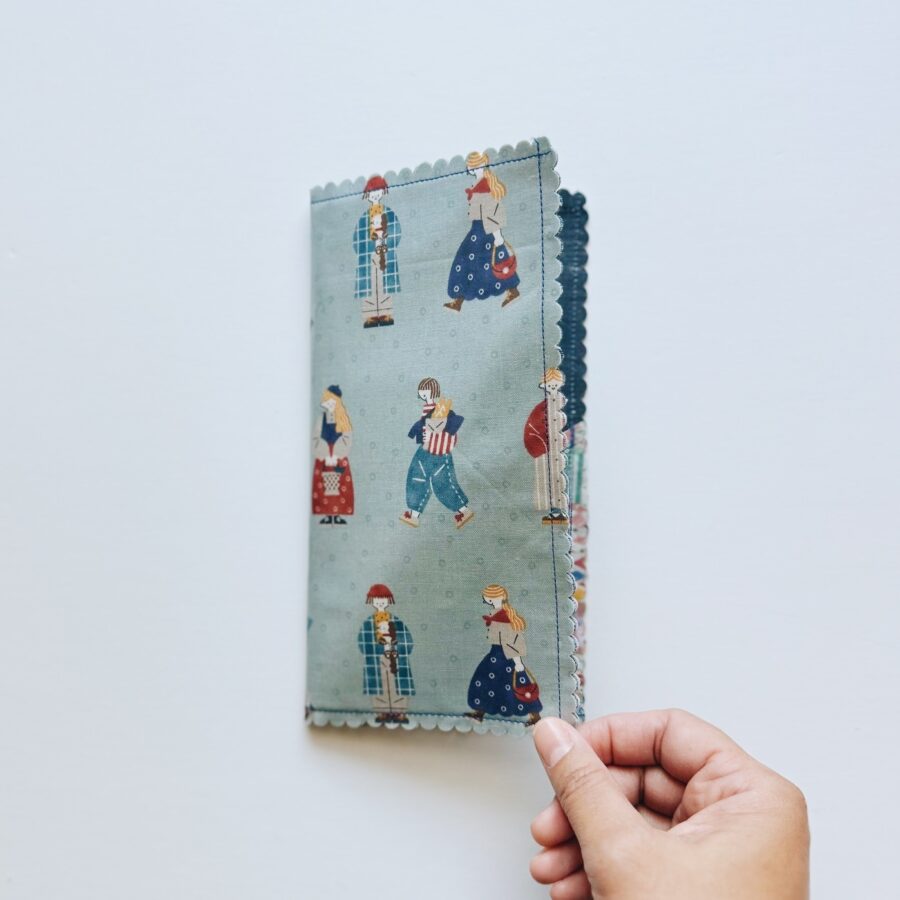
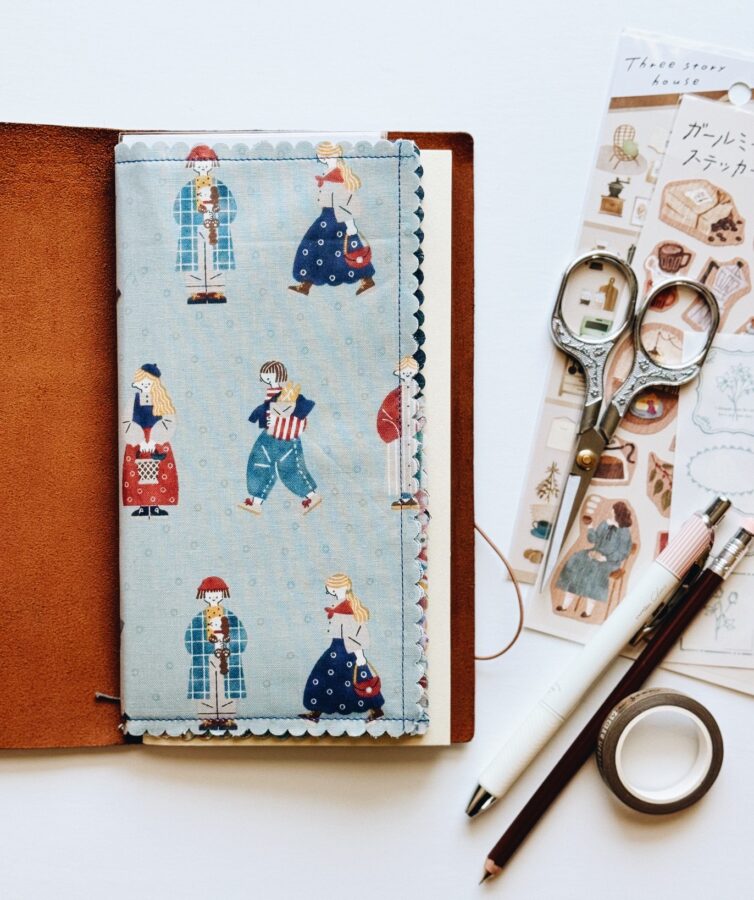
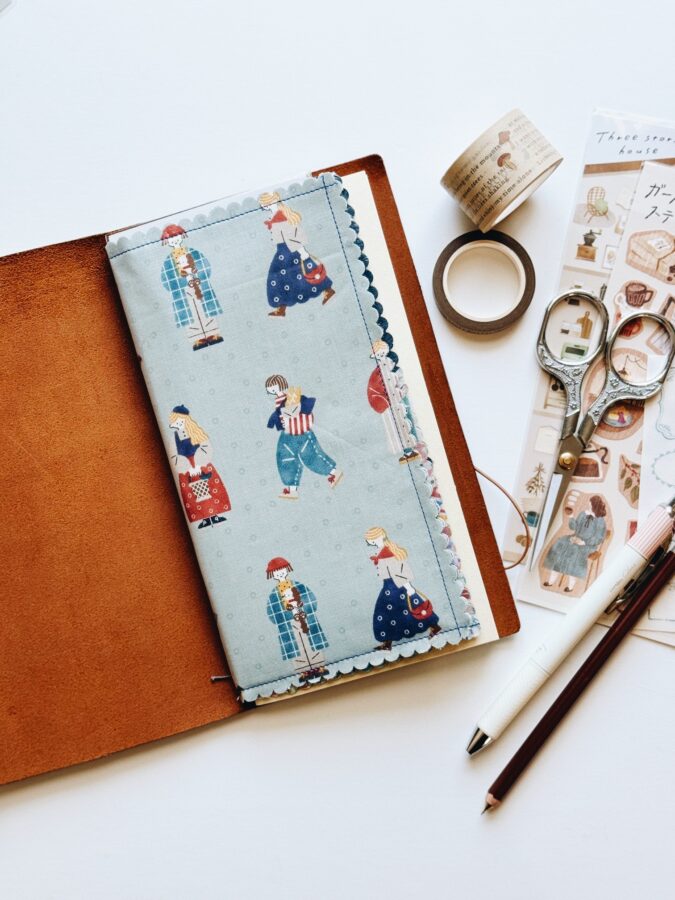
Front of folder 
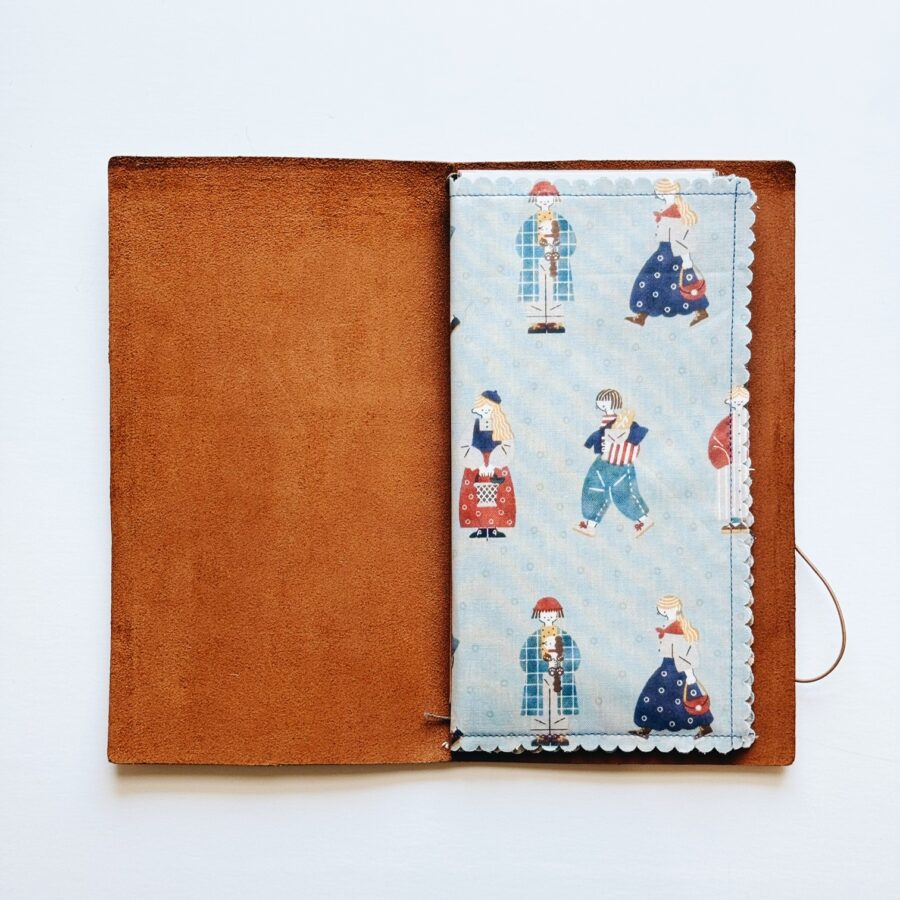
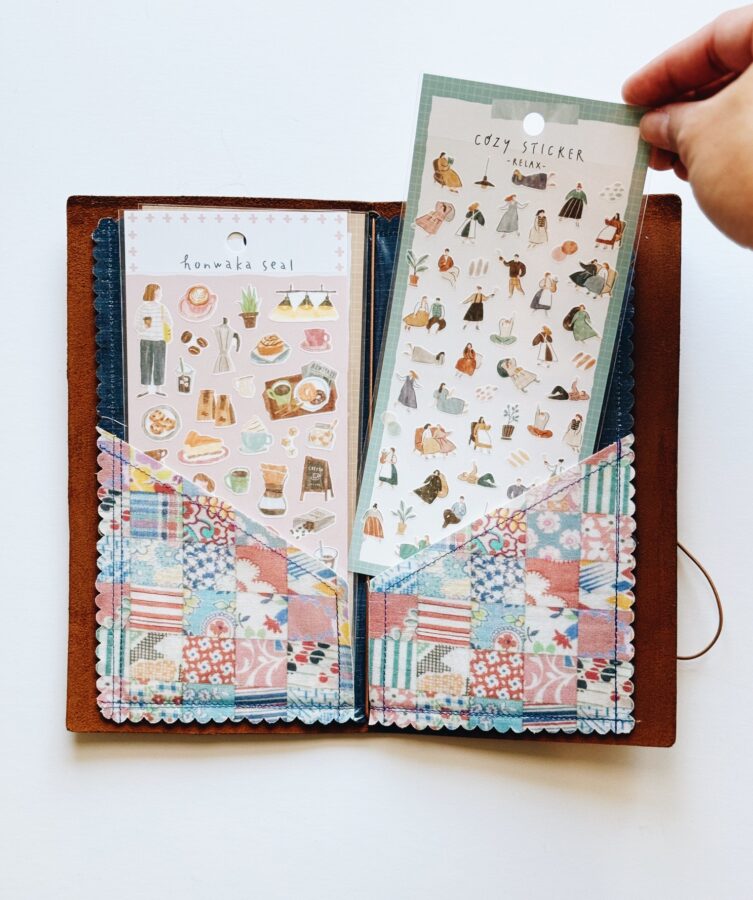
Inside of folder - Fold in half and you are done!