Hi everyone! It’s Kim Lapacek of Persimon Dreams here and I have the second block in the Mystery ‘Block of the Month’ to share with you today!
I hope you decide to join in the fun! Each block will be whimsical and fun and a perfect way to use up your scraps. In the end you’ll have twelve 8-inch blocks that will make an adorable wall hanging OR you can use the blocks to make mini quilts, table runners and wall hangings! Feel free to copy the button above and add it to your blog to share with everyone the fun we’re going to have with this quilt along.
Okay – time to reveal the second block …
“Jack O Foil Block”
Supplies:
- Jack-O-Foil Templates
- Sky – 6.5″ x 8.5″ fabric
- Dirt – 2.5″ x 8.5″ fabric
- Pumpkins
- Pumpkin #1 – 3.0″ x 3.0″
- Pumpkin #2 – 3.0” x 6.0”
- Pumpkin #3 – 4.0” x 5.0”
- Heat N Bond® Lite: 3.0” x 3.0”, 3.0″ x 6.0″, & 4.0″ x 5.0″
- Fall Leaves
- 5 – 1.5” x 1.0″
- Heat N Bond® Lite:
- 5 – 1.5” x 1.0″
- Stems
- 3 – 0.75” x 1.0”
- Heat N Bond Lite:
- 3 – 0.75” x 1.0”
- 3 – 0.75” x 1.0”
- iCraft® Deco Foil™Hot Melt Adhesive
- iCraft® Deco Foil™ Liquid Adhesive
- Pressing Sheet
- Deco Foil™ Transfer Sheets (gold, pumpkin, & green – 1 sheet each)
Directions
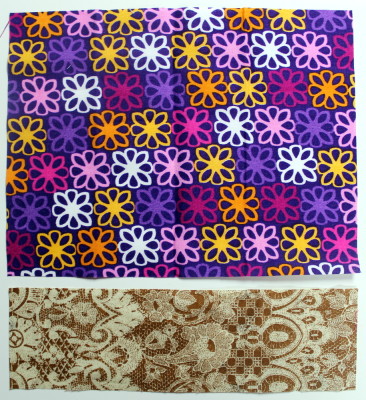
Start by piecing the background of our block this morning. Take your 6.5″ x 8.5″ piece of sky fabric and sew it to the 2.5″ x 8.5″ piece of dirt fabric.
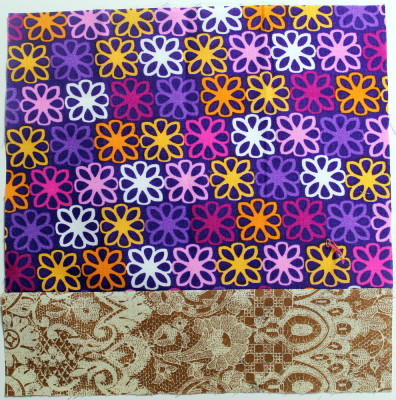
Press towards the dirt fabric.
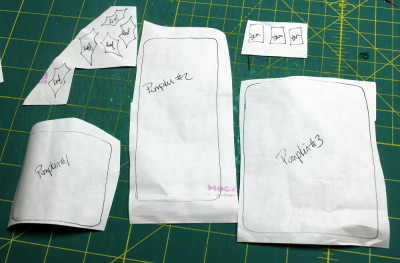
Now – take the templates you printed out after you downloaded it for free from my Craftsy pattern page and trace the 3 pumpkins, the stems, and the five leaf shapes on to the corresponding Heat n Bond® lite pieces. Trim around the shapes but not too close to any lines.
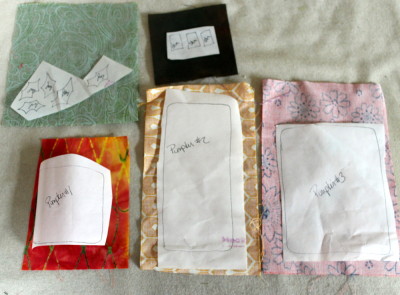
Press each Heat n Bond® lite shape to the wrong side of the corresponding fabric. Cut each shape on the lines you drew.
Peel the fusible paper off each fabric piece. Do this now so you don’t forget to do it before you do your final press.
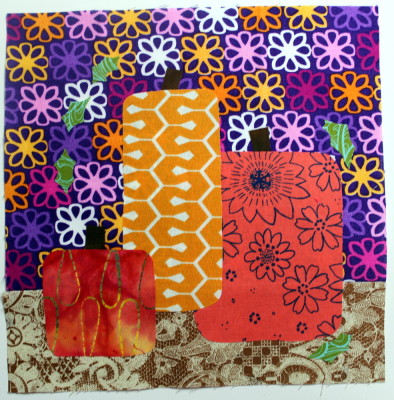
Now it’s time to lay out each piece how we want it before we press it into it’s final spot. Start with the pumpkin #3, then layer pumpkin #2 over that and pumpkin #1 at the top.
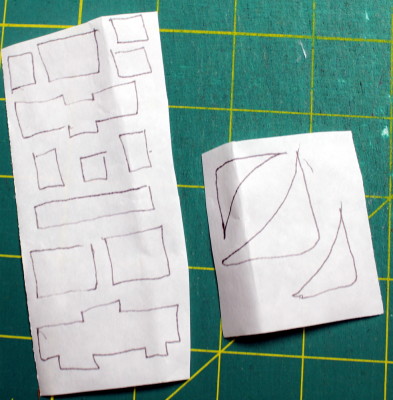
Trace the pumpkin eyes and mouths onto the iCraft® Deco Foil™ Hot Melt Adhesive. Also trace the P1, P2, and P3 shapes onto the hot melt adhesive.
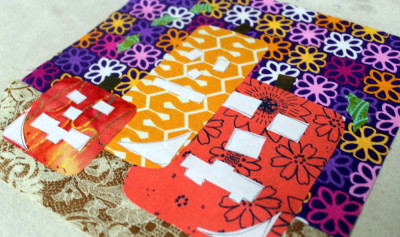
Place mouths, eyes, noses and shapes in a manner that is pleasing to you. Take a Pressing Sheet and lay it over the shapes. Press for 30 seconds. Let the Deco Foil™ Hot Melt adhesive cool down. Seriously, let it cool down.
Let it cool down even more. And once it’s 100% cooled down, peel the paper off.
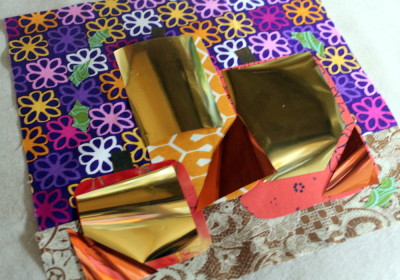
Lay a piece of Gold DecoFoil over all the jack o lantern face shapes. Lay pieces of pumpkin decofoil over the P1, P2, and P3 shapes in the corners of the pumpkins.
Take a Pressing Sheet and lay it over the DecoFoil™. Press for 30 seconds. Let it cool down.
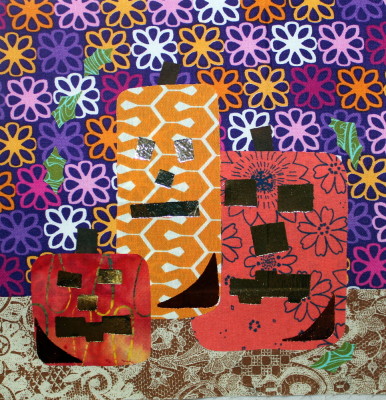
Once it is completely cooled down, peel the DecoFoil™ off the block. Voila! You now have beautiful glowing ‘Jock O Foils’!
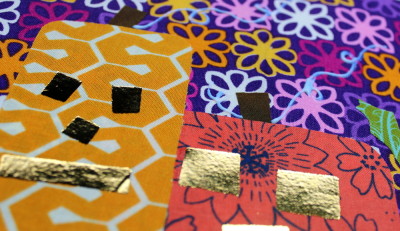
Let’s add a little extra fun. Place a piece of scrap paper under your block. With the decofoil liquid adhesive carefully squeeze out light swirly curly Q’s off of the stems of the pumpkins. Cover the glue with the green DecoFoil™.
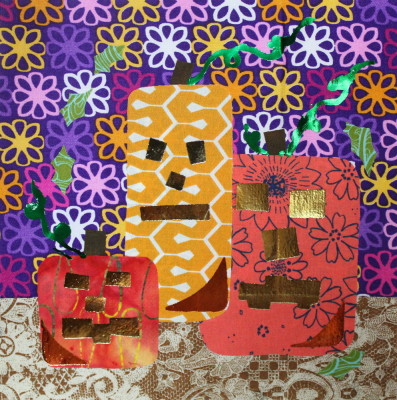
Let dry completely …. This takes a bit longer. If you have something else to do – go and do it. Once the glue has dried, peel off the decofoil.
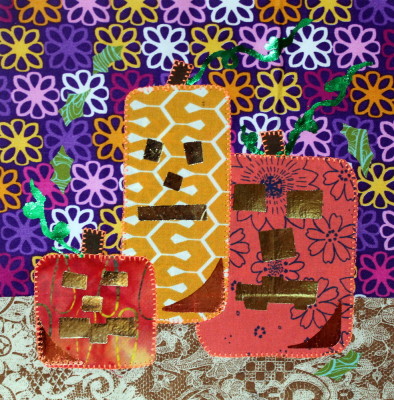
The final step is to blanket stitch around each of the pieces you fused down with the Heat N Bond Lite Fusible. These little jack o lanterns are just too adorable! I hope you like it and I hope you decide to join in the fun of this Block of the Month!
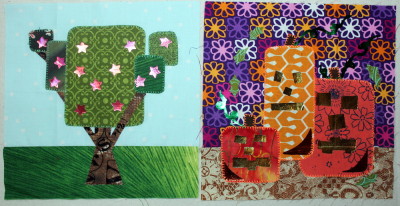
And here are both – ‘Wish Upon an Apple Tree‘ and ‘Jack-O-Foil’ side by side. See you next time!

[…] are the five blocks -“Wish Upon an Apple Tree“, “Jack-O-Foil“, “House of Foil” , “Foil Covered Branches” and “Hearts of […]
[…] it’s not too late to join in! Here are the six blocks -“Wish Upon an Apple Tree“, “Jack-O-Foil“, “House of Foil” , “Foil Covered Branches”, “Hearts of Foil” and “Foiled […]