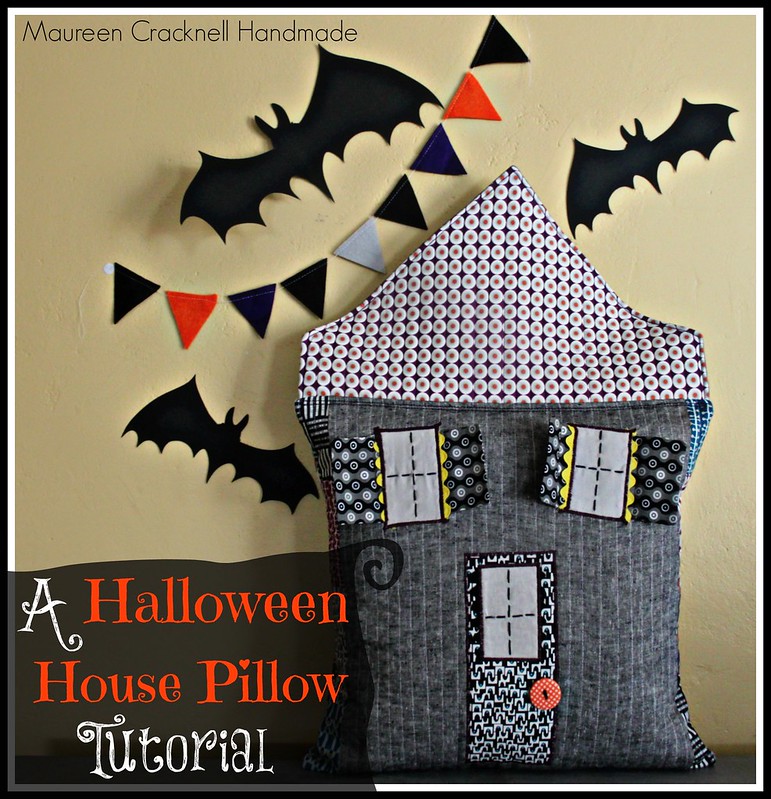
What you’ll need : :
- 1 – 1/2 yd cut of Essex Yard Dyed Linen in Black for the main house fabric and roof back fabric
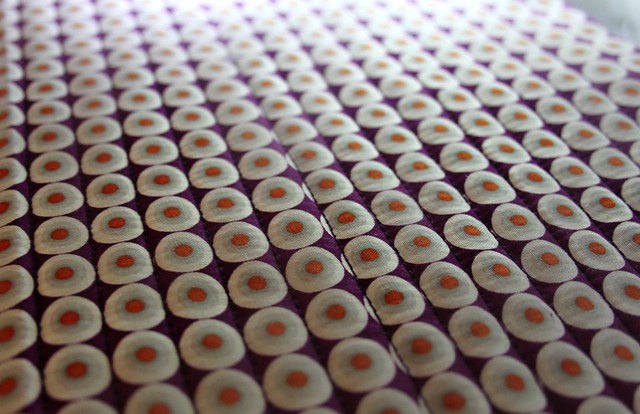
- 1 – 1/2 yd cut of fabric for the house pillow back
- 1 – Fat Quarter of fabric for the house pillow roof piece
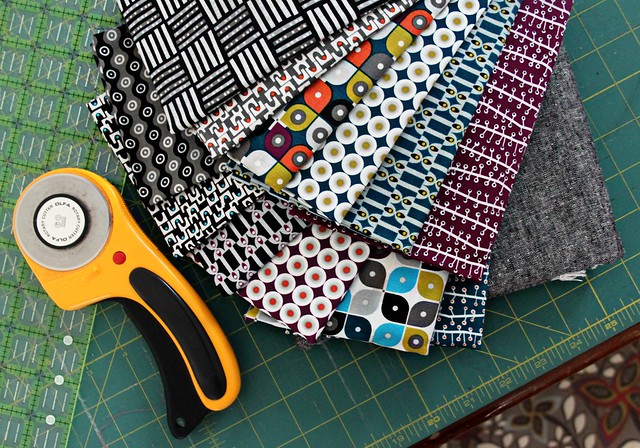
- a variety of Halloween inspired fabric prints for the patchwork sides & house pillow details (I’m using MicroMod)
- solid fabric scraps for the windows
- 1 – piece of batting measuring at least a 15.5″ square
- 1 – piece of batting measuring at least 10″x16″
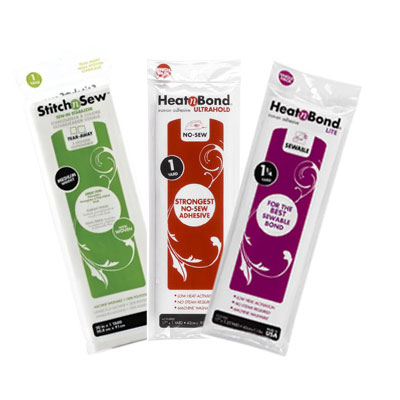
- HeatnBond lite
- SpraynBond
- rotary cutter/mat/ruler
- 1 – size 14″ pillow insert
- house pillow embellishments — buttons, ric rac, ribbon, embroidery floss, etc.
Cutting Instructions : :
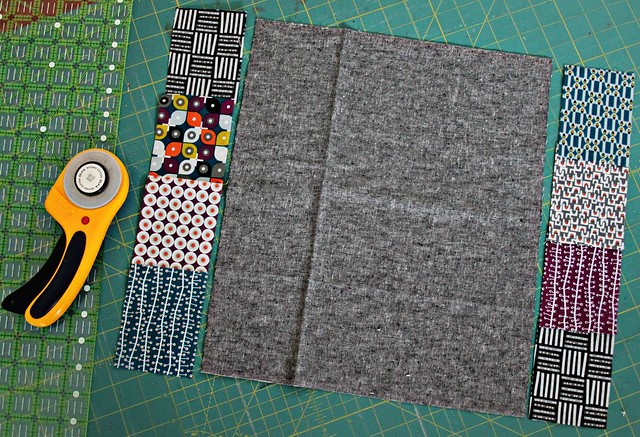
1.Using a cutting mat, ruler, and rotary cutter, cut a piece from the 1/2 yard of fabric you chose for the main house pillow front measuring
12.5″x14.5″
2. From the Halloween prints, cut 8 –
measuring 3″x4″
Piecing the Pillow Front : :
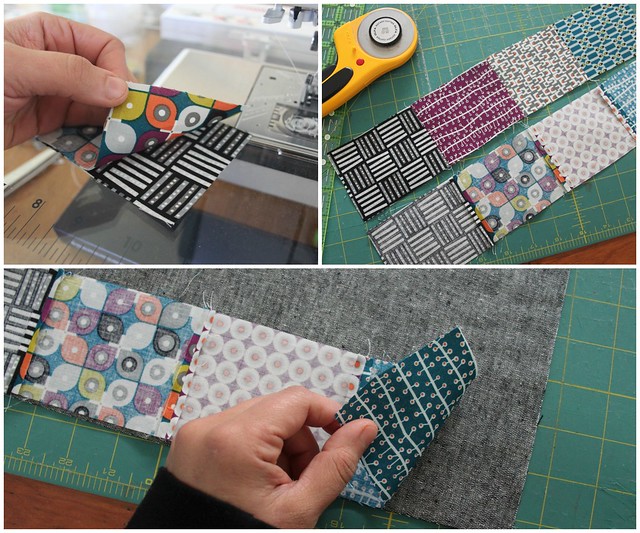
3.using a 1/4″ seam allowance, sew the side patchwork pieces together in
the order chosen for both sides of the main house pillow solid fabric,
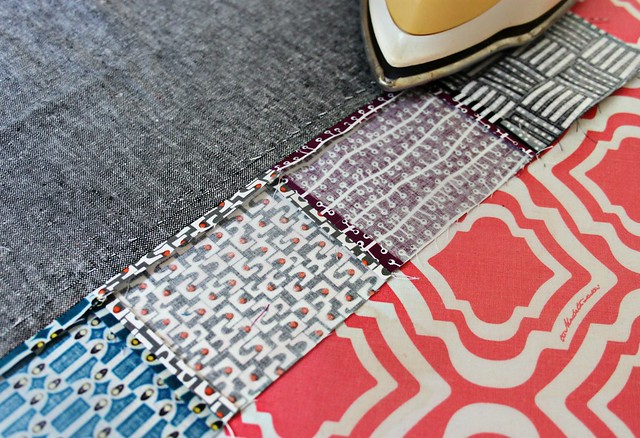
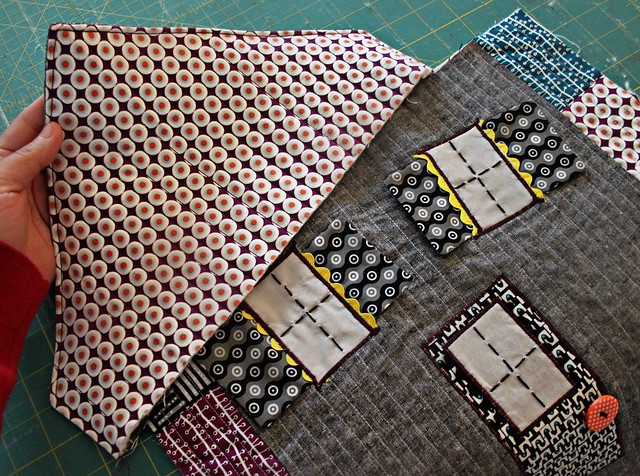
press seams open
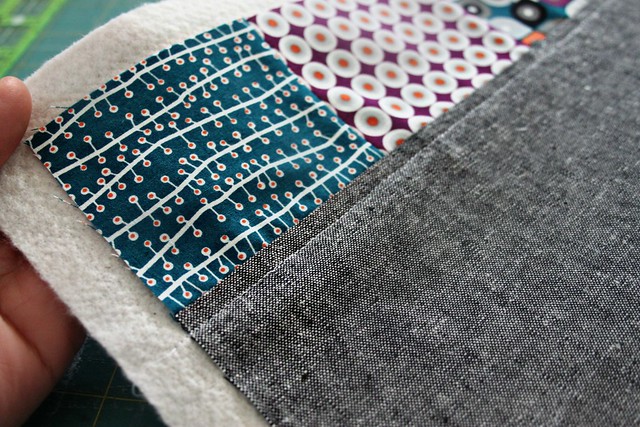
4. lay these patchwork panels, right sides
down, along both long sides of the main house pillow solid fabric, pin
in place, and sew to attach using a 1/4″ seam allowance. Press these
seams open, as well
Quilting the Pillow Front : :
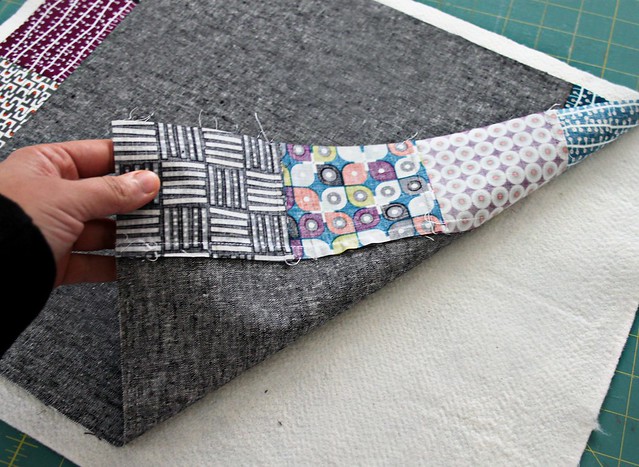
5. Using SpraynBond, baste the pillow front to the piece of batting measuring at least a 15.5″ square
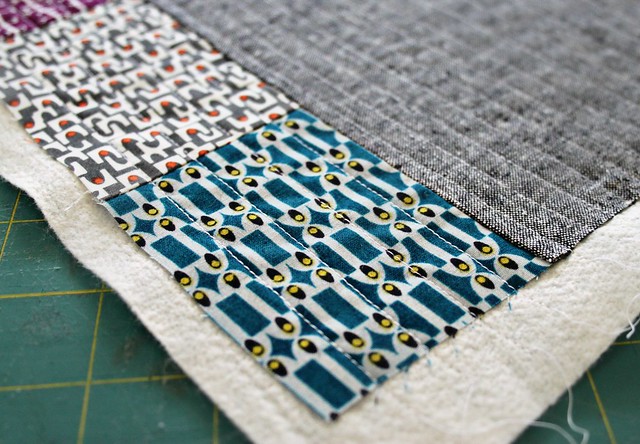
6.begin to add the quilting stitches, first by sewing a 1/4″ on both
sides of the pillow front seams where the main house solid fabric and
patchwork panels were sewn together
7.continue adding the quilting stitches through the center of the pillow
front, keeping a space of about a 1/2″ between each. I simply use my
presser foot as my guide
8. use the rotary cutter/ruler/mat set to trim the quilted pillow front to be a 14.5″ square
Adding the House Appliques : :
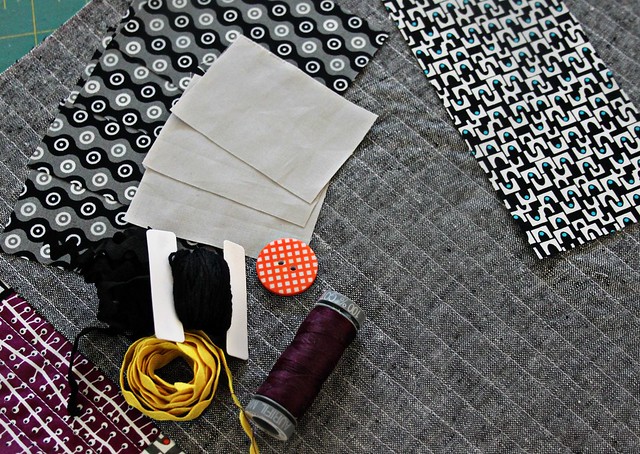
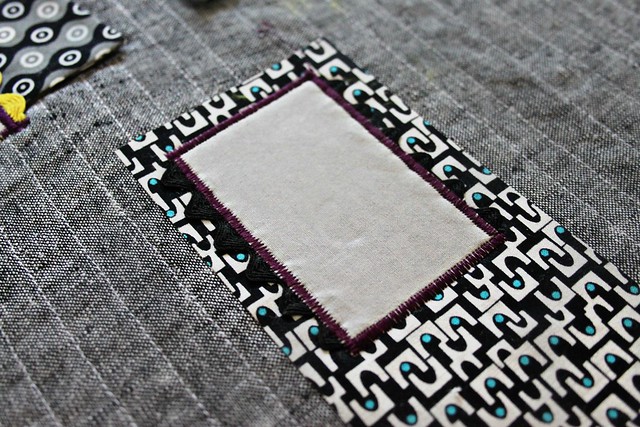
9.for the house door cut a piece measuring 3″x7″. For the windows cut 3 –
measuring 2.5″x3″ from the white fabric. For the shutters cut 4 –
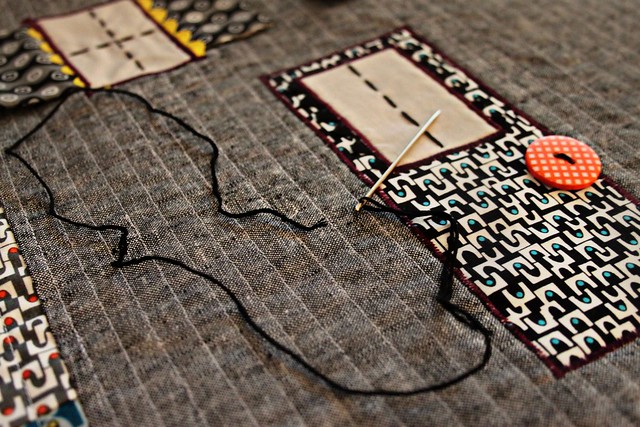
3″x4″. Have the embellishment supplies ready for adding. I chose ric
rac, a button for the door knob, threads, and floss
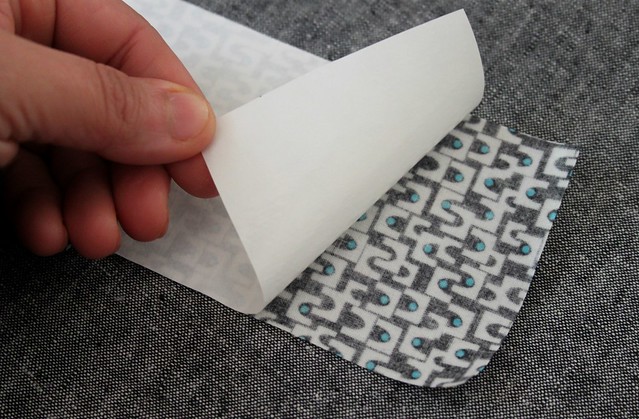
10. follow HeatnBond® directions and attach to door and window fabrics
11. to create the shutter, fold each piece in half with right sides facing and
sew along both side edges using a scant 1’4″ seam. Clip corners, turn
out, and press well.
12. layout the prepared applique pieces and embellishments onto the house pillow
design. Press with hot iron to adhere the door and window pieces. If
needed, use pins to set any other pieces in place
13. using either an applique or zig zag stitch on your sewing machine, stitch
around each of the windows and door to attach them permanently
Adding the House Details : :
14. it’s time to add those little details — use black floss to stitch in window details and the button doorknob. This is the part where you can really
have some fun and make this your own!!
Making the House Pillow Roof : :
15. cut from one fat quarter a piece of fabric measuring 10″x16″ and layer onto a batting piece that same size 16. again
add quilting stitches about 1/2″ apart. For this I start in the very
center and work my way out on both sides of that first stitched line,
using my presser foot again as my guide
17. cut roof piece to size by first triming this quilted piece to measure a
9″x15″ rectangle. Mark a point at the very top center of this piece,
using your rotary cutter/ruler/mat set, set ruler from this point
traveling down to 2″ up from the bottom and trim away corner. Repeat for
the other side, as well
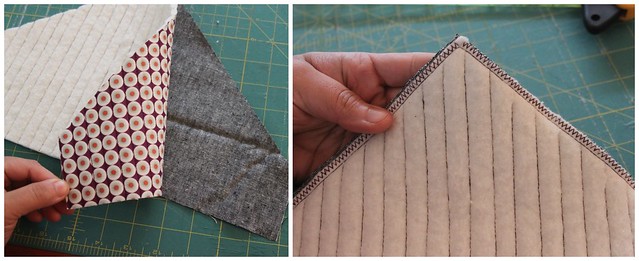
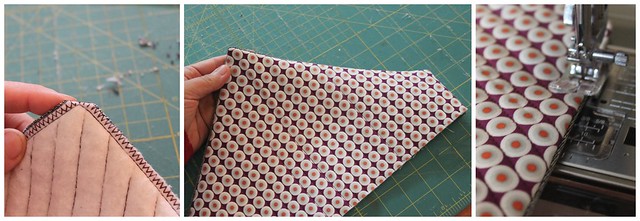
18. cut a piece from the main house fabric the same size as
the quilted roof piece. With right sides together, sew 1/4″ seam along
the pointed sides of the roof and then again with a zig zag stitch
19. Trim away the top corner of the roof, turn right side out, and press well
20. Add a top stitch staying very close to the outside edge of this roof piece
Adding the House Pillow Roof : :
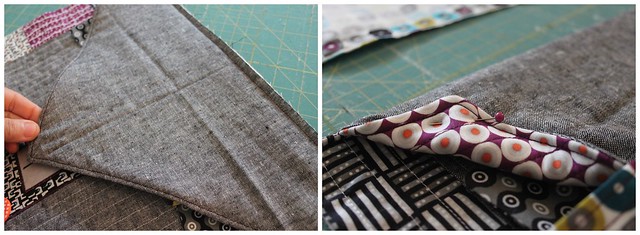
21. place quilted roof piece right side facing, along the top of the house pillow front. Pin and sew using a 1/4″ seam allowance 22. to prepare for adding the pillow back fabrics, use pins to make sure the roof sides are out of the way
Finishing the House Pillow : :
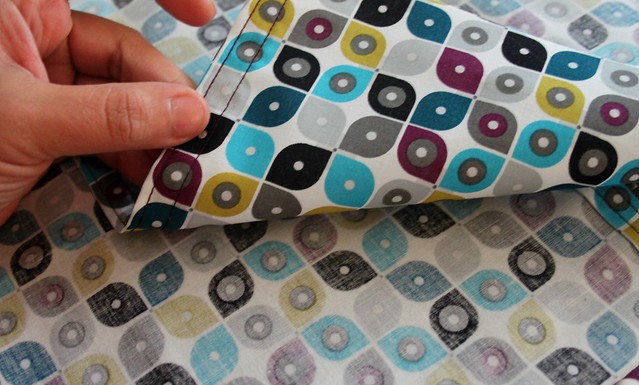
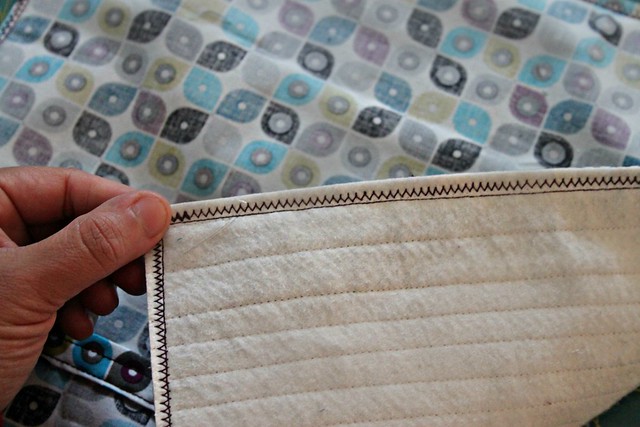
23. from the house pillow back fabric, cut 2 — 12 x 14.5.” Hem one long side of each piece by folding
edge over 1/4″, press, fold 1/4″ again, press again, and sew along the
inner and outer edge of that fold. Repeat for both pieces
24. place with rights sides facing onto the house pillow front and pin in place all the way around
25. keeping a 1/4″ to a 1/2″ seam, sew all the way around the pillow. Using
a zig zag stitch, sew all the way around again, to reinforance the
pillow sides
26. clip corner, turn pillow out, remove any pins used to pin the roof
sides in, and press. Add two rows of top stitching to the very top of
the house pillow, just below the roof, to give it a little bit of extra
sturdiness
Fill with your pillow insert and Voila! Your Quilted Halloween House Pillow is finished!!!
I hope you enjoy this new tutorial!! If you do give this project a go, please feel free to share on the Therm O Web Facebook page, my Facebook page or in my Maureen Cracknell Handmade Flickr group, as well!
♥ Maureen
We want to have some fun today as we’re heading off to Houston and the 2013 Quilt Market! Designer Jennifer Jangles has 3 new patterns and brought back a favorite pattern…her adorable Okey Dokey owl. She’s offering you a chance to win one of the patterns (you get to chose) and to join in..we’re going to send the winner some of our favorites as well!
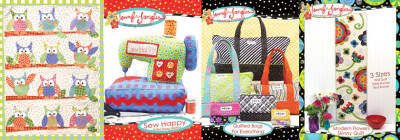
Simply follow the easy to use Rafflecopter and enter to win!
a Rafflecopter giveaway
4 Comments on It’s a Haunted Halloween Fabric House
1Pingbacks & Trackbacks on It’s a Haunted Halloween Fabric House
-
[…] You will find the full tutorial here: A Halloween House Pillow Tutorial […]






Nancy B
October 24, 2013 at 10:00 am (12 years ago)This is adorable. Thank you so much for the tutorial. I can’t wait to make a couple for my grandchildren (and myself, also).
Adrianne B
October 27, 2013 at 1:11 pm (12 years ago)I love the Modern FLowers Skinny Quilt pattern.
Becky Jorgensen
November 6, 2015 at 3:19 am (10 years ago)I love this fabric house! It’s a super cool idea! tHanks for sharing! This tutorial was featured here: http://www.plushiepatterns.com/halloween-fabric-house/