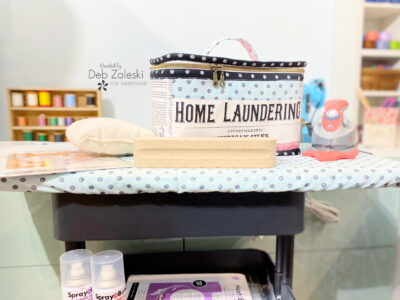
SUPPLIES TO CREATE THE CART:
- 2 yards or less depending on the size of board StitchNsew High Loft Sew-In Fleece
- Utilily cart (make sure you can lay a flat surface on top.)
- Pre-made signle fold bias
- A flat wood board to use an an ironing board
- Drawstring & drawstring clamp
- Coordinating thread
- 1 yard cotton fabric (I used Press on Aqua Ironing Board by J. Wecker Frisch for Riley Blake Designs)
TOOLS TO CREATE THE CART:
- Sewing machine
- Scissors
- Rotary cutter and self-healing mat
- Ruler
- That Purple Thang
- I also used my personal Handyman (AKA my hubby) for this project
GETTING STARTED:
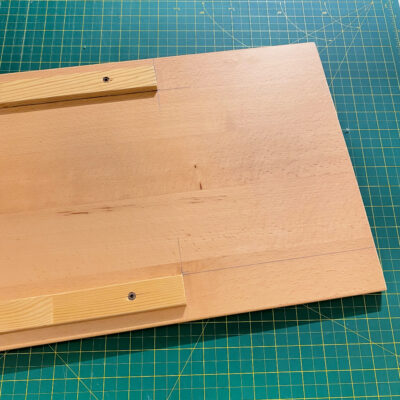
1. I repurposed a shelf and had it cut to the size I wanted. My handyman measured the inside of the cart and placed two tracks on the longest sides to fit inside the cart so the top would remain stable.
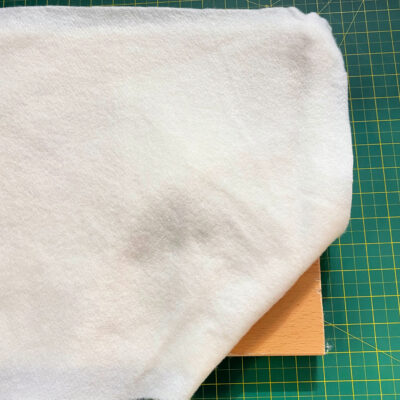
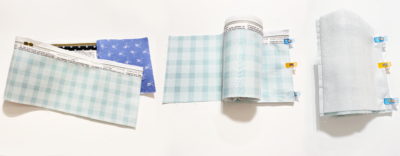
2. Cut two layers of StitchNsew High Loft Sew-in Fleece so that it hangs about an inch over the edge of your board all the way around.
3. Cut your fabric to allow about 2.5 to 3 inches of overlap on all sides. Round the corners, this will help when sewing on the single fold bias tape.
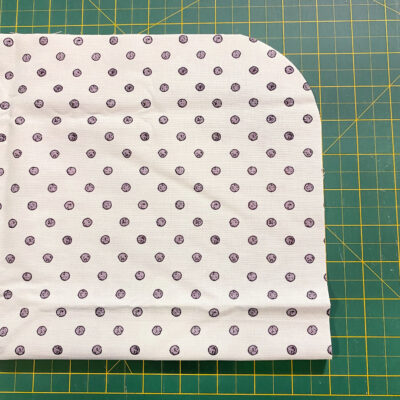
4. Open the bias tape and place it along the perimeter of the raw edge of your fabric, right sides together. Fold the beginning and the end of the bias tape inward about 1/2 inch. Stitch along the fold line closest to the raw edge.
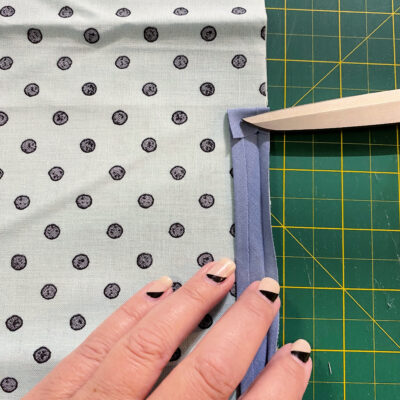
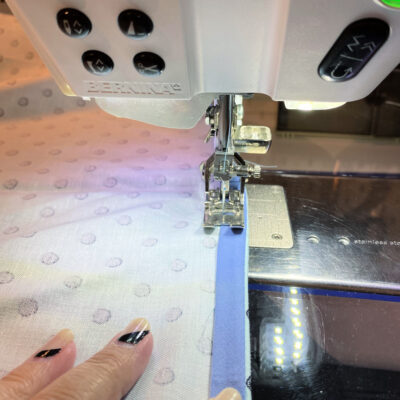
5. Flip the bias over to the wrong side of the fabric and sew around the perimeter to create a casing for the drawstring.
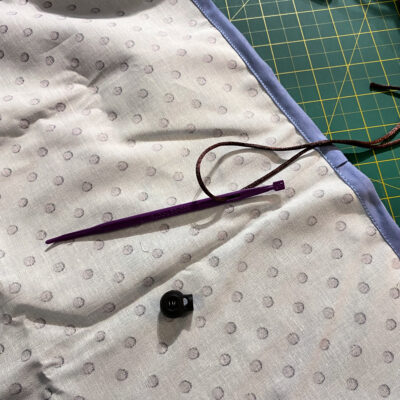
6. Insert the drawstring with a sfaty pin or I like to use The Purple Thang tool.
7. Place your new cover over the board and tighten the drawstring with the drawstring clamp. Your board is now ready!
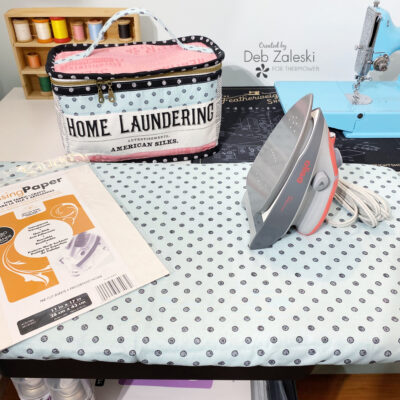
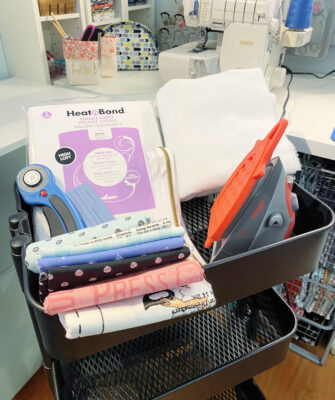
To keep your new ironing board cover clean use Pressing Paper, It’s reusable and it protects projets and work surfaces!
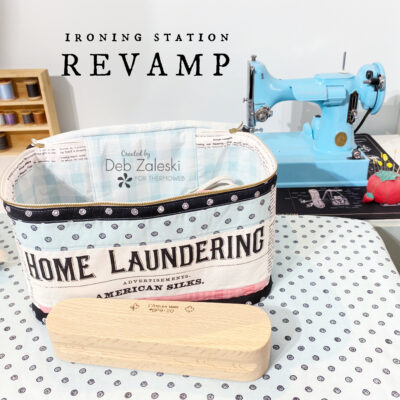
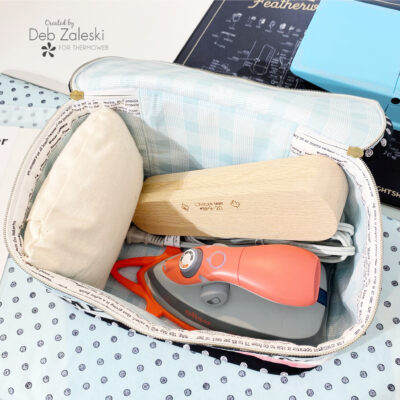
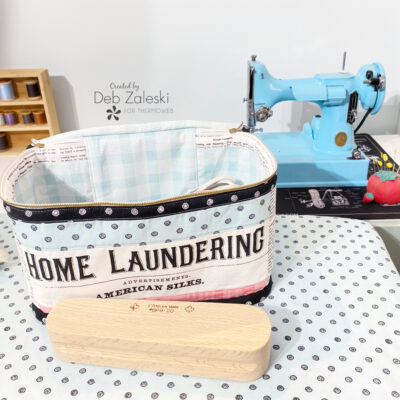
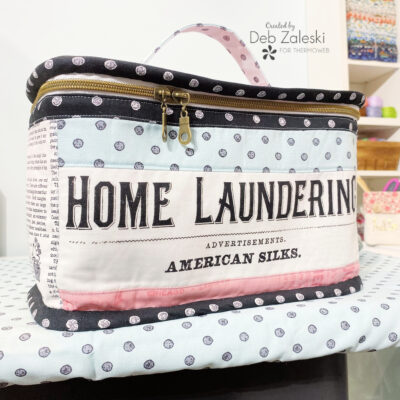
SUPPLIES TO CREATE THE TRAIN-CASE BAG:
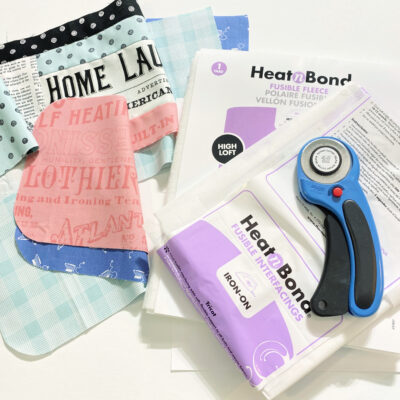
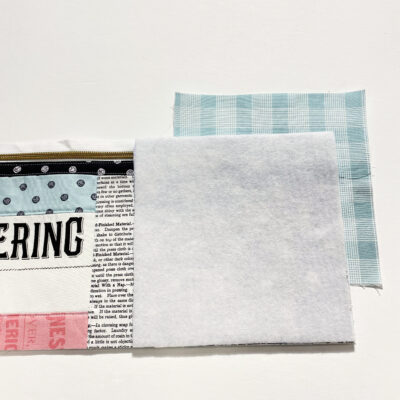
- 1/2 yard HeatNbond High Losft Fusible Fleece
- 1 yard HeatNbond Craft Firm Fusible Interfacing
- 27″ zipper (or longer)
- Coordinating thread
- Various prints of cotton fabric or 3 half yard cuts of each the lining, the bias and the main fabric if omiting the first step.
Thank you to the people at Riley Blake Design I was able to used Press On by J. Wecker Frisch for Riley Blake Designs
TOOLS TO CREATE THE TRAIN-CASE BAG:
- Sewing machine
- Scissors
- Rotary cutter and self-healing mat
- Ruler
- Iron and ironing board
- Water soluble fabric marker
- Rounder corner template or top and bottom panels
GETTING STARTED:
1. 1. Download and print the template piece (Rounder corner template). Print actual size – DO NOT “fit to page” or “shrink to fit.” All the other pattern pieces are straight cuts and can be found directly on the pattern page.
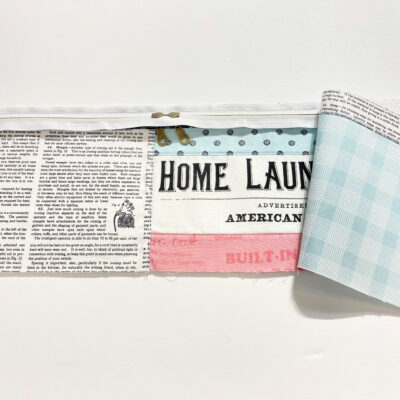
2. For the outer main part of the bag I created a patchwork with some fussy cutting.

3. Cut out all the fabric pieces required for your bag, you should have:
- 1 main front
- 1 main back
- 1 main top
- 1 main bottom
- 1 handle
- 1 lining front
- 1 lining back
- 1 lining top
- 1 lining bottom
4. Apply Fusible Fleece to all main pieces and Craft Firm Interfacing to all lining pieces and the to the handle.
5. Fold the handle in half lengthwise and press to create a crease. Open and bring each side to the crease and press again. Topstitch along the long edge on each side of the strip about 1/8″ from the edge.
6. Place the Lining Top face down and the Main Top on top, facing up. Clip and baste in place. Mark the center of each side with a water soluble fabric marker.
7. Place the handle over the markings on the short sides of the top, 2.5 inches from the edge stitch into place on the top. Set the top aside.
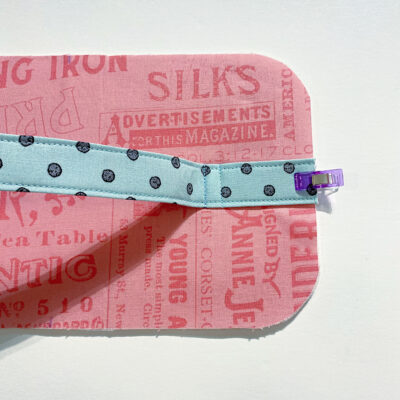
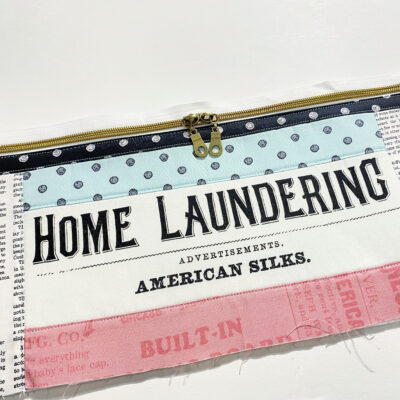
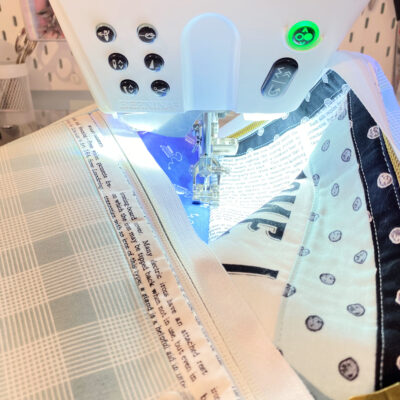
8. Place the zipper right side down over the front main panel. Baste in place, lay front lining right sides together to create a zipper sandwich. Stitch in place.
9. Press the panels away from the zipper and topstitch 1/8″ from the edge where the zipper is. Cut the excess zipper tape at each end.
10. Place the Lining Back face up, then the Main Front face up and now the Main Back face down over both layers so the raw edges meet. Sew all three layers together using a 1/2″ seam allowance. Press the Back panels to one side and topstitch on the Back panel 1/8″ away from the edge. If for some reason the height of these pieces are a little off, simply start by lining them up from the top edge and trim off any excess from the bottom.
11. Use the burrito method to hide seam allowances. You can easily find tutorials on the burrito method on You Tube.
12. Open your burrito, press the seam and topstitch the other side of the back panel. Fold the loop you’ve created matching up the seams of the back/front panel and mark the center at the top and bottom. Unfold the loop then fold again matching up the markings to find the center sides.
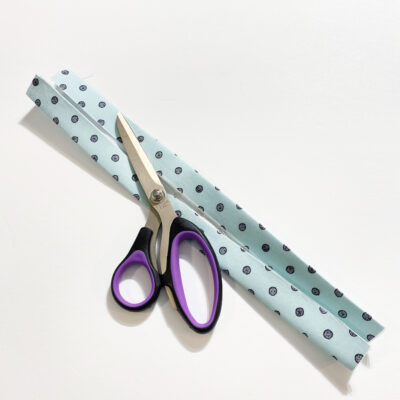
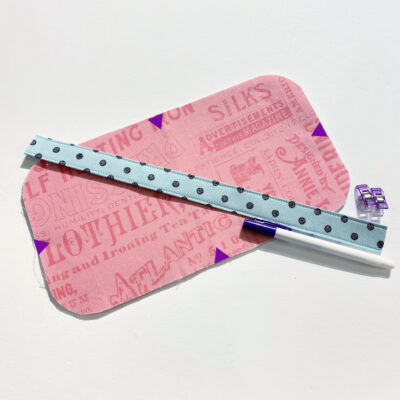
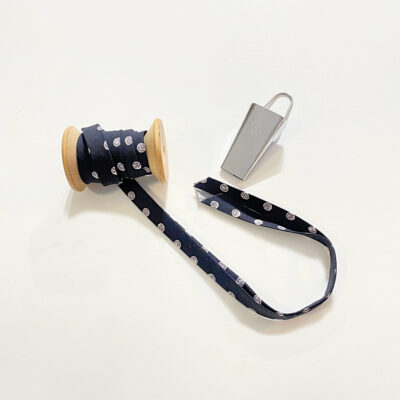
13. You can use a premade bias tape, but for this project I really like the look of using a bias tape made from a small print. I cut my fabric on the true bias about 2.25″ wide.
14. Place the Lining Bottom face down and the Main Bottom face up. Place the bias facing down along the perimeter clip and baste in place. Mark the center of each side to be able to match the center of the front and back panels. Clip the bottom to the front and back panels matching up your markings. Sew in place. Repeat these steps to sew on the top with the handle.
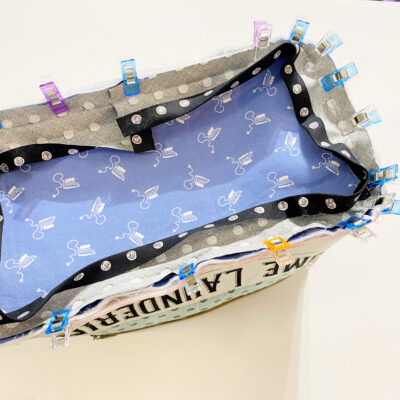
15. Pull the bias over the cover the seam allowance and finish up with a hand sewn ladder stitch.
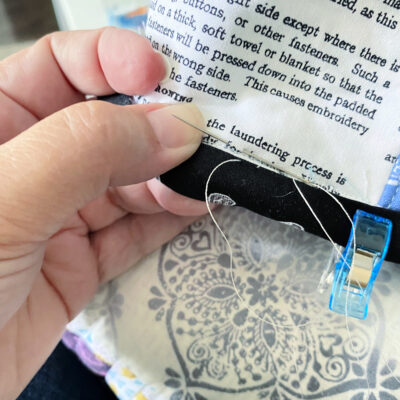
Now your ready for your next sewing project with a perfectly organized ironing station!
Thanks for joining me. I hope I’ve inspired you to create an ironing station of your own to help keep your sewing space organized! If you liked this project, please let me know by posting a comment. And don’t forget to stop by my Instagram and say “Hello!”
Ilze
September 20, 2024 at 4:42 am (8 months ago)You are so skilled! Wonderful transformation!
Deb Zaleski
September 20, 2024 at 6:58 am (8 months ago)Thank you! So glad you enjoyed the tutorial