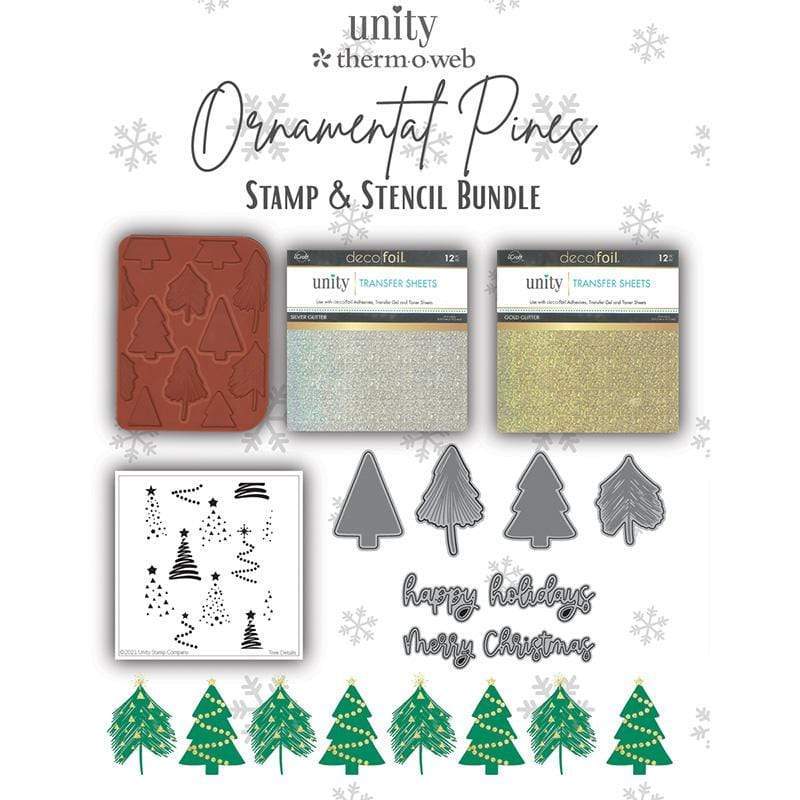
Unity Ornamental Pines Stamp & Stencil Bundle
Good morning and what better way to kick off the new month than with a Brand New Release!

Therm O Web has teamed up with our friends at Unity to bring you a wonderful NEW Stamp & Stencil Bundle filled with stamps (wait till you see how they work!), a stencil, coordinating dies and yes TWO NEW Deco Foil Transfer Sheets Colors.
Grab your Limited Edition Ornamental Pines Bundle from Therm O Web and Unity Stamp Co. now or you will find yourself PINING away! This bundle has everything you need to make fun, one-of-a-kind creations! Mix and match dies, stamps and stencils to create beautiful multi-textured, multi-layered projects. Incorporate your favorite foil or flock using Deco Foil Transfer Gel Duo or Blanco! To kick things off Amanda Wilcox shares two gorgeous holiday cards!

Hi there crafty friends! It’s Amanda from Twiddler’s Nook and I have a pair of really festive holiday cards to share with you featuring the new Unity Ornamental Pines bundle! The new bundle comes with stamps, dies, and a coordinating stencil! Plus new Deco Foil Transfer Sheets (that are simply amazing!) in Gold and Silver Glitter – these are stunning!

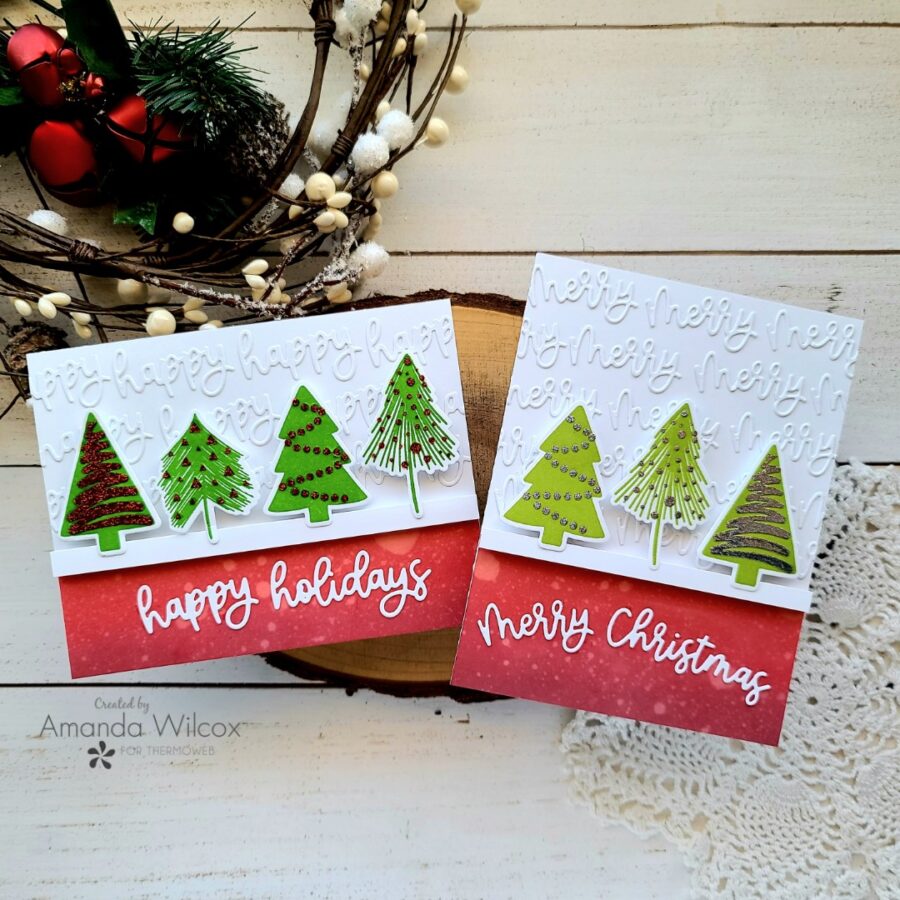
Products used:
Unity Ornamental Pines Kit
Unity Deco Foil – Silver Glitter
Deco Foil Transfer Gel Duo
Glitz Glitter Gel – Red
Foam squares
Distress Oxide Ink – festive berries, candied apple, aged mahogany
Ultra Bond liquid glue pen
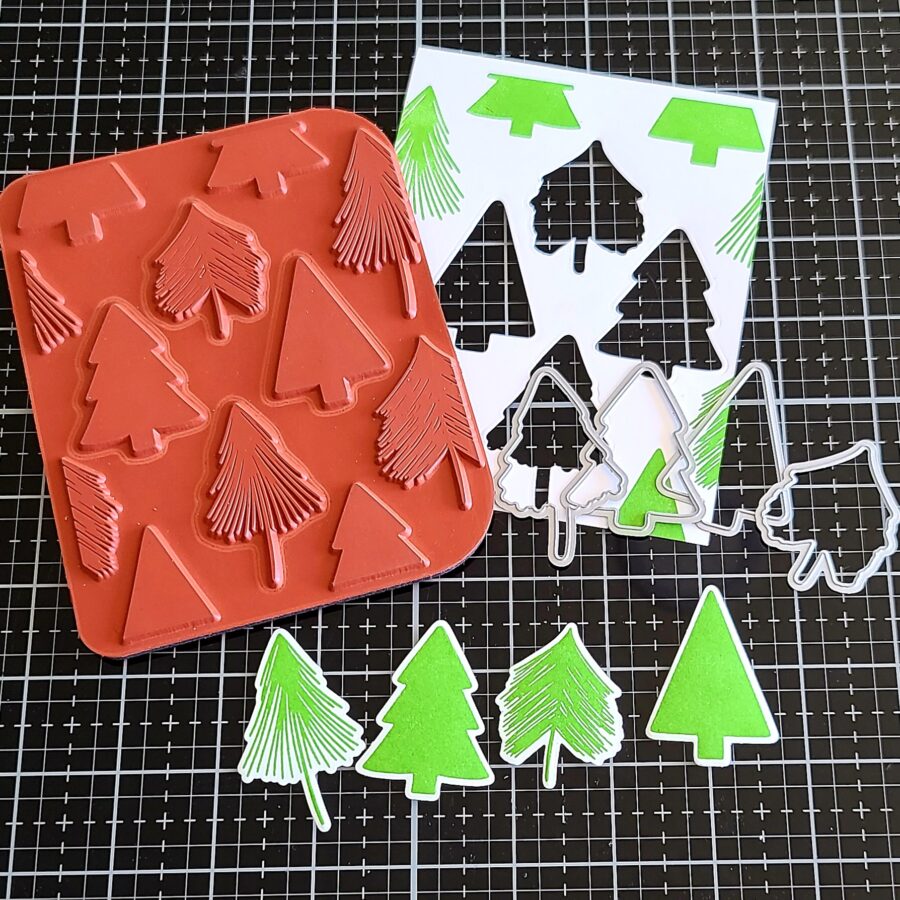
I started by inking up the whole Ornamental Pines stamp with green ink twice. What’s unique about this stamp is that you can pop out the individual evergreens and just stamp with those versus the full sheet giving you more options. I used the full sheet and then the coordinating dies to cut the 4 whole trees out of each panel.
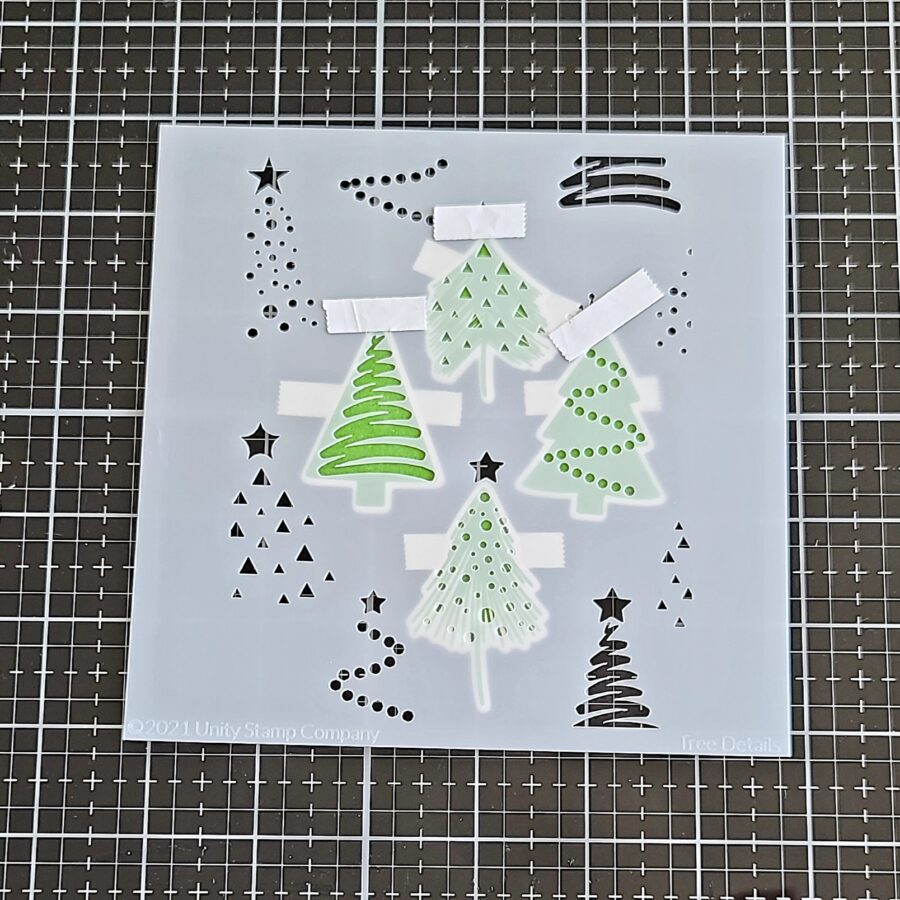
Then I taped the trees to the back of the stencil and taped over the front where the stars showed through to the tip of the trees. Then I spread Transfer Gel DUO through one set, washed the stencil, got the second set ready and spread Red Glitz Glitter Gel through to those. I set them aside to dry overnight.
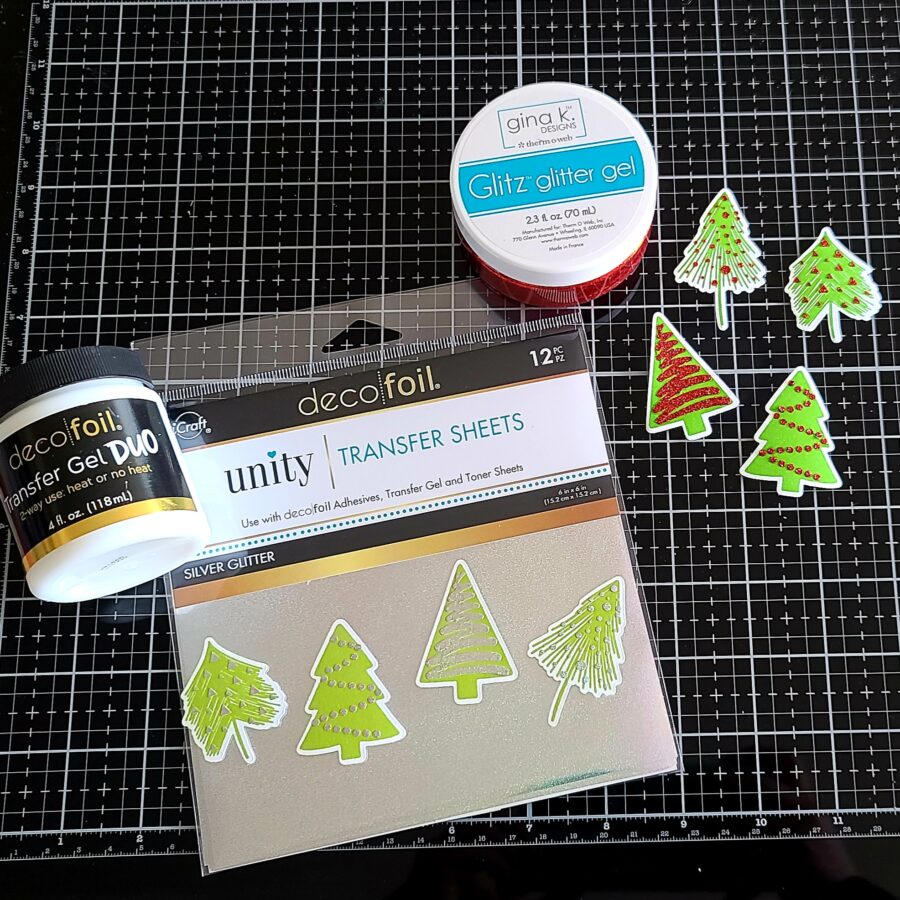
I came back for some more crafting the next morning and ran the duo trees through my die cutter with the silver glitter deco foil. Here’s a look at both sets. They are SO PRETTY!
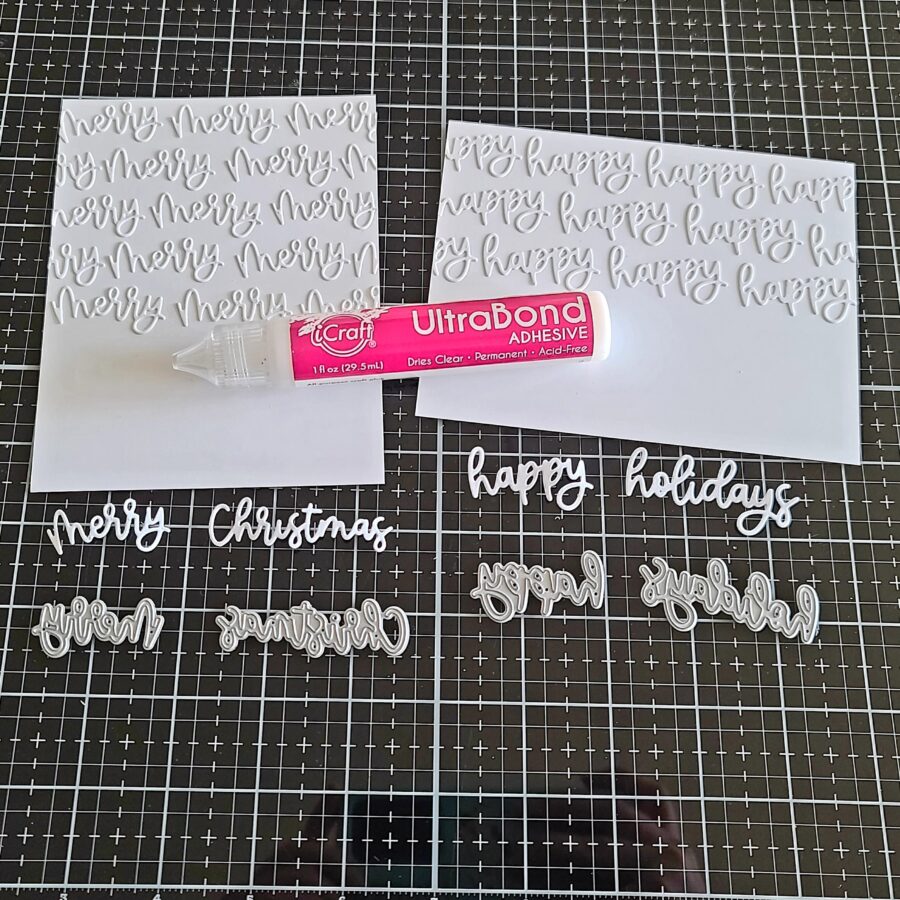
Next, I set to die cutting lots of sentiments. I glued merry repeated across one background and happy across another with my UltraBond Adhesive Pen. I trimmed the excess of the edges and cut one more complete sentiment for each card.
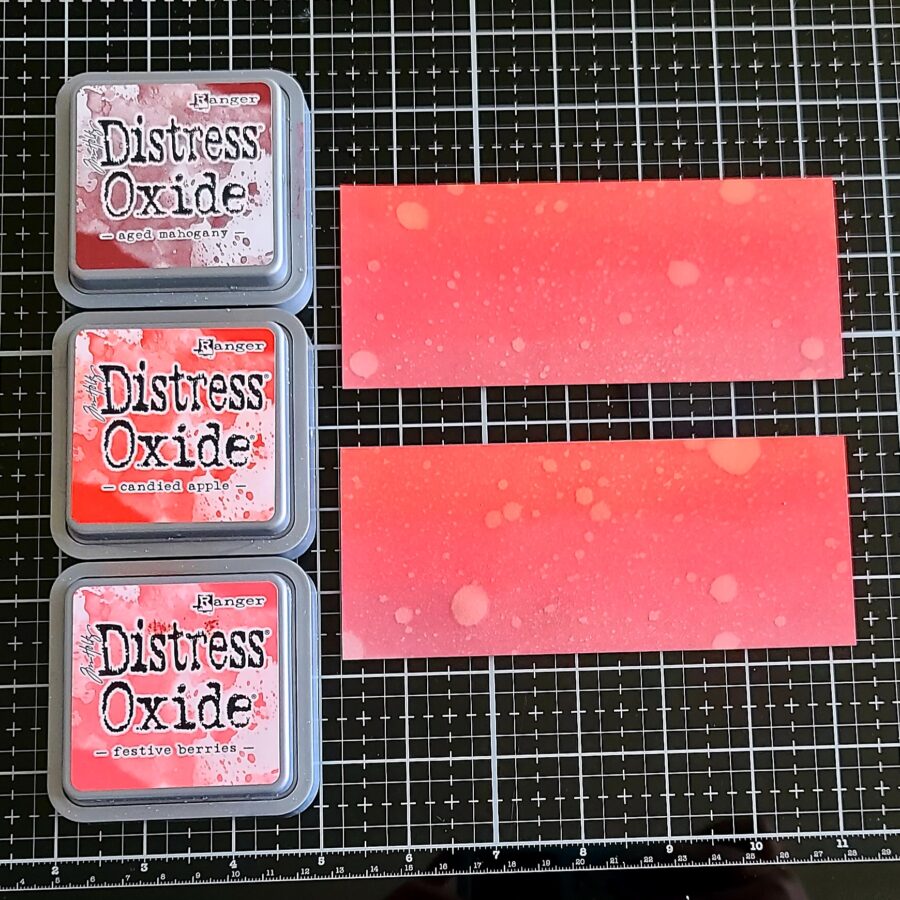
Then I inked up 2 panels with distress oxide inks in aged mahogany, candied apple, and festive berries. Then I spritzed the panels with water and let them dry. I adhered them to the bottom of the panels with the sentiments and trimmed off any excess.
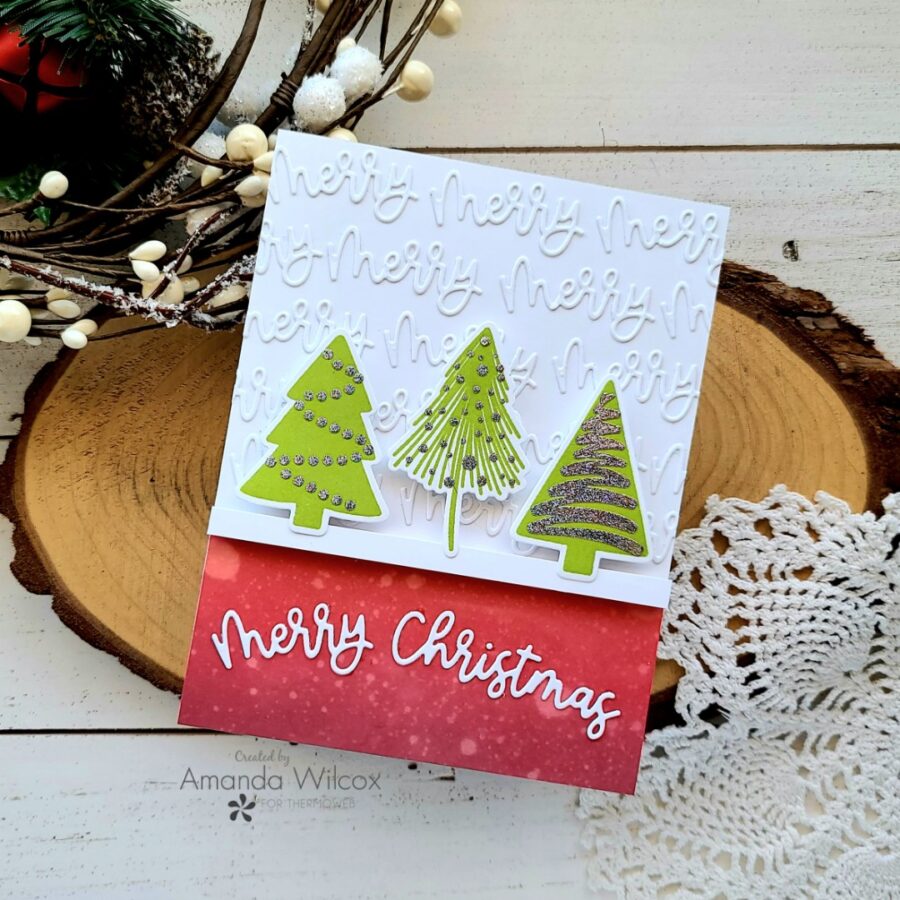
I took a .25 inch strip of white cardstock and popped it up with foam squares where the inked cardstock meets the sentiments. Then I also popped the trees up with foam squares and adhered the complete sentiments to the inks panels with my glue pen.
This portrait card only had room for 3 of the trees so I glued the other one on the inside for a little extra surprise. You could always save this for a separate card or matching tag too!
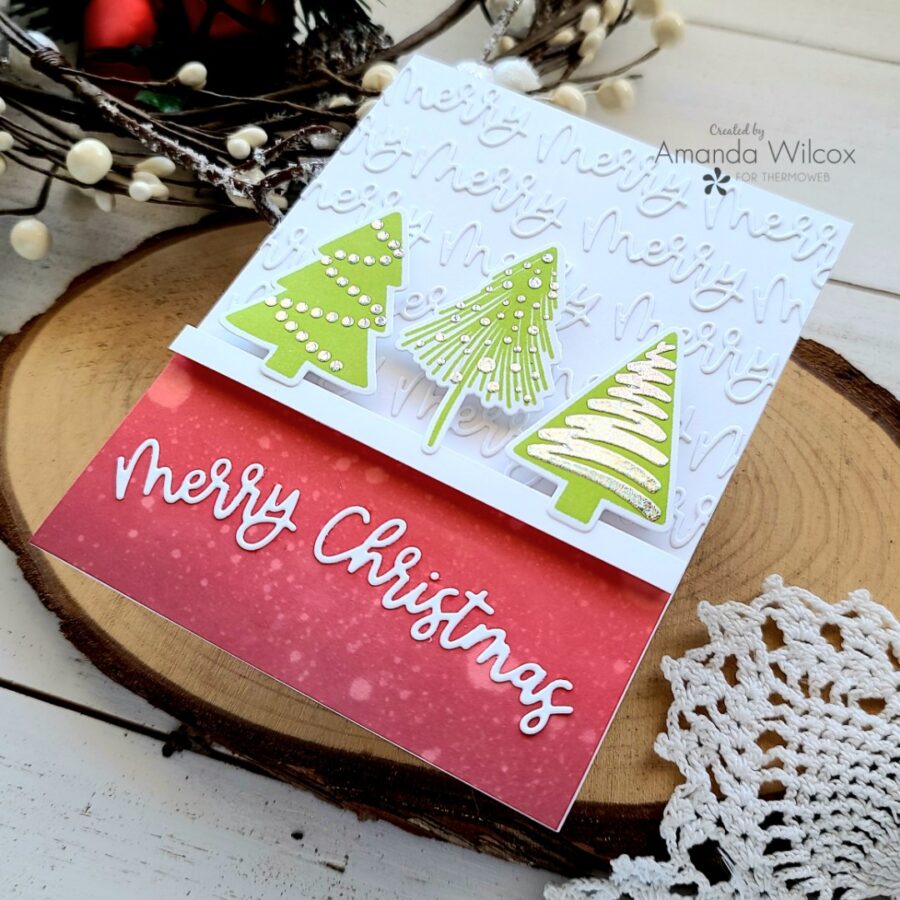
Take a look at that awesome deco foil in the light! It is stunning and so eye-catching in the light! Definitely a new favorite for me!
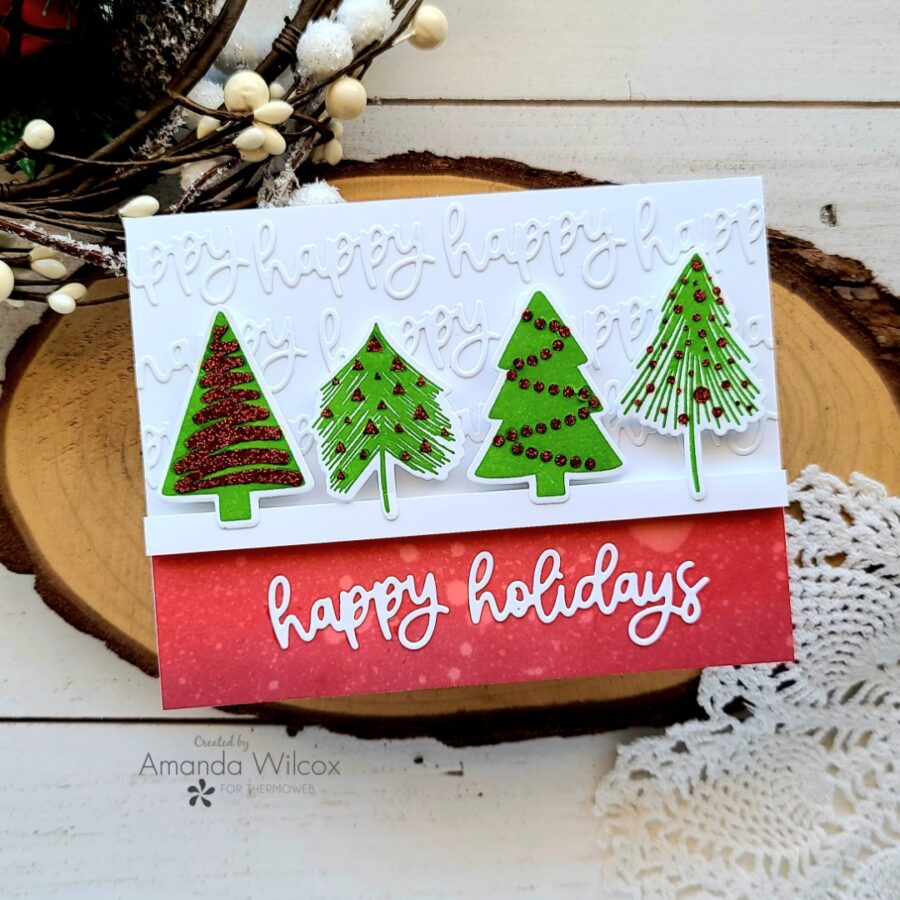
The landscape version of the card fits all 4 trees perfectly which I love! They are so fun and unique. I love them all!
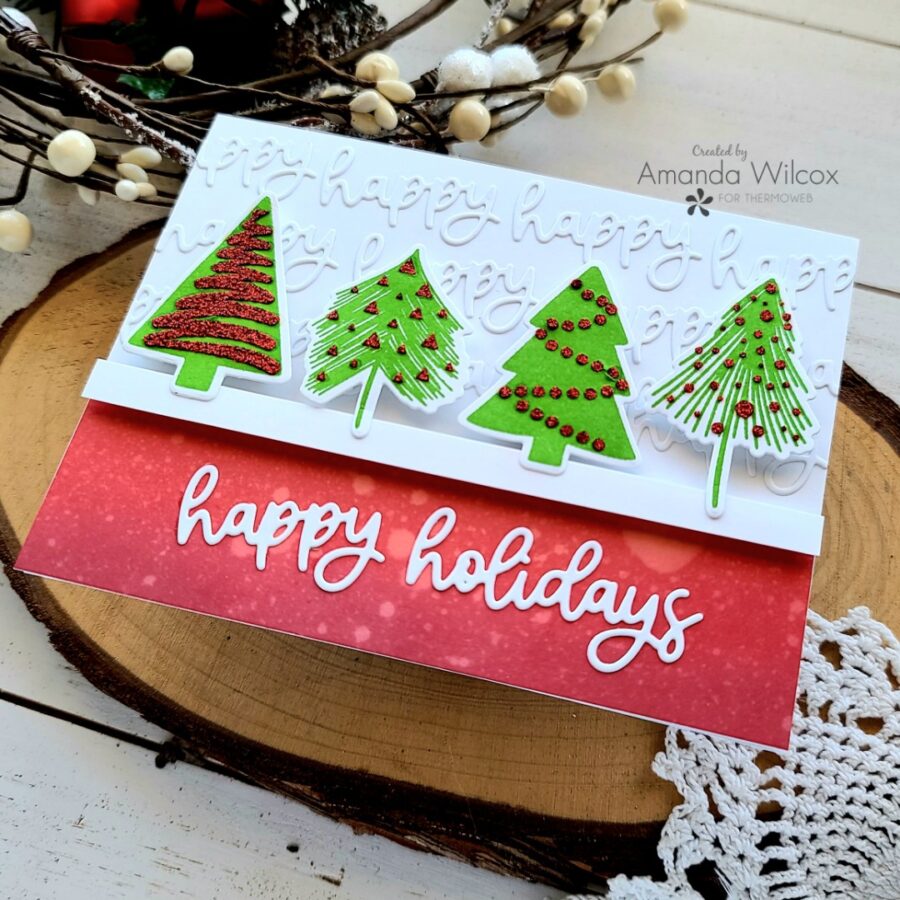
I hope you found some fun inspiration to create something wonderful and share it with someone!
I appreciate you sharing your time with me. Have a fabulous day! Be sure to join us TOMORROW for an Instagram Hop and some chances to win prizes from BOTH Unity and Therm O Web!

This post contains affiliate links. For more information, see our disclosure HERE.


