


 Hello, Therm-O-Web fans! All this week we’re sharing inspired by projects here on the blog. I’m sure you’ve realized by now that we have a very talented team of designers. I love how all of us have our unique styles. For my “inspired by” project, I am casing the very talented Andrea Shell.
 Here’s Andrea’s project that gave me the inspiration for today’s card. I love her use of Glitz Glitter Gel with a fun firework burst stencil and the 4th of July theme. Since the 4th is just around the corner, I decided to stick with the same theme. I love little critter stamps, so I also was inspired by all these adorable little critters marching right off this card. So stinking cute!

Therm-O-Web supply list:
Gina K. Designs Glitz Glitter Gel, Silver
Deco Foil Stencil Pal, 2 PK
iCraft 3D Double-sided Adhesive Foam Squares (White), 1/4 in x 1/4 in
iCraft Memory Tape Runner XL (50ft)
iCraft Ultra Bond Permanent Dries Clear Adhesive Pen, 1 fl oz
Other Supplies:
Hello Bluebird Maverick Stamp and Die set
Brutus Monroe Masking tape
Copic markers
Avery Elle Die-Ellements postage stamp frame
___________________________________________________________
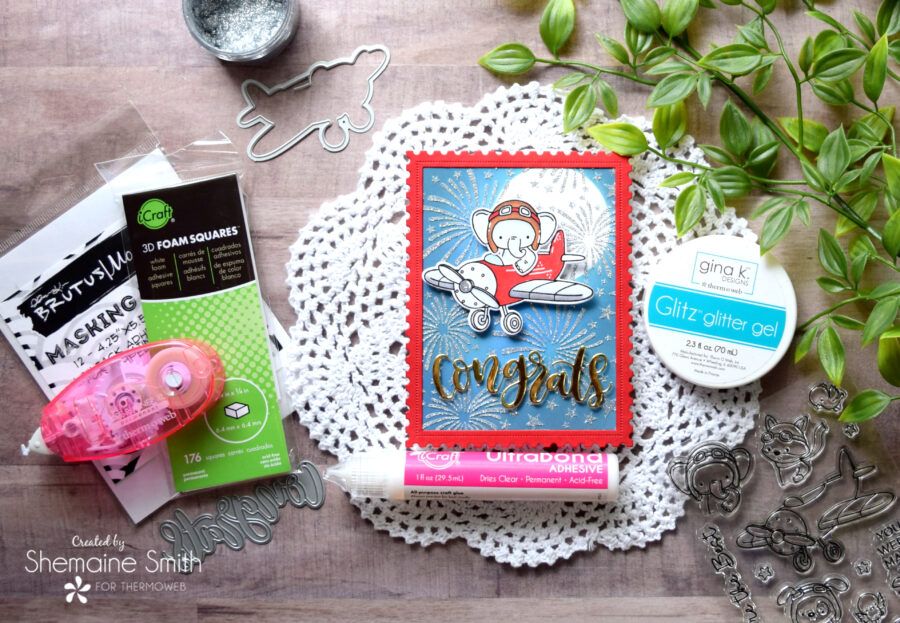
Congrats Card with Glitz Glitter Gel
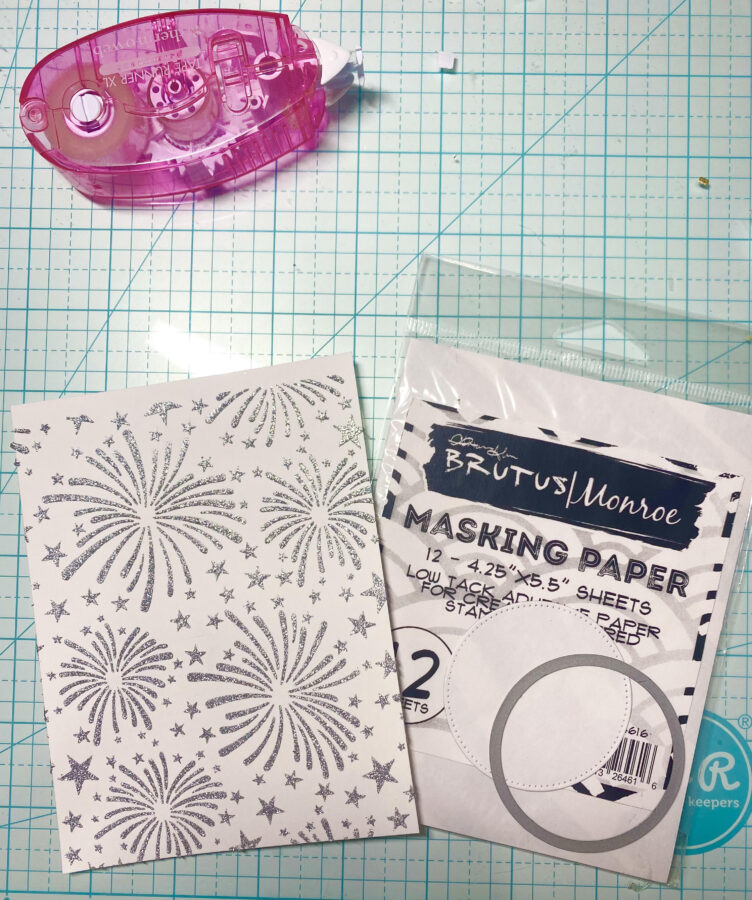
Since I know I’ll be using the Glitz Glitter Gel silver paired with this fun fireworks show stencil from Gina Marie Designs, I stencil my design first.
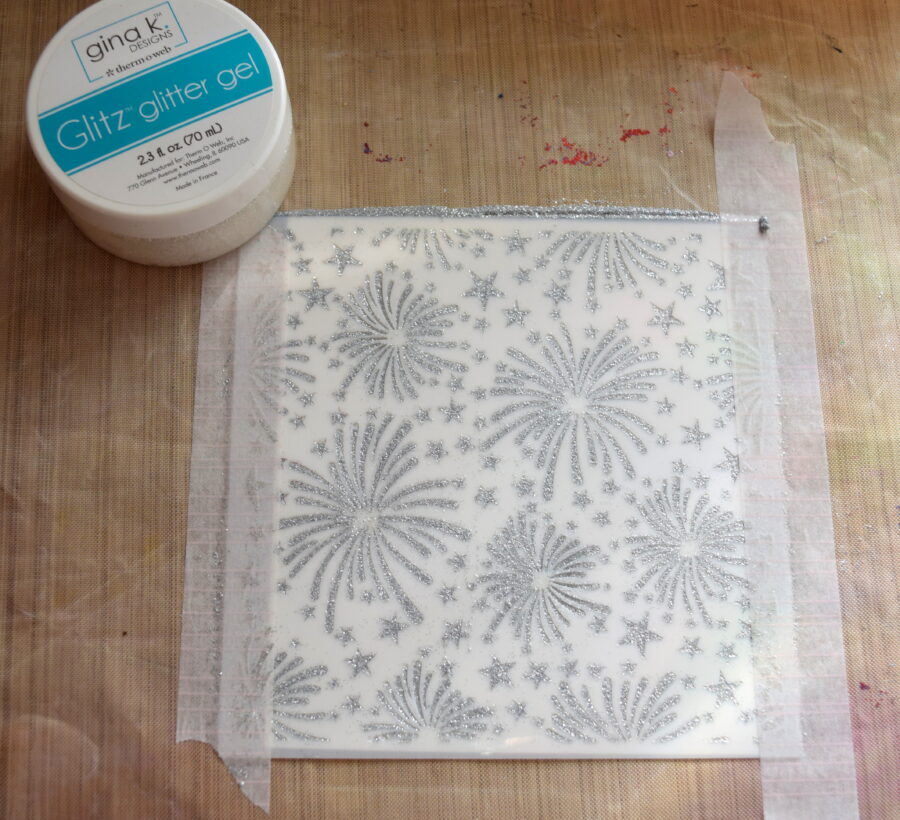
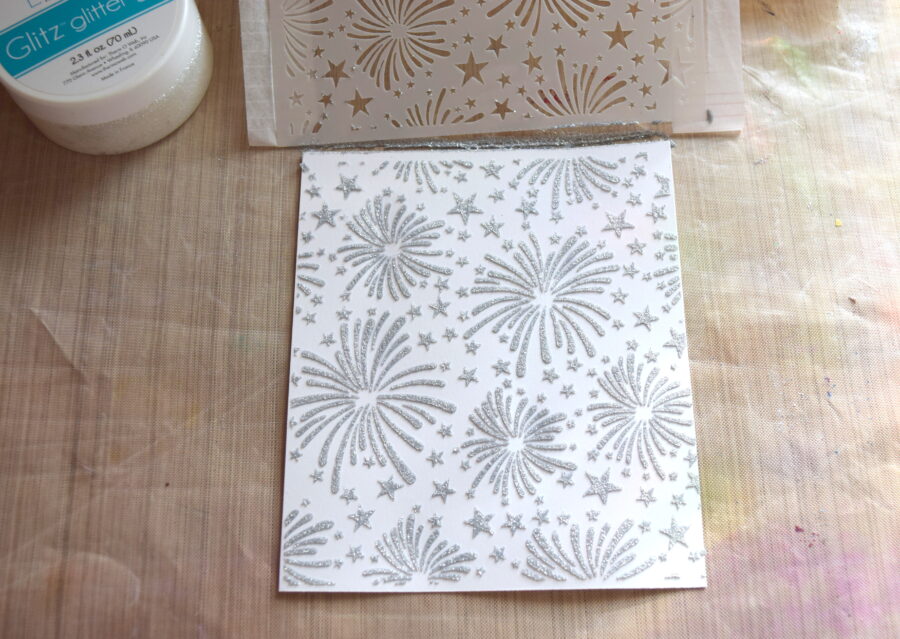
Once I scrape away the excess and lift the stencil I have the beautiful design. Now I let it dry for at least 2 hours.
Designer tip: Always stencil multiple backgrounds and use other colors for later projects. You already have the product out so you may as well.
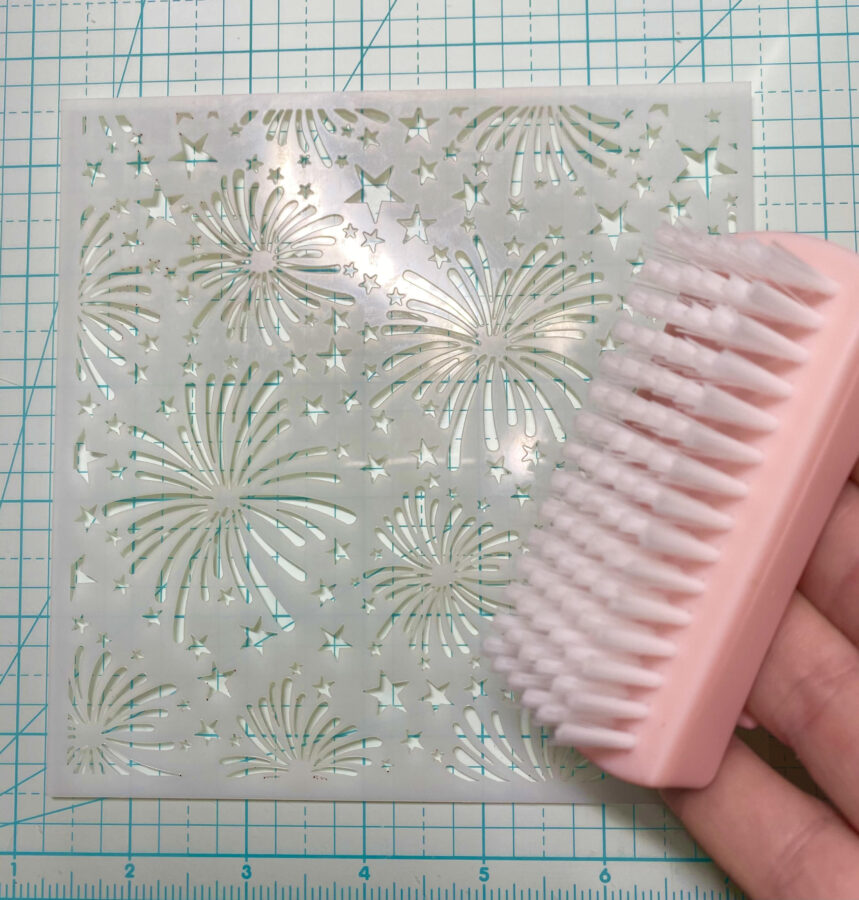
Designer Tip: Did you know that a nail brush is a perfect way to clean your stencils? You can pick them up in packs of 2 at any TJ Maxx or Marshalls for really cheap. Just run hot water and add soap and it comes clean! Pat dry with paper towels or air dry.
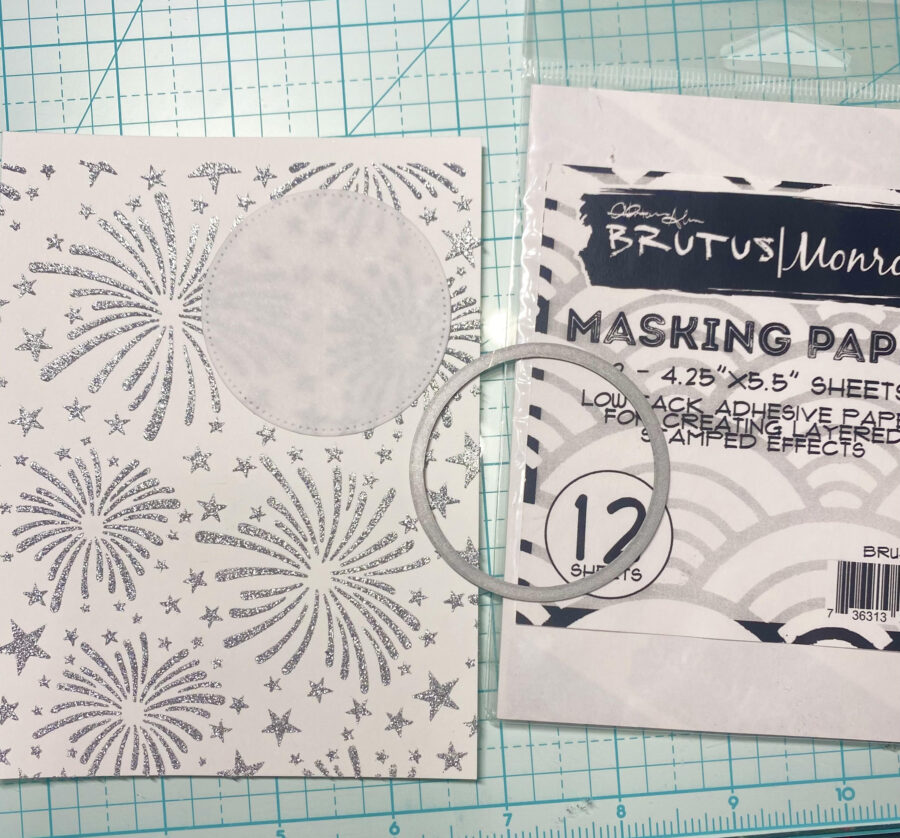
Using some awesome masking tape from Brutus Monroe I cut a 2-inch circle to use as a mask on my stencil background.
I place it where I want my moon to be on the card base, peel the back and apply.
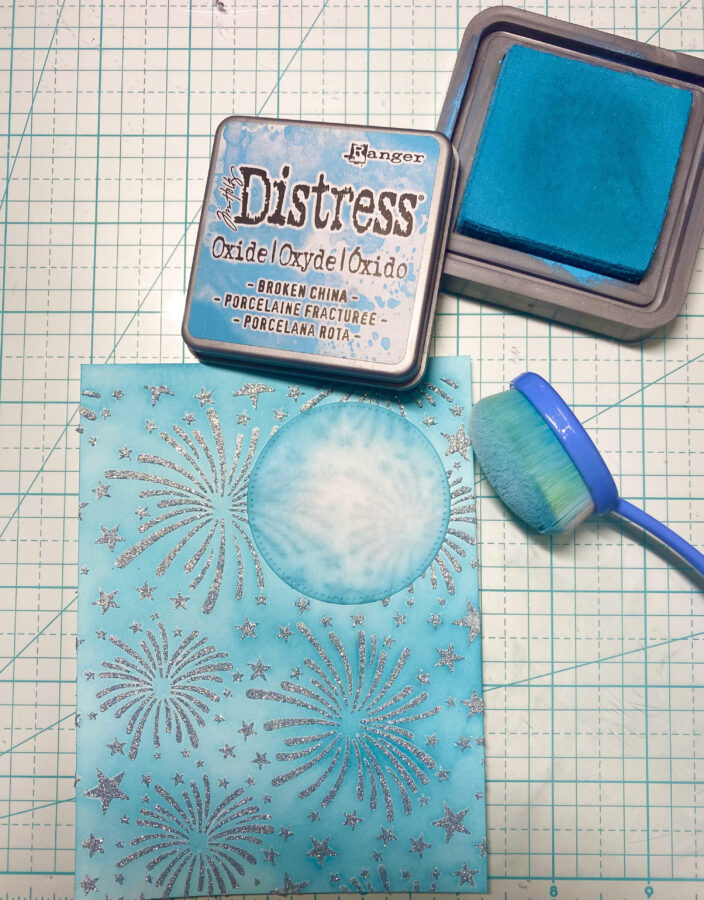
In Andrea’s post here, she explained how to use the Distress inks to create a nighttime background. I wanted to make my background with a moon which is why I chose the masking tape. I started with the lighter color and blended the outside corners working inward and then reversed that process around my moon.
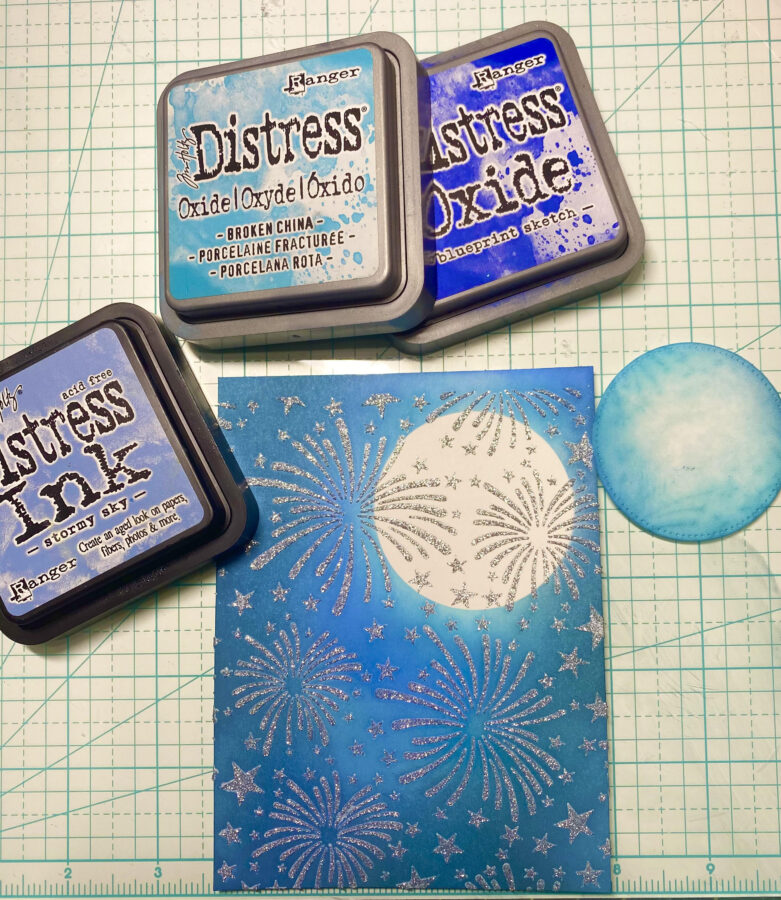
Next, I added a darker shade, blueprint sketch, and repeated the above blending technique. I finished with the 3rd color that I had in my stash, Stormy Sky Distress ink. When I take the mask off I have my full moon.
Using the Maverick stamp set from Hello Bluebird, I stamped the plane and chose the elephant pilot since Andrea’s card featured an elephant too.
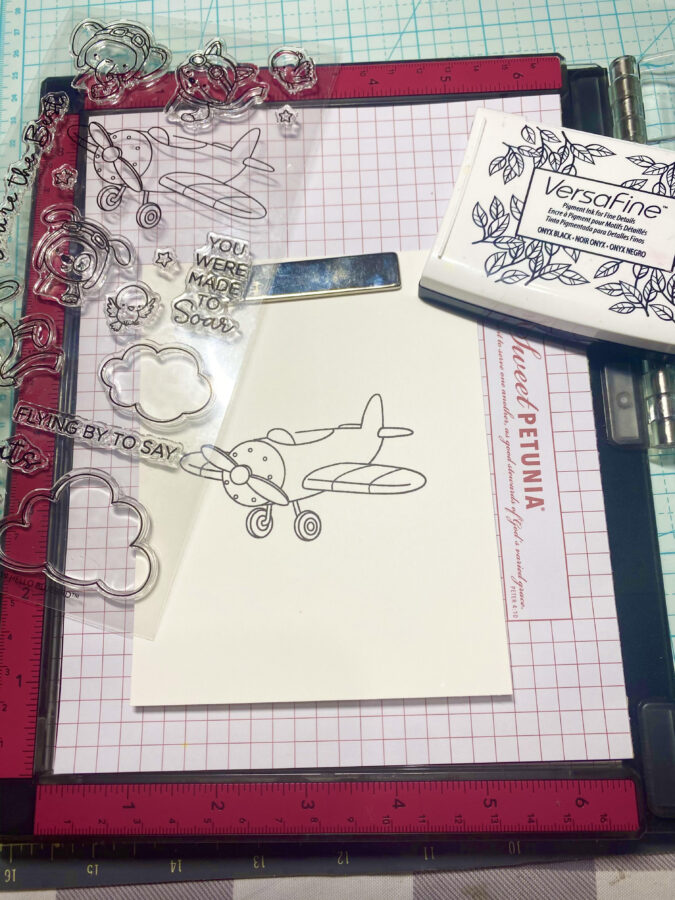
Using my embossing buddy, I cure my cardstock and stamp the images with Versafine Black Onyx ink. I also emboss the design for coloring with my Copics.
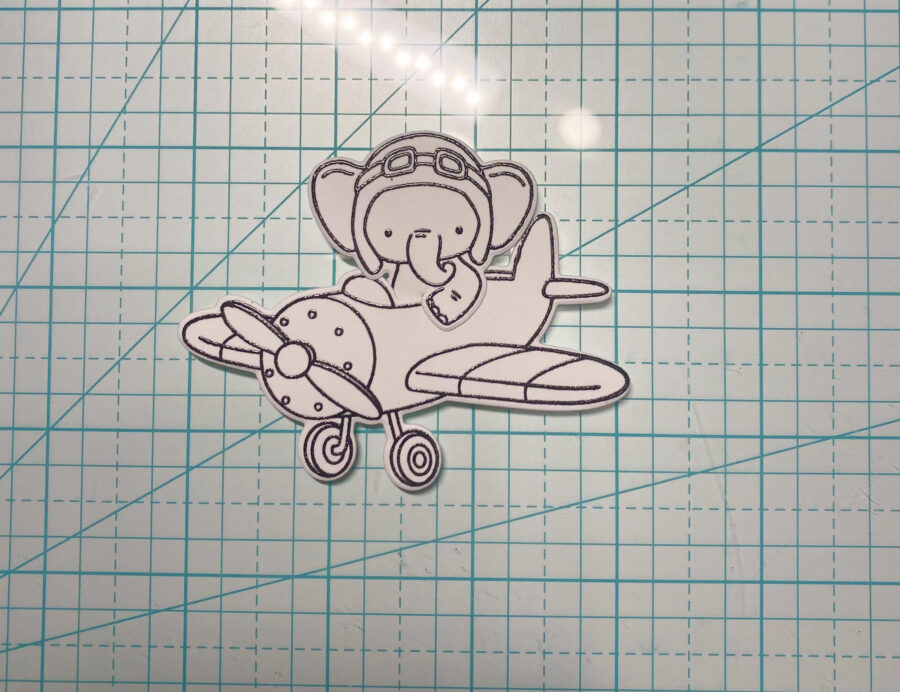
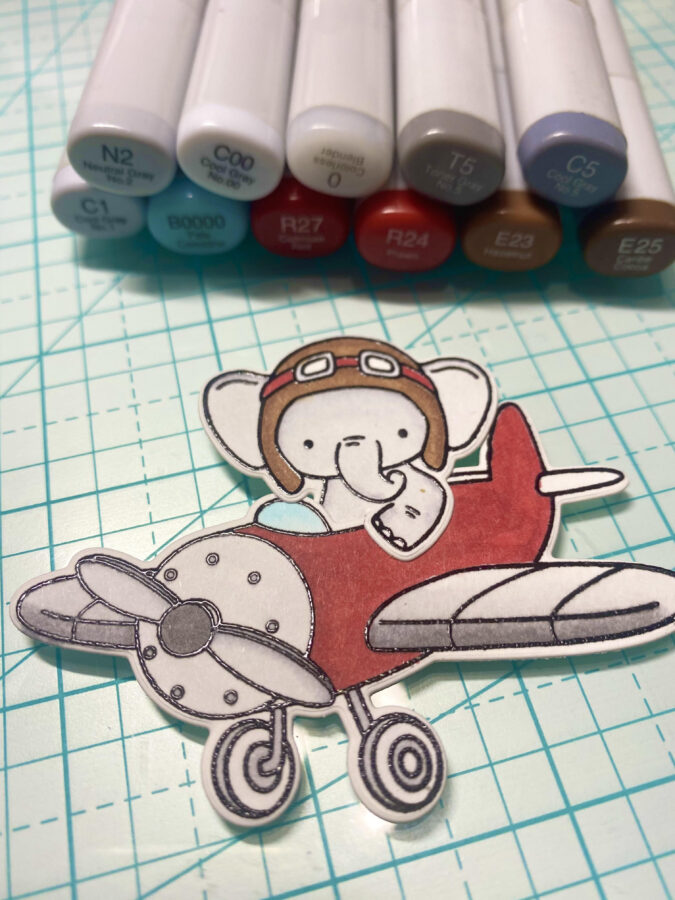
This die was designed with cuts to put that cute pilot into the plane. Now I colored him using my Copic markers.
Next, I cut the postage frame border die with coordinating red cardstock and using Therm O Web’s new Ultrabond Adhesive pen, I glue the frame to my stenciled background. Next, I used 3D foam squares to adhere the pilot and his plane to the card base.
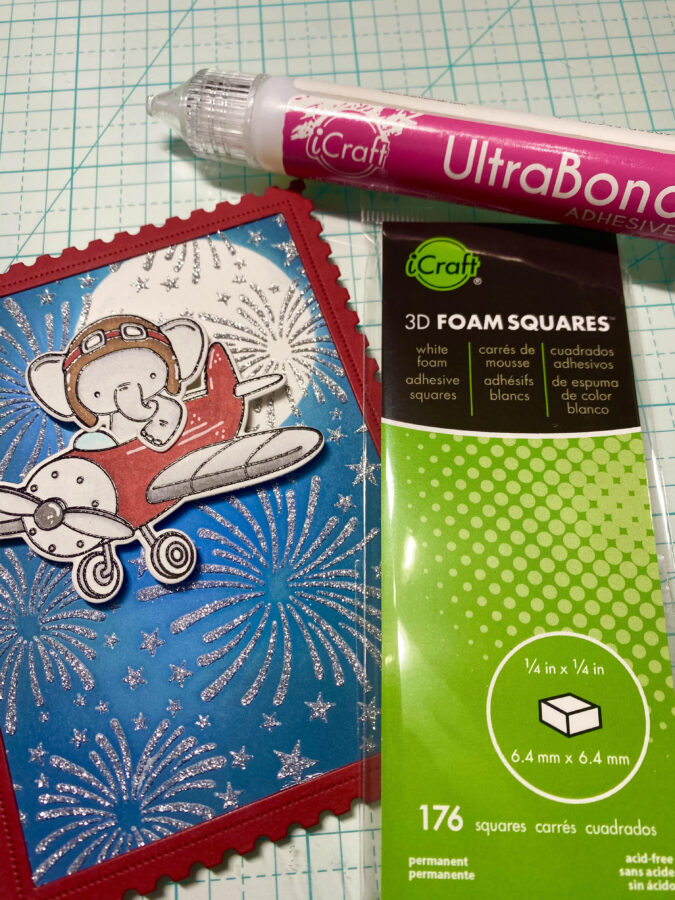
I’m ready to finish off my card with a festive sentiment. I cut my foam squares to fit the design and adhere to my card.
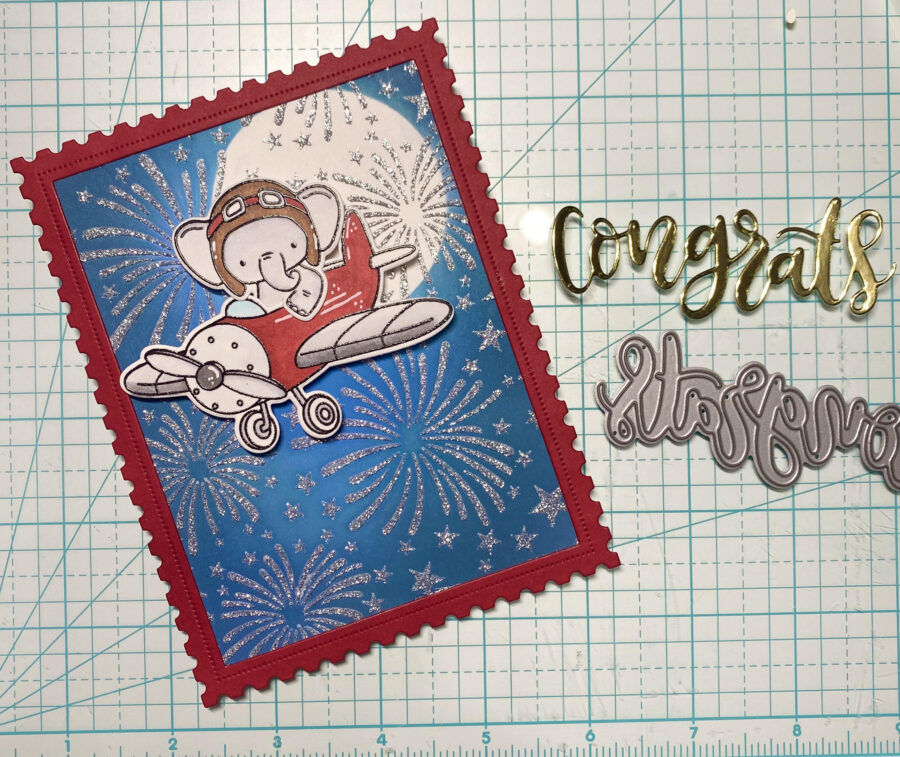
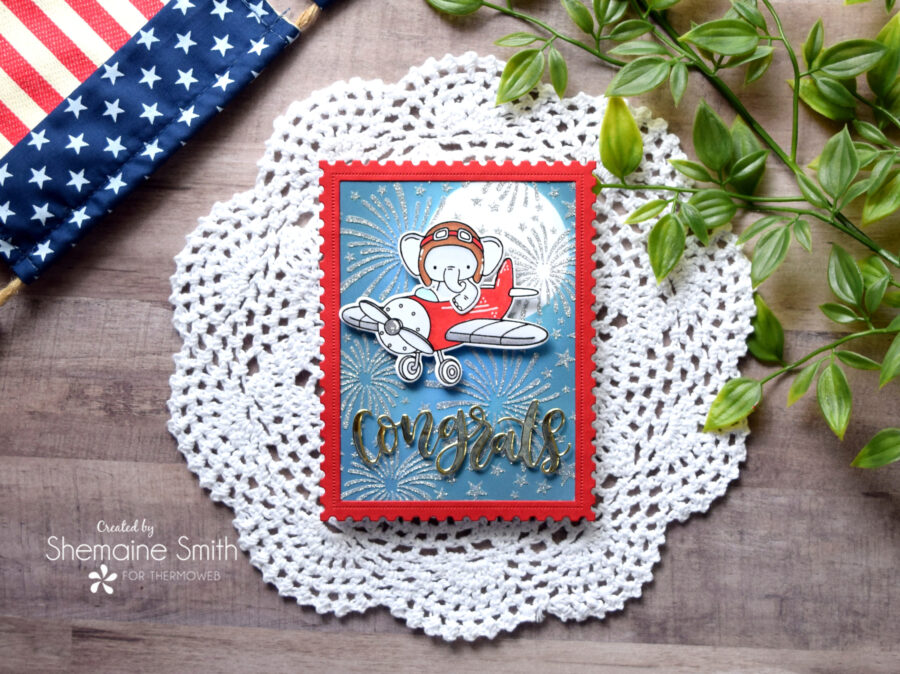
And here’s the finished card! He’s just too cute and that background turned out super fun!
Thank you for stopping by today. I hope you enjoyed my project. We’d love to see what you’re doing with your Therm-O-Web products! Please tag us on social media with any of these tags that are used in your project. #thermoweb #decofoil #glitzglittergel