Hey there! It’s Katrina from Paper, Scissors, Glue and Hybrid Too on the blog today. I hope everyone is staying safe! I am sharing a fun Easter themed layout using the Deco Foil Flock Transfer Sheets to alter some die cuts for my layout.
Easter Layout with Flock Diecuts
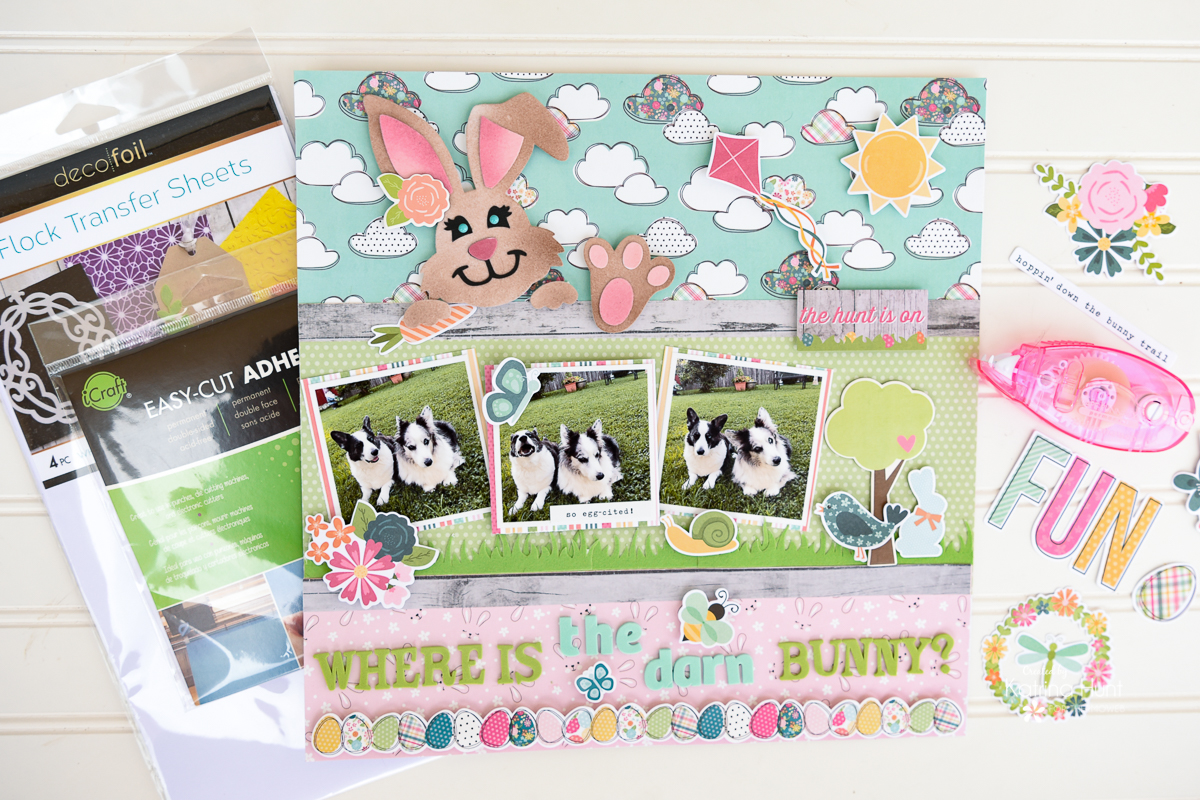
Therm O Web Supplies Used:
Therm O Web Memory Runner XL
Therm O Web Memory Runner XL Refill
Zots – Medium
3D Foam Squares-1/2 inch
3D Foam Square-1/4 inch
Foam Sticky Strips
iCraft Easy Cut Adhesive Sheets
iCraft Easy-Tear Tape 1/2 Inch
Deco Foil Flock Transfer Sheets – Green Envy
Deco Foil Flock Transfer Sheets – Pink Carnation
Deco Foil Flock Transfer Sheets – White Latte
iCraft Ultra Bond Liquid Adhesive
Gina K Designs Premium Cardstock – Luxury White
Gina K Designs Premium Cardstock – Black Onyx
Other Supplies Used
Simple Stories Hip Hop Hooray 12×12 Collection Kit
Simple Stories Hip Hop Hooray Bits and Pieces Ephemera
Simple Stories Hip Hop Hooray Bits and Pieces – Journaling
Simple Stories Hip Hop Hooray 6×8 Paper Pad
Silhouette Design – Bunny On Fence
Getting Started
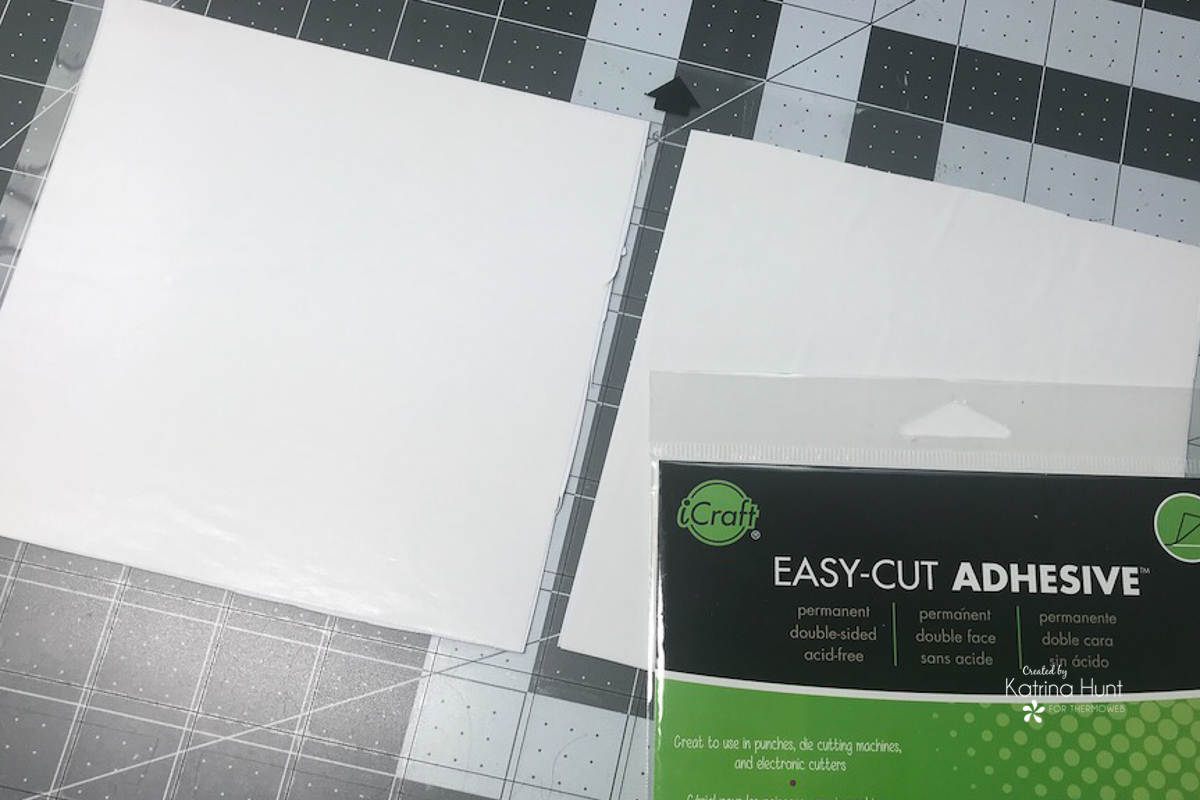
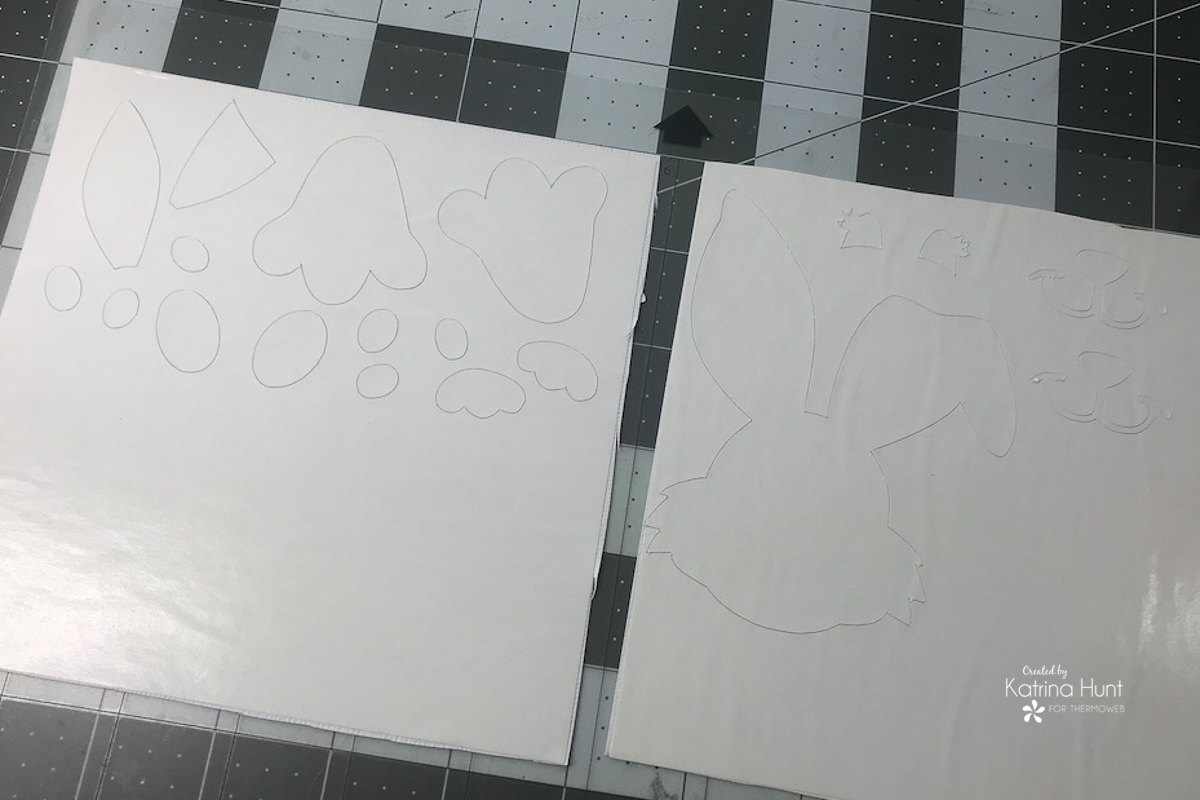
The easiest way to get started on a layout that has several steps, for me, is to do those steps and try to combine them. So here, I used the Easy-Cut Adhesive sheets and die cut out my bunny and the grass. I placed one side of adhesive sheet down on a couple of pieces of white cardstock that measured approximately 6×6 inches. This gave me what areas I could cut on my Silhouette Cameo. I placed the pieces with the adhesive sheet side up and cardstock down on my mat.
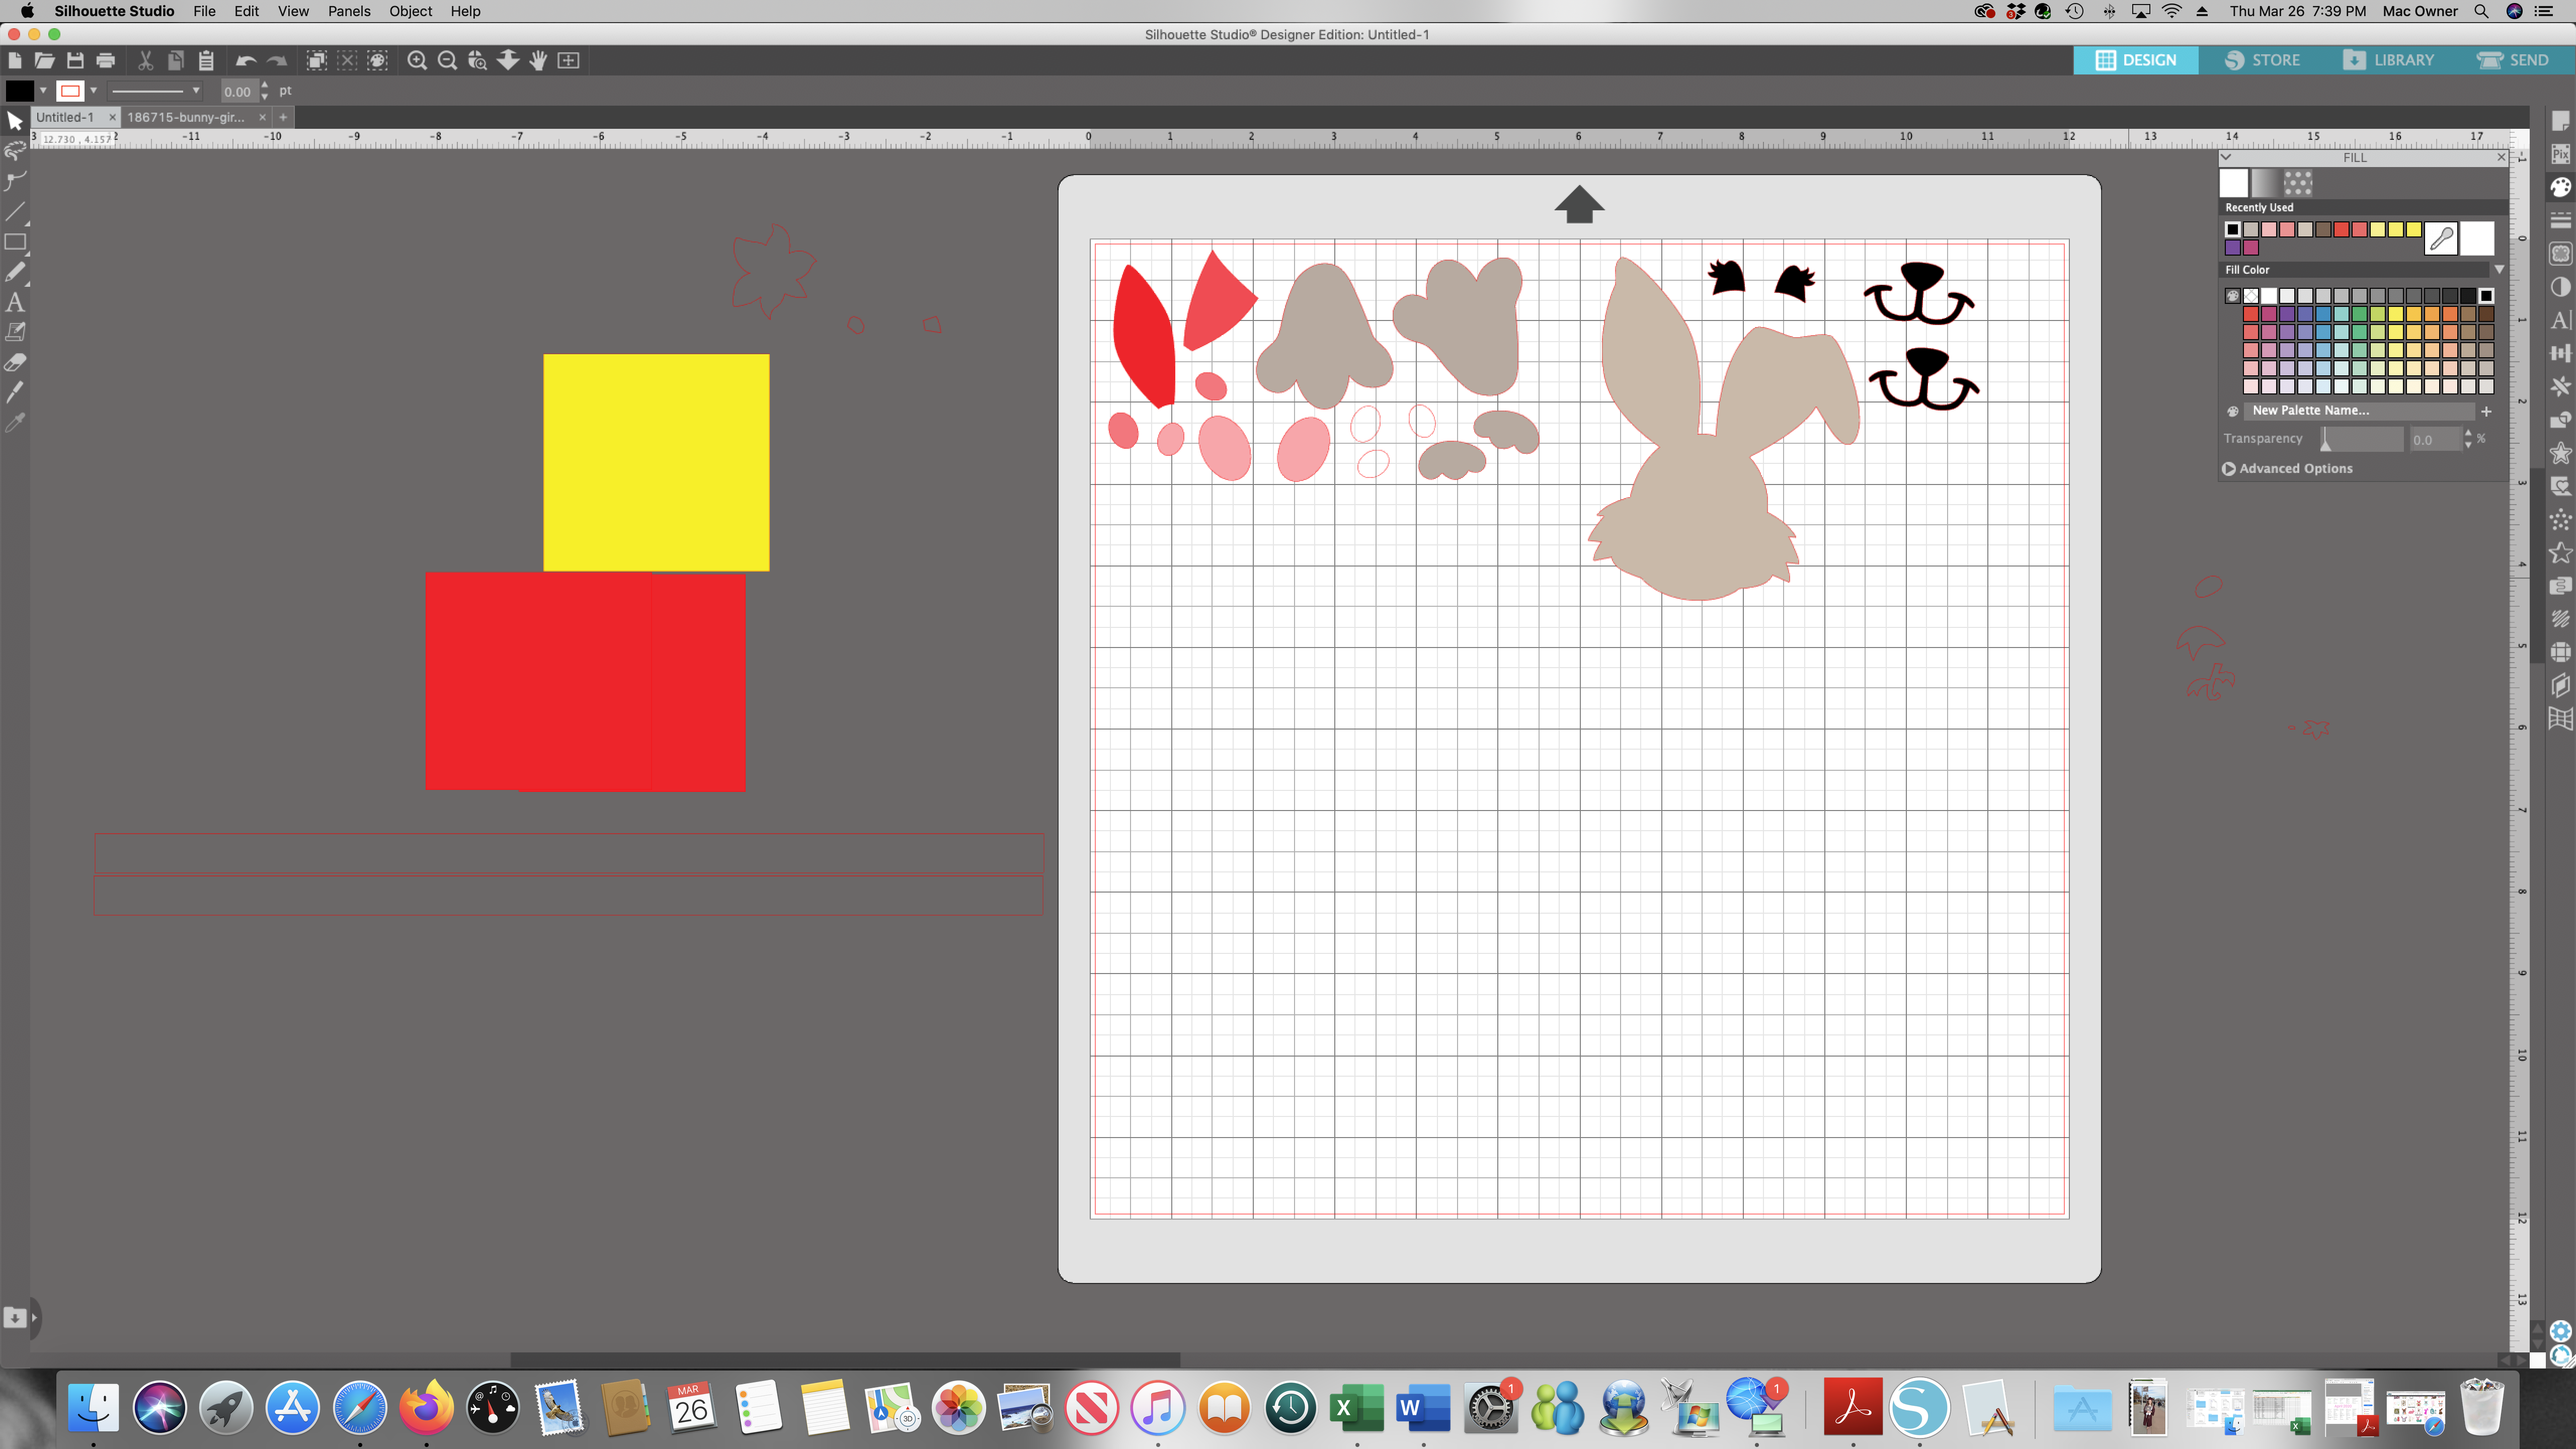
Next, I set up my pieces to cut out in my Silhouette Studio software. This allowed me to make the most of my adhesive covered cardstock. I used cut settings of Blade 5, Force 30, Speed 4 and double-cut. These are similar to the Cardstock Plain setting, but I have adjusted the settings and saved them to cut better for the paper I use.
Next, I loaded my mat and cut out. I also die cut three strips of grass, but I do not have screenshots of those! I was able to use my leftovers from the bunny to cut the grass out of.
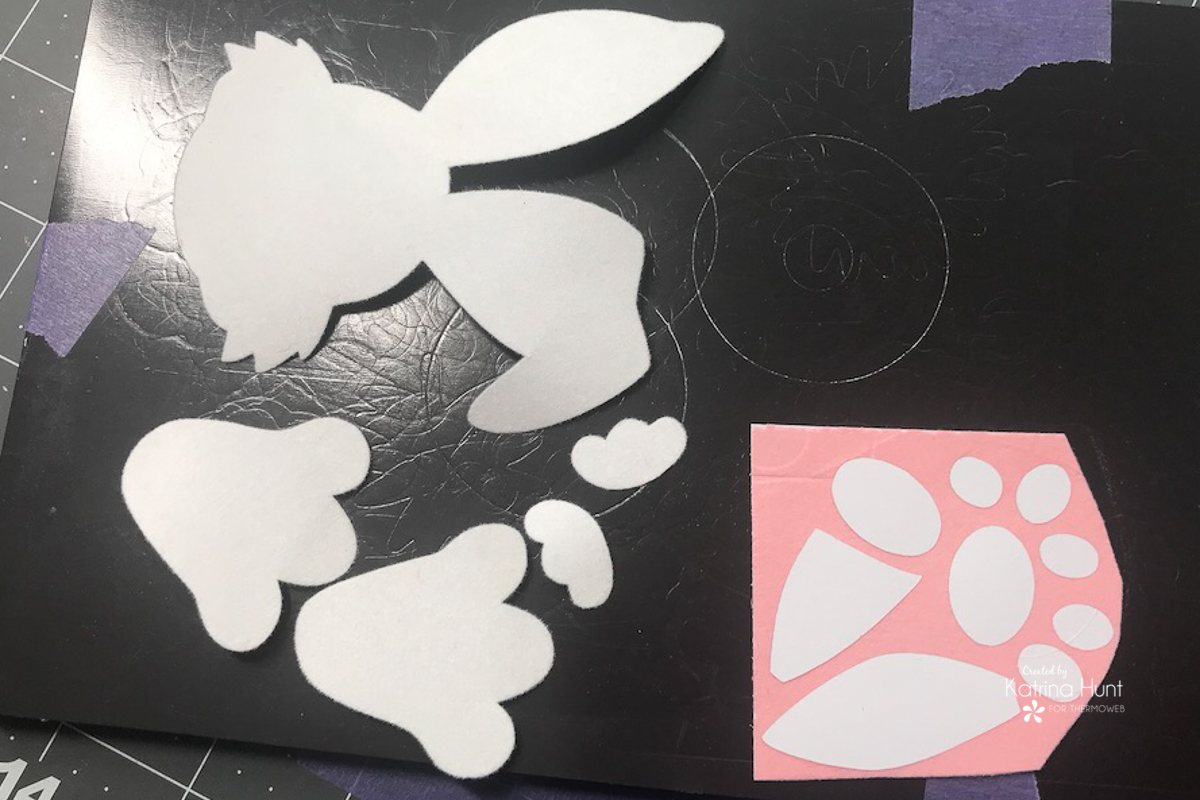
After cutting, I carefully removed the die-cut pieces from the mat and moved on to flocking them with the Deco Foil Flock Transfer sheets. No MESS! LOVE! I used the White Latte for the bunny body, Pink Carnation for the pads on the feet and inside of the ears. I removed the protective adhesive covering and then laid sticky side down to the flock transfer sheet. Once I had them adhere, I then ran them through my Gemini Jr. machine to apply the flock. After that step was done, I carefully peeled the transfer sheet away from the die-cut and I had a nice little white bunny body with some pink ears and feet!
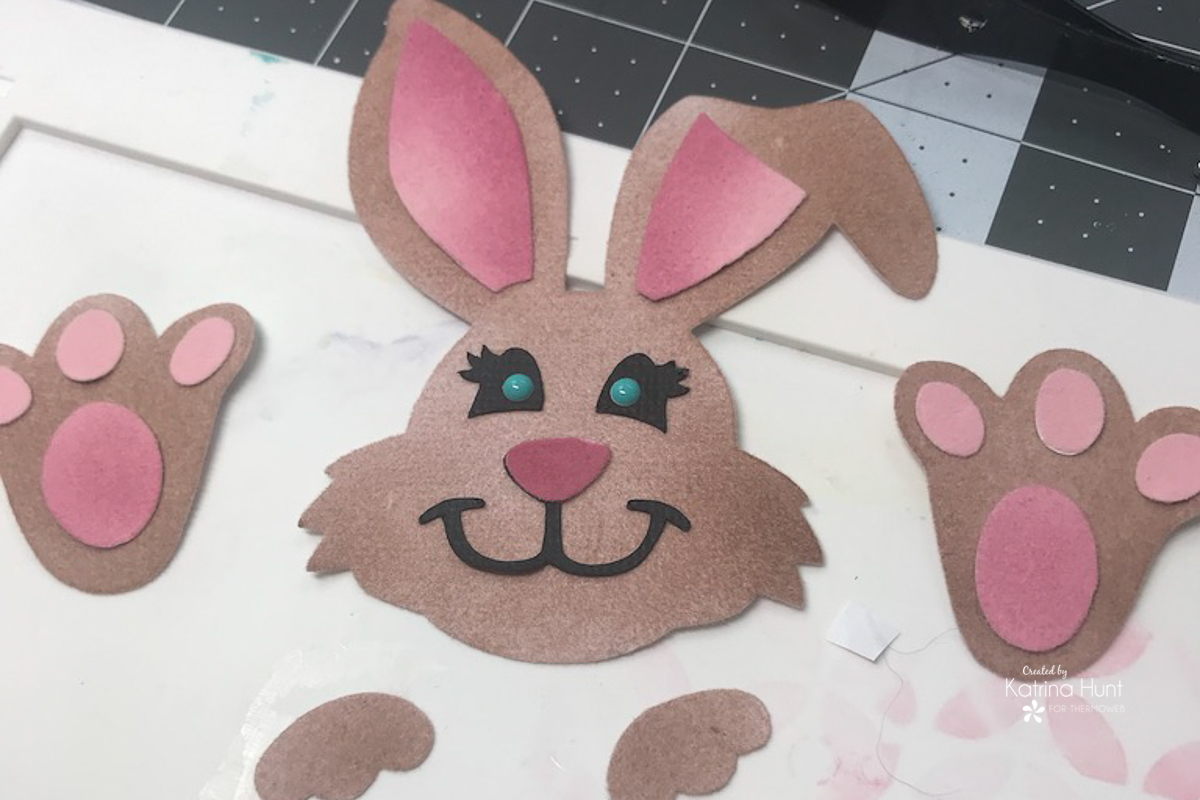
I wanted a brown bunny, so I grabbed some ink and some blending brushes and started blending onto the flock. I did the same with the ears and a shade of pink ink. I love how she turned out.
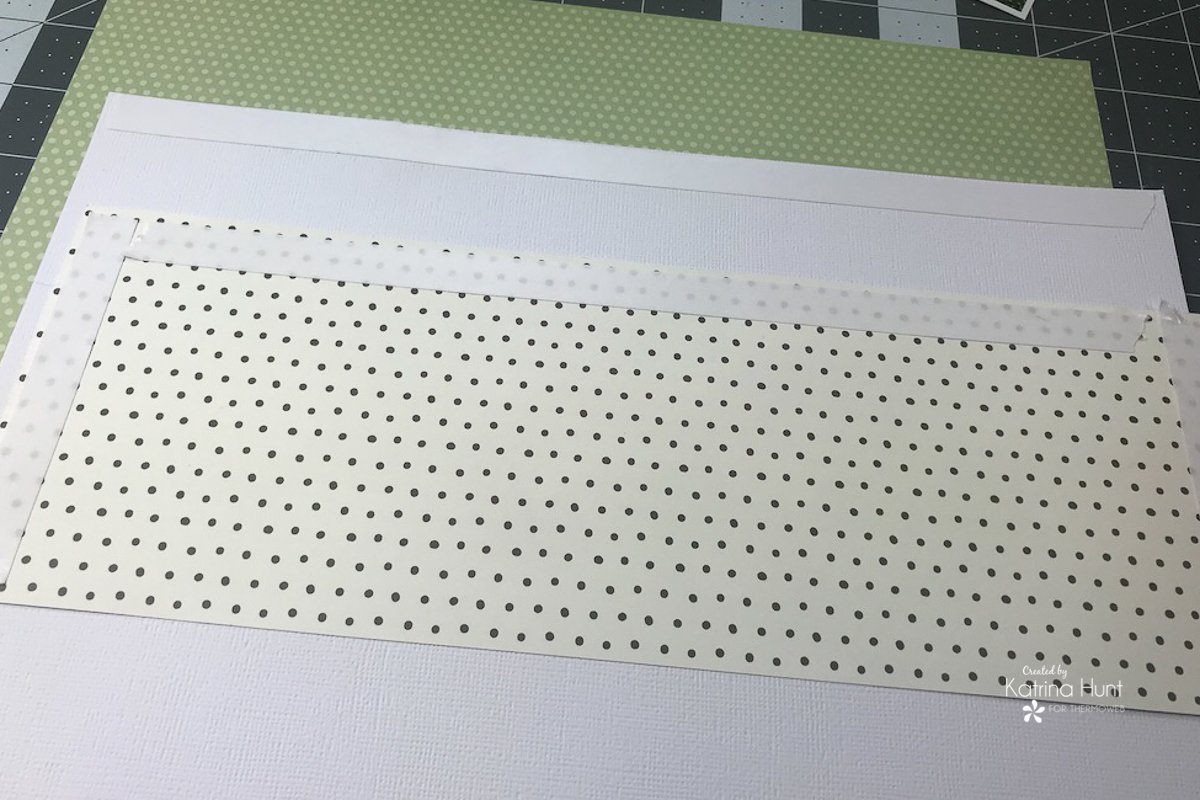
After I had the grass and bunny pieces done, I started on the base of the layout. I used three strips (different widths) of pattern paper and attached them to a 12×12 piece of cardstock to create a background scene. I used the Easy Tear Tape to help adhere my pattern paper pieces to my cardstock. 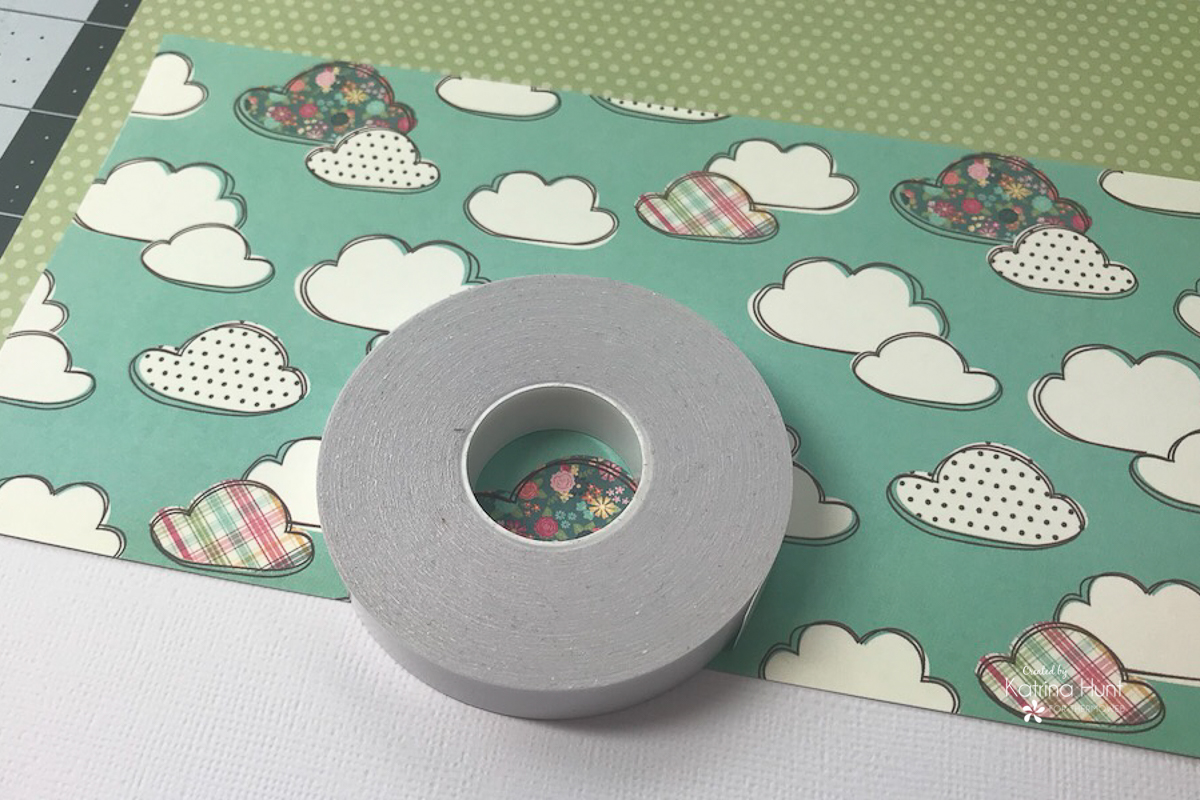 I put one strip that was 12 inches at the top of my cardstock. Then, I put three pieces on the back of my pattern paper. I peeled off the covering on the tape that was on my background and then adhered the cut piece of pattern paper to that top area of my cardstock. This helped me to line up my paper edges perfectly straight. Once the top was adhered, then I peeled off the other protective coverings and adhered to the rest of the piece of paper. I did this for all three sections.
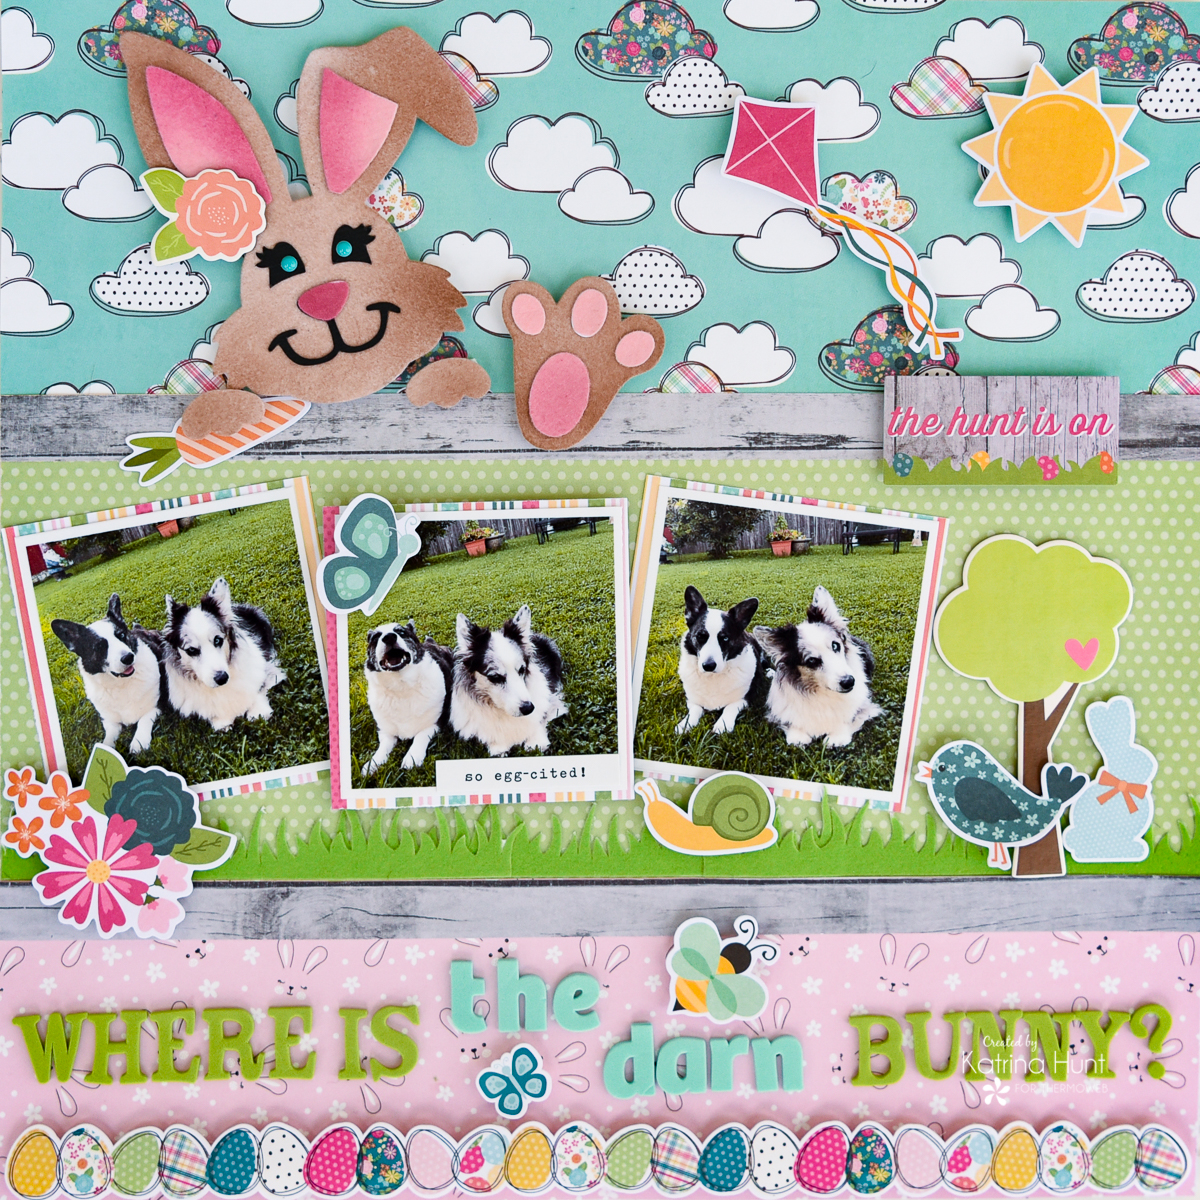
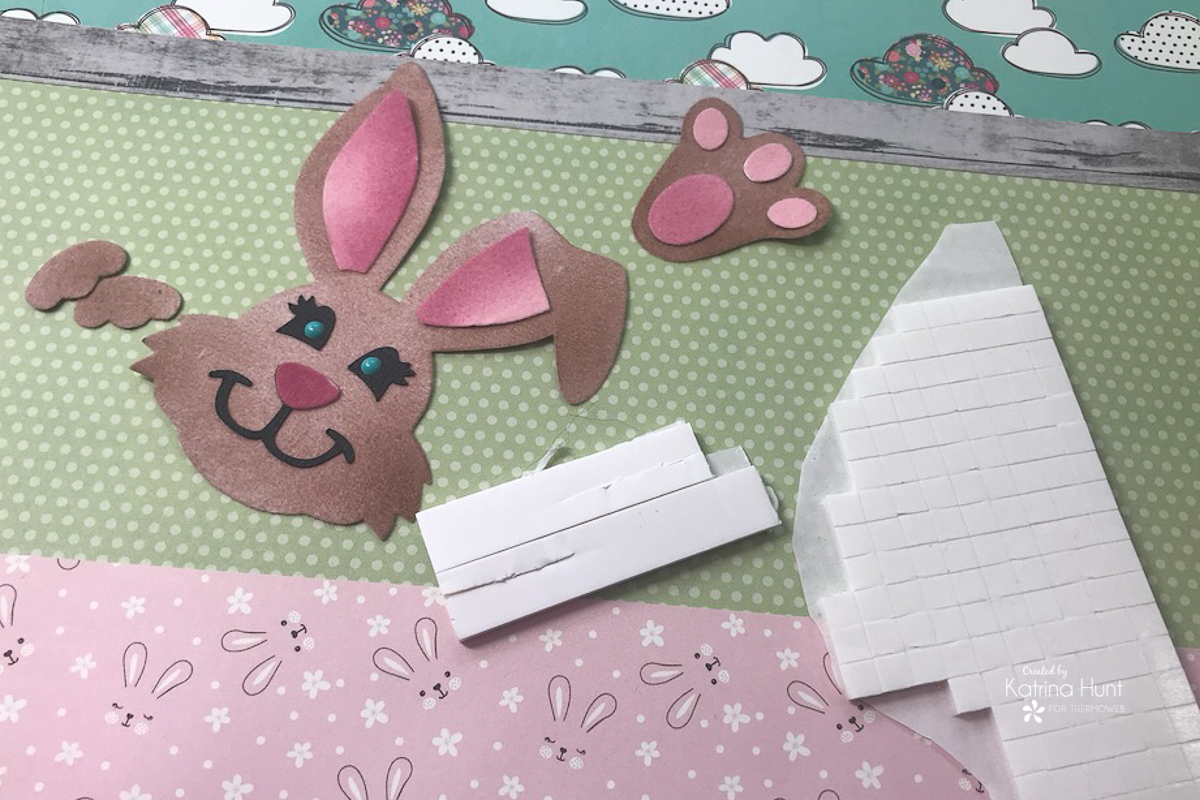
Once my background was done, I pieced together my bunny and put her on the fence. I was going to put both feet at the bottom under my pictures, but changed my mind and decided I wanted her to climb over the fence! I used the Easy Tear Tape to attach the earpieces and feet pieces. To attach the bunny to the background I used 3D Foam Adhesive.
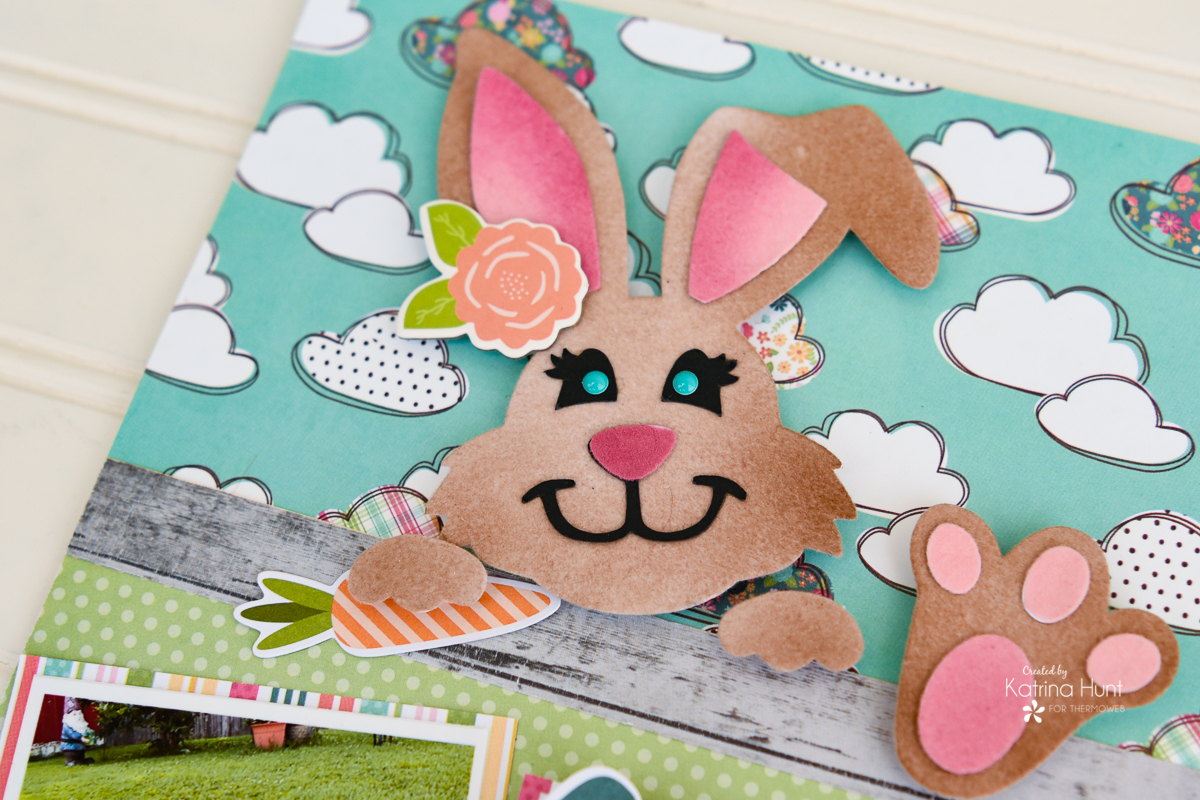
She is so cute!!! I added a die-cut carrot from the paper collection under her little bunny foot.
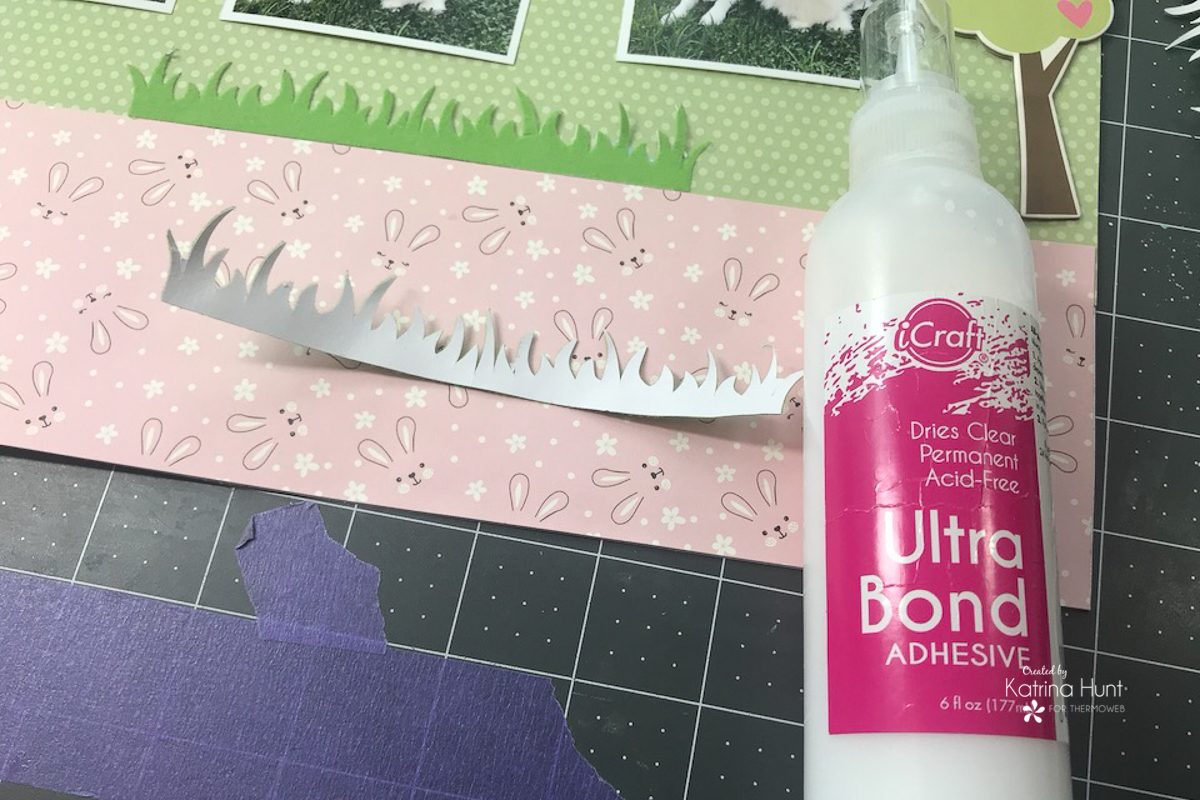
To adhere to the grass strips I used the Ultra Bond Liquid Adhesive in a fine tip bottle. This allowed me to easily adhere to those thin grass blades.
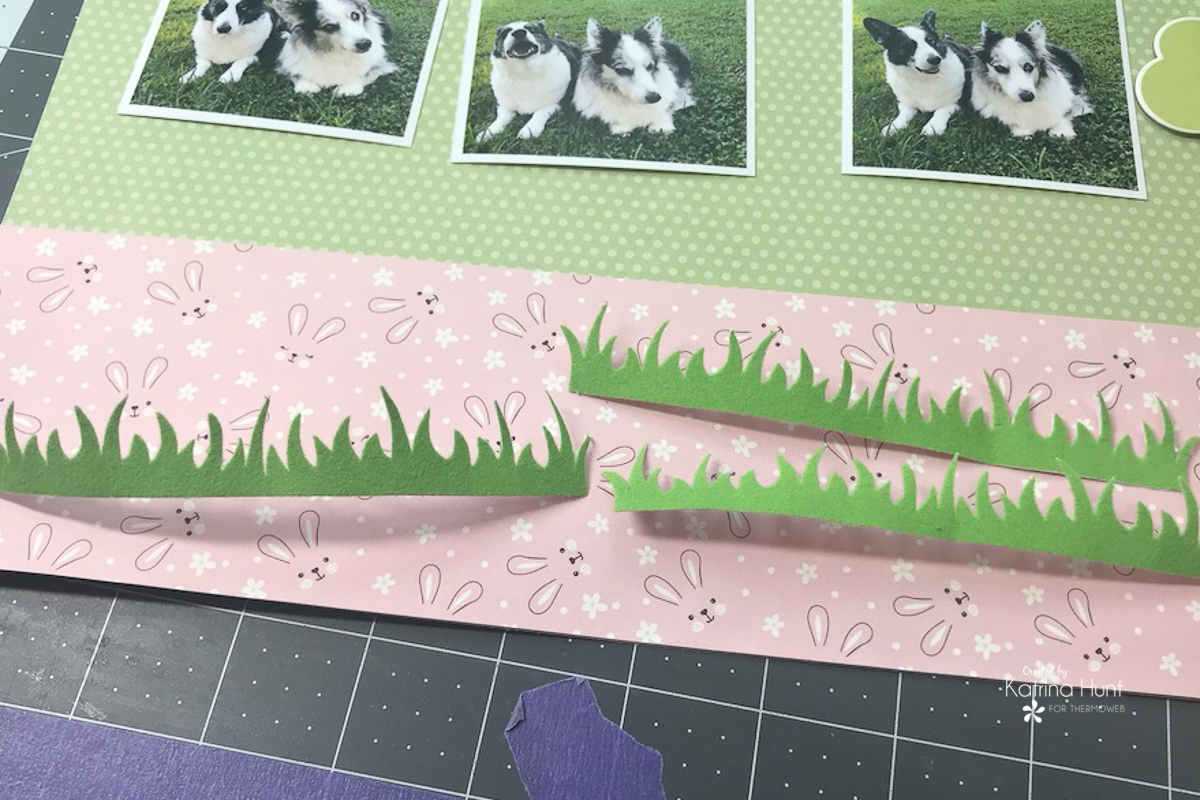
I put one of the strips in the middle and then layered the other two strips over the middle section.
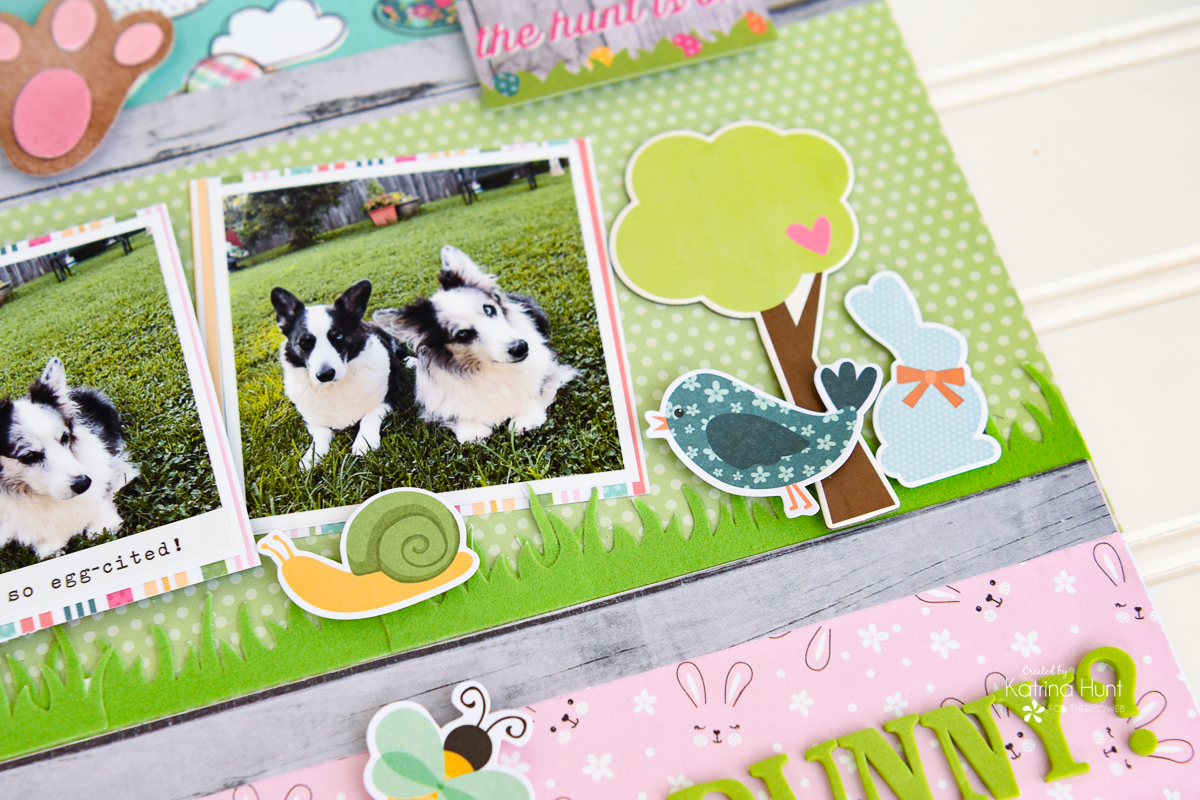
After all of this was in place, I used the Memory Runner XL, along with the 3D Foam Adhesives, to put the rest of the layout and finishing touches together.
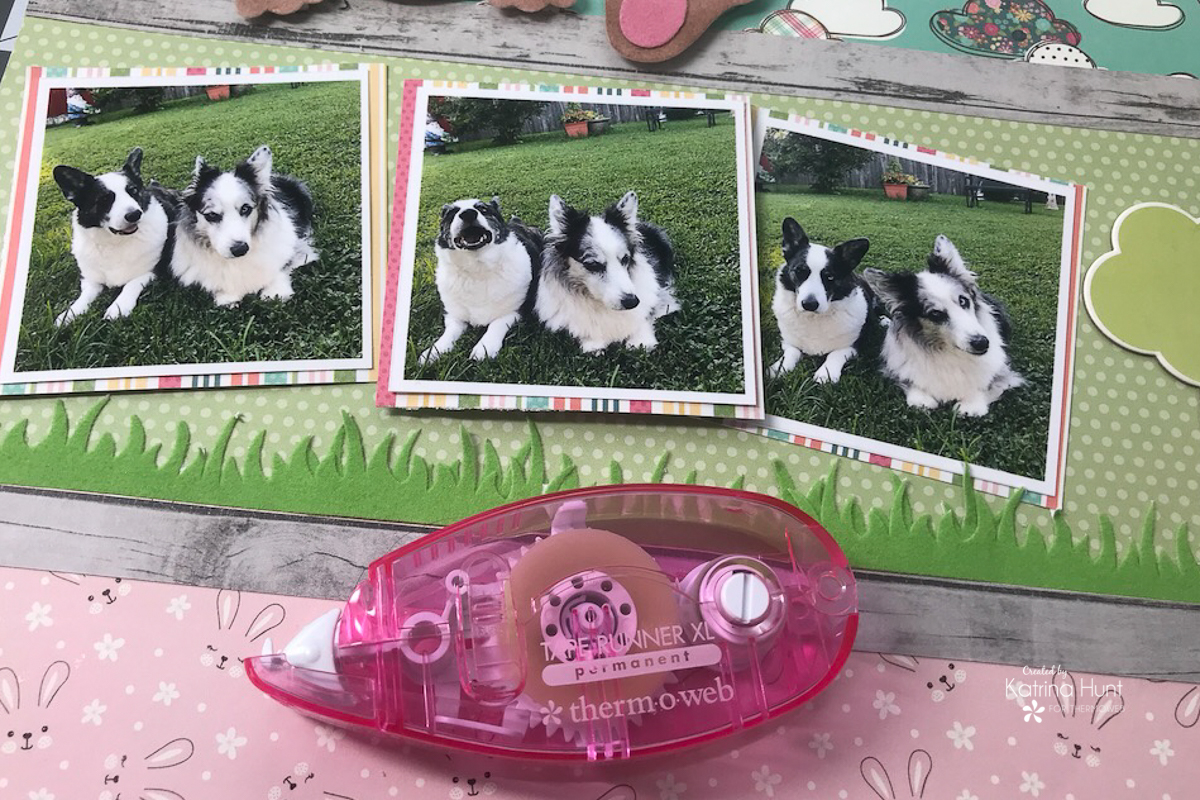
And here is a fun tip. If you have multiple pictures, pop one or two of them up with 3D Foam Squares to make them stand out. I really liked the picture of Sheldon barking, so I put it in the center and then popped it up!
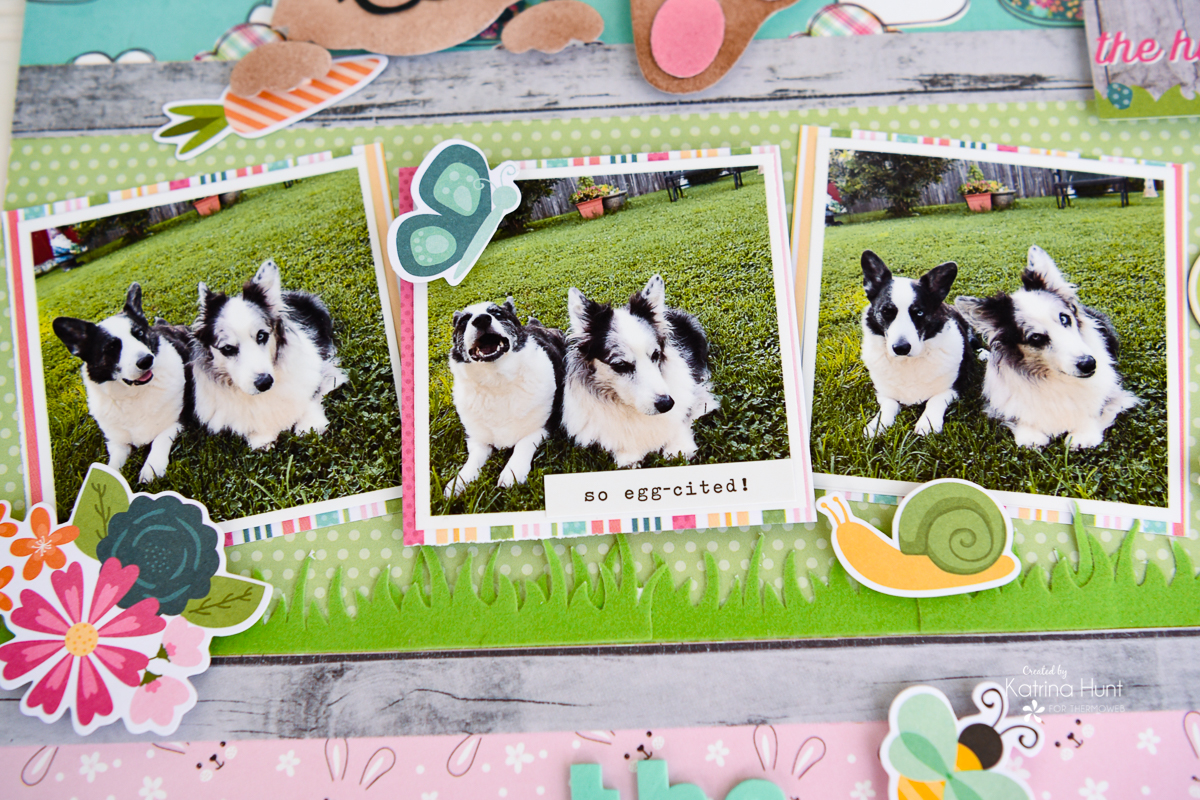
And in case you are wondering….the dogs ARE bunny hunters. I am not sure why the bunnies think they can build nests in the yard, but they do! Don’t worry, we try to save them if we can!!!
Thanks for stopping by the blog today and if you are staying home, craft! It’s a great stress reliever!!
Please note this post contains affiliate links. These are at no cost to you.
