


Hi! Lisa here from Stubbornly Crafty back with another fun banner for this week’s Sweet Shoppe theme. What’s sweeter than ice cream?
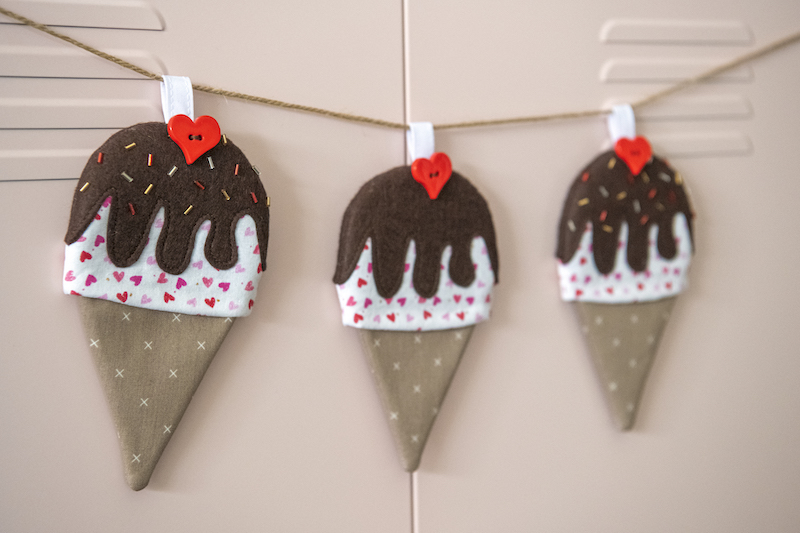
I came up with a fun little ice cream cone-shaped banner that would be perfect for an ice cream social, a birthday celebration, or to hang out in those hot summer months. Let’s get started.
No-Melt HeatnBond Fabric Ice Cream Banner
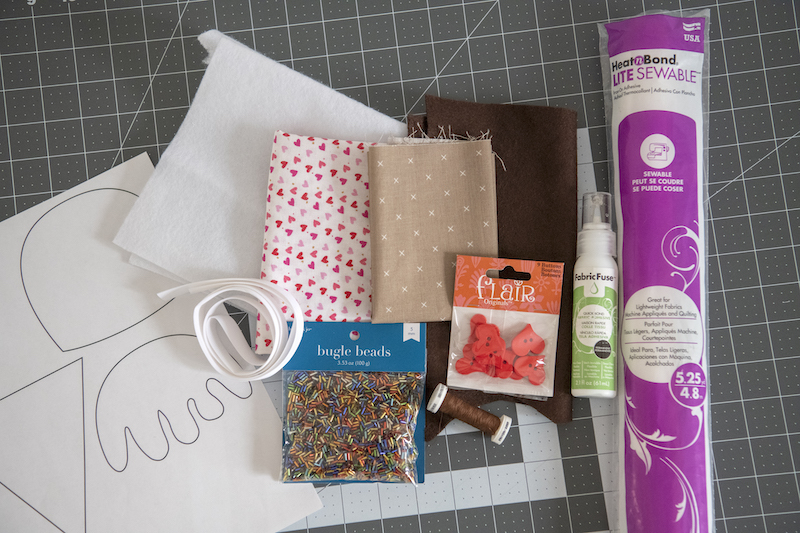
Supplies:
- DOWNLOAD & PRINT PATTERN HERE
- ¼ yard or fat quarters of two coordinating fabrics
- 1” red pom poms or buttons
- ½” double-fold bias tape or ribbon (2.5” per ice cream)
- Dark Brown felt
- Hand needle and thread
- HeatnBond Fusible Fleece
- HeatnBond Lite Iron-on Adhesive
- HeatnBond Fabric Fuse Liquid Glue
- Beads for Sprinkles (optional)
- Twine or ribbon to string ice cream cones onto when finished
** ¼” seam allowance unless otherwise stated
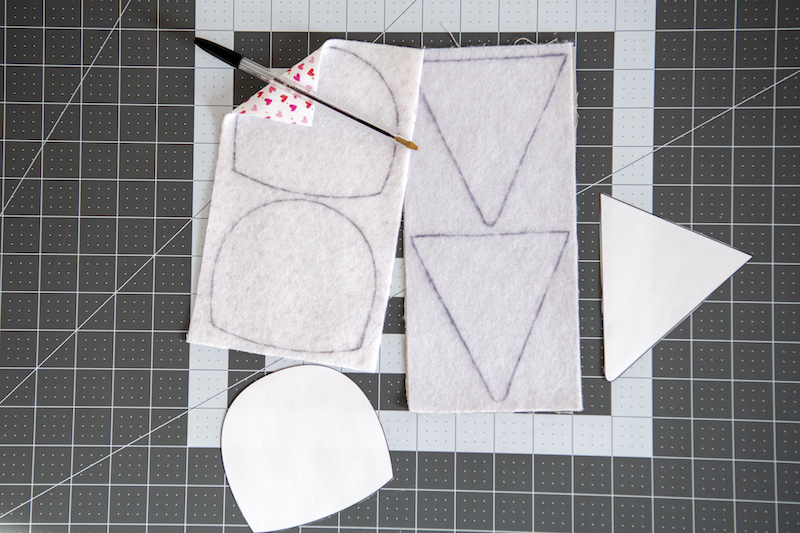
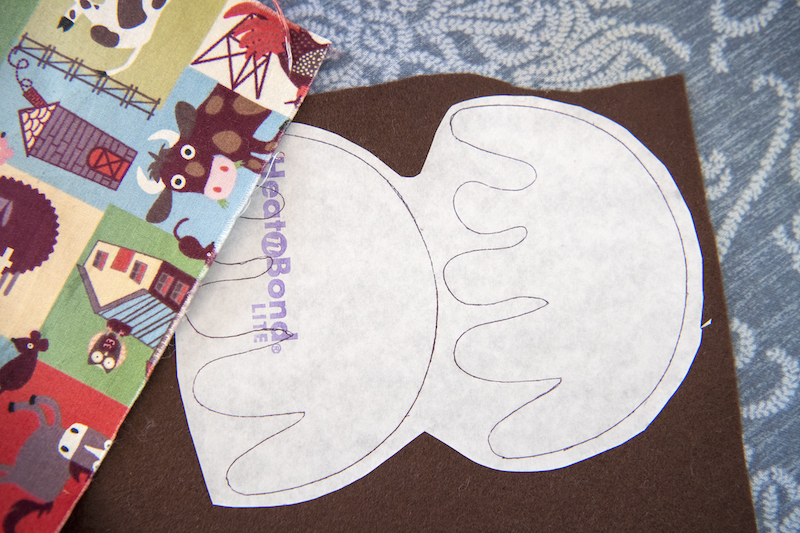
First, print out your pattern and cut out the pieces. Then grab your HeatnBond fusible fleece. For each ice cream cone, you’ll need (1) 4.5”x9.5” piece for the cone and (1) 5”x8.5” for the scoop of ice cream. Adhere the fleece onto the wrong side of your fabrics. Trace two cones onto the cone fabric and two scoops of ice cream onto the other fabric. Cut them out.
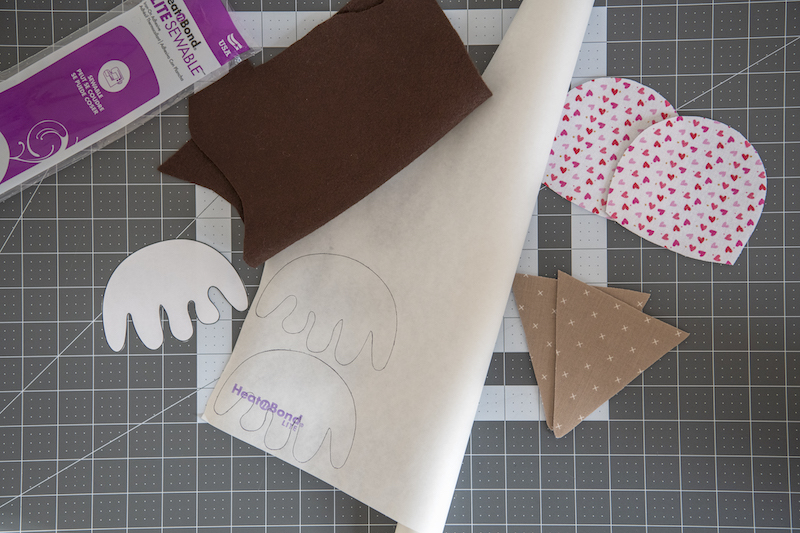
Next grab your HeatnBond Lite Iron-on adhesive, your fudge topping pattern piece, and your felt. Trace two of the topping piece on the HeatnBond per ice cream cone you are making.
Cut around where you traced your HeatnBond adhesive and adhere it to your felt with your iron using a barrier fabric (the cotton fabric shown) between the iron and your felt. The Felt will melt if you do not use something between it and the iron.
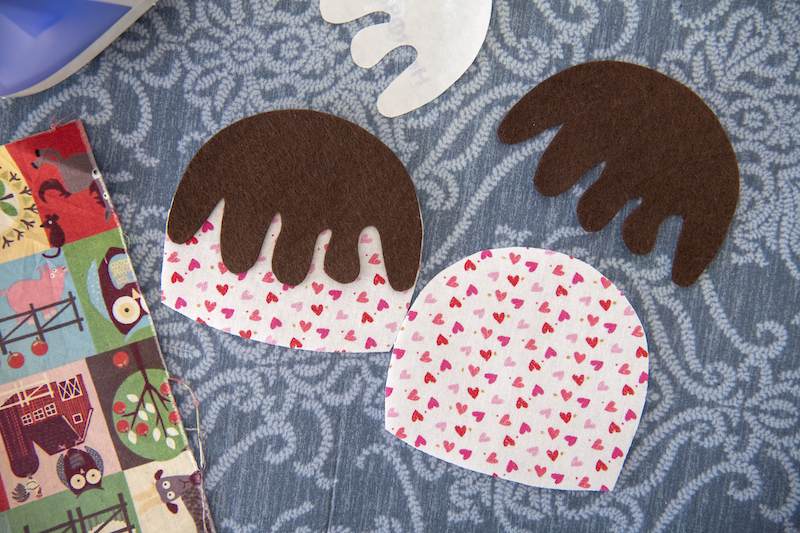
Cut out your fudge topping pieces. Remove the paper from the back and adhere the topping to the scoop of ice cream making sure to once again use a barrier fabric between the iron and your project.
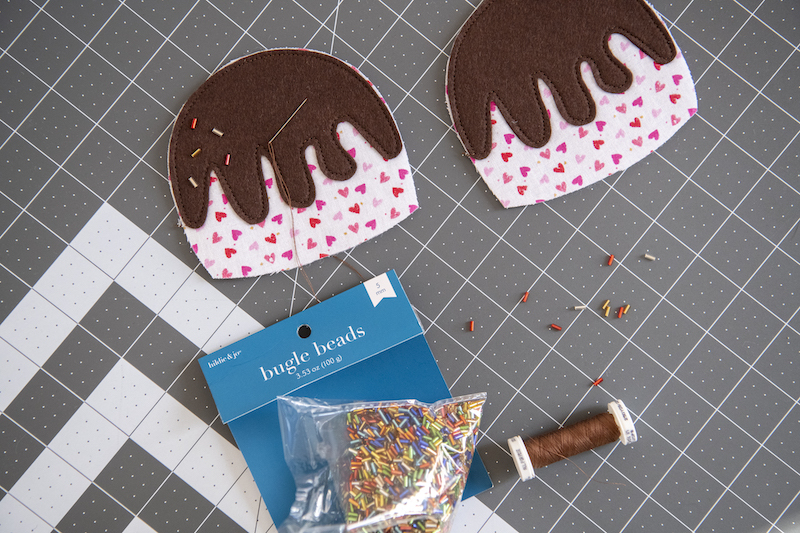
Take the pieces to your sewing machine and top stitch around the perimeter or the felt topping piece on each. Next grab your beads, thread, and hand-sewing needle. Hand-sew a few beads onto the topping as sprinkles. Make sure to leave ¼” around the outside for seam allowance. I only add the sprinkles to the front panel of each ice cream cone but if you plan on hanging it somewhere both sides will show I’d do both.
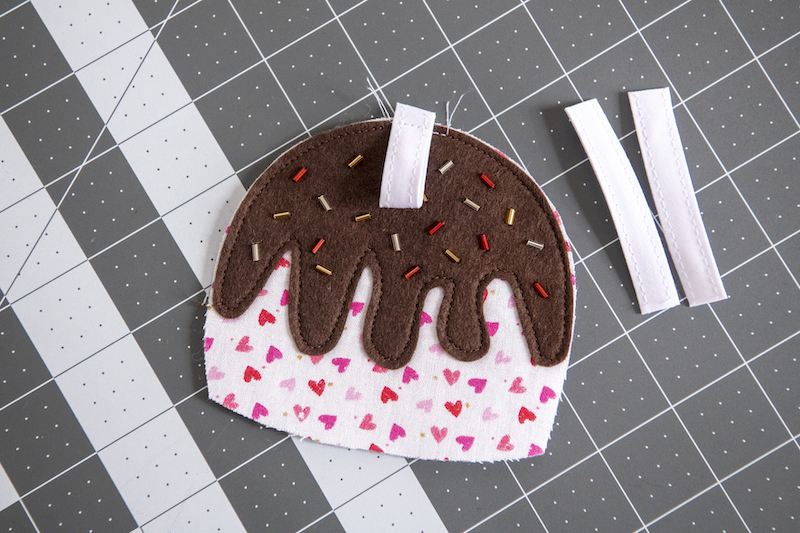
Next, we need to add a little loop for hanging our ice cream. Take a 2.5” piece of your bias tape ribbon. If using bias you can top stitch as I have or just leave it. Fold the bias in half with the loop side facing down and the raw edges held together at the top. Center it and top stitch in place ⅛” in from the edge.
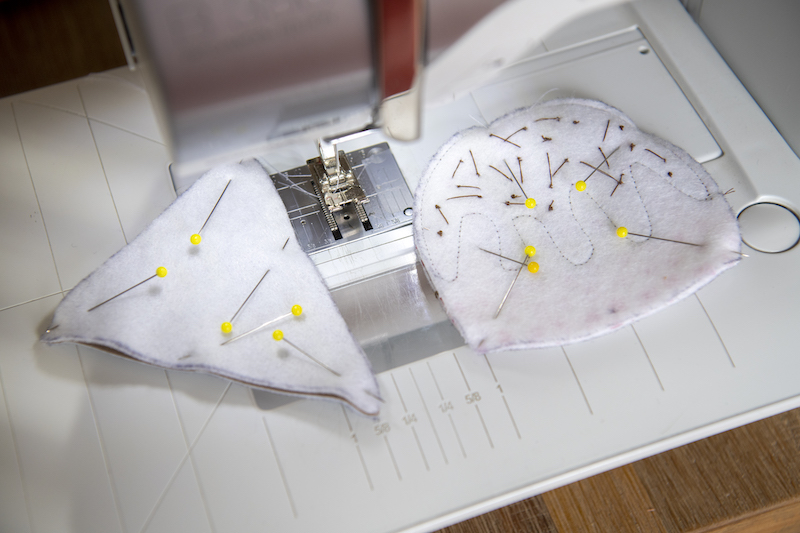
Now grab your back ice cream piece and your two cones. Pin the cone’s right sides together. Pin your scoops of ice cream, right sides together. Sew around the perimeter of the cones, using your ¼” seam allowance, leaving the top of the cone unsewn. Next, sew around your ice cream using a scant ¼” seam allowance leaving the straight edge at the bottom unsewn.
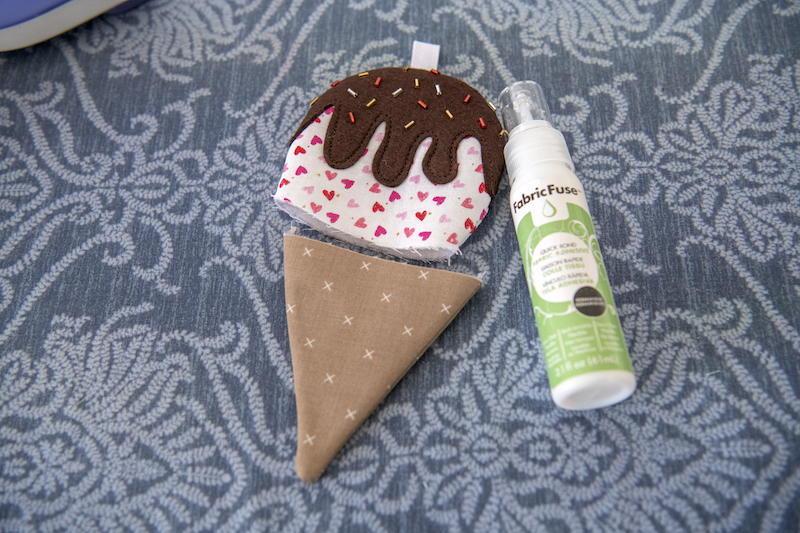
Turn your pieces right side out and press. Grab your HeatnBond Fabric Fuse Glue or a hand-sewing needle and thread.
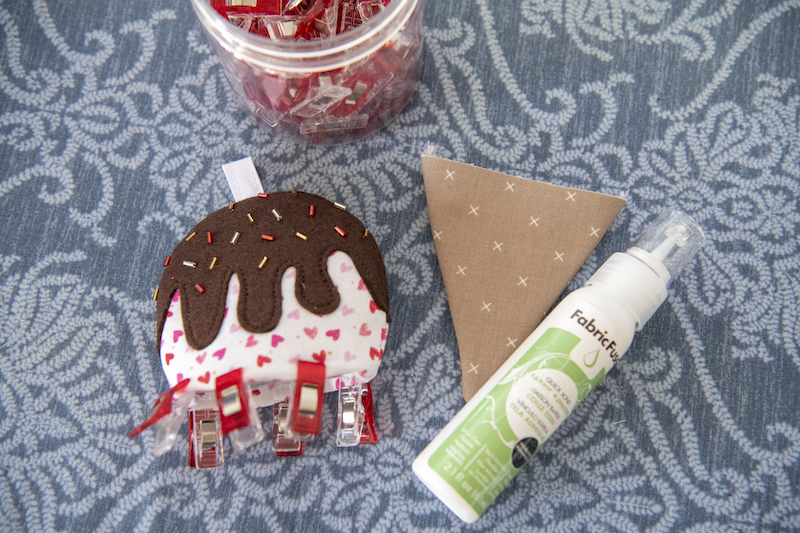
Turn the raw edge of your ice cream under ¼” all the way around and glue or hand sew it in place. I use a few clips to help out.
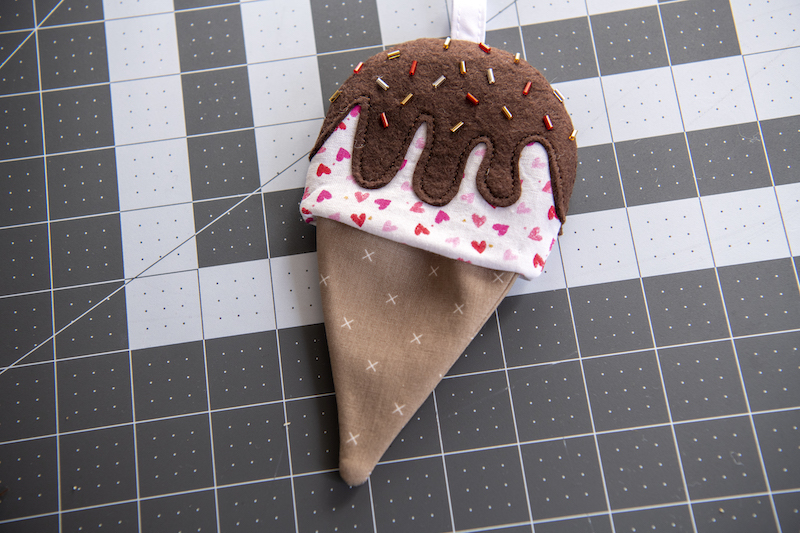
Next slide the cone into the ice cream. Arrange it until you like how it looks. Double check the cone is straight. Glue the two sides together by putting a glue line on the cone just under where the two meet. Let it dry.
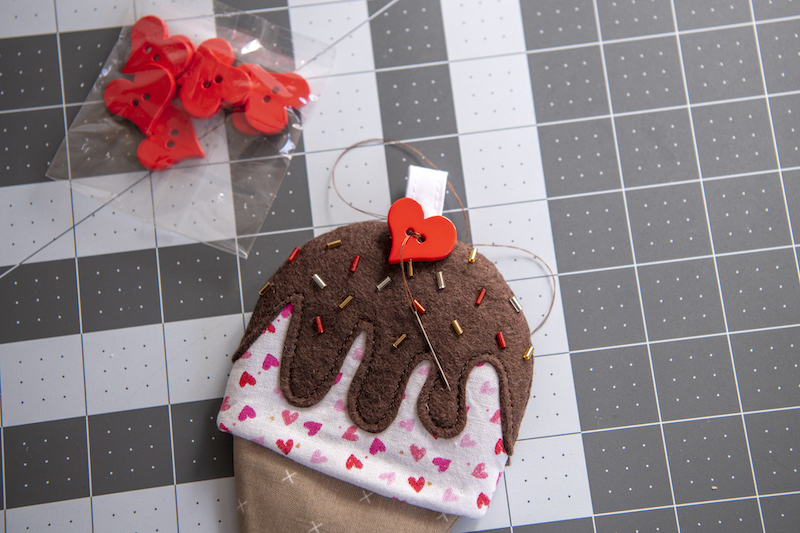
Finally we just need to sew or glue the “cherry” on top.
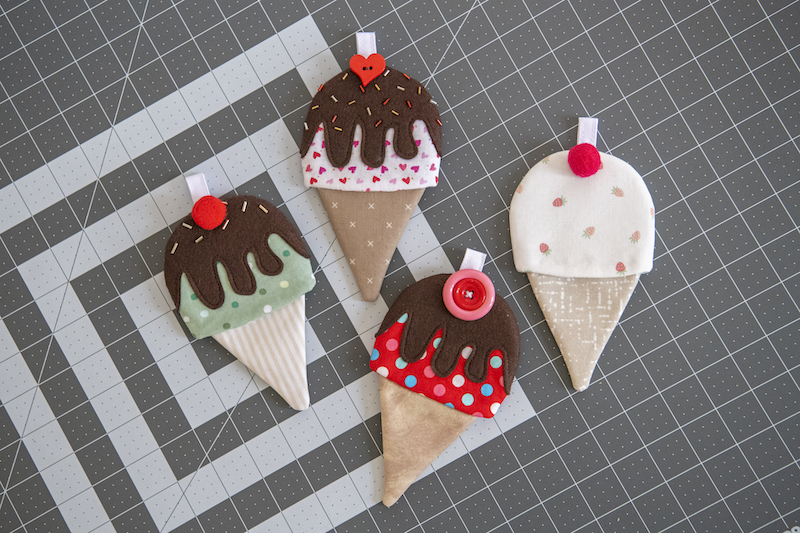
Hooray! That’s it! There are so many fun ways to mix these cute cones up. Here are a few I made. You can change it up to a strawberry or caramel topping as well.
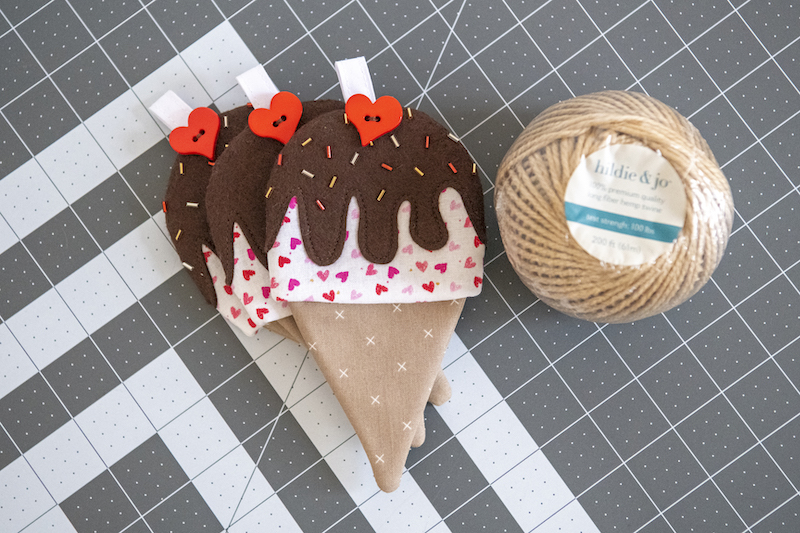
Make as many ice cream cones as you’d like and string them up on some twine or ribbon making the banner as little or big as you’d like. Thanks for sewing along!