Hello crafty friends, it’s Ellen here taking over the blog. Today, I’m thrilled to share a fun tutorial using Therm O Web’s Deco Foil Transfer Gel Duo. Deco Foil can add the perfect shimmer and shine to any project, and paired with Transfer Gel Duo, you’ll achieve beautifully foiled backgrounds with ease!
Let’s dive into the step-by-step process to create these colorful soda-themed cards.
Step 1: Prepare Your Background
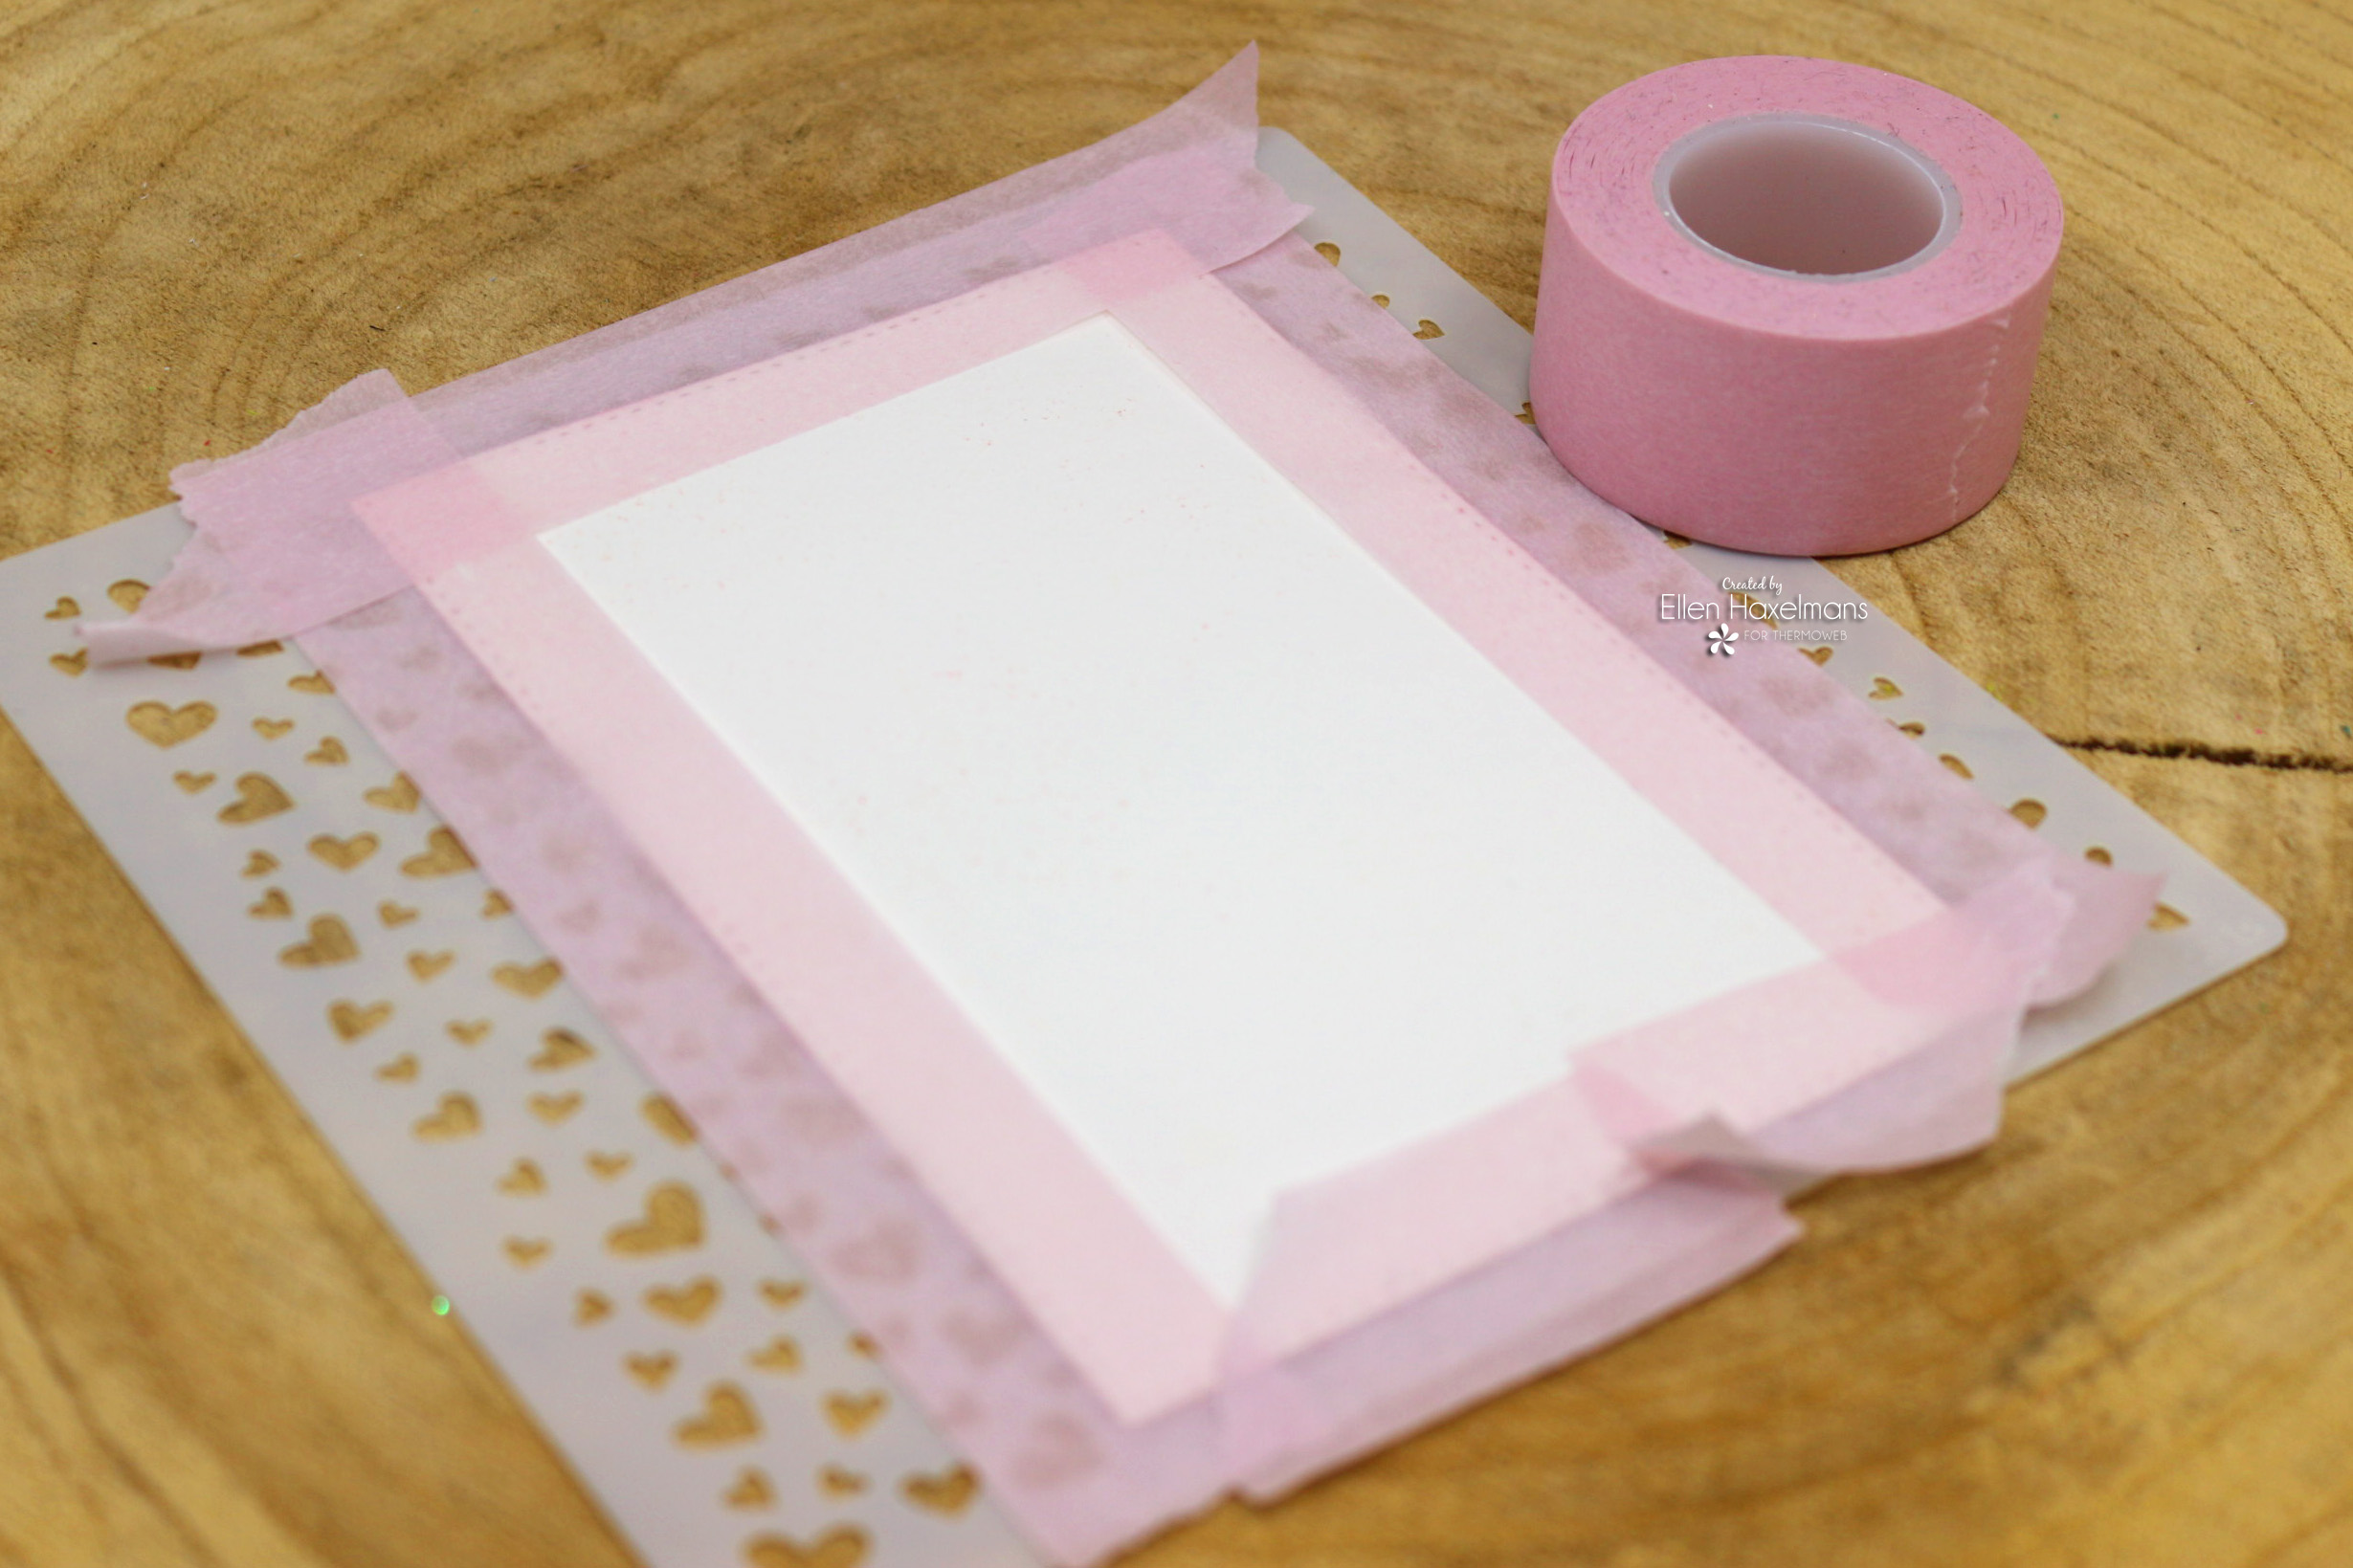
Start by securing your stencil onto a piece of cardstock using Pixie Tape. This tape is low-tack and perfect for holding the stencil in place without damaging your panel.
Step 2: Apply Transfer Gel
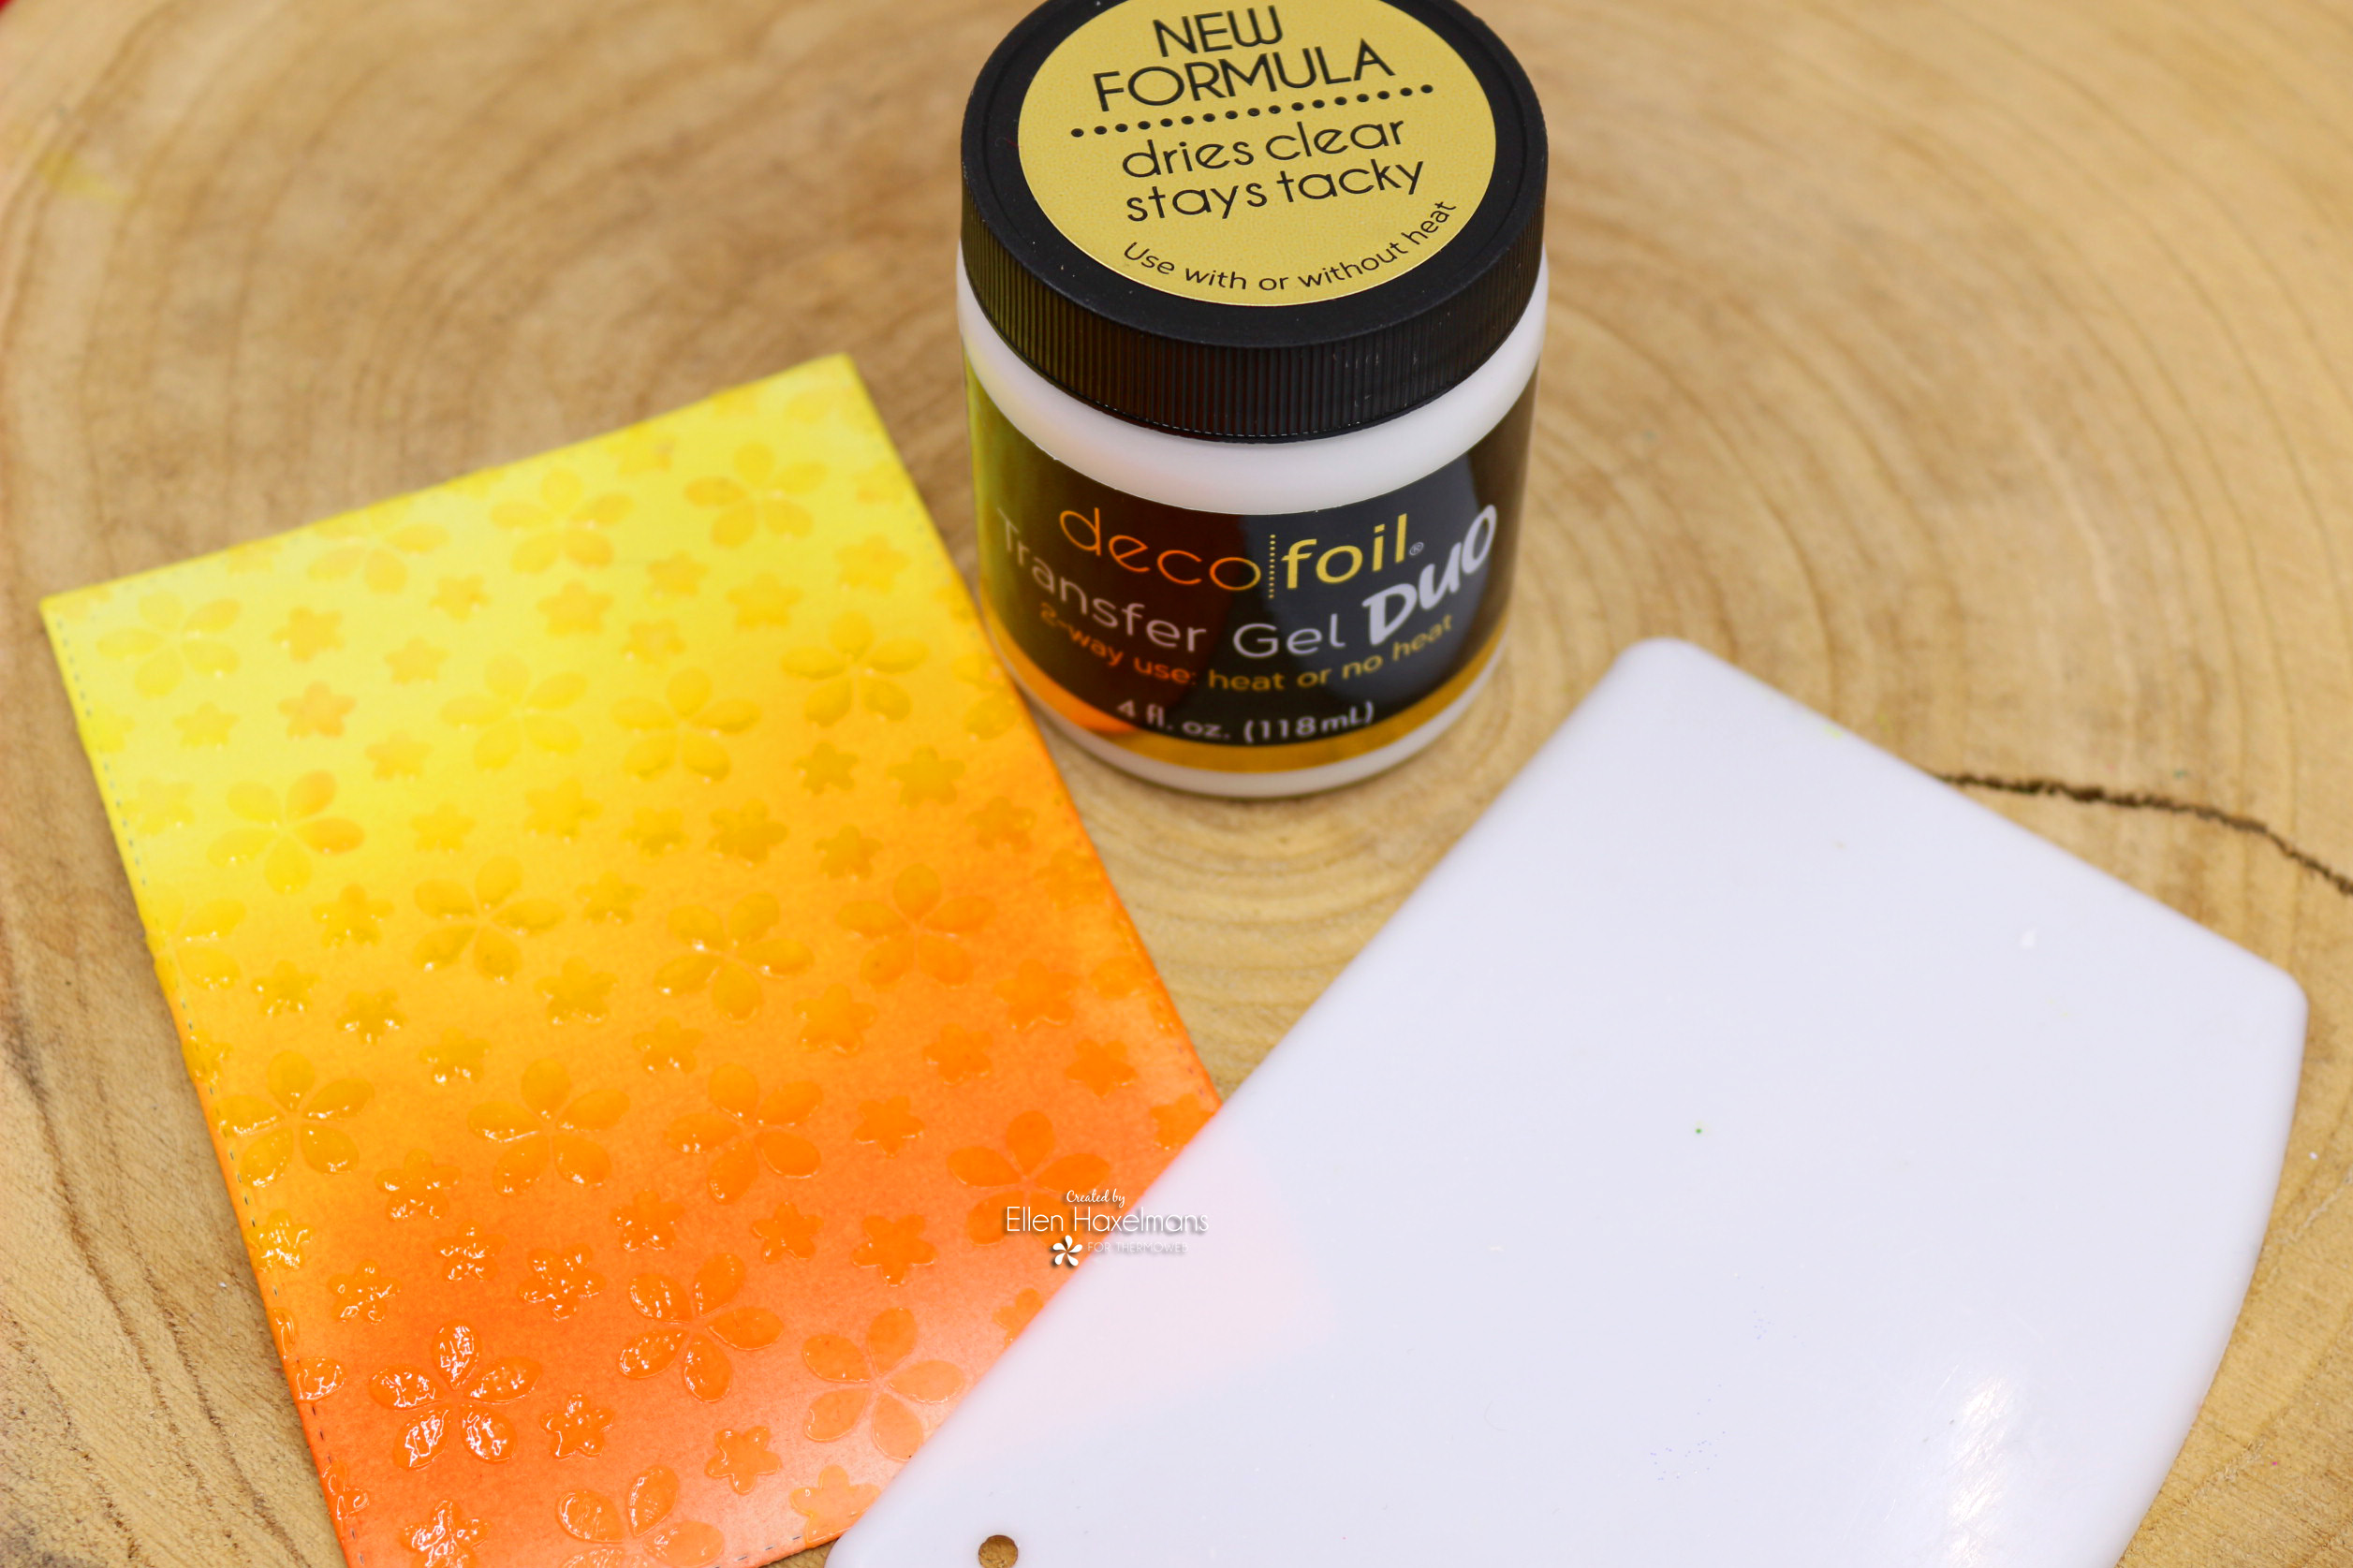
Using a Stencil Pal, spread a thin, even layer of Transfer Gel Duo over your stencil. Carefully remove the stencil and clean it immediately. Allow the gel to dry until it becomes clear.
Pro Tip: If you’re short on time, you can speed up the drying process with a heat tool set on a low setting.
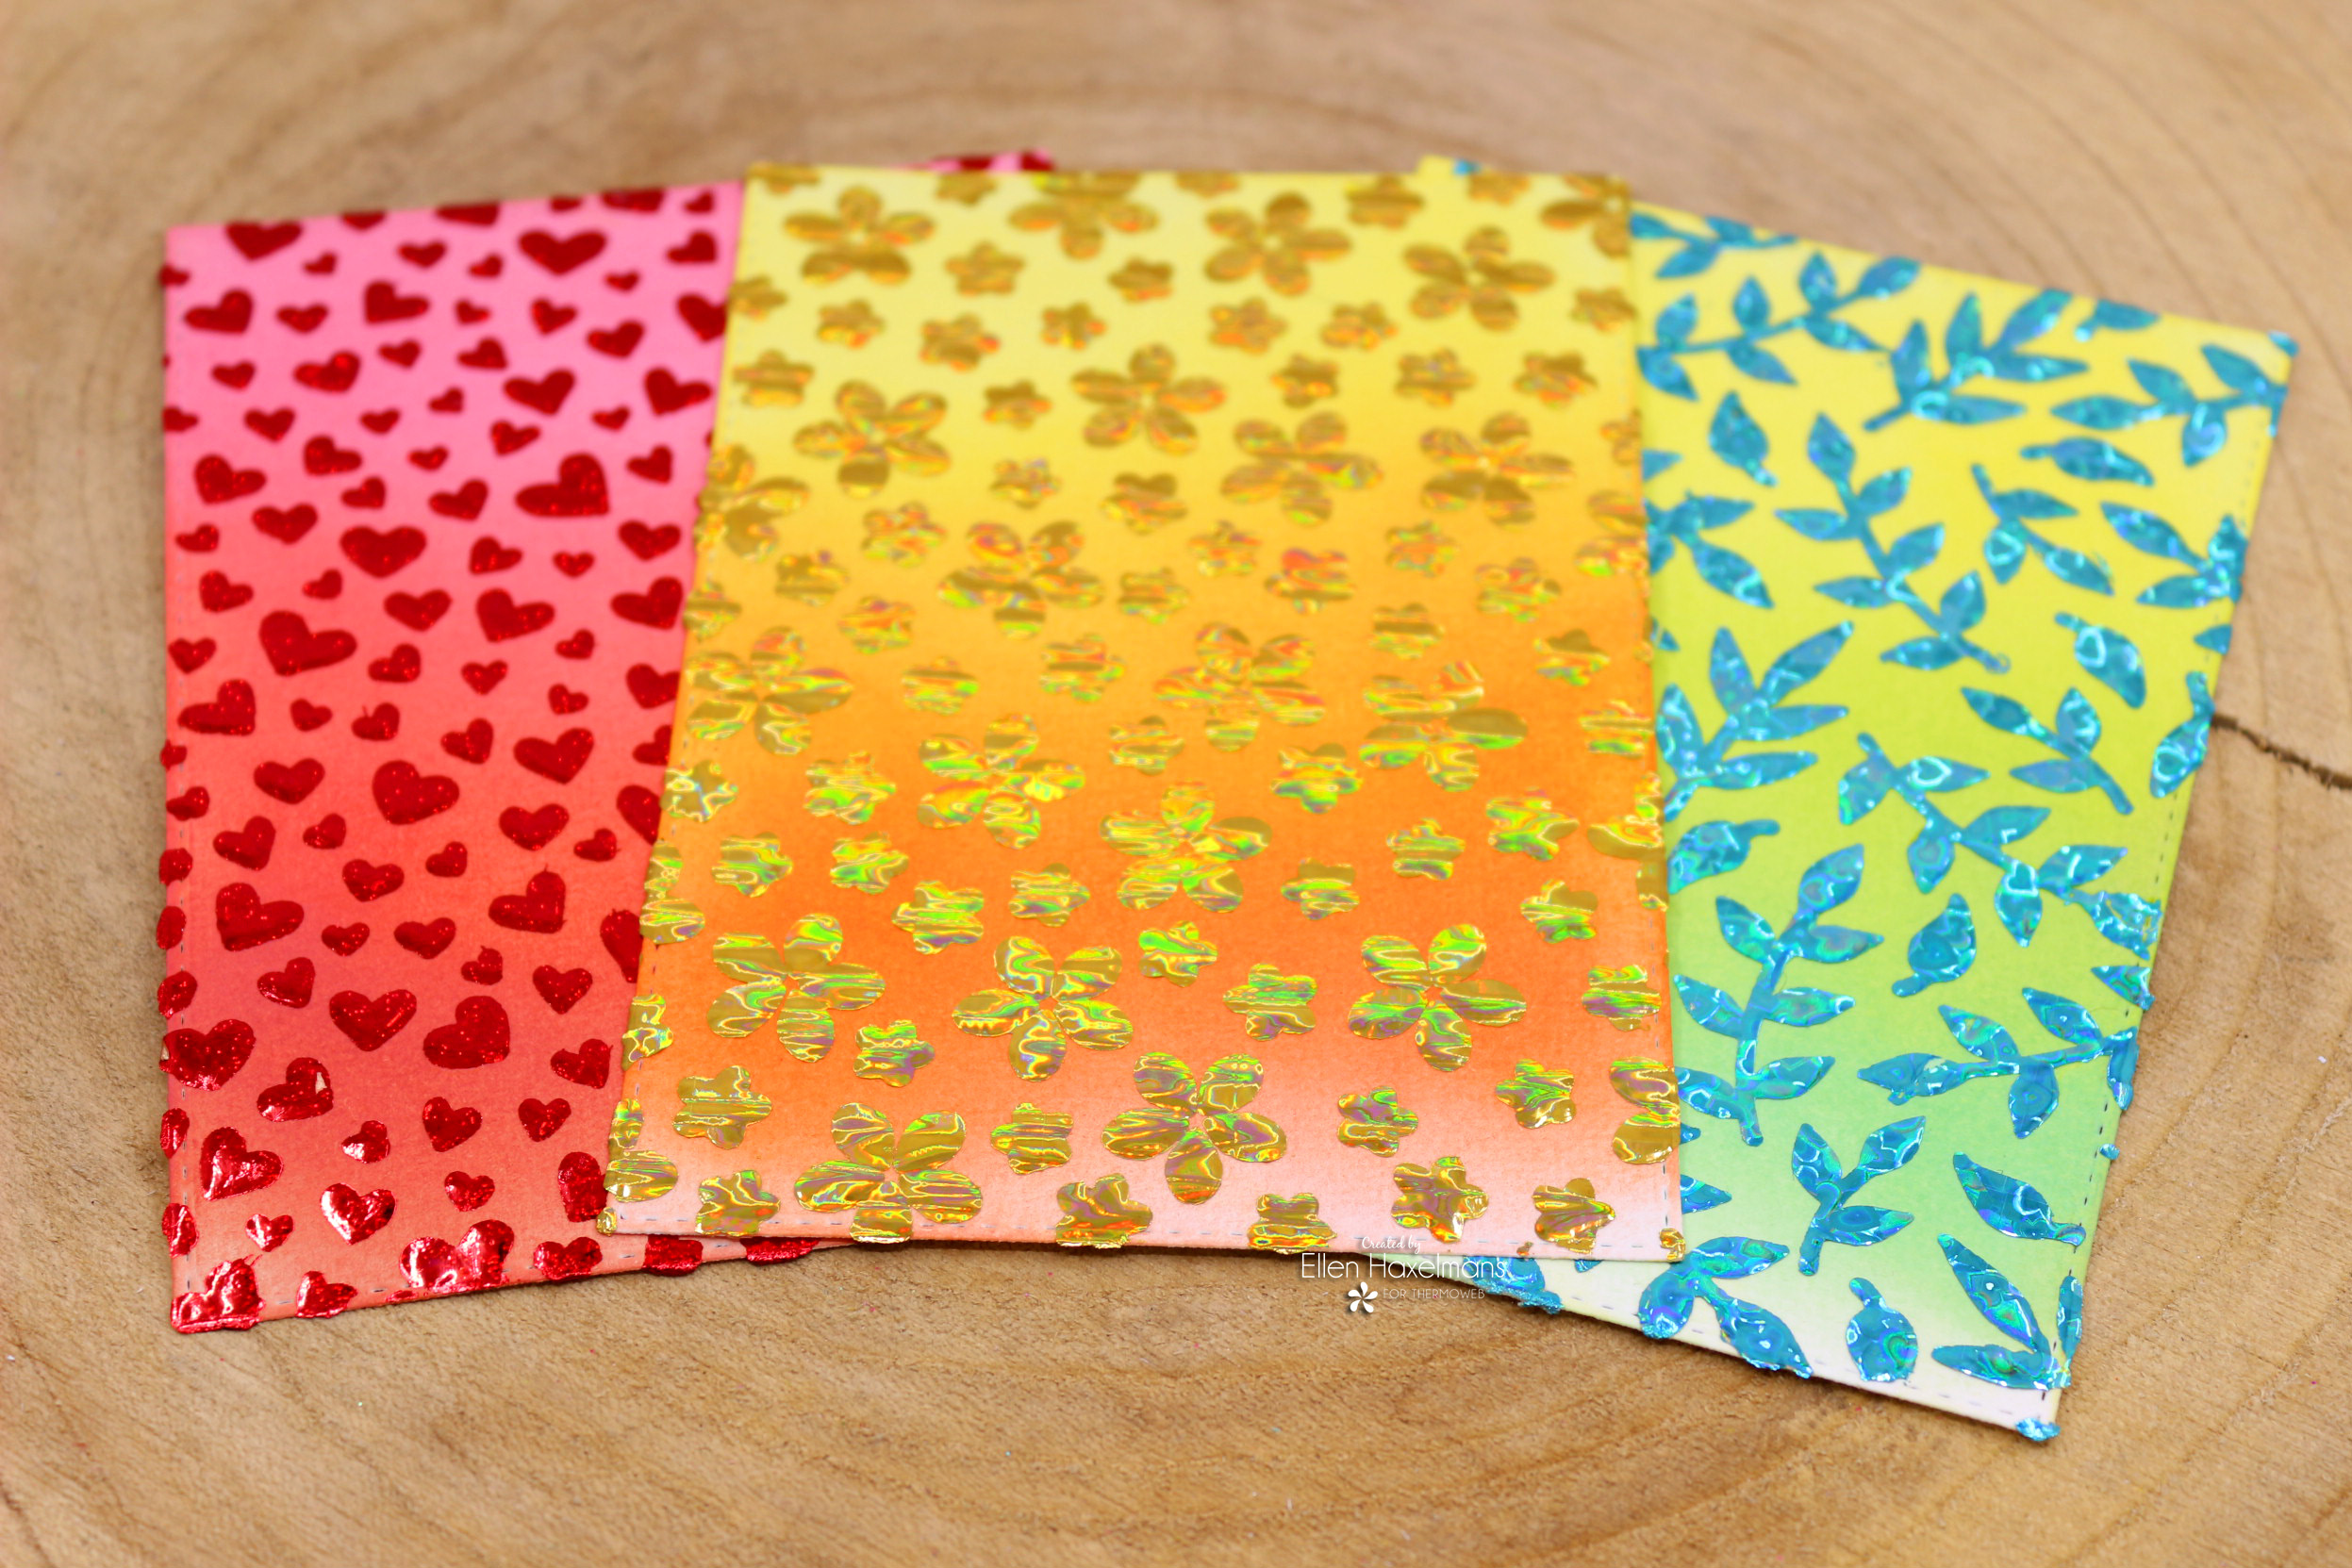
Step 3: Apply the Deco Foil
Once the Transfer Gel Duo has dried, it’s time to foil! Cut a piece of Deco Foil slightly larger than your background panel. Place the foil (shiny side up) on top of your panel. Depending on your equipment, you can either:
- Run it through a laminator for a smooth finish, OR
- Use a die-cutting machine to apply pressure.
Peel away the foil sheet to reveal the magic of your design!
Step 4: Assemble Your Cards
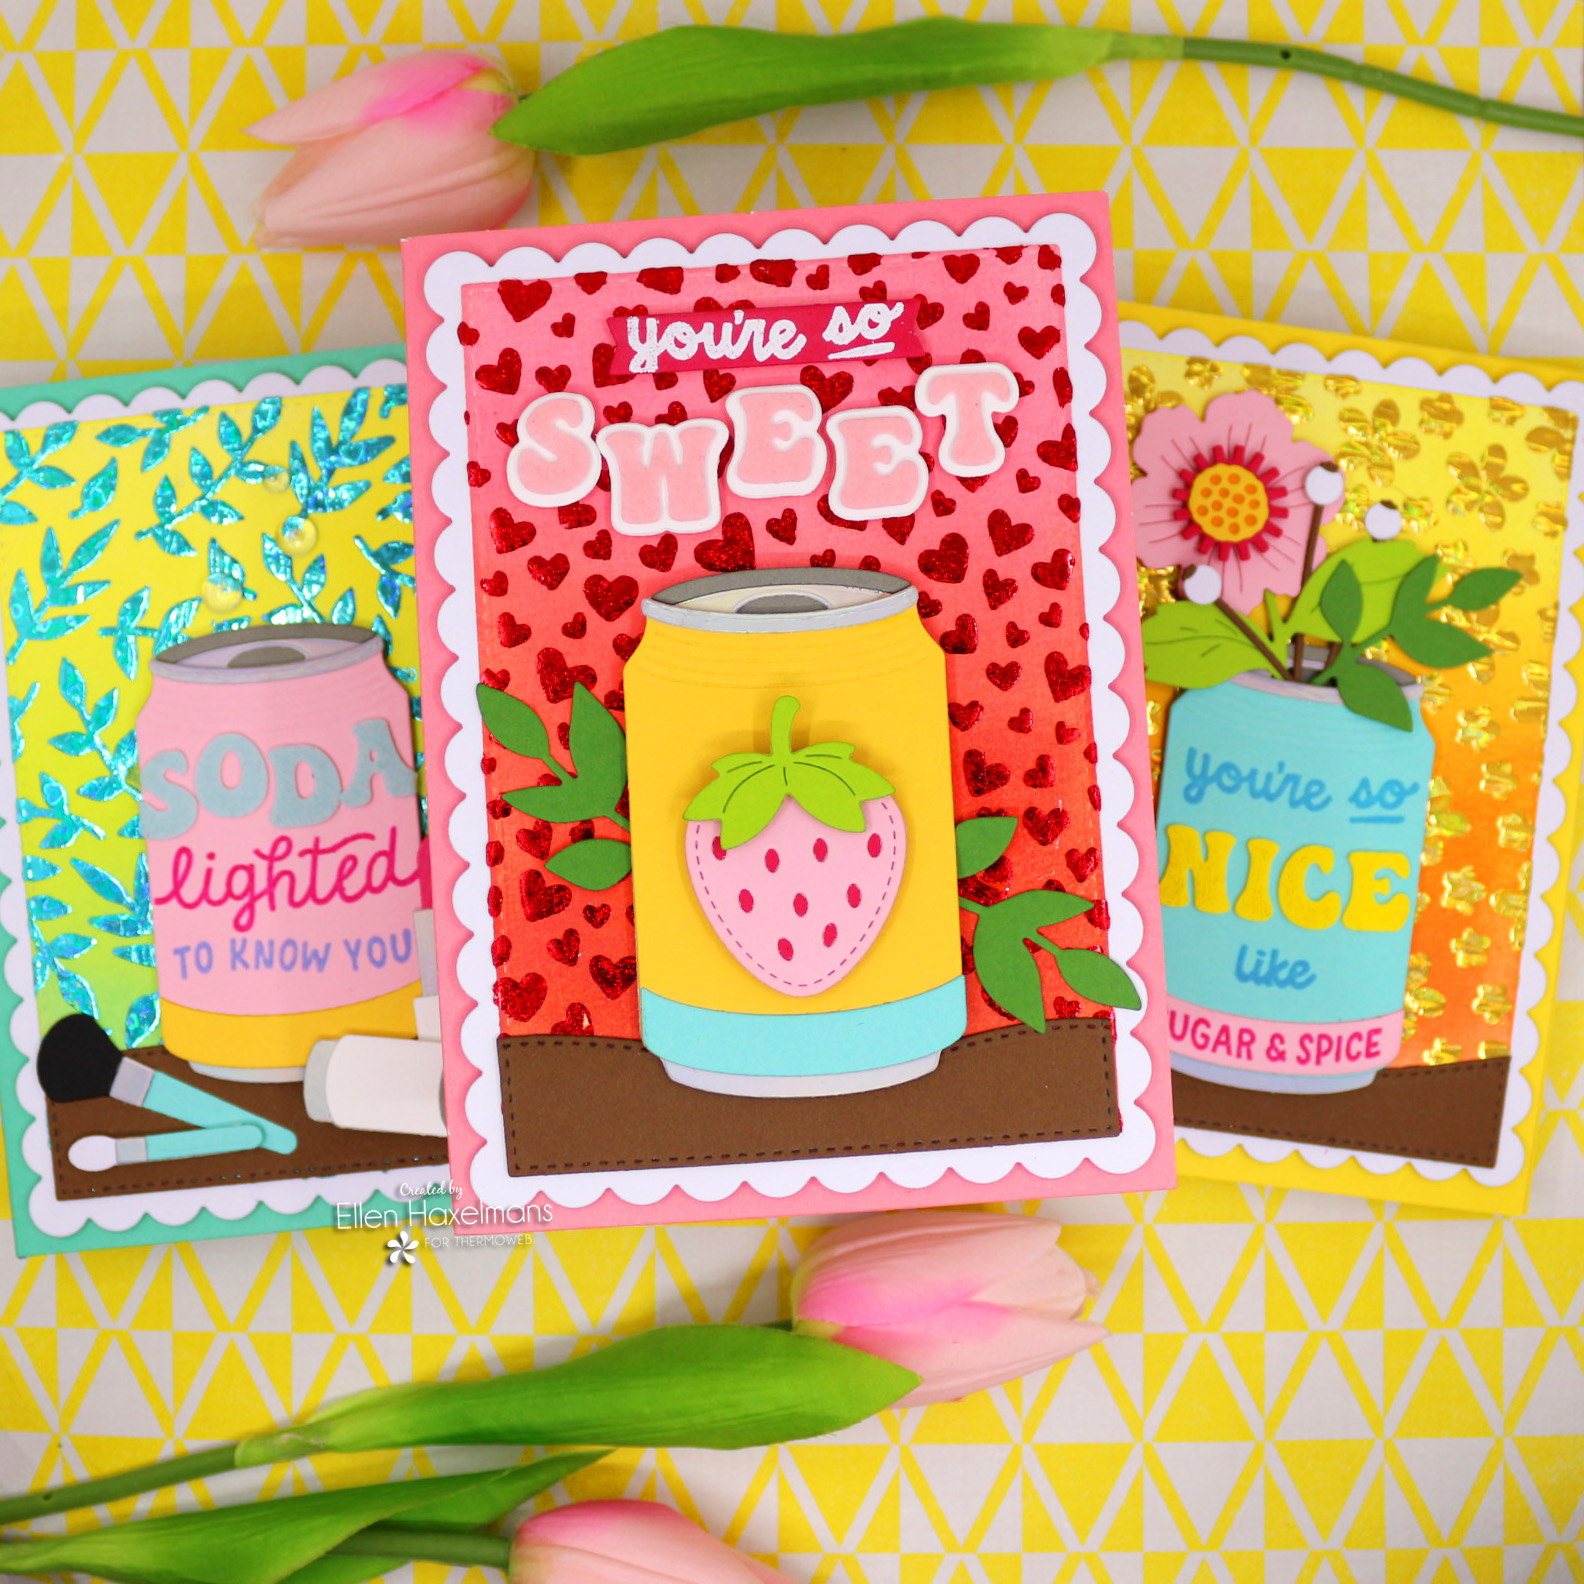
For these soda-themed cards, I created focal points with die-cut soda cans and playful sentiments. I used plush paper for the letters to add texture and dimension. Arrange and adhere all elements to your card base to complete the look.
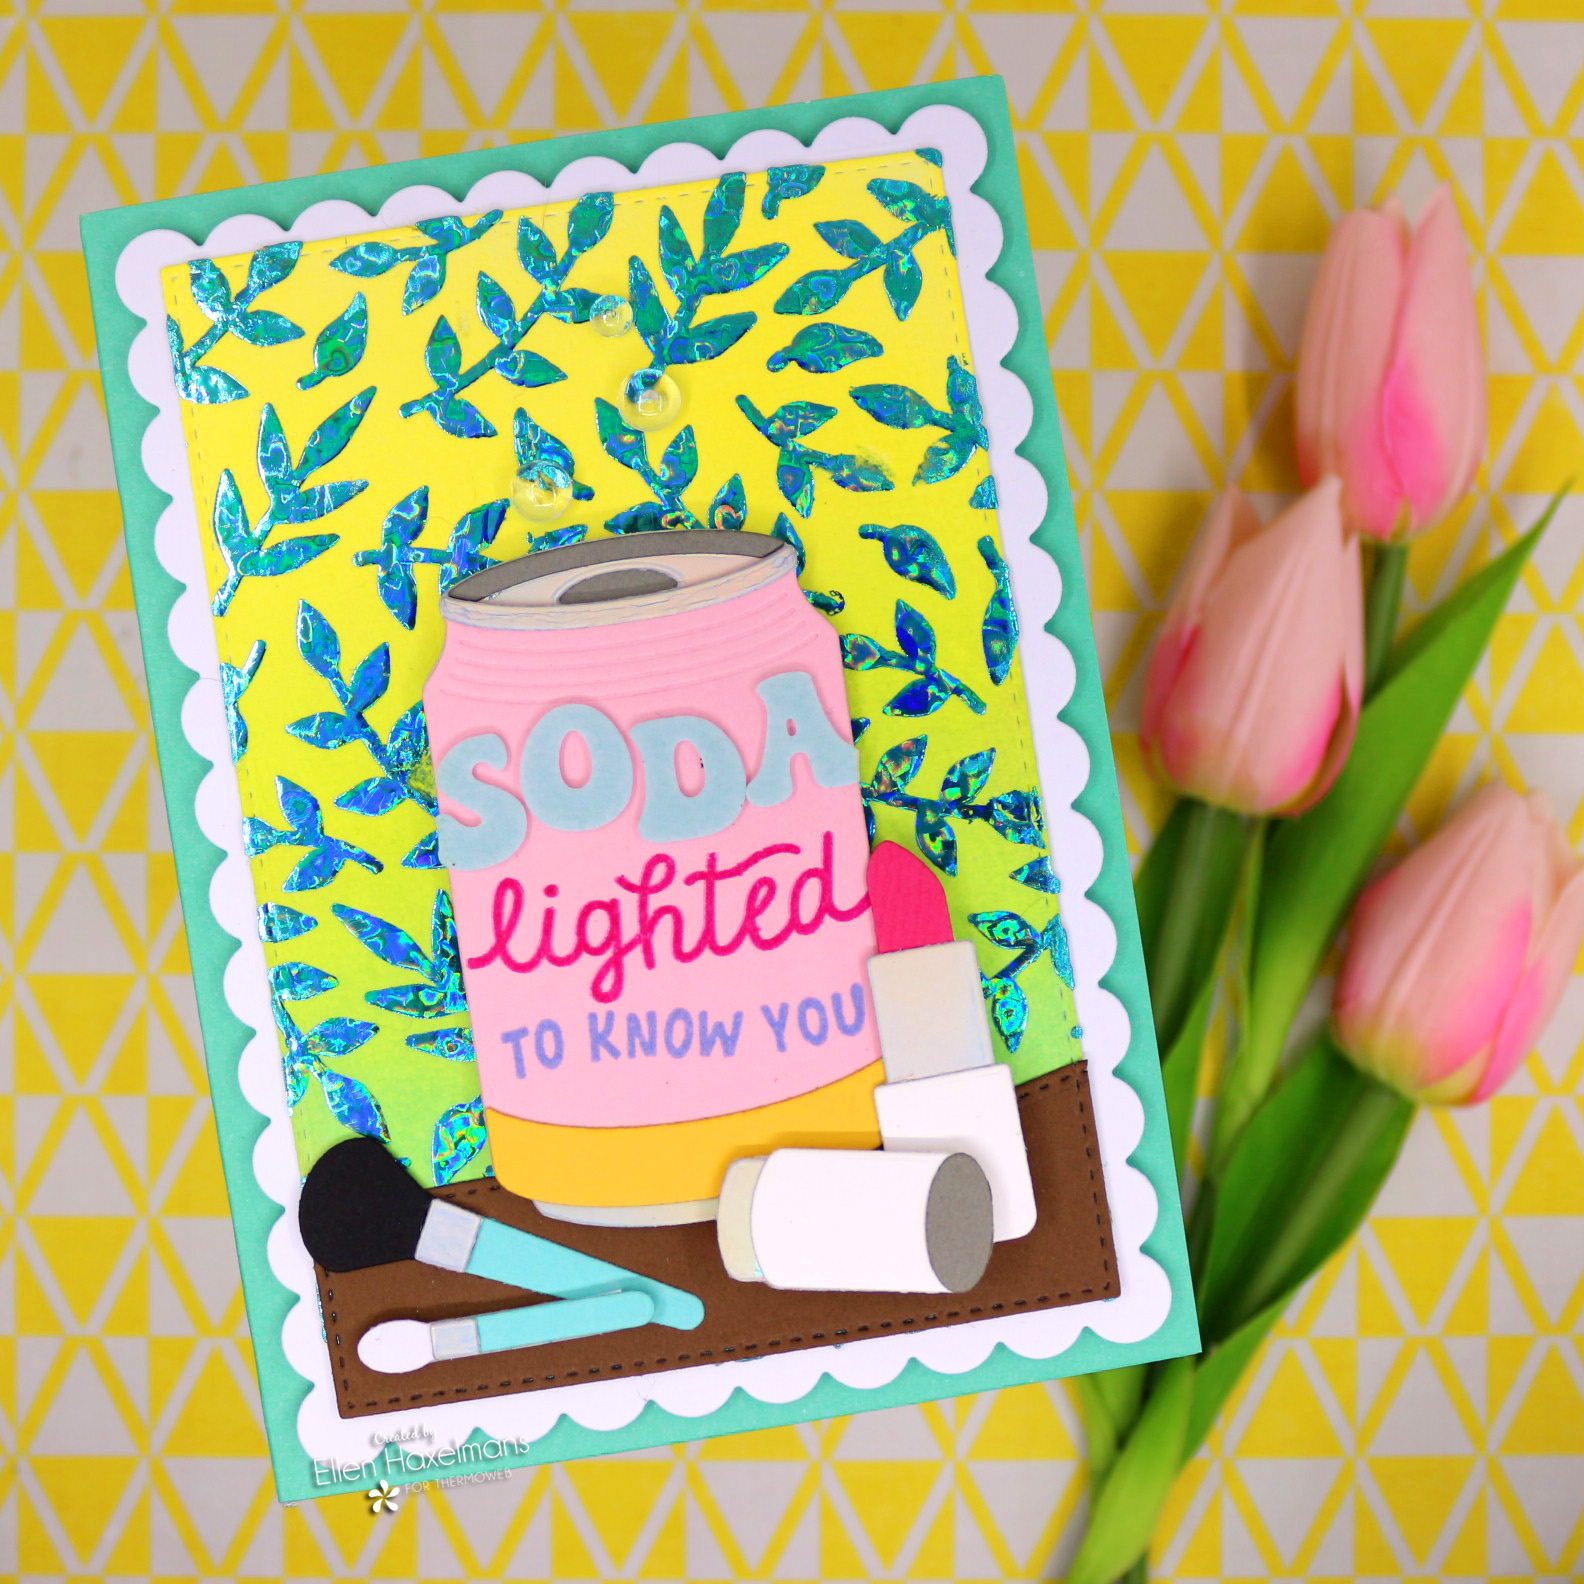
I paired a pastel pink soda can with a bright yellow background covered in a blue leafy foil pattern. Perfect for a cheerful message! The clear bubbles are applied with the Zots Clear Adhesive Dots.
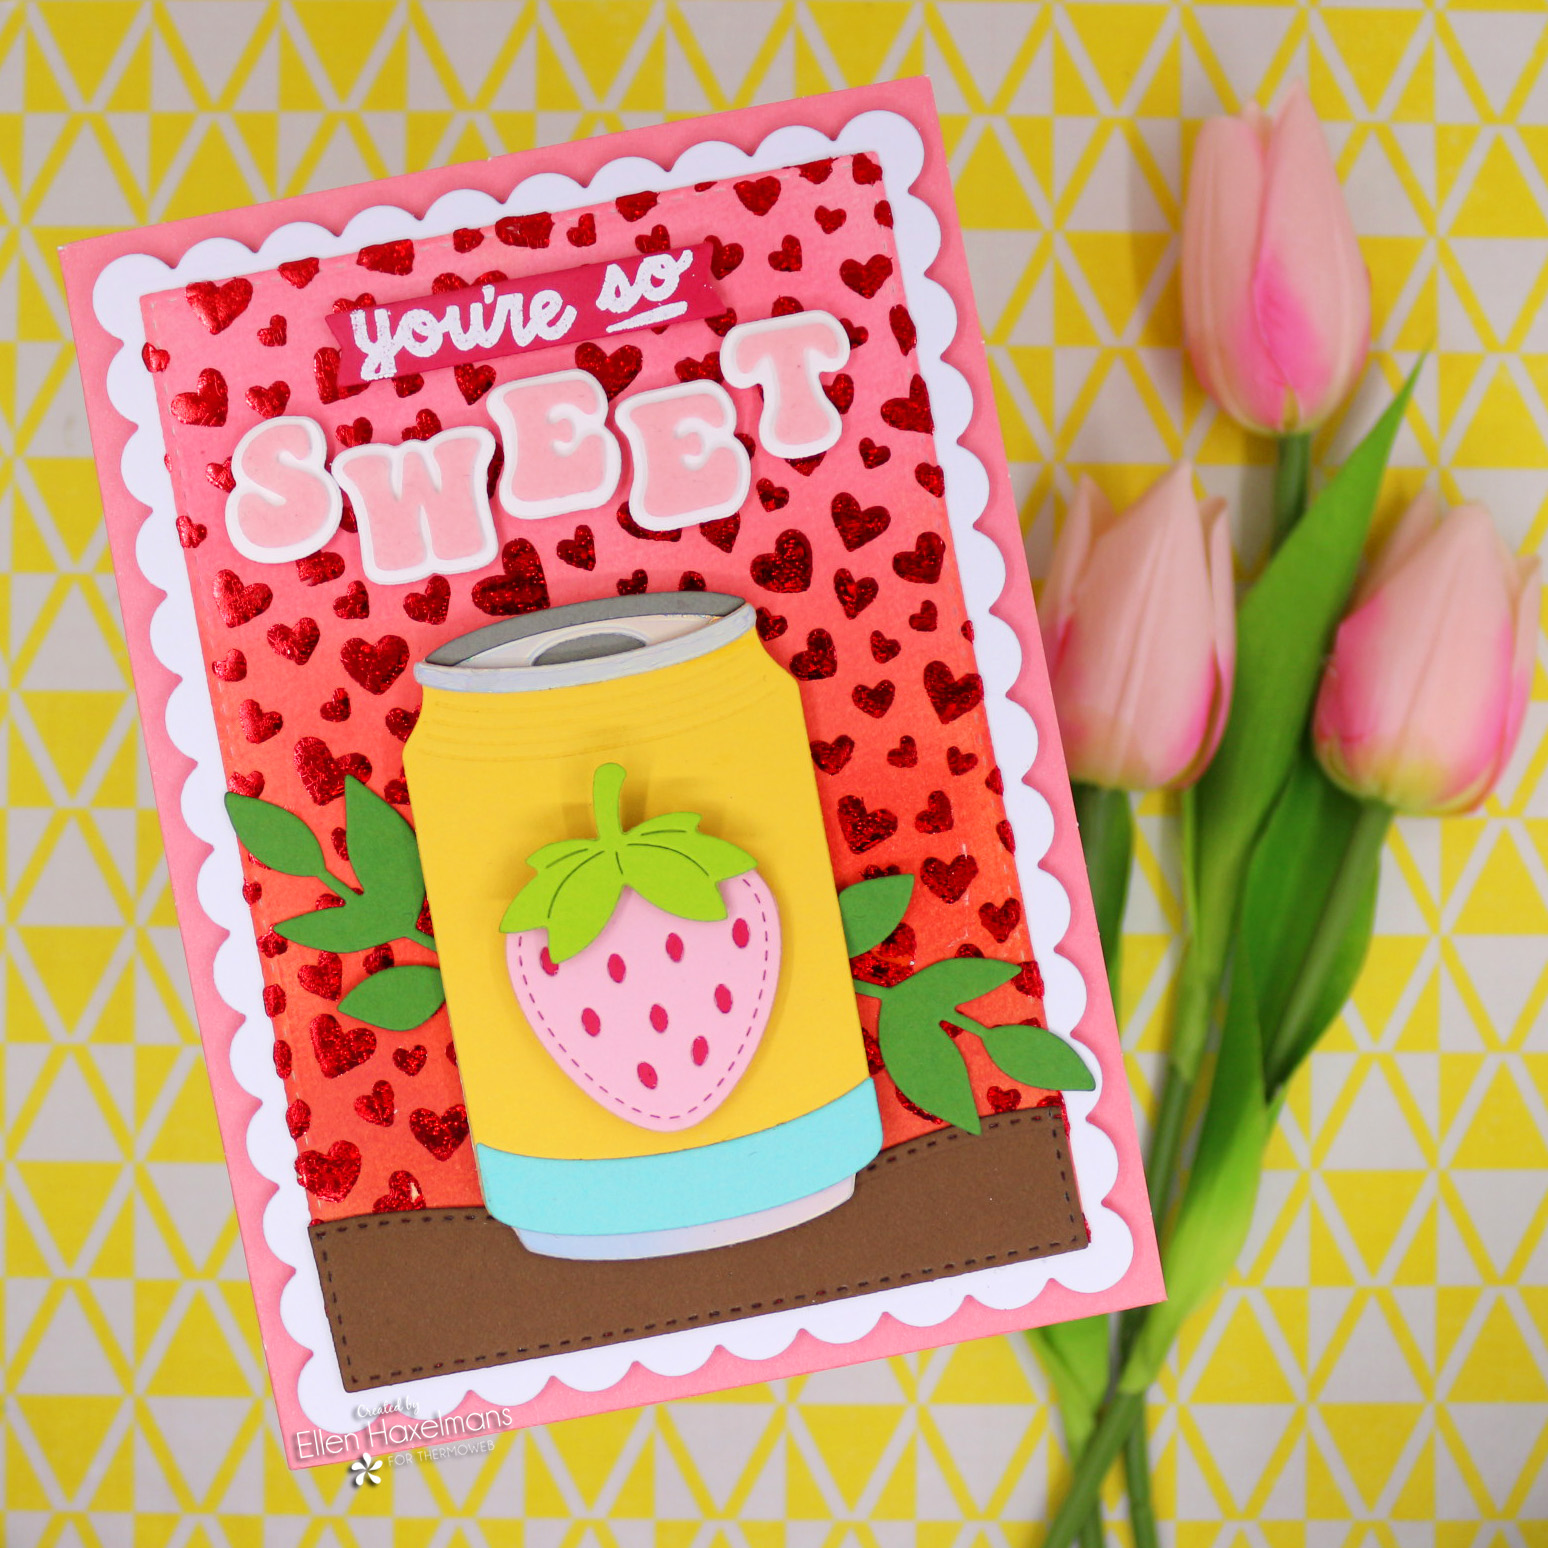
This card features a strawberry soda can and a vibrant red heart-foiled background. The plush paper letters add extra softness to the design.
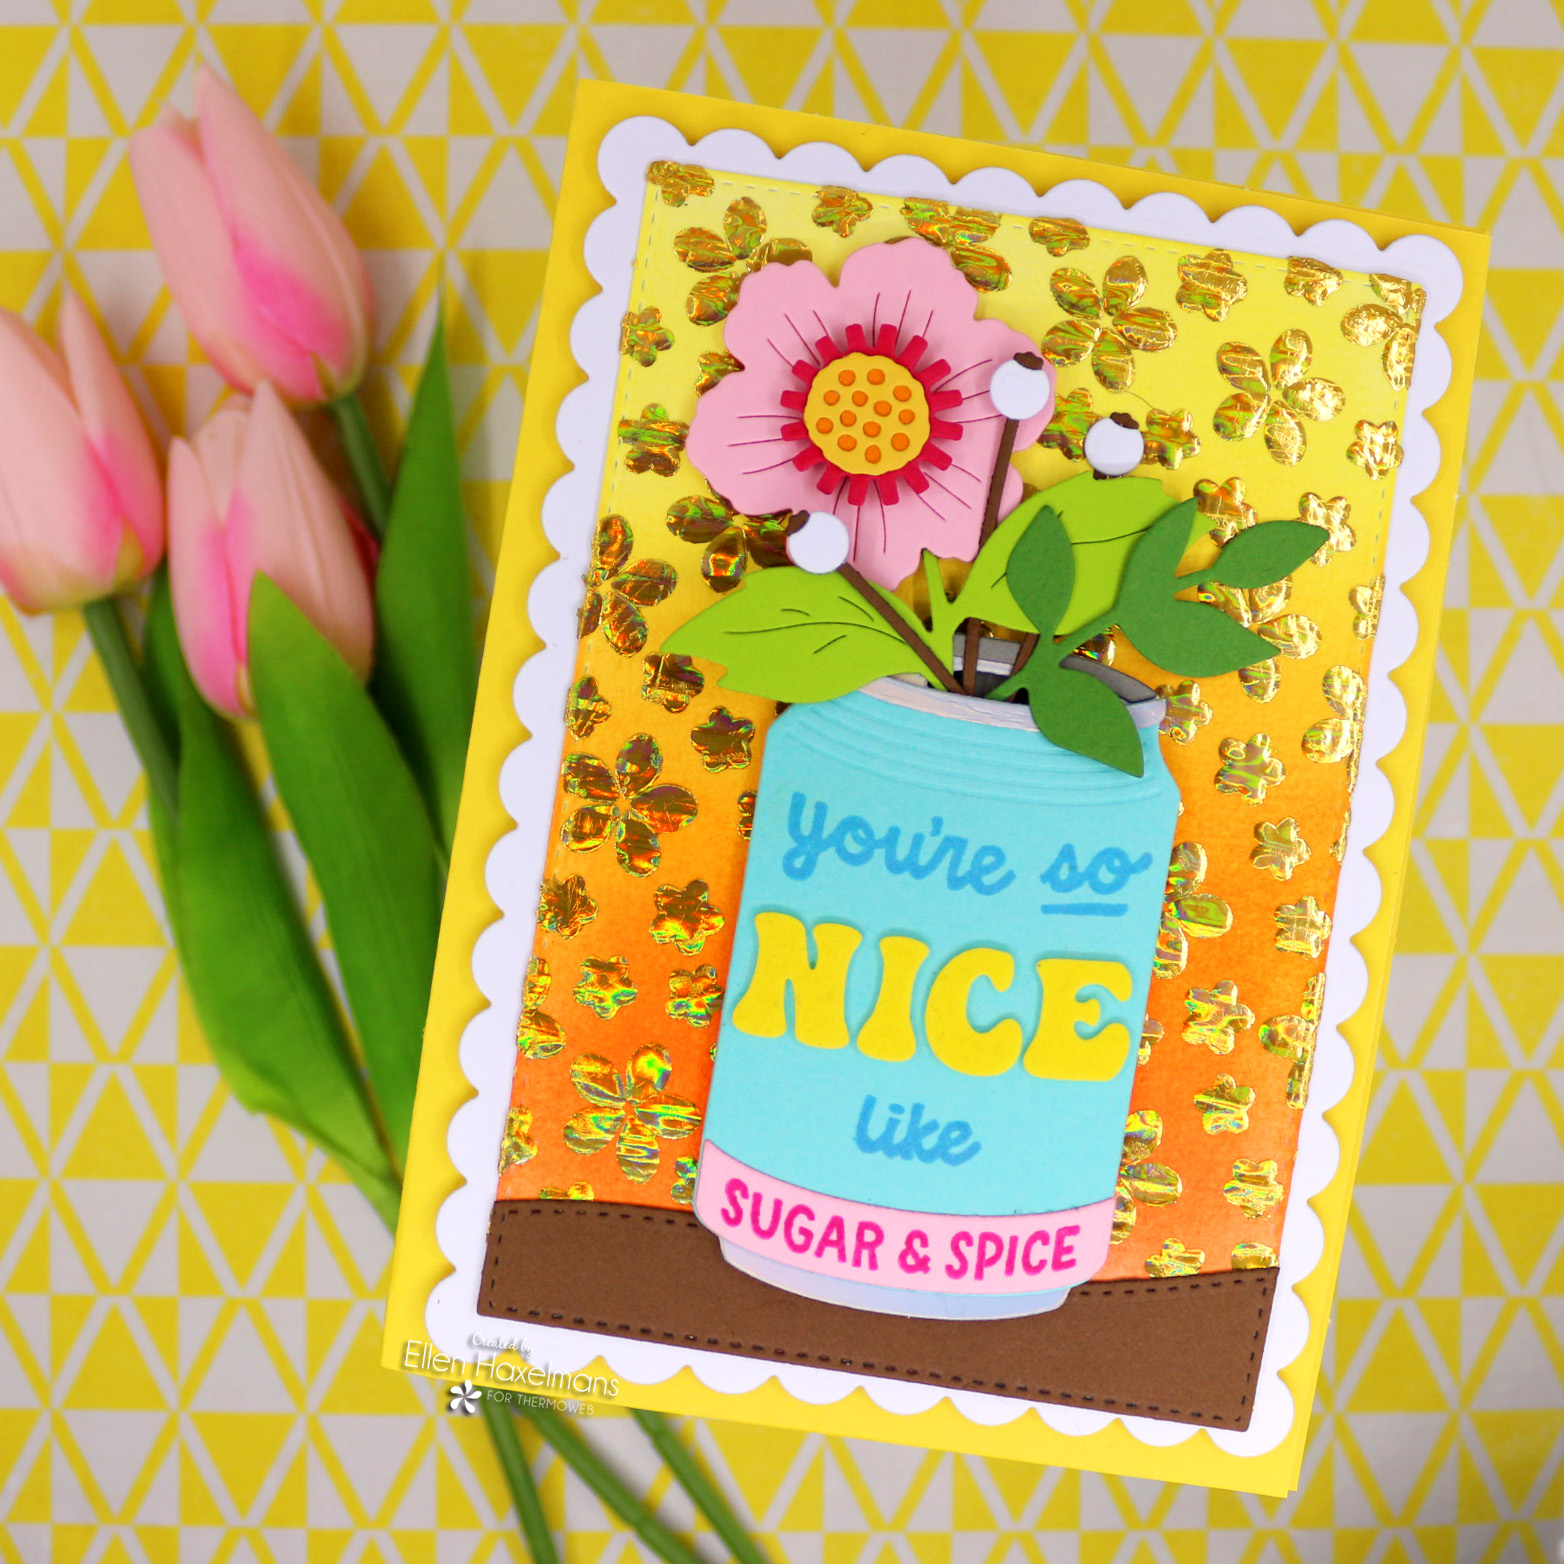
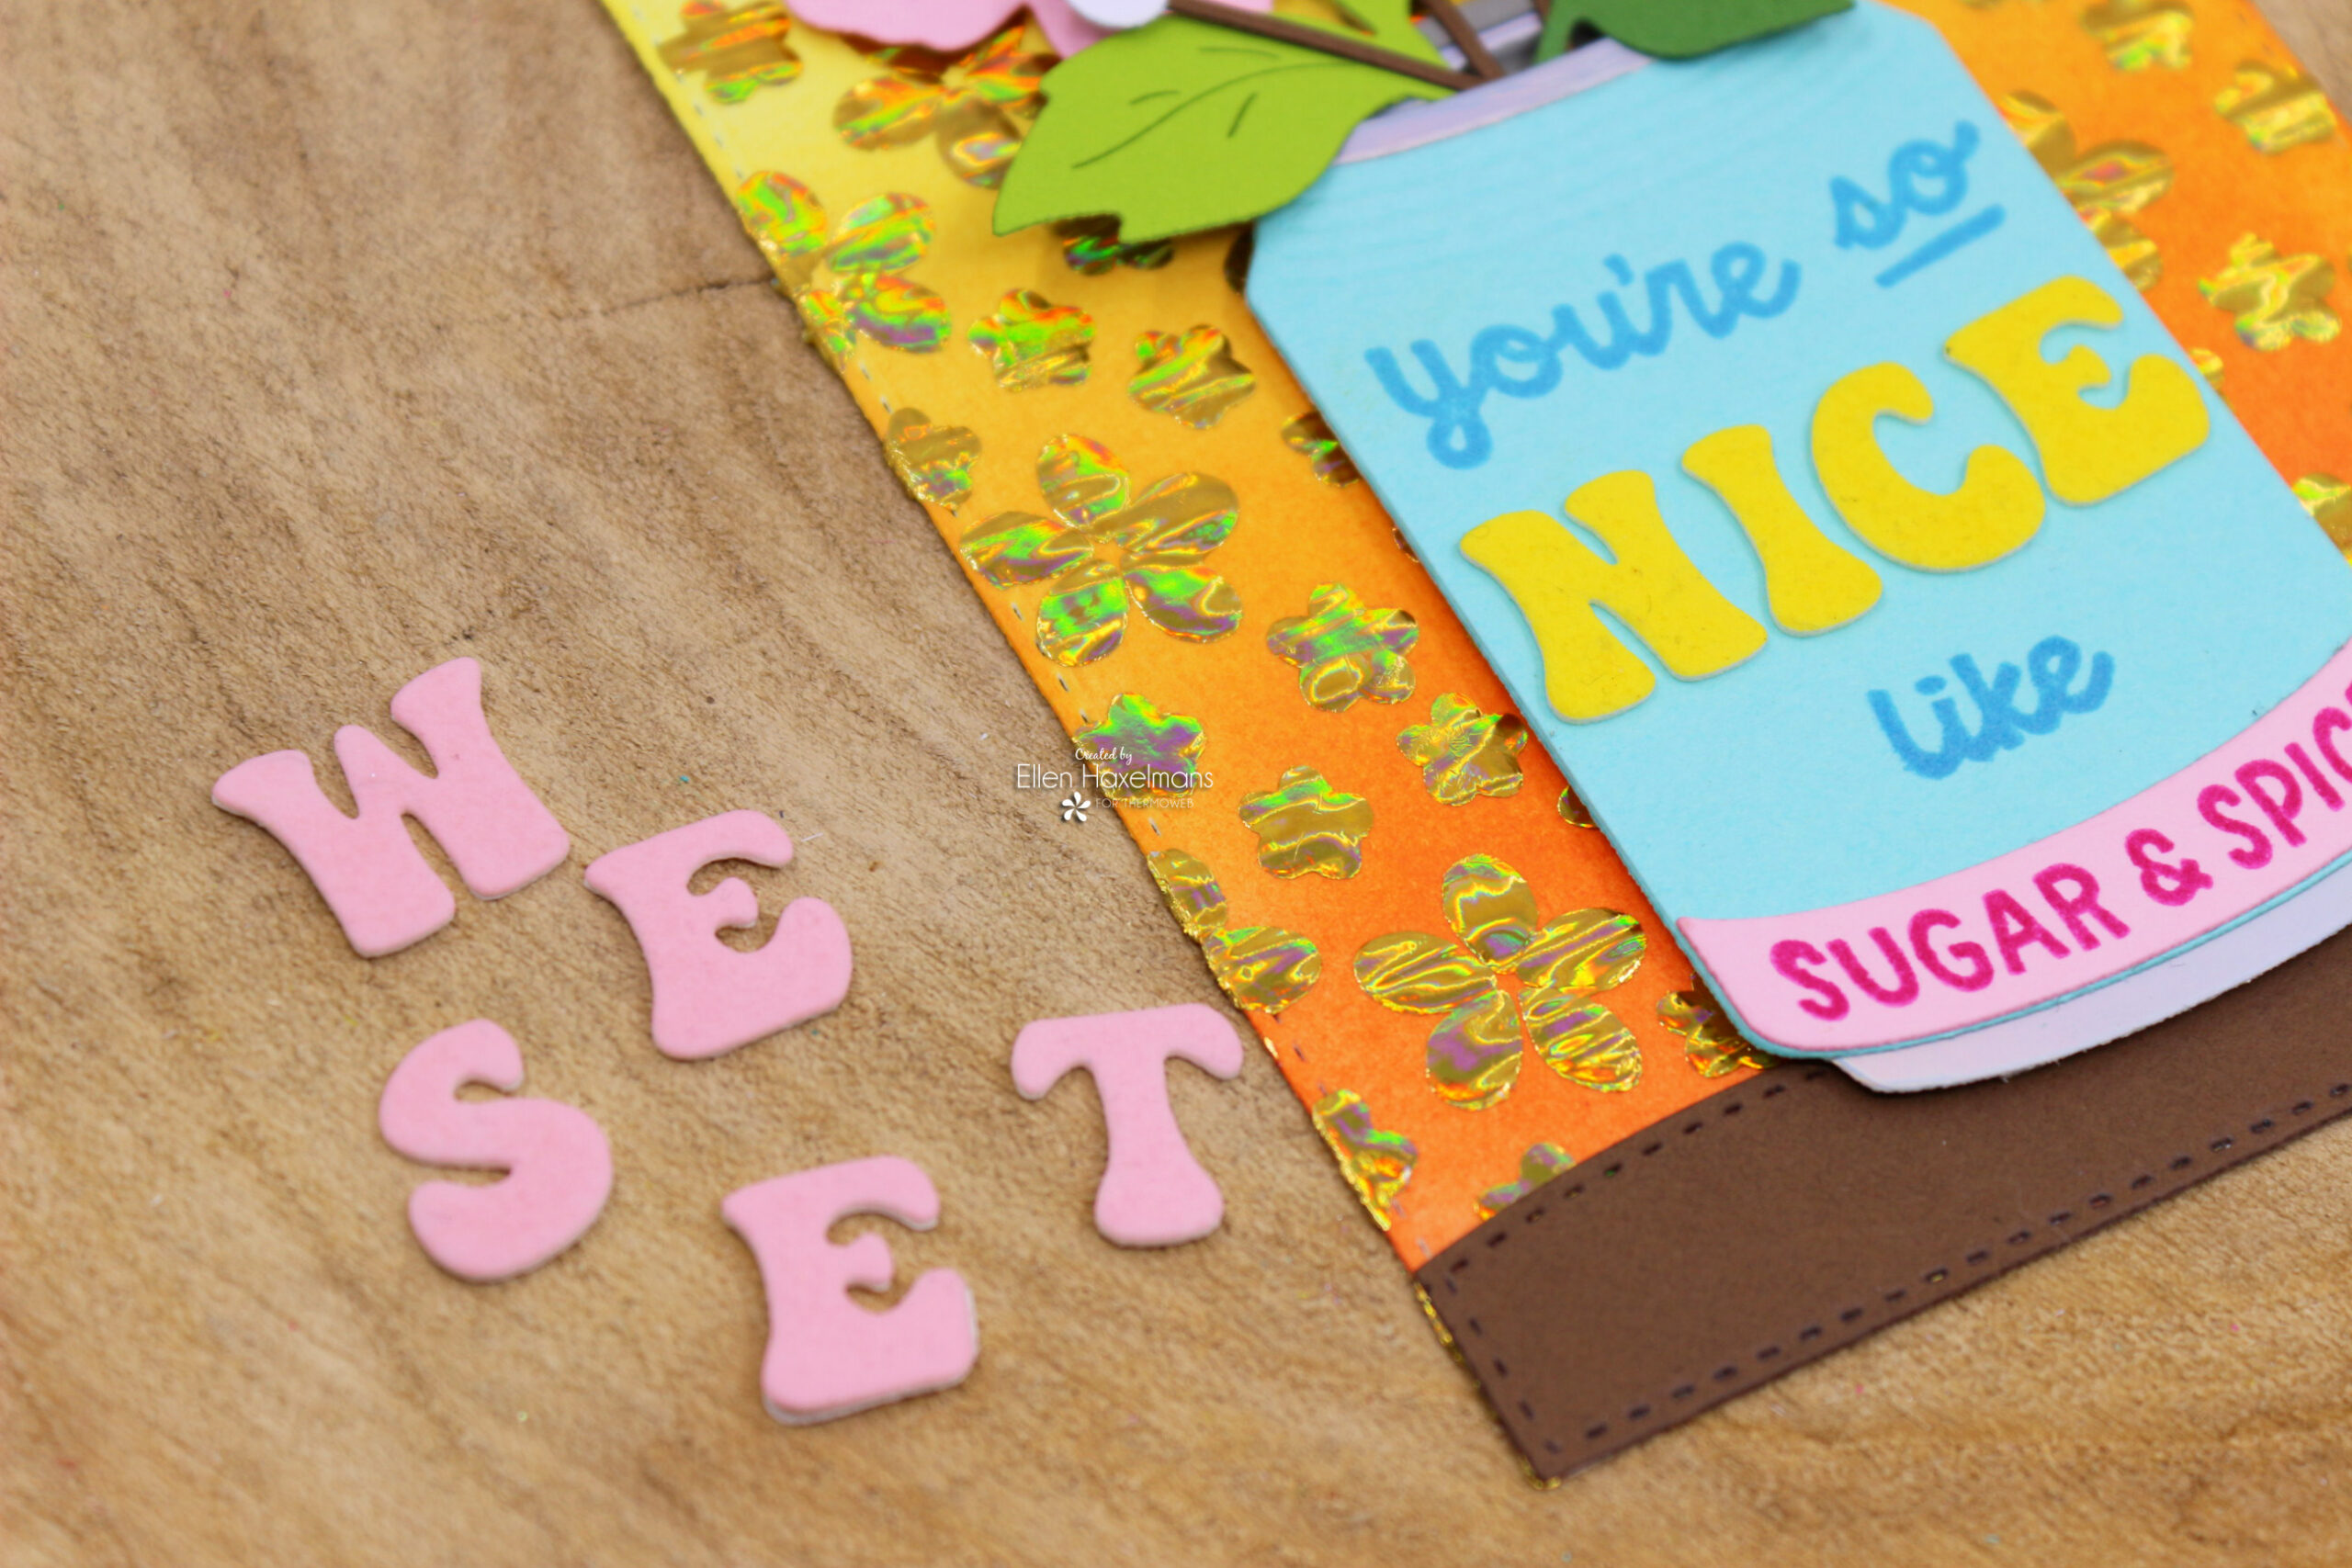
The soft blue soda can and gold foiled floral design create a warm, sunny vibe. The plush letters tie it all together with a charming sentiment.
Final Thoughts
Using Deco Foil Transfer Gel Duo is such a fun way to elevate your card-making projects. Whether you’re looking to create bold, shiny backgrounds or subtle, elegant details, the possibilities are endless!
Do you feel inspired to try this technique? Share your creations with us by tagging #ThermOWeb on social media. I’d love to see your sparkling designs!
Happy crafting!
Crafty Ellen H.
Supplies:
iCraft Removable Pixie Tape Roll, 1 in x 20 yds
Deco Foil Stencil Pal, 2 PK
Deco Foil Transfer Gel Duo, 4 fl oz
Deco Foil Color Harmony Transfer Foil Multi-Pack, Shades of Aqua
Deco Foil Transfer Sheets 6 in x 6 in (12 sheets) – Firelight
Gina K. Designs Fancy Transfer Foil, Radiant Red
Deco Foil Plush Paper, Sunshine Yellow
Deco Foil Plush Paper, Blue Sky
Deco Foil Plush Paper, Pink Carnation
Zots Clear Adhesive Dots Roll 325 count, Bling
Gina K. Designs Double-sided Adhesive Foam Squares 1/2 in, White
iCraft 3D Foam Tape Jumbo Roll (White) 1/16 Thick x 108 ft
Gina K. Designs Permanent Adhesive Dot Runner, 30 ft., Clear
Gina K. Designs Permanent Adhesive Dot Runner Refills, Clear
Other Supplies:Soda-Lighted Stamps & Dies – Concord & 9th, Alfabet Retro snijmallen CDSN-0272 – Carlijn Design, A6 Rechthoeken 2 snijmallen CDSN-0213 – Carlijn Design, Strawberry Patch – Lawn Fawn, Iconic Beauty Die-namics – My Favorite Things, Petite Hearts Stencil – Newton’s Nook Designs, Trailing Leaves Stencil – Newton’s Nook Designs, Petite Flowers Stencil – Newton’s Nook Designs

