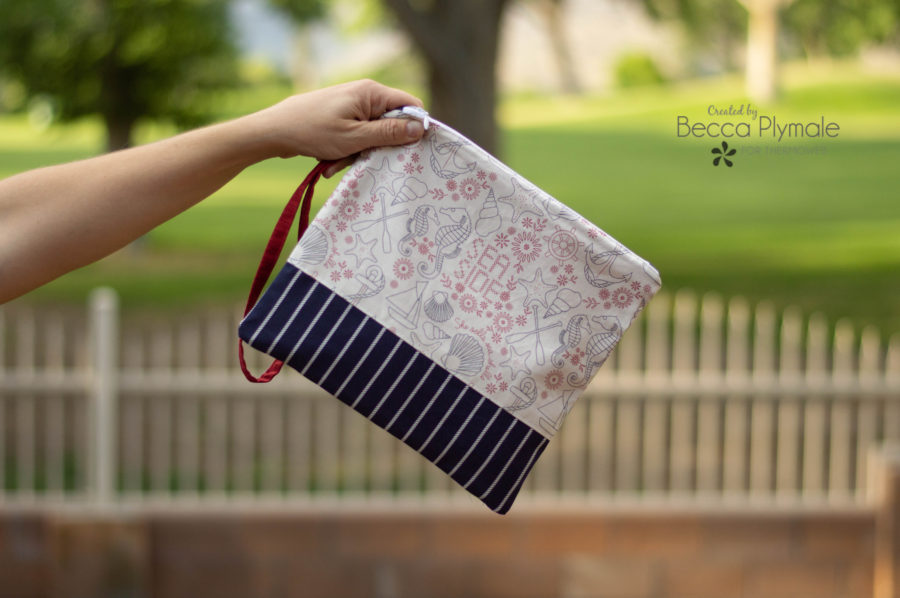
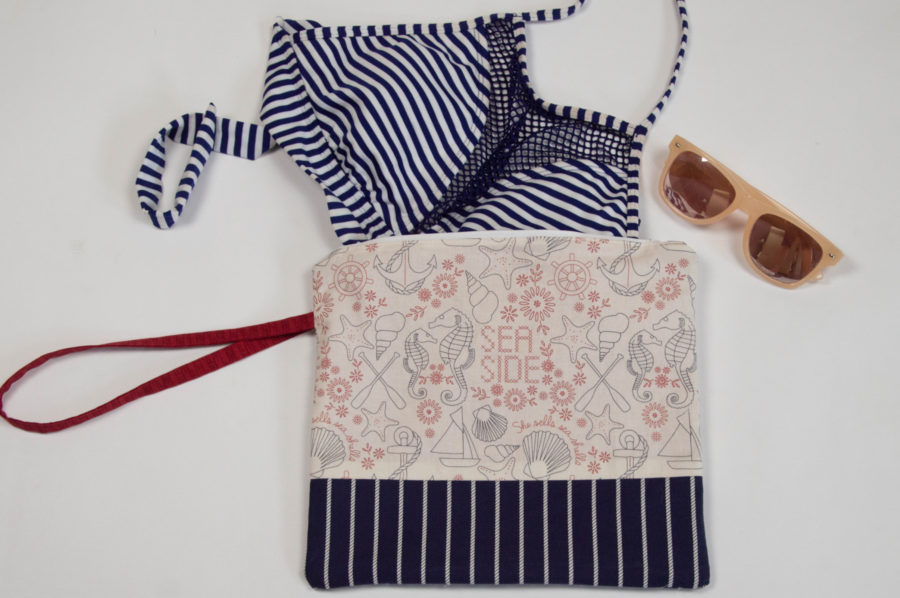
Summer is in full swing and we’ve been spending most of our days hanging out at the neighborhood pool. Most days we head straight home but on the days we have to run errands after I wanted something to throw our wet swimsuits in. Today I’m going to show you how to make a wet-bag of your own…
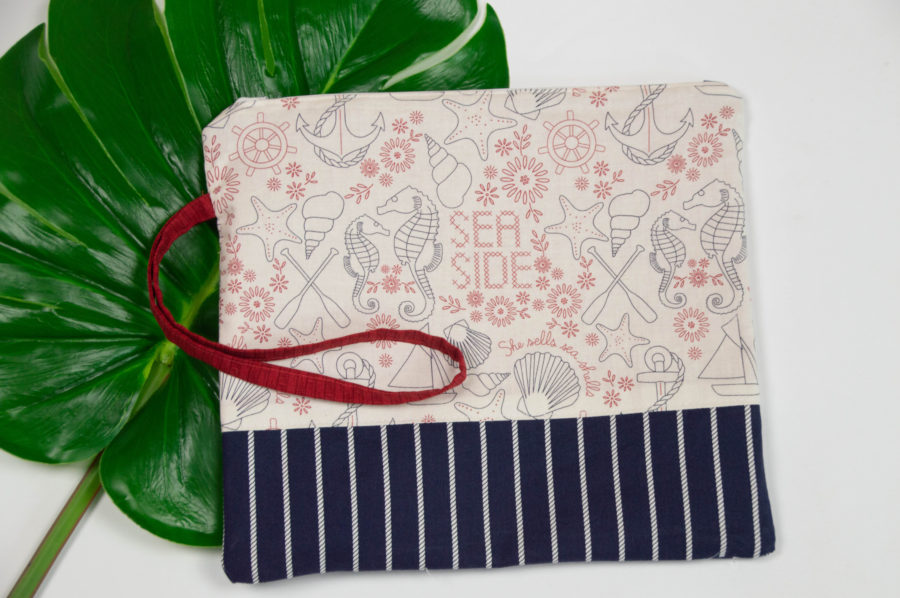
How to sew a Wet Bag
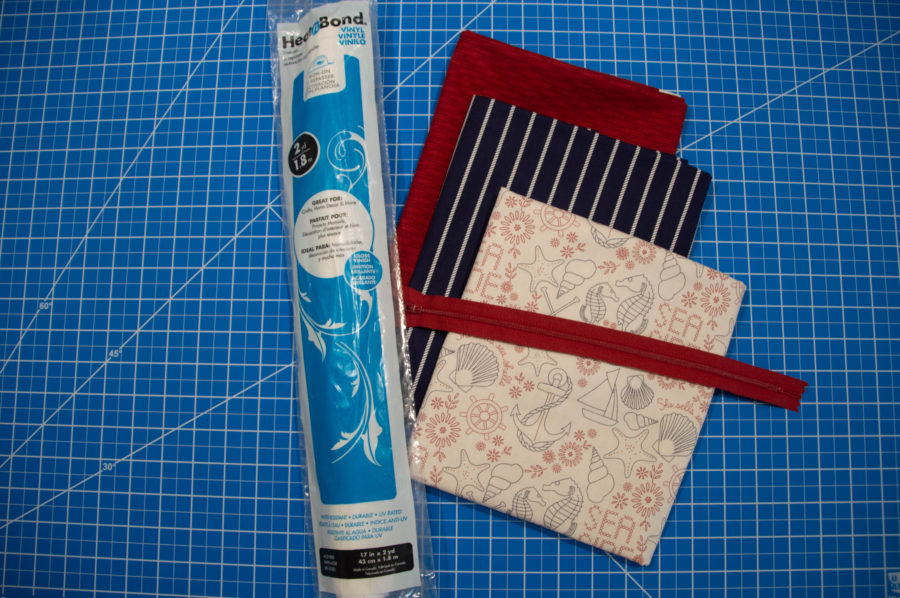
Supplies Needed:
1/4 yard Riley Blake Designs Go to the Sea with Harry & Alice Stitchery Cream
1/4 yard Riley Blake Designs Go to the Sea with Harry & Alice Rope Navy
1/4 yard Riley Blake Designs Go to the Sea with Harry & Alice Basket Weave Red
Coordinating Lobster Red Aurifil Thread
Basic Sewing Supplies
Wet Bag Instructions
Seam Allowance 1/2″
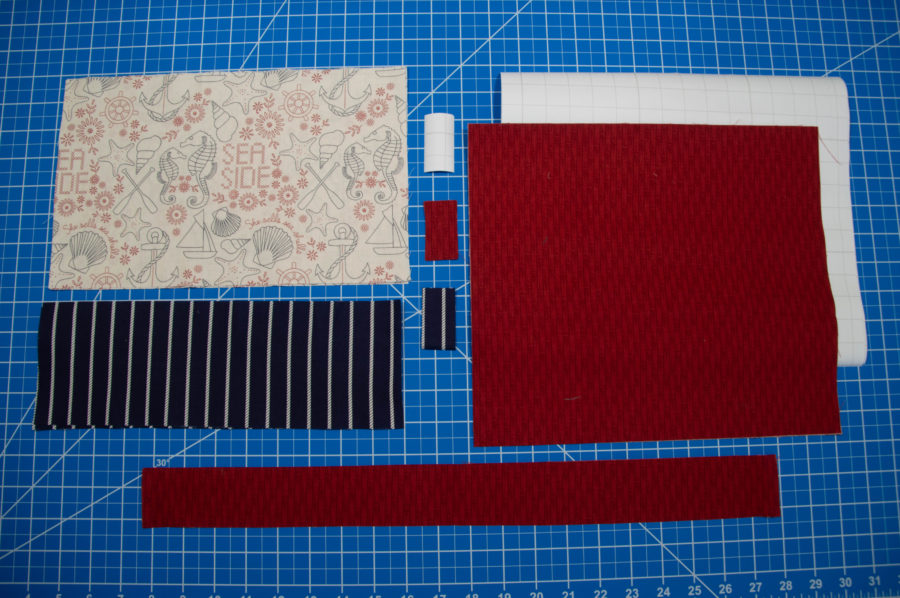
Step One: Cut out your fabric as follows:
Main Fabric: Cut 2 12″x7.5″ squares
Coordinating Fabric: Cut 2 12″x4″ rectangles, cut 2 1″x2″ rectangles and cut 1 2″x20″ strip for the handle
Lining Fabric: Cut 2 12″x10.5″ squares and cut 2 1″x2″ rectangles
Vinyl: Cut 2 12″x10.5″ squares, cut 2 1″x2″ rectangles
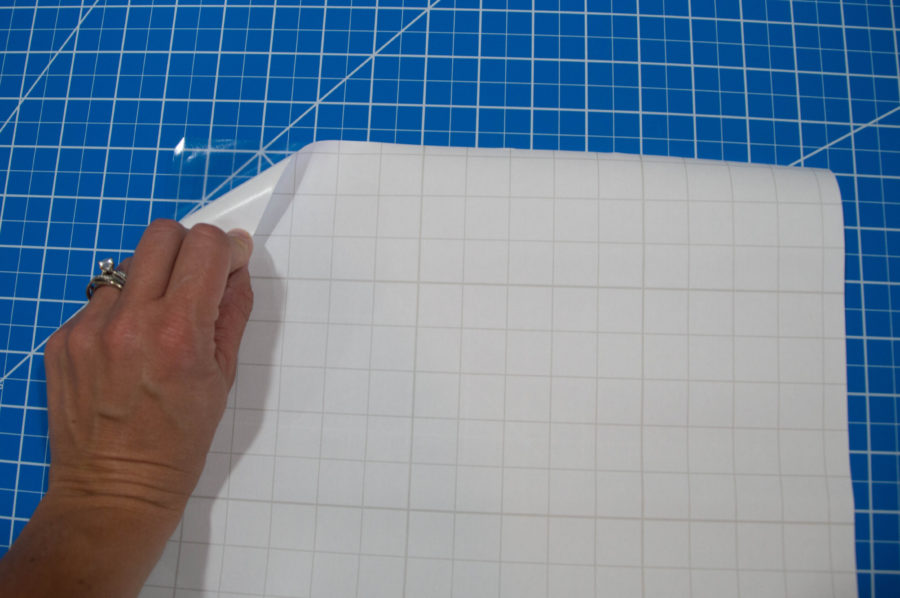
Step Two: Remove the paper lining from your vinyl.
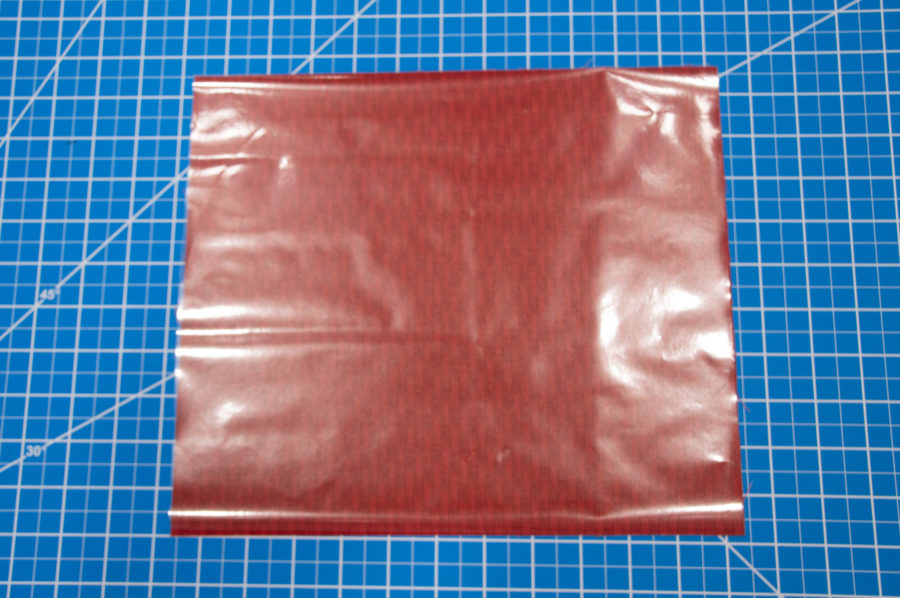
Step Three: Place the sticky side of the vinyl on the right side of your lining fabric.
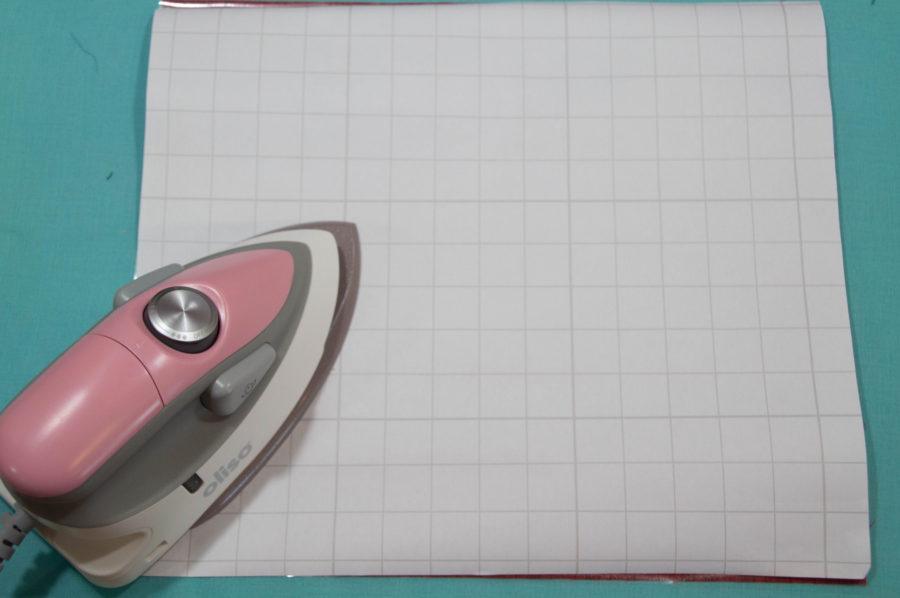
Step Four: Place the paper liner you removed from the vinyl on top of your vinyl and lining fabric. Using your heat source, press the entire surface of the vinyl for 8 seconds. You then want to turn the fabric over and press an additional 4 seconds on the backside. Repeat steps 2-4 for the other lining and both 1″x2″ rectangles.
NOTE: Remember not to touch the iron to any vinyl or it will melt.
Step Five: Place one coordinating fabric on top of one main fabric, right sides together. Align the bottom raw edges of the 12″ side and sew together.
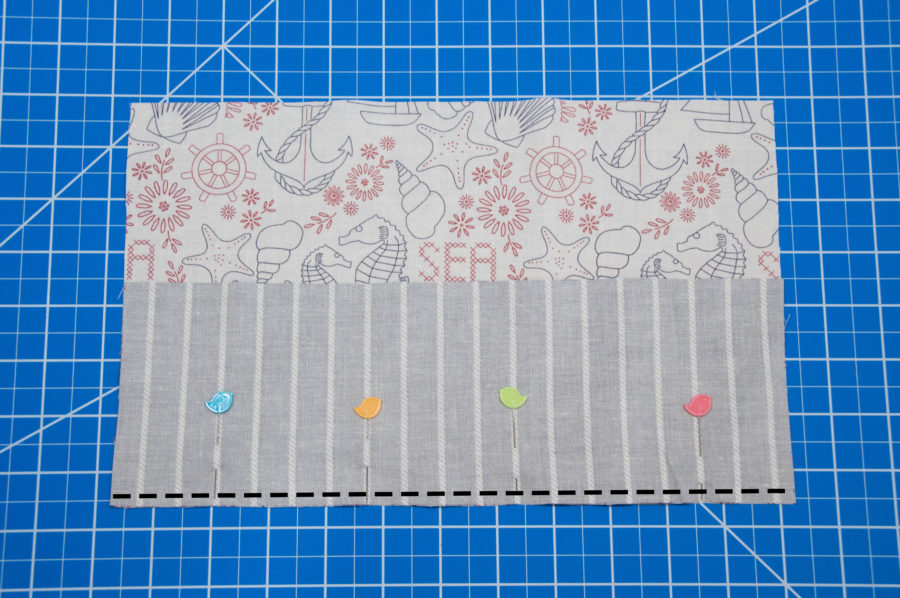
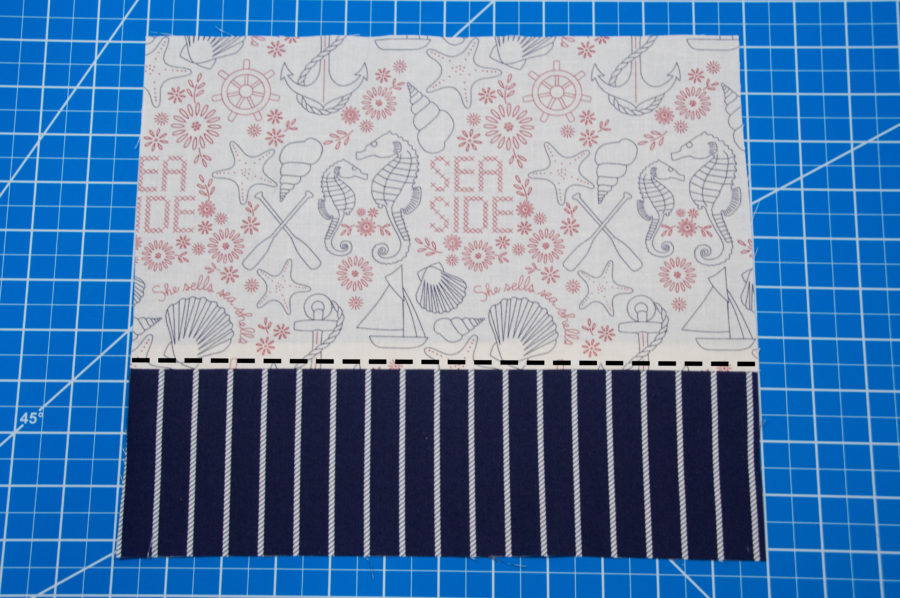
Step Six: Press the seam up towards the main fabric and topstitch 1/8″ away from the seam.
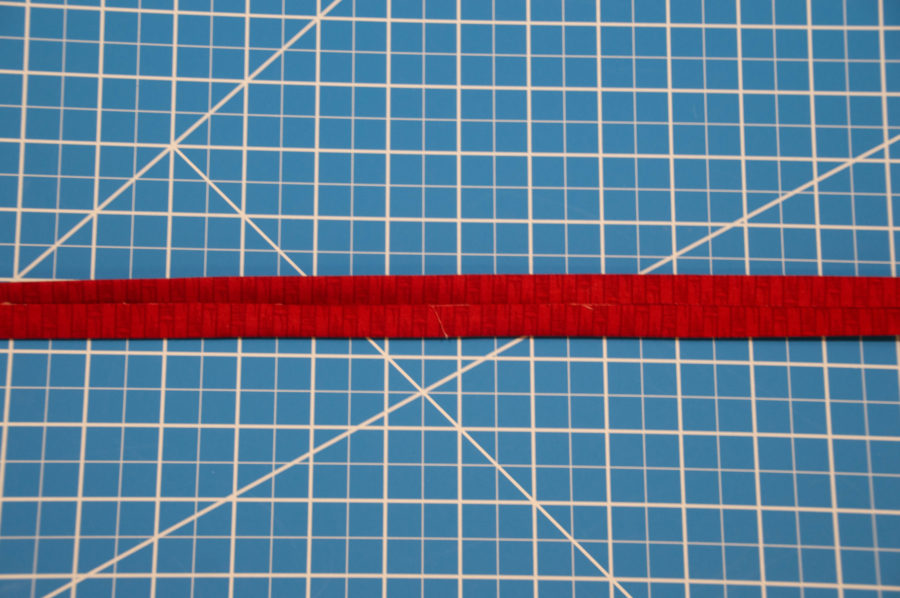
Step Seven: Press the length of the strap piece in half, wrong sides together, matching up the raw long edges. Open the strip so the wrong side is facing up. Then, press the raw edges so that they meet at the folded center crease. Press in place. Fold the strip in half again and press. Your raw edges will now be encased in the strap. Topstitch the strap by stitching 1/8” from the double folded edge.
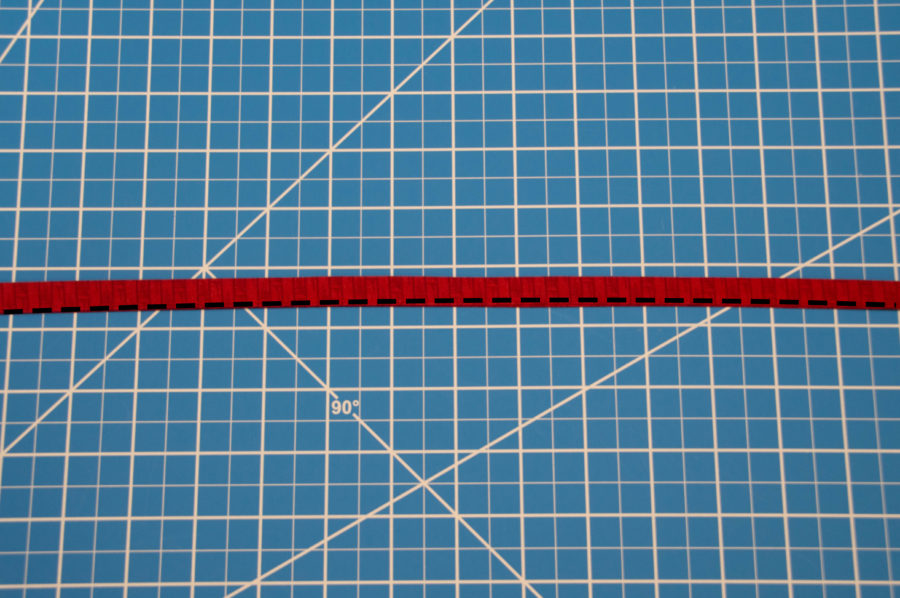
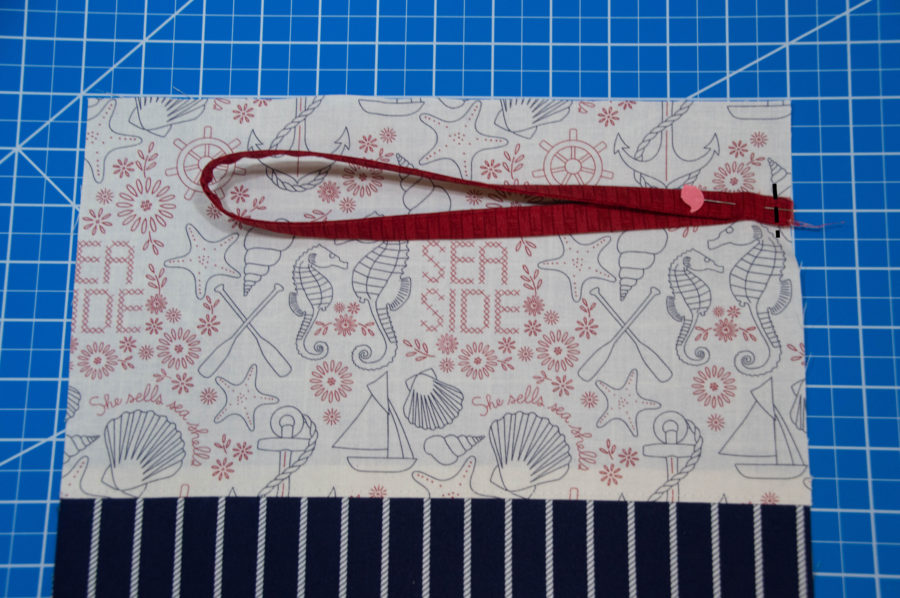
Step Eight: Fold the strap in half. Align the raw edges of the strap to the right side of one main fabric piece. Baste in place.
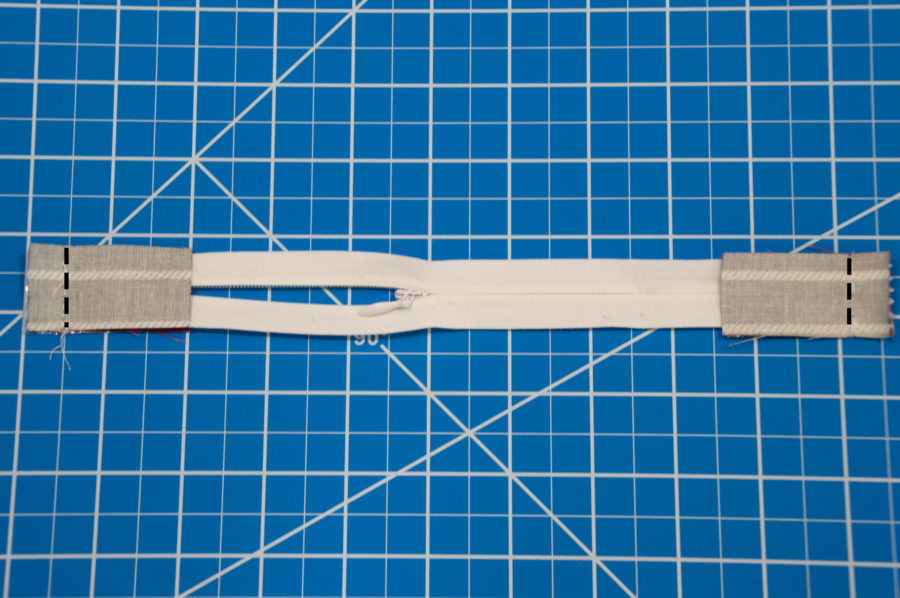
Step Nine: Working with the right side of your zipper, take one coordinating 1″x2″ piece of fabric and align the raw edges of the fabric to the end of the zipper. Pin in place. Turn the zipper over to the wrong side and align the lining 1″x2″ piece of fabric to the end of the zipper sandwiching your zipper between the two pieces of fabric. Sew to attach. Repeat this step for the other side of the zipper. Fold the fabric away from the zipper and carefully press, making sure not to melt the vinyl on the lining.
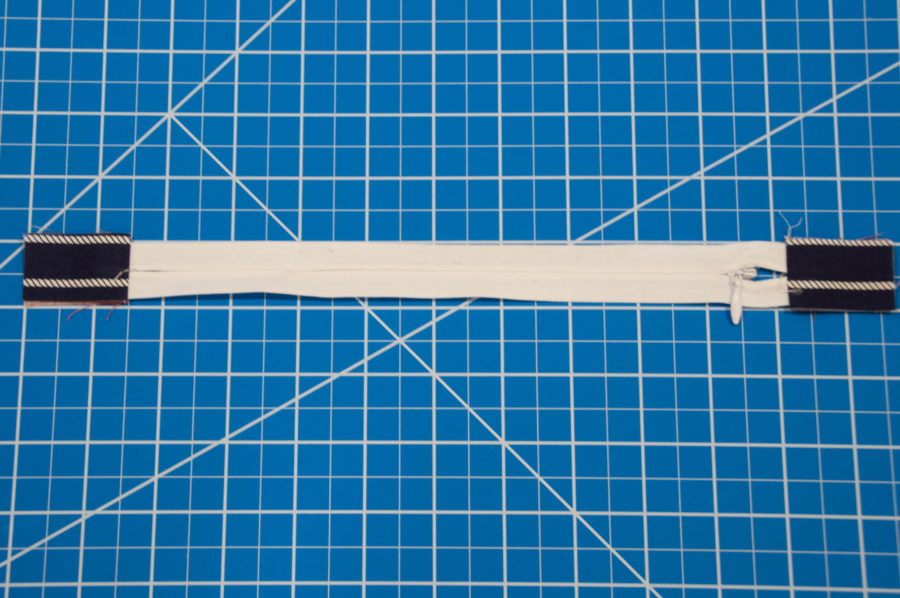
Step Eleven: Pin the zipper to the top edge of one of your main bag pieces, right sides together, making sure to line up the center of the zipper with the center of the main fabric piece. Using your zipper foot, baste the zipper in place.
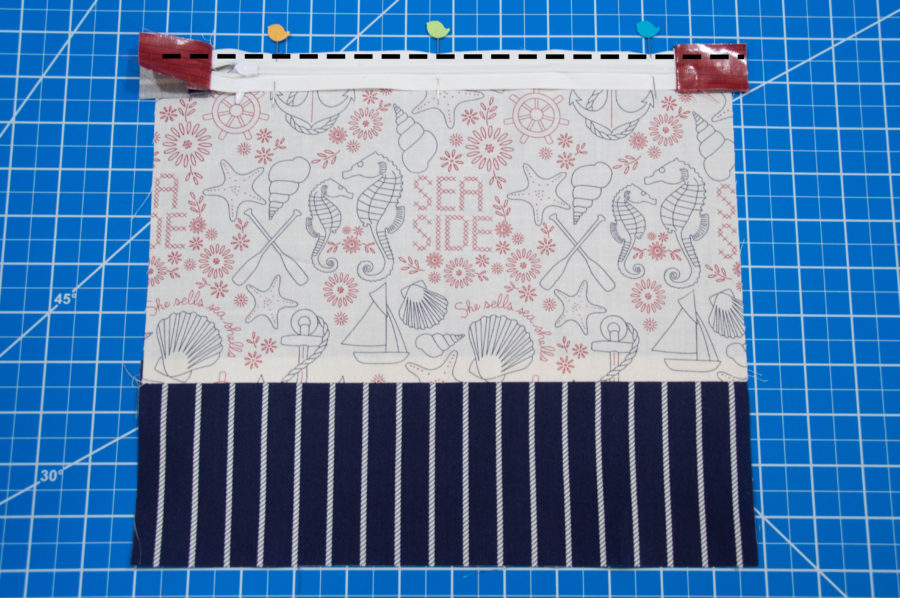
Step Twelve: Place one lining piece of fabric on top of the zipper, right side of the fabric facing the wrong side of the zipper, sandwiching the zipper between the main fabric and the lining fabric. Line up the center of the lining piece and the center of the zipper. Pin in place. Using your zipper foot, sew the zipper in place
NOTE: To avoid leaving holes in the vinyl, pin the lining to the zipper in the seam allowance.
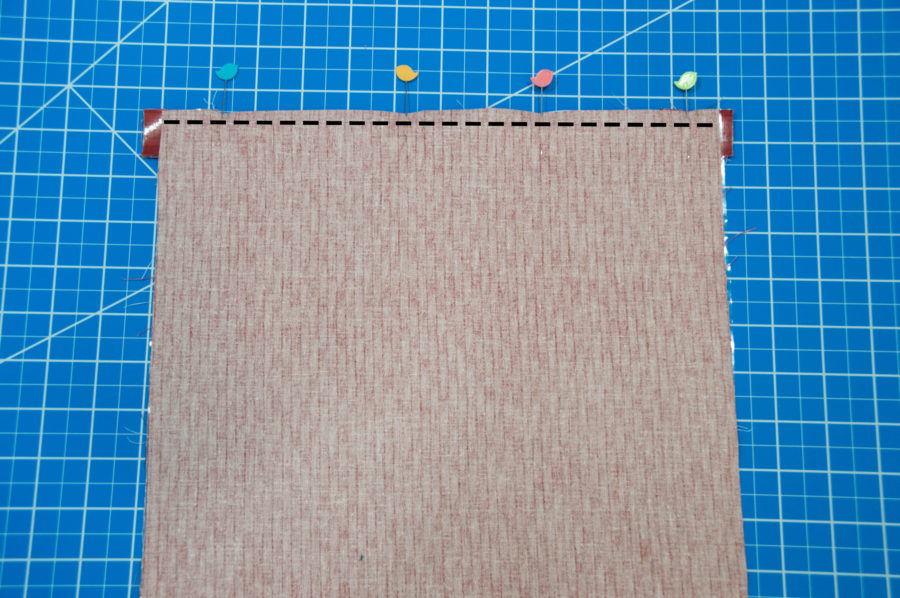
Step Thirteen: Press the main fabric and lining fabric away from the zipper, making sure not to melt the vinyl on the lining.
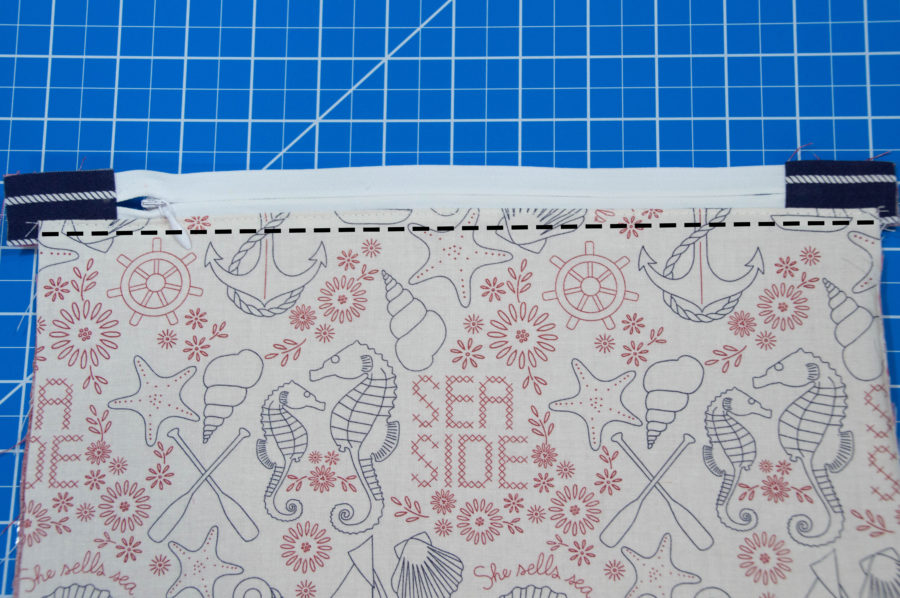
Step Fourteen: With the main fabric facing up, align the top of the other main fabric piece up with the zipper, right sides together. Pin in place. Using your zipper foot, baste the zipper in place.
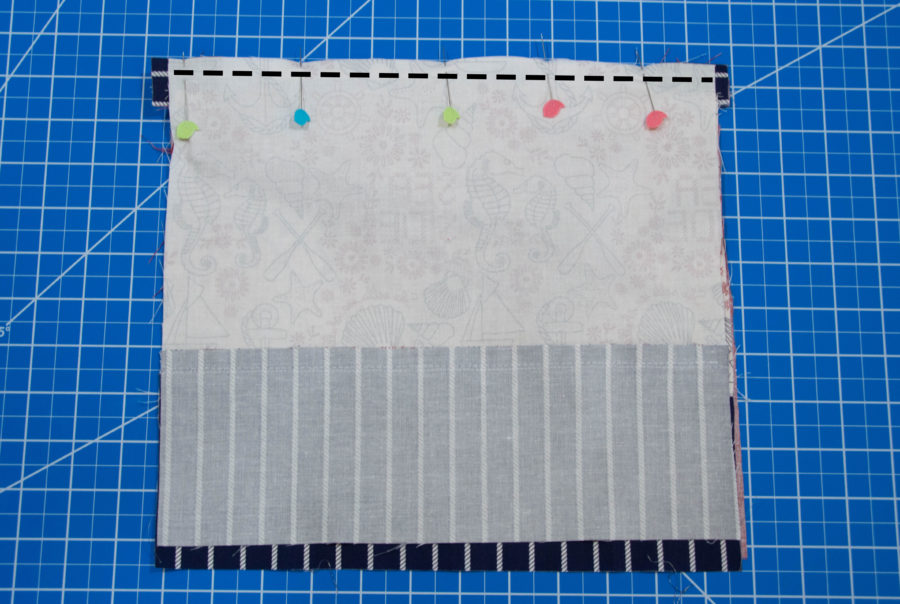
Step Fifteen: Working with the lining fabric facing up, place the other lining fabric piece on top, right sides together. Pin in place and sew using a zipper foot. Carefully press the main fabric and lining fabric away from the zipper and topstitch 1/8″ away from the seam.
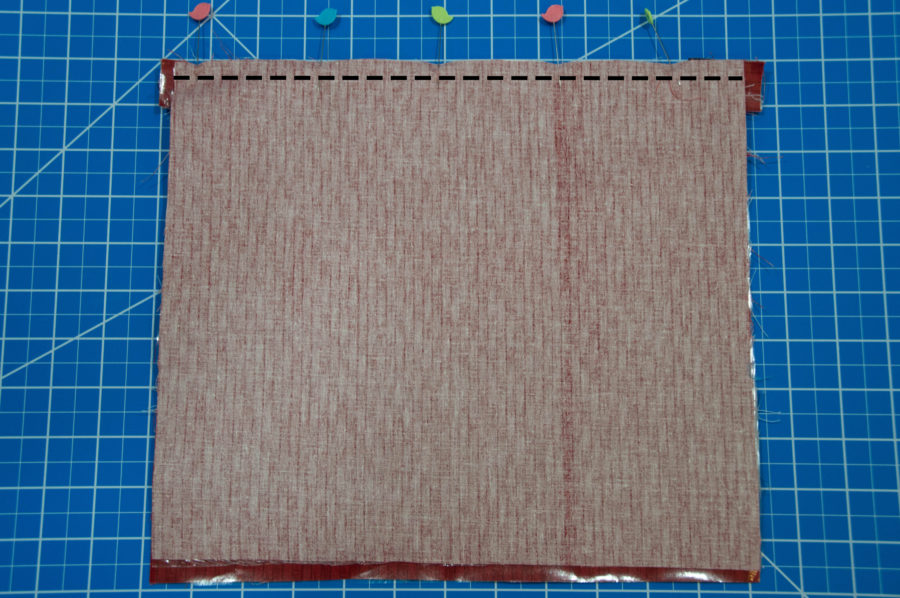
Step Sixteen: Lay your bag open with the main fabric facing up. Open the zipper. This is a very important or the bag won’t be able to be turned right side out in the next step.
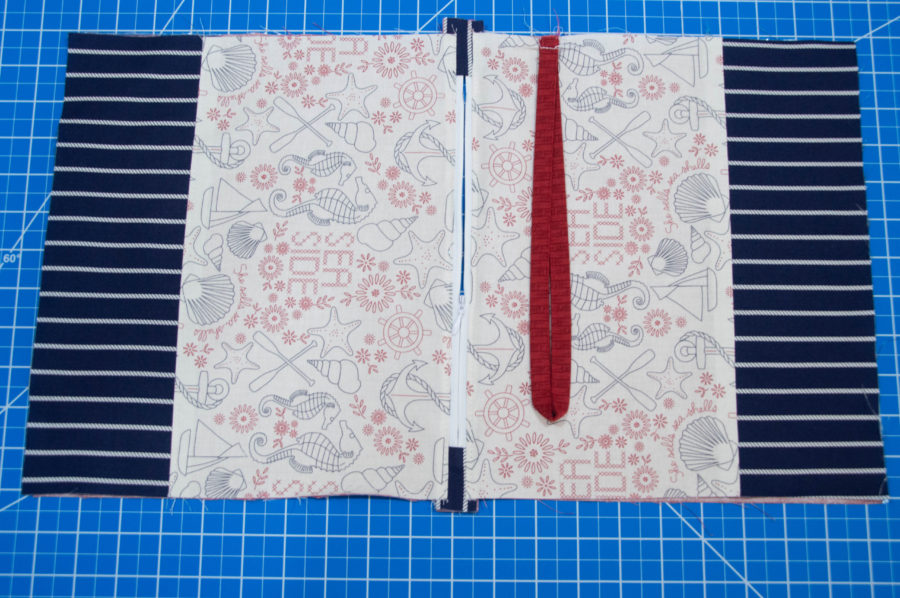
Step Seventeen: With the main bag pieces right sides together and the lining pieces right sides together, sew all the way around the bag, leaving a 2-3” gap at the bottom of the lining.
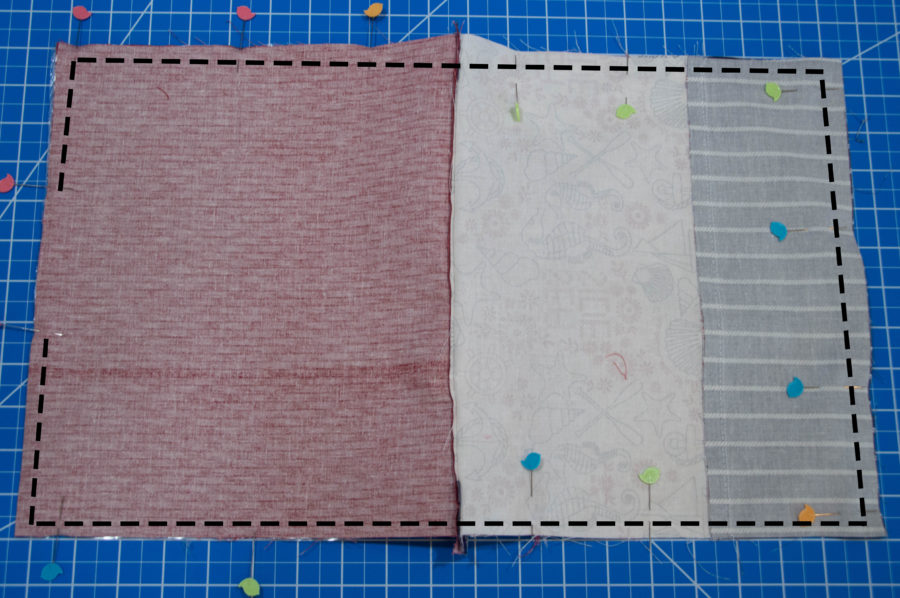
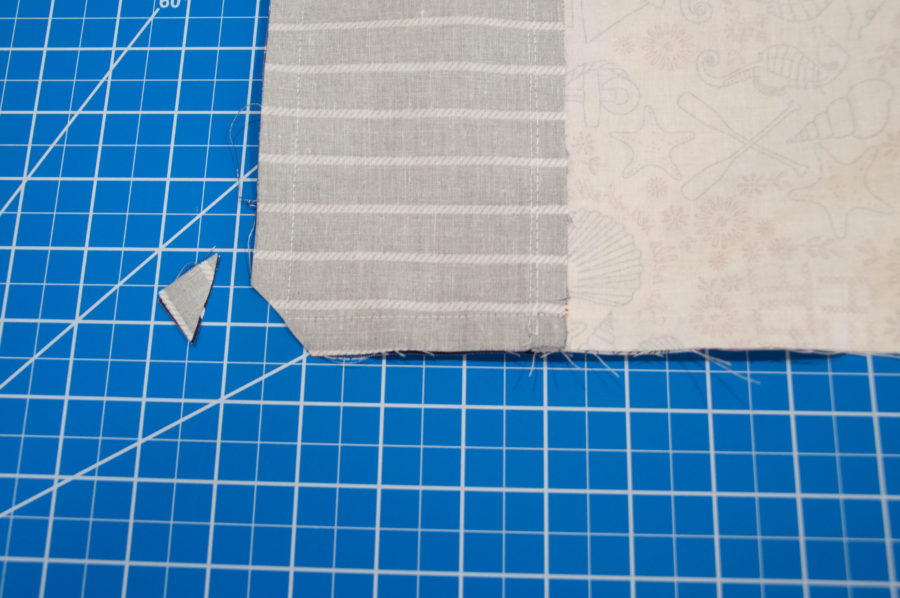
Step Eighteen: Clip the corners of your bag. Using the opening you made in step seventeen, carefully pull the bag through the opening turning it right side out.
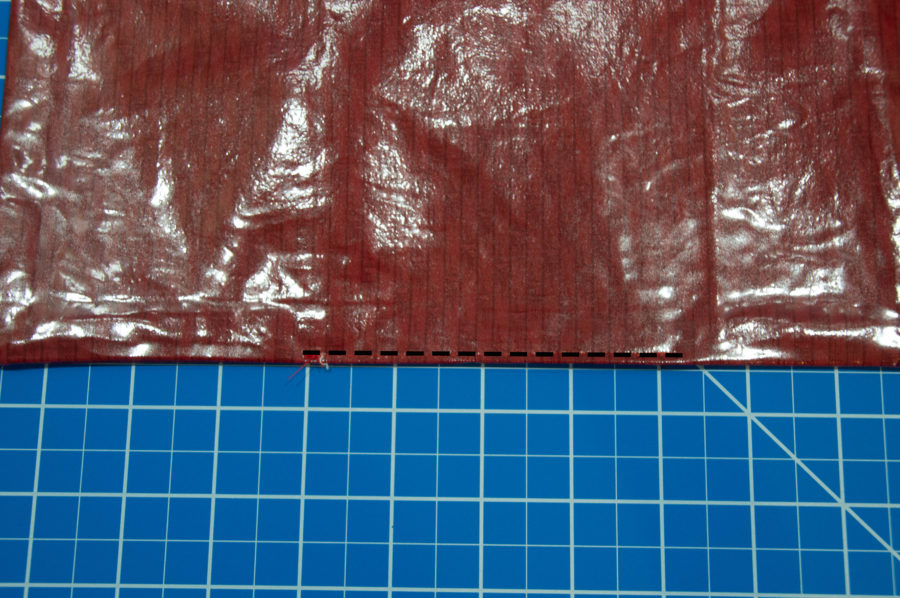
Step Nineteen: Stitch the opening closed.
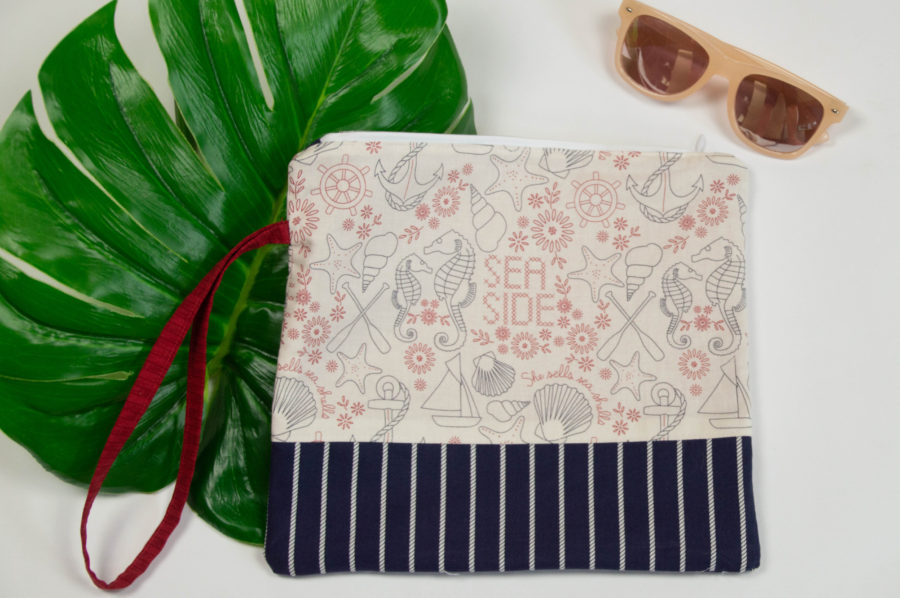
This fun bag has so many great uses. Long before our summers were spent at the pool I’ve been carrying around a wet bag for diaper blowouts and potty training accidents and they make great baby shower gifts.
I hope you enjoyed this tutorial, until next time!
Sew Much Love,
Becca
Check out Becca’s blog here. Follow her on Instagram here.
