Hi everyone! I’m Erin from Sewbon and I’m pretty new to the Therm O Web team! I’m so excited to be here and to share fun tips and tutorials.
To learn more about me, check out the Designers page.
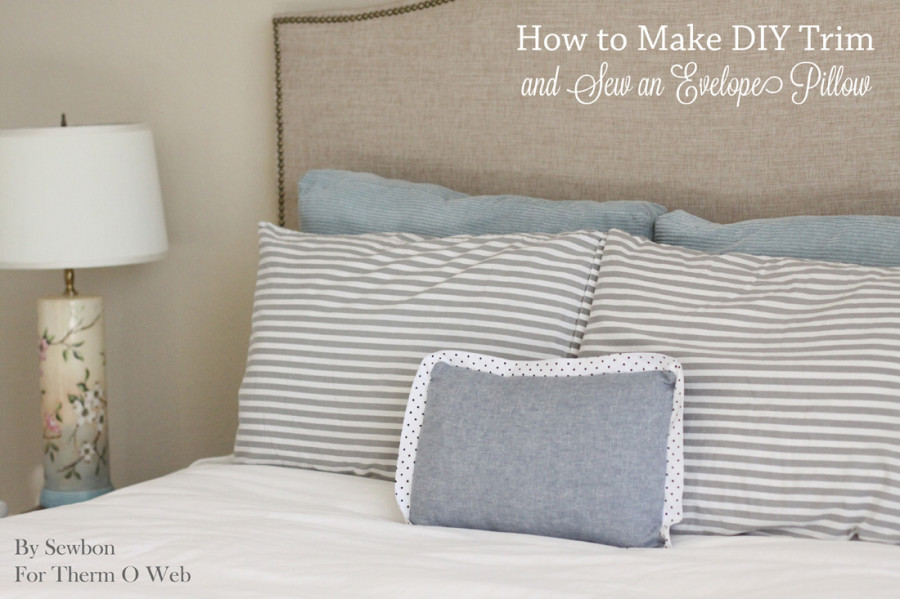
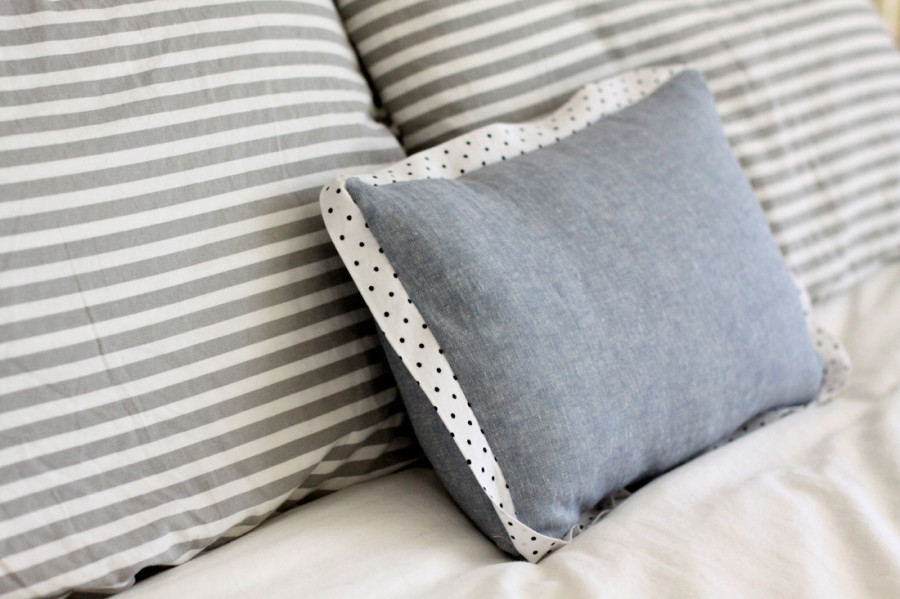
Today I’m bringing you a super easy tutorial for how to make your own trim and sew an envelope pillow case using HeatnBond® Hem Tape!
Let’s jump right in!
Supplies:
- HeatnBond® Hem Tape – Regular Weight, 3/4 inch
- Iron
- Pillow Form
- Main Fabric
- Accent Fabric for Trim
- General Sewing Supplies
The How To:
Measure the pillow form. I used a 12×16 inch pillow from Joanns.
Cut the fabric for the front of the pillow case to the size of the pillow. I cut my fabric to 12 inches by 16 inches.
Cut the fabric for the back of the pillow case by adding 8 inches to the width. I cut my fabric to 12 inches by 24 inches.
Sub-cut the back fabric piece into 2 pieces (this will be what makes the envelope). I sub-cut my back piece into 12 inches by 7 inches and 12 inches by 17 inches.
Calculate how much fabric is needed for the trim. Don’t worry, this is easy math. Add the sides of the pillow together and then add an extra 6 inches. For my pillow, I added 12 + 16 + 12 + 16 + 6 to get 62 inches. This number will be the length of the trim.
Cut the accent fabric for the trim. Use the number calculated in the last step and cut the accent fabric by 3 inches wide and the calculated length. Mine was 62 inches by 3 inches.
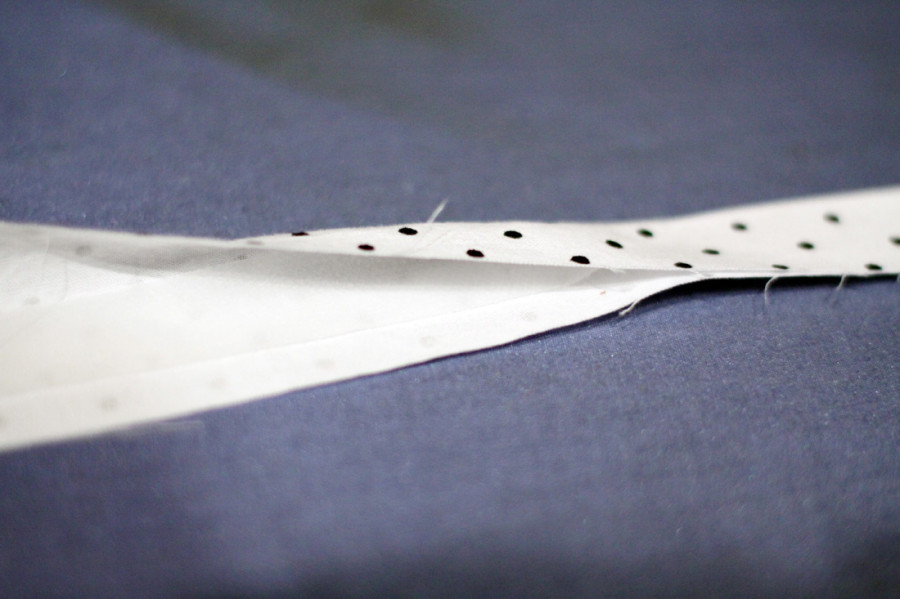
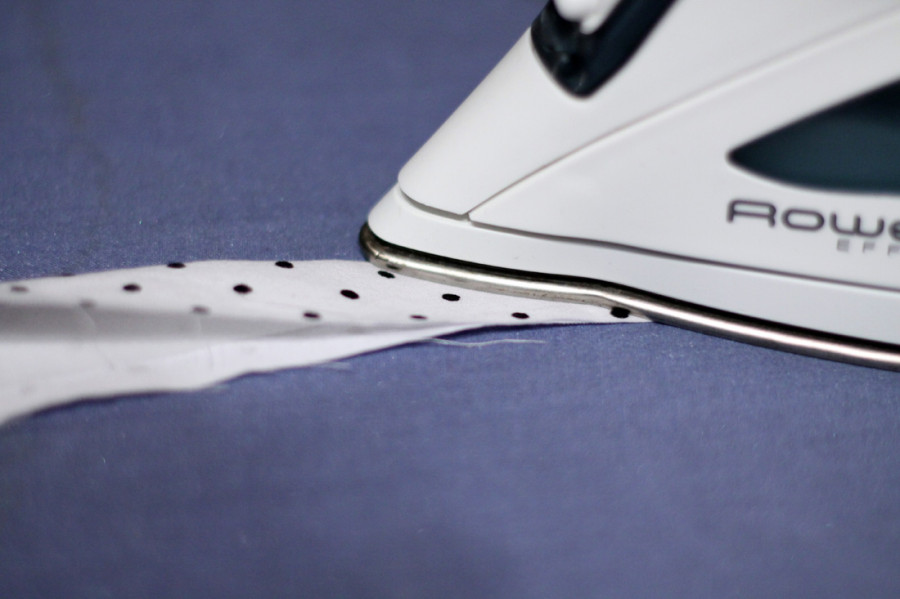
Fold the trim fabric in half and press. Place a 56 inch strip of the HeatnBond Hem Tape, or your calculated length less the extra 6 inches, in the fold of the trim and press, leaving 6 inches at one side open without any HeatnBond.
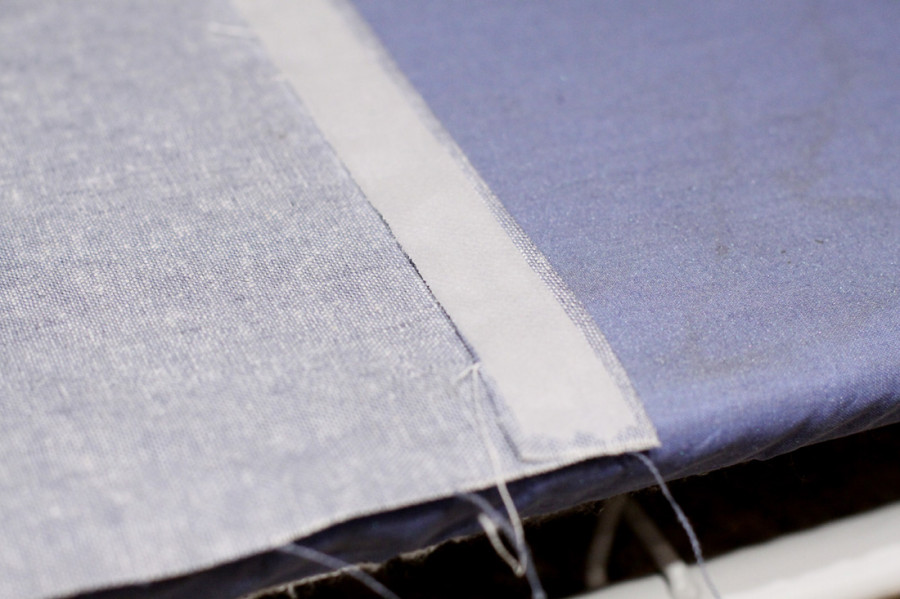
Take the smaller sub-cut back piece and fold over the 12 inch side by 3/4 inch and press.
Place an 10.5 inch strip of HeatnBond Hem Tape centered on top of the folded hem, turn the hem over again, and iron.
Repeat for the larger sub-cut back piece.
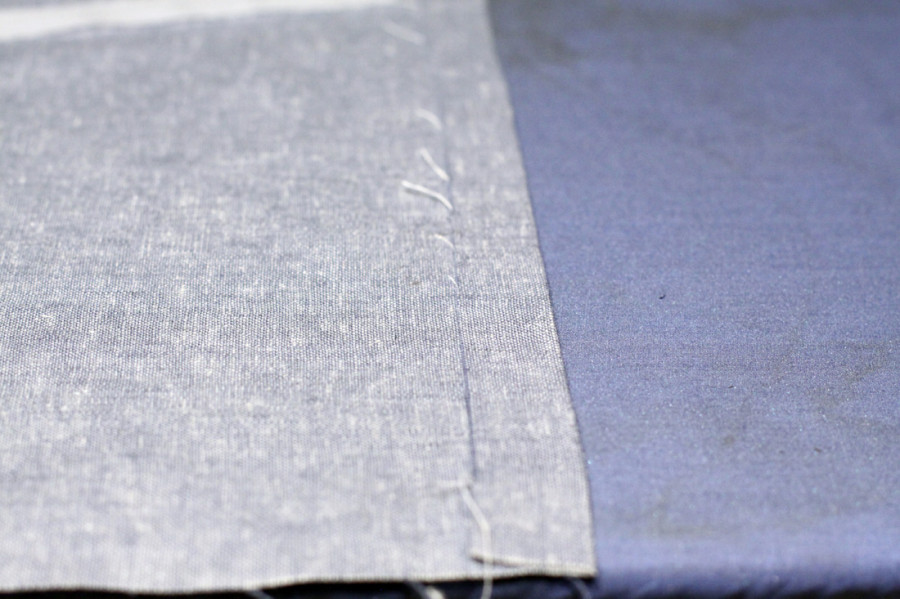
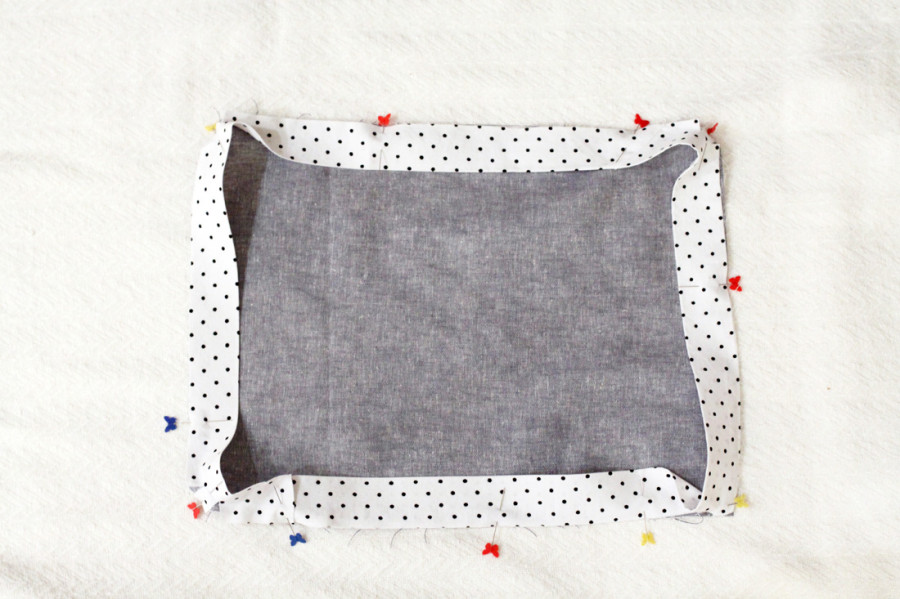
Pin the trim to the right side of the front piece, lining the raw edges together.
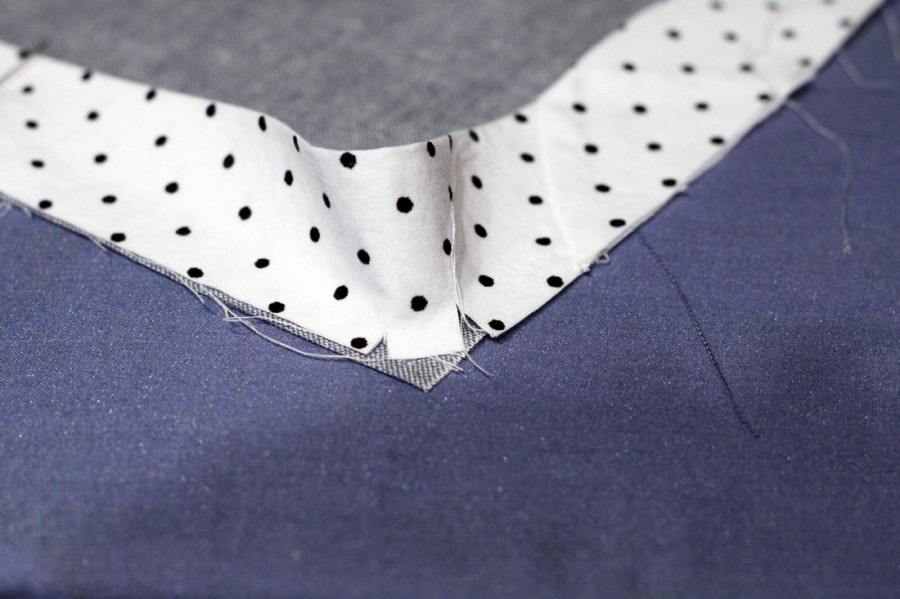
At the corners, snip the trim to help ease the turn.
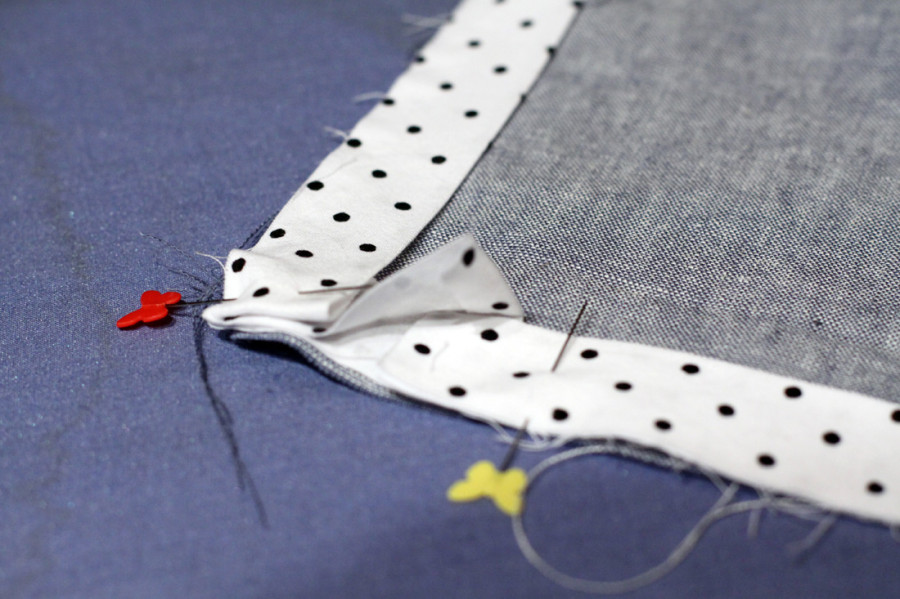
At the end, tuck the start of the trim into the end of the trim. If the end of the trim has HeatnBond applied, gently pull open the trim.
Baste stitch the trim to the front piece with a 1/4 seam allowance. Be careful not to sew over the hem tape – HeatnBond is a no sew product.
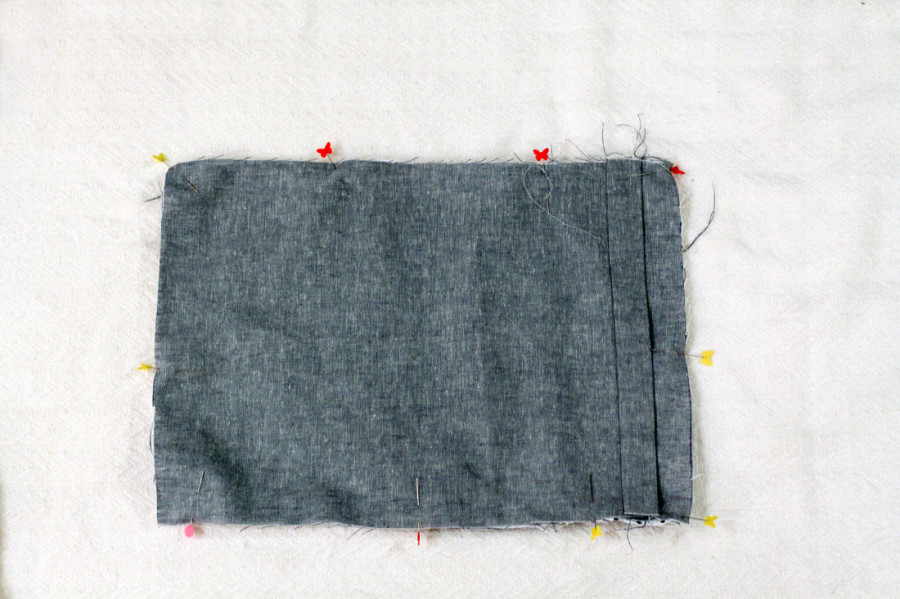
Pin the smaller back piece to the right side of the pillow case, right side down with the finished hem edge towards the middle.
Pin the larger back piece on the left side of the pillow case, right side down with the finished hem edge towards the middle.
Using a 3/4 seam allowance, sew the pillow together. Be careful not to sew over the hem tape – HeatnBond is a no sew product.
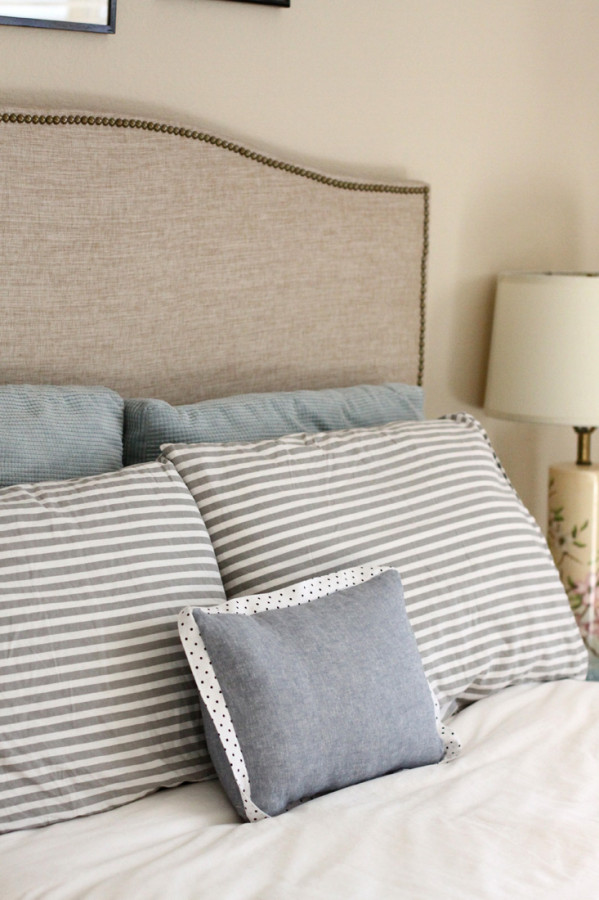
Turn the pillowcase right side out, insert the pillow form, and you are good to go!
Be sure to take a moment to enter to win a HeatnBond® Prize Pack!
a Rafflecopter giveaway
5 Comments on How to Make DIY Trim and Sew an Envelope Pillow with HeatnBond Hem Tape
3Pingbacks & Trackbacks on How to Make DIY Trim and Sew an Envelope Pillow with HeatnBond Hem Tape
-
[…] On a sidenote, I met Erin at Sewing Summit last week. She is totally a doll, y’all!! Go to Therm O Web to find her […]
-
[…] On a sidenote, I met Erin at Sewing Summit last week. She is totally a doll, y’all!! Go to Therm O Web to find her […]
-
[…] Pillow Week on the Therm O Web Blog and I’m bringing you a tutorial for how to make DIY trim and sew an envelope pillow case! Seriously, this is so simple, anyone can do […]

Anne
September 26, 2013 at 8:54 am (12 years ago)Love the trim! I can never find premade trim in a color that works for me.
I’ve linked to your tutorial over at Craft Gossip:
http://sewing.craftgossip.com/tutorial-envelope-pillow-with-diy-contrast-fabric-trim/2013/09/26/
–Anne
duct tape crafts youtube
December 16, 2013 at 10:35 am (12 years ago)Greetings! I’ve been reading your weblog for some time now and
finally got the courage to go ahead and give you a shout out from Lubbock
Tx! Just wanted to say keep up the great job!