My Loves Heart Shaped Mini Album
by Jessica Michaels
Hello everyone! Jessica here! I’ve got something a little different today for you, a cute little chunky mini album! Grab a snack and settle in because I’m going to show you exactly how I created this using all things Thermoweb!
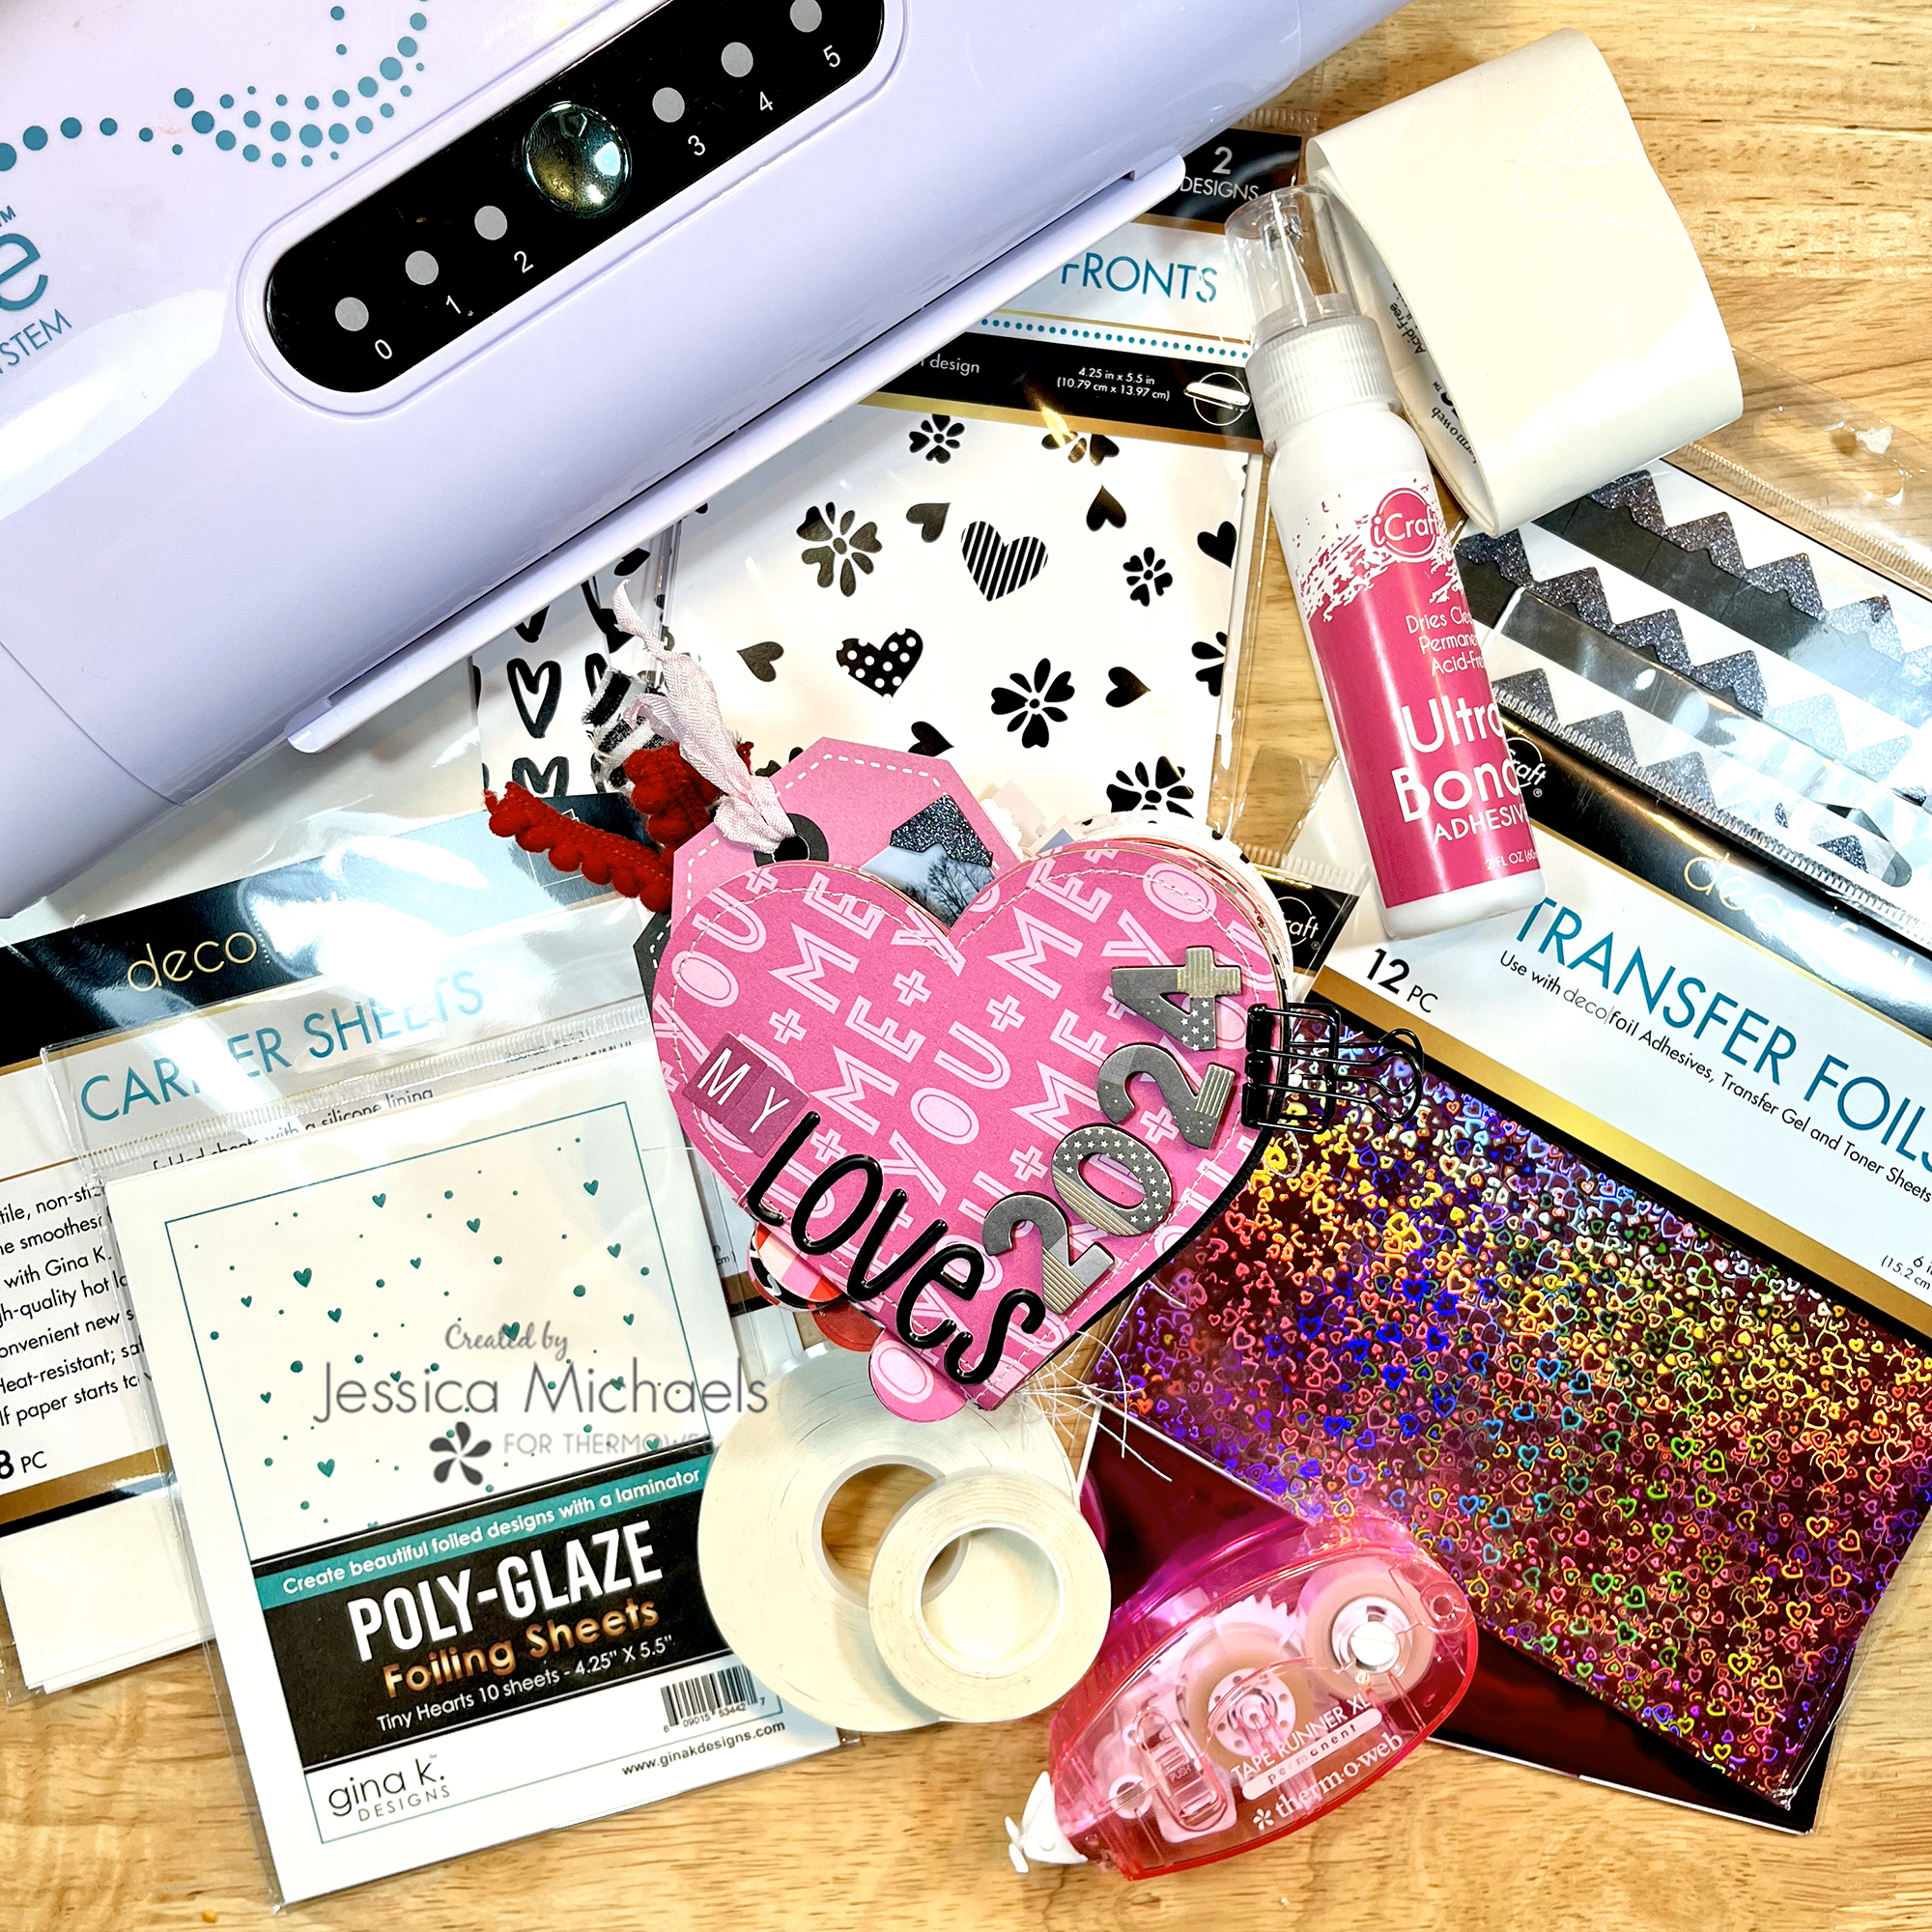
Therm O Web Supplies Used
Memory Runner XL
Memory Runner XL Refill
Deco Foil Toner Card Fronts, Heartstrings
Deco Foil Toner Card Fronts, Endless Love
Deco Foil Transfer Sheets, Berry Crush
Deco Foil Transfer Sheets, Candy Hearts
Gina K. Designs POLY-GLAZE Foiling Sheets, Tiny Hearts
Gina K. Designs Embossing Folder, Happy Hearts
Easy Tear Tape ½”
Easy Tear Tape 1/4″
Gina K Foam Squares 1/4″ White
Craft & Carrier Sheets
UltraBond Liquid Adhesive
Medium Zots
Fuse Foiling System
Other Supplies Used
Free Heart Album Cutfile
Simple Stories Heart Eyes collection
Misc Supplies from my stash
White Thread and Brother sewing machine
Heart Dies by Elle’s Studio and Big Shot Machine
Alphas by Elle’s Studio, American Crafts and Bella Blvd
Epoxy and Canvas Flair by Scrappin Happy Studio
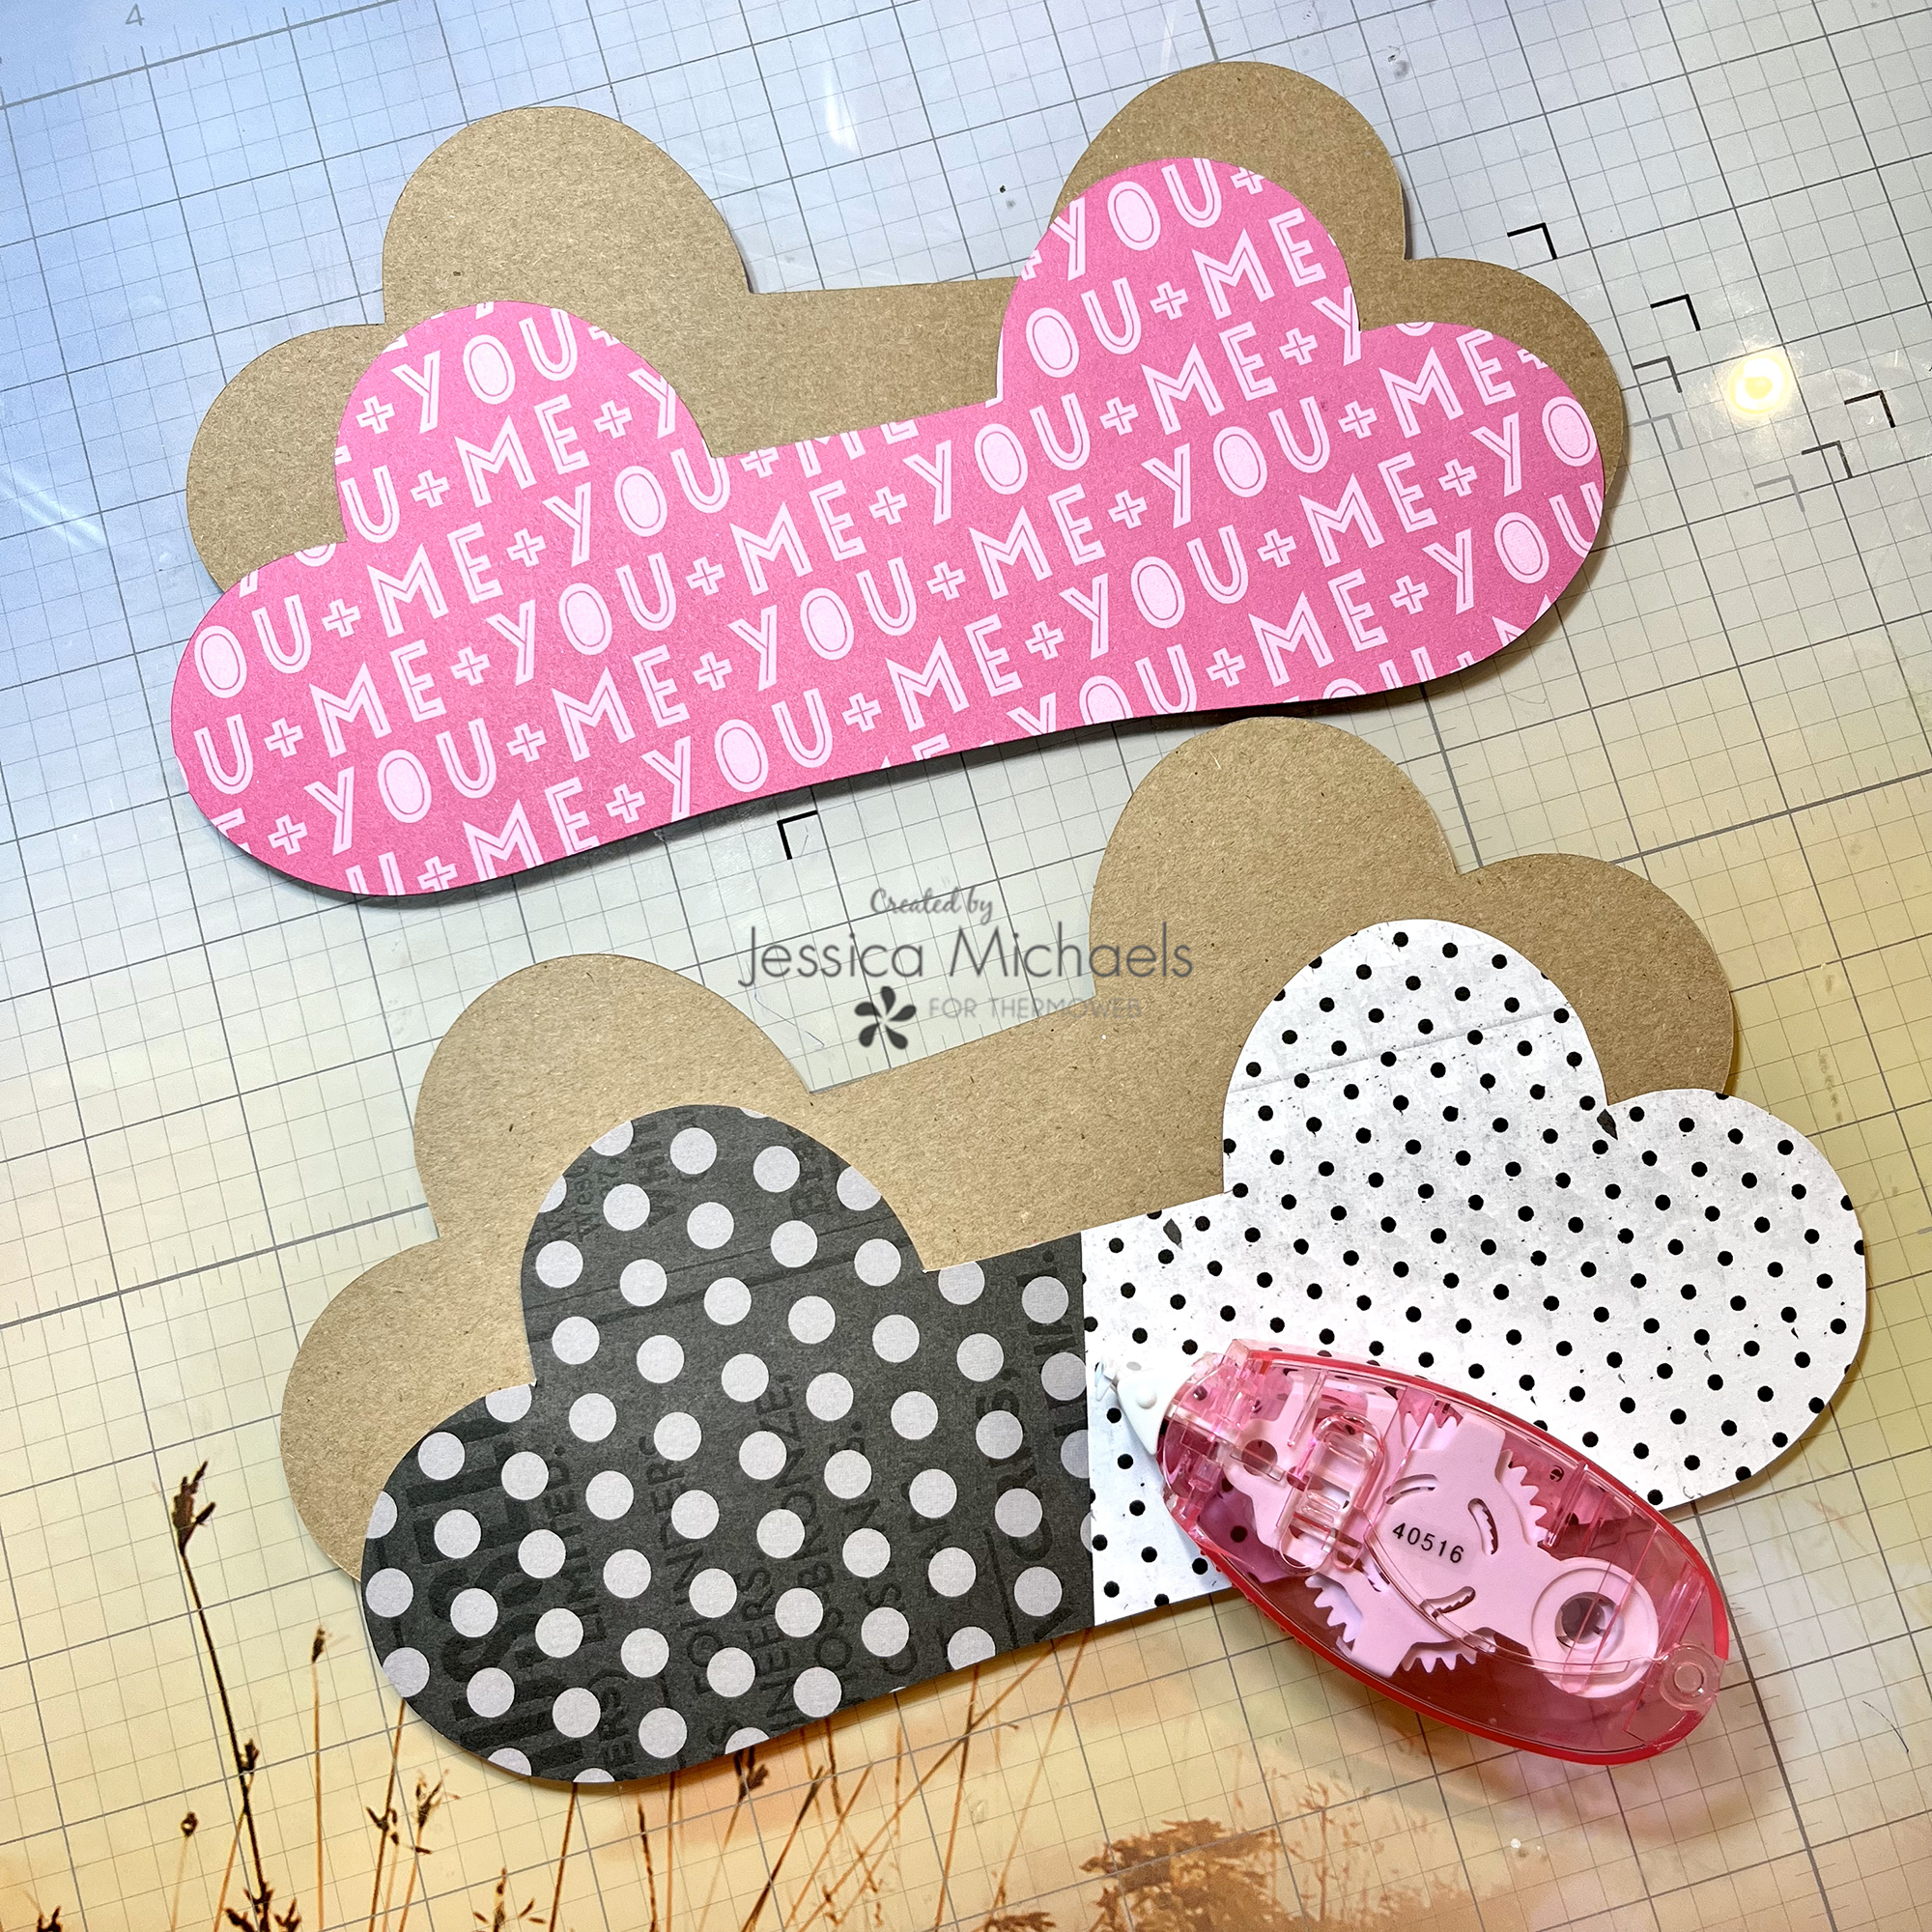
I started my mini album with a free cutfile and cut the main portion of the album in two patterned papers from the Heart Eyes Simple Stories collection, then two more times with some thick kraft paper. The kraft paper is just going to be used as a stabilizer to add some thickness and structure to the album. You can use chipboard but since I was doing some machine stitching with my sewing machine on this one, I didn’t want to make it TOO thick and break a needle! I adhered the patterned papers to the kraft papers using my Memory XL Tape Runner.
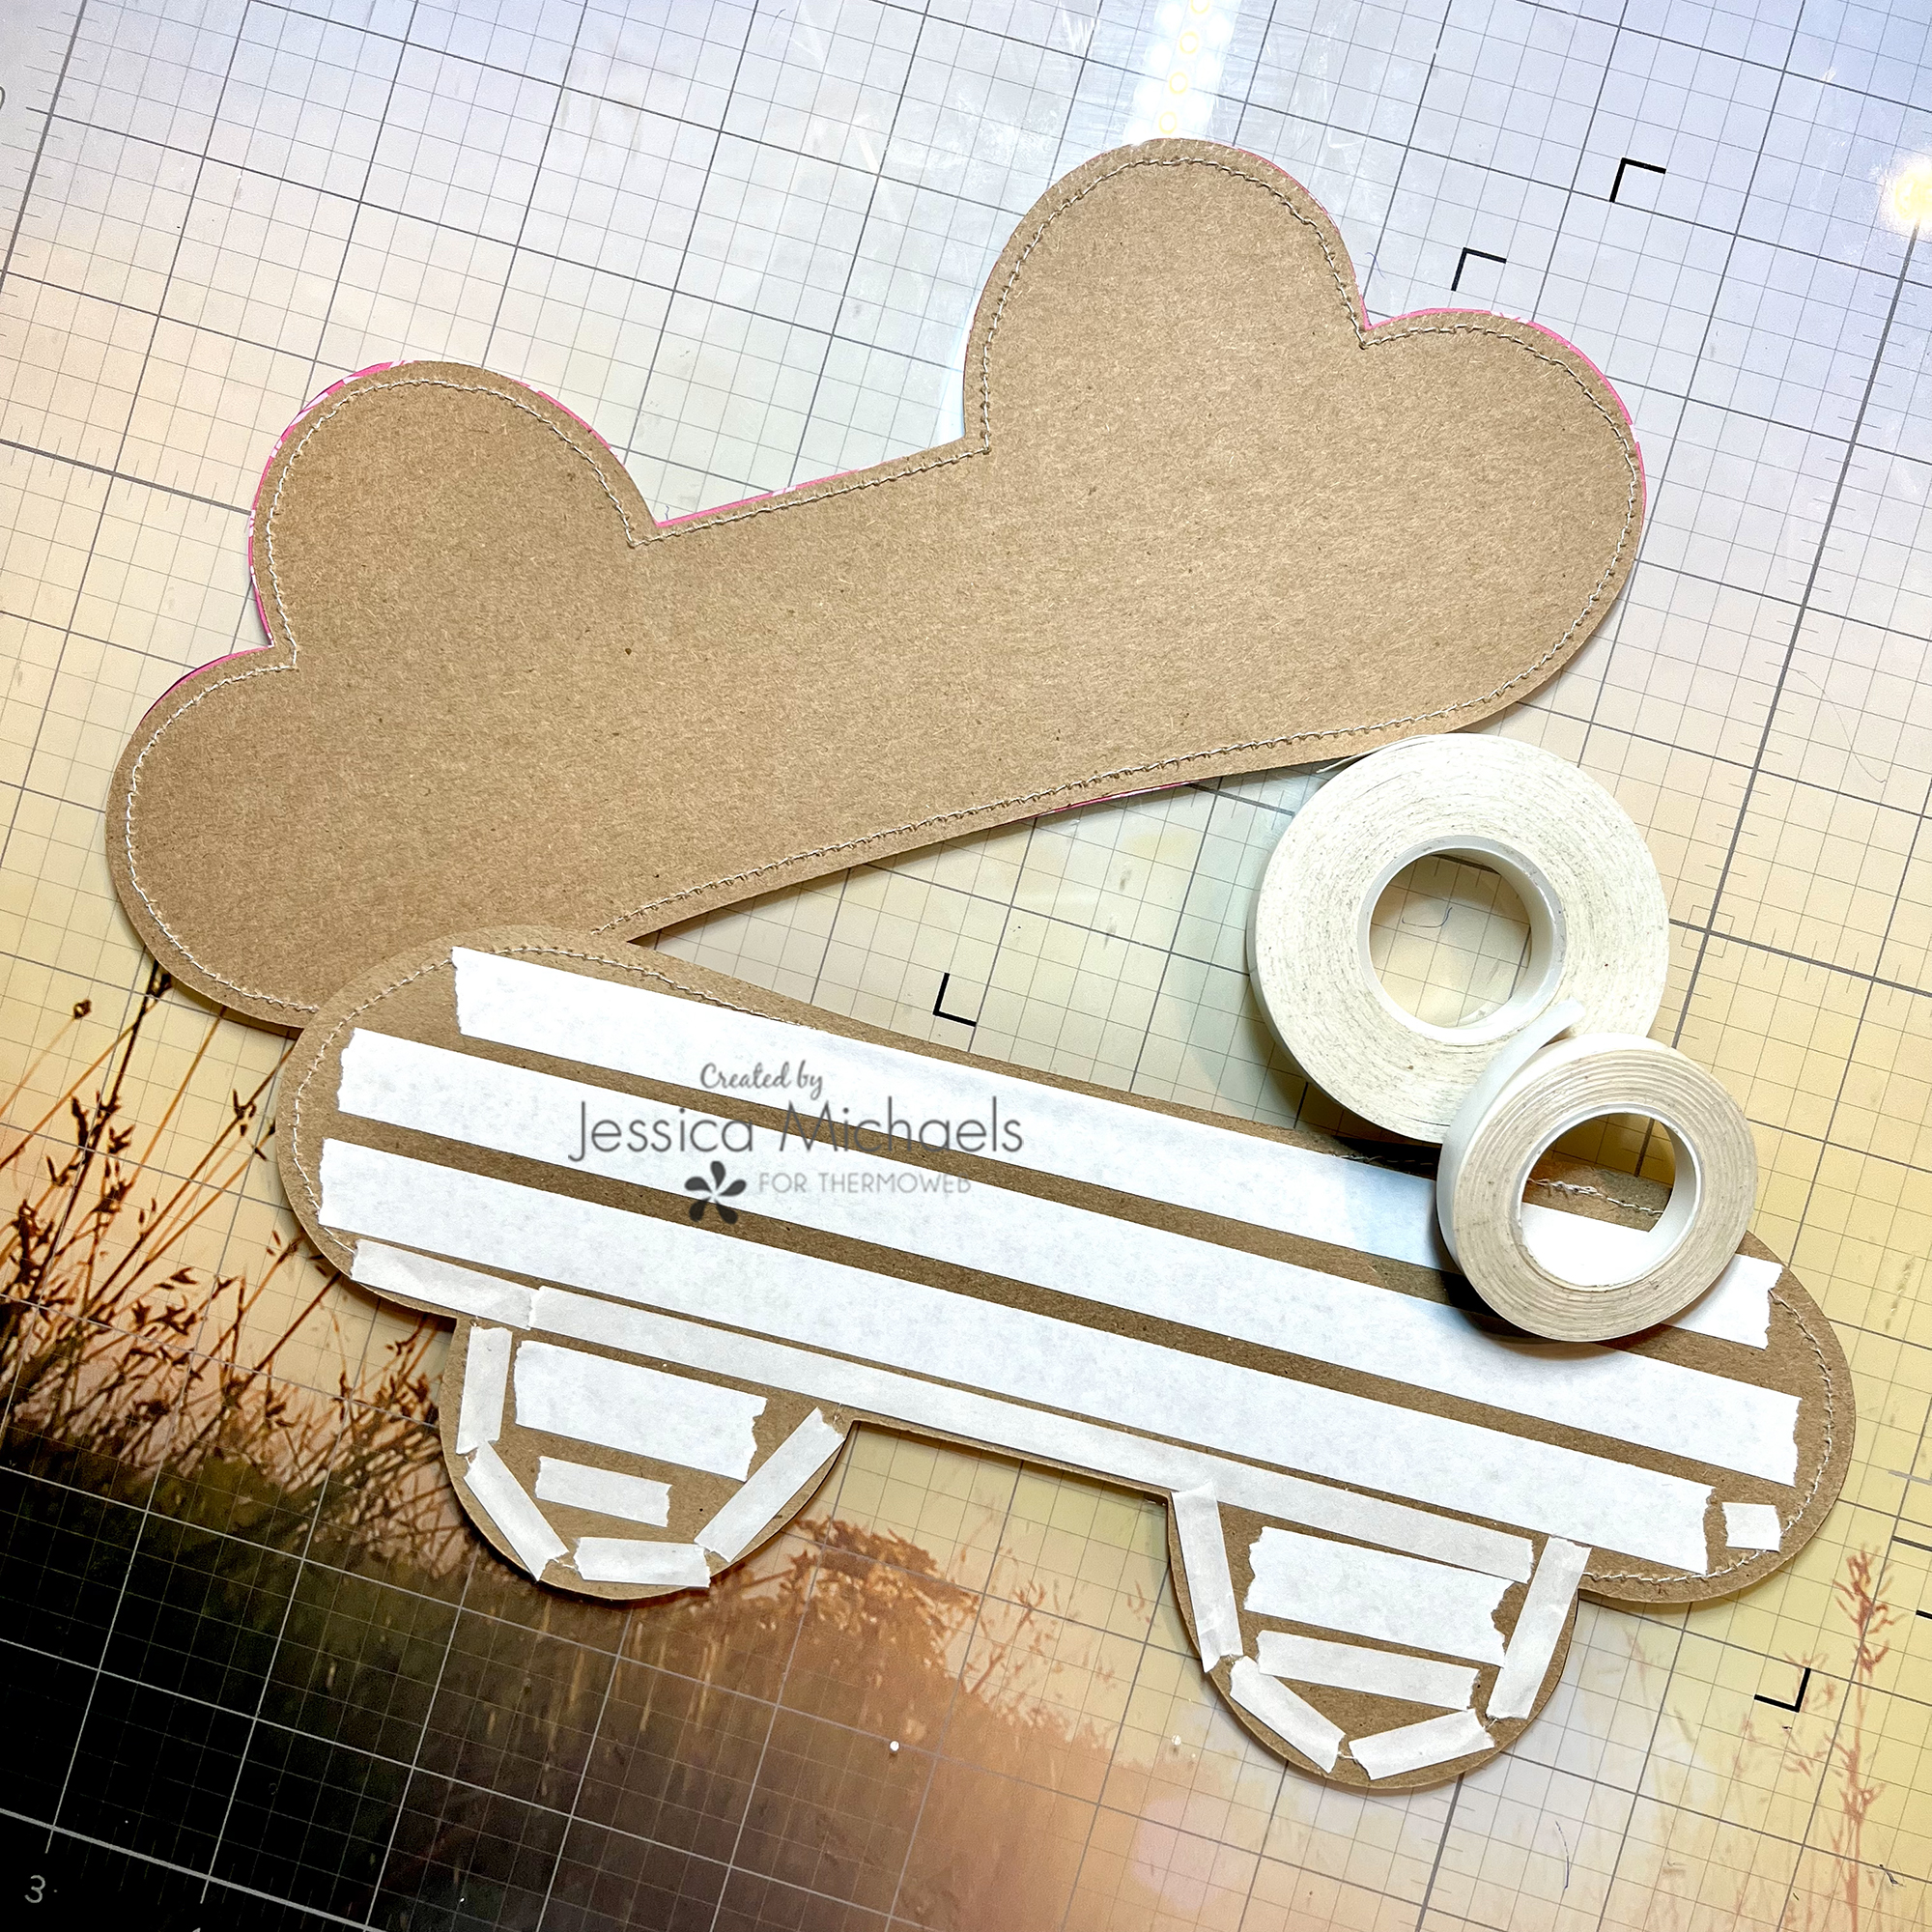
Next, I machine stitched both cover pieces with my Brother sewing machine and white thread before adhering those layers together with some 1/2″ Easy Tear Tape. I did end up using a bit of the 1/4″ size tape as well for the curved part because it fit a little better on those edges. It does help to run a spatula or bone folder over the tapes to make sure the adhesive is really stuck down before peeling off the backing strips. Once you have all the backing pieces off, go ahead and stick the two parts together, kraft papers inside, patterns out. This will make the base of your heart album.
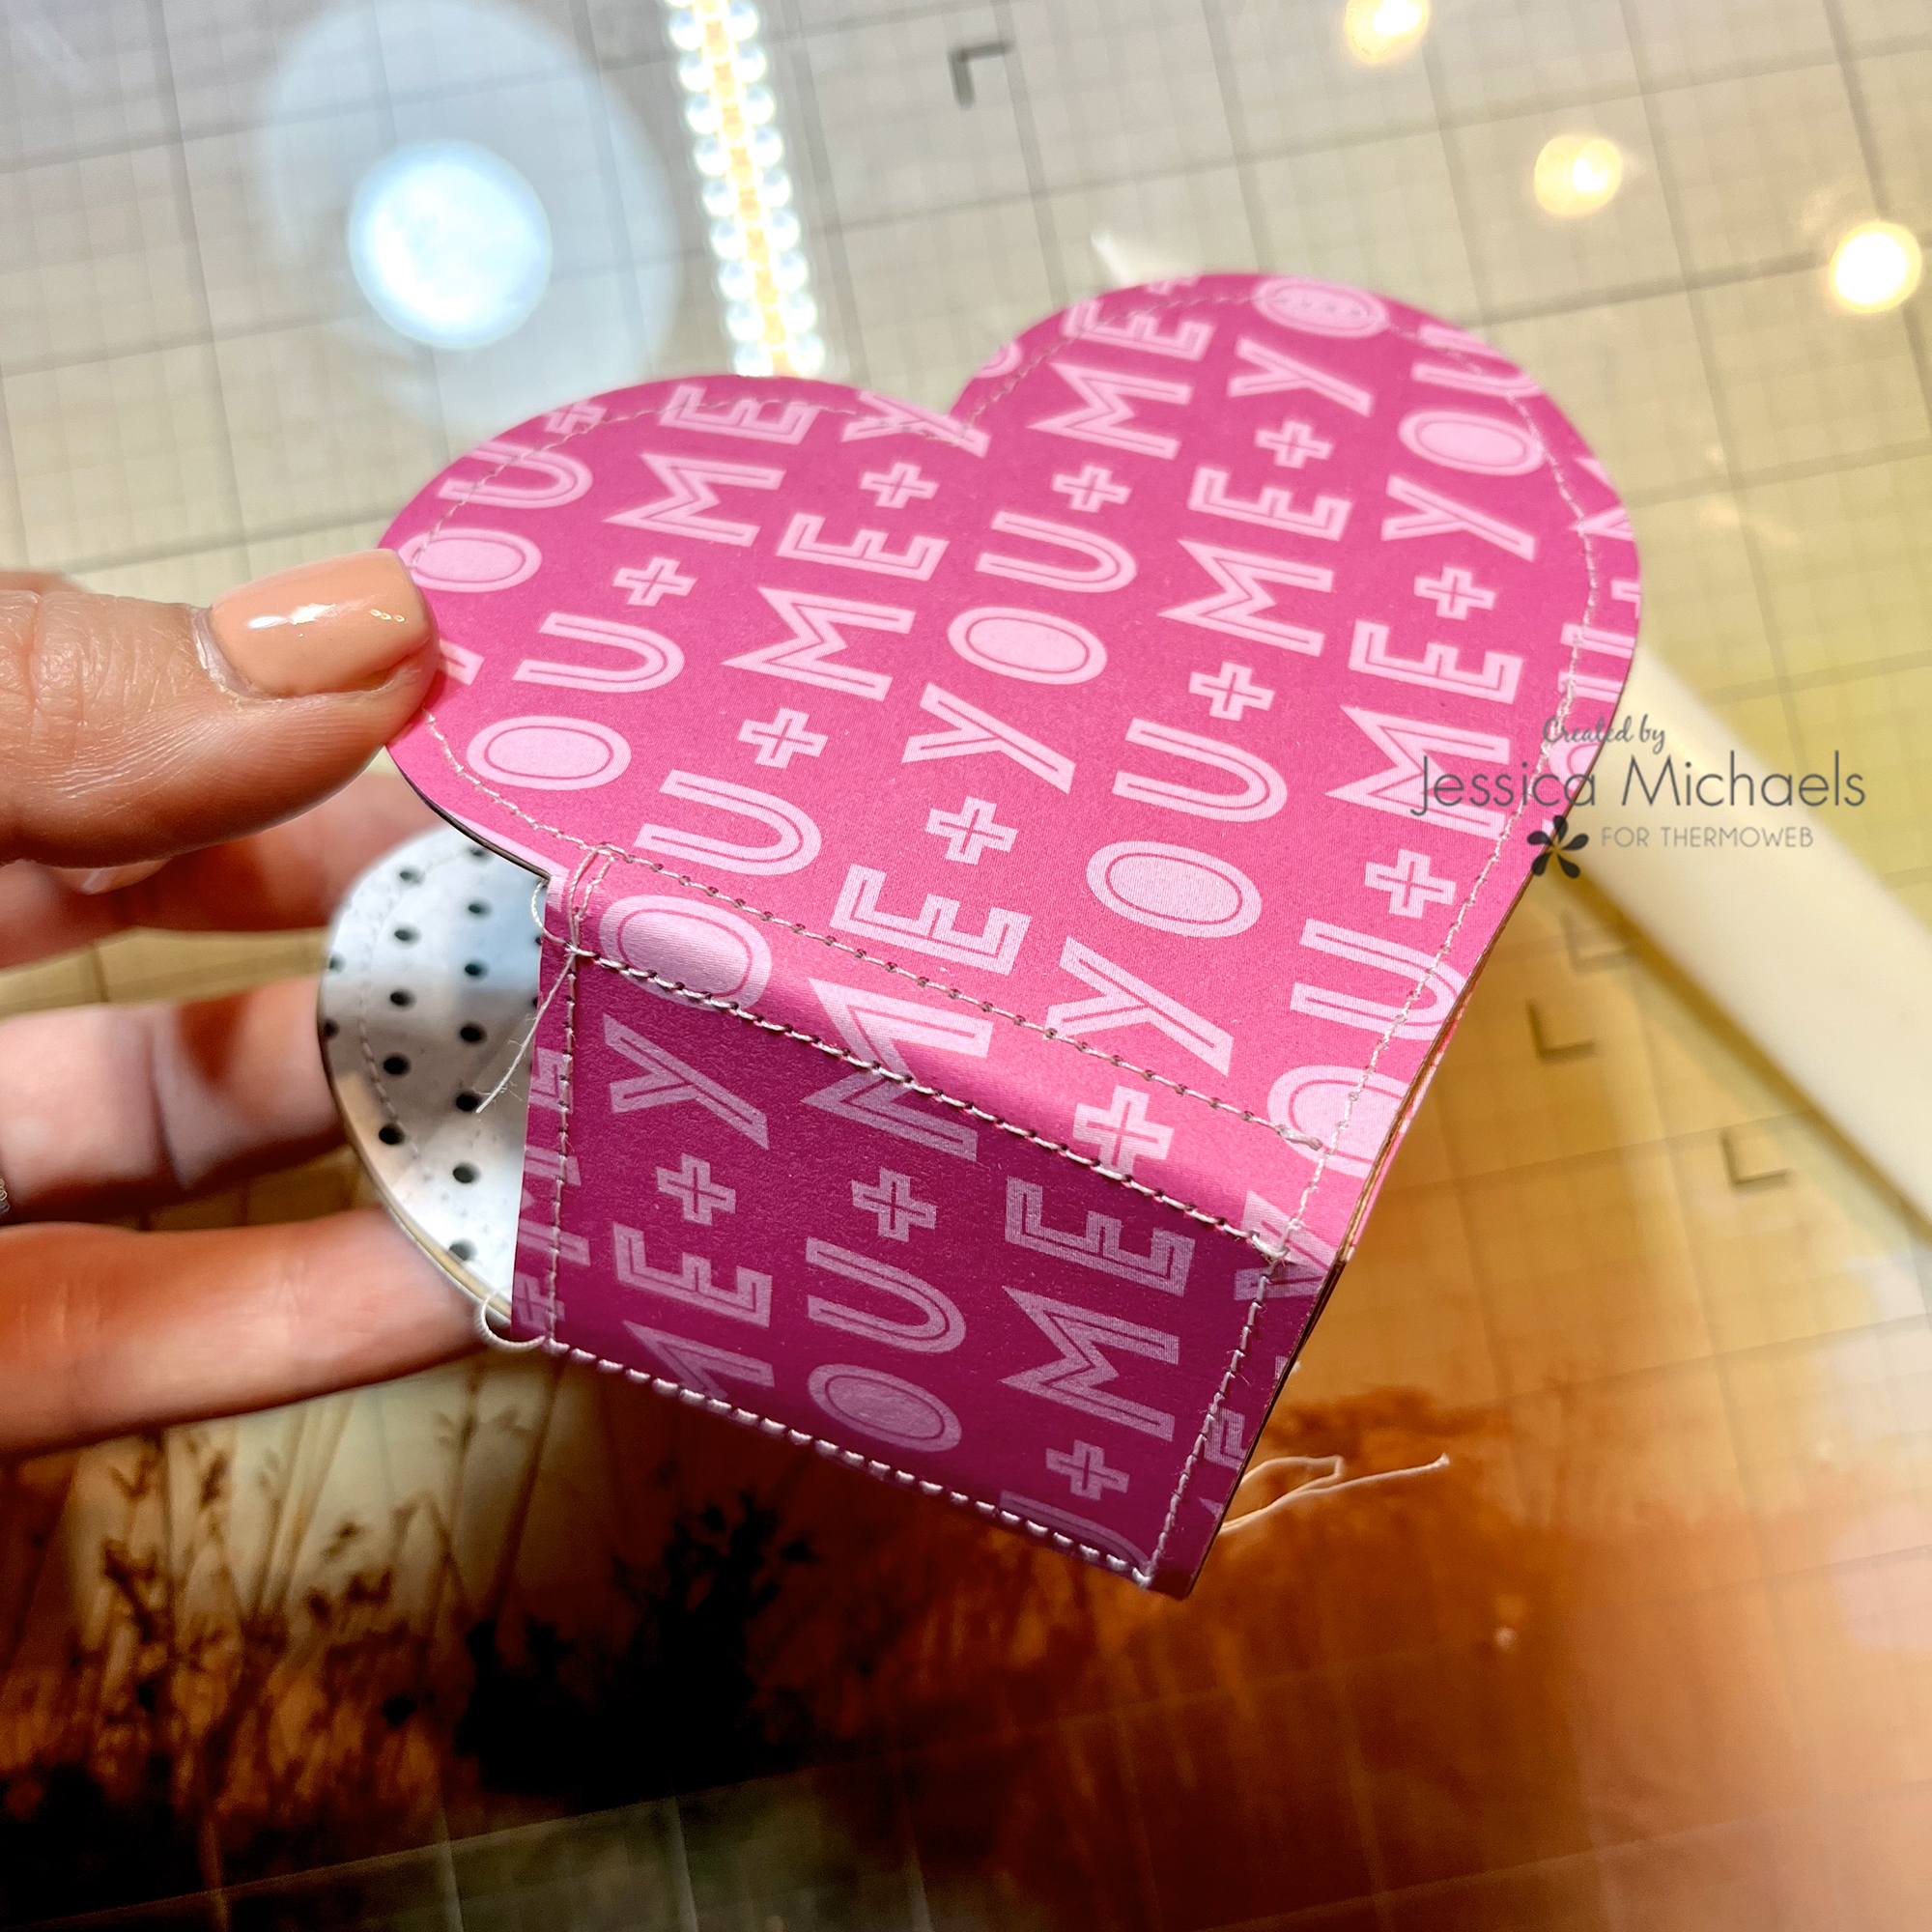
This step is optional but for a more finished look and to adhere the layers together a bit more, I added machine stitching down the spine on both sides of the album. One- for structure of the spine, and two- to give the hearts on the cover a more finished look. I don’t trim my threads either, I leave them all willy nilly because I love all things distressed!
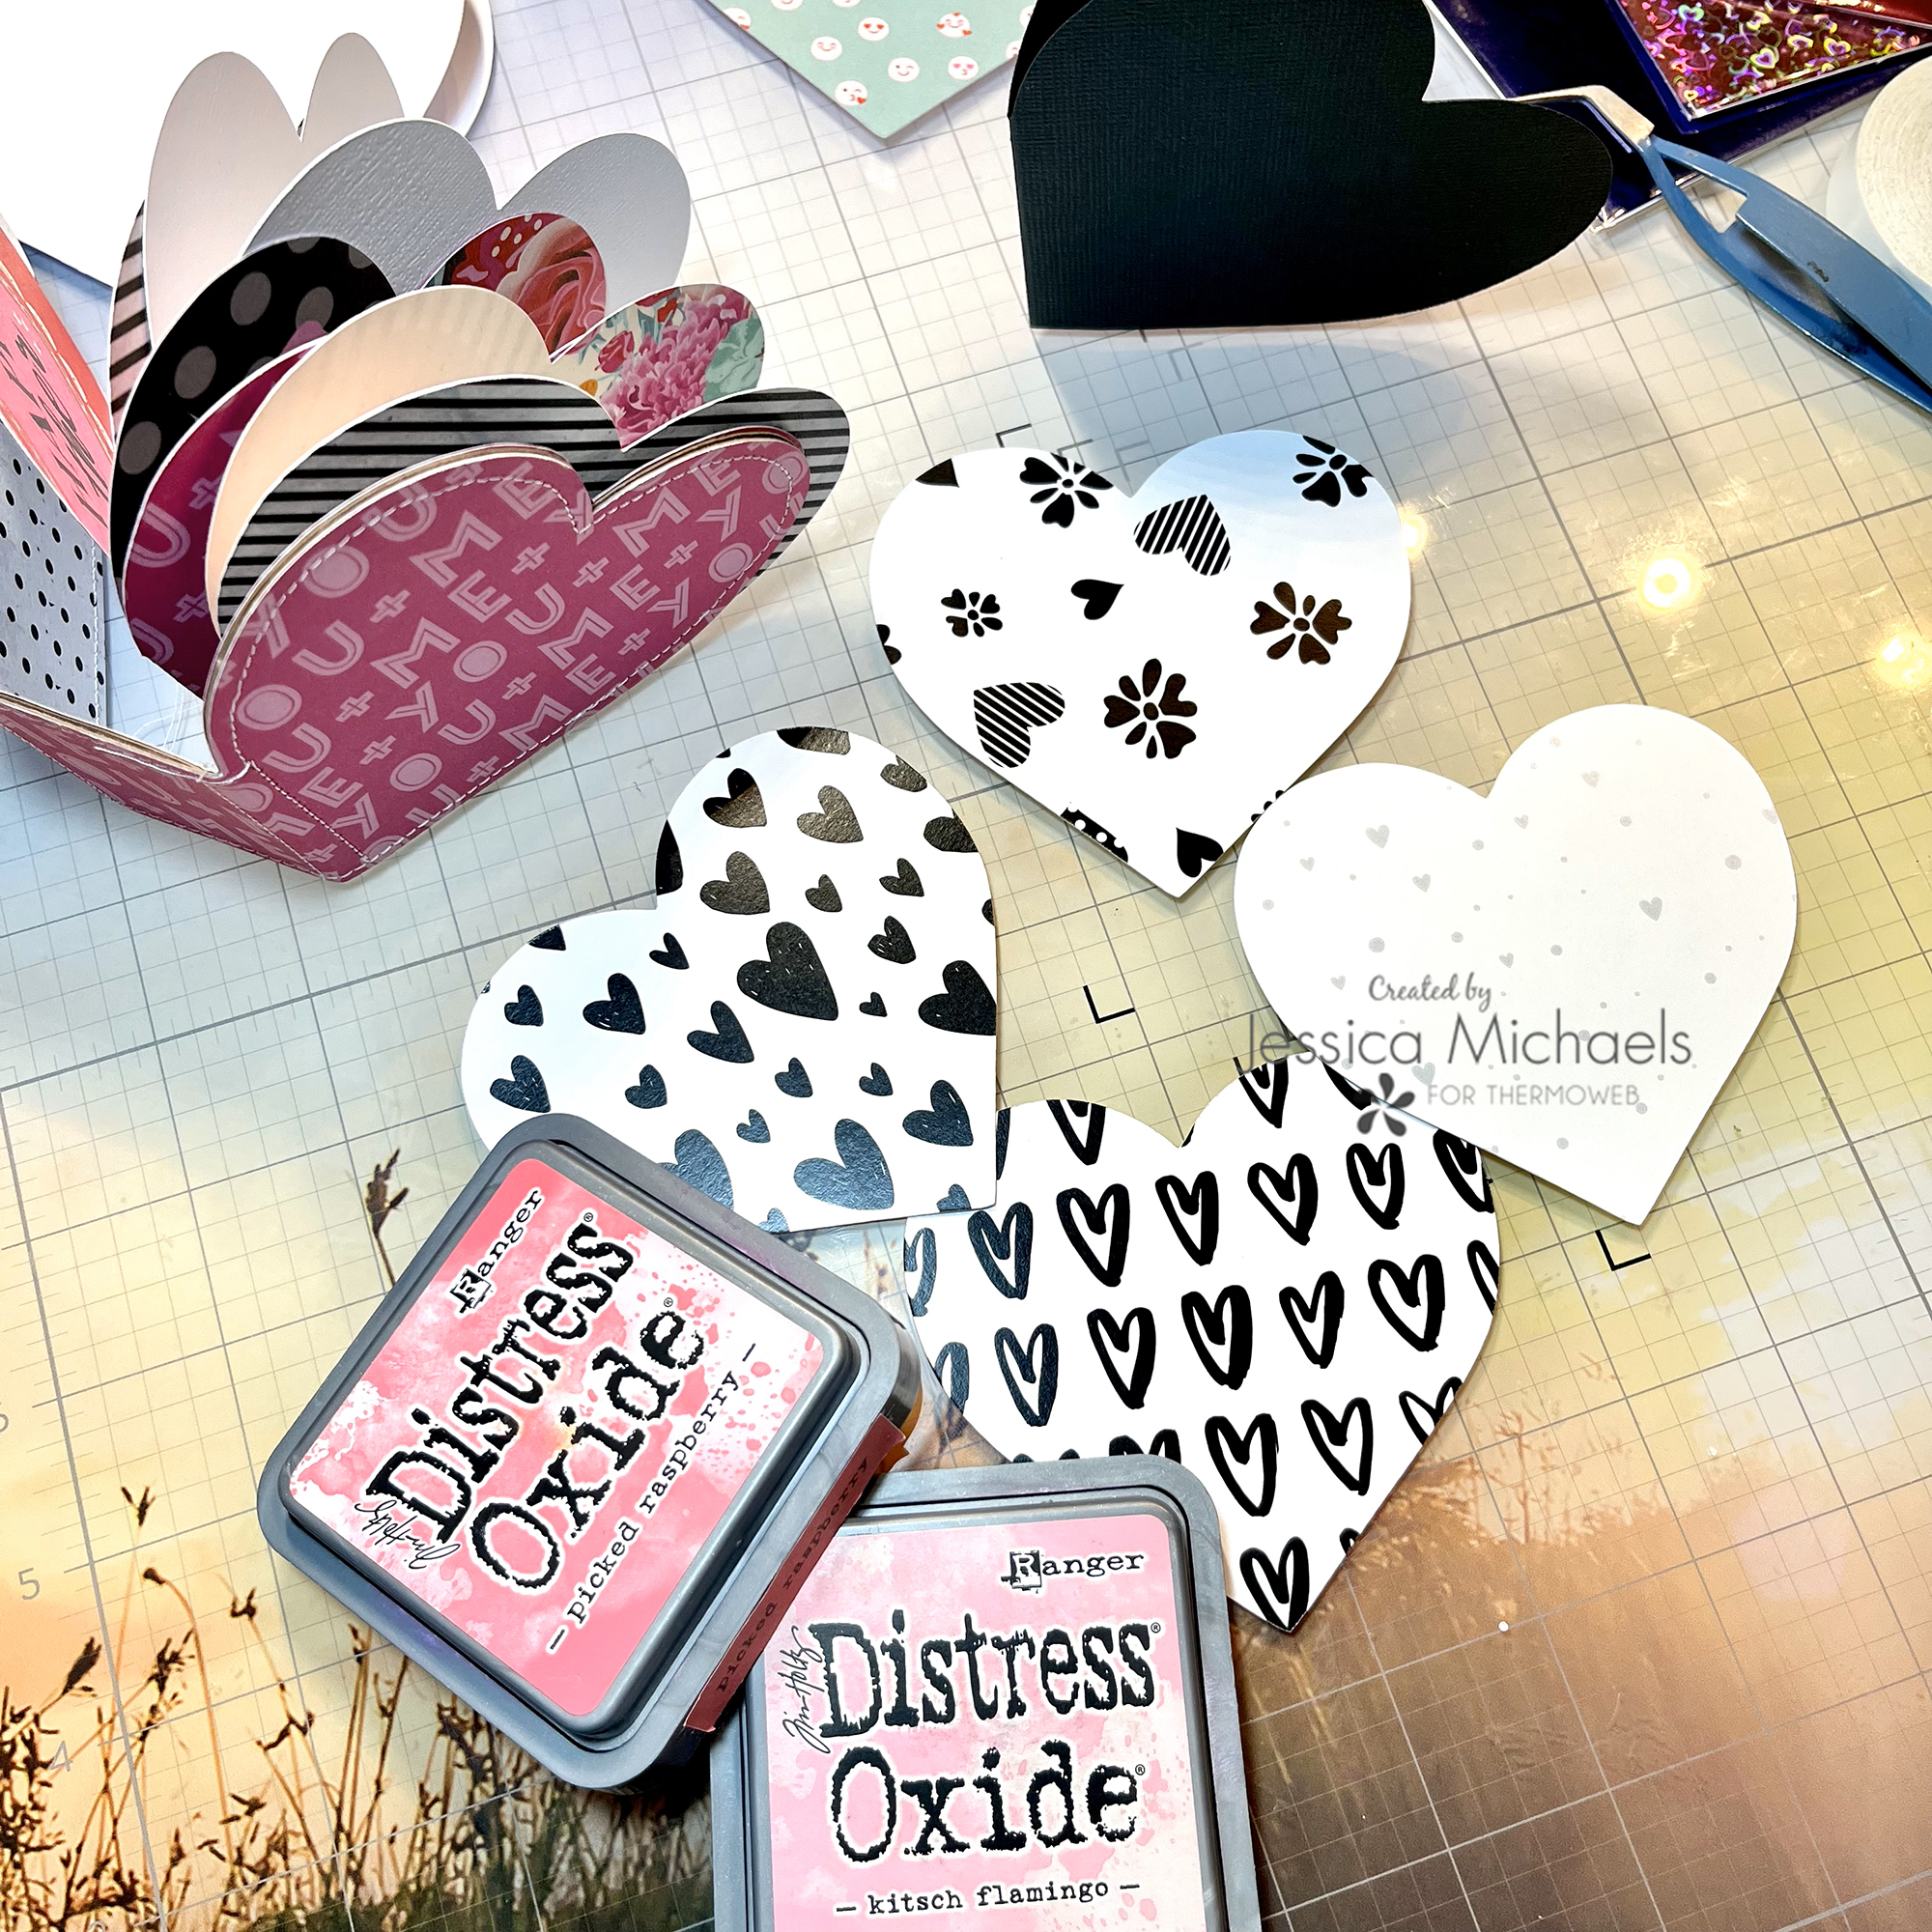
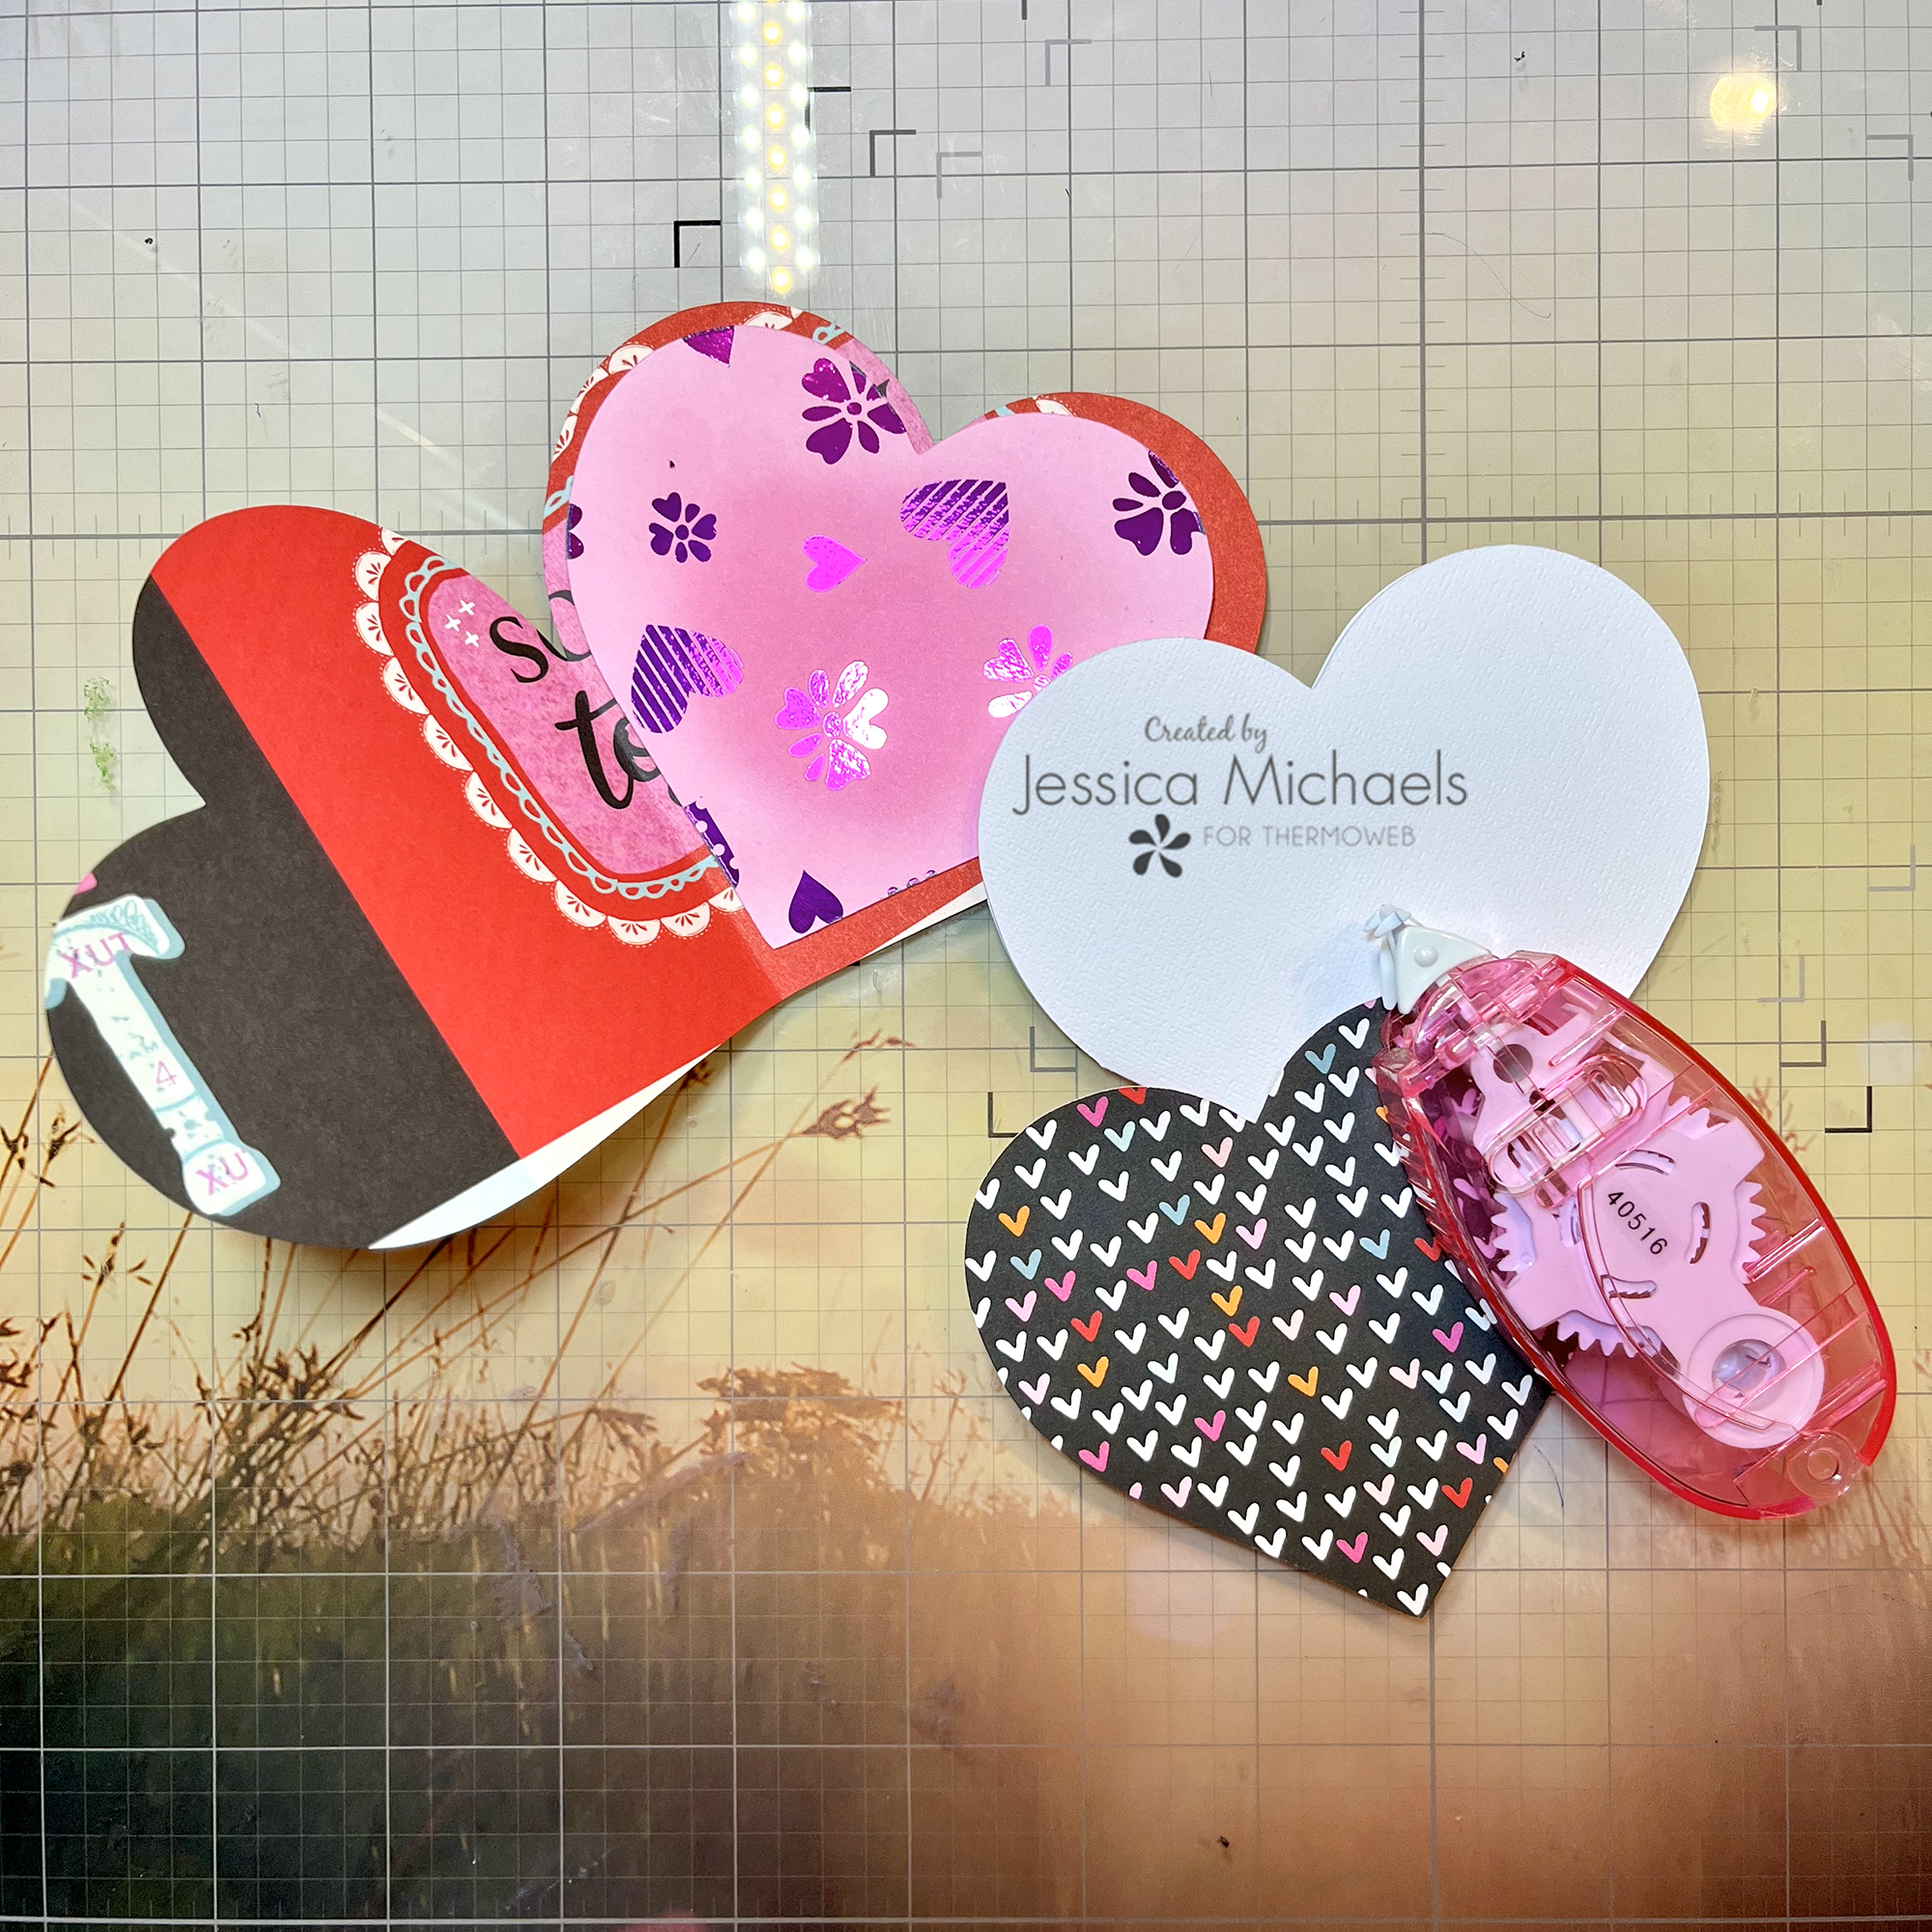
Next, I began working on the pages themselves. One of my favorite things to do is mix older products with new products for a fresh take. I pulled out some of the new Heartstrings Toner Card Fronts, new foil shades, and older toner card fronts to create my page inserts. The cutfile has piece you cut for the actual pages that have a folded edge and then these heart pieces overlay the pages, if you want. I wanted to create some fun patterns from the toner card fronts so I cut a few of those and did some ink blending with Distress Oxides and blending brushes.
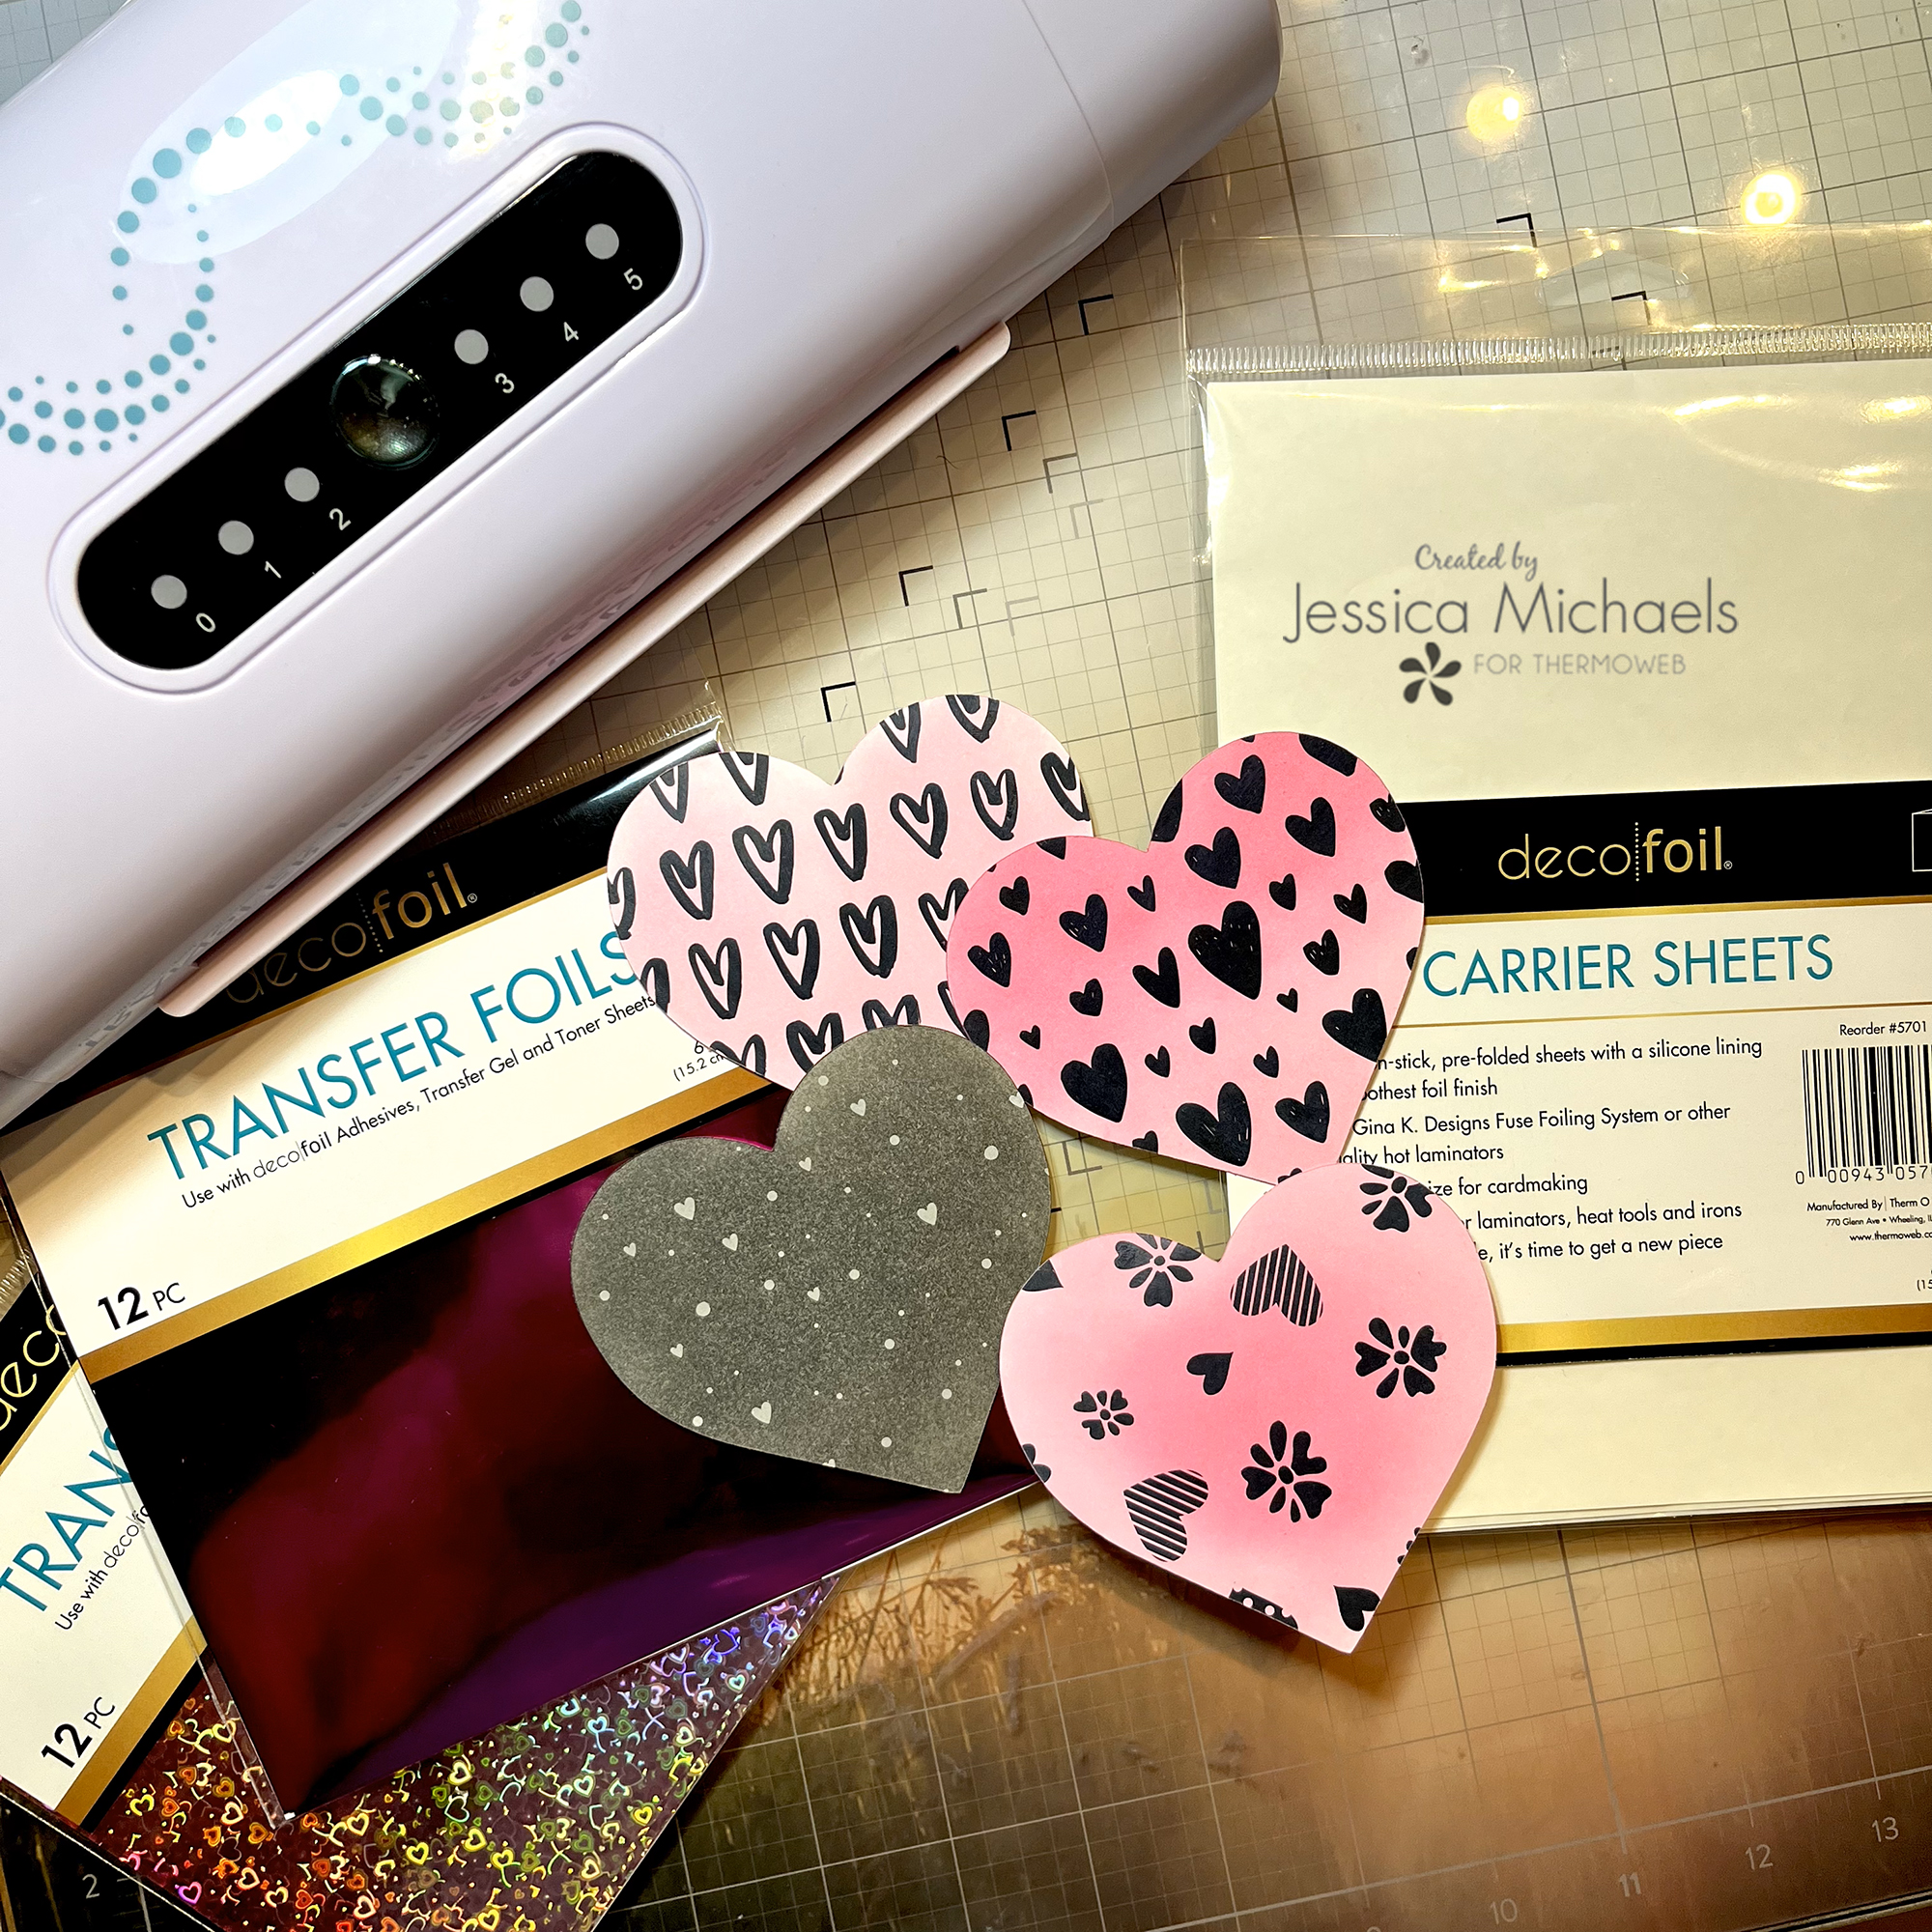
Be sure to wipe the ink off the toner portions of the toner card fronts before running through your laminator. A lint-free cloth works best. While my Fuse Laminating System was heating up on the #3 setting, I pulled out my Carrier Sheets and my foil and planned which colors I was going to use. If you trim down your foil be sure to leave enough excess so there is a bit of an overlay so it completely covers your project pieces.
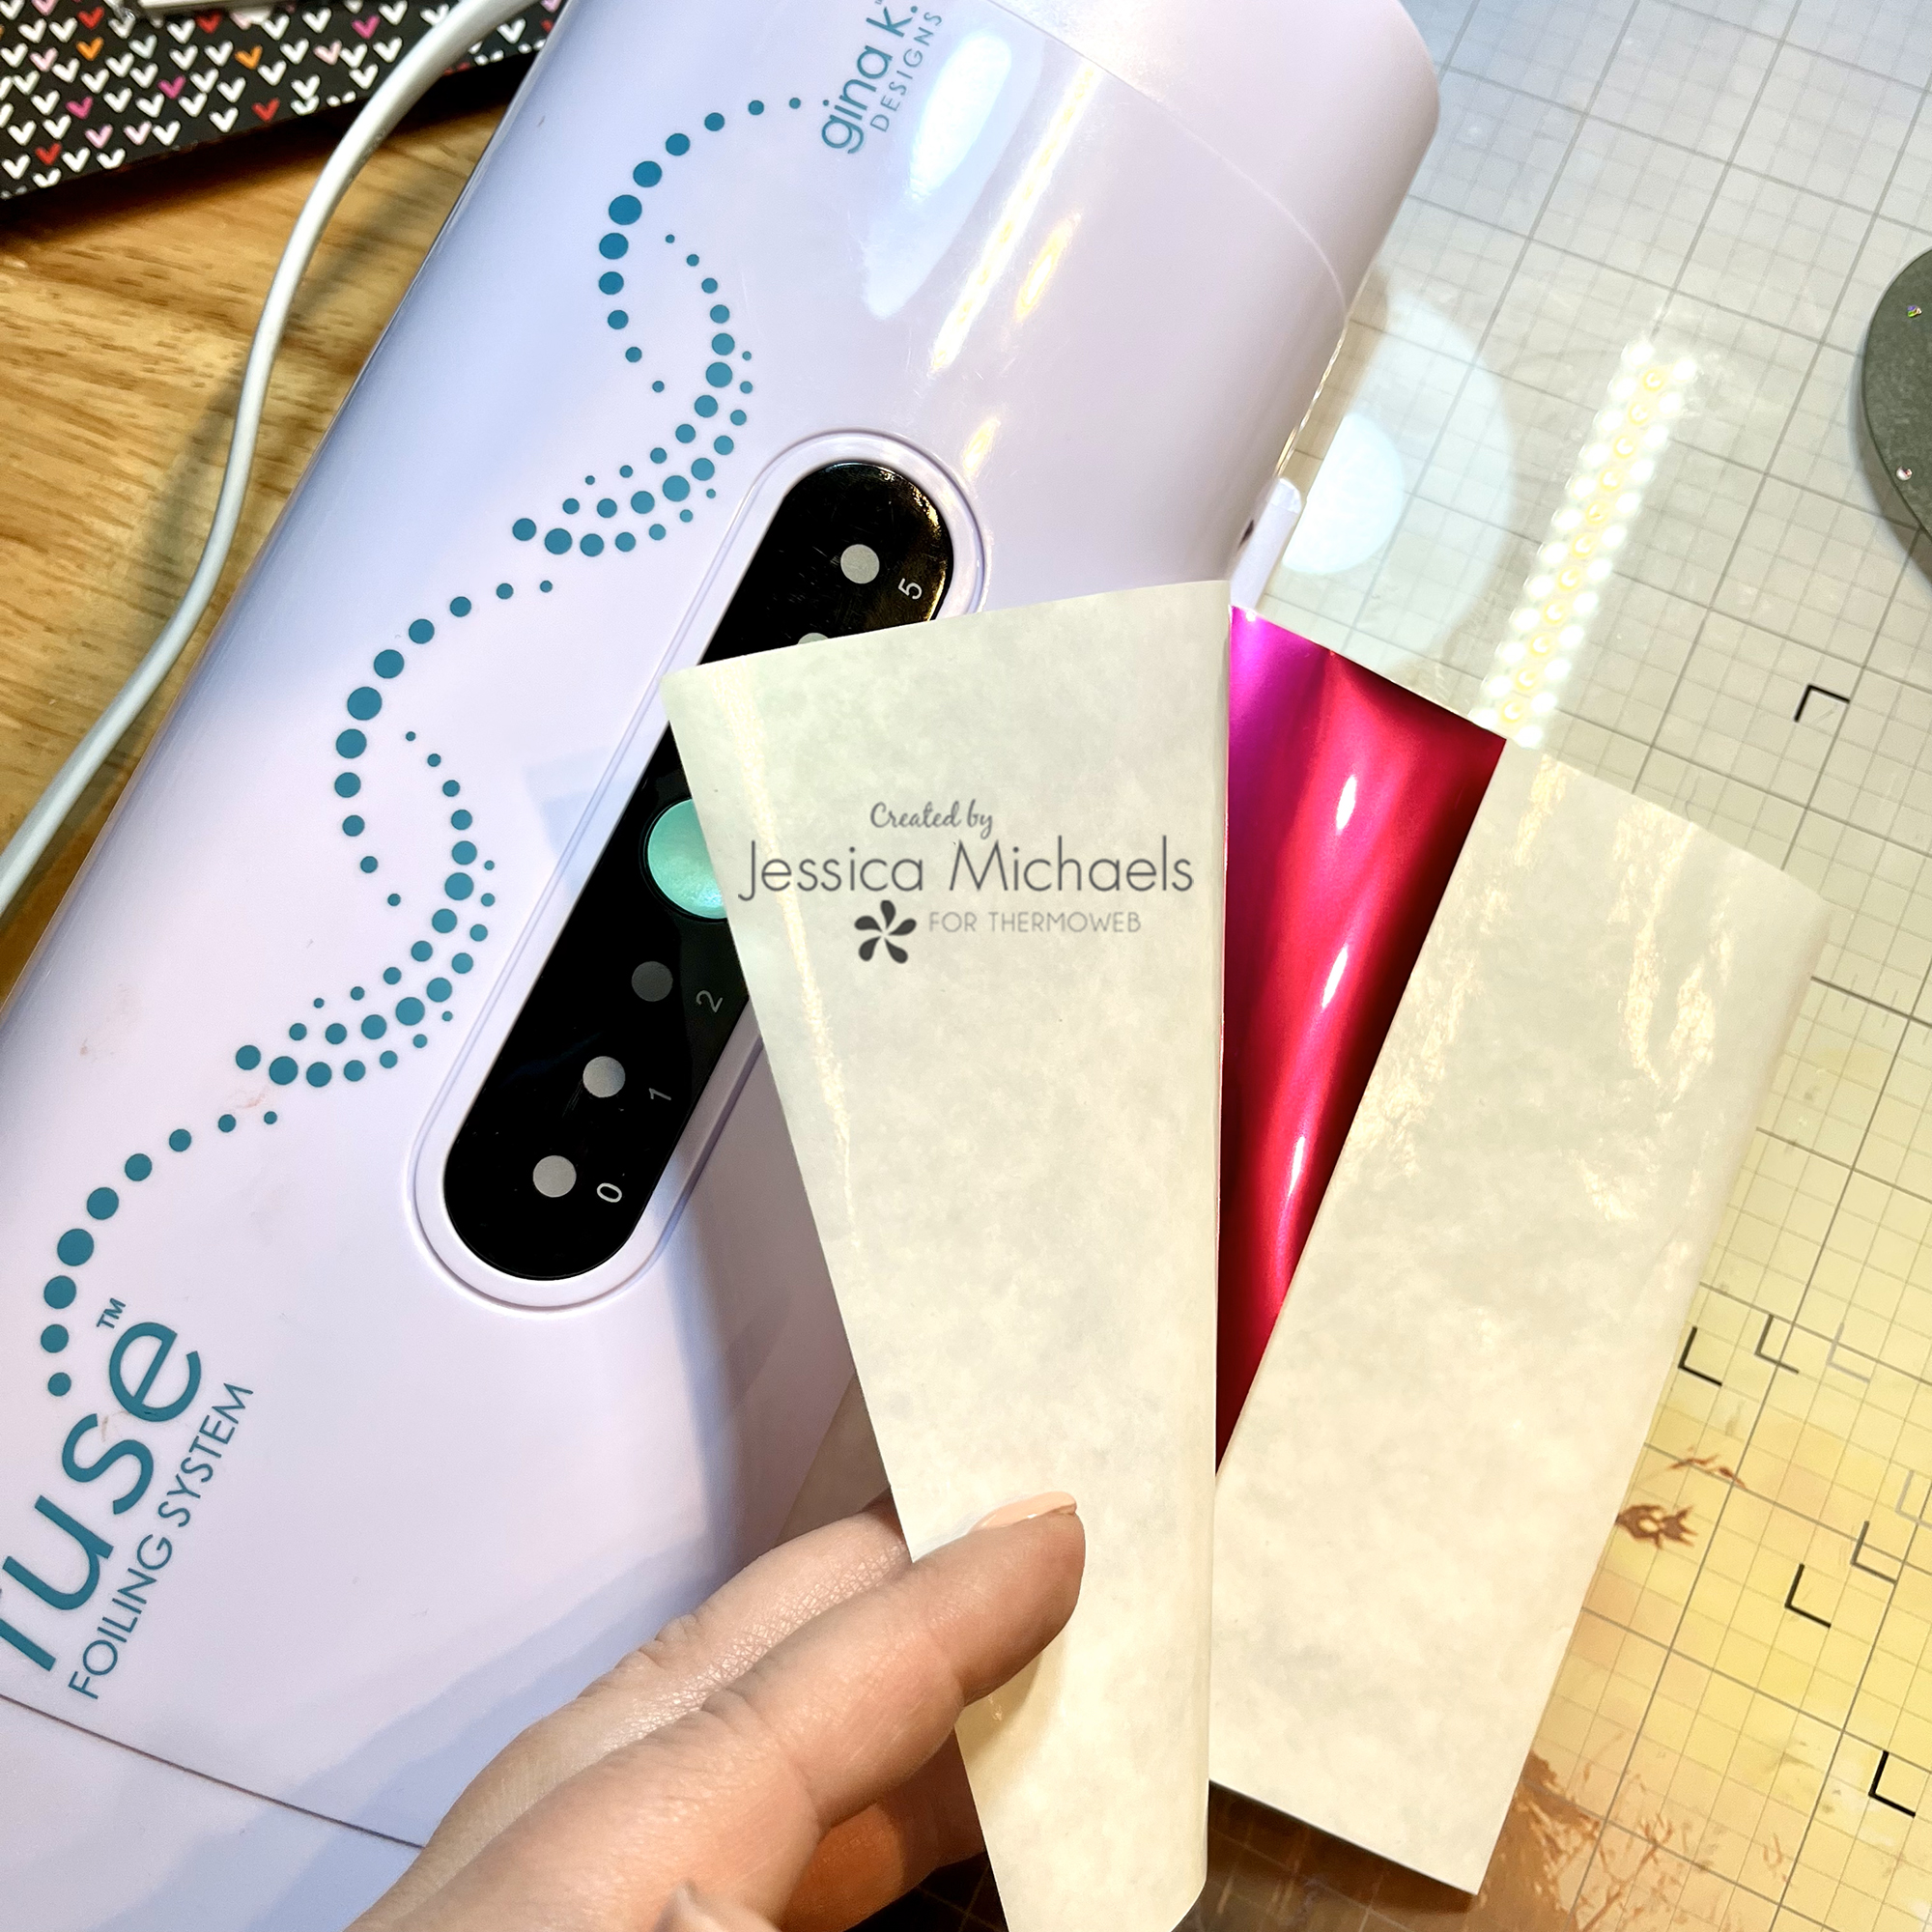
You’ll want to insert the carrier sheet folded edge first into your laminator.
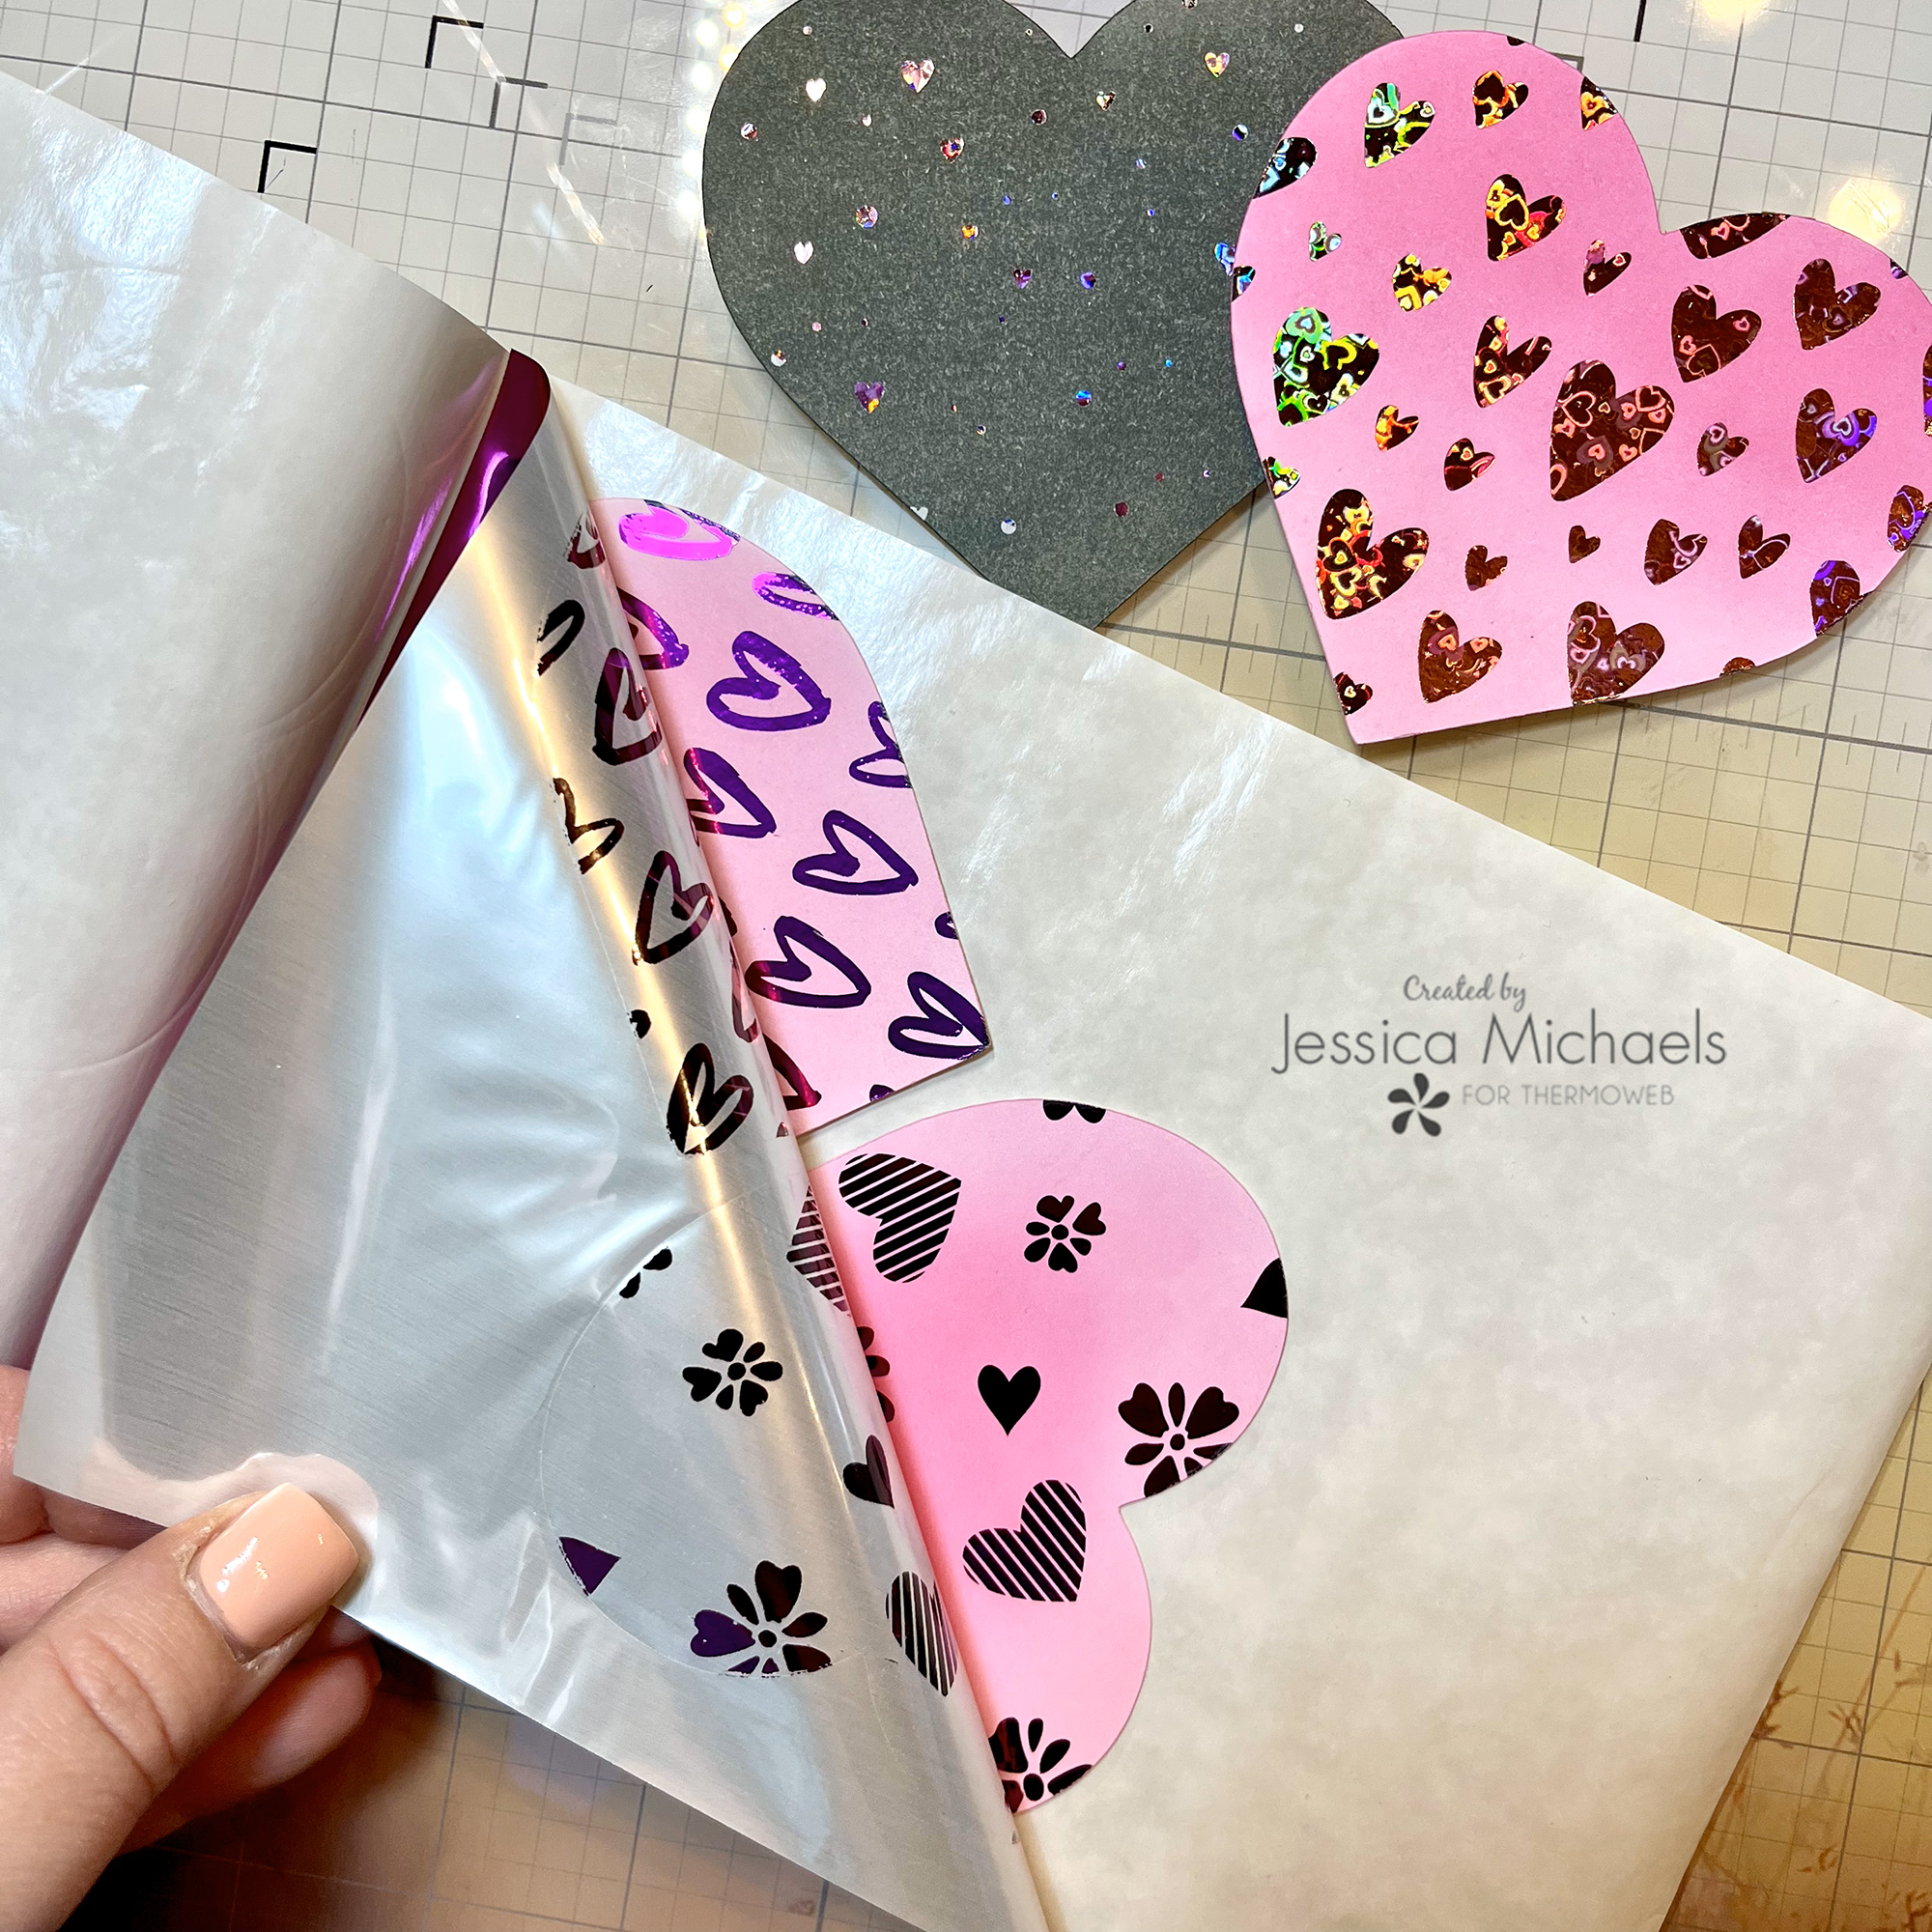
I was able to foil two hearts on one sheet of foil, with a little leftover.
Next, I assembled my pages by adhering my heart pages to the page bases with my Memory XL Tape Runner. I once again added the machine stitching around the heart pages for interest and stability.
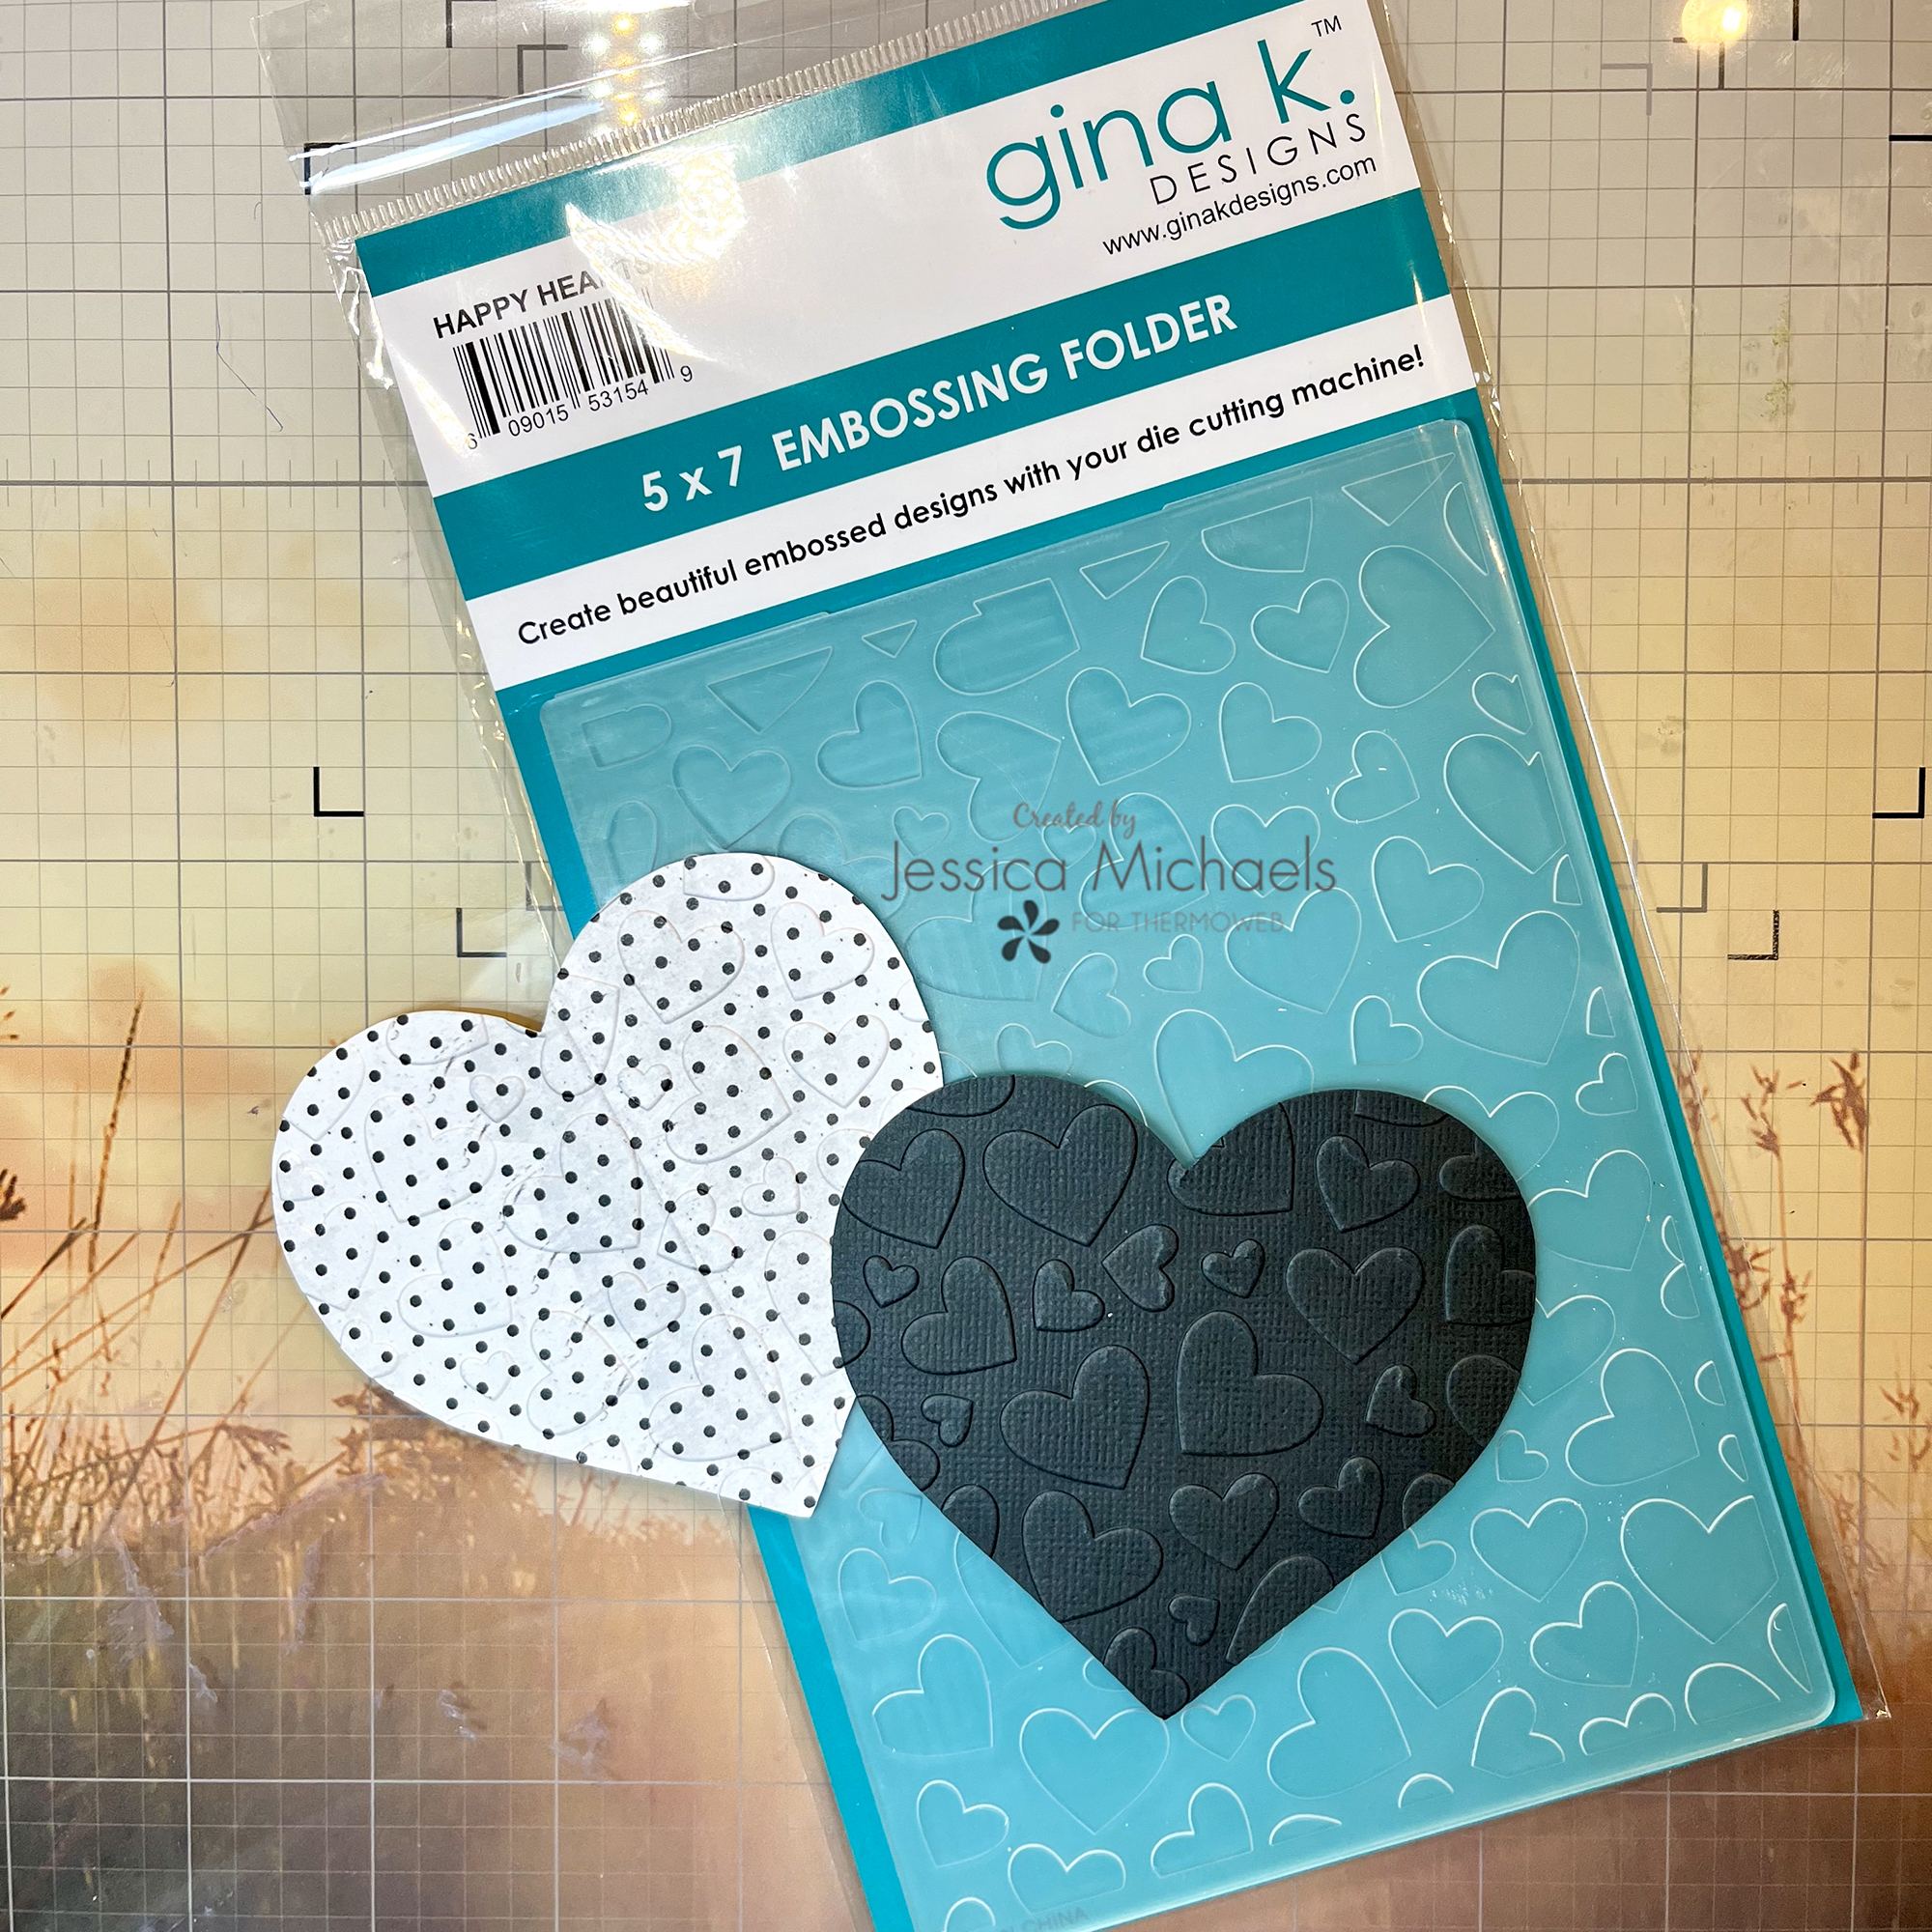
I also decided to emboss a couple of the pages with this gorgeous Happy Hearts embossing folder by Gina K. I absolutely LOVE how these pages turned out and they quickly became some of my favorites.
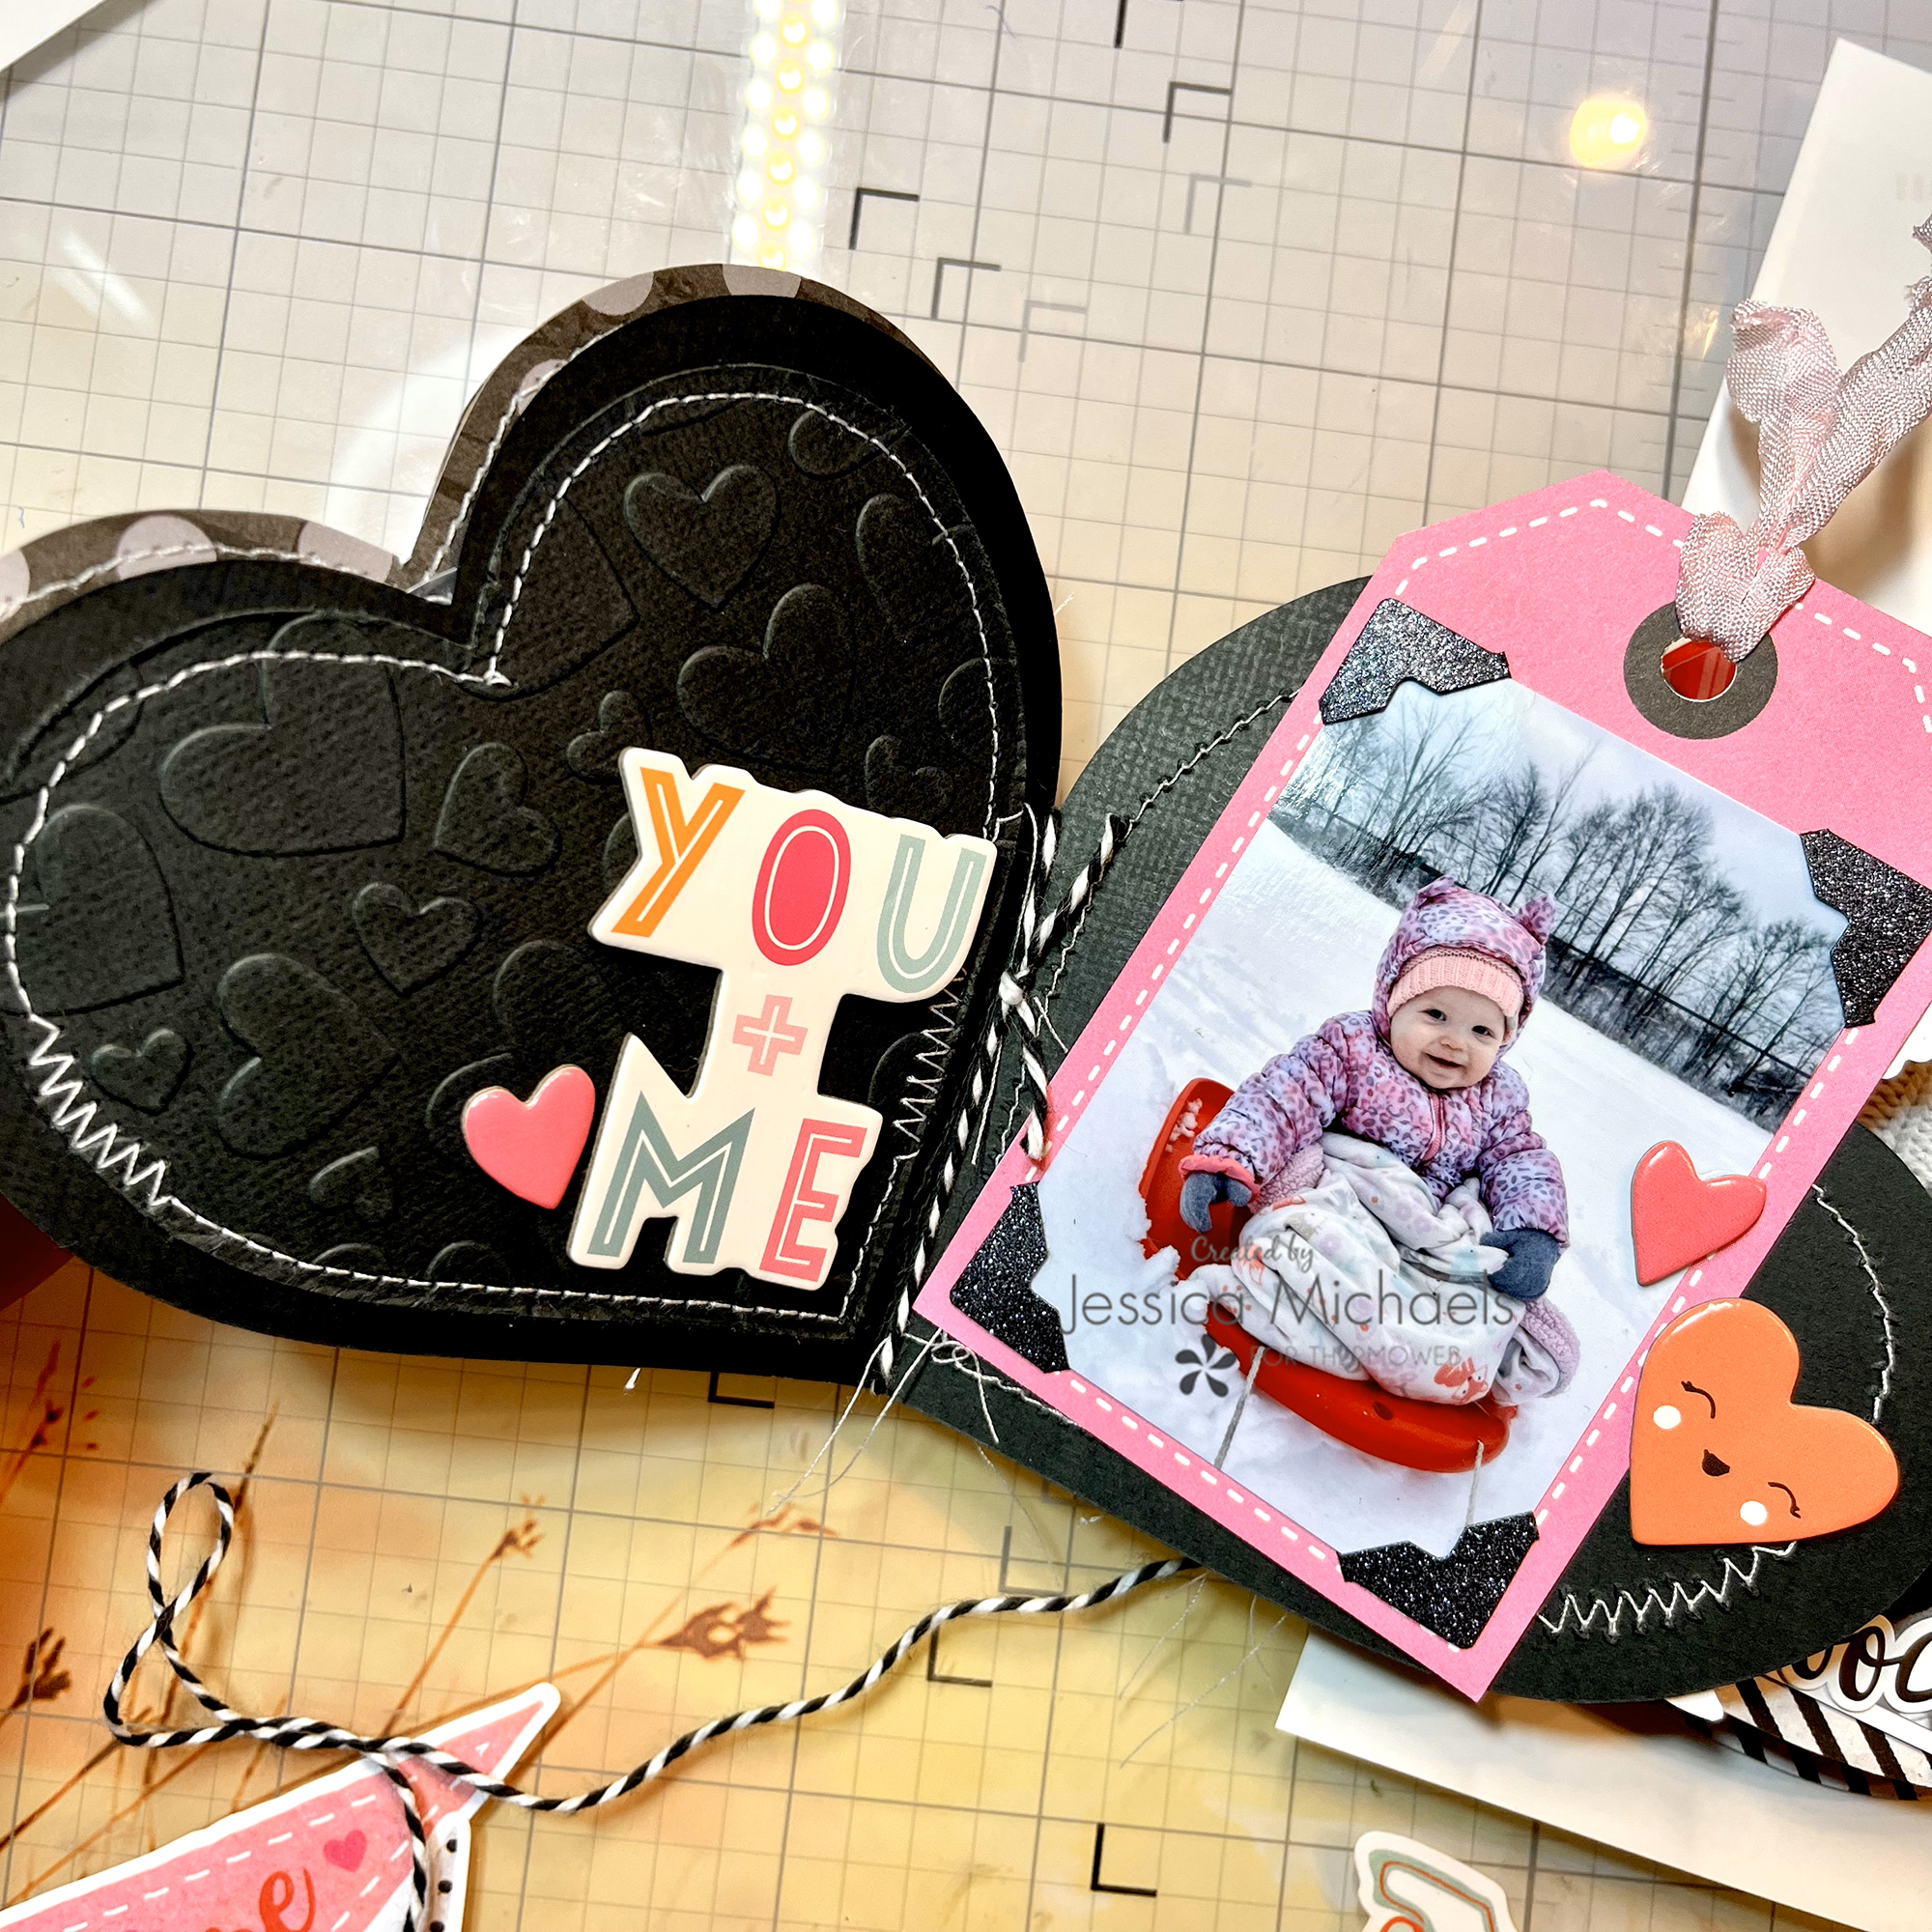
That raised detail is just perfect! I just love how adding the stitching, embellishments and photos just make everything come together so quickly! I also added some photo corners from the shop to some of my photos. They really made the photos POP!
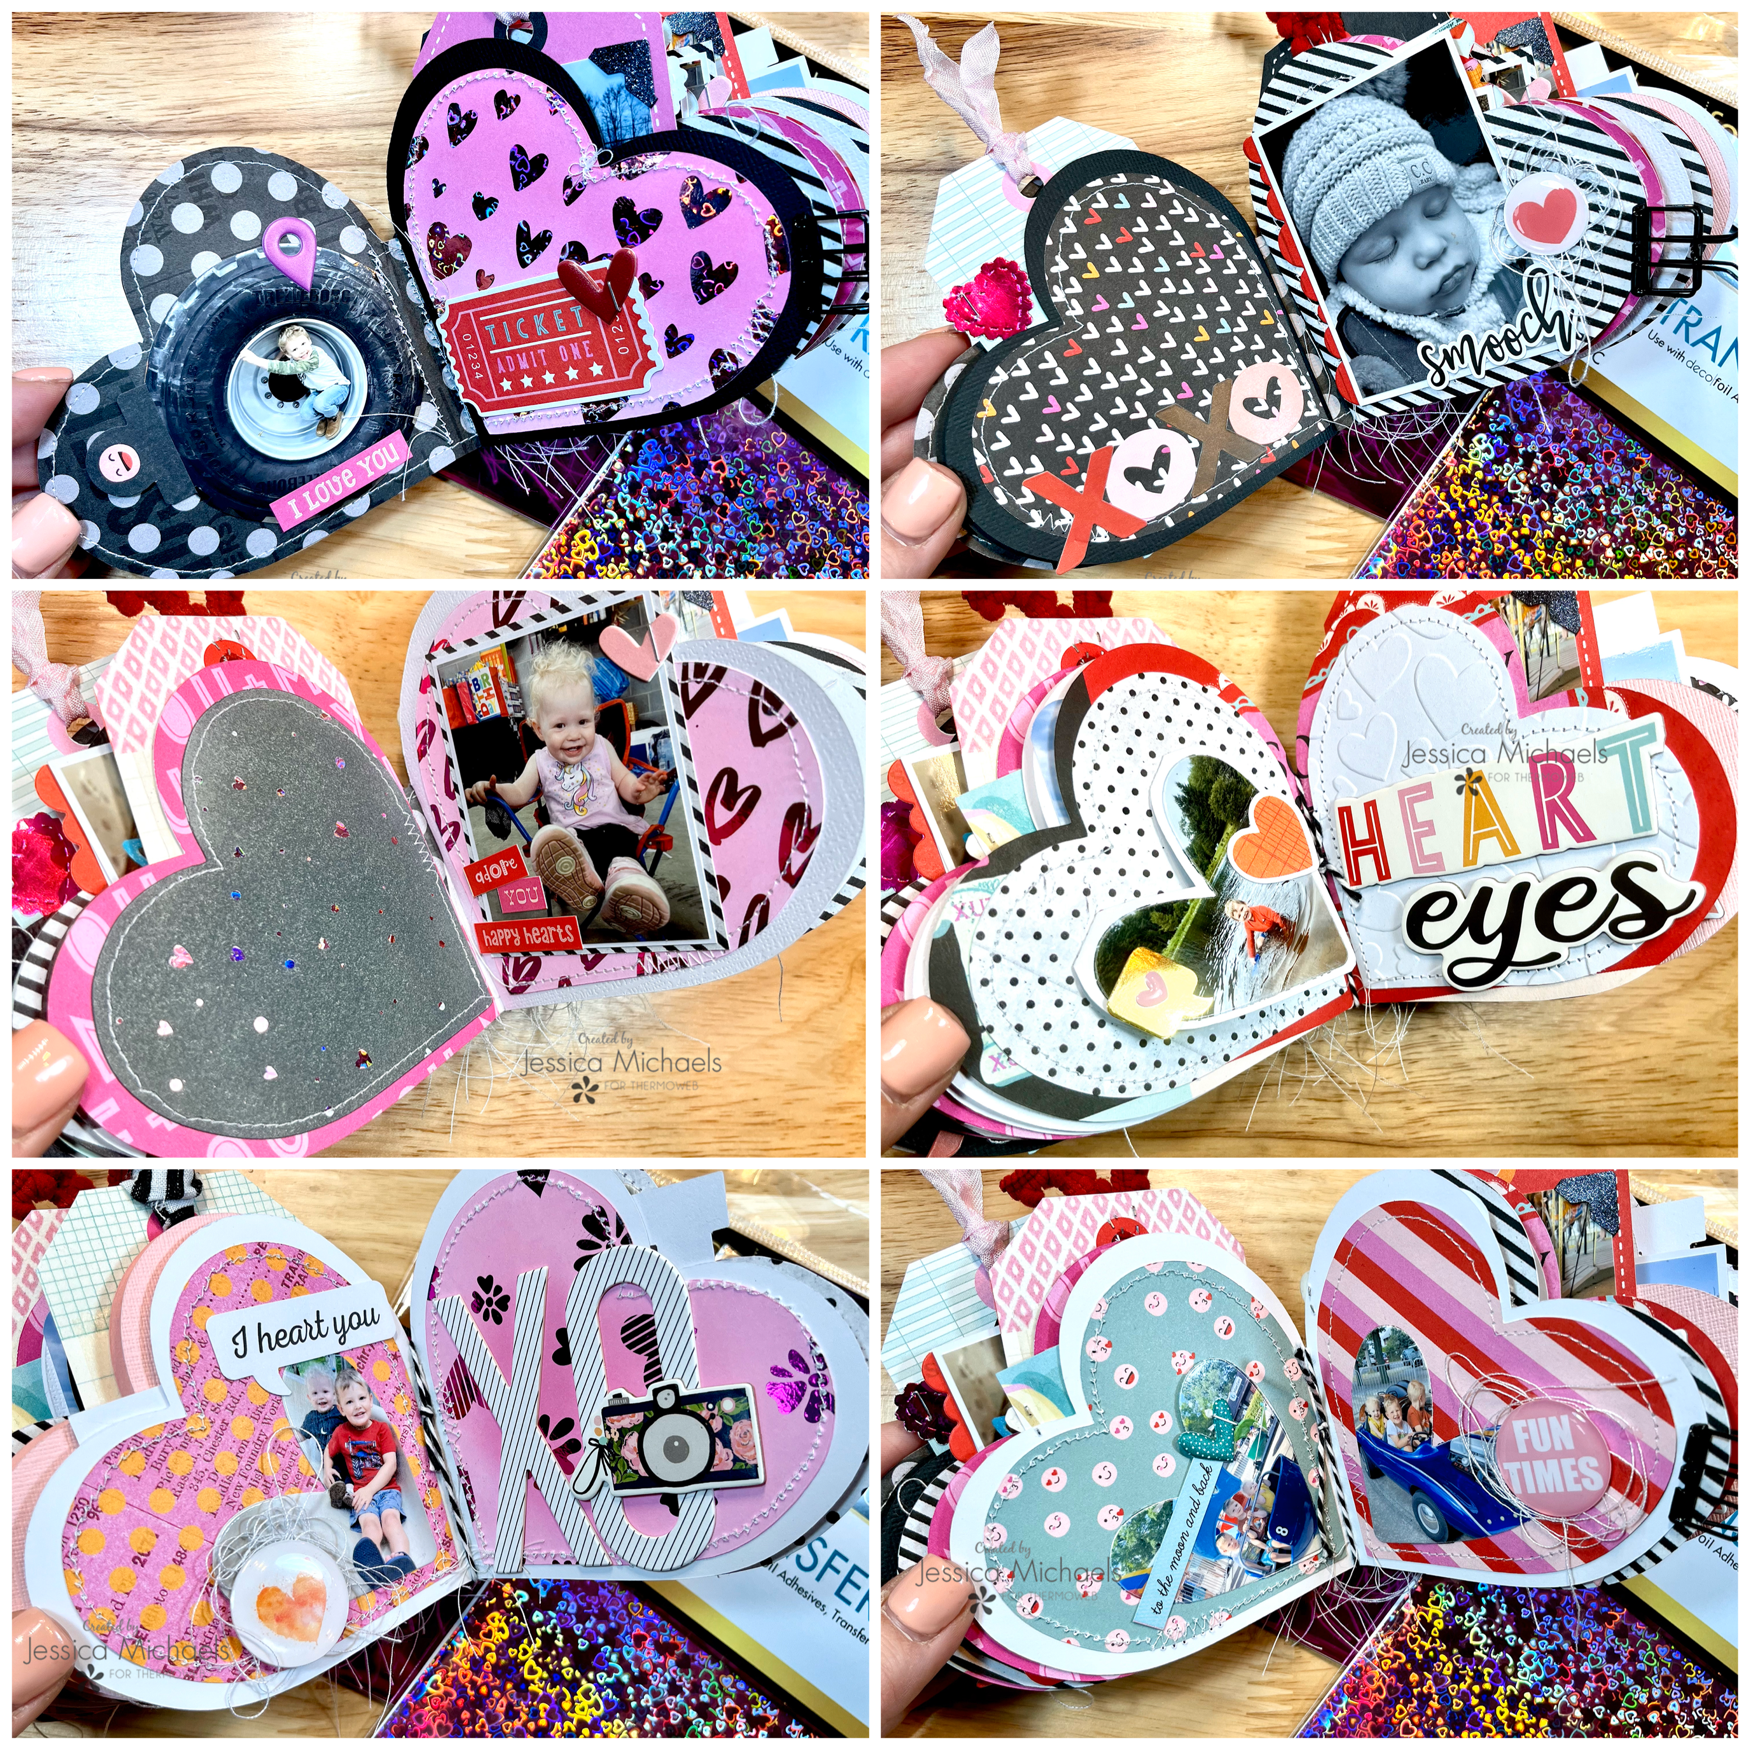
Here’s a preview of some of the inside pages! I ended up fitting in 7 pages, which is really 14, plus the insides of the front and back covers.
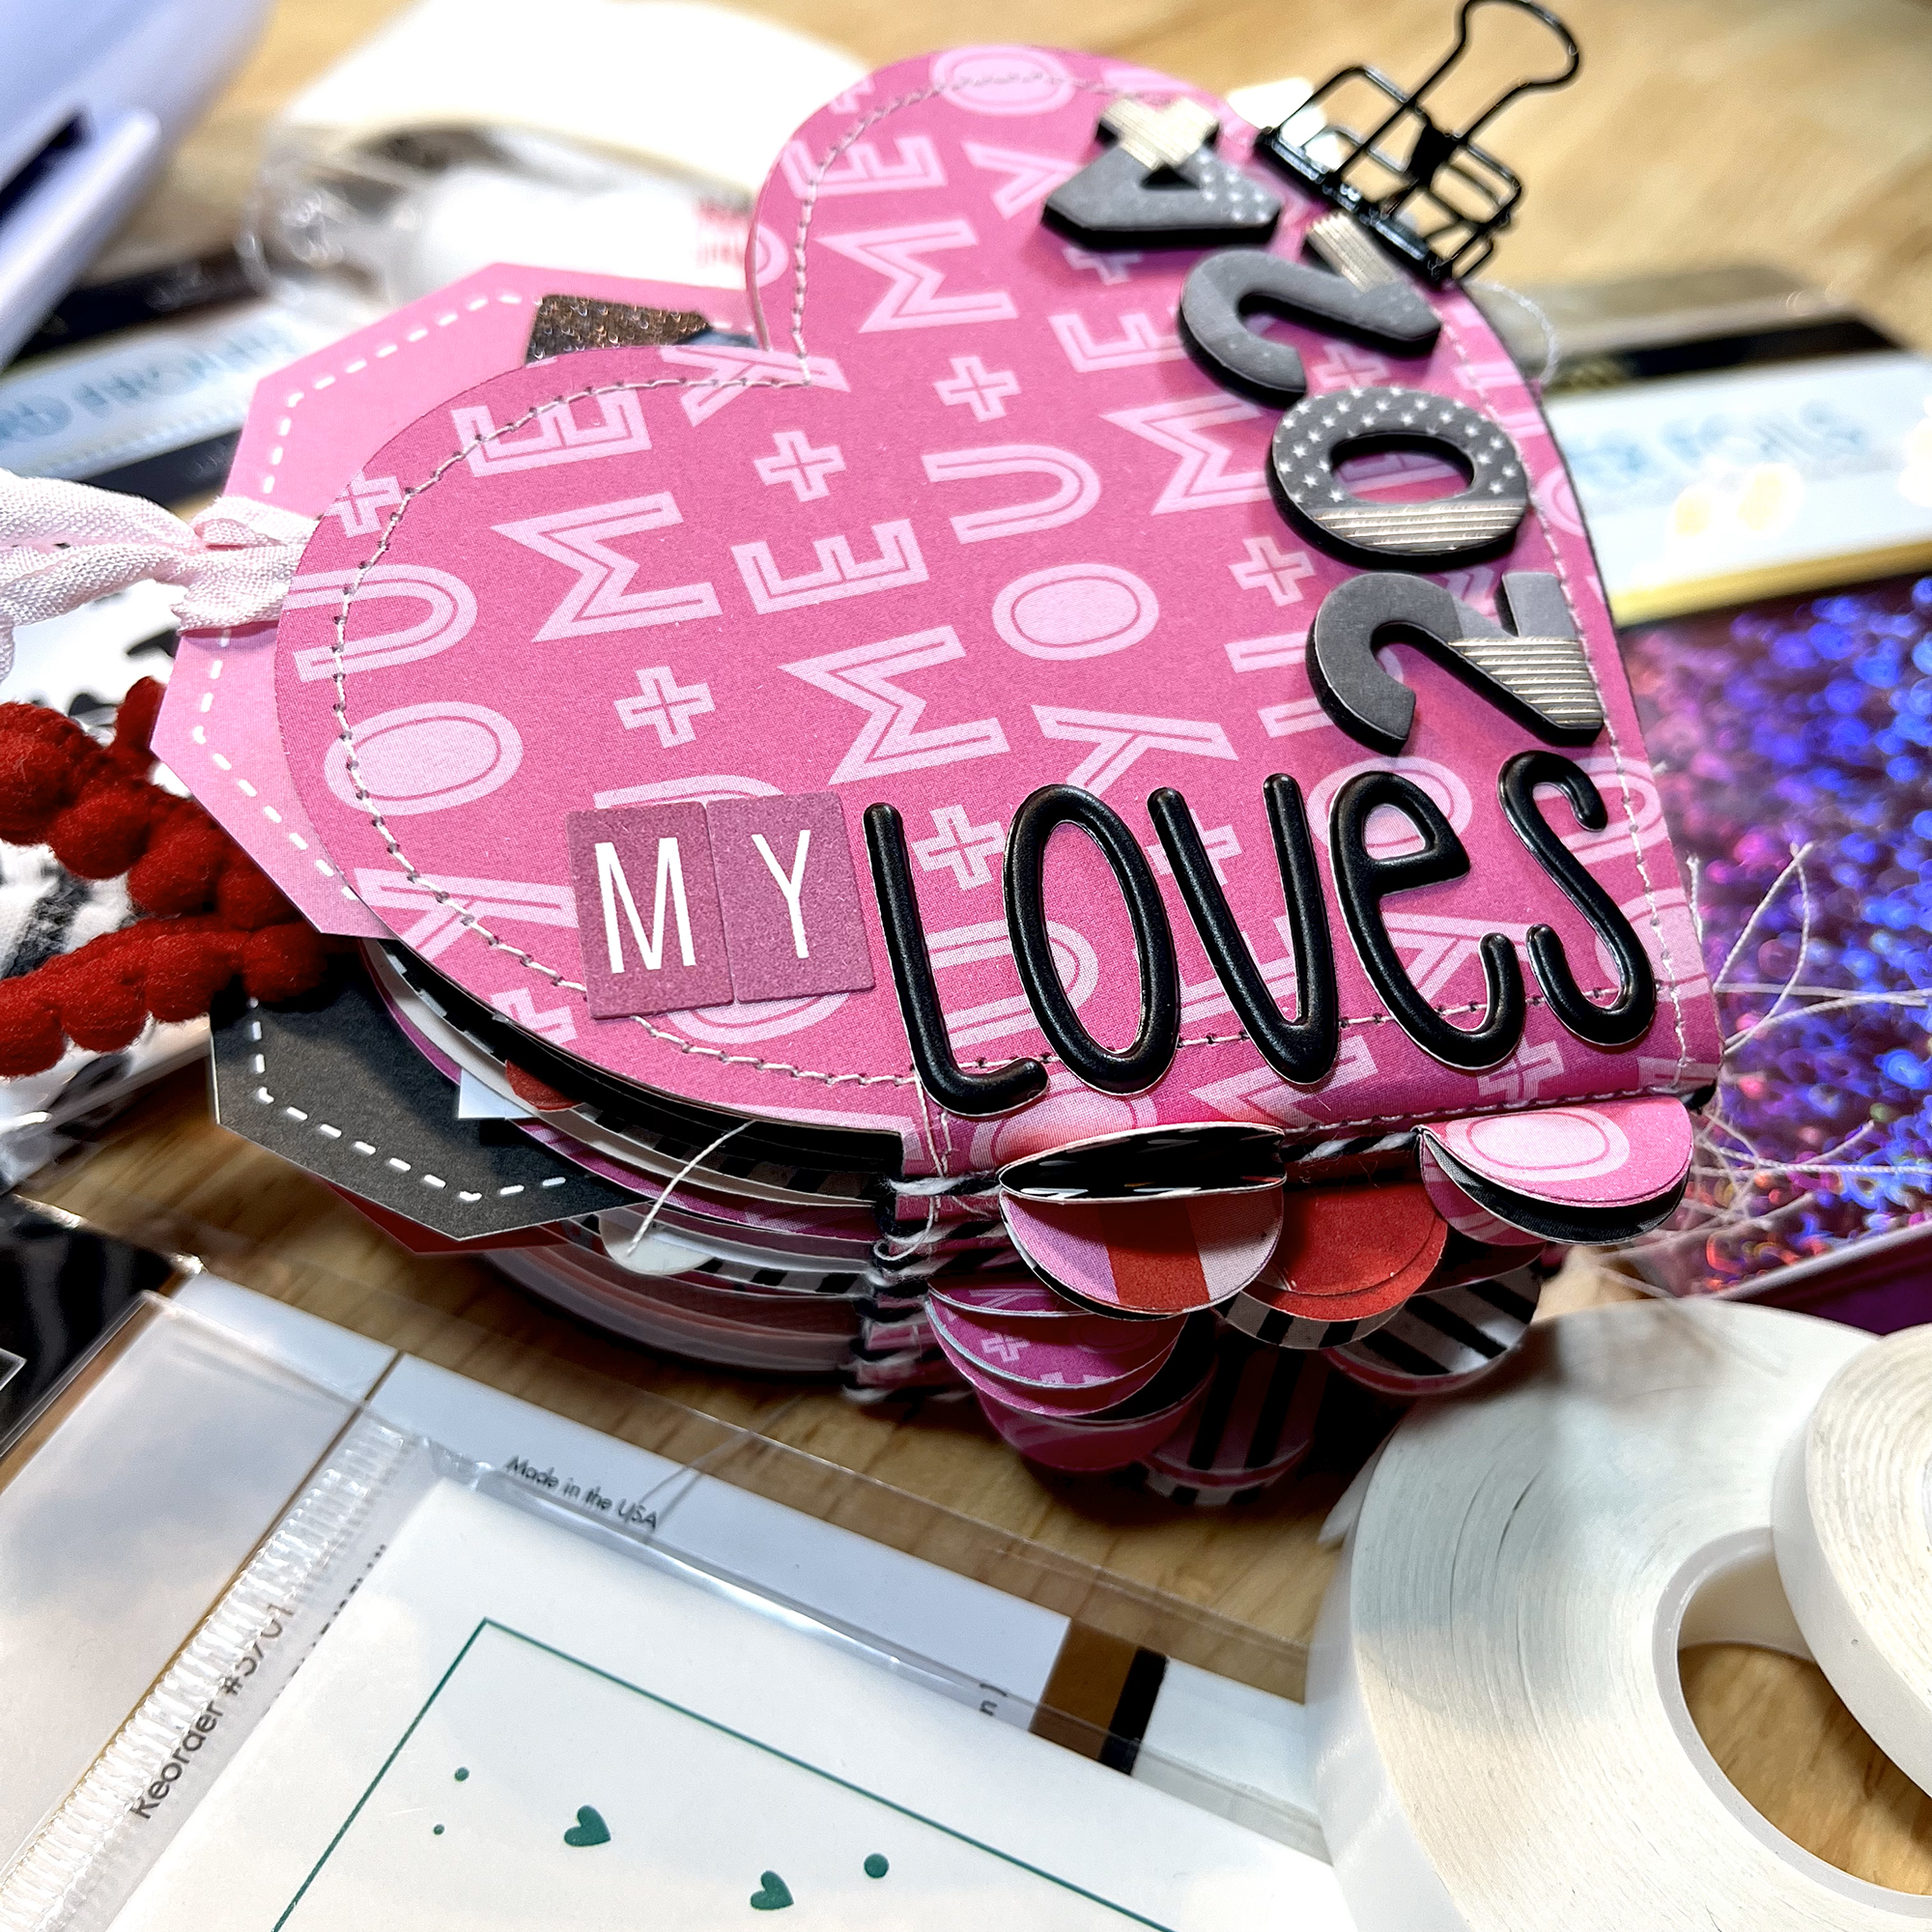
I decorated the cover using some Alphas from Bella Blvd, Elle’s Studio and American Crafts.
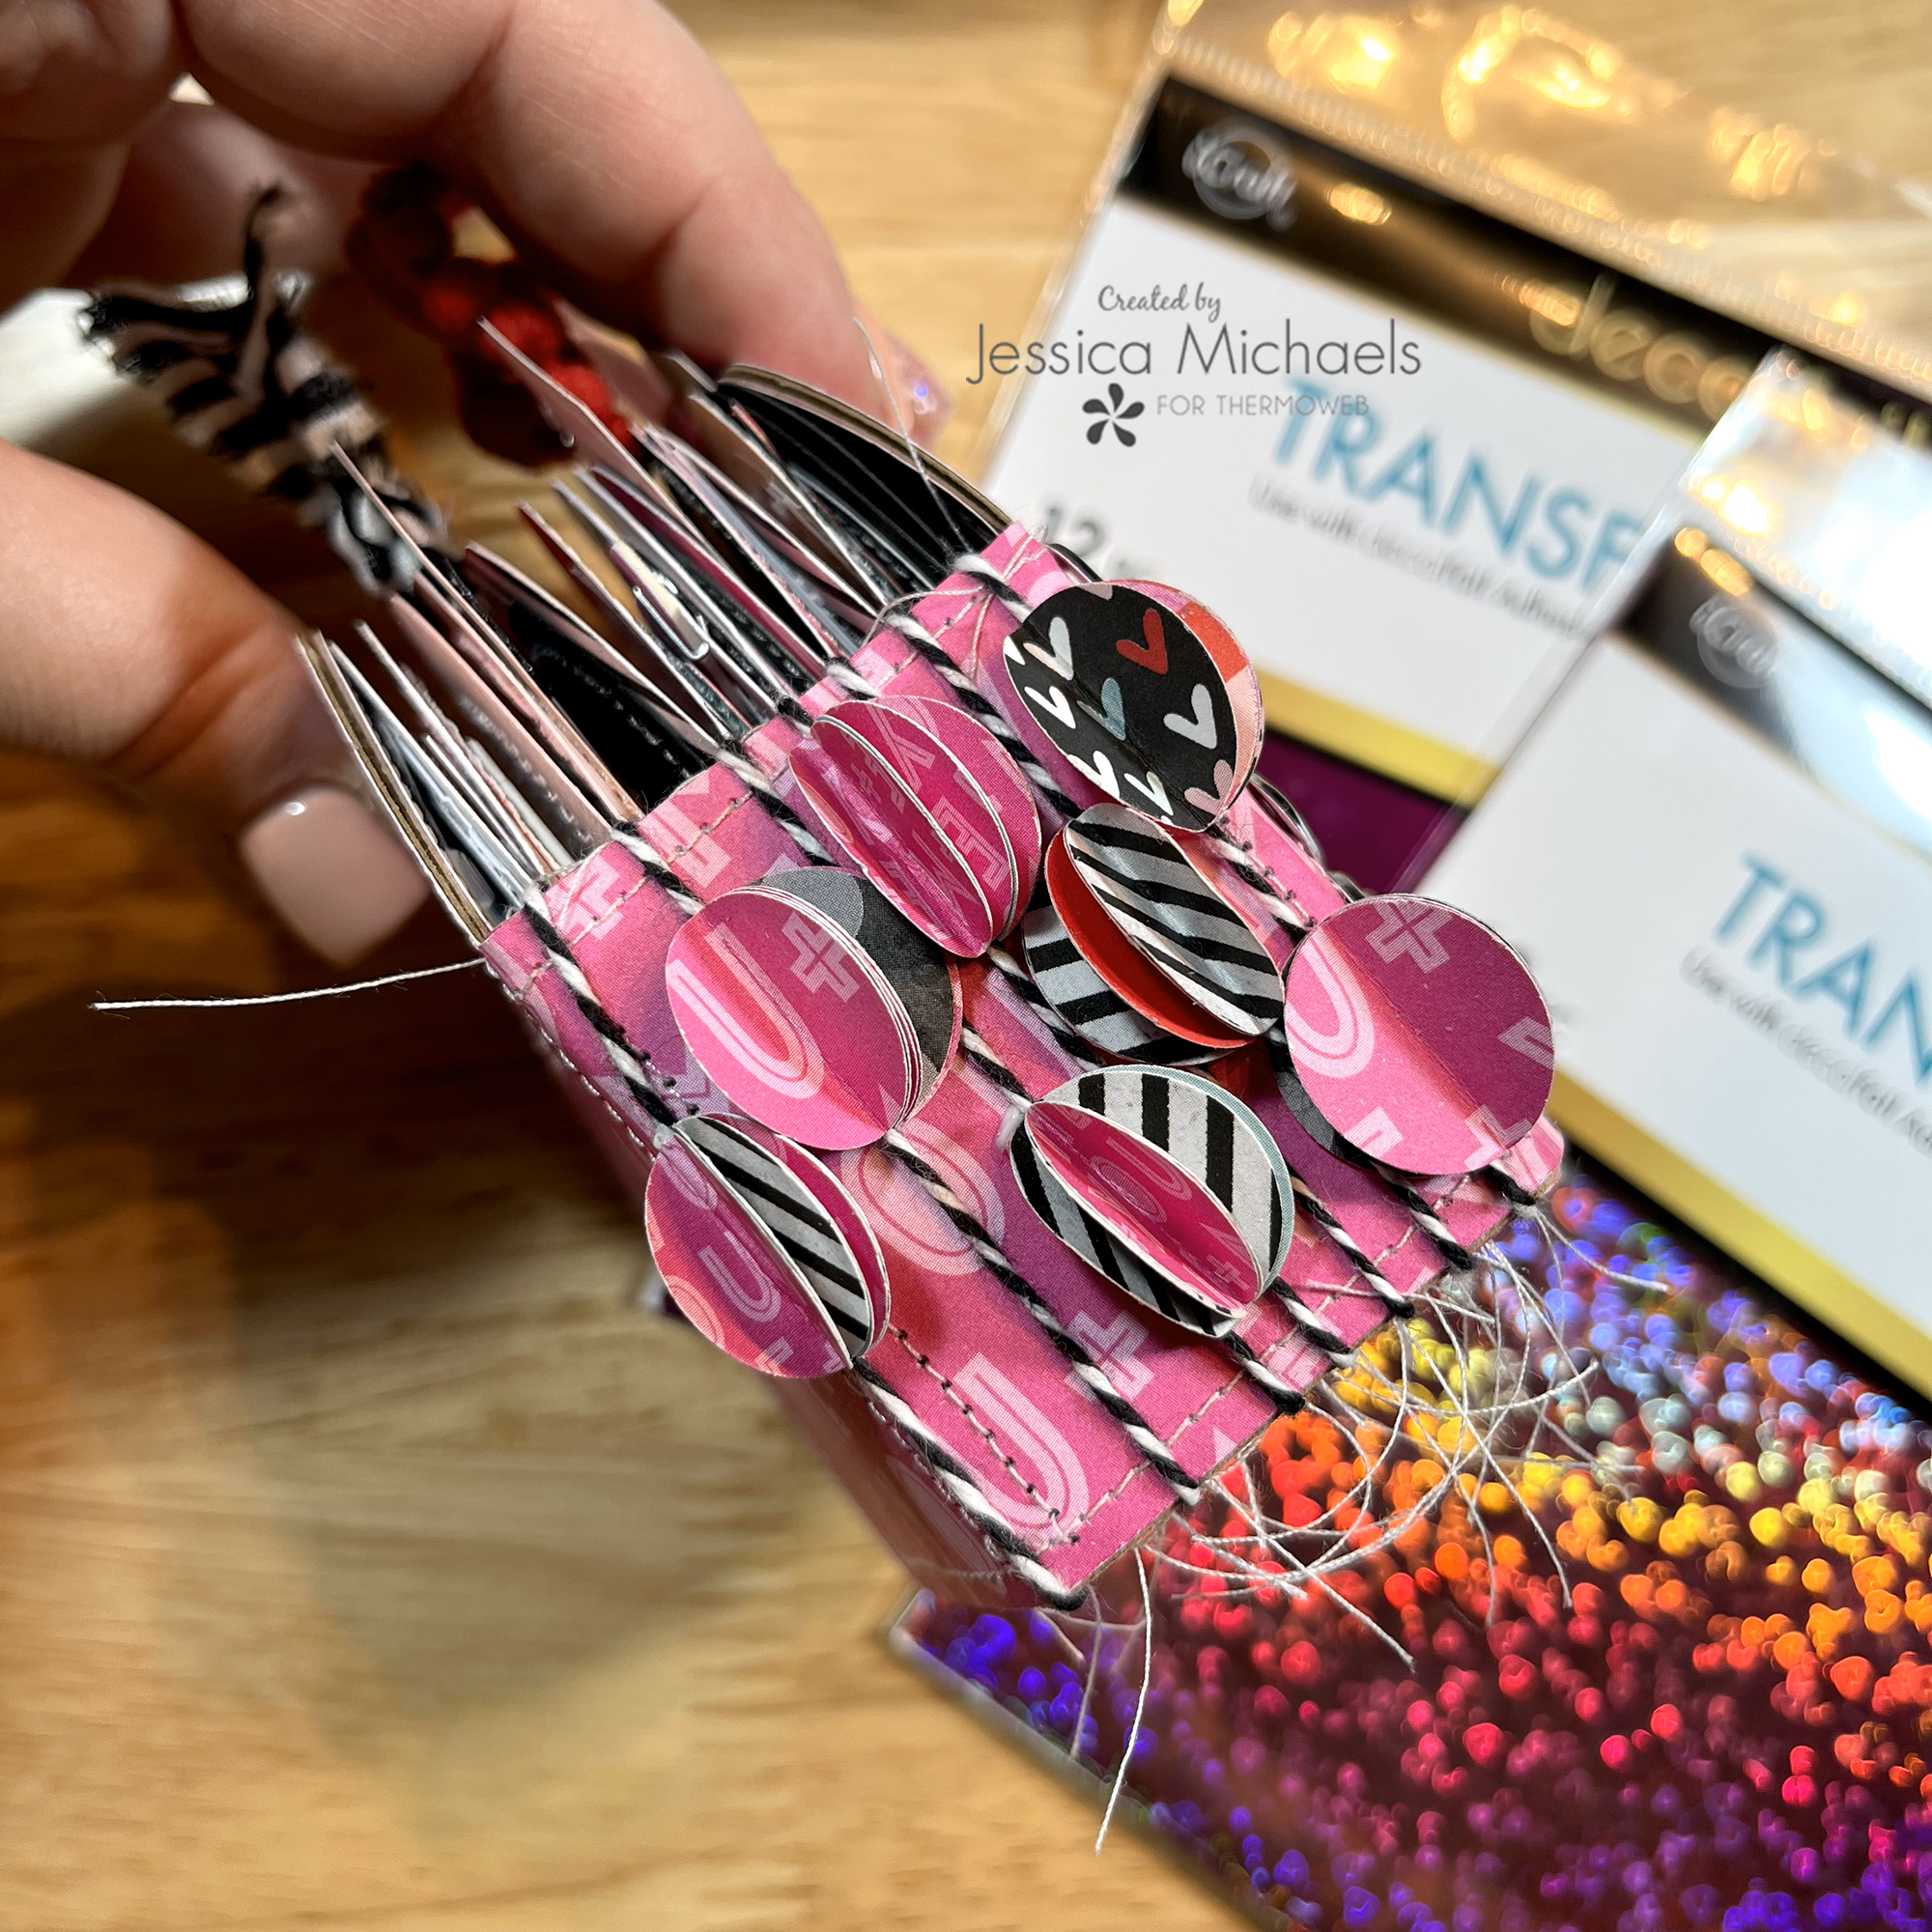
I tied all my pages into the album with some bakers twine. I didn’t have any charms or beads in my stash(I know, SHOCKER) so I made my own using a small circle punch and just folding them in half and gluing the layers together with some Ultrabond Liquid Adhesive. I glued the last layer of them together with the string inside so they would be like charm beads on the binding! I just love them! I think this is my favorite project to date using Thermoweb products!
Watch the Album Flip Through and process recap here:
Thank you for being here today and I hope I was able to inspire you to create!
Jessica
This post contains affiliate links. For more information, see our disclosure HERE.