


If you missed our announcement yesterday…we kicked off a week of fun with our friends at Newton’s Nook. And no it’s not our first time teaming up…in fact, we think it’s our third! That’s because we love the products and the wonderful people behind the scenes there, Jennifer and Jeff, who make all the adorable products we’re using this week.
So do look at yesterday’s projects if you missed those and be sure to join us daily this week for more ideas. Speaking of ideas..we love Audrey’s for using our Deco Foil Toner Sheets to create a colorful background for her Newton’s Nook Hoppy Greetings Stamps…
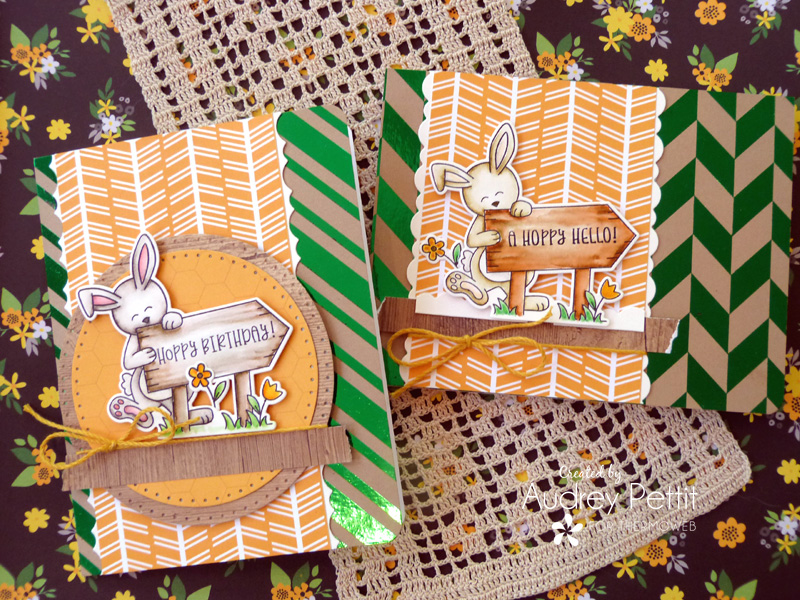
Hoppy Greetings Card Set with Newton’s Nook and Deco Foil
by Designer Audrey Pettit
Therm O Web Card Supplies
Deco Foil Kraft Toner Sheets: Chic Chevron, Candy Stripes
iCraft Deco Foil Transfer Sheets: Green
Memory Tape Runner XL
Gina K Designs Foam Tape
Mixed Media Adhesive
1/2″ Purple Tape
Other Card Supplies
Newton’s Nook Hoppy Greetings Stamps and Dies
Bristol Smooth Cardstock
PhotoPlay Paper 12×12 Patterned Paper: Sweet as Honey
Die Sets: Sizzix Circles, Dotted; PhotoPlay Paper Borders
Royal Sovereign Laminator
Hi everyone, and welcome to Newton’s Nook week here on the Therm O Web blog. Today I have a pair of cards to share that I made with Newton’s adorable Hoppy Greetings stamp and die set along with a new favorite from Therm O Web, Deco Foil Toner Sheets made with kraft cardstock.

Hoppy Greetings Card Set
I mixed golden honey tones with our fabulous bright green Deco Foil Transfer Sheets to create cards perfect for the spring and summer months, and I love how they turned out. Let’s take a closer look.
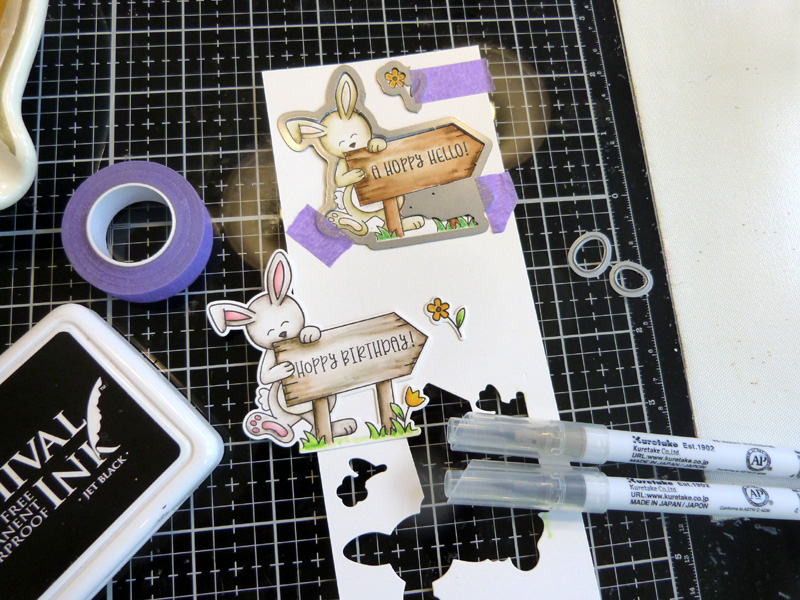
To begin, stamp and color your images. I used Jet Black Archival ink on Bristol Smooth cardstock and then colored using Zig Real Brush Markers. Use Purple Tape to hold the dies securely in place, and then die cut all the images.
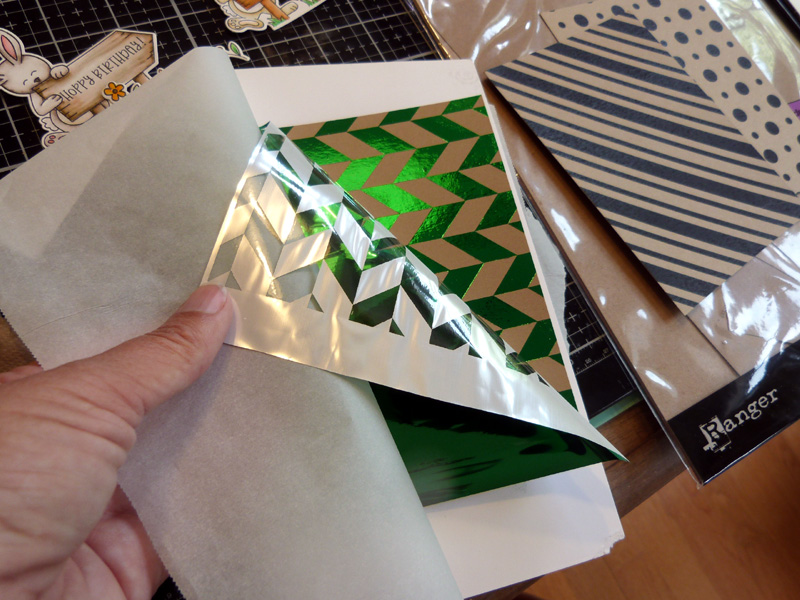
Turn on your laminator machine set to the 3mm setting, and allow it to heat up. Place a kraft toner sheet inside a piece of folded parchment paper. Place a sheet of Deco Foil Transfer Sheet onto the Toner Sheet so that the colored side is up and the silver side is down. Run this sandwich through the heated laminator. Peel off the foil to reveal your beautifully foiled pattern.
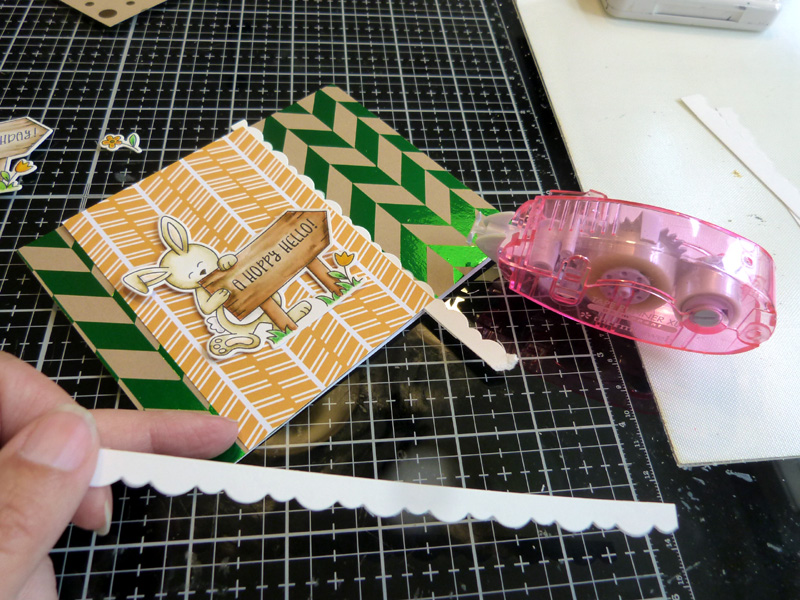
Adhere the foiled Toner Sheet to a standard A2 card base using Memory Tape Runner XL. Trim a band of patterned paper to fit the height of the card. Add decorative cardstock borders to each side of the patterned paper. Round the bottom corners of the card using a corner rounder punch.

Tie twine around the patterned paper. Add a strip of torn paper and additional border pieces. Adhere the panel to the left side of the card. Place pieces of foam tape behind the image, and add it to the card. Add a small dot of Mixed Media Adhesive to the back of the small flower die-cut, and tuck it into the scene.
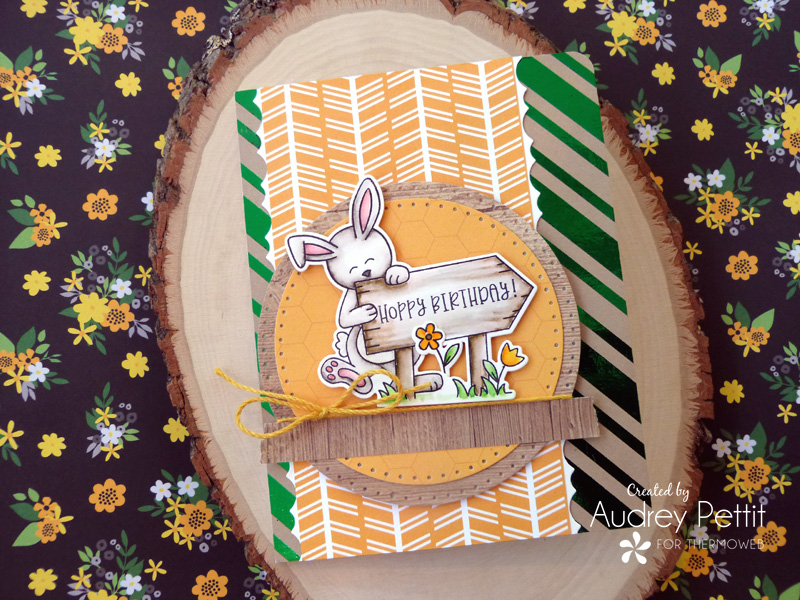
Repeat the process to create a vertical card design using the same elements, this time adding a pair of layered die-cut circles behind the images to create a slightly different look.
Enjoy!
Don’t Miss Our Giveaway!

There are more amazing projects today over on the Newton’s Nook Designs blog so pop over there for more inspiration!