It’s the holidays…instead of searching high and low for the perfect gift..give the gift of handmade. This holiday make someone’s just a bit brighter with these adorable frosty holiday snowmen made with Therm O Web Stitch n’ Sew™ fleece!
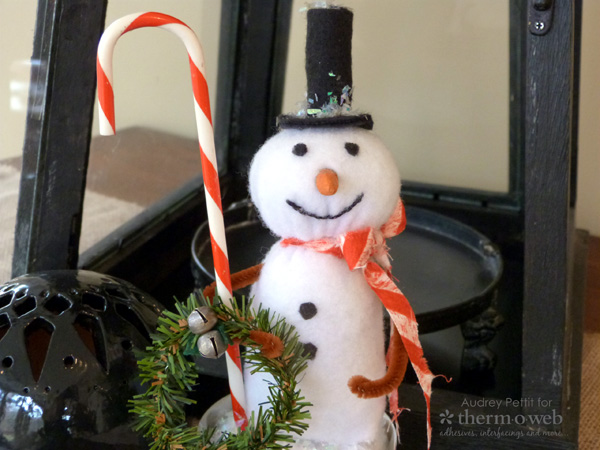
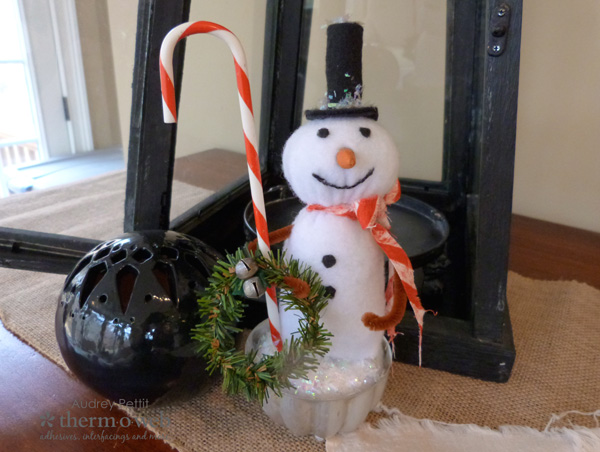
Holiday Snowman Made with Therm O Web Stitch n’ Sew Fleece
Frosty Bell Snowman decor by Designer Audrey Pettit
To begin, gather your supplies. You will need:
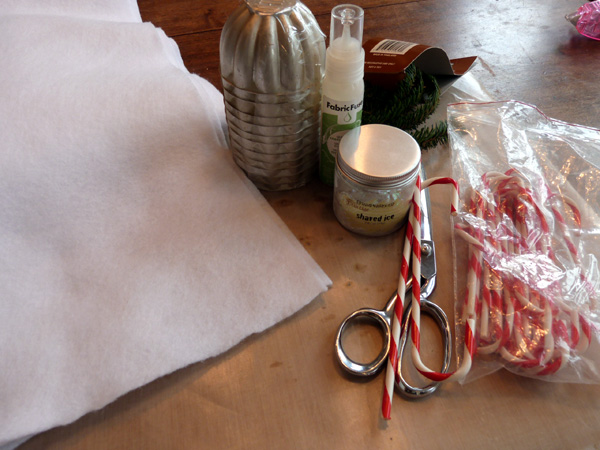
Therm O Web Stitch n’ Sew™ Fleece
Therm O Web Fabric Fuse™ Liquid Adhesive
small container
black felt
DMC floss
mica or crystal glitter
fabric scraps
carved stick for nose
orange paint
trimmings: bells, plastic candy canes, pine garland, chenille stems
polyfill stuffing
Project Instructions:
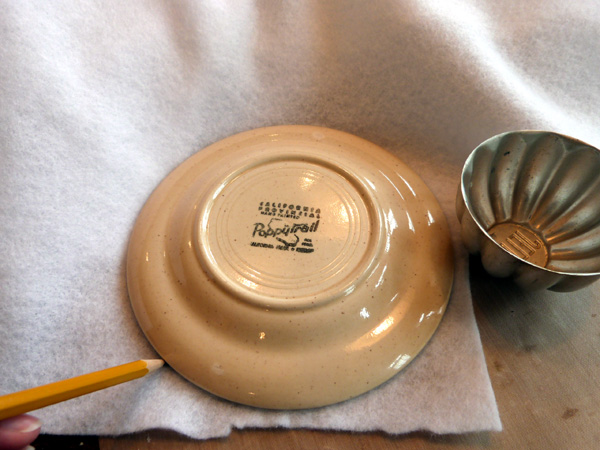
Gather the container you wish you use for the base. I found a stack of adorable vintage jello molds at my local junk store that I am using, but whatever you have on hand will work just as well. Find a round object, or download a free circle pattern, that is approximately twice the width of the opening of your container. No need to measure carefully, just find something close. Trace the object onto the fleece using a pencil, and then cut out the shape.
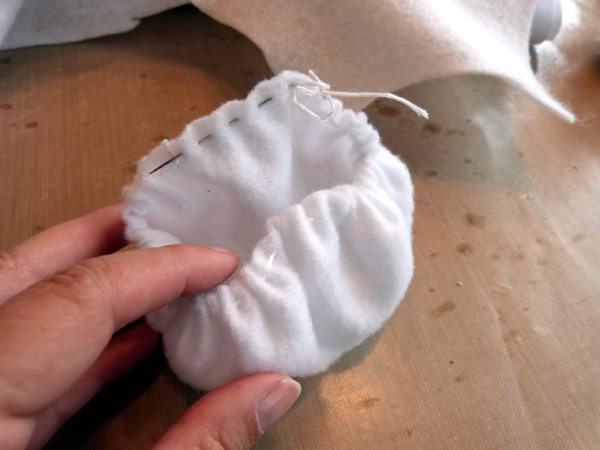
Using all 6 strands of embroidery floss, stitch a loose gathering stitch all the way around the edge of the fleece, about 1/4″ from the edge. Pull slightly to begin to gather, and then fill the gathered fleece with polyfill stuffing.
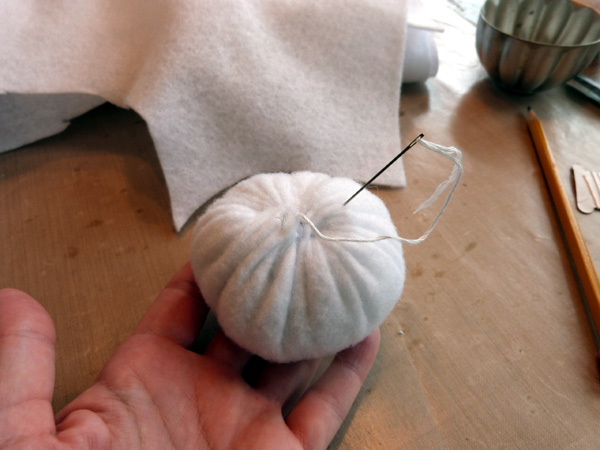
Add as much stuffing into the ball as you can, and then pull the thread tightly to close the ball. Add a few tack stitches to close the ball.
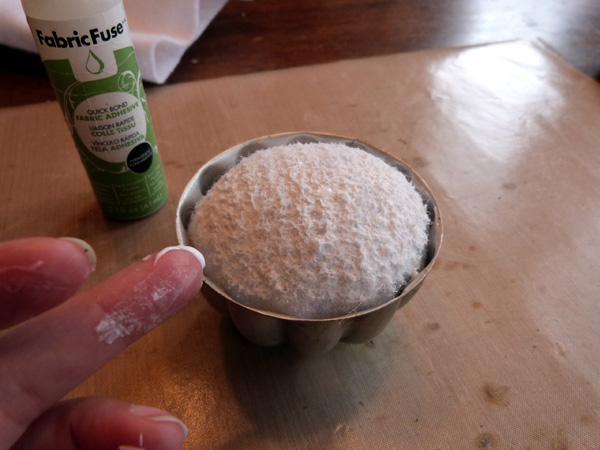
Next add Therm O Web Fabric Fuse™ liquid adhesive to the inside edges of your container, and place the fleece ball into the container (with the cinched opening down). Apply a thick coat of the glue over the top of the fleece ball, smoothing the adhesive out with the tip of your finger.
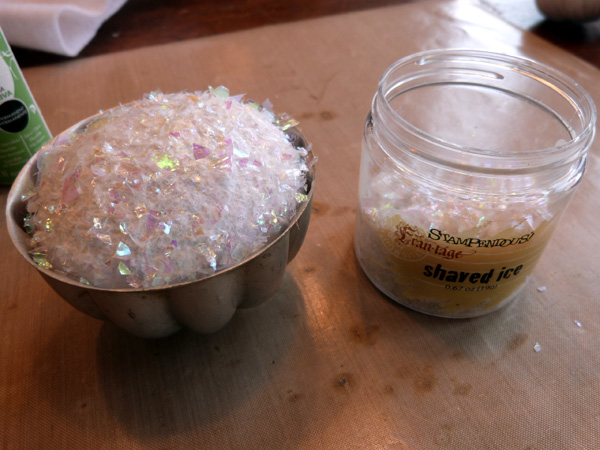
And then coat the fleece with your favorite mica or crystal glitter.
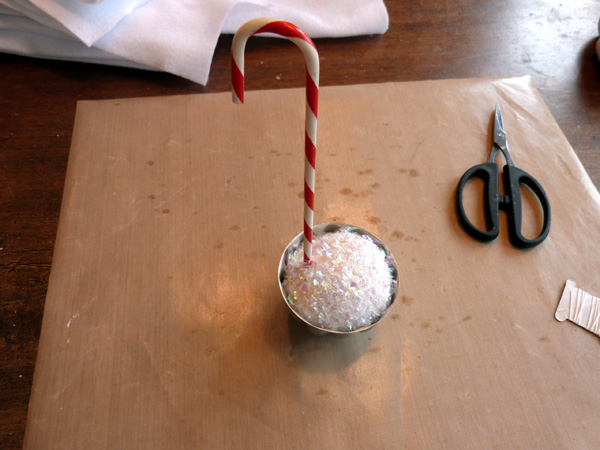
Snip a small opening in the side of the fleece ball, and insert a plastic candy cane into the opening, secured with more of the liquid glue. I found these fun candy canes at my junk store. Your local dollar store, big box craft store, or even Target $pot may have something similar. If not, try substituting a chenille stem candy cane, instead. Set the container aside to dry while we work on the snowman.
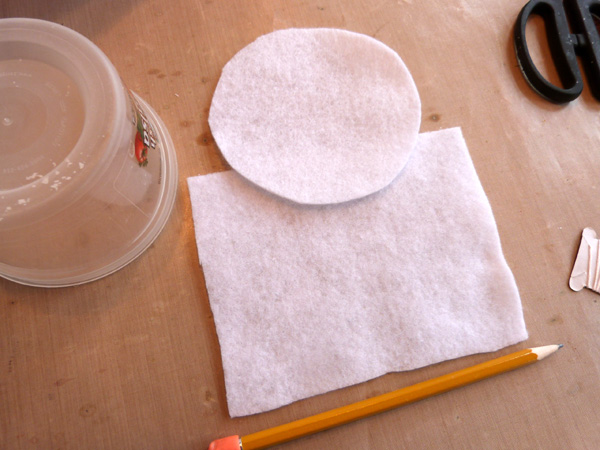
For the snowman, you will need two more pieces of fleece: one circle (slightly smaller than the one you used for the container), and one rectangle (about two inches wider than your circle, and however tall you would like your snowman to be). Again, no exact measurements are required. This is a no-fuss crafty project!
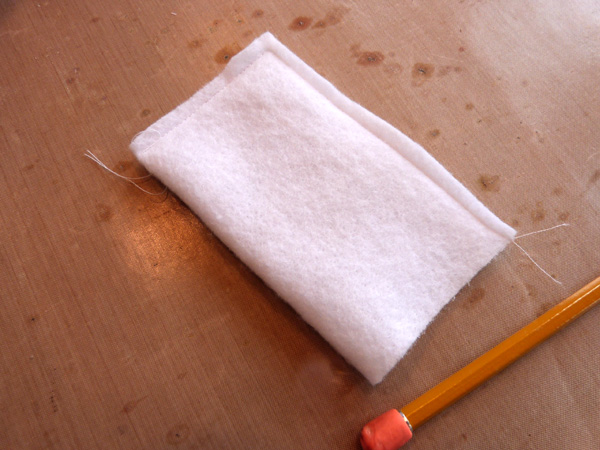
Fold the rectangle in half, and stitch down the side and across the bottom using ~ 1/4″ seam allowance.
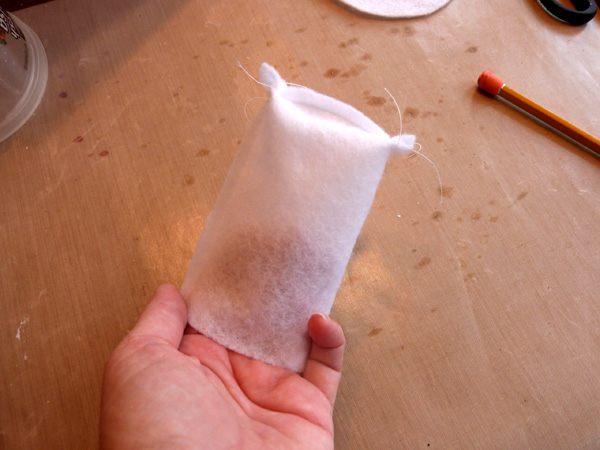
Pinch the bottom corners and sew across them.
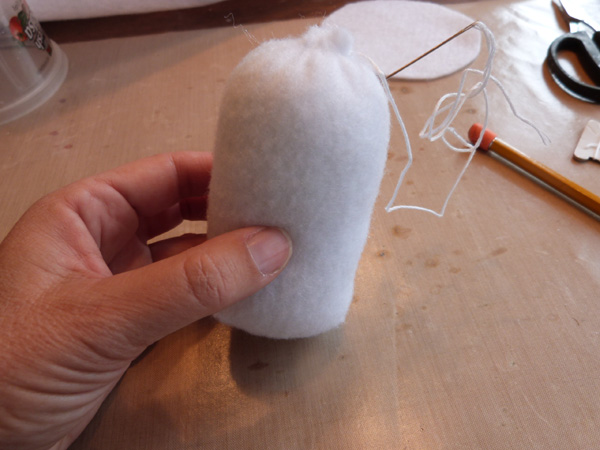
Turn the fleece right side out and stuff with polyfill fiber. Run a gathering stitch around the top of the body, and pull tight to gather. Secure with a few stitches. Repeat the process on the round circle to create the head of the snowman. Then stitch the head to the snowman body.
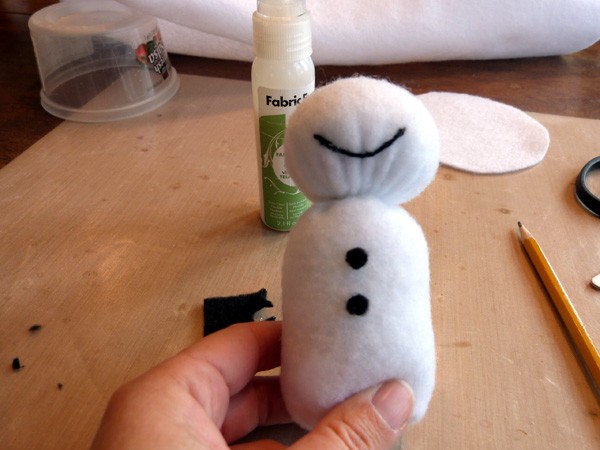
Now have fun adding details and embellishments! Stitch a mouth using black floss. Add buttons and eyes cut from felt. Secure all embellishments with the Fabric Fuse™ adhesive to keep them in place. Cut small slits in the side of the body, and push a brown chenille stem through the slits for the arms. Tie a strip of fabric around the neck for a scarf.
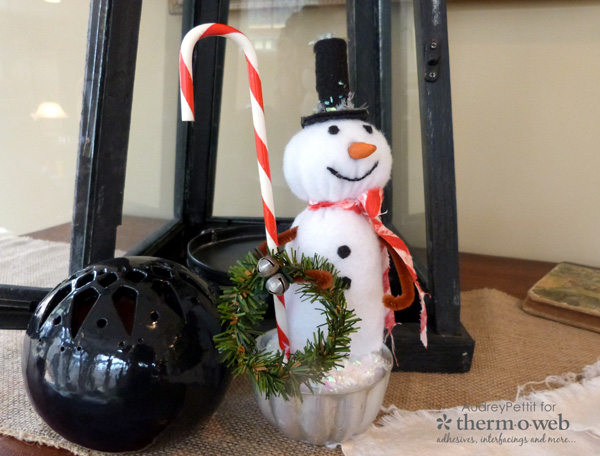
Sew the snowman into the container and wrap his arm around the candy cane. Continue to add details like a carrot nose and hat made from felt. Dress him up with a small wreath made from pine garland, tied with bells. And when you’re all done adding details, dab a bit more Fabric Fuse™ glue onto his hat and cover the adhesive with the glitter.
Enjoy!
Save
 Last week we officially kicked off the holiday season today with our Festive Friday celebration!
What is Festive Friday? Well it’s a chance to celebrate with YOU are fans all the fun and goodness this holiday season.
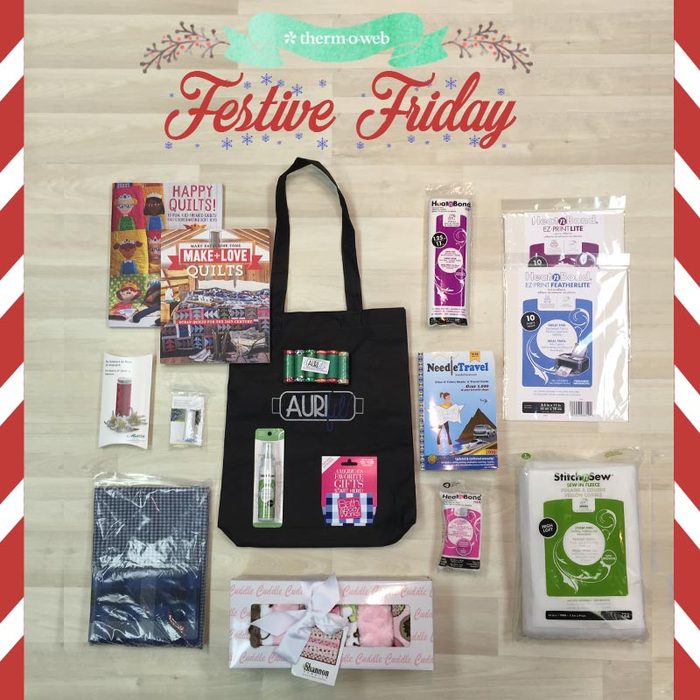
This week we’re giving away goodies with the sewist and quilter in mind! We’ve gathered up some HeatnBond® EZ Print Sheets in Lite and Feather Lite along with our StitchnSew™ Fleece, Liquid Fabric Fuse™, and more! Plus we’re including Antonie Roberts adorable Happy Quilts Book, Mary Fons Make + Love Quilts and some fabrics from Robert Kaufman, a blanket kit from Shannon Fabrics, threads from Aurifil and to help you locate more shops..the NeedleTravel guide! And that’s not all…we’re including a a $25 Bath & Body Works Gift Card! Simply follow the info to enter to win!

Plus our amazing friends at Mixbook wanted to be part of the fun and are giving YOU a chance to win a $75 credit! YES $75! That means you can shop for holiday cards, gifts, personalized albums and more!
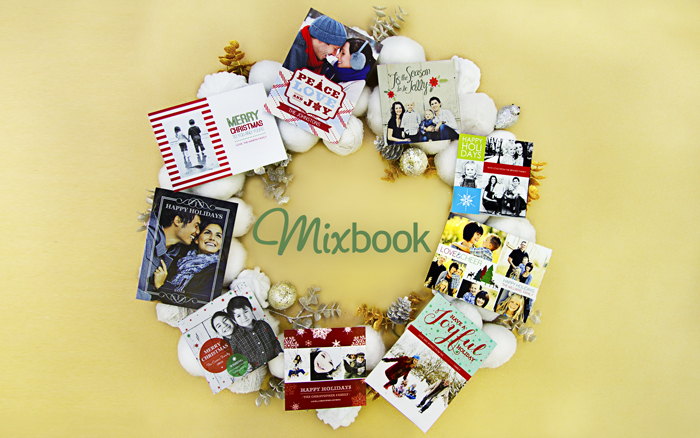
And if that was not enough they’re offering to you our fans a special discount…Mixbook is giving YOU a 40% off discount good on all your cards, books and more! Simply use code: FOIL40 to shop and save now through the end of the year.
Just follow the entry below!
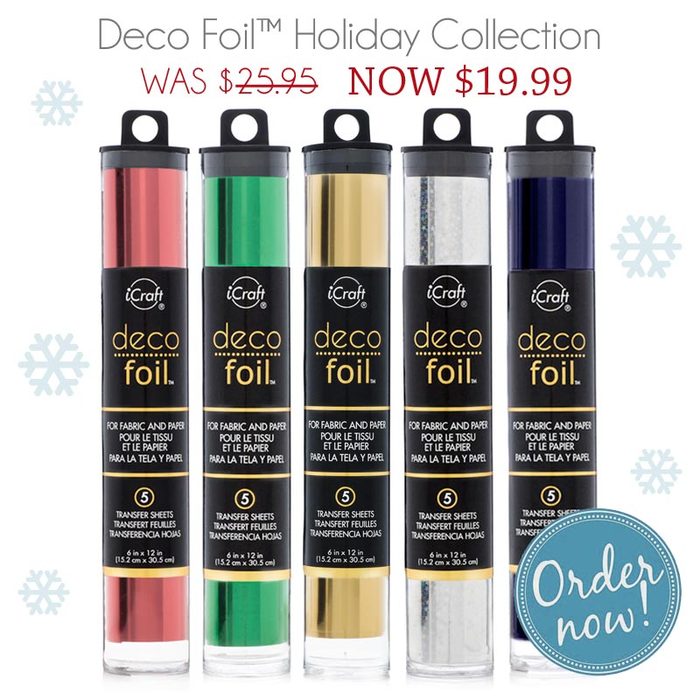
Pick up the Deco foil that Audrey used in her project at a special price! We’re offering our Red, Green, Gold, Iridescent and Deep Blue at an amazing price! $19.99 for all 5 tubes with 5 sheets each..that’s 25 sheets! Hurry over to our website to grab this deal for all your holiday craft and gift projects!

Kirsty Vittetoe
December 9, 2016 at 4:16 pm (8 years ago)What a cute project Audrey!
Lynn Darda
December 11, 2016 at 10:08 pm (8 years ago)Adorable snowman! You make it look so easy! Great tutorial!