Merry Christmas! I’m Carla from Creatin’ in the Sticks and today I am excited to be here to kick off this quilt block series where 4 members of the Thermoweb design team will share holiday block designs over the next week. Every block can be stitched up in a day or two and you can sew along with us. On Saturday, December 9th we will show different layouts to put the blocks all together so you can have it all finished by Christmas. Let’s get started with block #1.
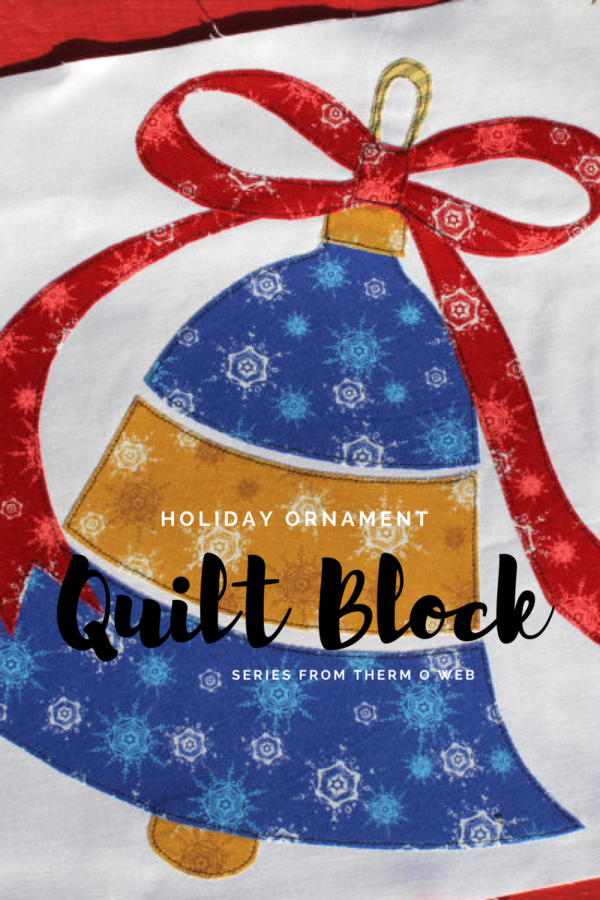
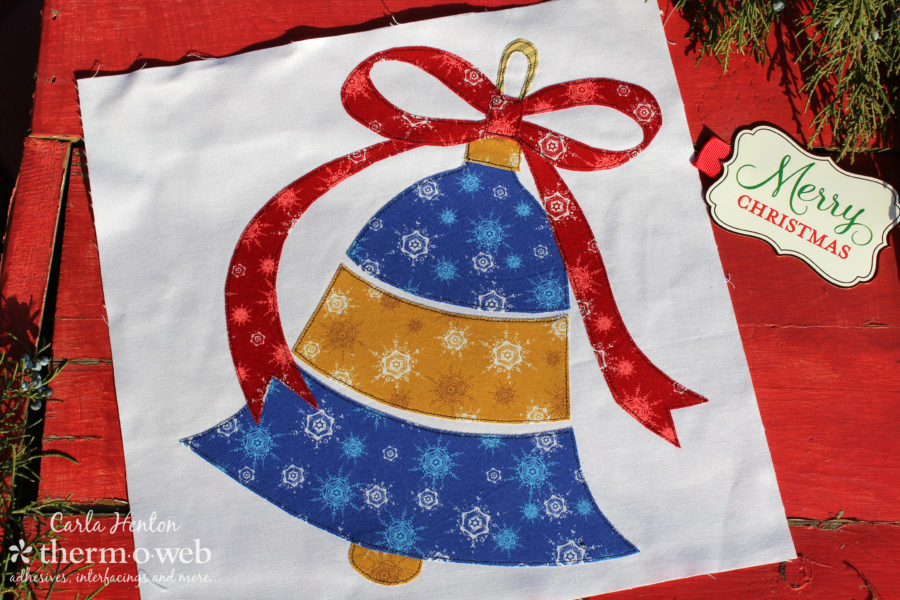
HeatNBond EZ Print Lite Christmas Bell Ornament Quilt Block
Unfinished Size: 12 ½” x 12 ½” Finished Size: 12” x 12”
By Carla Henton at Creatin’ in the Sticks
please read through the complete instructions before starting.
Supplies:
Pattern – Christmas+Bell+Ornament+Block+templates+for+Thermoweb+by+Carla+Henton+at+Creatin’+in+the+Sticks
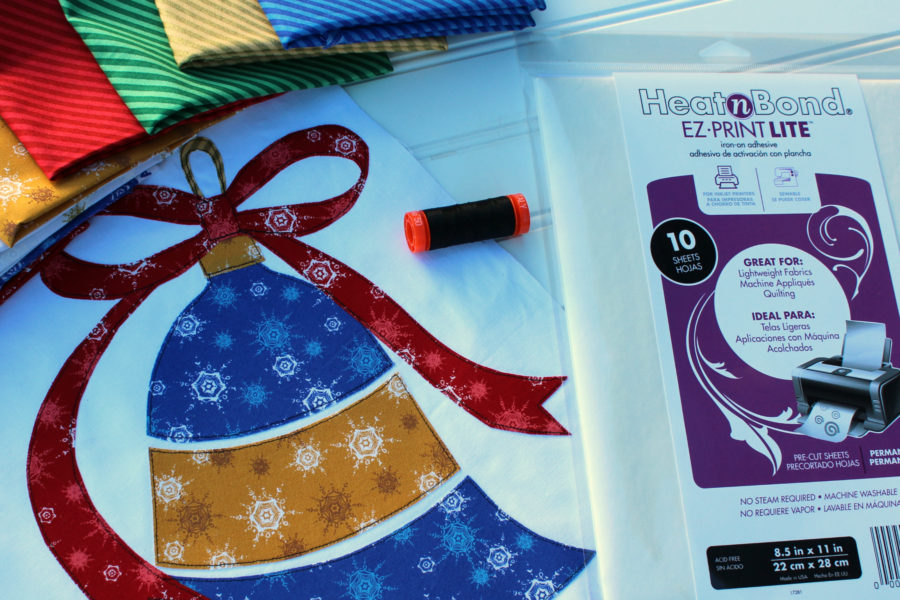
HeatNBond EZ Print Lite iron on adhesive – 3 sheets or HeatnBond Lite if you want to trace the templates
Fabric: (O’ Christmas Tree by Whistler Studios for Windham Fabrics)
Aurifil thread: 50wt #2692
Iron, Sewing machine, Sharp scissors,
and other basic sewing supplies
Fabric Cutting Instructions:
Background: 1 (white) – 12½” x 12½”
Applique pieces: instructions below
Holiday Quilt Block Instructions:
Prepare the applique patterns:
If you are using HeatnBond EZ Print Lite sheets, print the applique pattern pieces with your inkjet printer. Follow the package instructions for printing. NO TRACING! How awesome is that?
With HeatnBond Lite on the roll, the pattern pieces will need to be traced on the paper side of the adhesive. Follow the manufacturer’s instructions for tracing the patterns and bonding to the wrong side of fabrics. The patterns have been reversed for you.
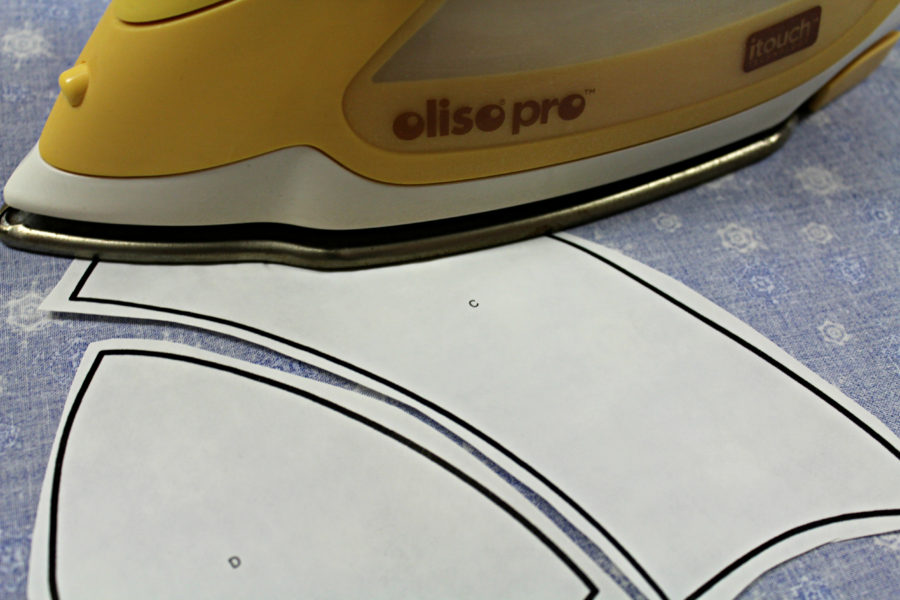
**TIP** To prevent the fabrics from showing the background fabrics, simply fuse interfacing to the back of the fabric before applying the applique adhesive. The interfacing will just add another of layer of protection from “show through.”
Construct the applique block:
Next, cut out all applique pieces on the solid black lines, peel off the backing paper, and place applique with the adhesive side down on the 12 ½” x 12 ½” background piece of fabric following the key below.
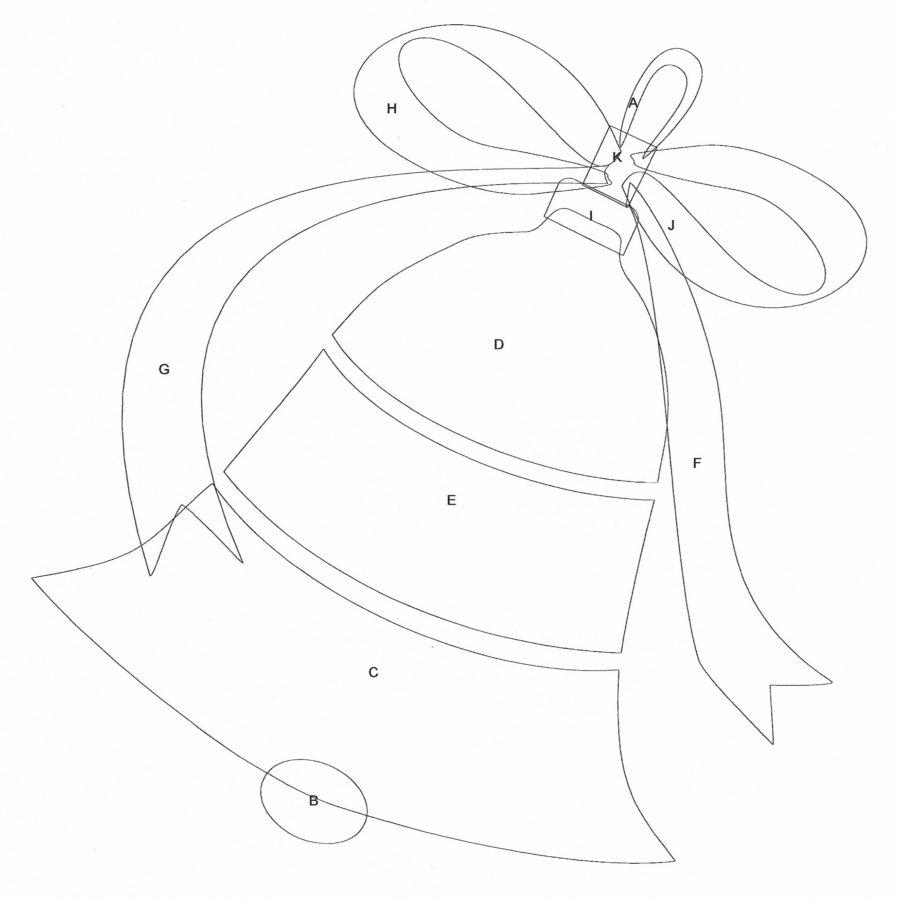
Make sure to a leave ¼” seam allowance around the background block.
Bond the Applique Pieces to the Background
Following the package instructions, work in sections to press the entire applique to the background until the entire applique is fused.
Stitch around appliques
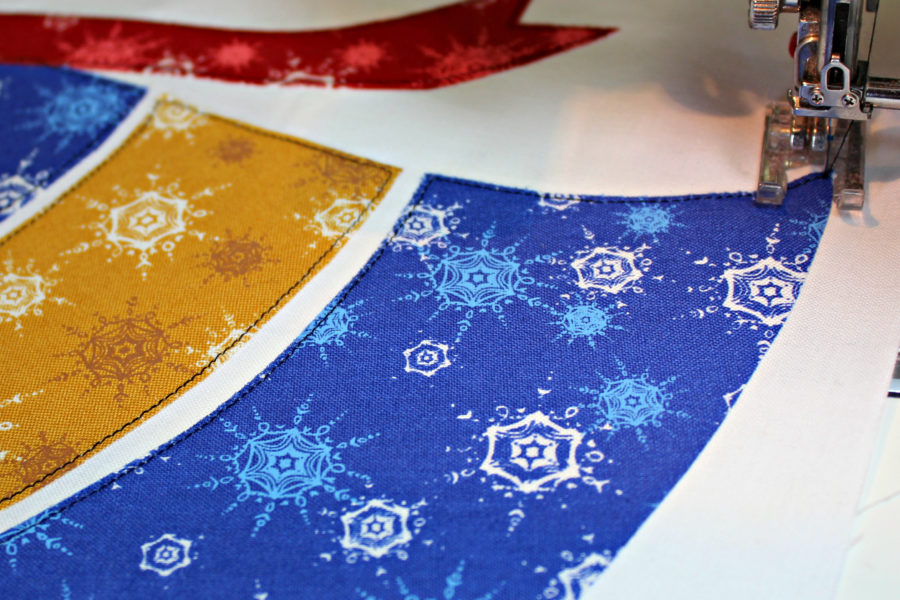
Use a straight stitch to stitch around each applique piece with black thread or use a zigzag or blanket stitch with matching thread.
More blocks to come from Thermoweb Designers Carol Swift, Amy Warner, and Amanda Niederhauser. We will have so much fun with these holiday blocks.
Carla
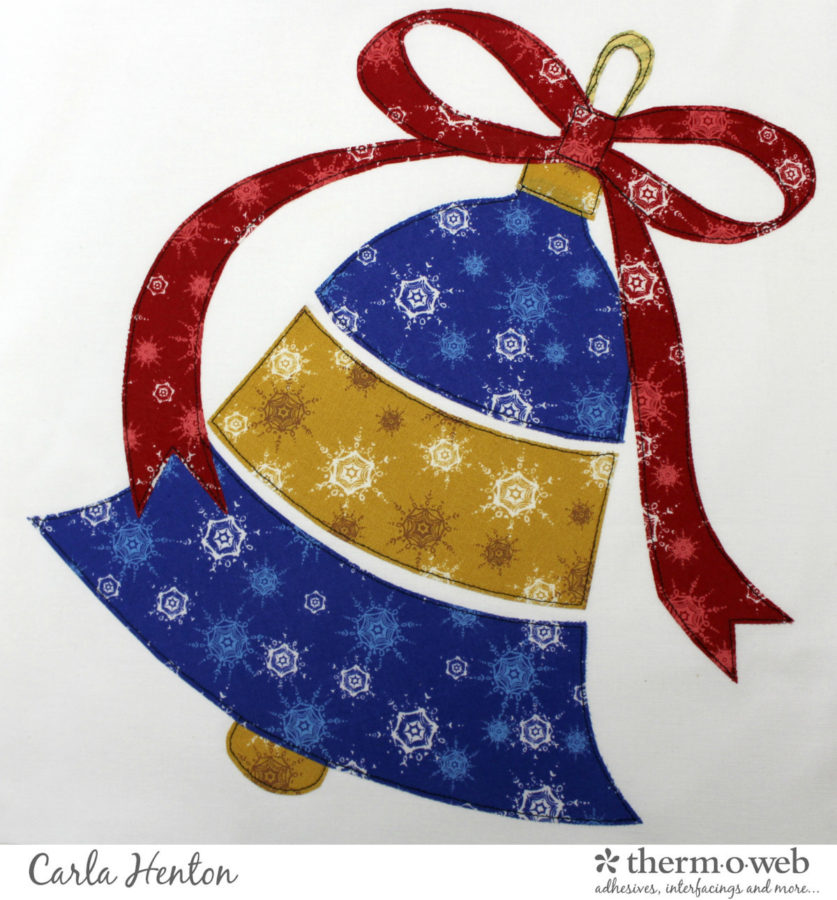
Be sure to join us next week for the next 3 patterns in this holiday ornament series plus the finale post showing all the completed projects! Join Designers Carla Henton, Carol Swift, Amy Warner and Amanda Neiderhauser as each share their Holiday Ornament Block!
 And we want to give YOU a chance to win some of our Designers favorite supplies plus a stack of the Windham Fabrics O Christmas Tree! We’ll include our HeatnBond Basting Spray, HeatnBond EZ Print Sheets, HeatnBond Fusible Fleece and our HeatnBond Lite Fusible Adhesive. Just follow the Rafflecopter entry form to get yourself entered to win some goodies!
a Rafflecopter giveaway
https://widget-prime.rafflecopter.com/launch.js
6 Comments on Holiday Quilt Block Series – Block #1 Christmas Bell Ornament with HeatNBond EZ Print Lite
2Pingbacks & Trackbacks on Holiday Quilt Block Series – Block #1 Christmas Bell Ornament with HeatNBond EZ Print Lite
-
[…] December 1st – Carla December 4th – Carol December 6th – Amanda December 8th – Amy December 9th – 4 different ways to put the blocks together by all the designers I hope you squeeze some time into your days to get a little sewing done. If we try and make a schedule to give us an hour or so, we will get some of these UFO’s finished. As always, Enjoy every day, as we love to create no matter who likes it or doesn’t, we loved making it for them! Cathy […]
-
[…] Holiday Quilt Block Series which will last a week. Check those out, starting at her blog, or the directions on the Thermoweb […]

KJ
December 4, 2017 at 8:40 am (8 years ago)Off to a great start. I have even made the first block. Well, fused down and just needs to be stitched in place.
WesternNYLady
December 19, 2017 at 8:31 am (7 years ago)Is there some way to pin this? I get a message that it can’t be pinned because the pin is a redirect. Please help. I don’t want to misplace this info.
admin
December 20, 2017 at 9:28 am (7 years ago)Hi Ashley! Could you try clearing your computer cache or cookies and then see if the “pin it” option works for you? Julia
WesternNYLady
December 20, 2017 at 9:45 am (7 years ago)Early this morning I tried pinning this again and it worked. No clearing of cache needed. I think Pinterest must have been having issues because this isn’t the only site I couldn’t get to pin. Thanks for the follow up.