


 Hello Crafty Friends!!
Larissa here to share a couple Ideas for using Embroidery Hoops for Decorations using Deco Foil Products!! To be honest, this is my first time using Embroidery Hoops for any type of Project!! So I started my Projects by searching Pinterest for Inspiration!!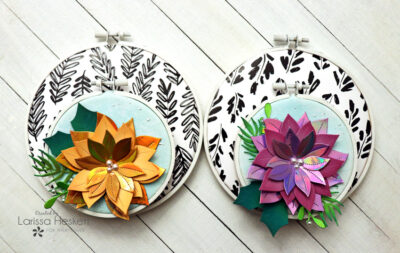
Deco Foil Poinsettia Home Decor Holiday Hoop Art
SWOON!! I had NO IDEA how AMAZING the Embroidery Hoop Decorations would be and let’s just say that now I have a NEW Board FILLED with Inspiration!! So if you’re ever in a bind with where to START a particular Project, don’t forget about Pinterest as a place to get INSPIRED!! It’s just FILLED with Goodness and might just get your Creative Juices Flowing!!
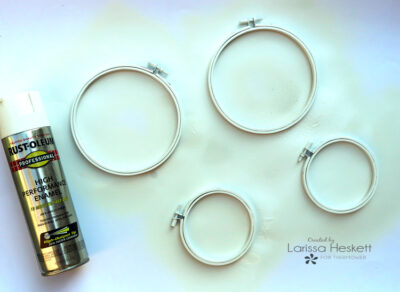
I Started my Projects with 4 Embroidery Hoops in Sizes 4 inch & 6 inches!! Then I took some White Enamel Spray Paint and Sprayed the Embroidery Hoops White!!
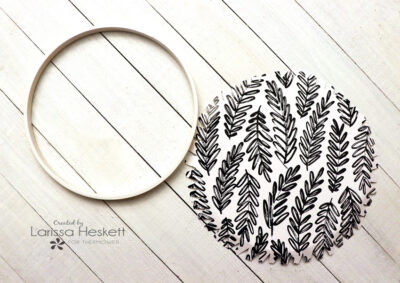
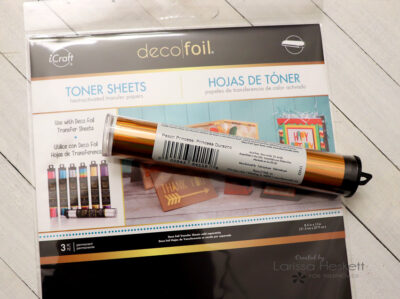
Brutus Monroe Toner Sheets
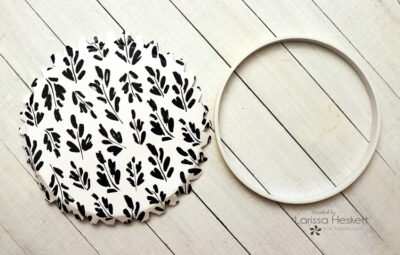
Next, I took a Piece of the NEW Brutus Monroe Toner Sheet Mixables in Floral Fantasy!! I used 2 different Patterns from the Set!! I unscrewed the 6 inch Embroider Hoops and then cut down a Piece of the Toner Sheet, leaving just an inch around the edge of the Embroidery Hoop!! Then I pressed in around the edges of the Inside Hoop the mark where the Paper should Fold!! I needed the Paper to be able to bend so I cut notches into the edges of the Paper!!
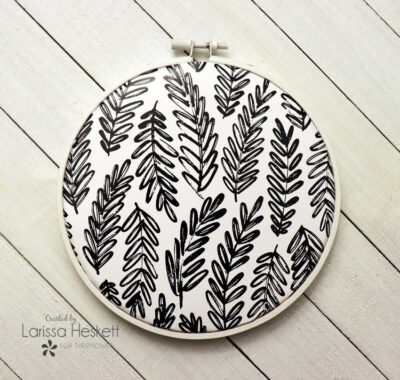
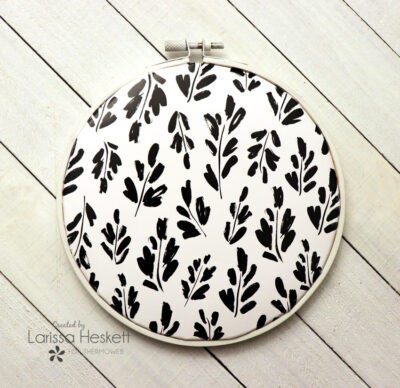
I replaced the Top Embroidery Hoops over the Smaller Hoop and Tightened the Hoops together!! How BEAUTIFUL are those Patterns in the Hoops all by themselves!!?? You could change out the Patterns as the Seasons Change, for another Decorating Option!!

For the Smaller Embroidery Hoop, I cut 2 pieces of some White Canvas!!
I wanted to add some Color to the Canvas so I added some Salvaged Patina Distress Oxide Ink and then added some Water Droplets for some Texture!! I let the Canvas Dry and then I added some Splatter of some of the Deco Foil Adhesive Pen!!
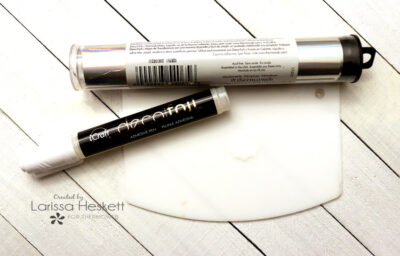
I like to use a Plastic Lid or my Glass Mat and I press the Nib of the Deco Foil Adhesive Pen onto the Surface and let a puddle of the Deco Foil Adhesive come out of the Pen!! Then I take a Paint Brush and Splatter the Deco Foil Adhesive onto my Inked Canvas!! I set the Canvas aside to let the Adhesive Splatters dry completely!!
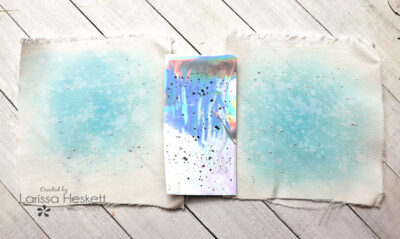
After the Adhesive was Dry, I pressed the Deco Foil in Iridescent over the Dry Adhesive Sheets and was left with Iridescent Splatter in the background of my Project!!
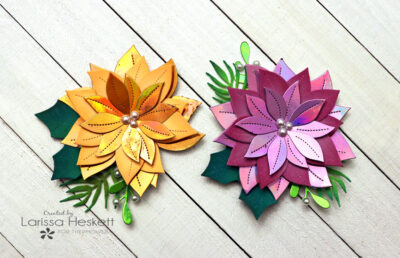
Next, I created the STUNNING Floral Center Pieces for the Smaller Hoop!!
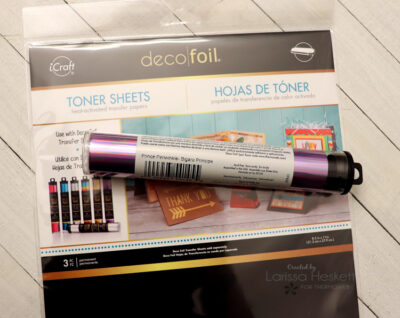
Next, I added the Prince Periwinkle Deco Foil to some of the Deco Foil Toner Sheets and ran it through my Laminating Machine!! Then I removed the protective Film and Die Cut the Largest and Smallest Stitched Poinsettia Dies!!
I repeated the same process with the Peach Princess Deco Foil!! SWOON!! Such BEAUTIFUL Florals that can be used for ANY Season!!
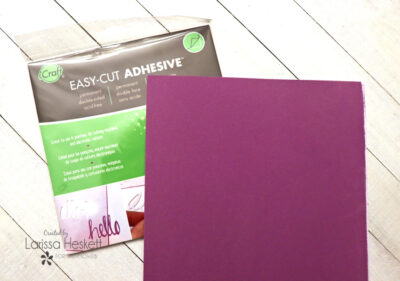
Then I added some of the Purple Punch Deco Foil Flock Sheets to some Purple Cardstock with some of the iCraft Easy Cut Adhesive Sheets!! Then I Die Cut 2 of the Large Poinsettias and Inked the Edges using some Seedless Preserves Distress Oxide Ink!!
TIP: I LOVE adding the Deco Foil Flock sheets to a coordinating colored Cardstock not only for the added weight it adds to the Flocking Sheets, but it also helps when Die Cutting so that the edges of the Die Cut match the color of the Flocking Sheets!! Especially when creating layered Blooms!! I also like to Ink the edges of the Deco Foil Flock Sheets to help make the Texture of the Flock POP!! This step isn’t necessary, but the results are WORTH the added step!!TooltipText
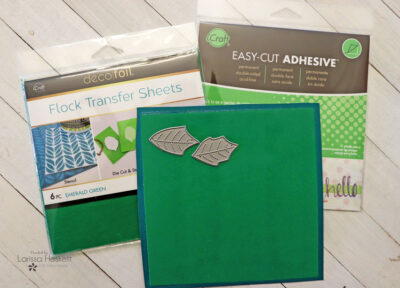
Die Cut the Poinsettia Leaves from some of the Emerald Green Deco Foil Flock Sheets after adding it to some coordinating Cardstock with some iCraft Easy Cut adhesive!!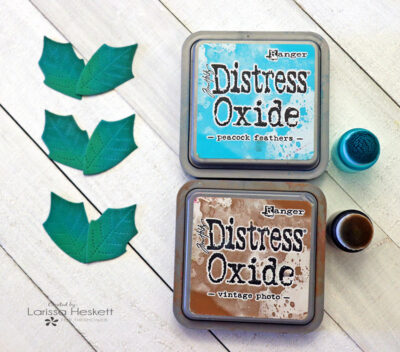
Then I inked with some Peacock Feathers and Vintage Photo Distress Oxide Inks and my iCrafter Ink Daubers!!
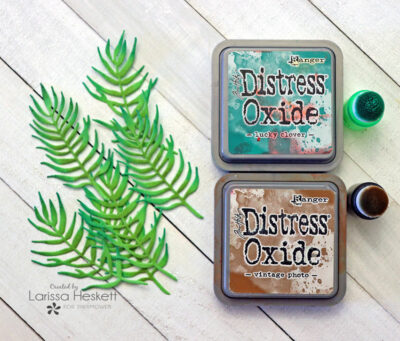
Then Die Cut the Palm Foliage from some of the Green Envy Deco Foil Flocks Sheets that I adhered to some Green Cardstock using some of the iCraft Easy-Cut Adhesive!! Then I inked them using some Lucky Clover and Vintage Photo Distress Oxide Inks with Ink Daubers!!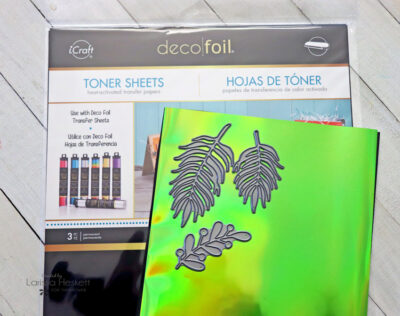
Die Cut the Simon Says Stamp Christmas Foliage Die from some of the NEW Lily Pad Deco Foil after adding it to some of the Deco Foil Toner Sheets and running it through my Laminating Machine!! Then I added a Few Sunny Studio Pearls for the Berries using some of the Ultra Bond Adhesive!!
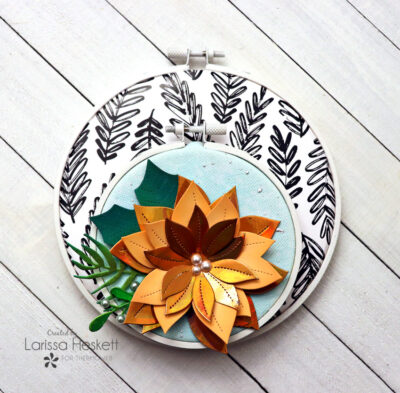
I Layered the Small Embroidery Hoop onto the Large Embroidery Hoop using some Zots Adhesive Dots in Large!! I placed them all around the bottom edge of the Small Hoop and then pressed it into place on the Large Embroidery Hoop!!
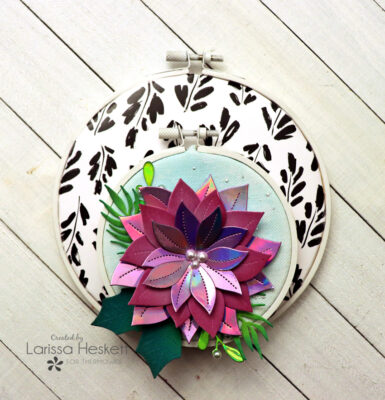
I repeated the process on the other Embroidery Hoop and now I have 2 STUNNING and Dimensional Embroidery Hoop Home Decor Projects!! You can use ANY of the Deco Foil Colors to create a Rainbow of Floral Decorations for your Home Decor Projects, or for your Cards, Tags and Scrapbooking Pages/Layouts!! Aren’t they STUNNING!!??
Products Used:
Therm O Web:
Brutus Monroe Deco Foil Mixables in Floral Fantasy
Deco Foil Transfer Sheets in Prince Periwinkle, Peach Princess, Iridescent and Lily Pad
Deco Foil Flock Sheets in Emerald Green, Green Envy and Purple Punch
Deco Foil Toner Sheets
Deco Foil Pen
3D White Sticky Strips 1/2
Zots Bling Adhesive Dots
Ultra Bond Adhesive
Other:
Pretty Pink Posh Stitched Poinsettia Die
The Greeter BotaniCuts Palm Die
Simon Says Stamp Christmas Foliage Dies
Embroidery Hoops
Distress Oxide Inks
Sunny Studio Stamps Pearls
THANKS SO MUCH for stopping by today and I hope I’ve given you some ideas on ways to use the Deco Foil Products for your Home Decor Projects!!
If you create something I hope you’ll share them with us on Social Media using the #hashtags #decofoil #thermoweb as we LOVE to see what you create!!
Have a FABULOUS WEEK!!
Larissa Heskett